How do I use Kasten K10 with Wasabi?
Kasten is a data management platform purpose-built for Kubernetes, providing enterprise operations teams an easy-to-use, scalable, and secure system for backup/restore, disaster recovery, and application mobility with unparalleled operational simplicity.
Extending Kubernetes Application Backup and Mobility to the Edge with Kasten K10 V4.5
Kasten has been validated to use with Wasabi. To use this product with Wasabi, follow the instructions below.
Add Wasabi as a Cloud Location
In your Kasten Dashboard, click settings in the top right-hand corner.

Select Locations on the left-hand side.
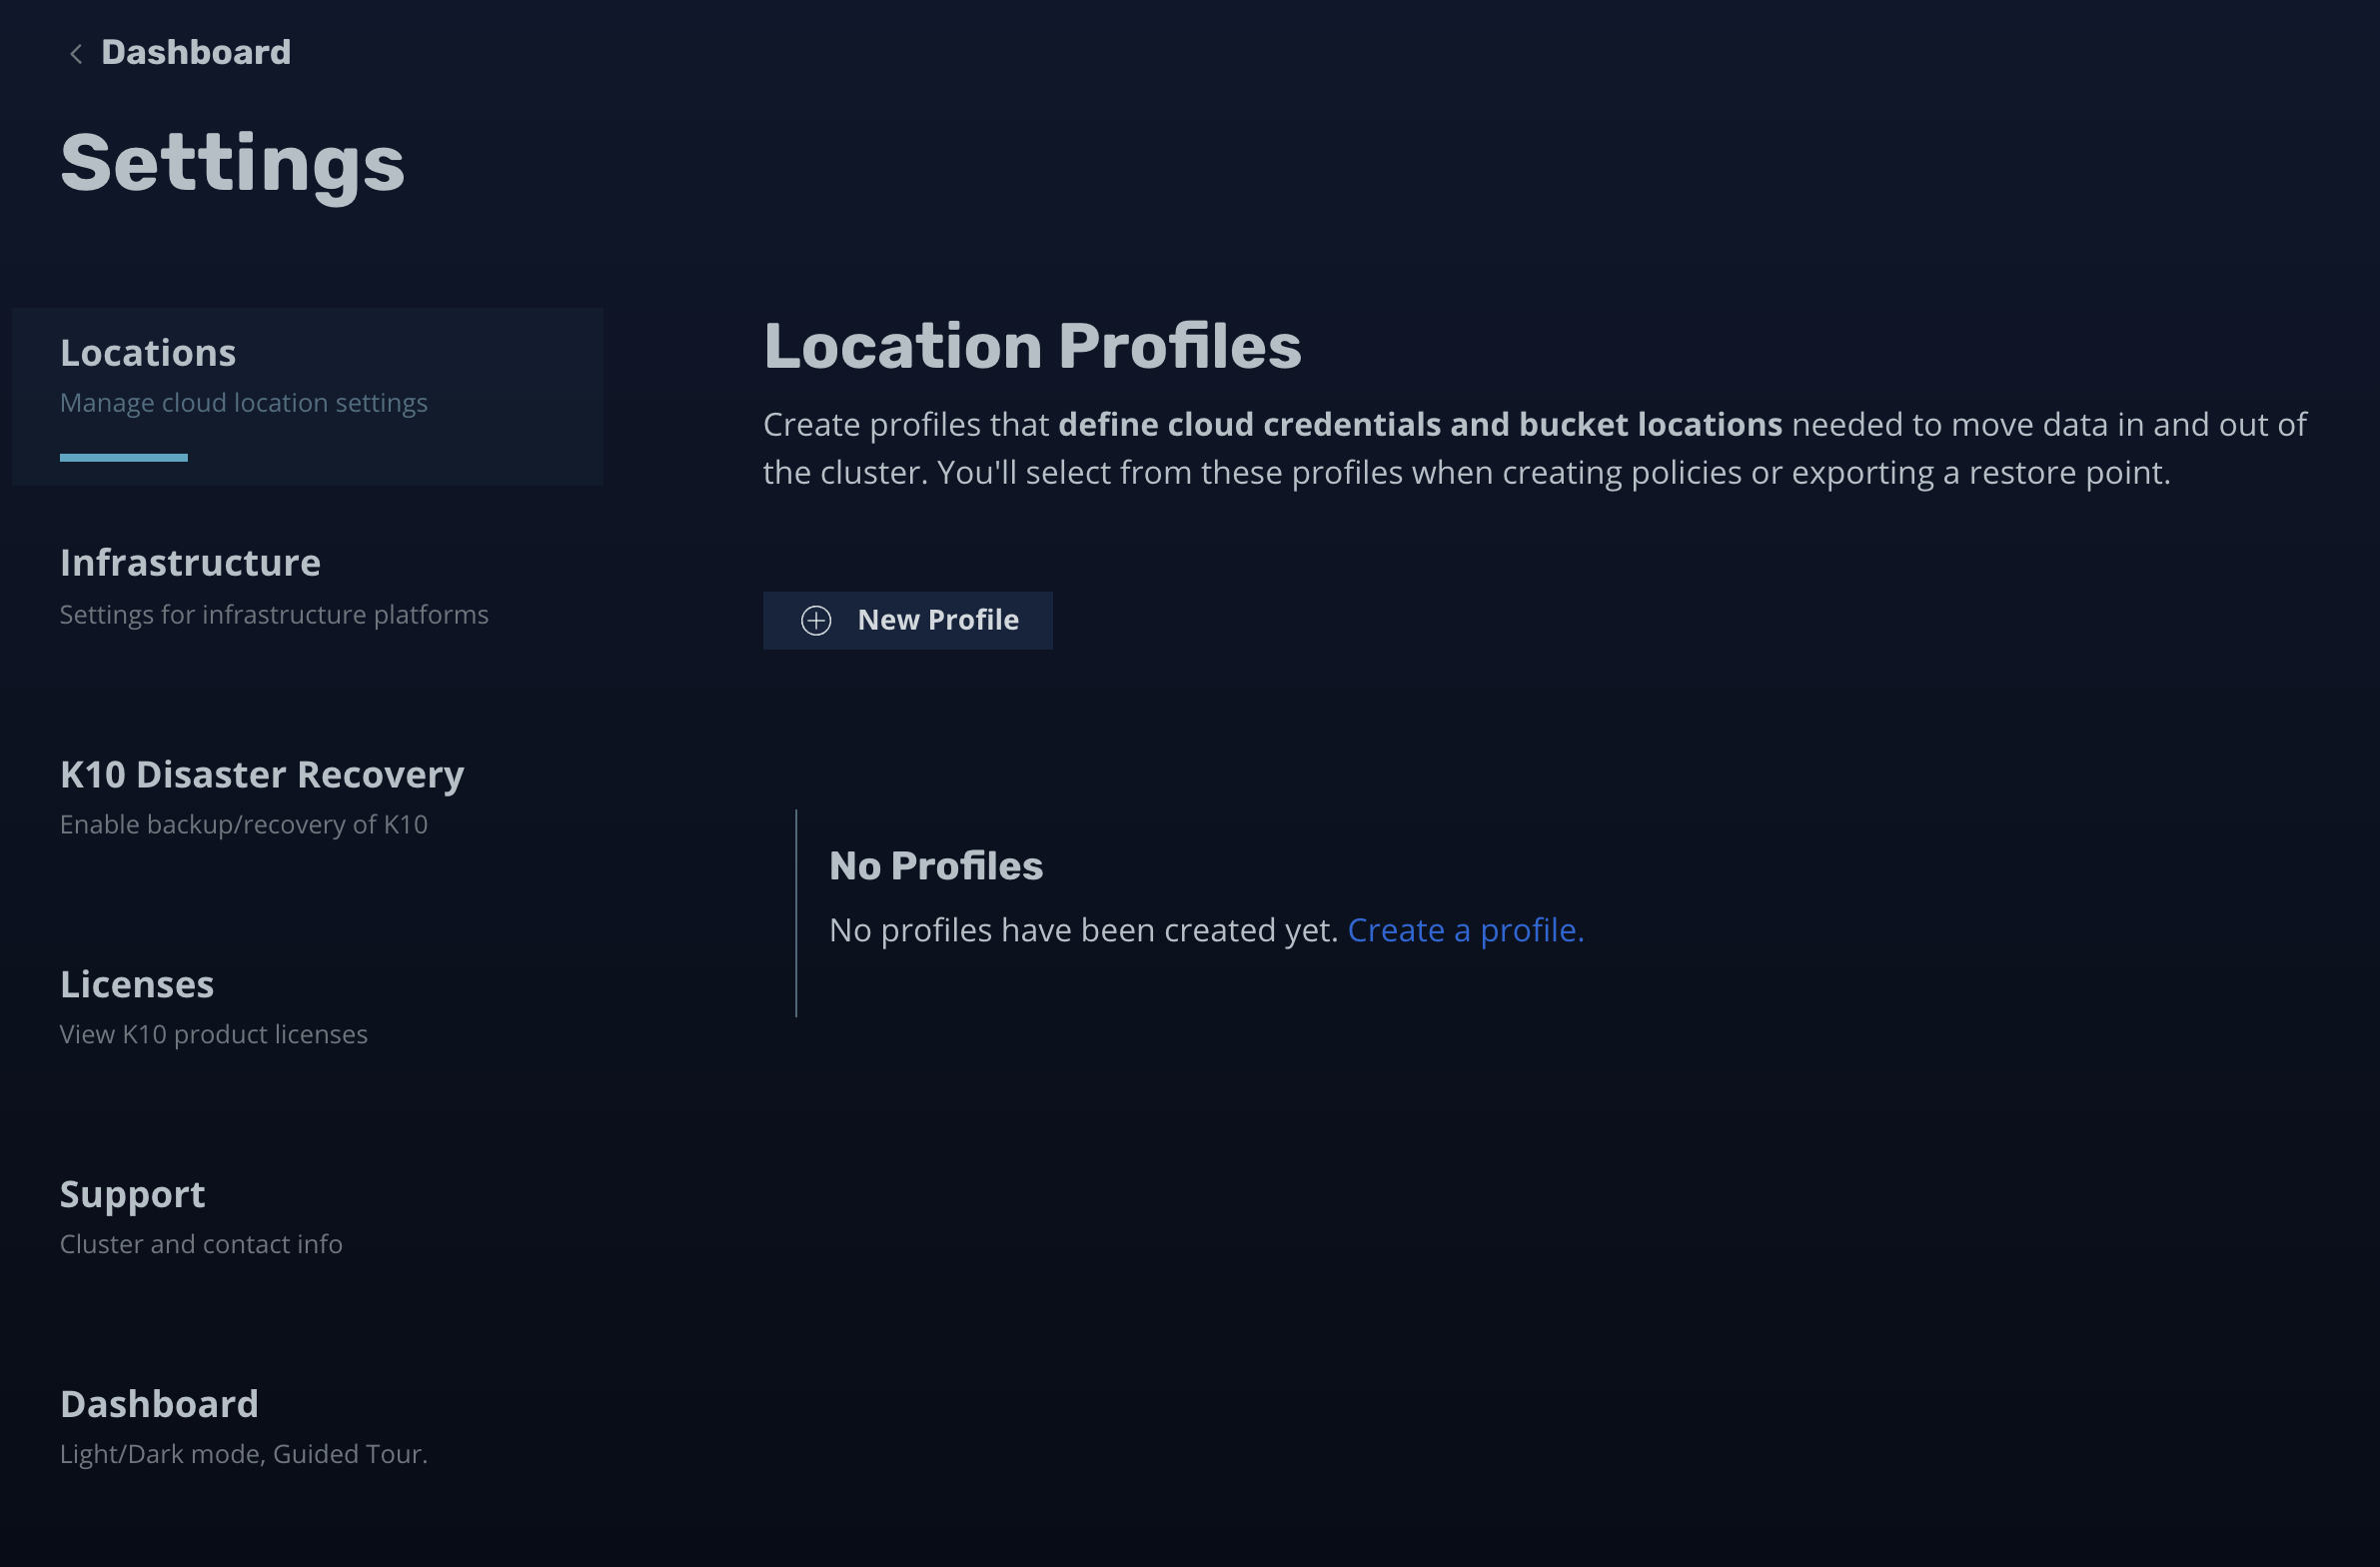
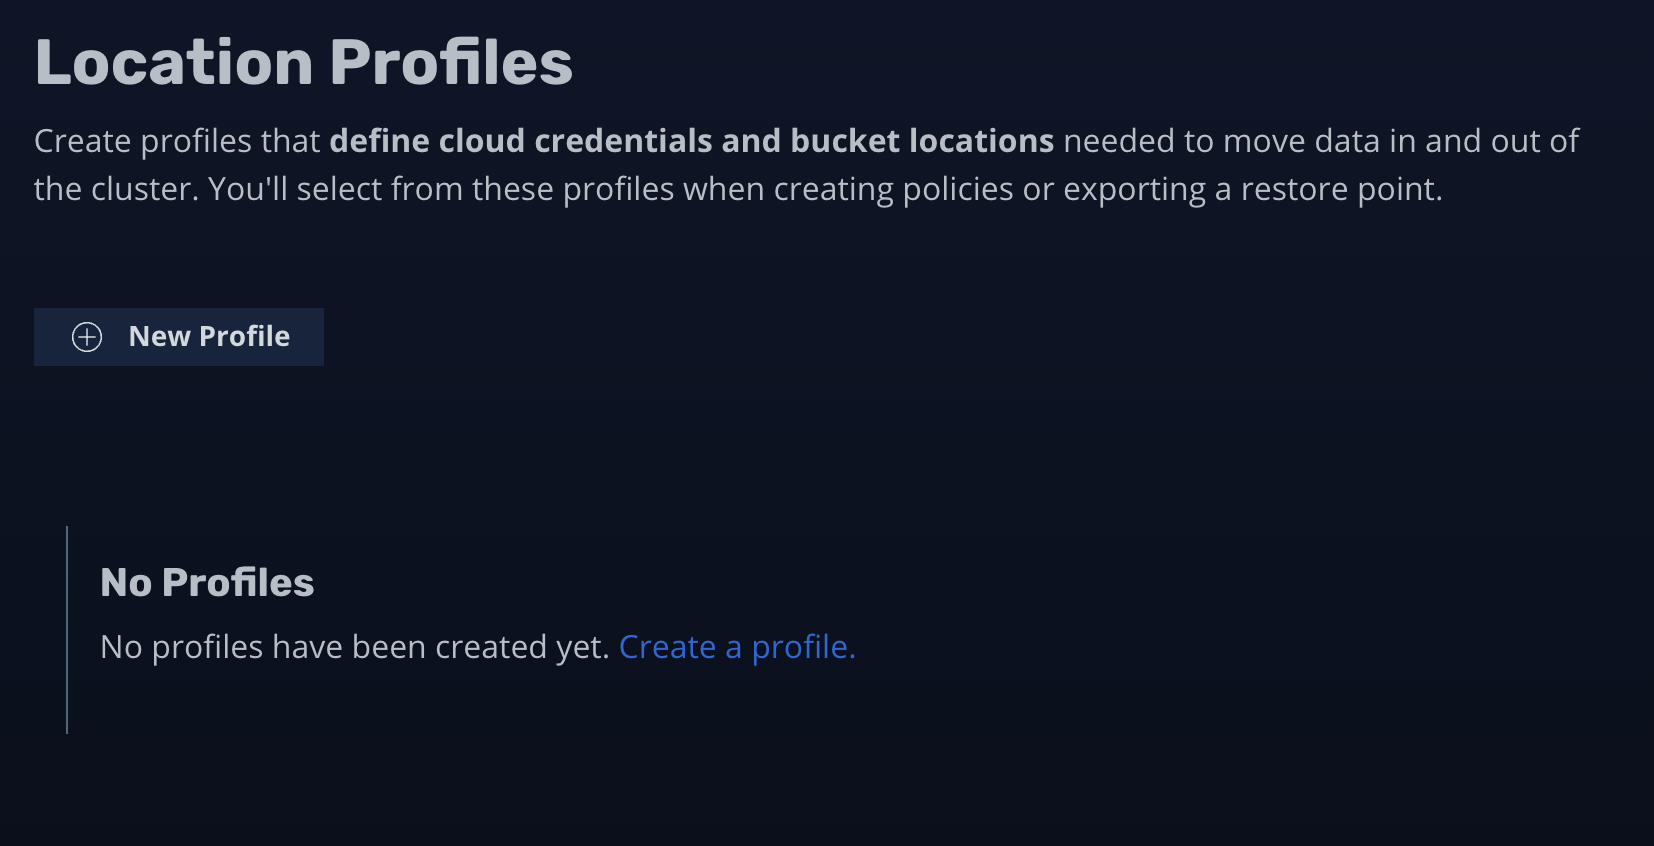
Click 'New Profile'.
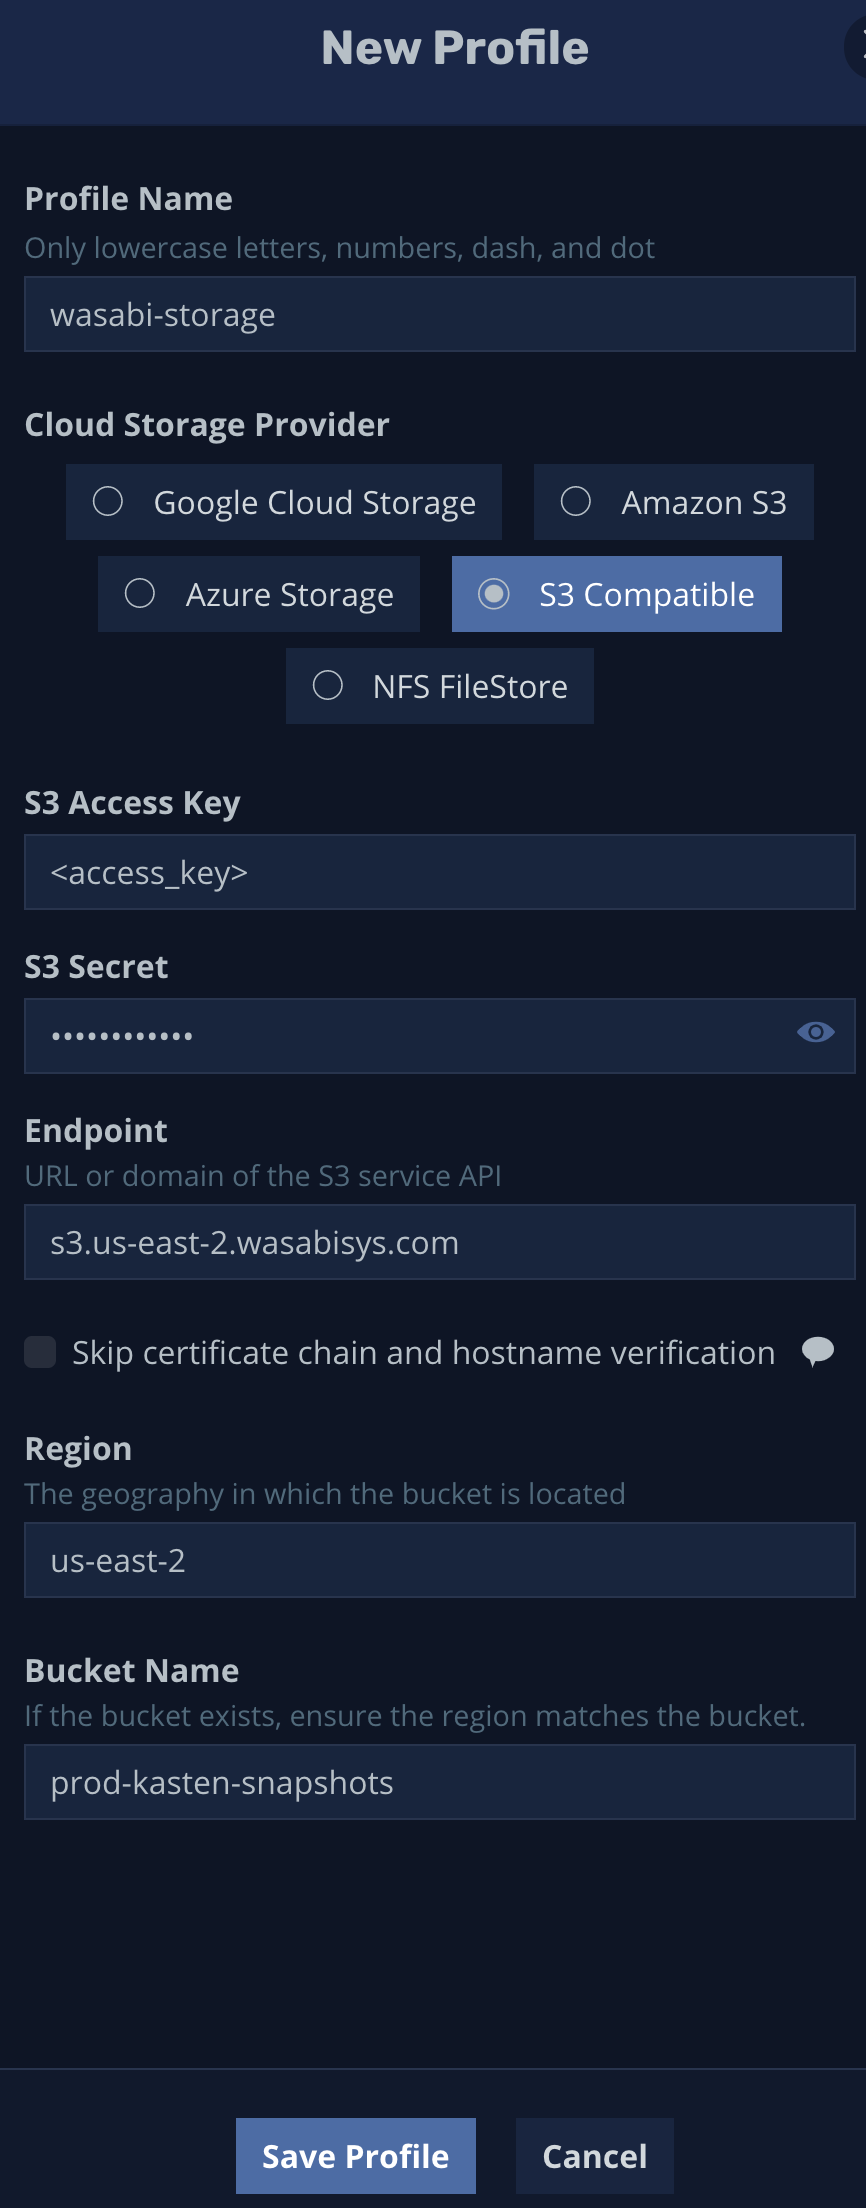
4A. Standard Bucket (Non-Immutable, Non-Object Lock) Configuration
On the 'New Profile' window that opens up, type in the name of your Cloud Location Profile, then select 'S3 Compatible'.
Add in your Wasabi Access Key, Secret Key, Endpoint URL, Region, and the Bucket Name, then hit 'Save Profile'
❗️
Important: This example uses Wasabi's 'us-east-2' storage region. To use other Wasabi storage regions, use the appropriate Wasabi service URL as described in this article.
4B - 1. Object Lock Bucket (Immutable)
Follow the instructions on the Kasten Documentation for Immutable Backups in order to enable Immutability in Kasten.
❗️
Important: This is currently an experimental feature within Kasten. Contact Kasten Support for any questions.
On the 'New Profile' window that opens up, type in the name of your Cloud Location Profile, then select 'S3 Compatible'.
Add in your Wasabi Access Key, Secret Key, Endpoint URL, Region, and the Bucket Name, then select the checkbox called "Enable Immutable Backups". There is now a 'Validate bucket' button which you must use in order to validate the Object Lock settings on the bucket. If you have not configured your Object Lock Default Bucket Retention settings according to the Kasten Documentation, refer to Object Locking to set them. Kasten requires a minimum of 21 days of Compliance Immutability enabled.
❗️
Important: This example uses Wasabi's 'us-east-1' storage region. To use other Wasabi storage regions, use the appropriate Wasabi service URL as described in this article.
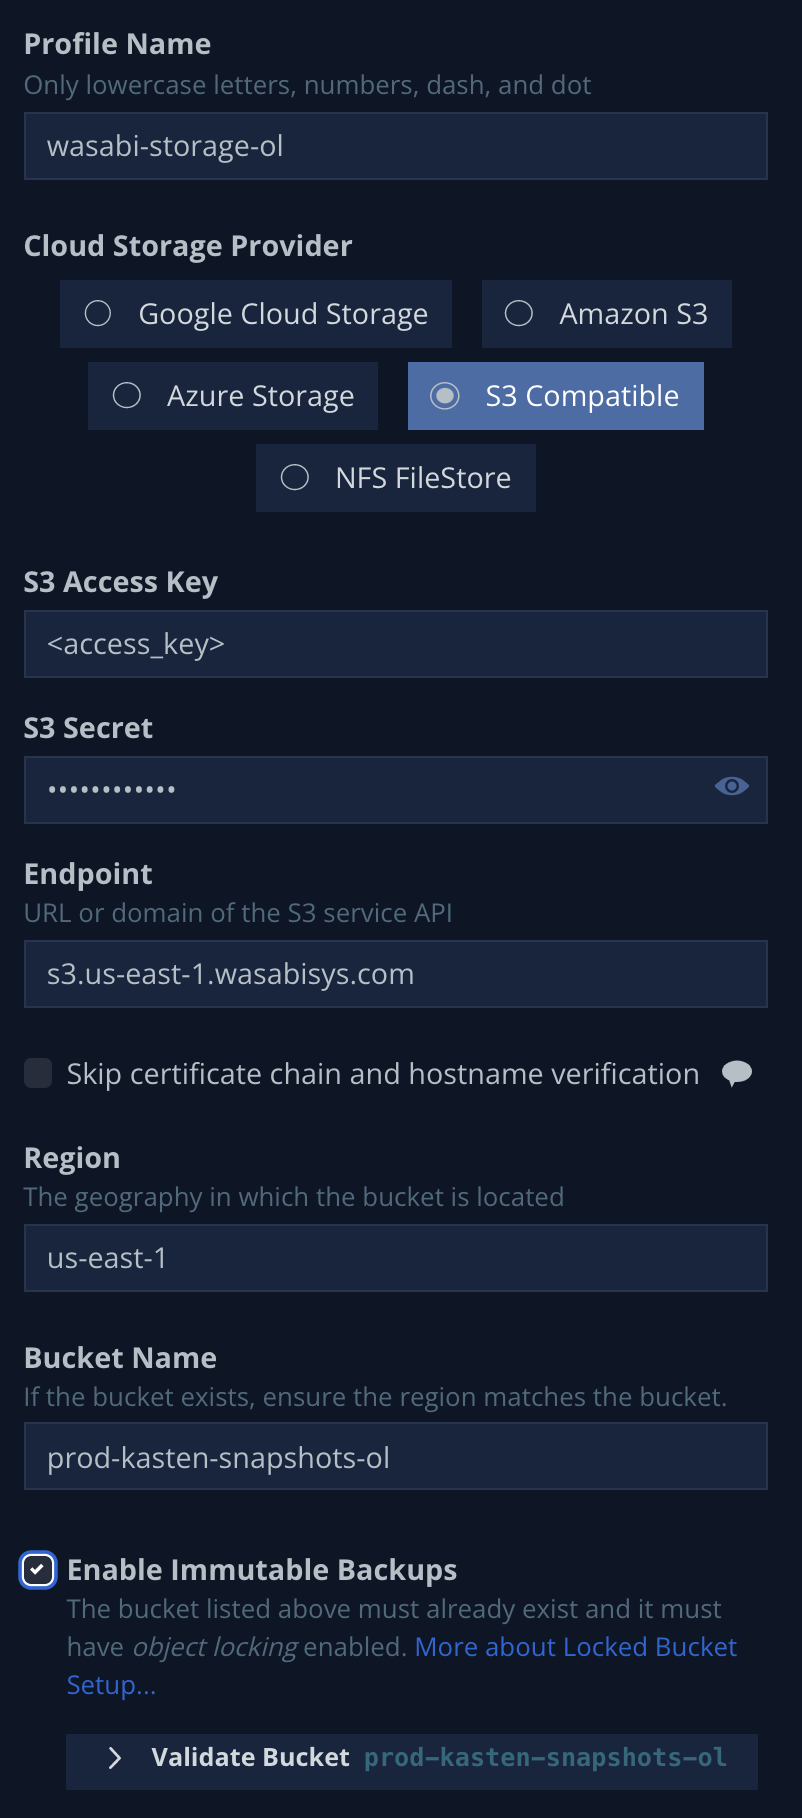
4B - 2. Click the 'Validate Bucket' button in order to check your bucket for the proper Object Lock settings. In this example, the Default Bucket Retention was not set up. Refer to Object Locking.
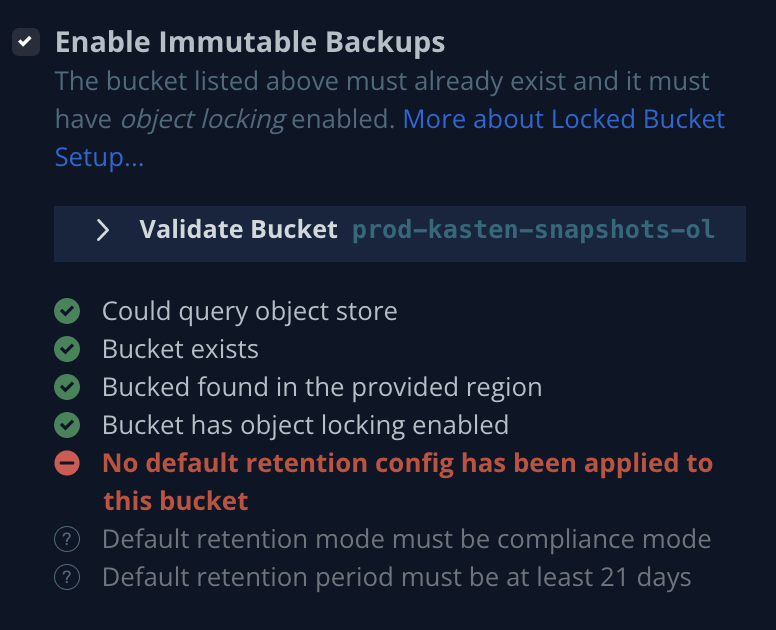
4B - 3. After properly setting the Default Bucket Retention, you should see all green checkboxes. Depending on the duration of your Default Bucket Retention, you may or may not see a slider that allows you to select the Protection Period. Refer to the Kasten Documentation on Immutability to set this. We will leave the default of one day here.
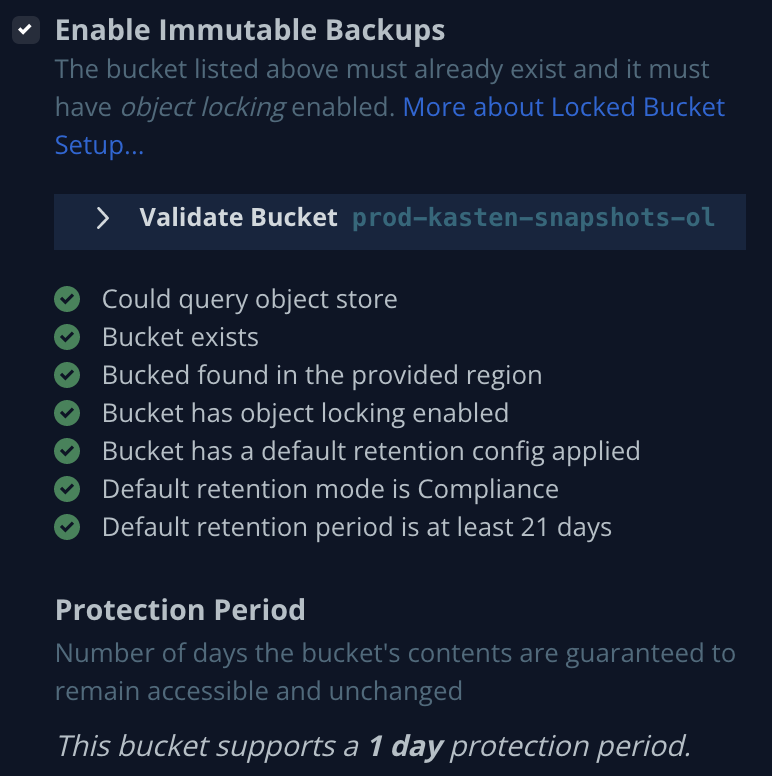
4B - 4. If you have the option to select your Protection Period, select this based on your companies policies.

4B - 5. Hit save profile, and you will be brought back to the 'Location Profiles' screen.

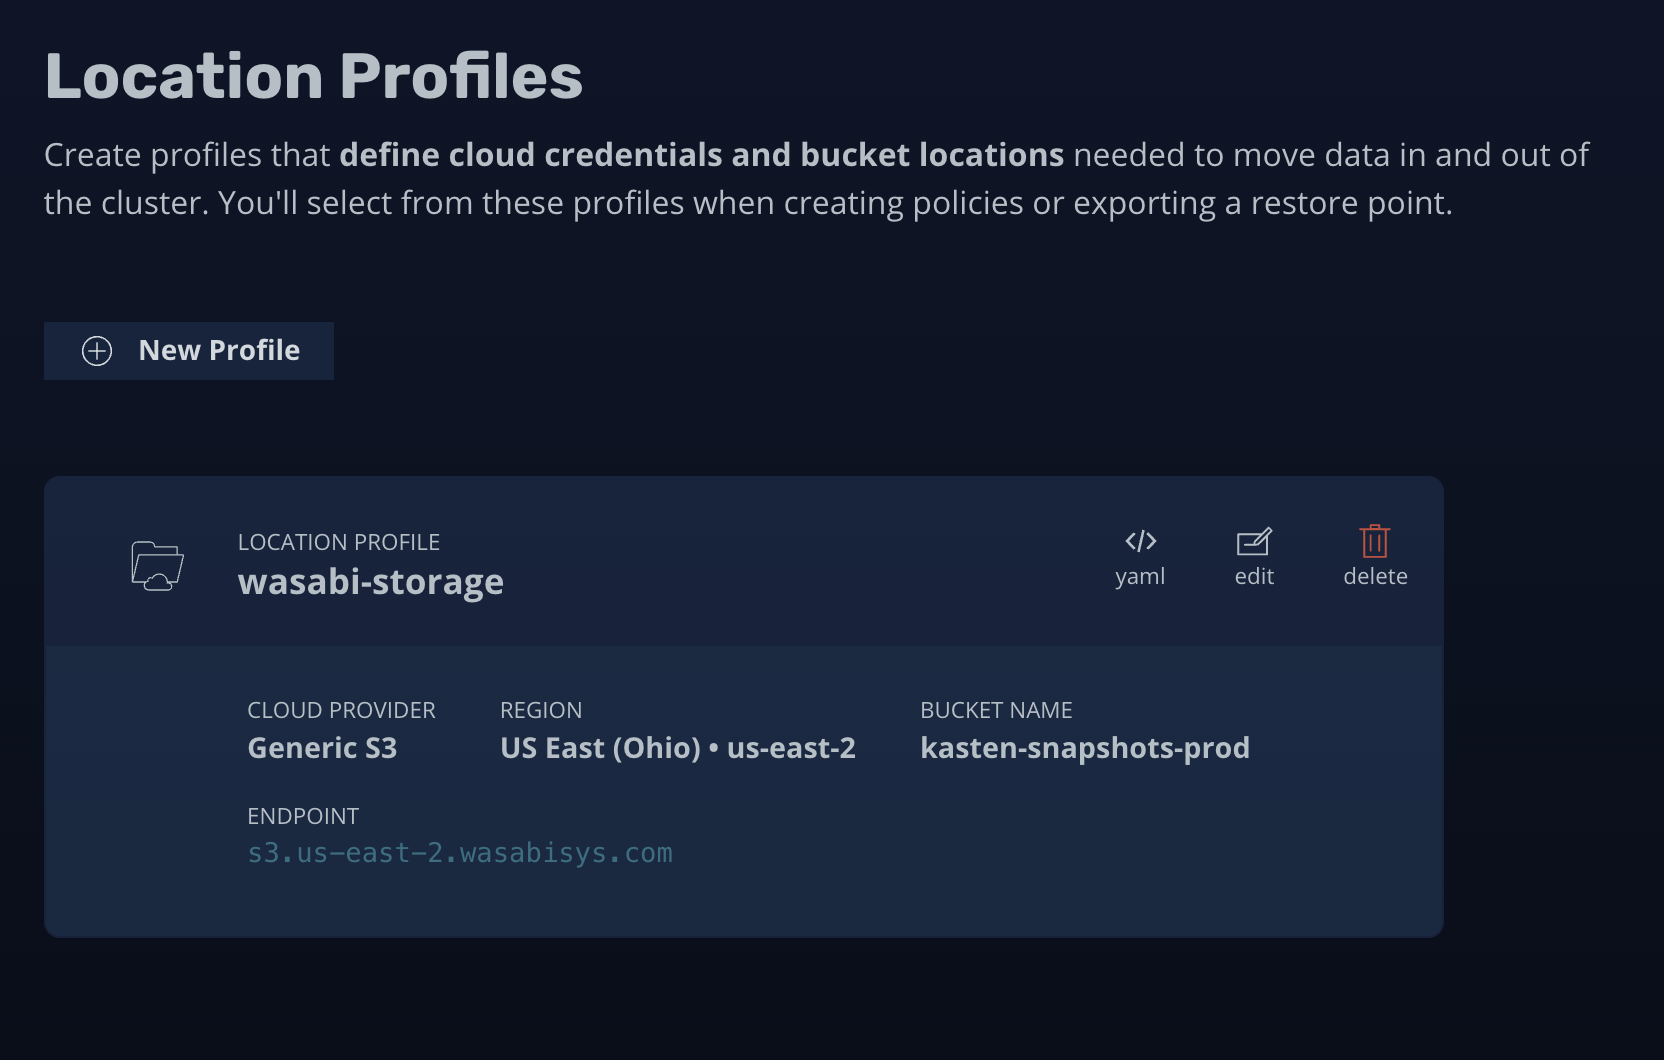
5. After saving, you will see your new Cloud Location populated in the list of Locations. This example continues using a Non-Object Lock bucket, there may be some slight differences in the images you see if you are using an Object Lock bucket with configured Immutability.
6. Go back to the Dashboard. We will create a new example Backup Policy with the Cloud Location, click 'New Policy' in the middle menu.

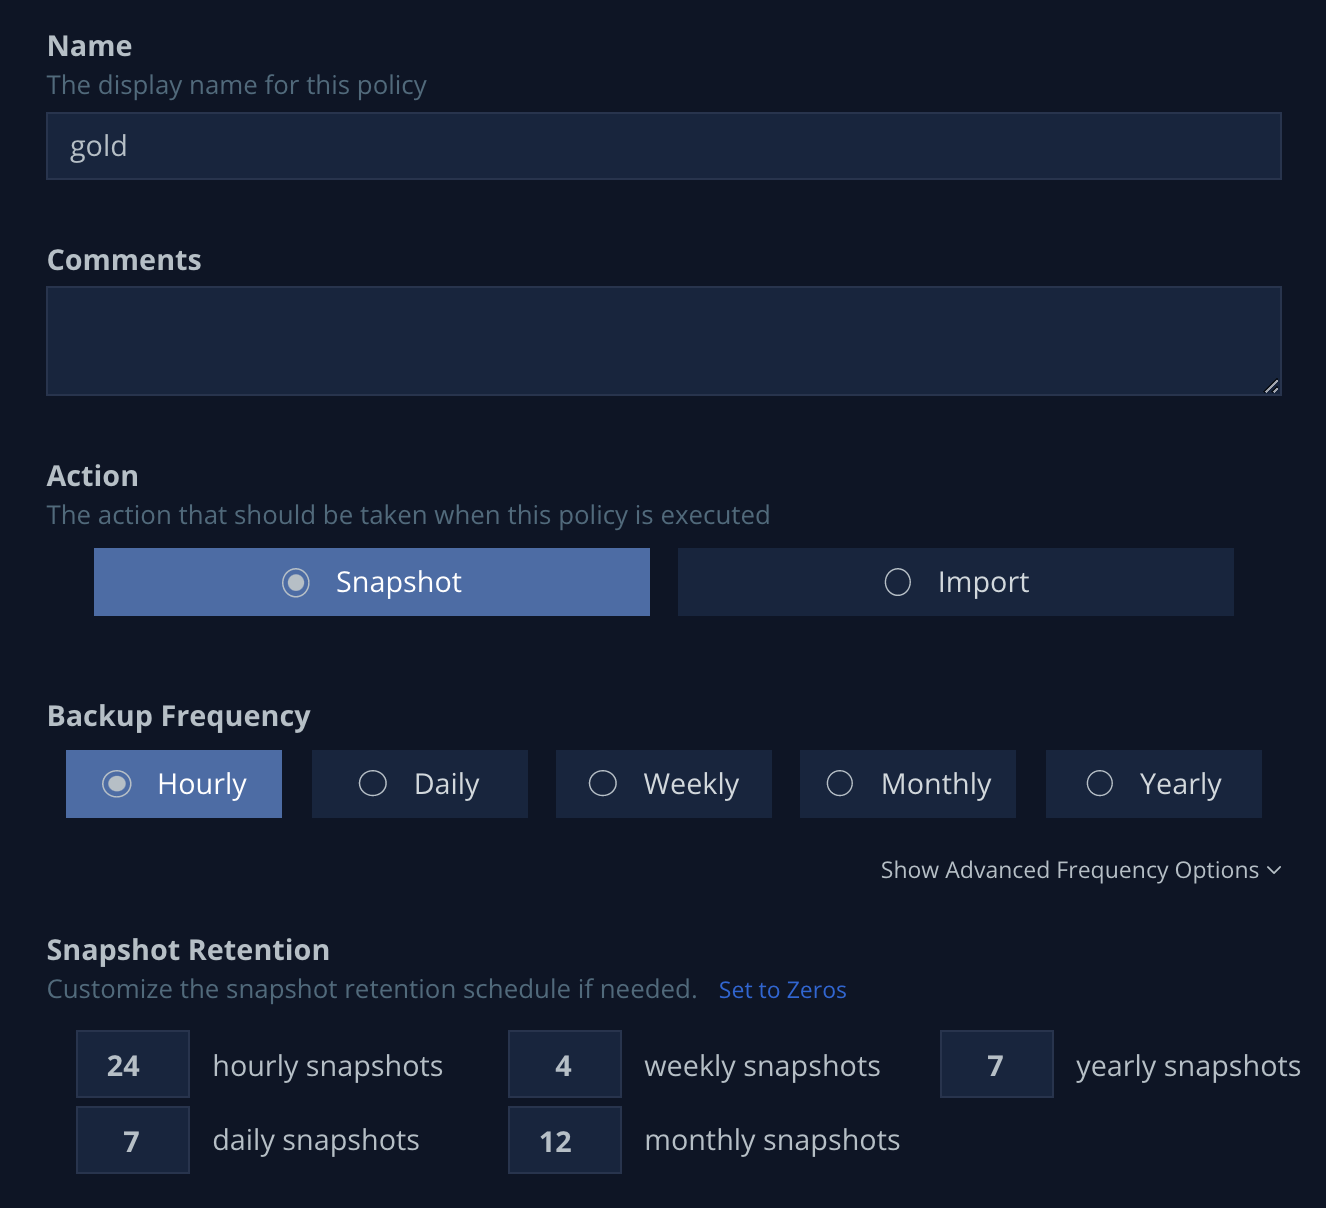
7. Type in the name of the policy, we will use 'gold', and select 'hourly' in this example. Scroll down in the New Policy tab.
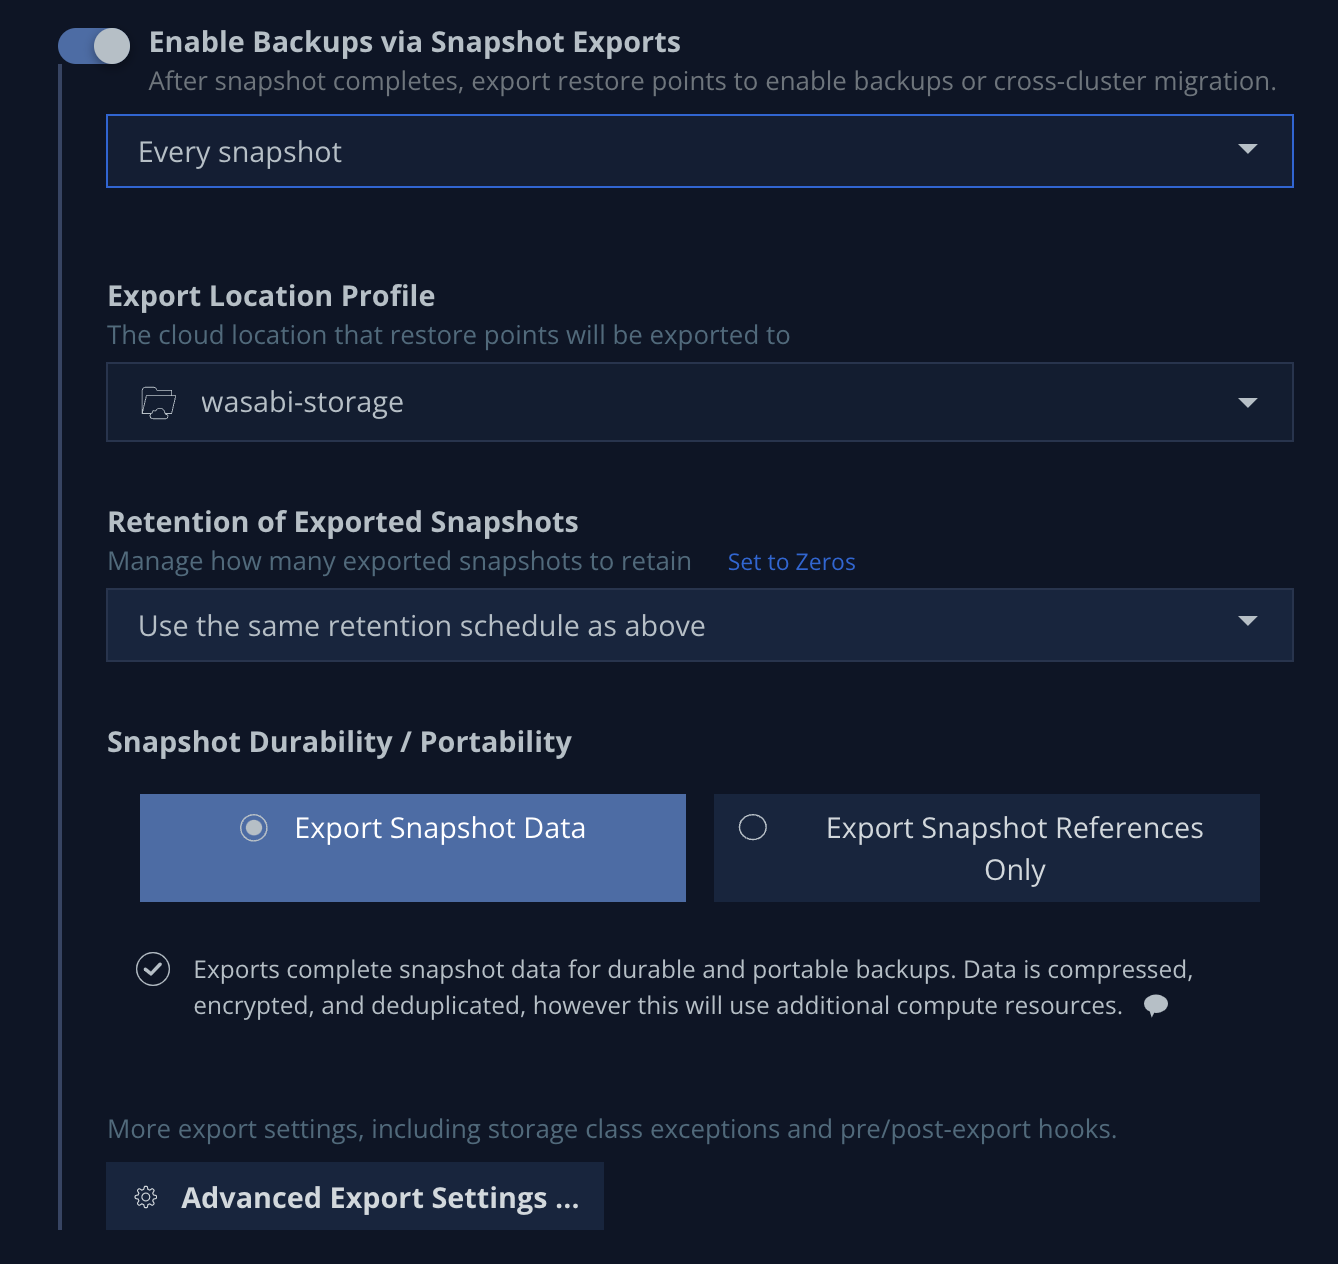
8. Toggle the "Enable Backups via Snapshot Exports" in order to export your snapshots to the newly created Wasabi Storage Location. Verify that the Export Location Profile is set to the name of your created Location for Wasabi.
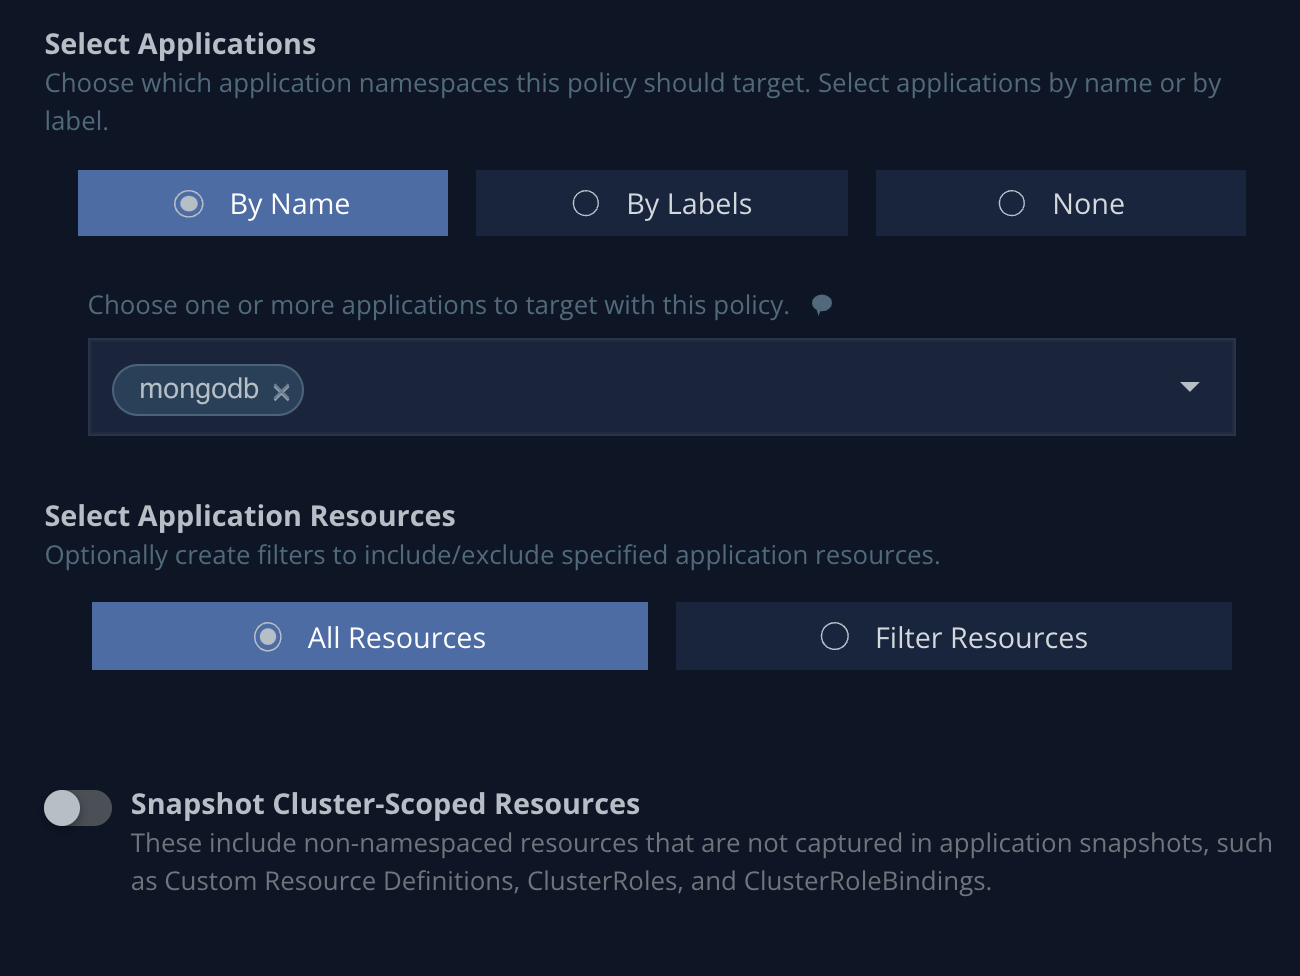
9. Select the applications you want to assign the 'gold' policy to. We are using an example application namespace of MongoDB. Decide if you want to include "Cluster-Scoped Resources" or not. This will also backup resources that are not in the namespace you have chosen but are associated with your namespace. Scroll down.
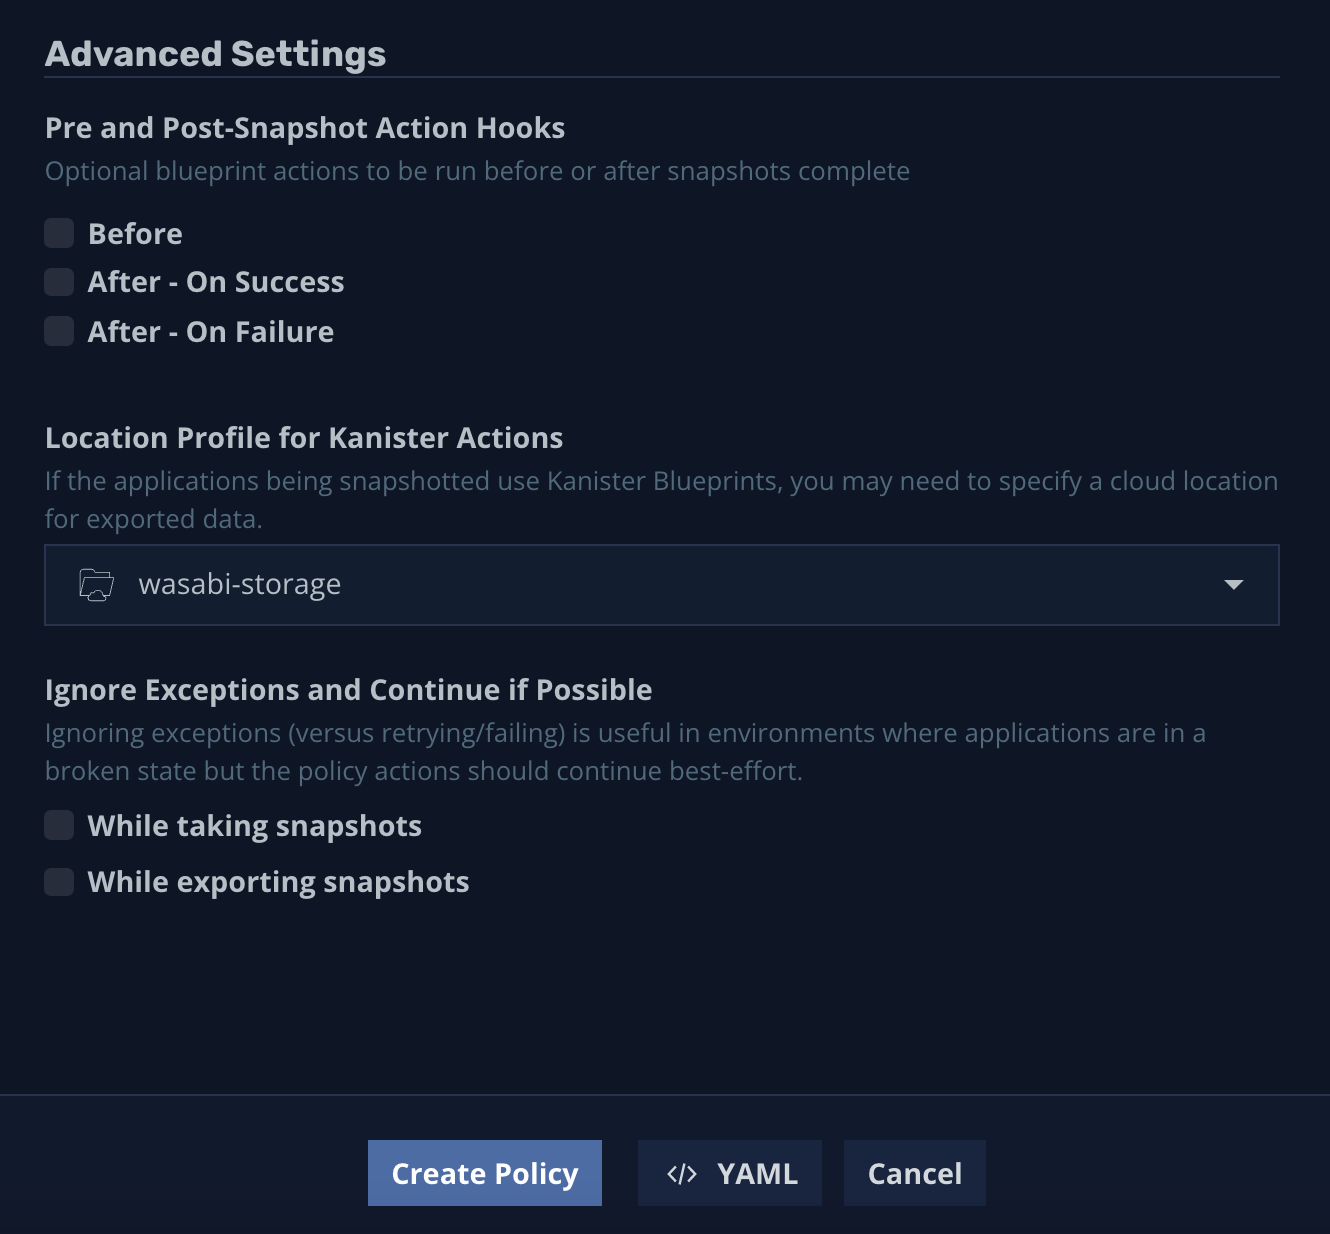
10. In the Advanced Settings section, add any actions hooks, and make sure a location is selected for Kanister Actions if you are using them to perform your backups. In this example, we are leaving the default settings. Click Create Policy.
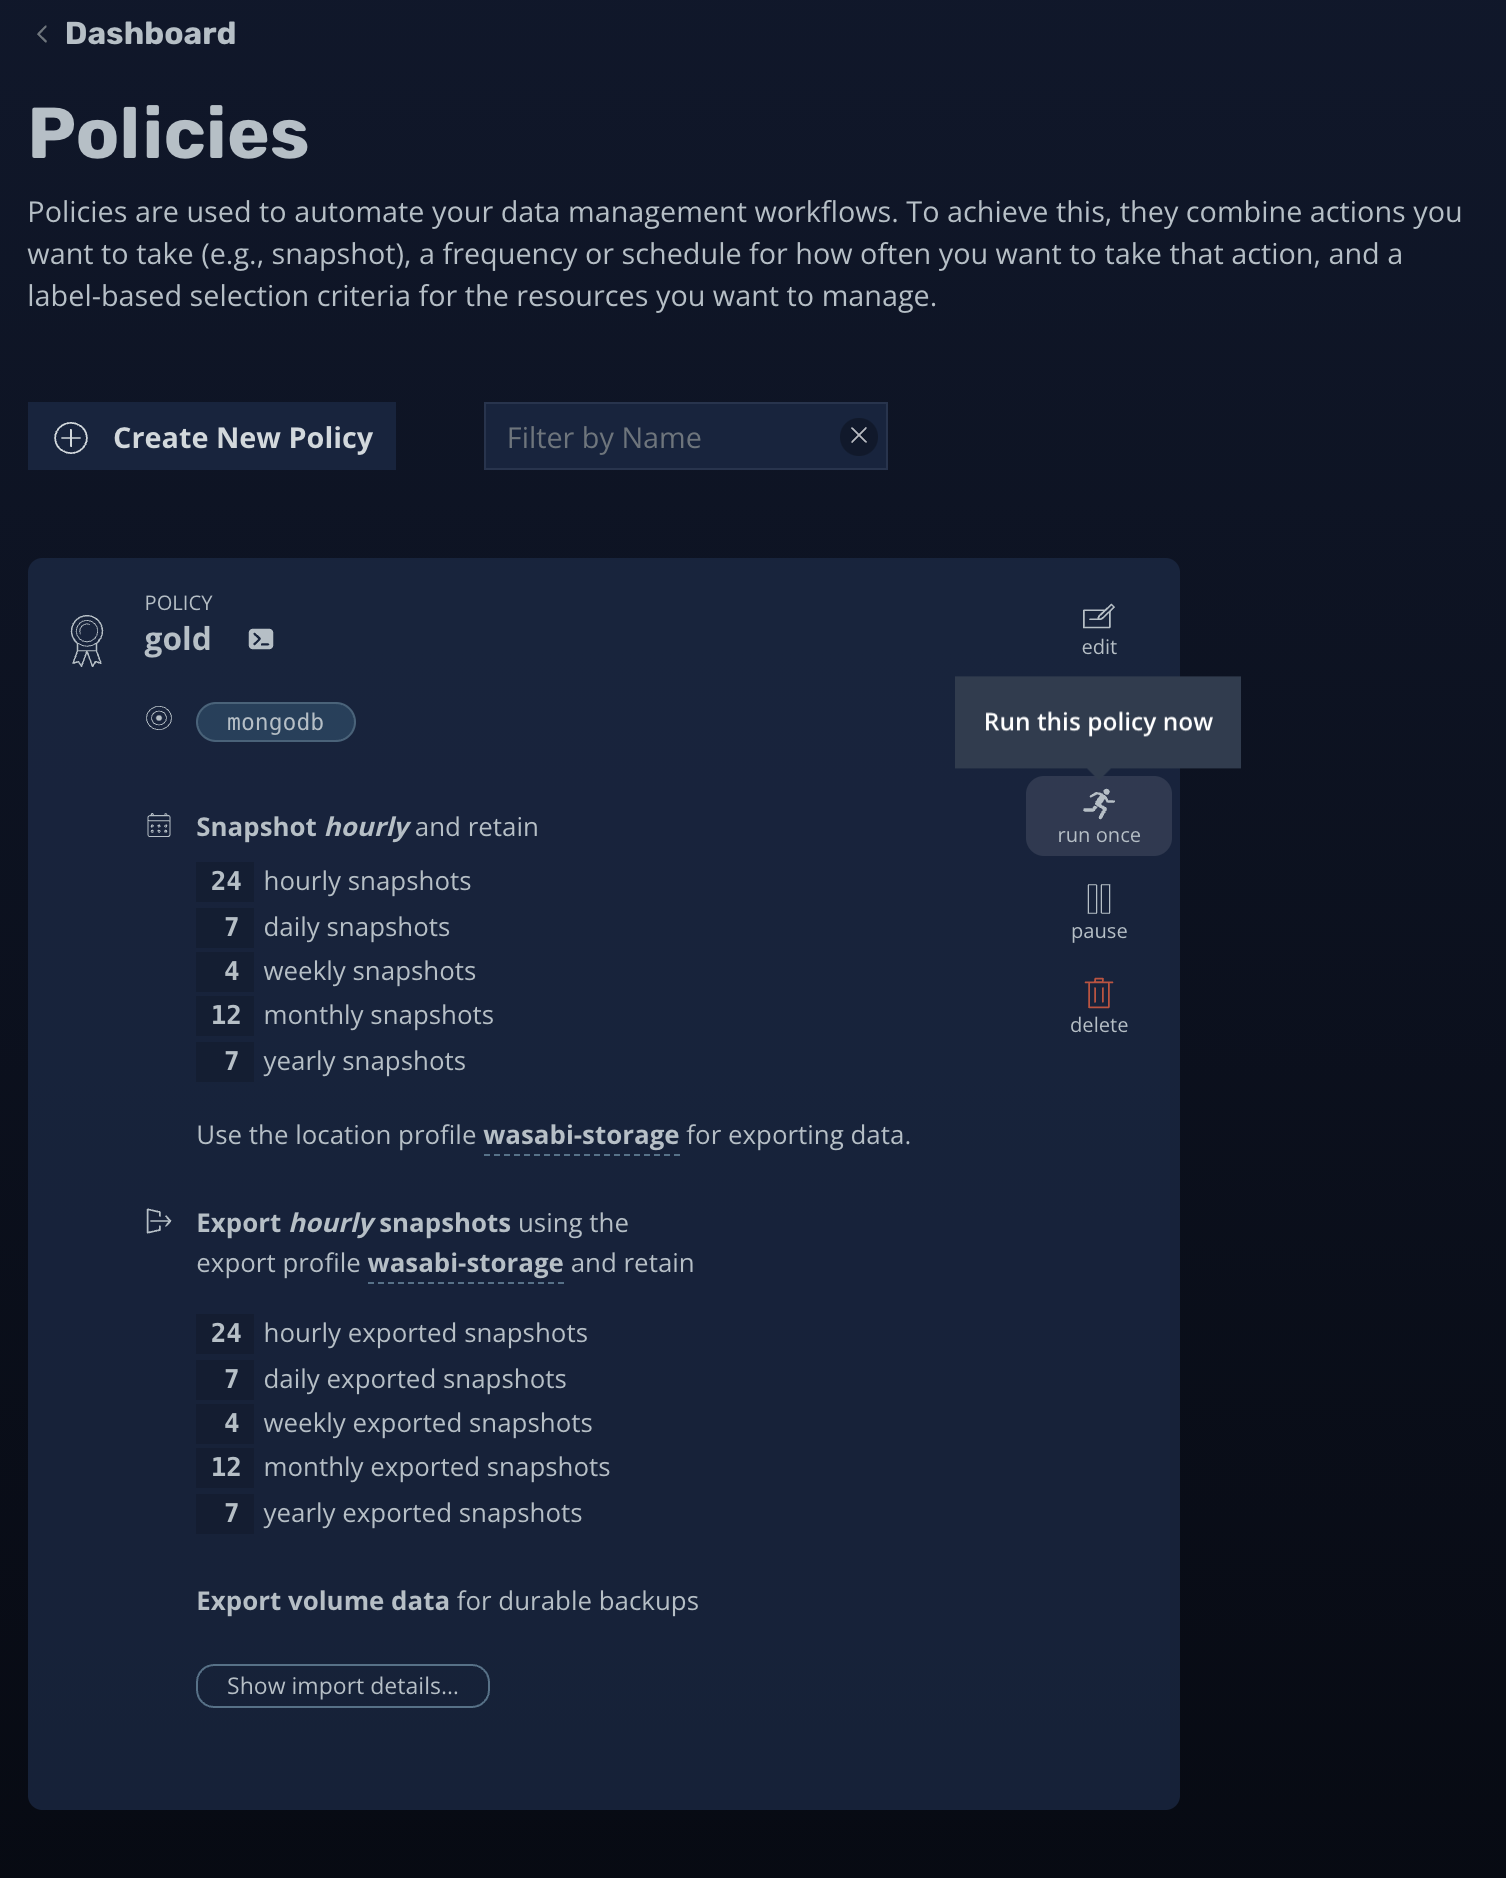
11. You will see your new policy "gold" created using the location 'wasabi-storage'. Click "run once" to start the snapshot process.
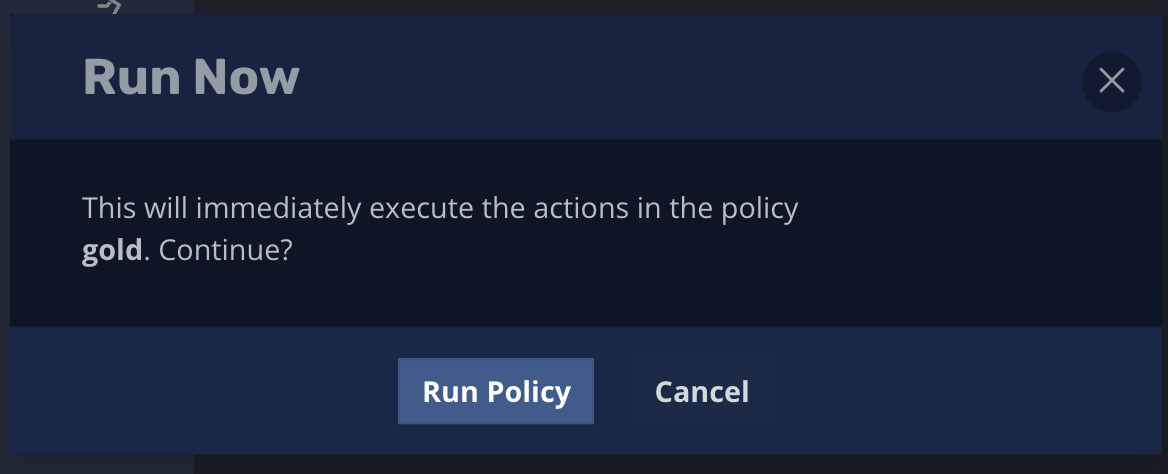
12. Click "Run Policy" to start.
13: You will see a notification that your action has been started. Go back to the Dashboard.

14. On the Dashboard, you will see the new policy being run under the Actions section. Click on the "Policy Run" action.

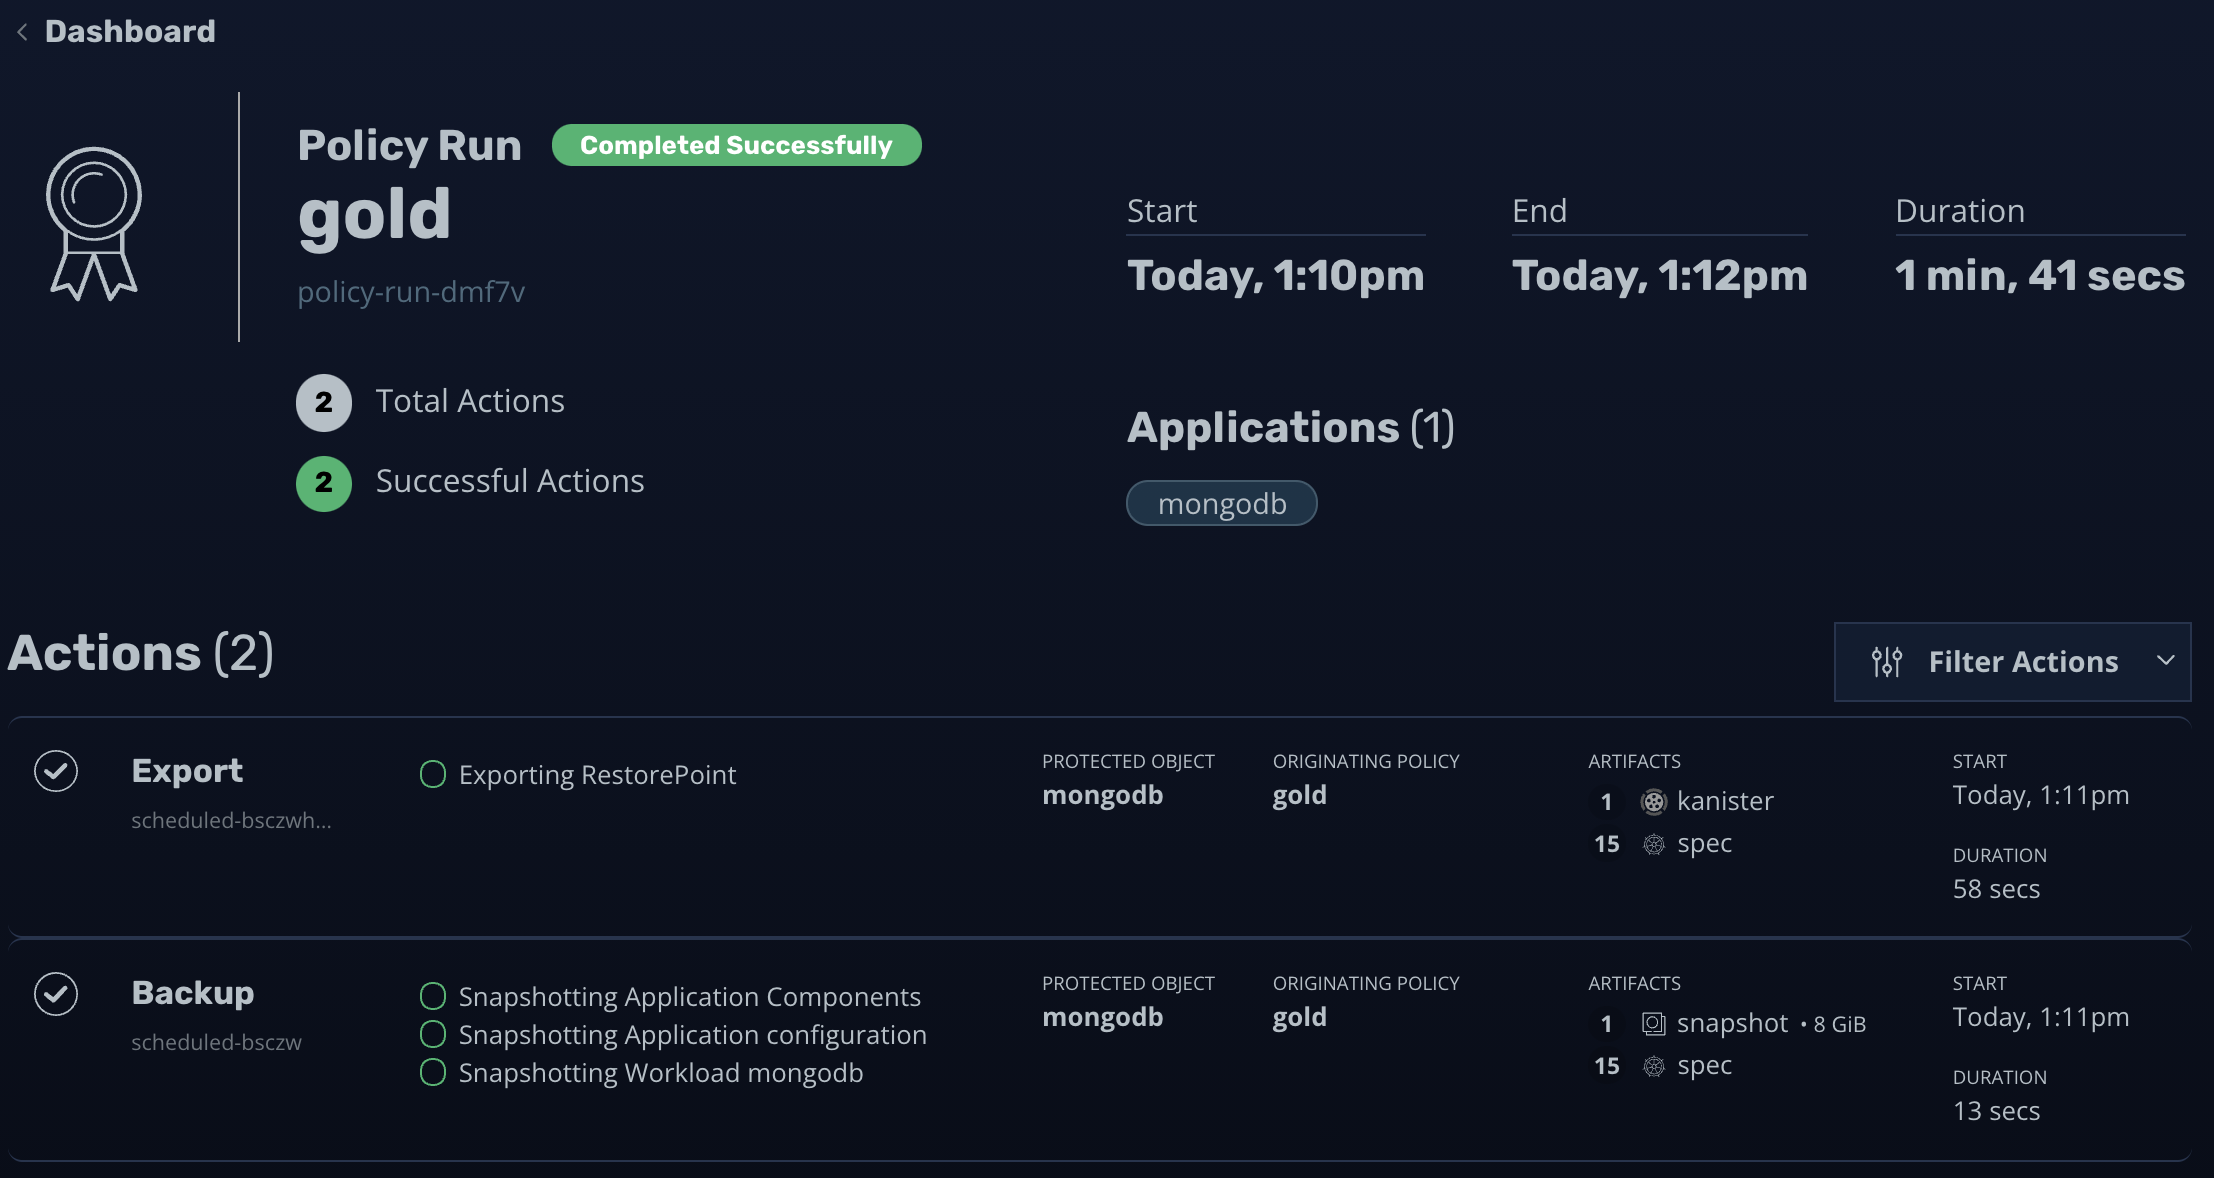
15. You may see your Backup still running, but after it completes, you will see the Backup Action, and then the Export Action. The Export action is when Kasten copies the snapshot to Wasabi.
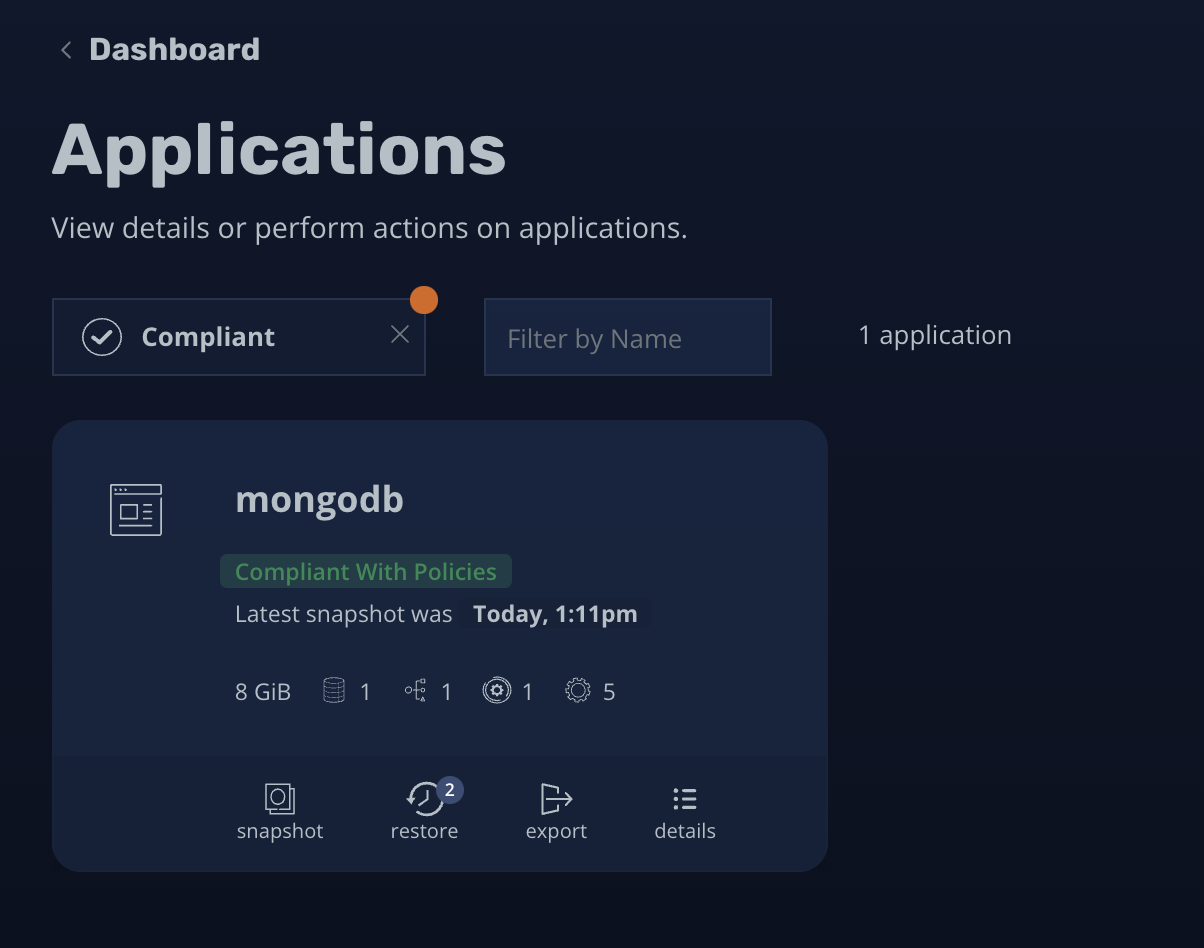
16. In your Kasten Dashboard -> Applications screen, you can now verify that your Application has been protected by Kasten, and is Compliant with the currently associated policies.
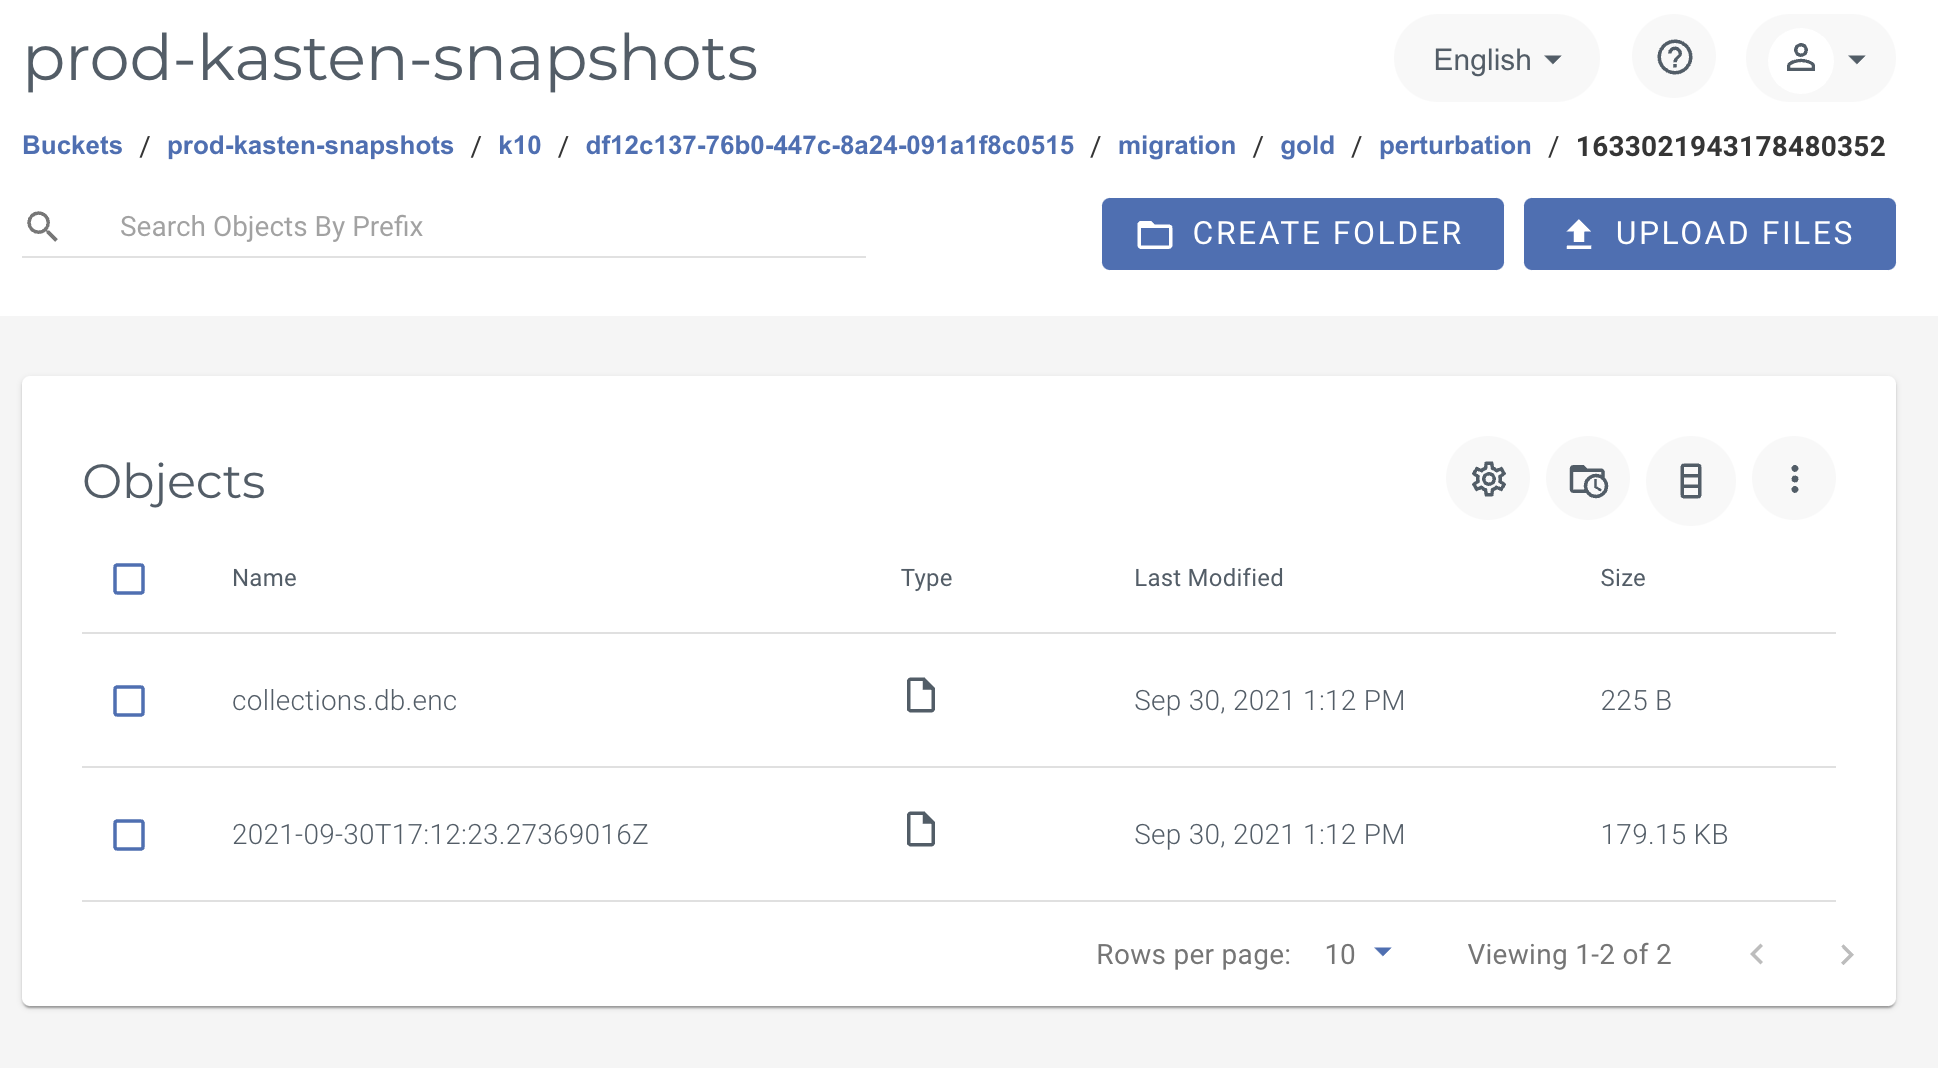
17. You can now see the snapshot has been copied to Wasabi by using the Wasabi Console.
