Micro Focus Data Protector has been validated for use with Wasabi. Data Protector standardizes and consolidates backups across multiple platforms. It provides secure, comprehensive backup protection for business-critical data and applications whether virtual, physical, or online in the cloud.
1. Requirements
Active Wasabi Cloud Storage Account
Wasabi Bucket - See our Bucket Creation Guide
Access & Secret Key Pair - See our Access Keys Guide
Micro Focus Data Protector Software v11.03
2. Storage Device Configuration
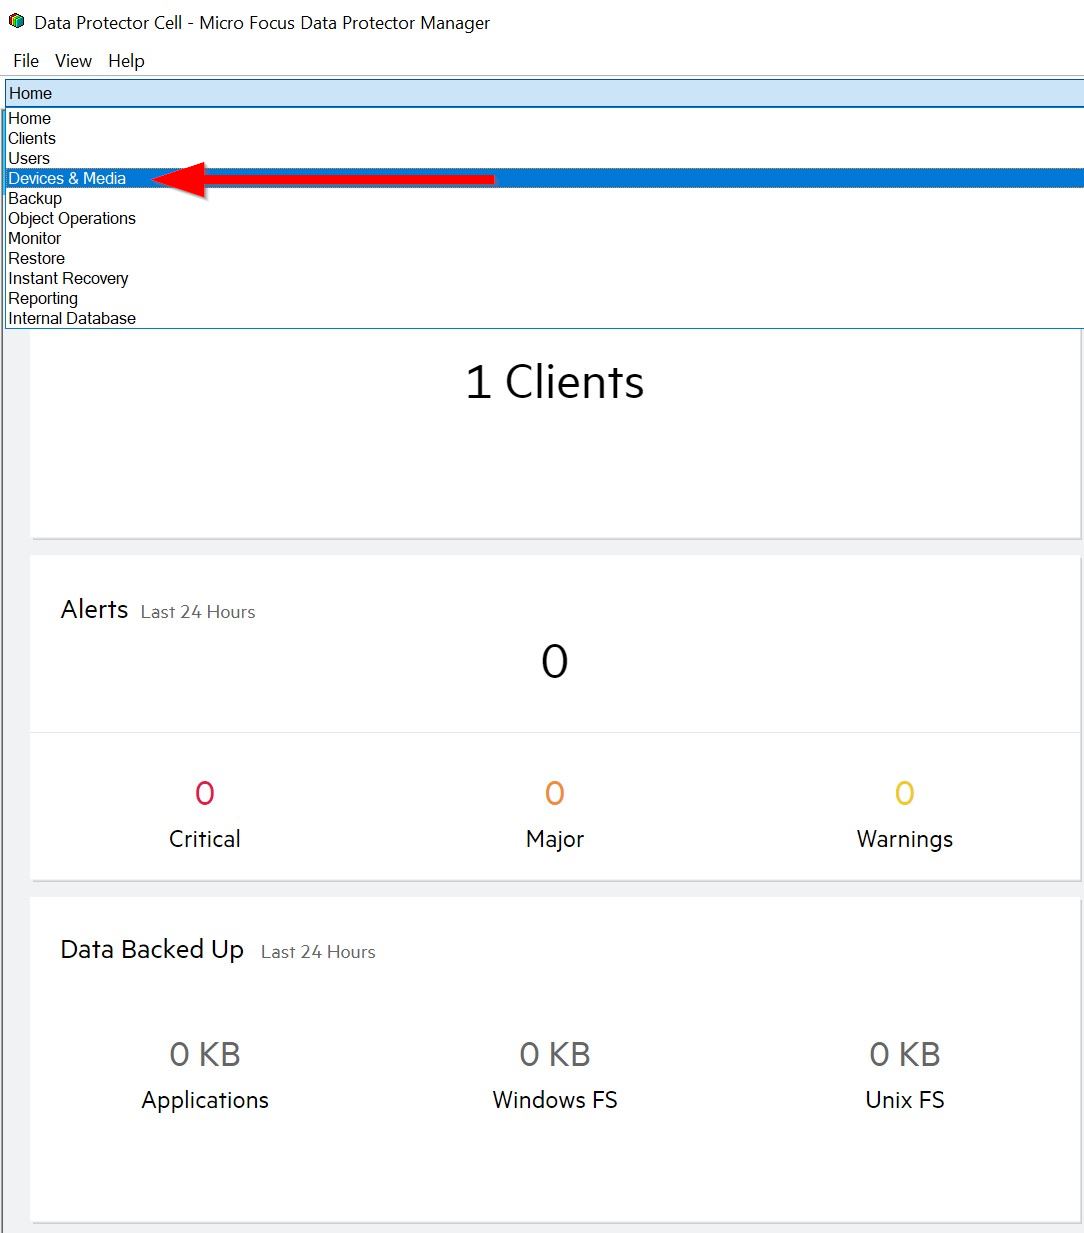
2.1 With Data Protector installed, next we need to create a storage device to associate with our Wasabi Cloud Storage. From the Cell Manager, click on the Dropdown and select Devices and Media.
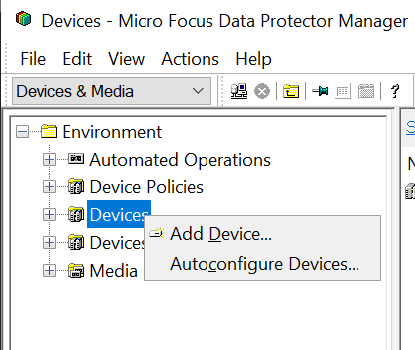
2.2 Right-click Devices, then Add Device.
2.3 Enter the Device settings below.
Device Name
Description
Device Type - Select Backup to Disk
Interface Type - Select Cloud (Amazon S3 API compatible target)
Management Console URL - https://console.wasabisys.com
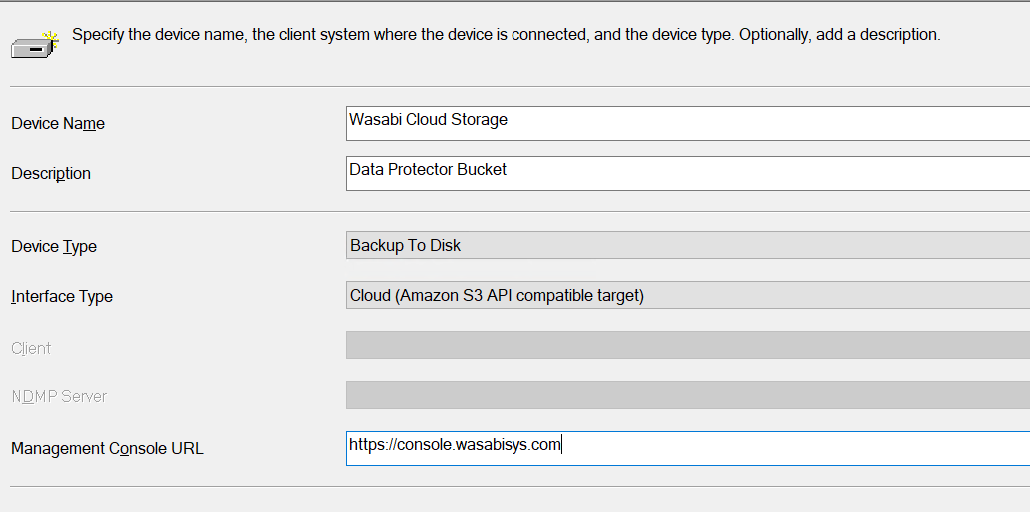
Click Next.
2.4 Now you will enter your Cloud Connection settings.
S3 Target Type - Select Ceph/Scality
S3 Target Gateway URL - https://s3-us-east-1.wasabisys.com
Access Key ID - Wasabi Access Key
Secret Access Key - Wasabi Secret Key
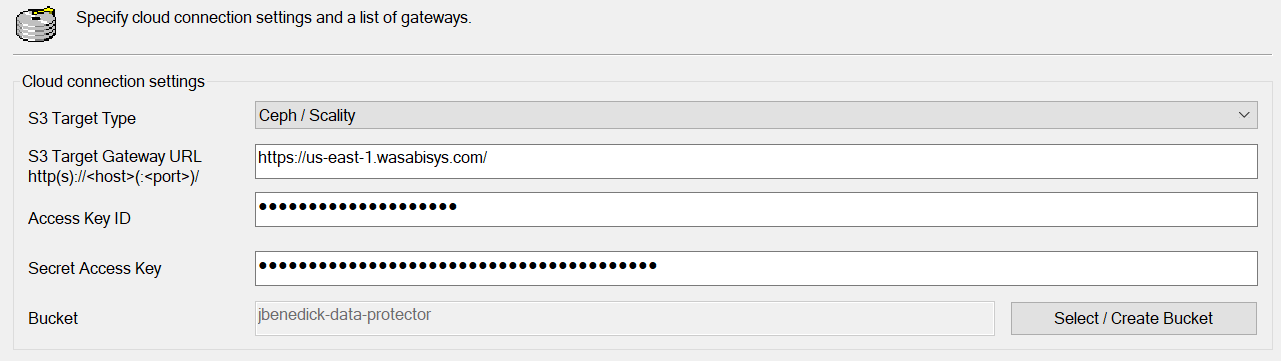
Note: This configuration example uses Wasabi's us-east-1 storage region. To use other Wasabi storage regions, please use the appropriate Wasabi service URL as described in our Wasabi Service URLs.
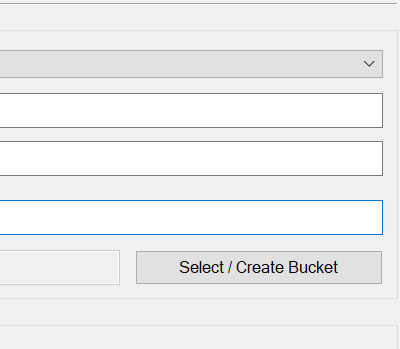
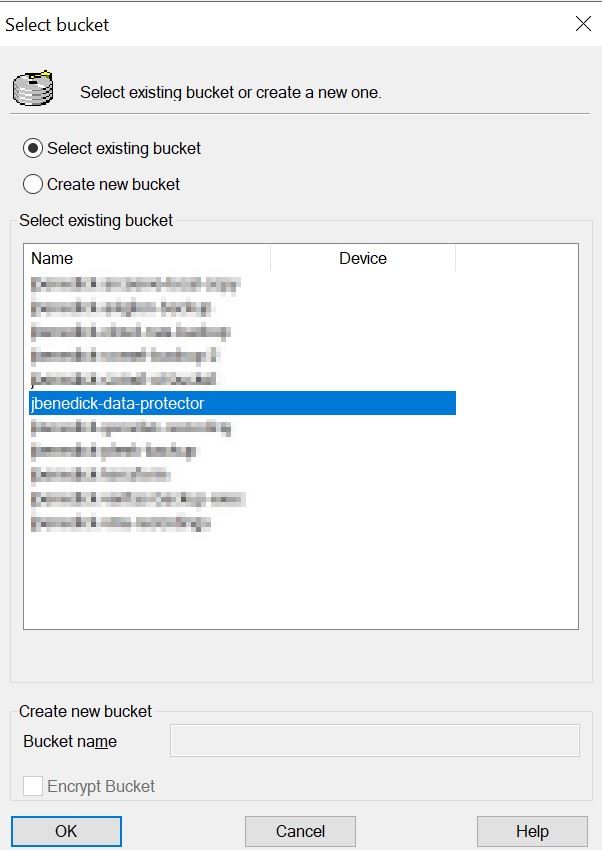
2.5 Click Select/Create Bucket, and if your information is correct, it will populate your buckets to select from.
2.6 Select the Wasabi bucket where you want to backup your data. Click OK.
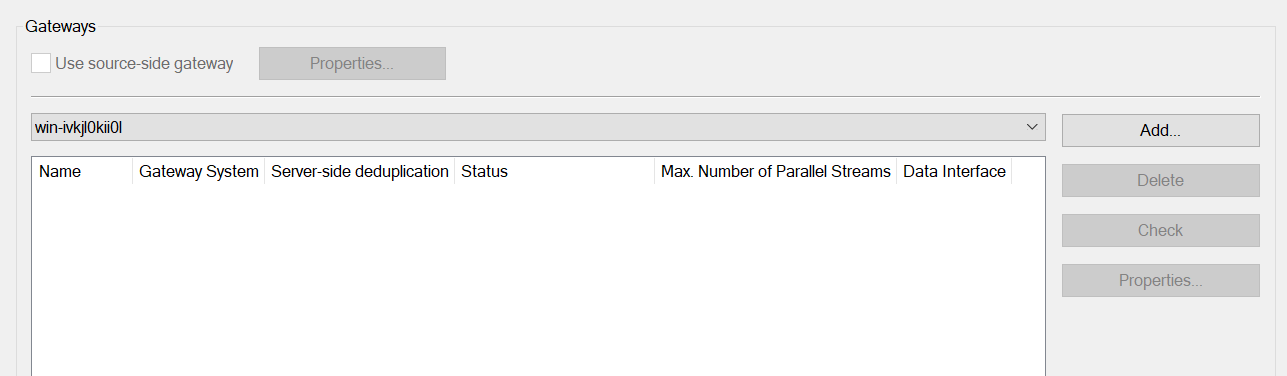
2.7 Click Add under the Gateways section on the right hand side.
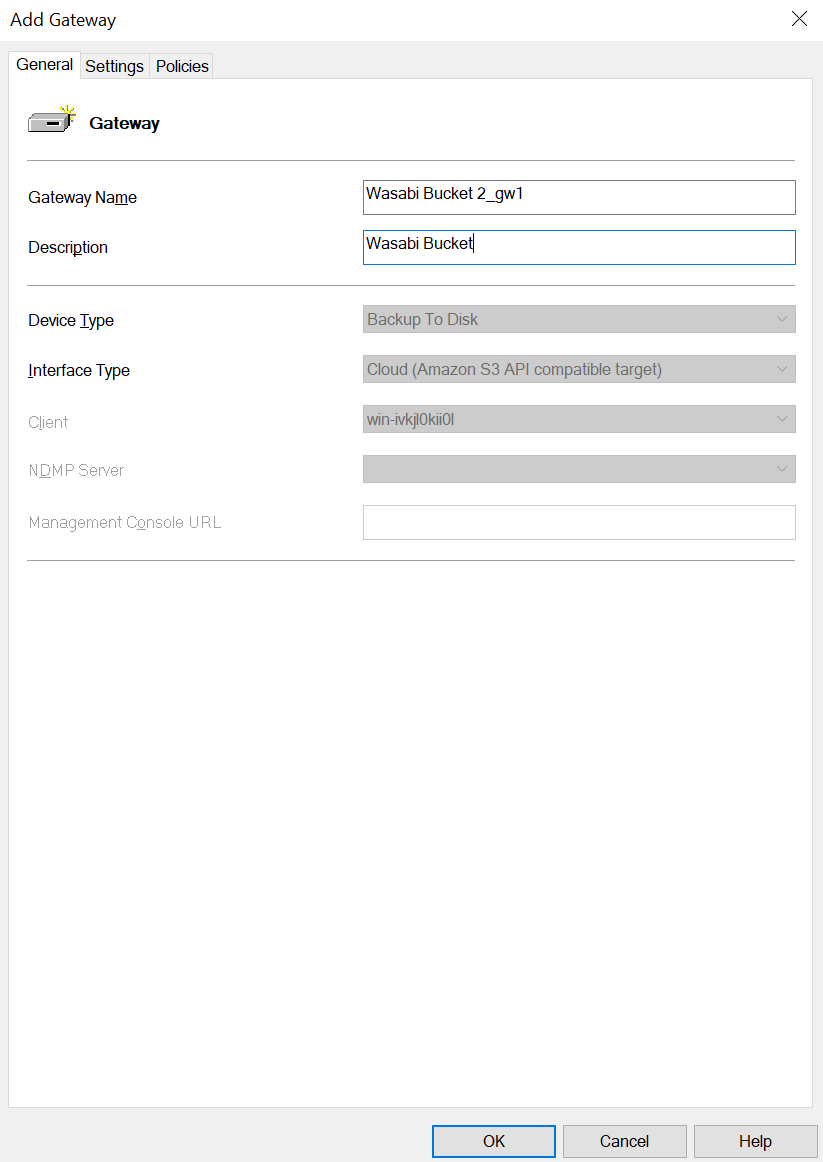
2.8 For this section, you will need to enter the following information.
Gateway Name
Description
Click OK.
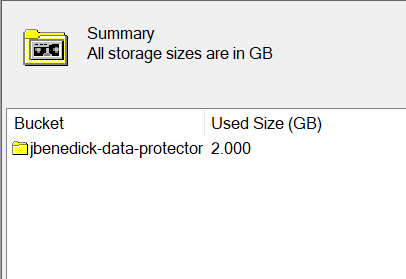
Click Next then click Finish at the bottom of the screen. You will now see a summary of the bucket you created.
3. Backup Configuration
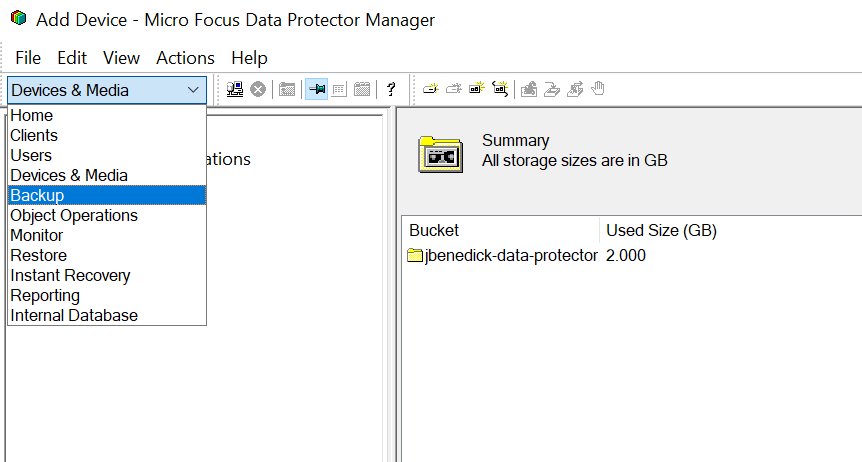
3.1 Click the Dropdown and select Backup.
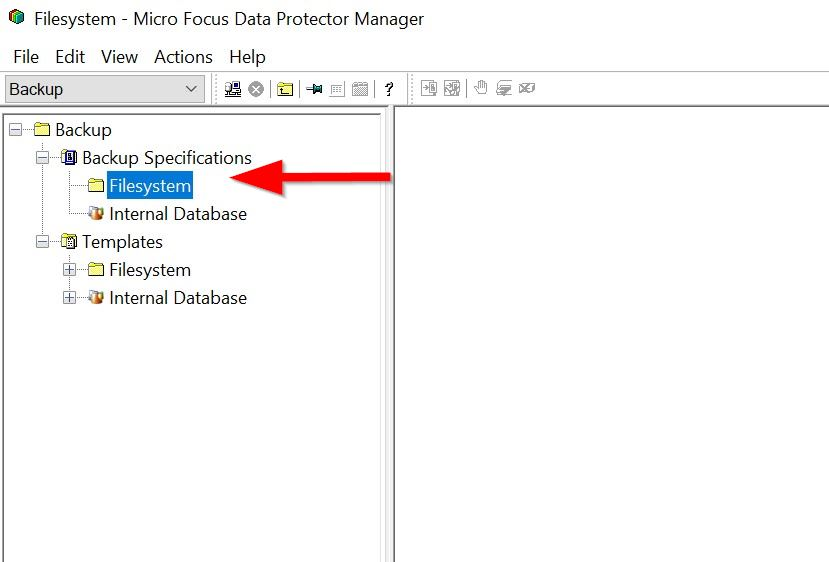
3.2 Right-click the Filesystem and click Add Backup.
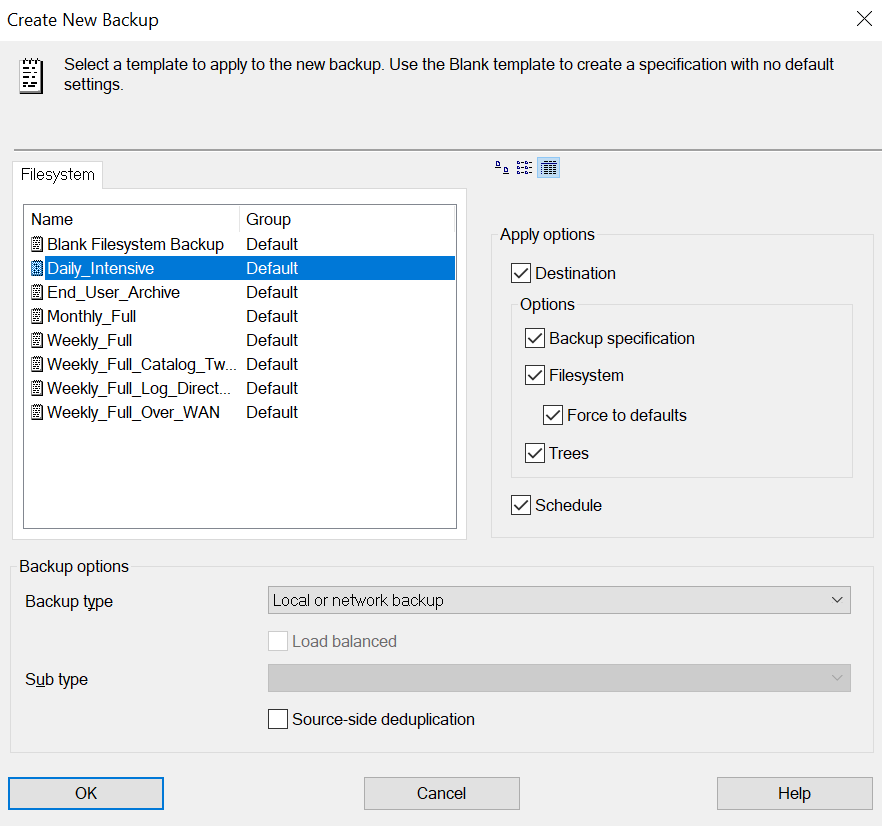
3.3 Specify which type of backup template you prefer to use. Click OK.
3.4 Select which system you want to backup and then choose whether you want to perform a Filesystem, Network Share or Block based backup. Click Next at the bottom once you have selected the files or folders you wish to backup.

3.5 Select the Backup Device that you want to use for storage. Click Next at the bottom of the screen.

3.6 Click Next again, and it will bring you to the backup scheduler page. From here, you can customize your backup schedule. Click Add .
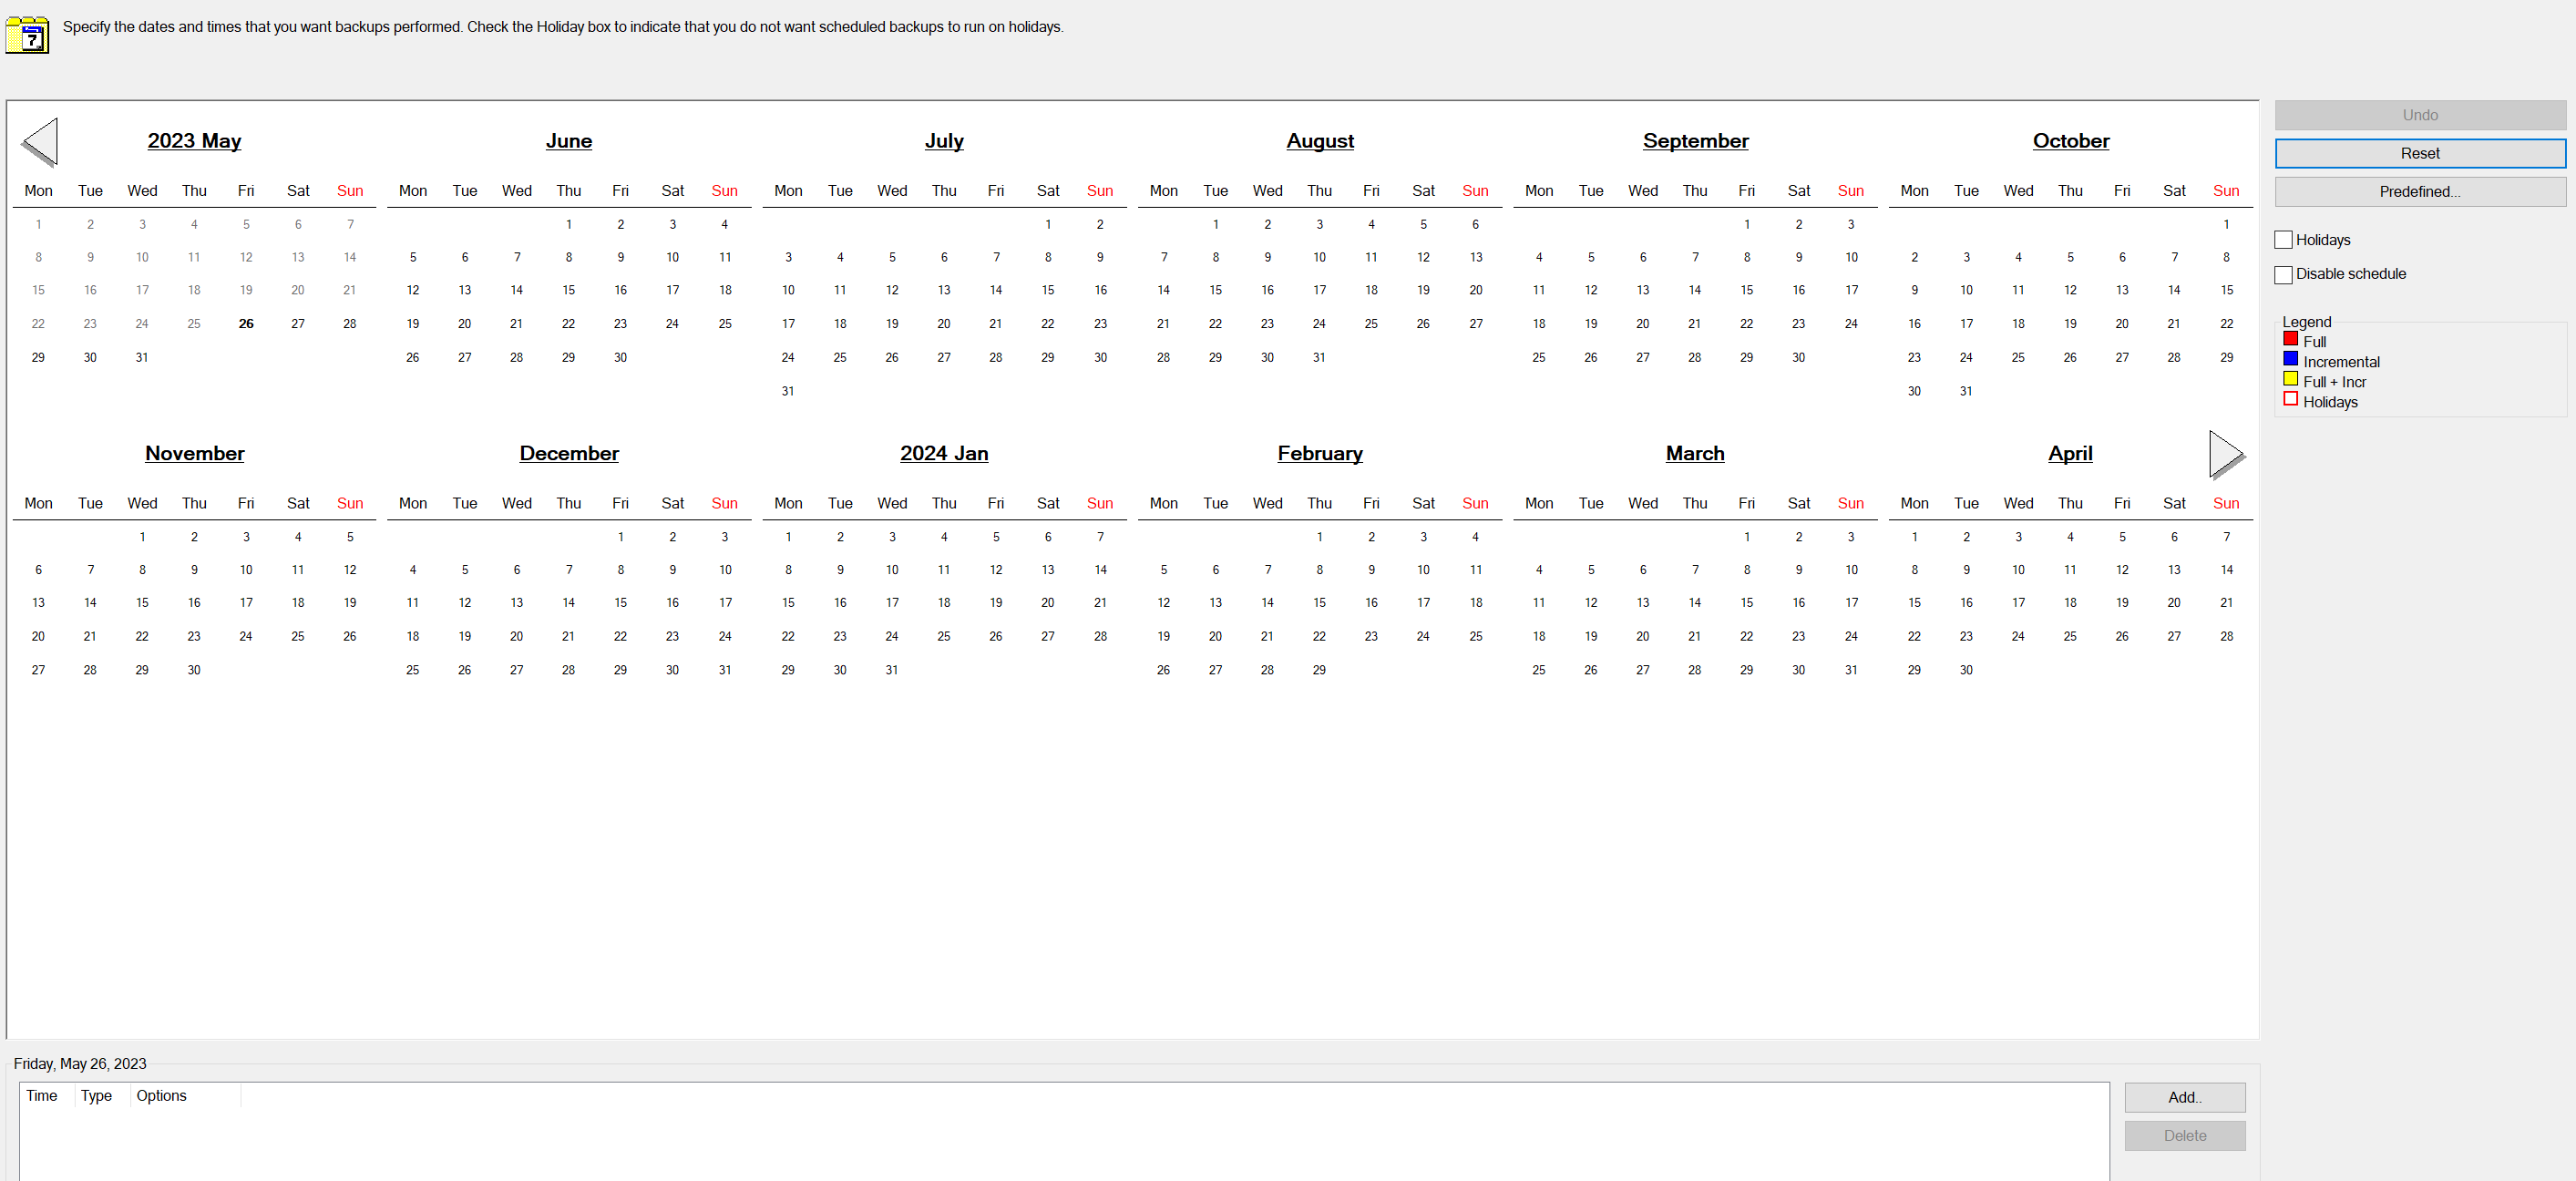
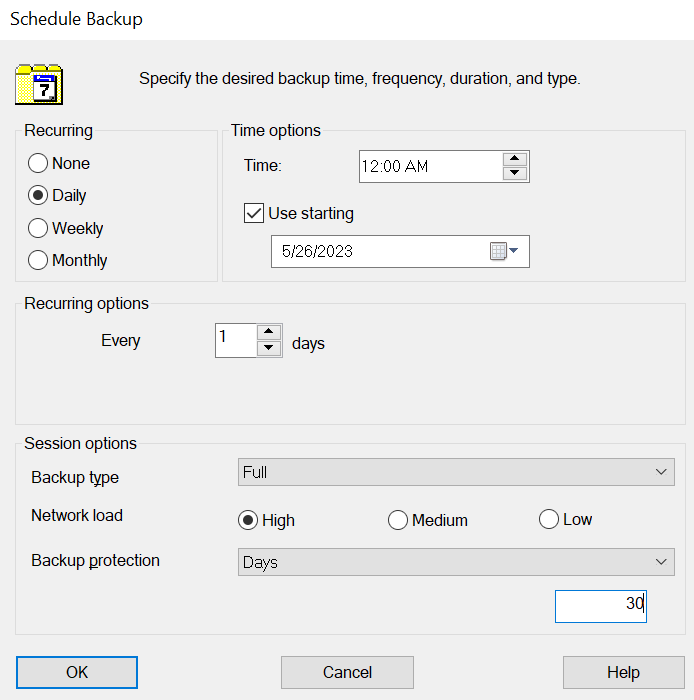
3.7 Here you can specify your backup settings. Once complete click OK.
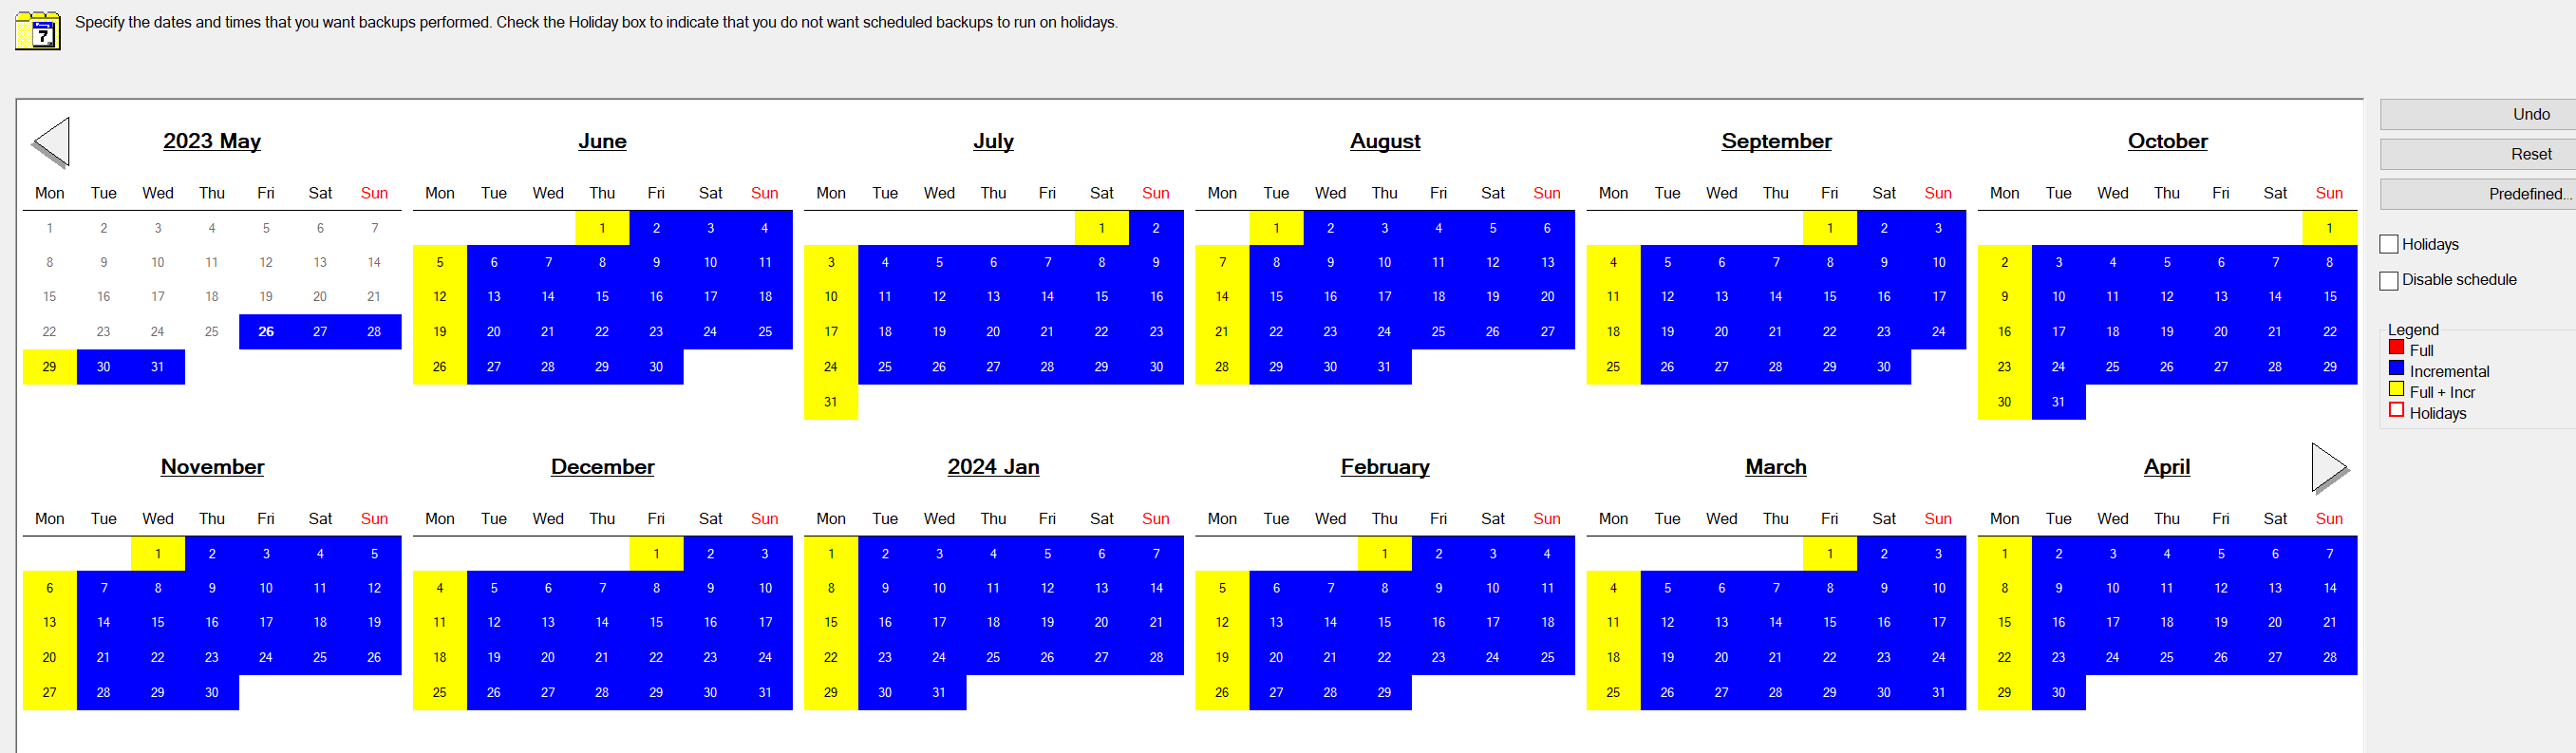
You will now see the calendar populate with the days and backup types you selected. Click Next at the bottom of the page.
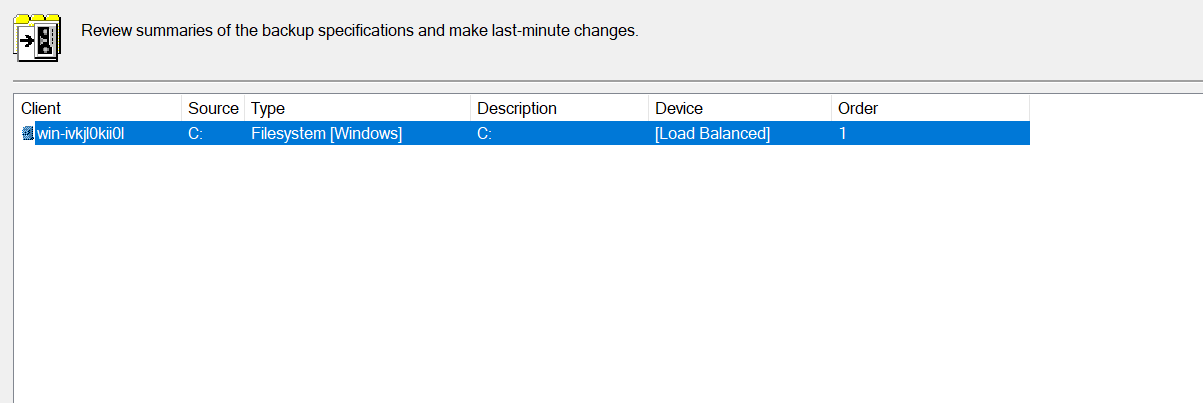
3.8 You will now be prompted to review the summary. Click Next.
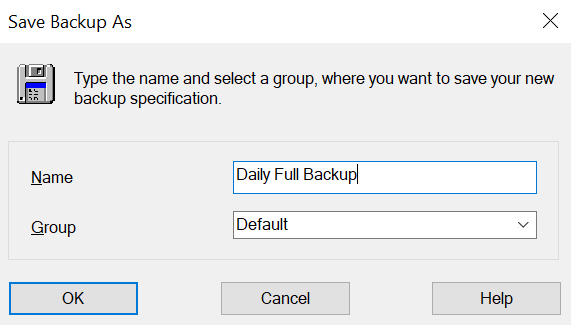
3.9 Finally, you will be prompted to either Save, Schedule, Start, or Preview the backup job you created.
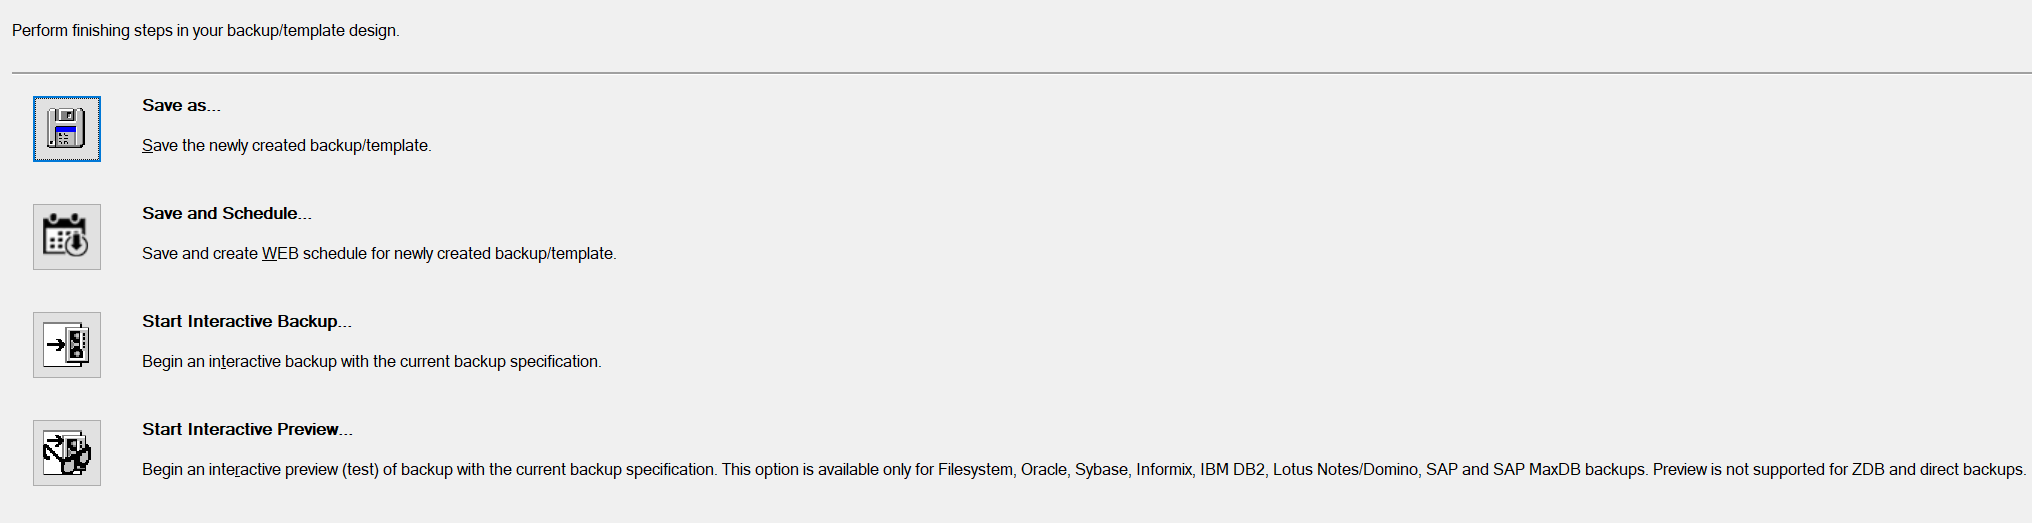
Choosing Save As will allow you to name the backup and assign it to a particular group.
3.10 In order to perform Start Interactive Backup, you will be prompted to choose your backup type and Network load.
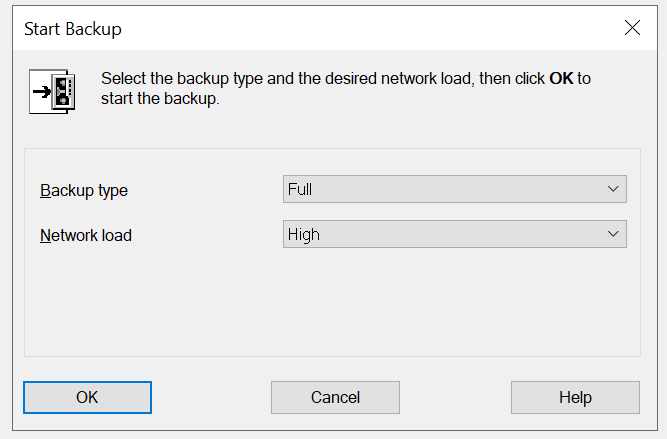
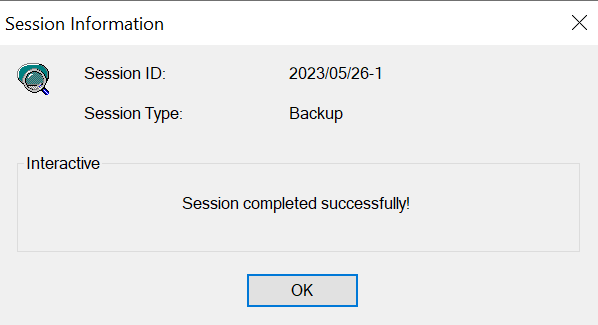
After starting the interactive backup you will be able to watch and monitor the status of the running job.

Once complete, you will receive a confirmation message.
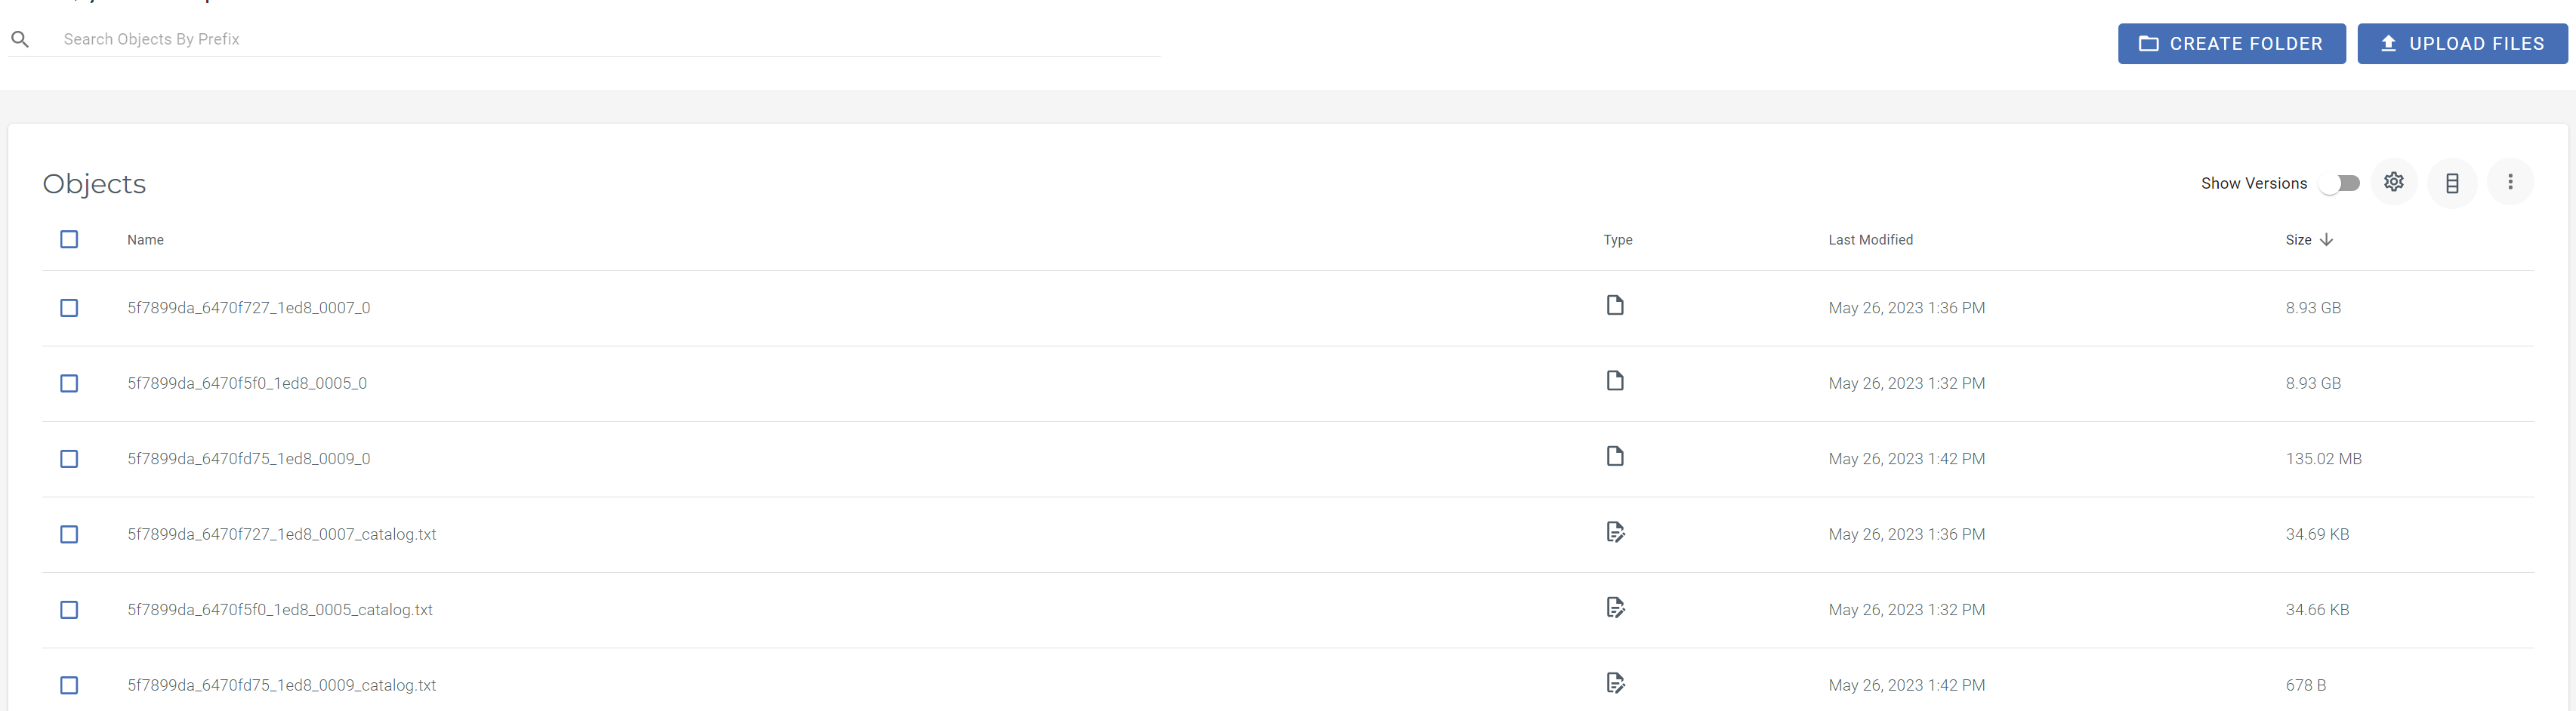
3.11 You can verify that your backup was completed by logging into your Wasabi Console and checking your bucket as well and seeing the data files written to the bucket.
4. Restoral Process
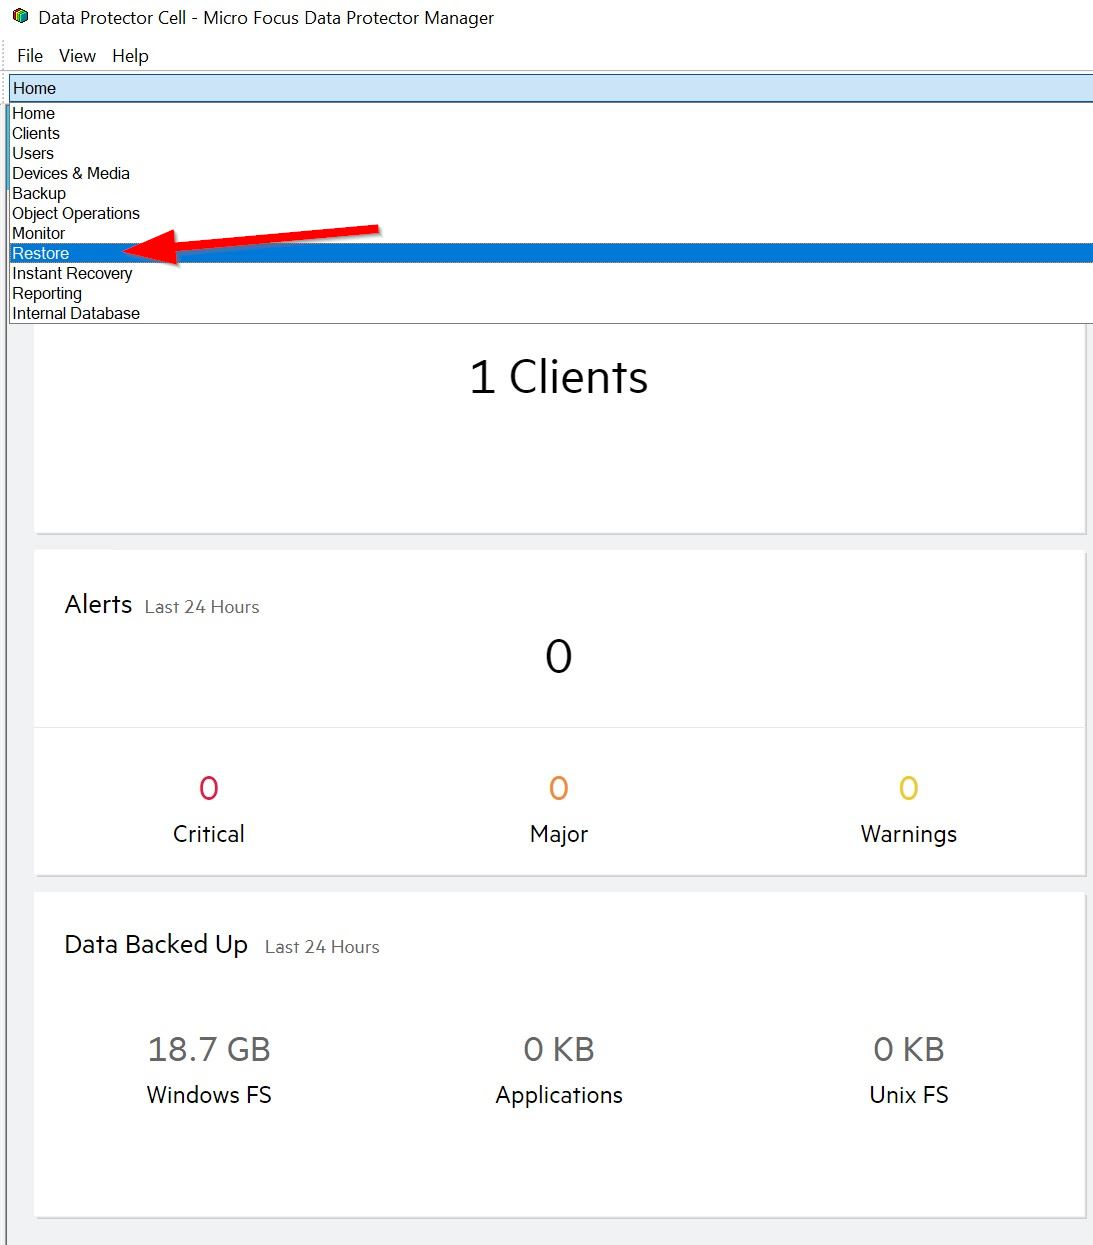
4.1 To begin a restore, click the dropdown and select Restore.
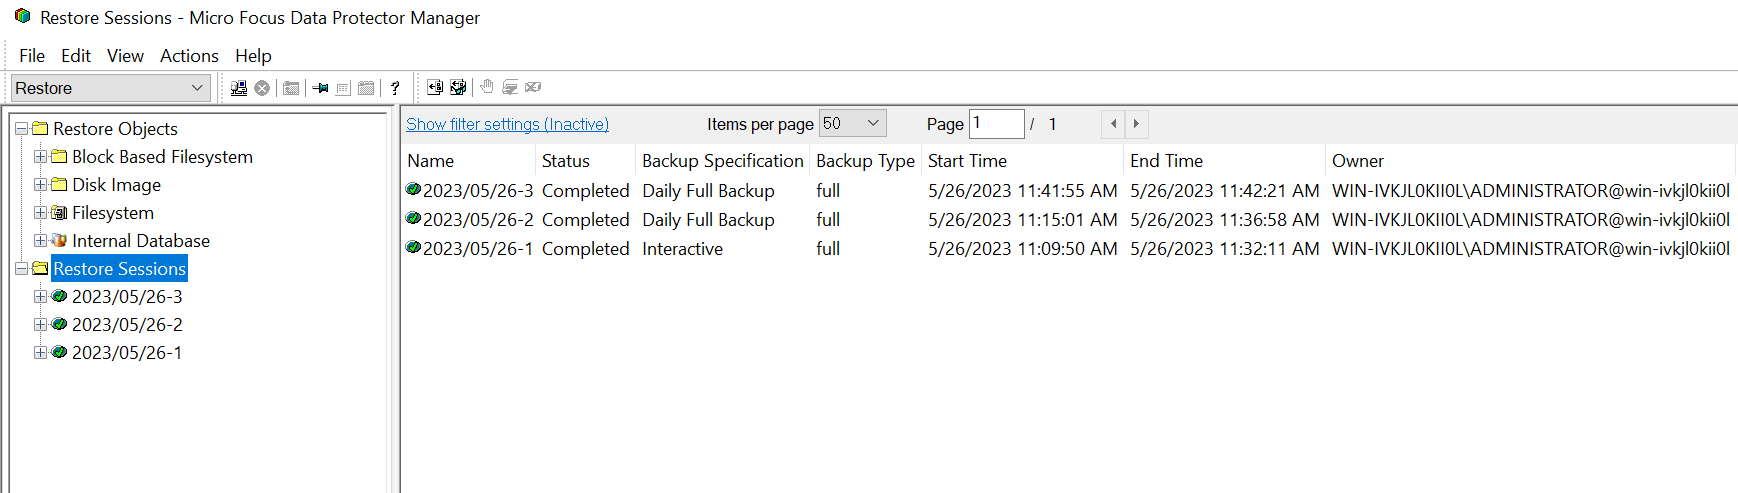
4.2 Click Restore Sessions to show all of the backups to select from.
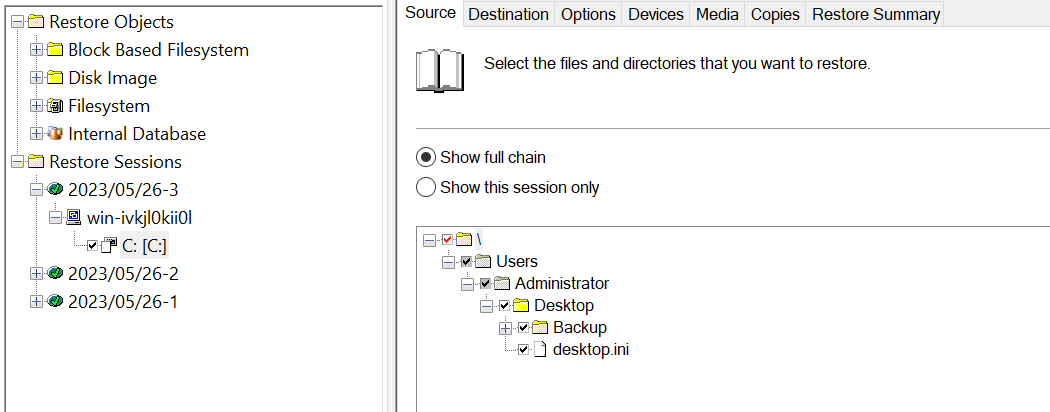
4.3 Choose which folders or files you wish to restore and then click Restore in the bottom right.
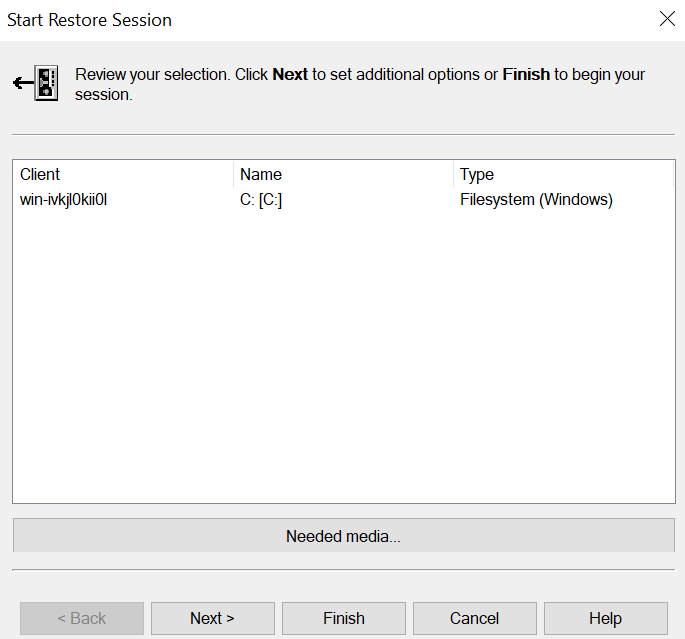
4.4 Next, a Restore Session review summary will show up, and you can click Finish to begin the process.
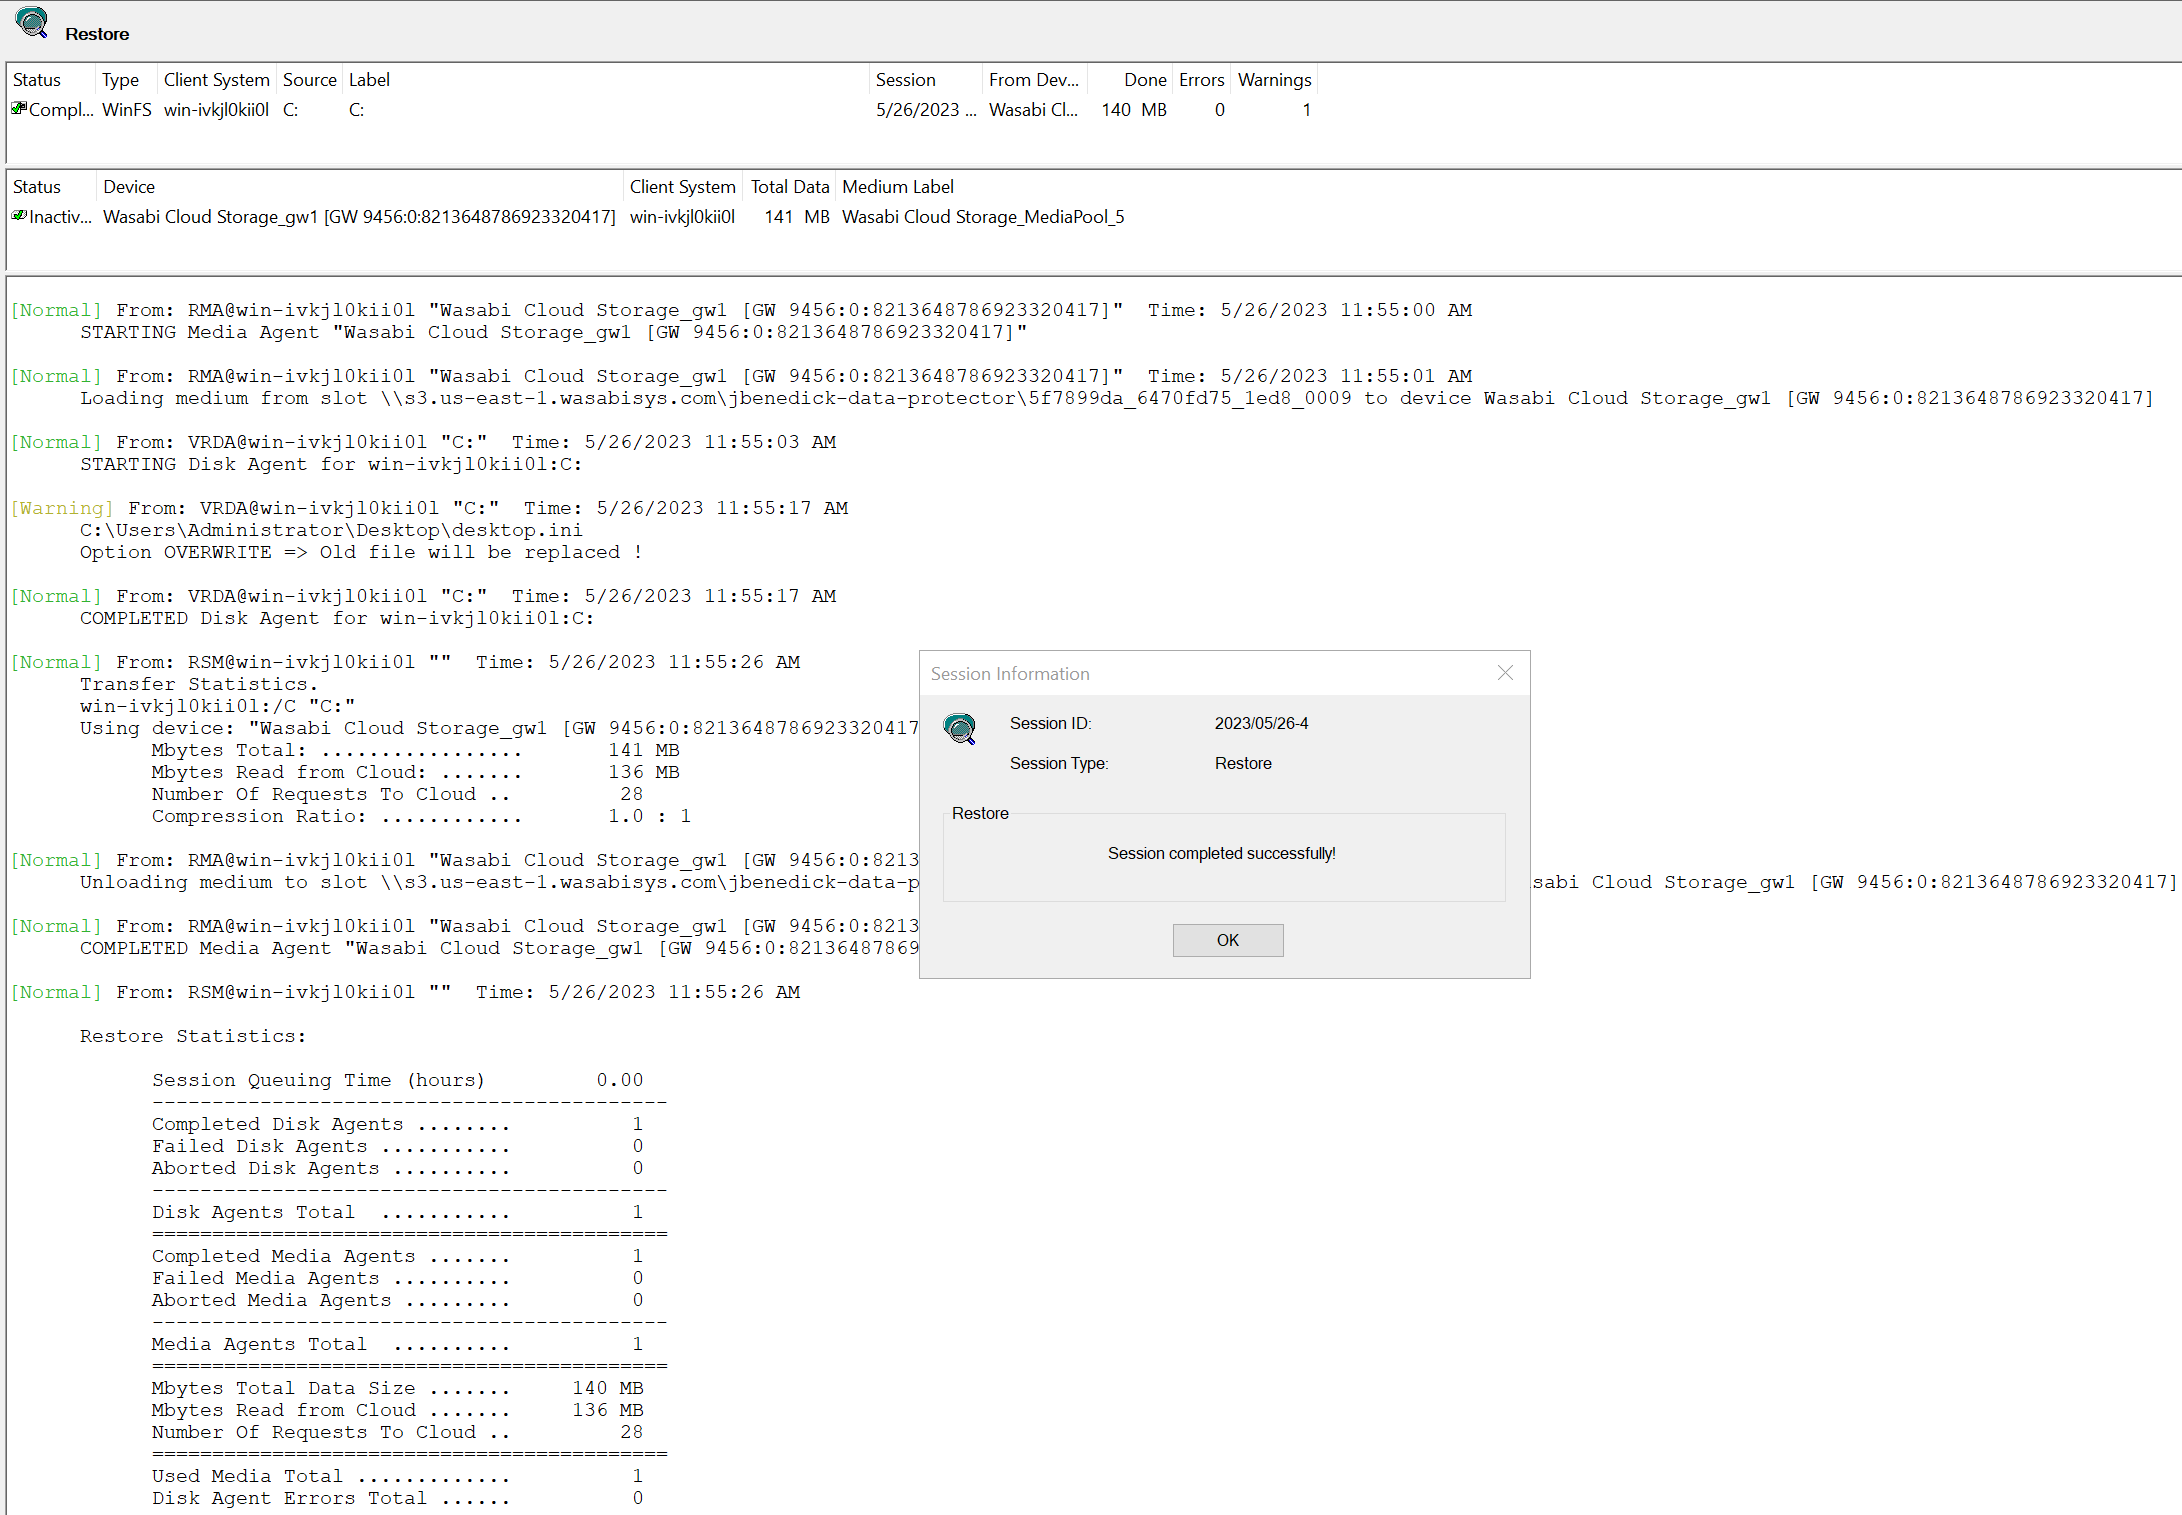
4.5 Here you will see the restore job run and be able to monitor the progress. Upon successful completion, you will be notified.
Check your file system where the folders and or files were restored, and you should now see them listed again.