MSP360 Standalone Backup (formerly Cloudberry Backup) is certified for use with Wasabi. To use this product with Wasabi, please follow the instructions below.
Please Note: The data restoration process is handled by your specific backup software application. As there are many potential variables that will affect your unique environment, it is strongly recommended that you seek the guidance of your backup software's technical support team in the event that you encounter difficulty, or have application-specific inquiries.
Prerequisites
Active Wasabi Cloud Storage account
Active MSP360 backup account
MSP360 Backup (formerly Cloudberry) software installed and set up on the device to be backed-up
Configuring Wasabi as a Storage Account
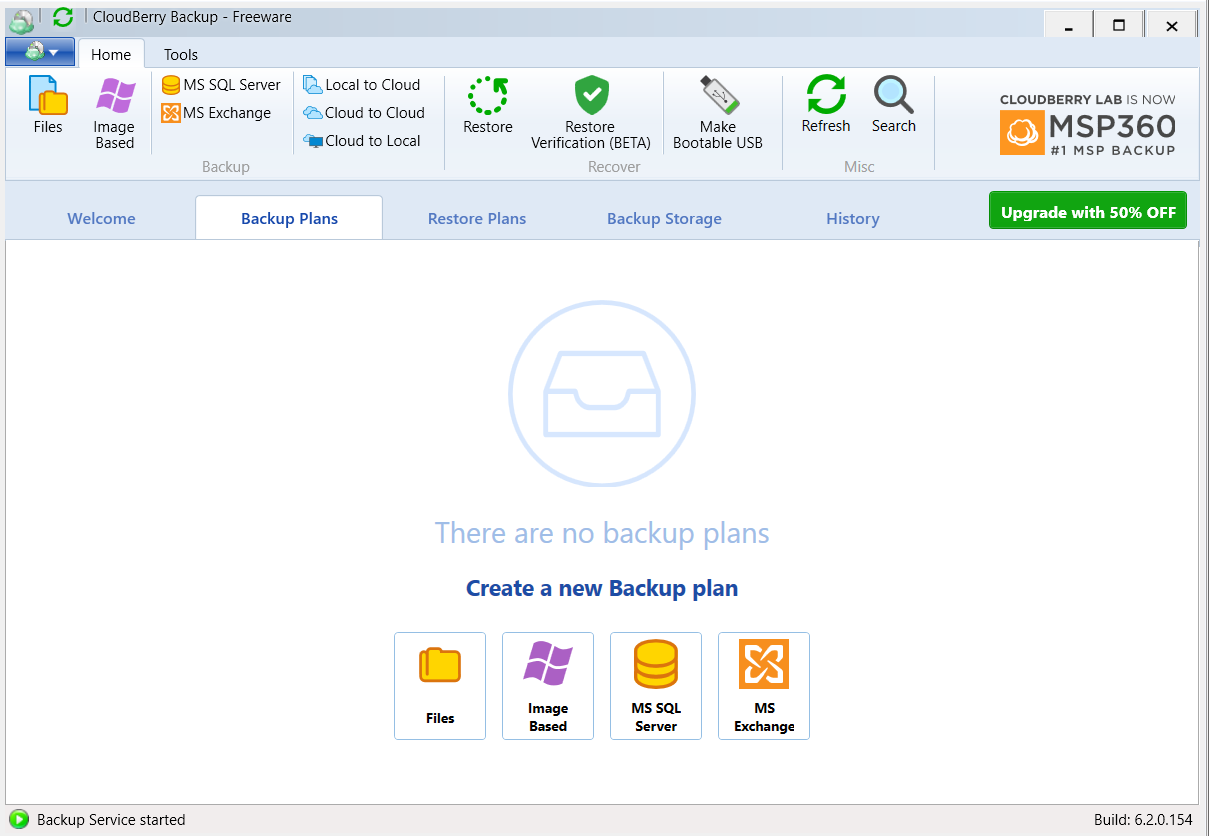
1. Launch MSP360 Backup.
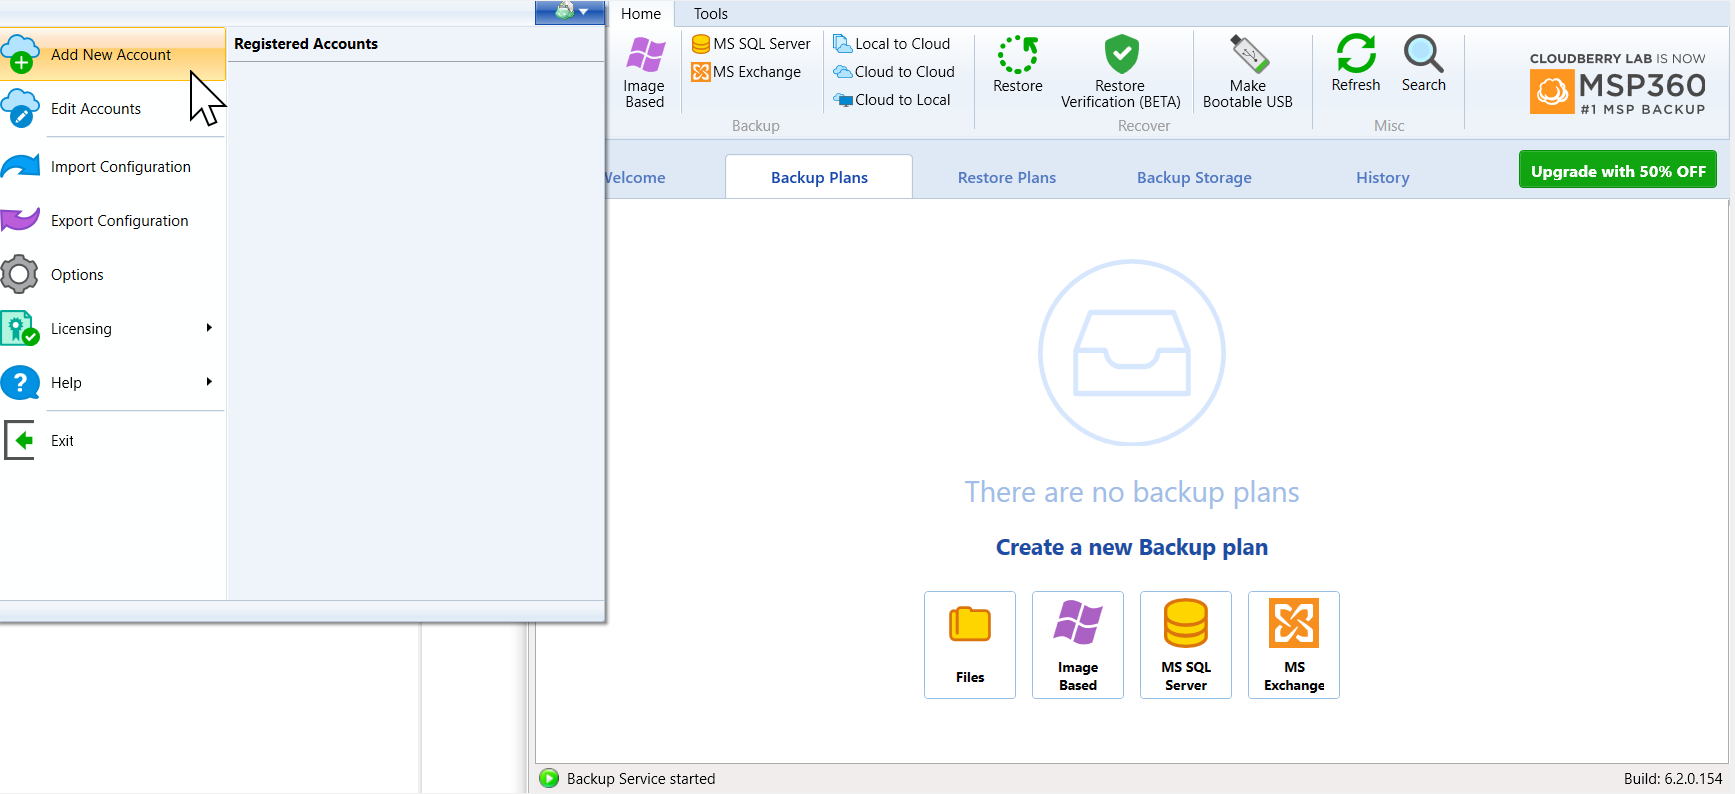
2. Click on the top left icon to launch additional options and then click Add New Account as shown below.
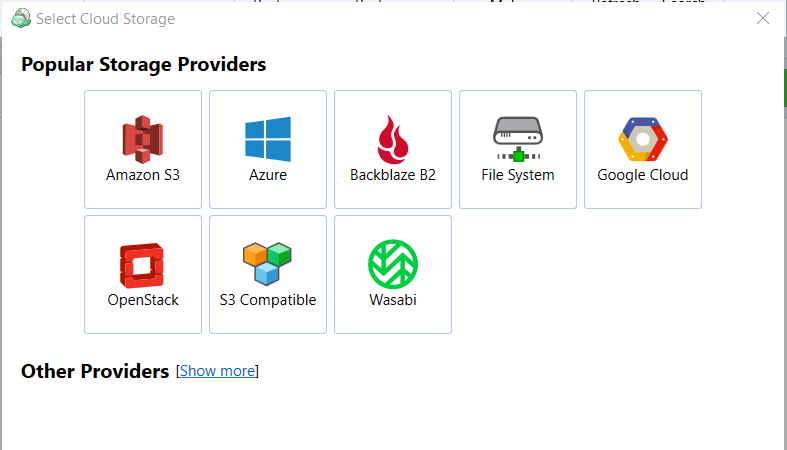
3. Now, select Wasabi from the different providers.
4. Enter your S3 credentials (access key and secret key). To create a set of Wasabi Access Keys & Secret Keys follow our Access Keys Guide. At that point MSP360 (formerly Cloudberry) will connect to your Wasabi account and list the available buckets. Select the appropriate bucket from the drop down box and then hit OK to confirm.

(Note - US-East-2 buckets will show up but the backup fails. We are working with MSP360 to resolve this issue. The workaround is to use 'S3 Compatible' option instead of 'Wasabi' above and set the 'service point' to 's3.us-east-2.wasabisys.com'.
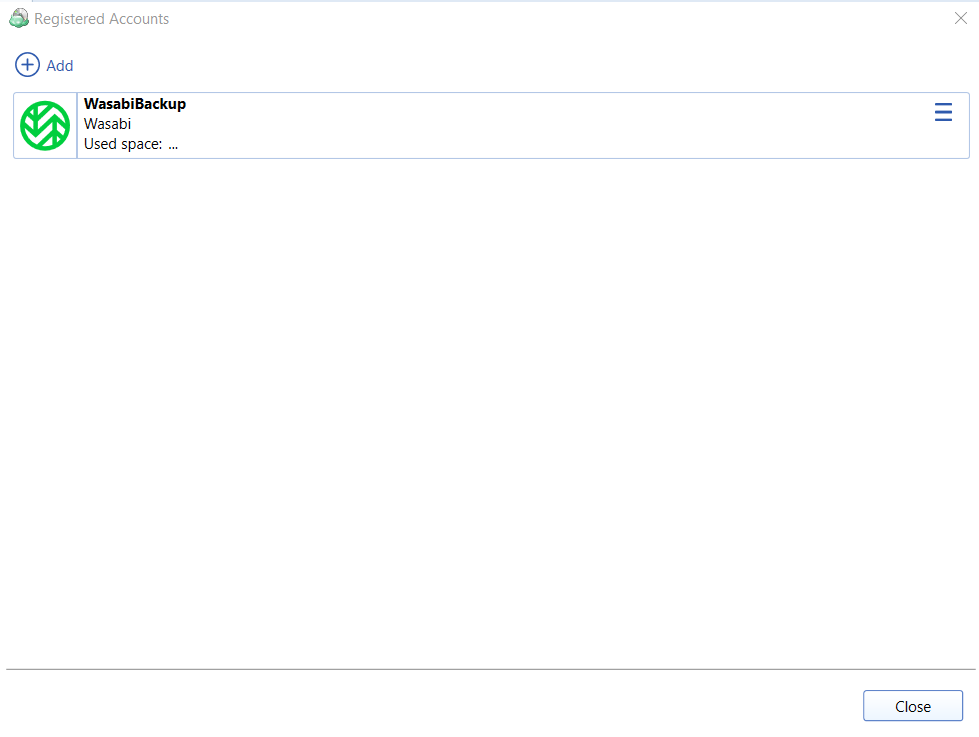
5. MSP360 (formerly Cloudberry) will confirm the account is registered successfully by showing the below screen. At this point, click on Close and let's configure a backup plan that points to Wasabi.
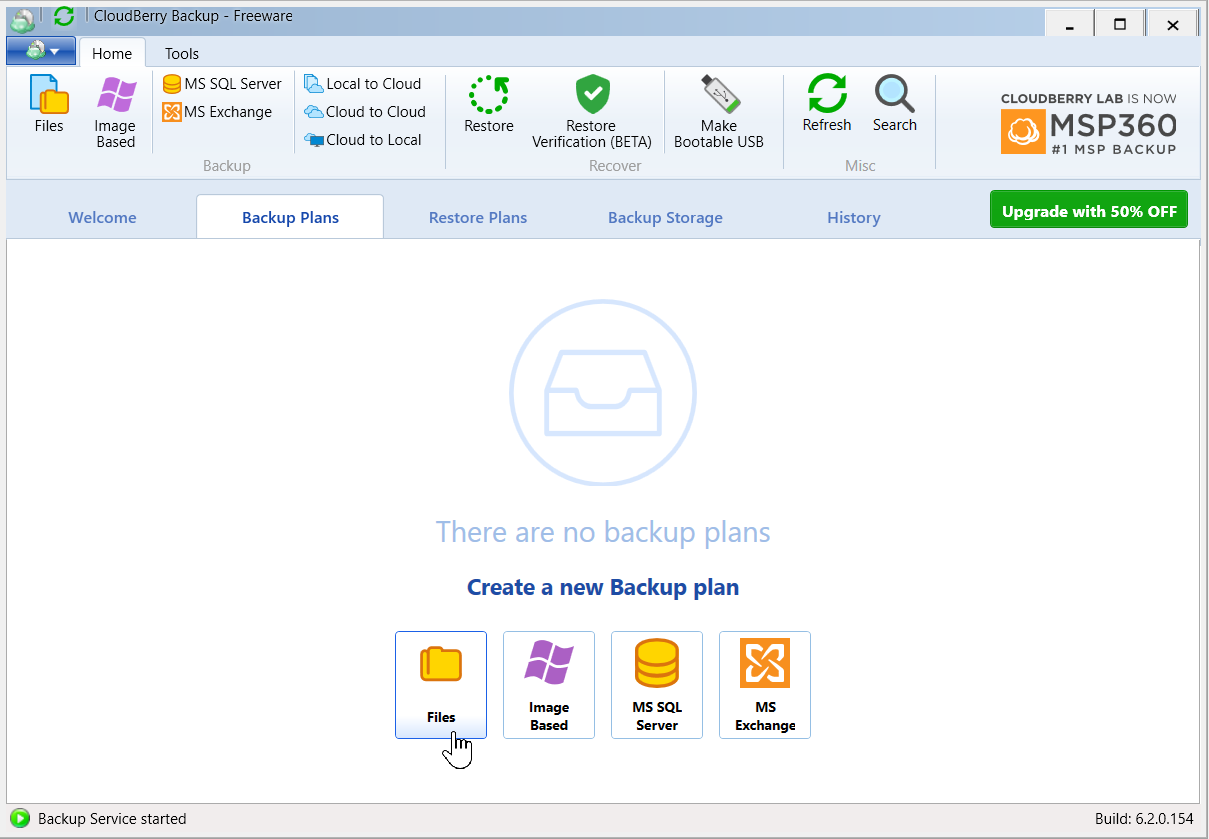
6. From the home screen. click on the appropriate icon to create a new backup plan. In the example below we click Files.
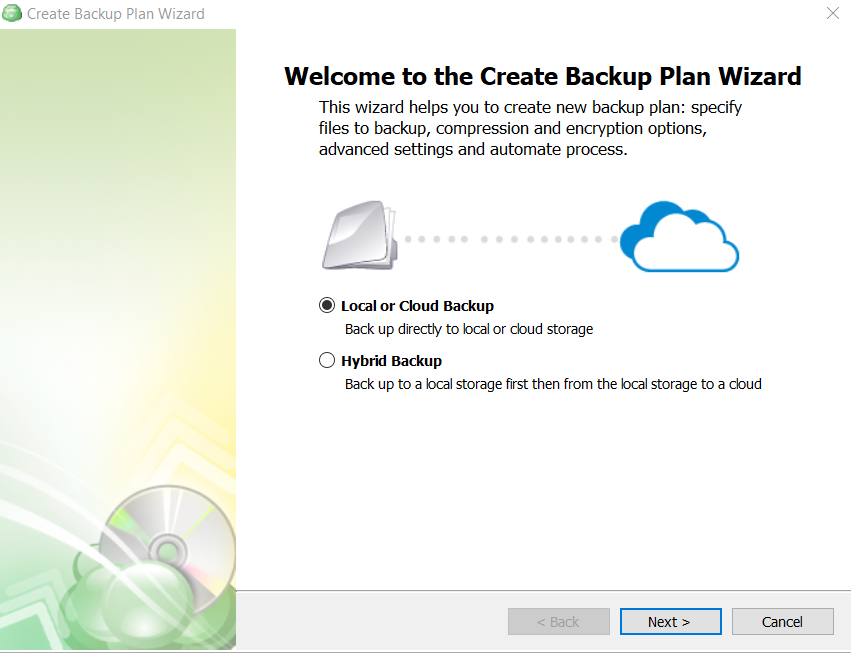
7. This will execute the Create Backup Plan wizard, as shown below. Select Local or Cloud Backup and hit Next.
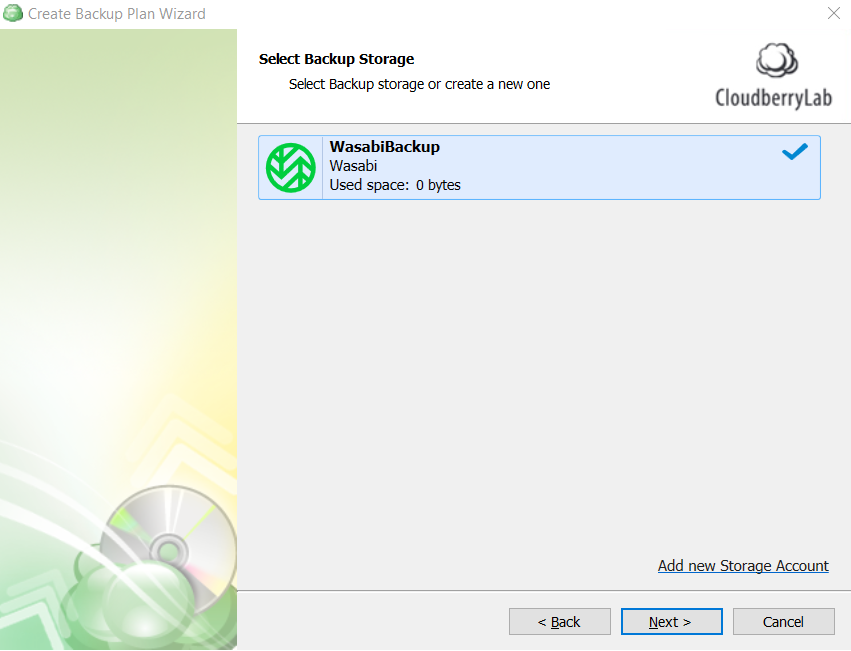
8. Select the Wasabi storage account that was added in the previous step, if not selected already. Hit Next.
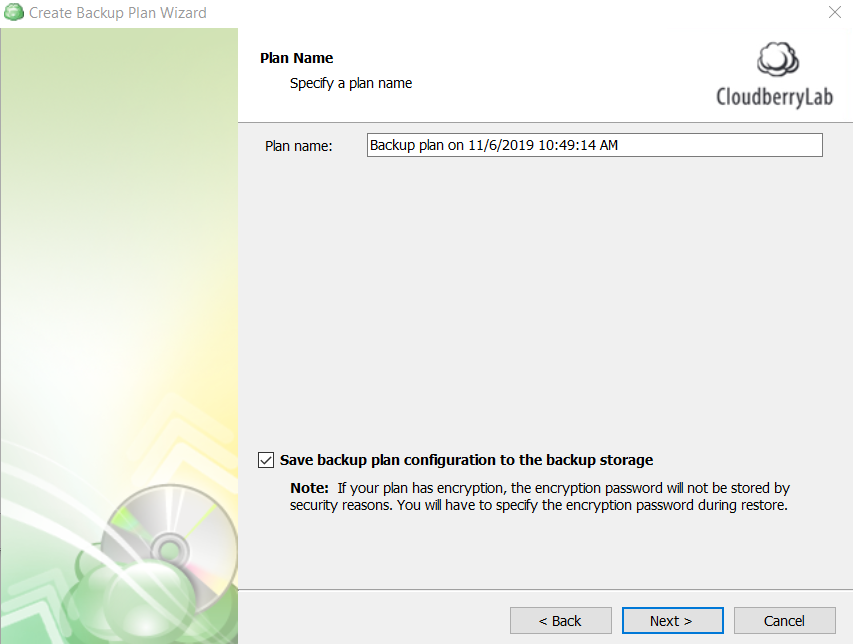
9. Enter a custom Plan Name if required, and hit Next.
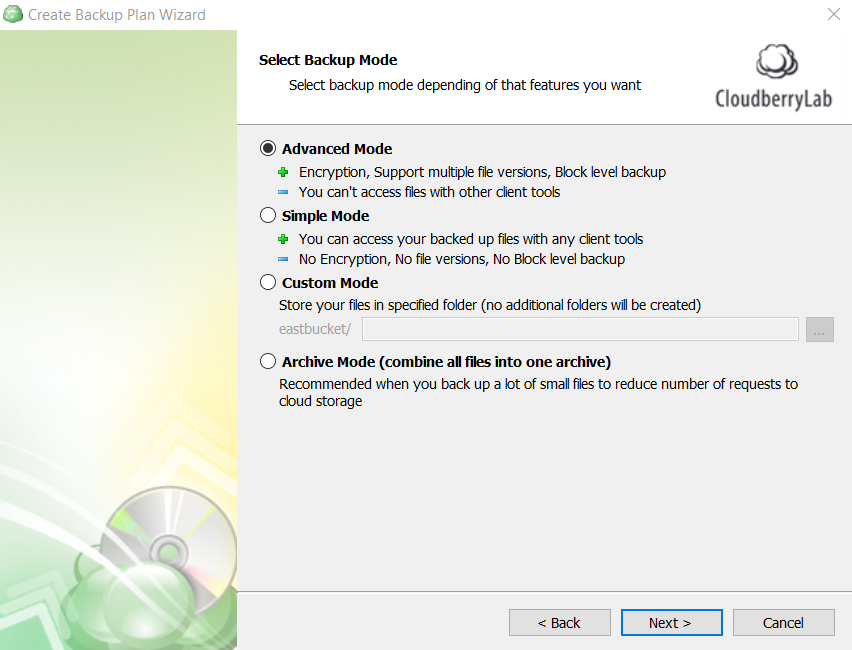
10. Select Backup Mode if required. Default is Advanced. Hit Next.
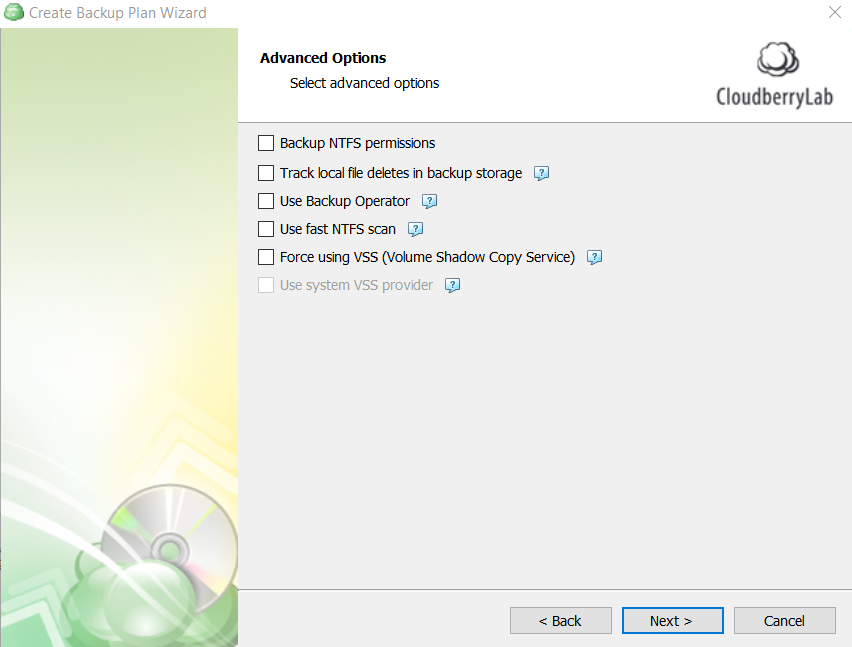
11. Select any applicable Advanced Options if needed.
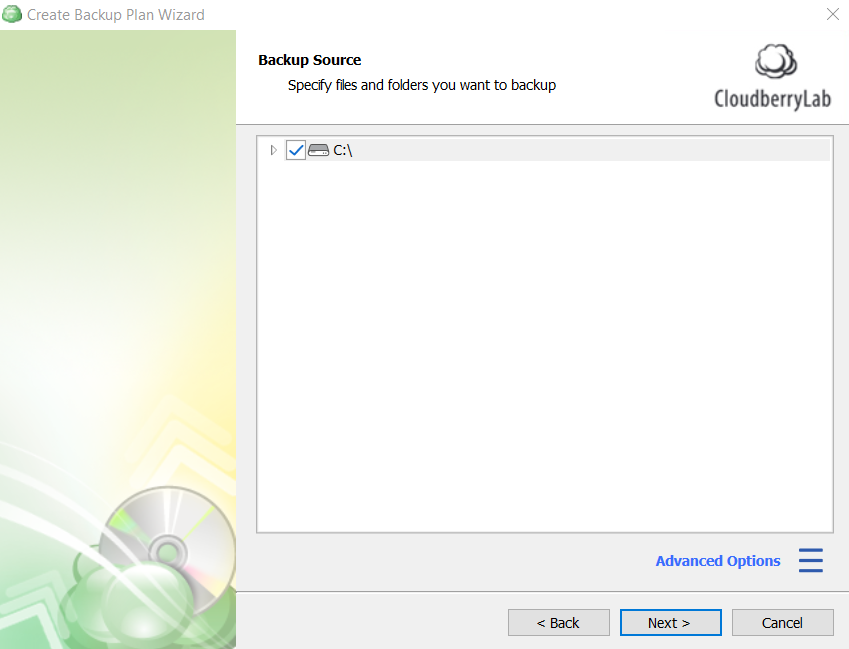
12. Select the folders or drives that need to be backed up, and hit Next.
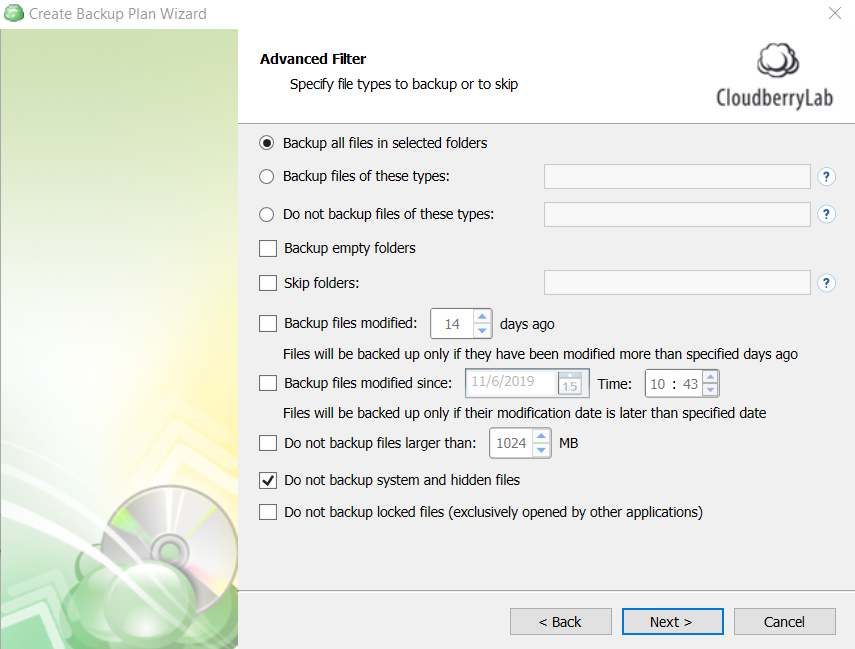
13. Select any Advanced Filter settings as per your requirements.
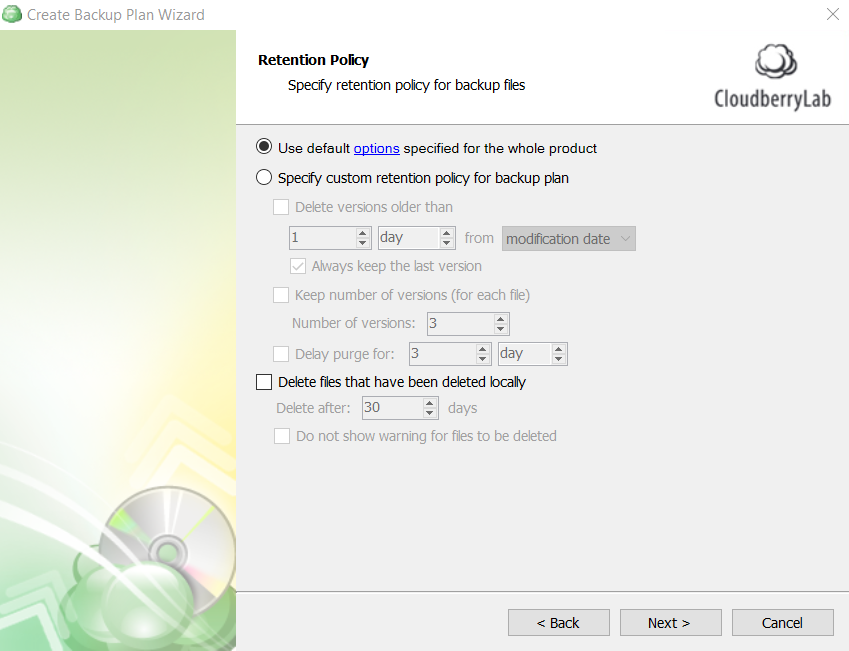
14. Select the appropriate retention policy for this backup plan. Default is 30 days.
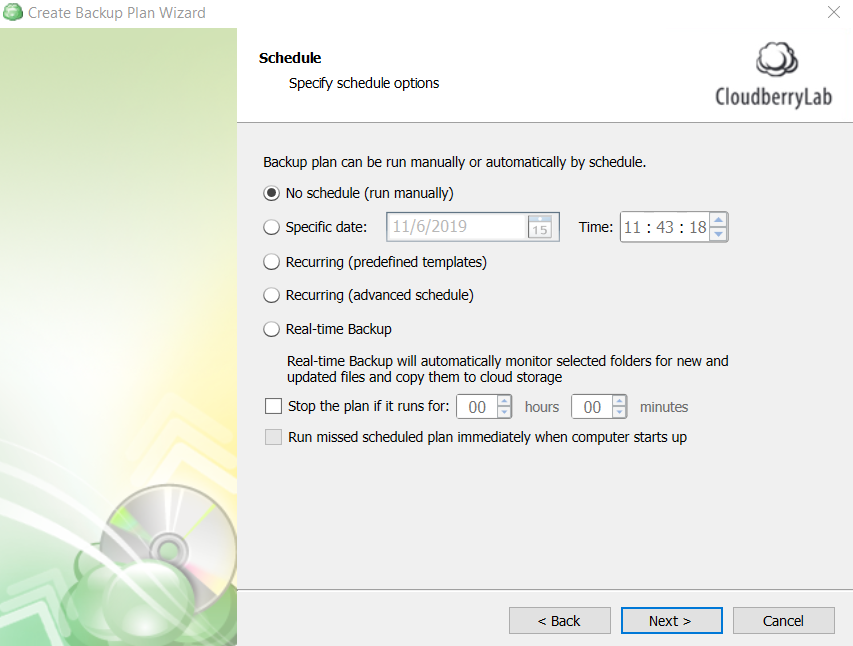
15. Select the appropriate schedule to run the backup plan.
16. Select any appropriate Pre Backup and Post Backup actions, as per your requirement.

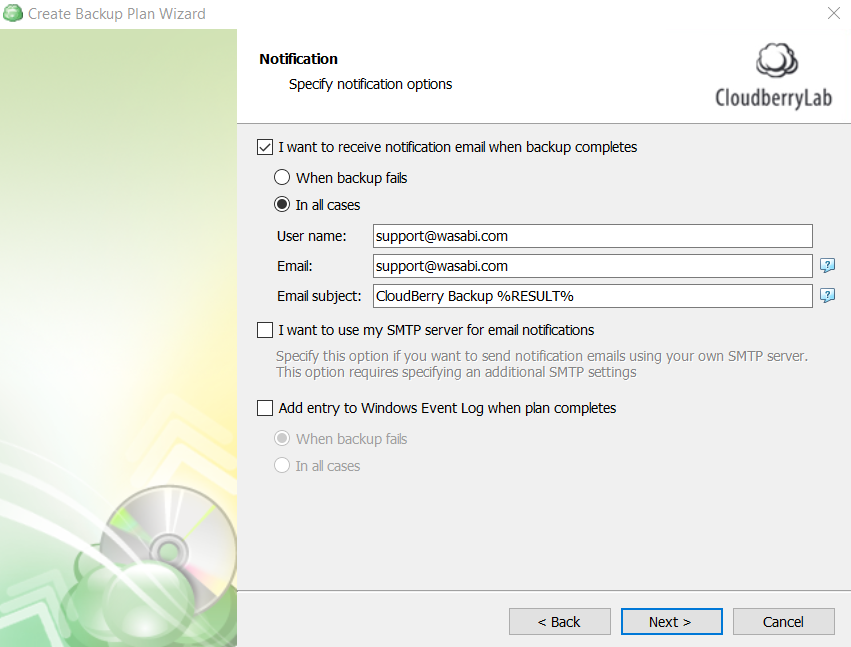
17. Configure Notification options to have notifications sent to your email address.
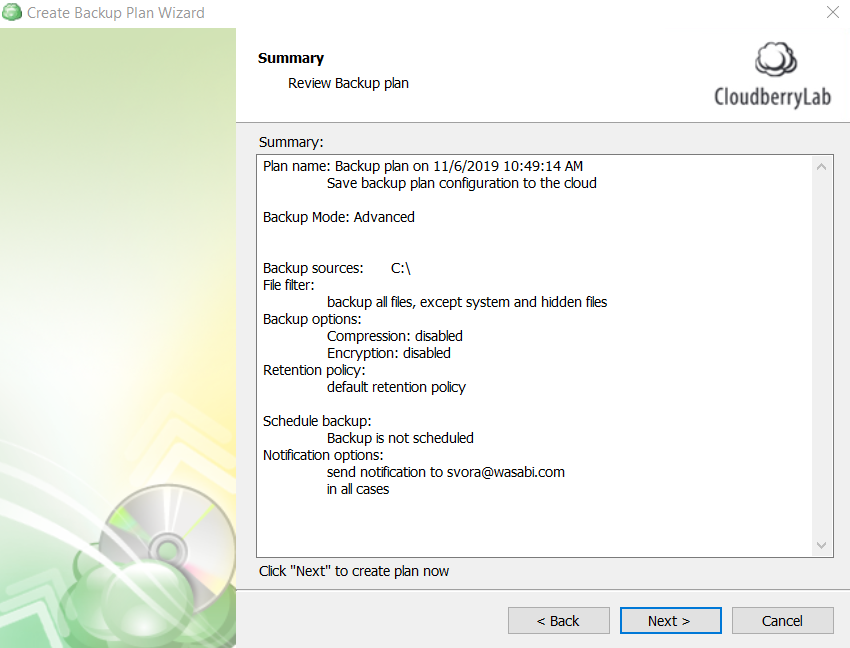
18. MSP360 provides a summary of the backup plan settings. Hit Next to create the backup plan.
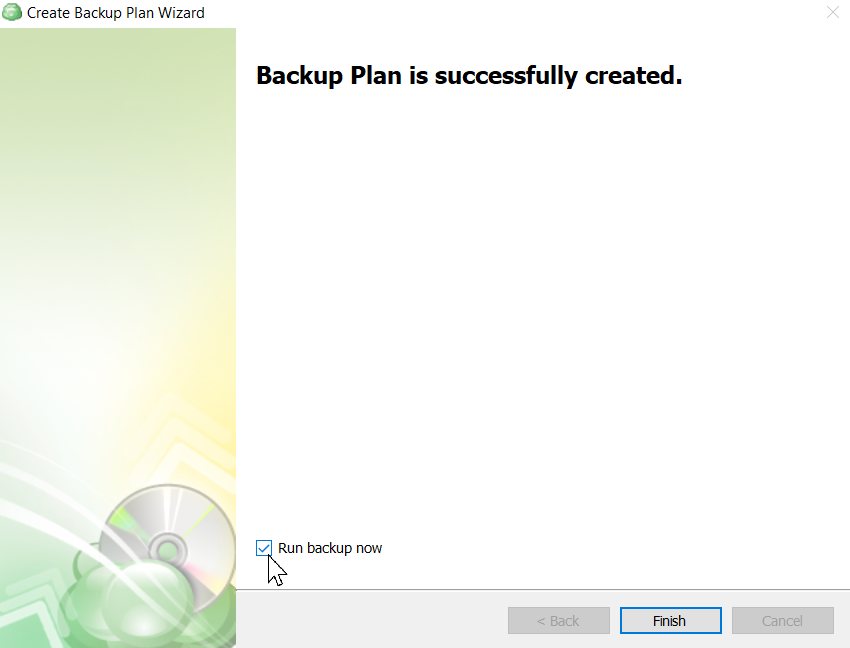
19. Hit Finish to complete the configuration. In our case we will check the Run Backup now box to initiate the backup, as shown below.
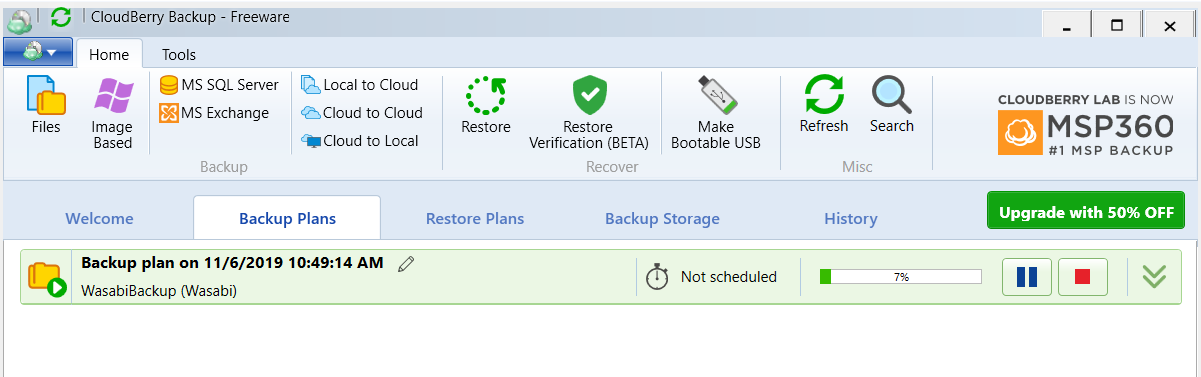
20. The dashboard shows the backup activity running in the background.
21. You can confirm the backup plan is writing to Wasabi by checking your Wasabi bucket through the console or your S3 client.

Enable Immutability
MSP360 Backup now supports configuring immutable backups.
In order to use immutability, the software version should be 7.3.0 or later.
Follow the steps outlined below to make your backups immutable.
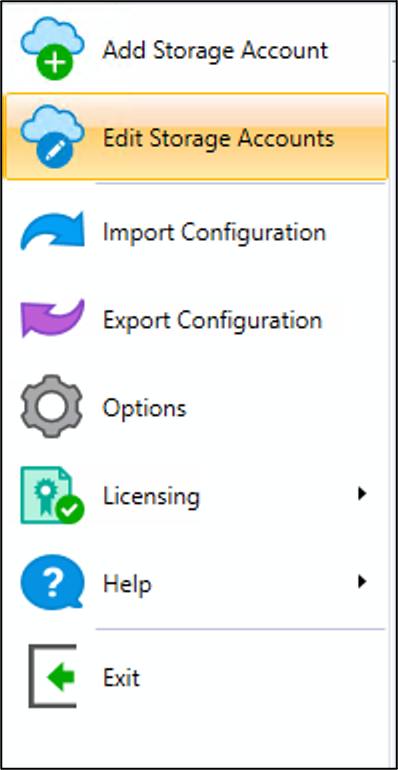
Launch MSP360 backup. Click on the top left icon to launch additional options and then click on 'Edit Storage Accounts' as shown below.
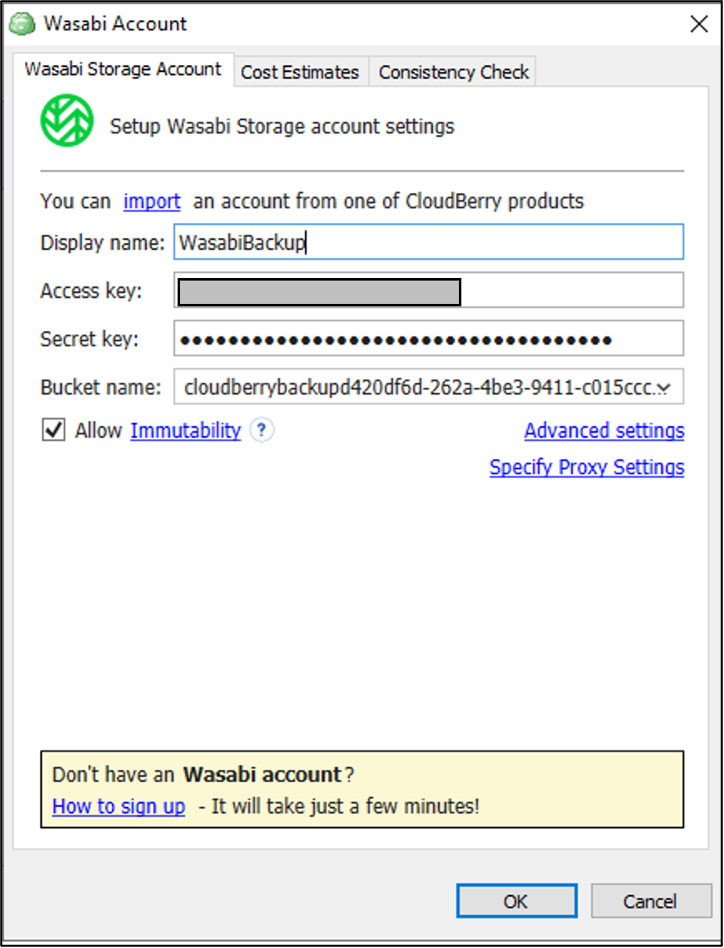
2. Select the Wasabi account and click Edit. Select an existing bucket or create a new bucket. Check the Allow Immutability checkbox, confirm enabling the feature and click OK.
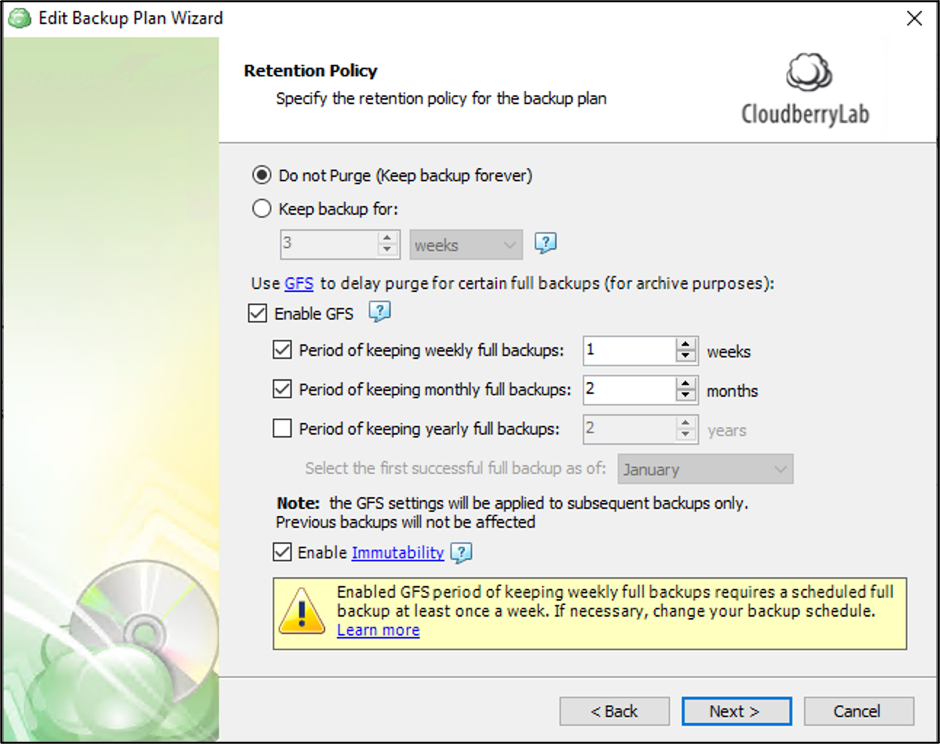
3. Edit the backup plan to apply immutability. Navigate to the Retention policy tab, set the required GFS settings. Check the Enable Immutability checkbox, confirm enabling the feature, follow the steps in backup plan wizard and click Finish.
Replication of Backups
Wasabi’s Object replication feature enables you to replicate or copy your data between Wasabi regions to protect against ransomware attacks, malicious data manipulation, natural disasters, or even accidental deletion. Object replication enables you to replicate/copy objects from an active storage bucket (source) to one or more different buckets (destination).
Once you have successfully completed a backup to your primary storage account/bucket you will need to create a secondary storage account within the MSP360 backup software.
Click on the upper left hand corner MSP360 icon next to home and the action menu will appear.

Click Add Storage Account, then select Wasabi.

Input the following information:
Display name - Unique to the secondary storage
Access Key - Wasabi Access Key
Secret Key - Wasabi Secret Key
Bucket name - Select the bucket you created
Click OK.

Once you see your new storage account added in the list click Close.

Next you will set up an Object Replication job on your primary bucket within the Wasabi Console.
Log into your Wasabi Console account.

Go to your bucket and click Settings Gear icon on the right hand side.

Click Object Replication.
Click Create Replication Job.

Fill out the job with the following information:
Name - Give the job a unique name
Destination bucket - select your secondary bucket that you added into MSP360
Replicate only new object - Select this option if you do not want existing data replicated or if it is a brand new bucket
Sync deleted objects - Select this option if you want to keep the deletions synchronized with the primary bucket
Click Create.

You will now see your replication job listed.

Go back to your MSP360 backup software and run a new backup plan job to your Primary storage bucket.

Once complete you will see that the replication job has sent the data to your secondary bucket.
.png "Screenshot 2024-06-04 052920(1).png")
In MSP360 click Backup Storage.

Right click on the secondary storage account and click Consistency Check.
Click Run Consistency Check.

When you expand the storages you should now see the replicated backup data in your secondary storage.

You will need to perform a Metadata retrieval process to see the replicated files. Click on the backup and then in the window click Run Now.

Once complete you will now see the folders and files listed in the window pane to be able to restore from.
