Wasabi has partnered with Nutanix, and industry-leading VMS vendor Milestone to offer an integrated video surveillance storage solution. The solution provides scalability, redundancy, high availability with better throughput, and fault-tolerant Nutanix file storage for video surveillance data to archive and tier to Wasabi cloud storage at a lower cost.
Nutanix file storage integration with Milestone VMS for archive tier leverages the features and benefits of Nutanix files cluster along with ease of video surveillance data management of the VMS solution. Through Nutanix Files supported data tiering to Wasabi’s cloud object storage, joint customers will be able to scale unstructured video surveillance datasets on demand, deploy automated rules and triggers for efficient data management, and gain high-impact analytics and competitive visibility across their data for long term retention at a much lower cost.
Reference Architecture
.png)
Recommendations
Nutanix Files – Archive Tier
Nutanix file storage integration with Milestone VMS for archive tier leverages the features and benefits of Nutanix files cluster along with ease of video surveillance data management of the VMS solution. It is important to consider the below recommendation to archive data from recording server tier-one storage to Nutanix files storage.
Use Nutanix Files for the archive tier.
Use Nutanix Files standard shares (one per recording server target) as the archive tier.
Configure FSVMs with a minimum of 8 vCPU and 24 GB of memory.
Set the share workload type to Sequential.
Provide sufficient access to the Domain service account configured on the recording server to access the fileshare holding the archive data.
Milestone Recording Server
While deploying a Milestone recording server, it is important to consider the below recommendation to achieve optimal performance which helps the recording servers to record the live feed seamlessly into tier-one storage.
Use virtual disks presented directly to your recording server VMs for the live or recording storage tier.
Use at least 4 or 5 virtual disks for the recording storage. Configure these virtual disks as single striped volumes.
Consider staggering the archive schedule of multiple recording servers to occur at different times. Staggered schedules help reduce the storage workload compared to archiving all recording servers at the same time.
Configure and use a domain-based service account for milestone recording service to connect to Nutanix Files archive share.
Wasabi Cloud Object Storage
It is important to consider the below recommendation while tiering data from Nutanix files storage to Wasabi cloud object storage.
Do not use the same bucket for storing non-Nutanix Files data.
Do not manually delete or overwrite any object in the bucket, as this results in data loss.
Select the Wasabi region closest to the Nutanix Files deployment while creating a bucket.
Data Tiering from Nutanix Files to Wasabi Cloud Object Storage
Milestone recording server stores the live feed to tier one storage and it archives the data to the Archive tier (Nutanix Files Storage) based on the retention period and the archive schedule set on the recording server’s storage configuration. Smart tiering allows policy-based data movement from Nutanix files to the Wasabi object storage tier for longer-term retention which can be easily configured through Data Lens. Tiering cold data from the file server to an object store is a great way to maximize the efficient use of storage on a file server. Nutanix supports using Wasabi as the cloud object storage with Nutanix Files and Nutanix Data Lens. Once data is tiered, the Nutanix Files storage location will maintain a small reference file that contains the metadata and pointers to the tiered data that now resides in the target cloud object storage. Tiering cold data to Wasabi Cloud Object Storage provides storage cost benefits. Tiered data can be read inline to maintain storage efficiency. You can also recall tiered data by configuring an auto-recall policy based on access patterns, or by recalling data manually. You can specify retention policies that indicate how long deleted data remains in Wasabi prior to permanent deletion. As a result, customers will get a truly seamless experience and the integrated solution offers exceptional information retrieval capabilities with clear video resolution depending upon input devices and the resolution of streaming media.
Prerequisites
Nutanix Files v 4.0 and above
Nutanix Files and Nutanix Data Lens licenses
An active Wasabi account
Wasabi Configuration
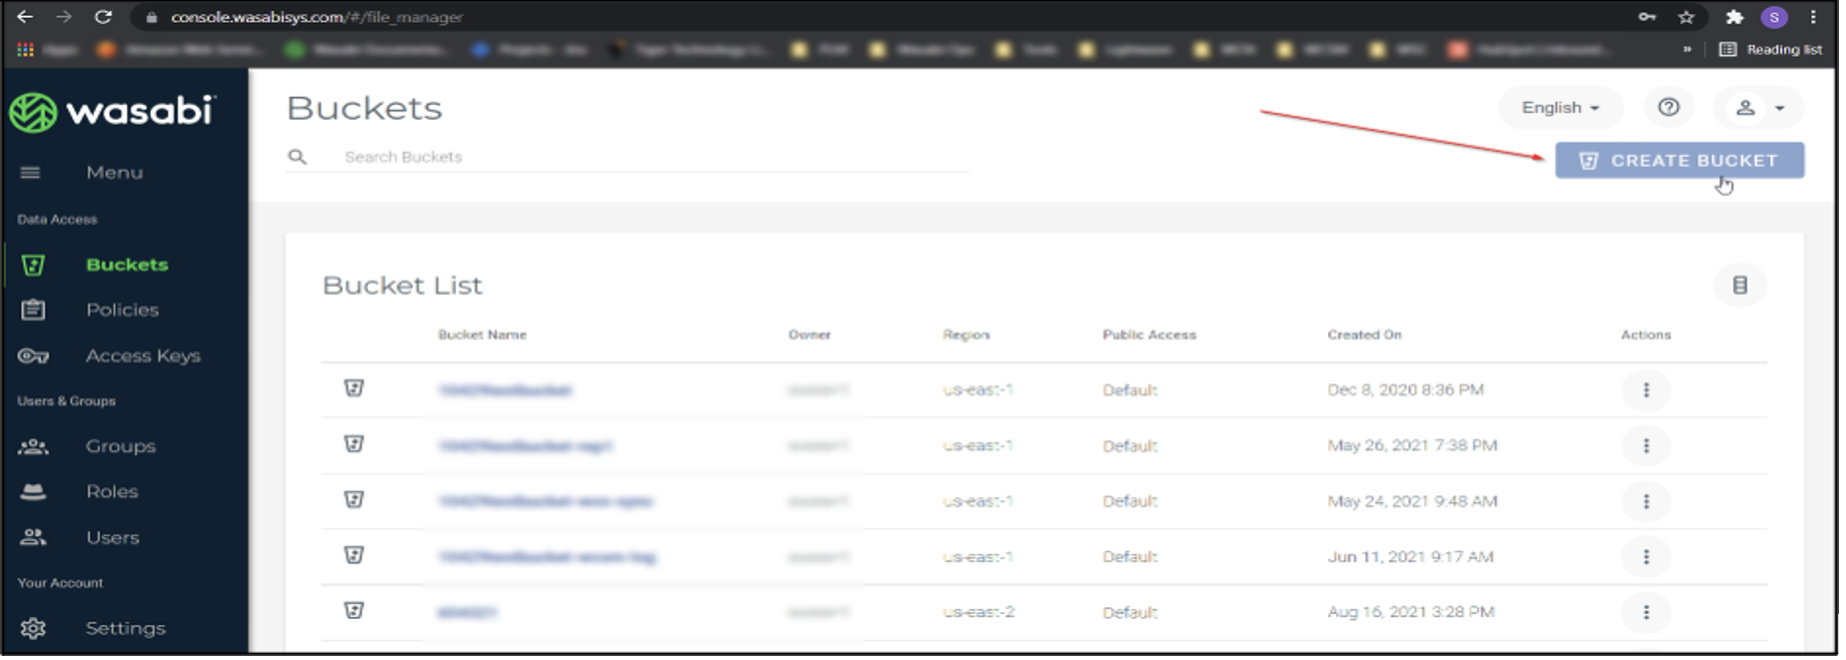
1. Log in to your Wasabi account via Wasabi console (https://console.wasabisys.com) and click Create Bucket. Enter a unique bucket name, and select the appropriate region closest to the Nutanix Files deployment. Enable bucket versioning and other required fields and complete the bucket creation.
Nutanix Configuration
Enable Tiering on Nutanix Files Server
Nutanix Data Lens on the Cloud provides cloud-hosted analytics and monitoring service for all of your Nutanix Files file servers. Hosting File Analytics on-premises limits the service to local file servers only.
2. Log on to https://my.nutanix.com by using your My Nutanix credentials.
3. On the My Nutanix dashboard, scroll down to Cloud Services, and search for Nutanix Data Lens, click Launch. The Global Dashboard appears to display the file servers associated with your account.
.png)
Select the File Server from the list of Files Servers owned by your account and enable it as shown above.
Configuring a Tiering Profile
To tier data, configure a secondary storage object-store. A tiering profile defines the secondary storage target, which is the object-store.
4. In the Dashboard for the file server, click Tiering Dashboard in the Data Summary by Age and Storage Tier pane.
.png)
5. In the Tiering Configuration pane, under Tiering Location, click Add/Update Tiering Location.
Name: Enter the name of the tiering profile.
Store type: Select a store type.
Service host: Enter the URL of the tiering service host.
Access key: Enter the access key ID for the object-store.
Secret key: Enter the secret access key for accessing the object-store.
Bucket configuration:
Bucket name: Enter the name of the bucket in the object store (you cannot change the name).
Retention period: Enter a period for data retention after deletion from the file server. (The default retention period is 5 years and the minimum is 6 months).
Certificate:
Certificate: Upload a secure sockets layer (SSL) certificate file.
Validate certificate: Check this box to enforce SSL certificate verification during tiering operations after profile creation.
.png)
Note: This config example discusses the use of Wasabi's us-west-1 storage region. To use other Wasabi storage regions, please use the appropriate Wasabi service URL as described in this article.
6. Set a Capacity Threshold - Specify when to tier data.
Configure % of Primary Storage to trigger tiering to Wasabi and tier schedule
In the Dashboard for the file server, click Tiering Dashboard in the Data Summary by Age and Storage Tier pane.
In the Tiering Configuration pane, click Set a Capacity Threshold.
To tier data based on a threshold of occupied capacity, check the Set a Capacity Threshold box. In the % of Primary Storage field, enter an integer that indicates the capacity percentage to trigger tiering.
Under When to tier, choose an option. » To trigger tiering manually after crossing the capacity threshold, select the Manual option. » To configure a schedule for tiering data, choose On a Schedule option
If you chose the On a Schedule option, do the following in the indicated fields.
Note: File Analytics sends tier requests to the file server until the scheduled time. However, due to bandwidth, the actual tiering operation on the file server can begin and end shortly after the scheduled time.
Frequency: Use the everyday option and do the following (or click set a custom window for each day).
Start time: Specify when to start tiering operations.
End time: Specify when to end tiering operations.
(Optional) to customize the tiering schedule, click set a custom window for each day, and do the following:
Select the desired tiering days.
For each day, specify the schedule for tiering operations in the start time and end time fields.
Click Save.
.png)
7. Creating a Tiering Policy - Configure & define what data is to be tiered to Wasabi and configure recalling tiered data from Wasabi
In the Dashboard for the file server, click Tiering Dashboard in the Data Summary by Age and Storage Tier pane.
In the Tiering Configuration pane, under Tiering Policy, click Edit.
Under Filters for Data to be tiered, do the following:
Data Access Age (older than)
Enter an integer to specify the data age.
In the dropdown, select the unit of measurement (days, weeks, months, years).
File Size (greater than):
Enter an integer for the minimum tiering file size (minimum 64 KB).
In the dropdown, select the unit of measurement (KB, MB, GB).
(Optional) under Shares, do the following:
To specify shares excluded from tiering, check the Exclude Shares box. Check the box next to shares to exclude.
Check the Enable auto-recall box to specify an auto recall policy, and do the following in the indicated fields.
In the Times field, to specify the recall trigger, enter the number of times Files can retrieve an object from the object store.
In the period field, specify an integer and unit of measurement (days, weeks, months, years).
Click Save.
.png)
8. From the Data lens dashboard, we can check the readiness of the data for tiering, the amount of data tiered to Cloud storage, etc., based on the tiering policy. Additionally, we can log in to Wasabi and check the data under the respective buckets. Tiered data can be read inline to maintain storage efficiency. You can also recall tiered data by configuring an auto-recall policy based on access patterns, or by recalling data manually. You can specify retention policies that indicate how long deleted data remains in Wasabi prior to permanent deletion.
.png)
After data is tiered to Wasabi cloud object storage from Nutanix file storage, it maintains a small reference file that contains the metadata and pointers to the tiered data. So, Nutanix file storage will have more space and be ready to accommodate the next set of archive data coming from the Milestone recording server’s tier-one storage.