Precog is a self-service, no-code, data connector application that allows you to integrate applications and APIs with Wasabi. Precog is validated for use with Wasabi. To use Precog with Wasabi, please follow the instructions below. These instructions include examples on how to use Precog to connect Wasabi to business applications Tableau and Salesforce.
Using Precog, Wasabi customers can create tables from unstructured or semi-structured data (JSON, CSV, RDBMS) without any coding. Precog offers a secure and flexible tool to both analyze data from Wasabi or backup your tabulated data into Wasabi.
This article will demonstrate how to use Wasabi as a Source within the Precog application. Once you have purchased a license for Precog, open the application.
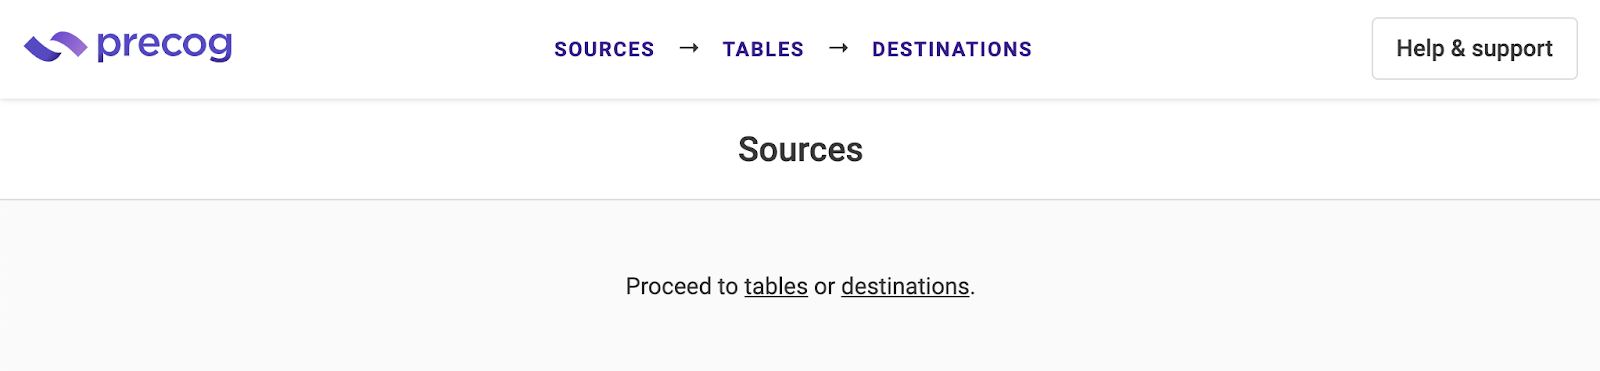
Begin in the Sources menu.
Scroll down until you see the Wasabi selection choice.
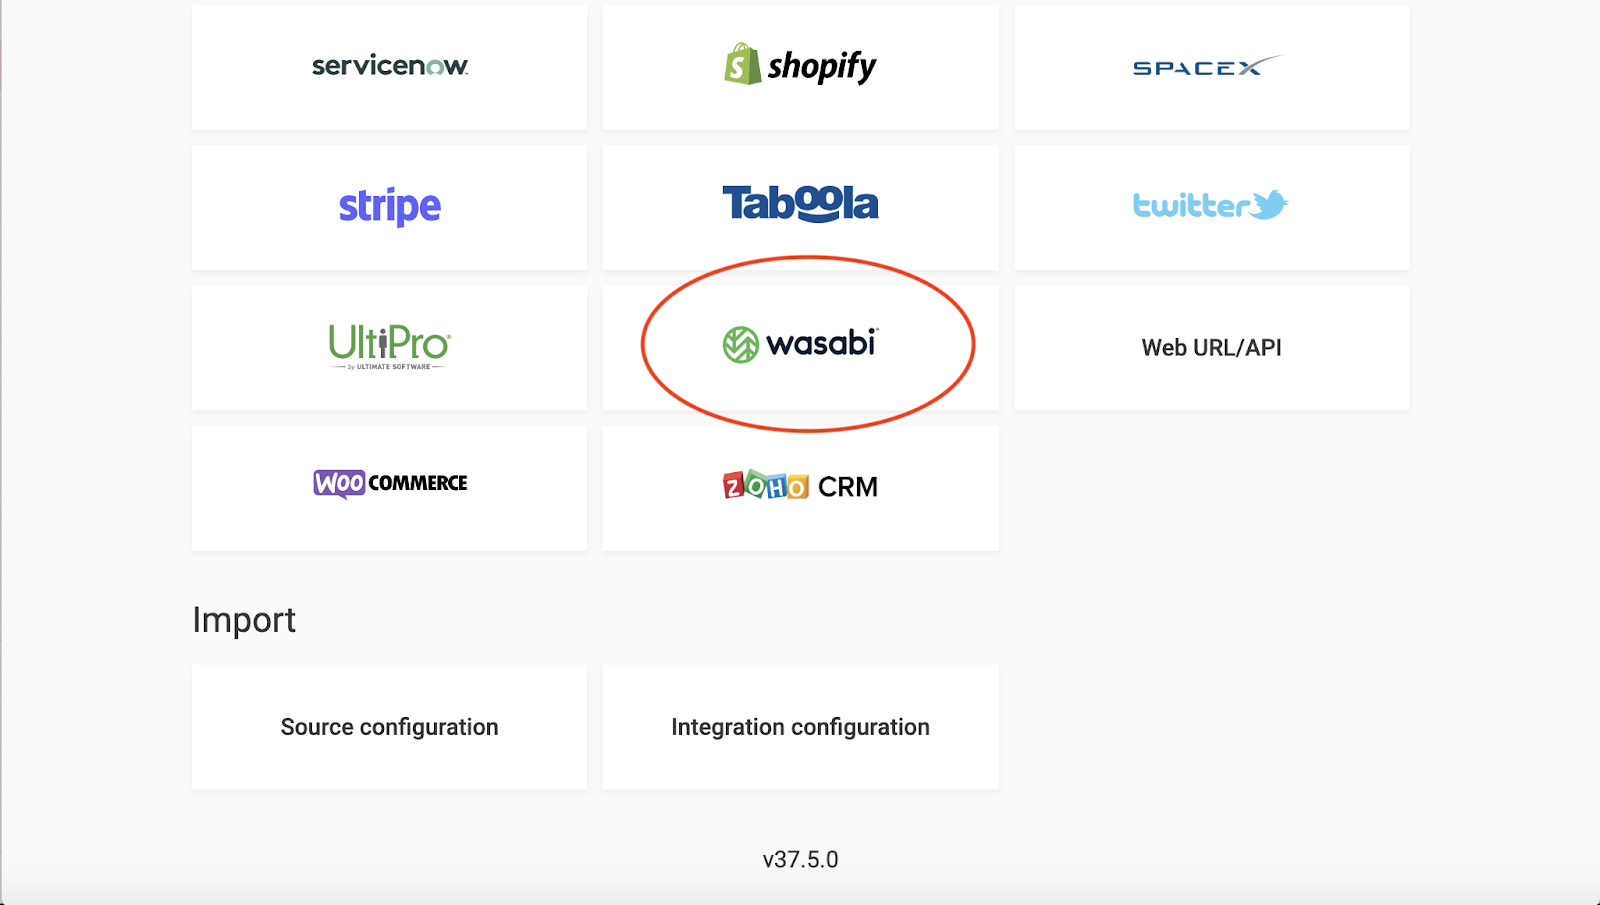
Select Wasabi.

You should see the menu above, with data to fill in. Complete the following categories.
Name: The name of your data source, for example, My Wasabi Storage, Wasabi.
Compression scheme: Choose between None, ZIP, and Gzip.
Data format: The format of your unstructured/semi-structured data in the source, JSON or Separated values.
JSON format or CSV header and row information: Depending on your chosen data format, Precog will ask for additional information to read your files correctly.
Bucket URI: Unique identifier for the resource, example https://s3.wasabisys.com/examplebucketname
Access Key and Secret Access Key: These are available in the Wasabi console under ‘Access Keys’.
Region: This should match your bucket’s region.
Confirm your entries by clicking Add. Continue to the Tables page.
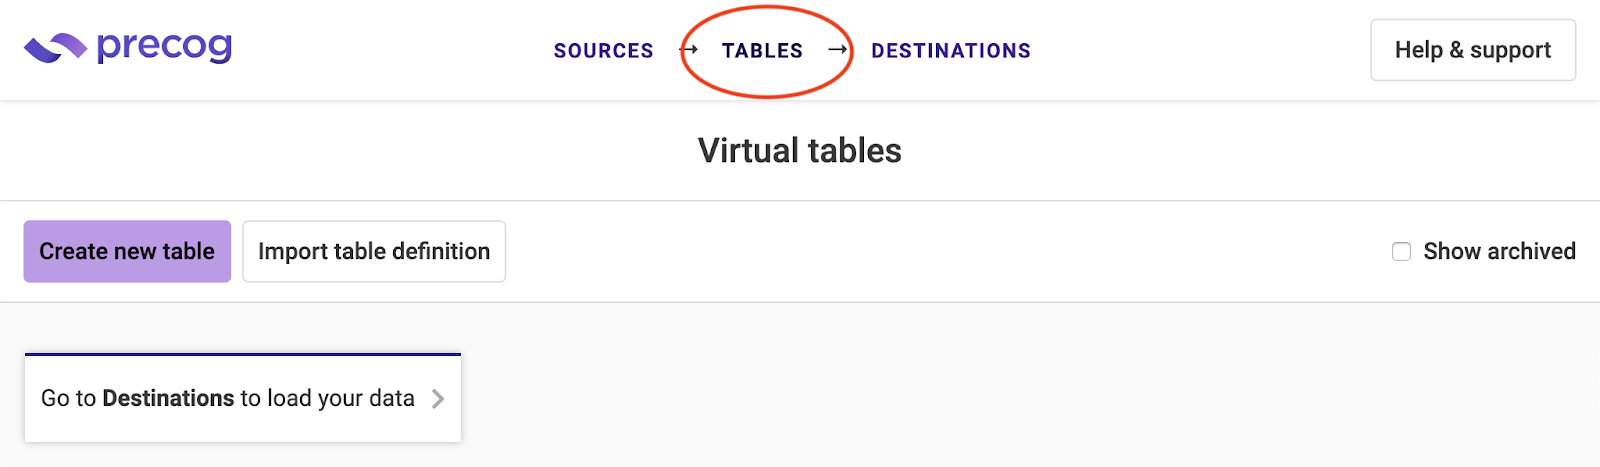
Click Create new table, which gives you the option to use your Wasabi bucket as your source. Select the Name (that you chose above) you have attributed to the Precog source connection with your Wasabi Bucket.
Once selected, you will see a list of your objects. Select the JSON or separated value format object and begin choosing which keys you want to see in the table.
Click Pick to choose the selected key and add it to your table. Click Bulk Pick to add all keys from the object to your table. When in doubt, click Bulk Pick to capture all of the keys. 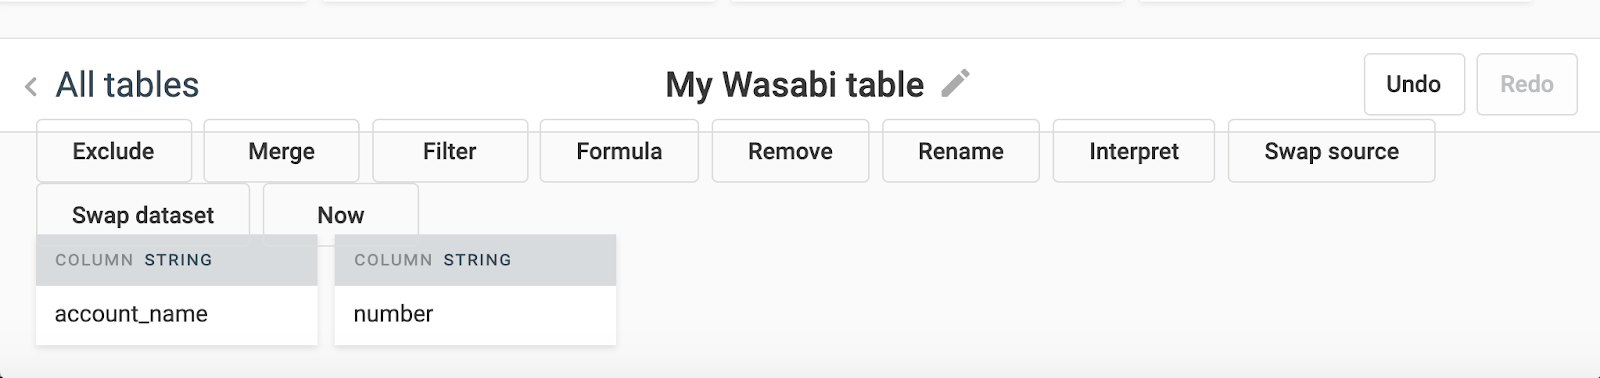
As shown in the sample table above, Precog provides a variety of options to customize your table in the application. For example, Now will create a Local Date & Time column. Formula enables you to create a formula using columns. Merge will combine columns.

This table will save itself if you proceed to any of the pages at the top (Sources, Tables, Destinations). If you would like to export your table from Precog and into another application, select the ‘Destinations’ page at the top of the window.
To see how to connect Precog to Tableau to analyze your Wasabi data, click here.