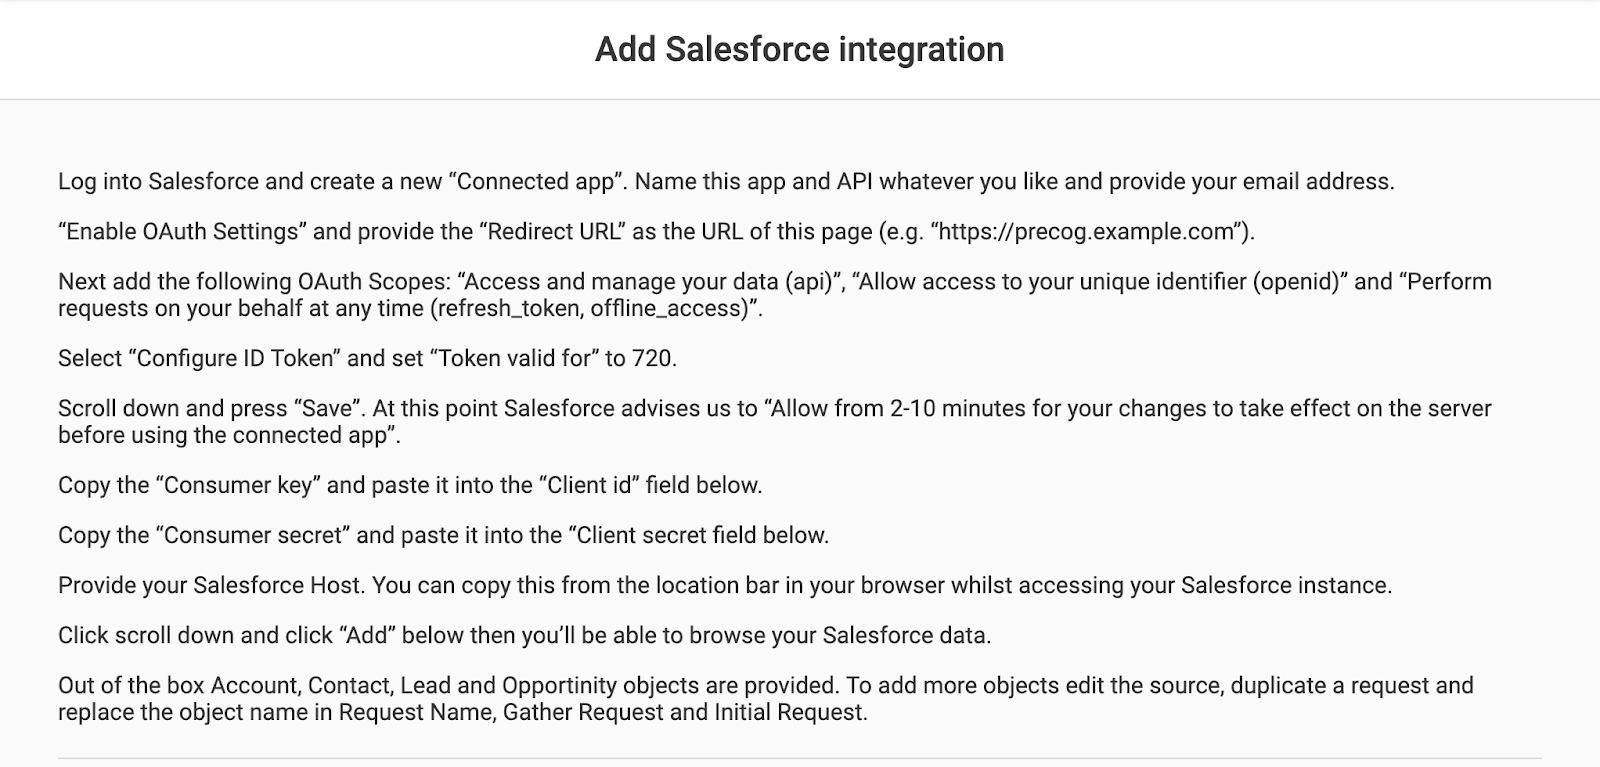
Salesforce is a leading CRM platform that has the ability to interface with AWS S3 via several different S3 connector apps that can be found in the Salesforce AppExchange. However, Wasabi is not aware of any AppExchange app that supports the use of S3-compatible object storage like Wasabi. The existing S3 connector apps in the AppExchange appear to be hard-coded to only interface with AWS S3. Wasabi has reached out to the app developers that build these S3 connector apps with the hope that one or more of the existing S3 connector apps can be adapted to support S3-compatible storage such as Wasabi. Please contact us for questions in this area.
Outside of the Salesforce AppExchange Salesforce can be connected to Wasabi by using the Precog app. Below are the instructions to do so. Note that these instructions are preceded by How do I use Precog with Wasabi? and are designed for the Precog Desktop app.
How do I connect Salesforce to my Wasabi account with Precog?
In order to use Salesforce as a source, you will need to have the appropriate privileges in order to connect an application to your account. Precog will allow you to move your Salesforce data, custom fields, and all, into Wasabi or another Destination of your choice. Here we will be showing how to get your data (in this case, Salesforce Development pre-populated data) out of Salesforce, and into Wasabi.
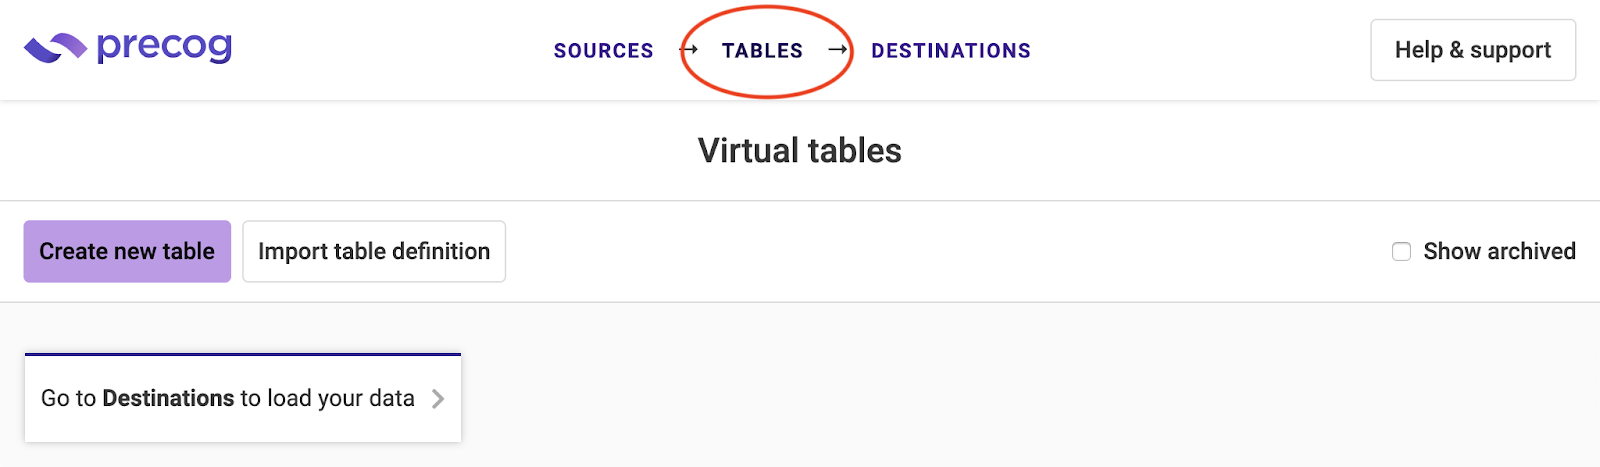
Begin by proceeding to the Sources page in Precog.


Select Salesforce.
You should see this page. Follow the directions listed above. Under Platform Tools, in Salesforce, go to Apps and then App manager.
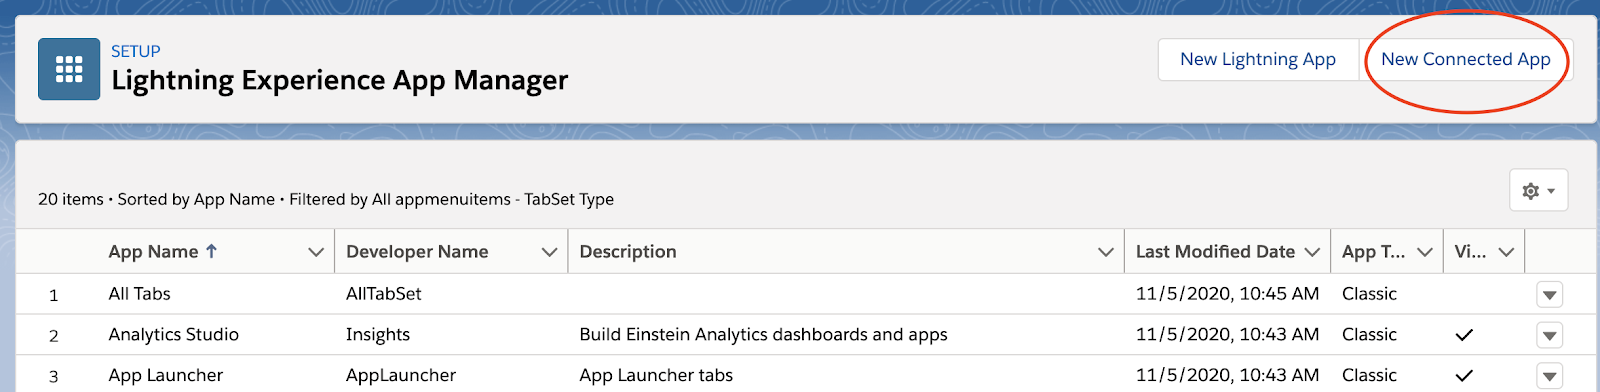
In the upper right corner, click New connected app.
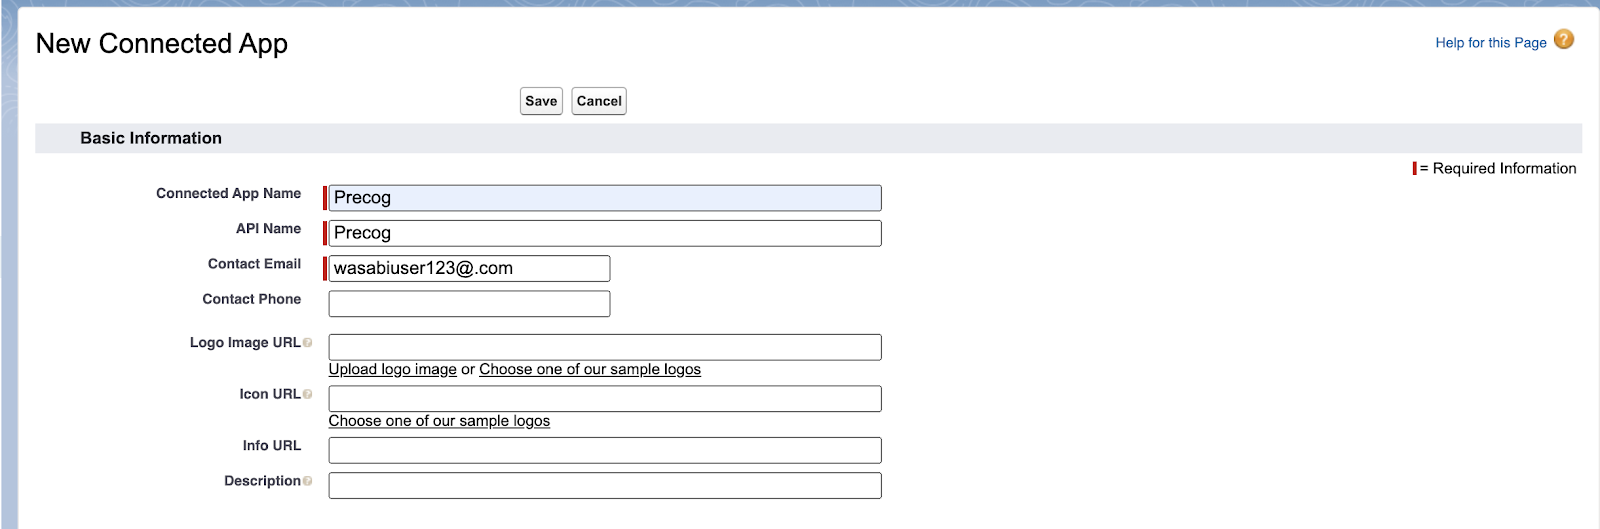
Add the name you want for the App and API, as well as your contact email used for the Salesforce account.
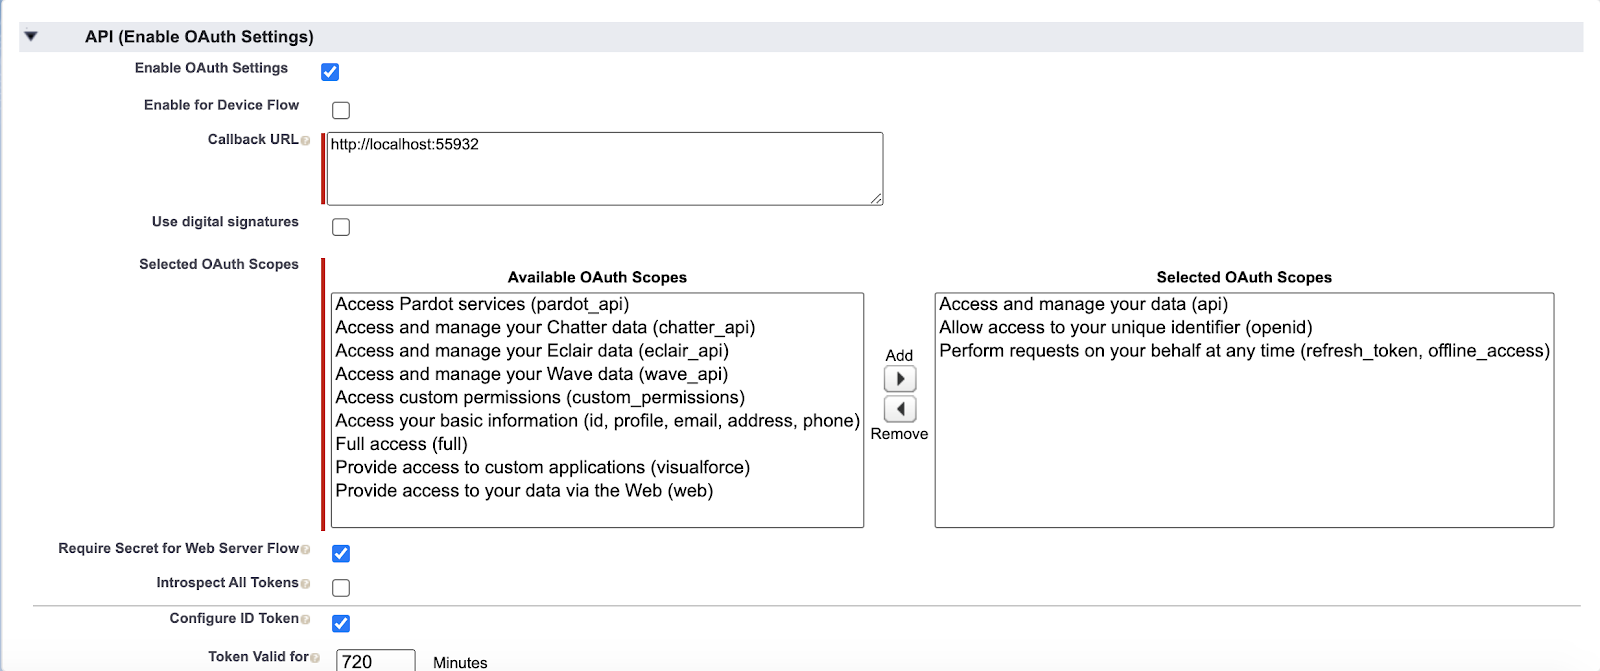
Your API OAuth settings should look like this for Precog Desktop. Precog Server users will have a different Callback URL.
Save these settings. Keep the Consumer Key and Consumer Secret handy.
Return to Precog.
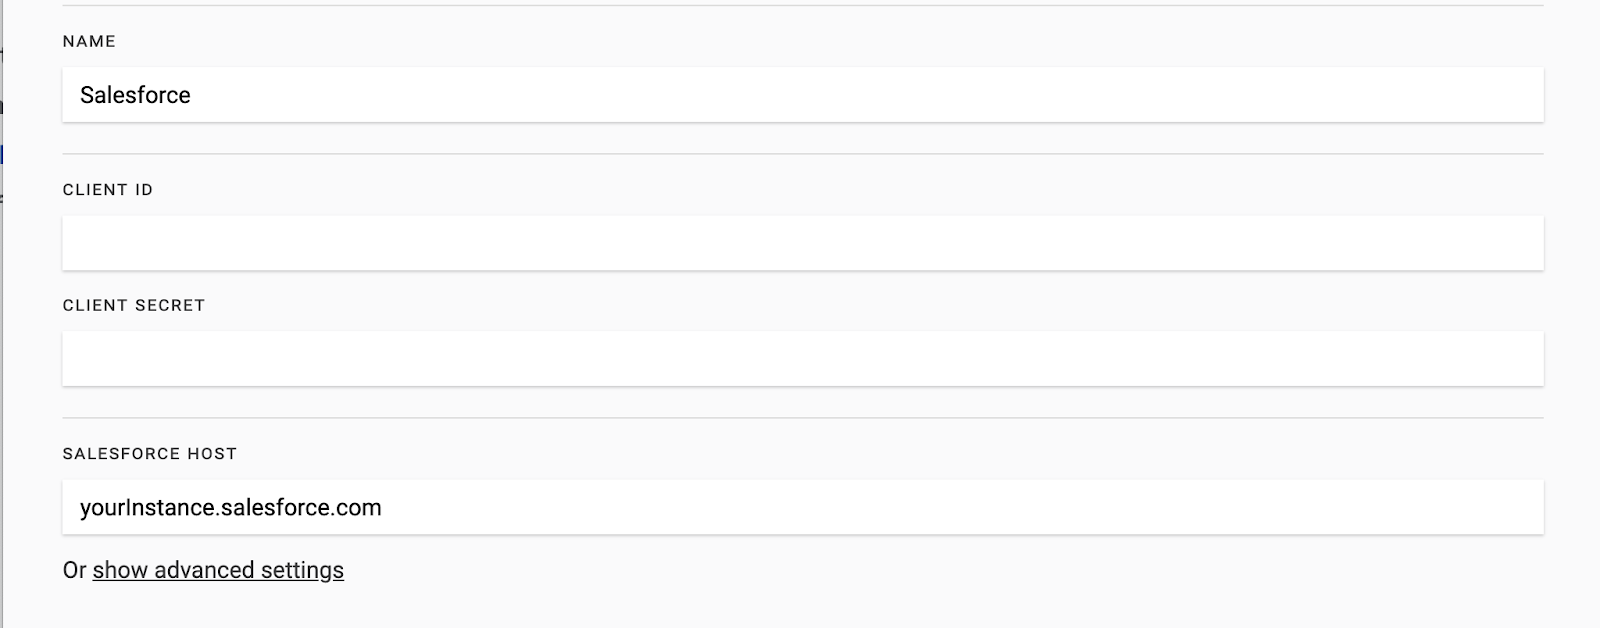
You should see this screen with fields to be filled out:
Name: The name of your Salesforce data source, for example. My Salesforce, Salesforce, etc.
Client ID and Client Secret: The Consumer Key and Consumer Secret you were provided before.
Salesforce Host: Your salesforce host name for example. wasabitester.my.salesforce.com
Click Add at the bottom of the page, and you should be redirected to log in with your Salesforce credentials.
Once logged in, wait a moment, then proceed to the tables page.
Select Create new table, the purple icon.
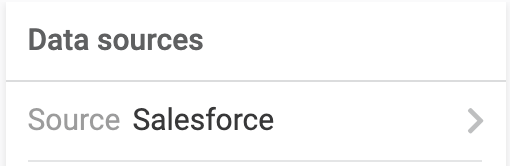
Select your Salesforce Data source.
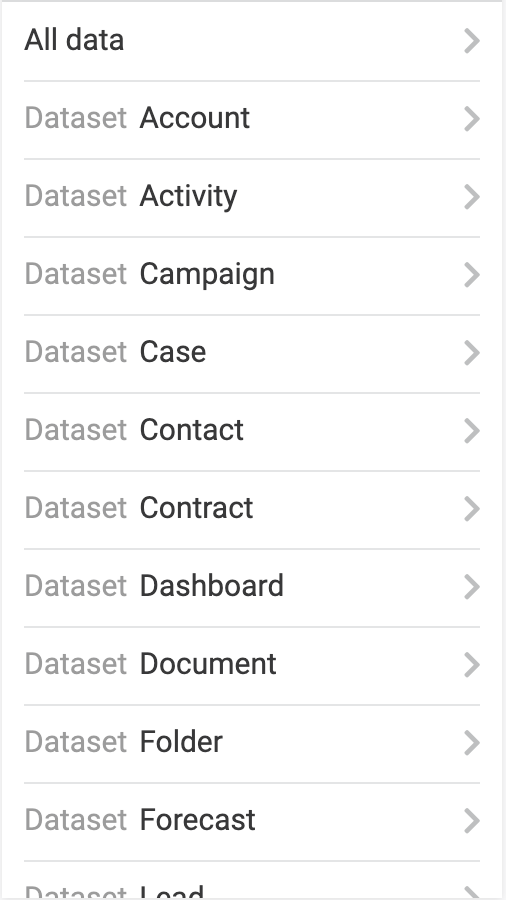
Select a Dataset of your choosing, then All Keys, and select an index, which represents a data point. From here, you can pick attributes to go into your Salesforce data table.
Should you have any issues with credential validation at this point, make sure you have set up OAuth in the edit page of your Salesforce source. If this does not work, reach out to Precog support (support@precog.com), as this may be an issue with your version of Salesforce.
Once you are finished building out your table, click Save and move on to the Destinations page.
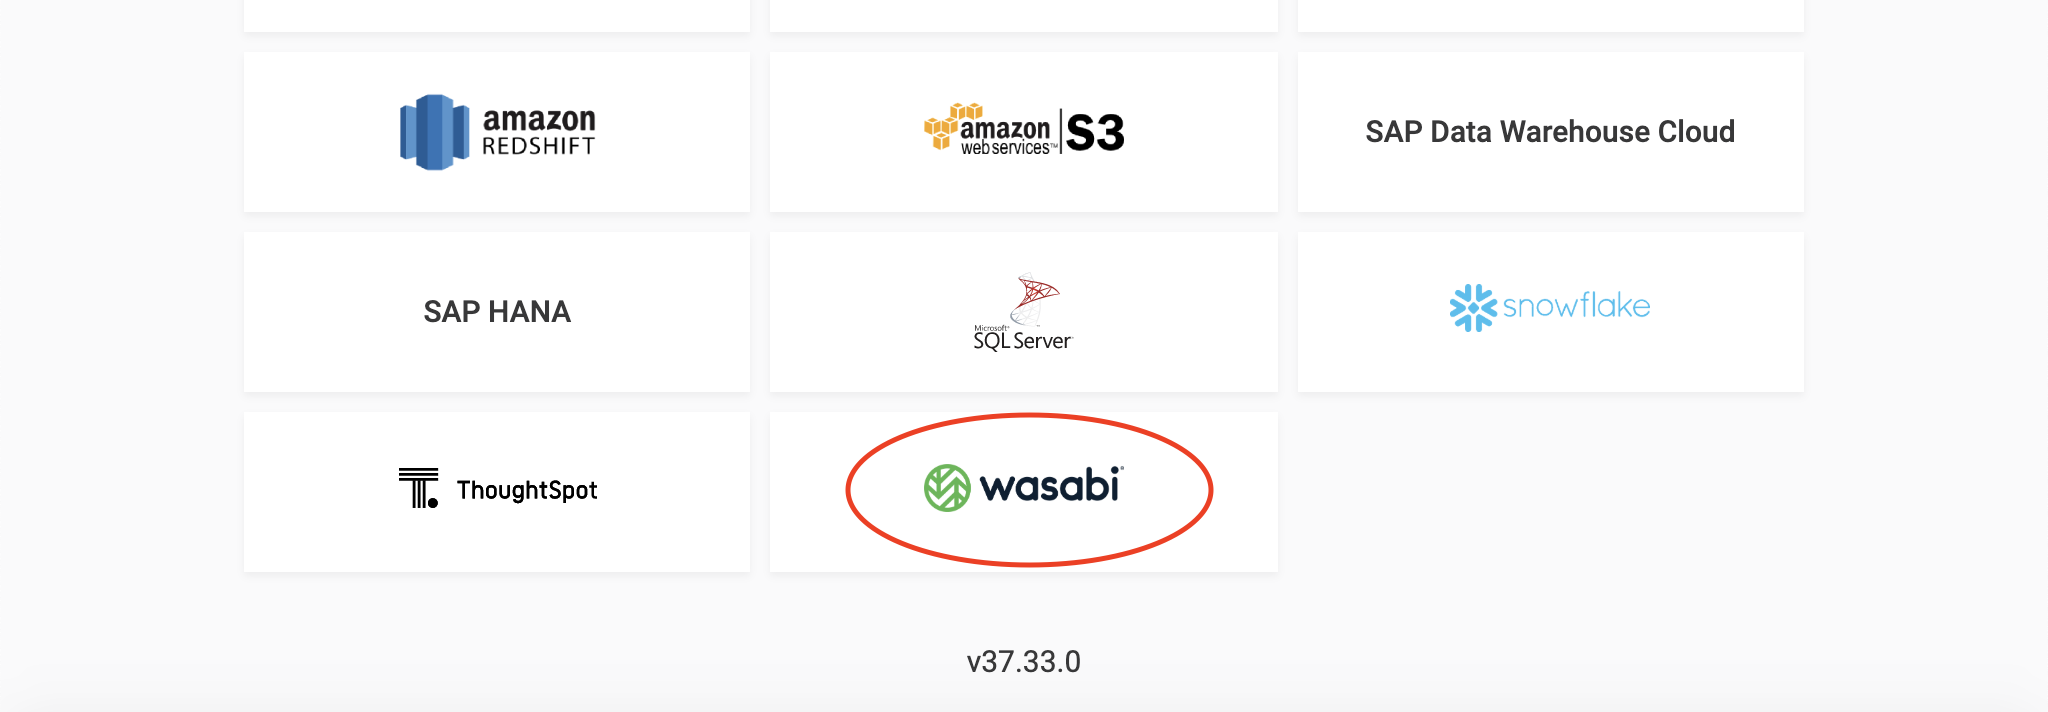
Select Wasabi.
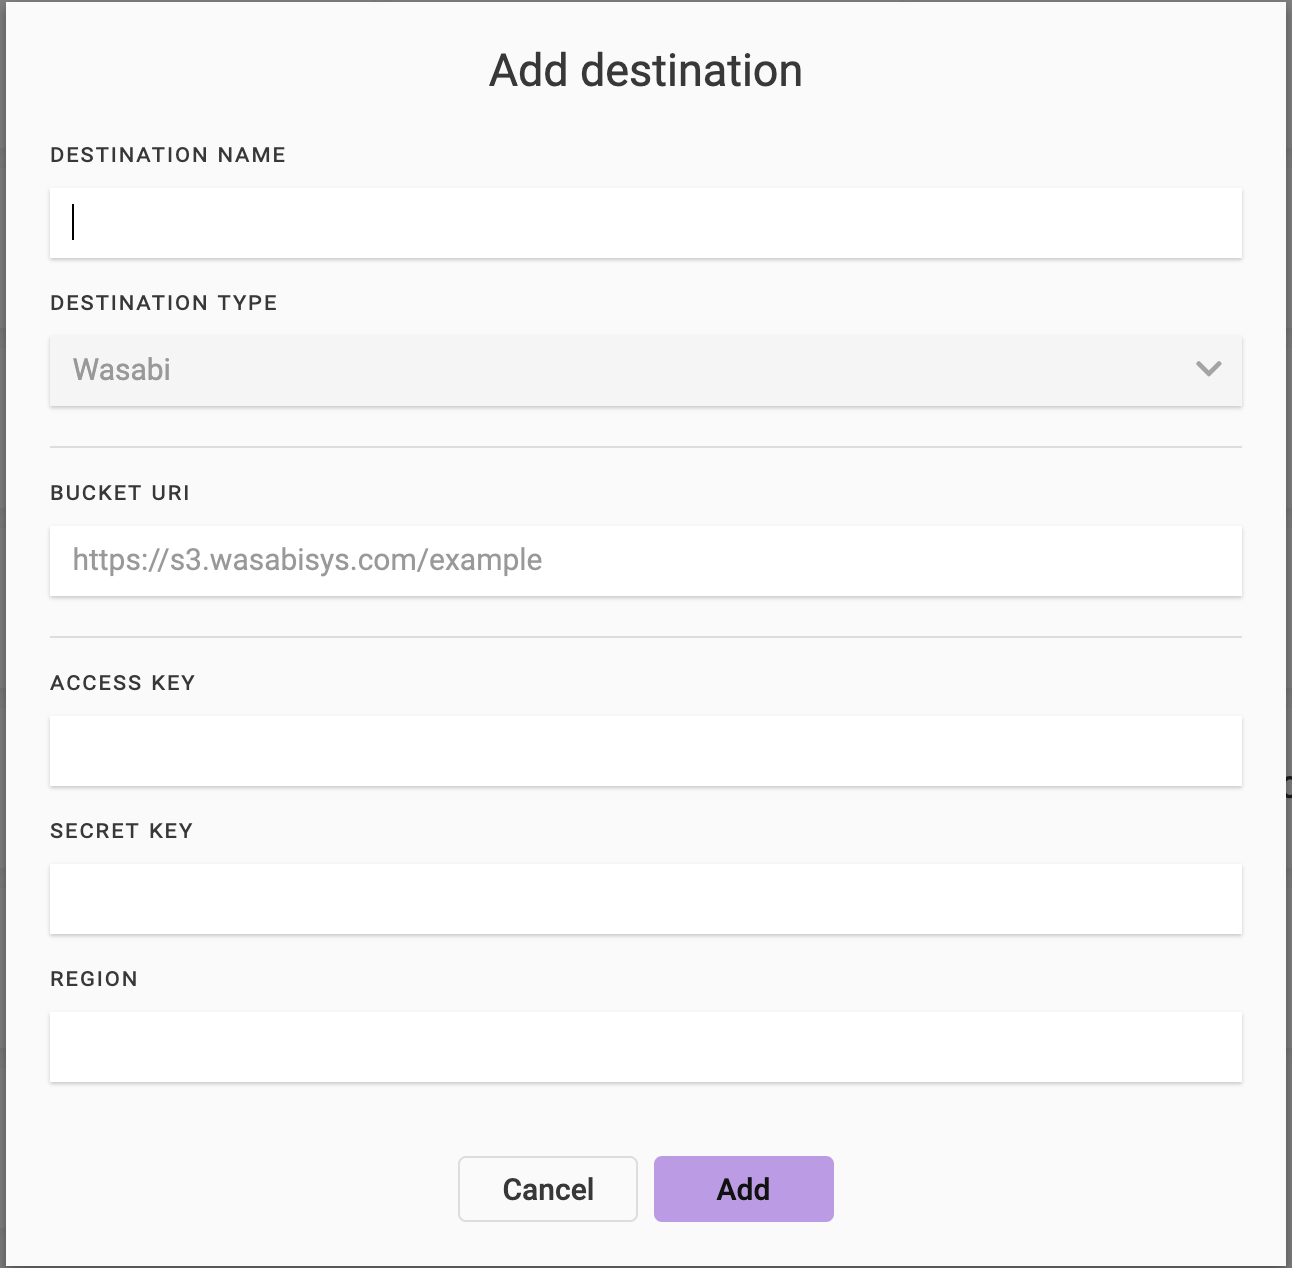
You should see the menu above with data to be filled in.
Name: The name of your data source, for example. My Wasabi Storage, Wasabi, etc.
Bucket URI: Unique identifier for the resource, for example. https://s3.wasabisys.com/examplebucketname
Access Key and Secret Access Key: These are available in the Wasabi console under Access Keys.
Region: This should match your bucket’s region.
NOTE: Region should be in all lowercase, separated by dashes. For example us-east-1
At this point, confirm your entries by clicking Add.
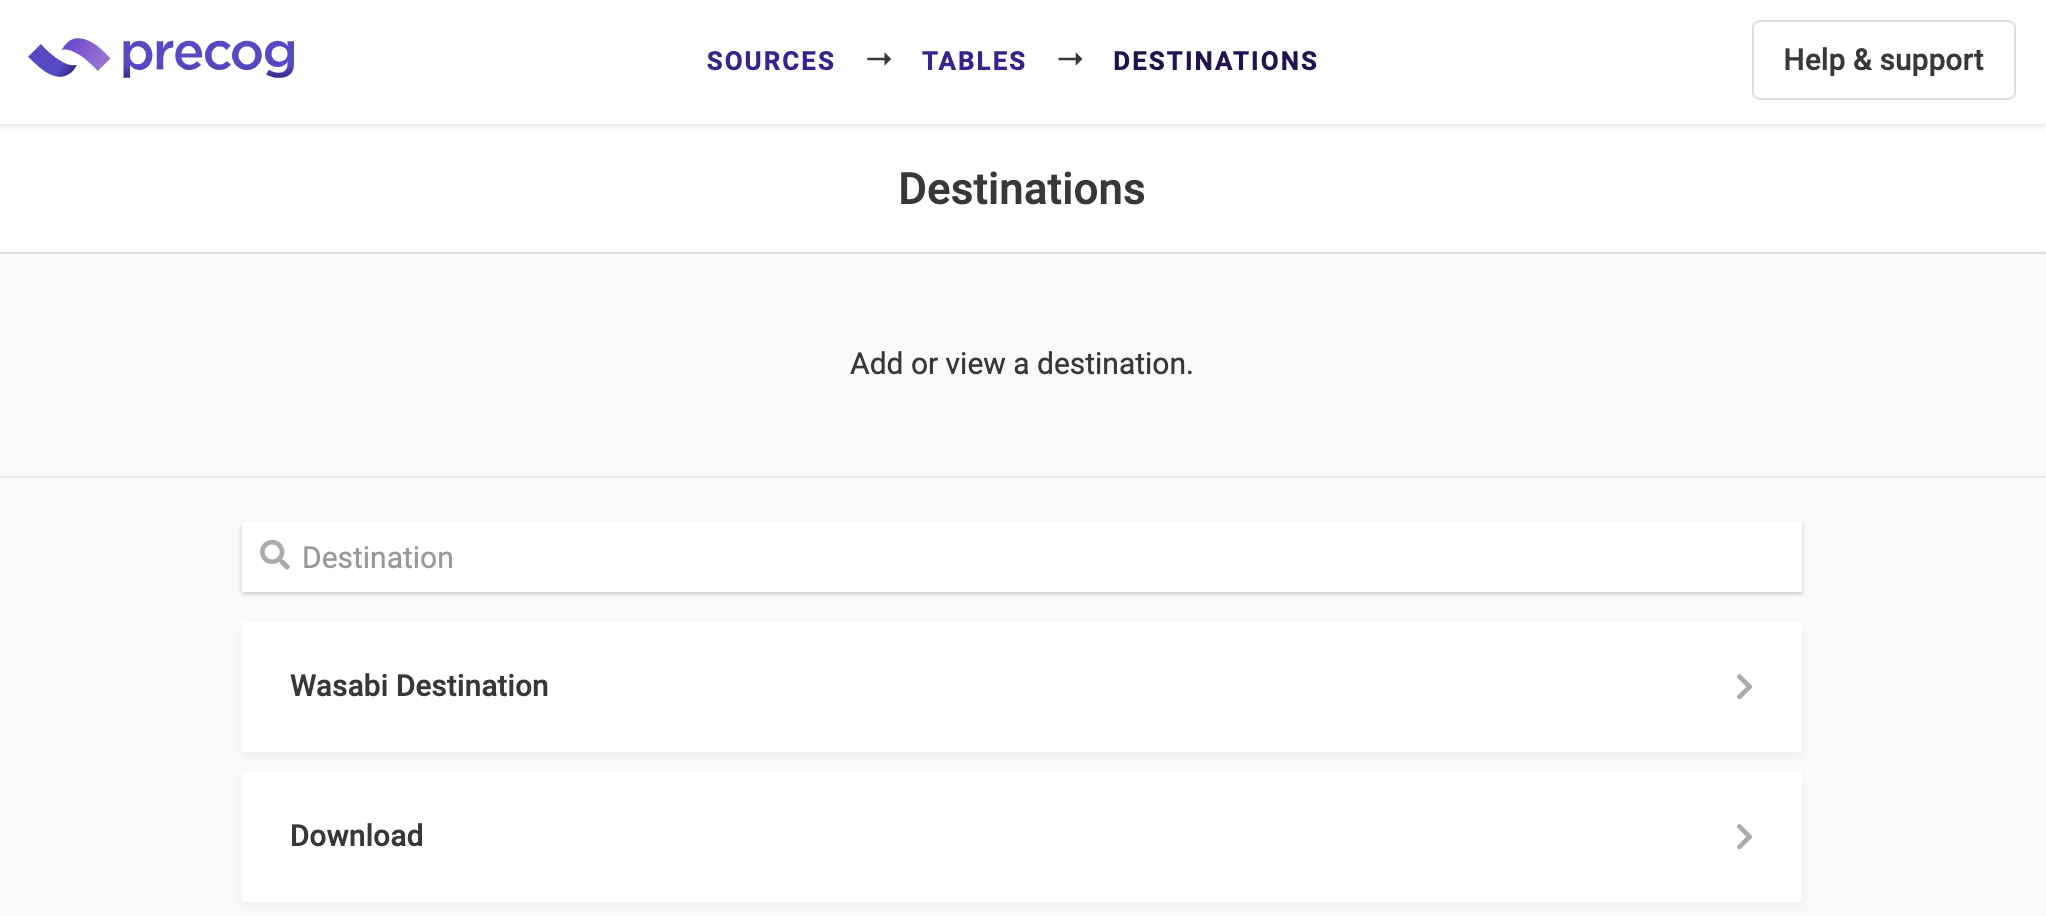
Select your Wasabi destination.
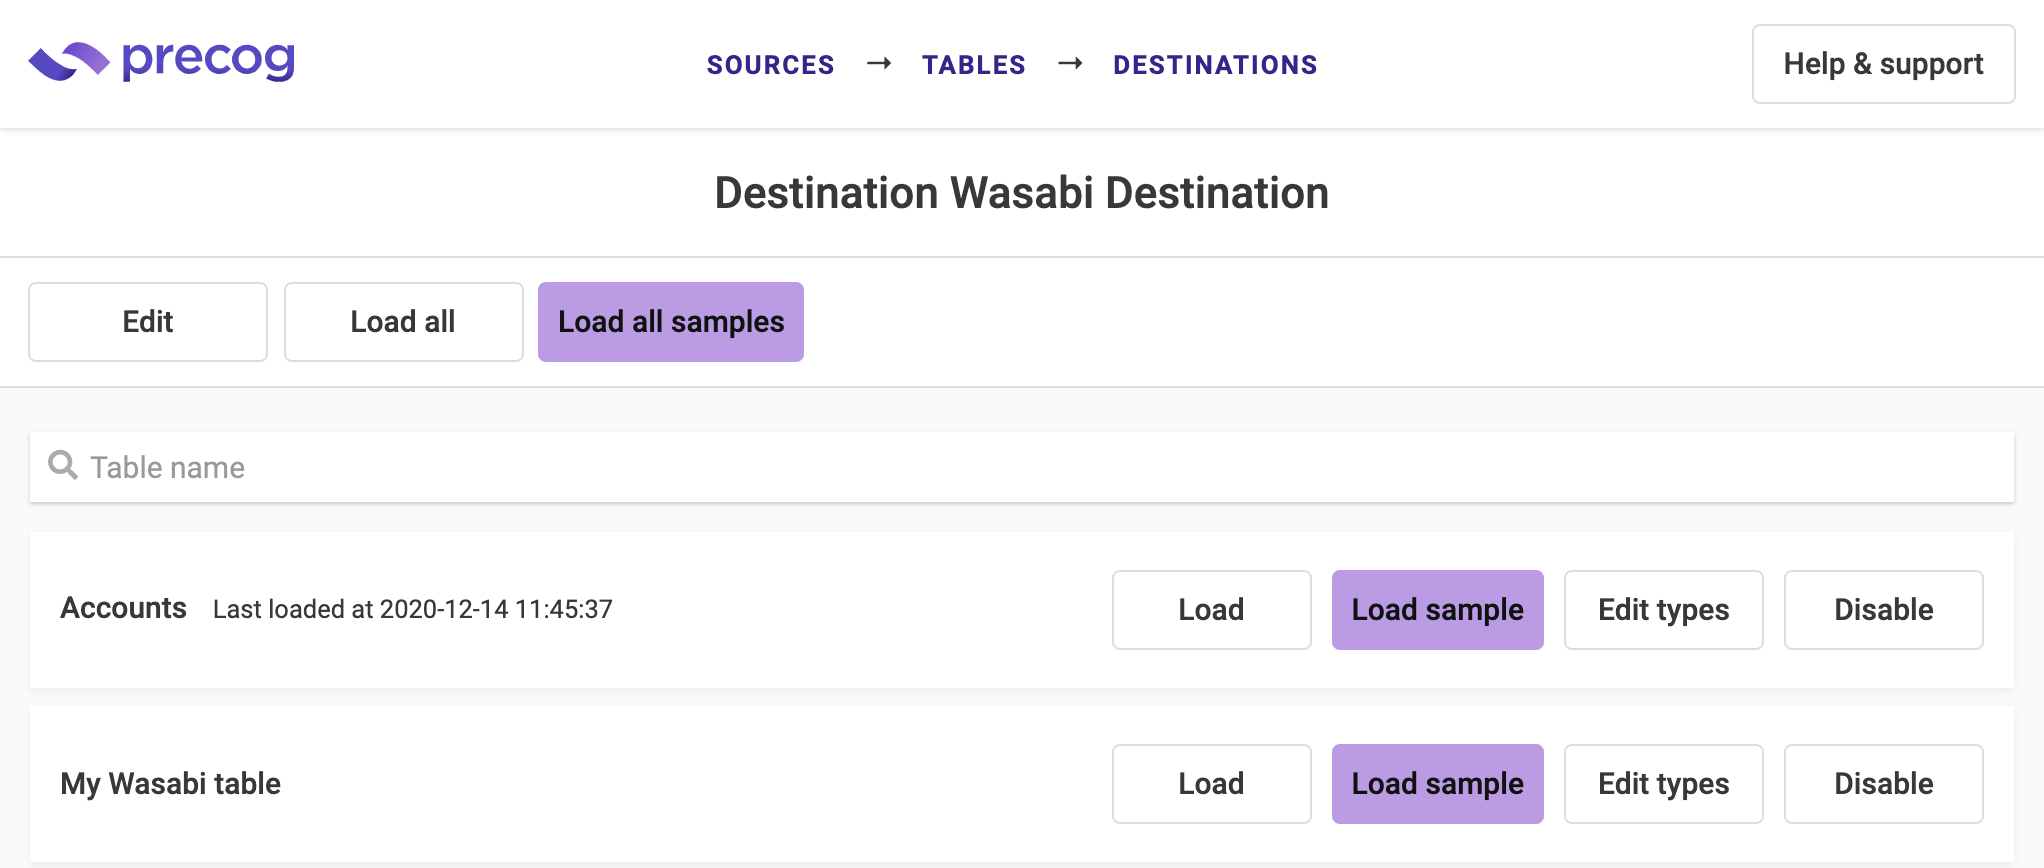
Load your Table of choice into Wasabi by selecting Load next to the specific table or Load all to move all of your tables.
Once loaded (which will be confirmed with a Last loaded at ), proceed to the Wasabi Console.
Select the bucket that you loaded your data into. You should see your data reflected there successfully.