Wasabi supports Single Sign On (SSO) functionality for Wasabi accounts using the Okta IdP (Identity Provider) system based on SAML2 (Security Assertion Markup Language).
This article provides the configuration instructions for both the IdP administrator and SSO user to properly configure and complete a Wasabi Console login using the organization's Okta SSO service.
Configuring SAML App in Okta (IdP Side)
Create an Okta (https://okta.com) account or log in to your existing Okta account as Administrator.
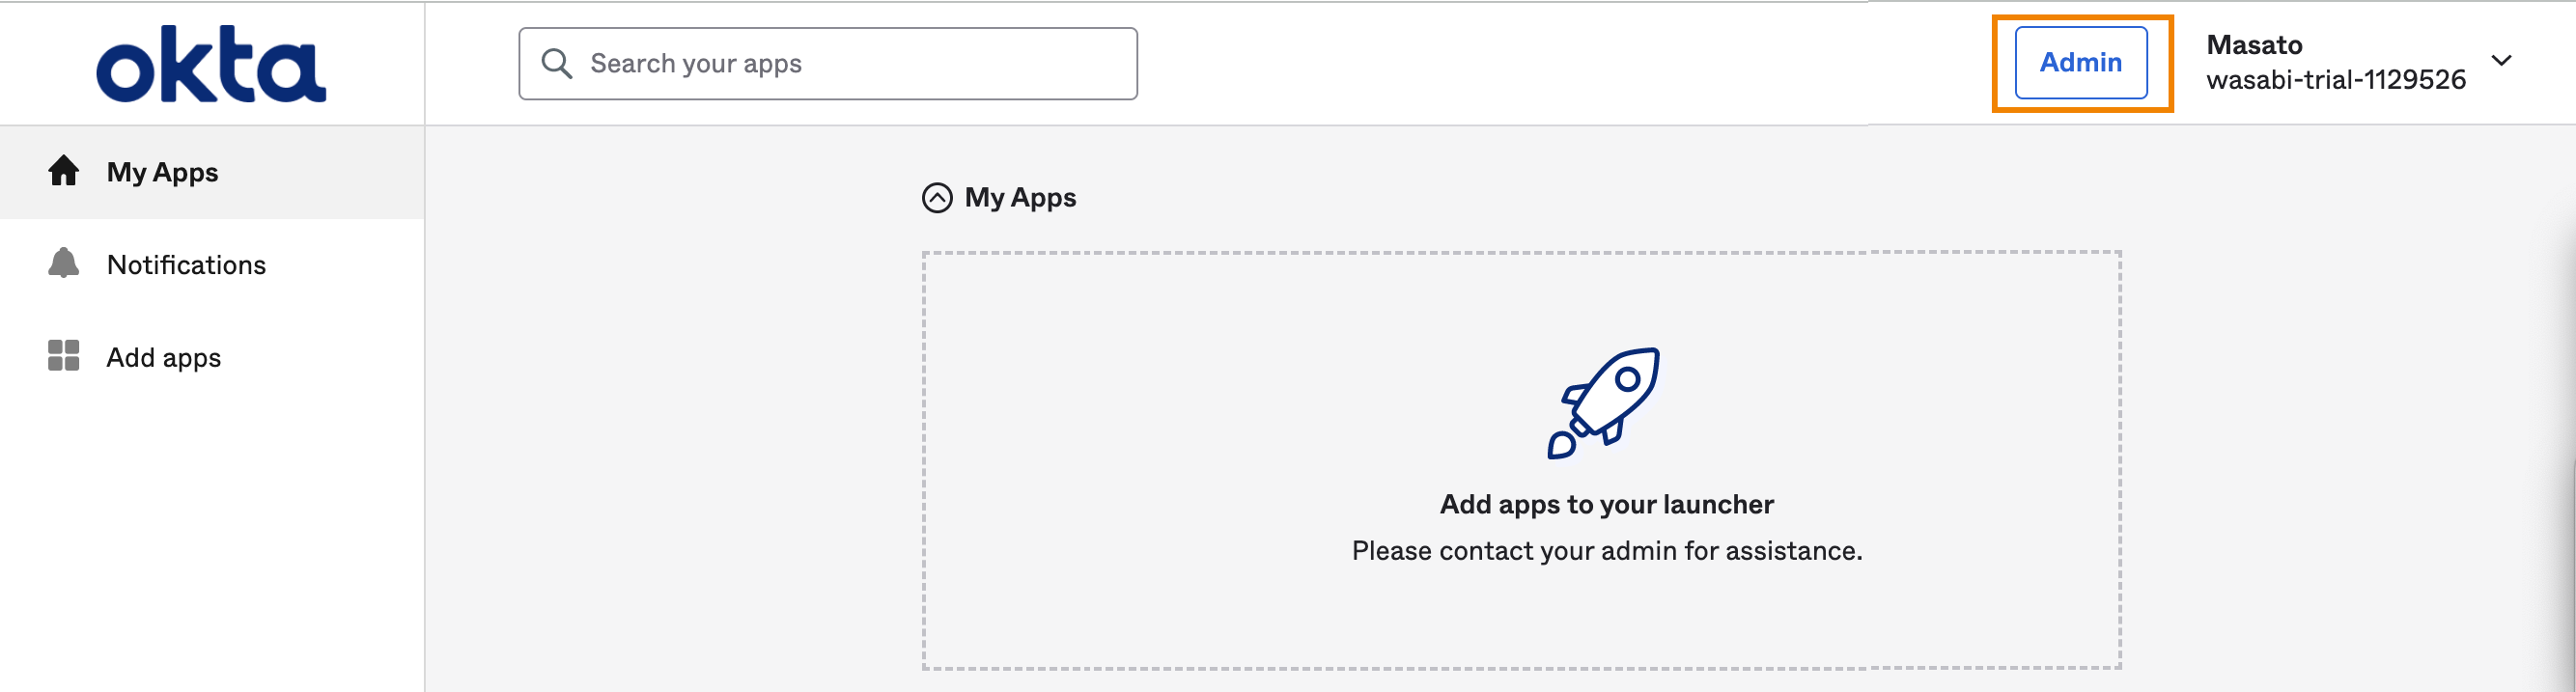
Once you are logged in to your Okta account, click Admin in the top right corner.
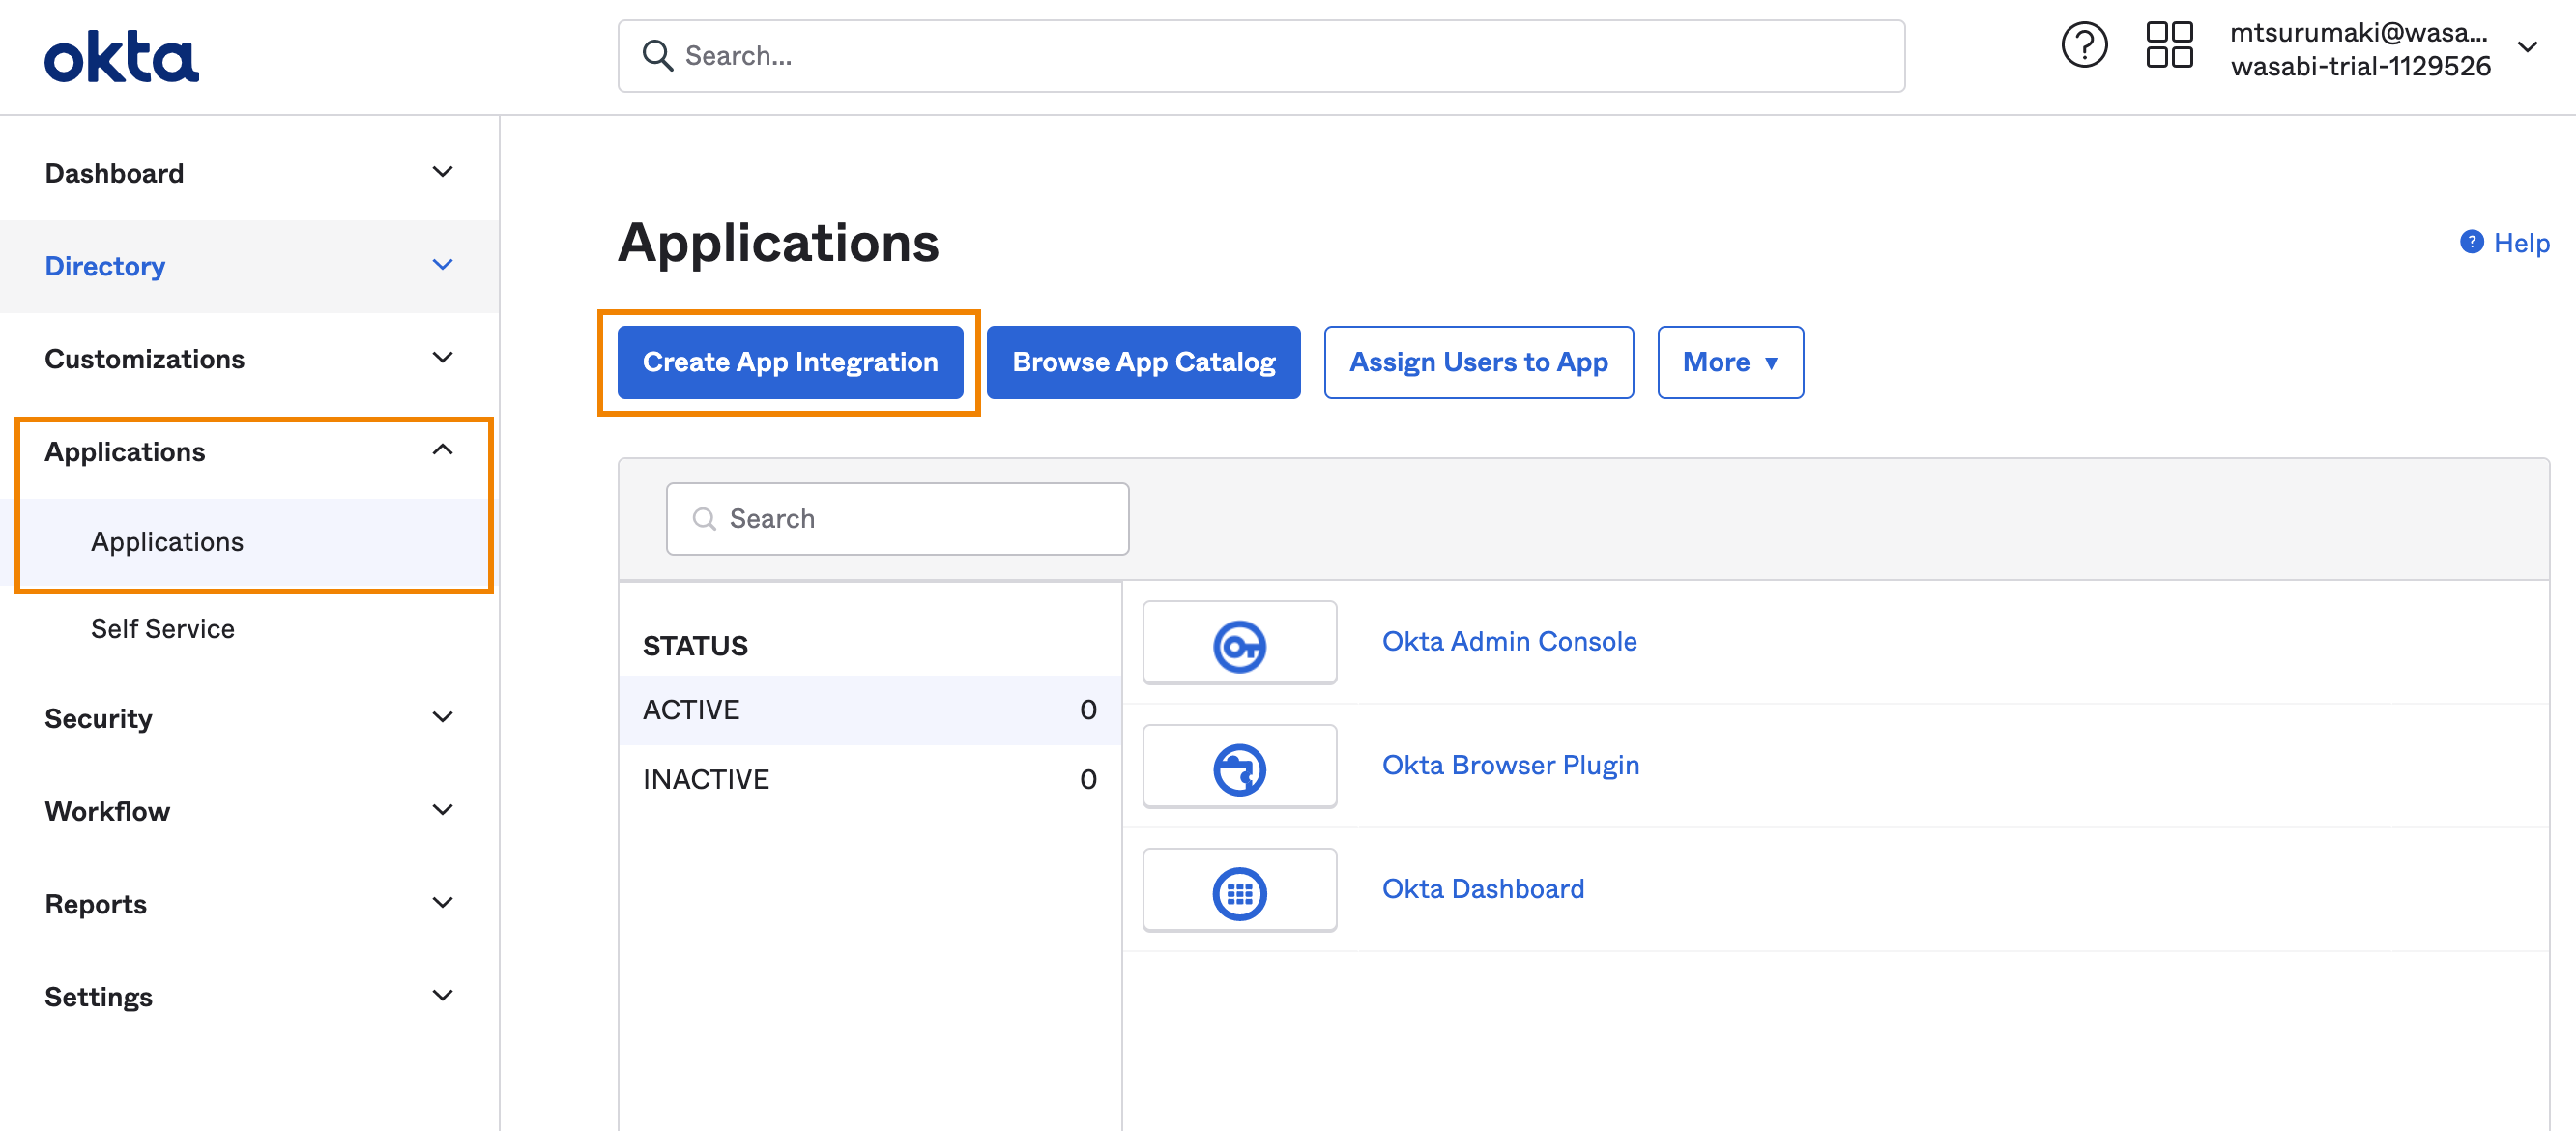
Go to Applications, select Applications, and click Create App Integration.
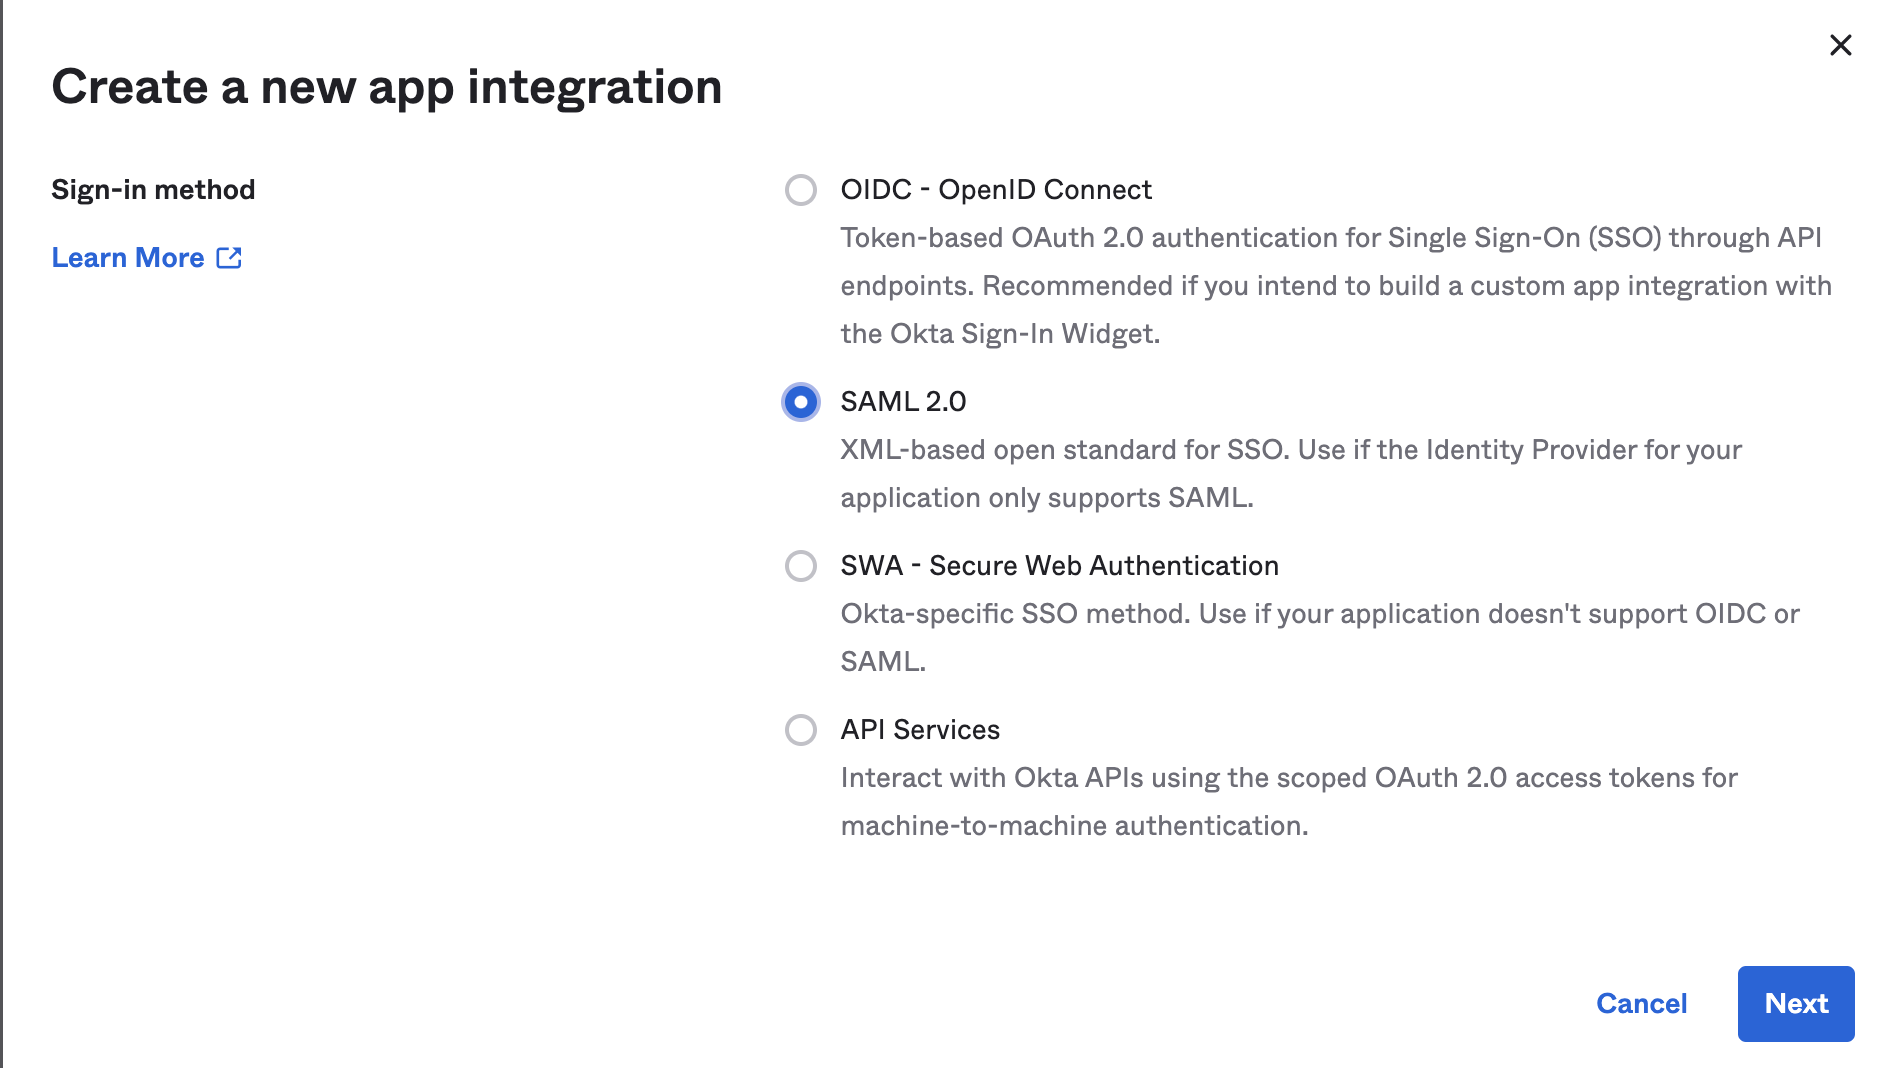
Select SAML 2.0 and click Next.
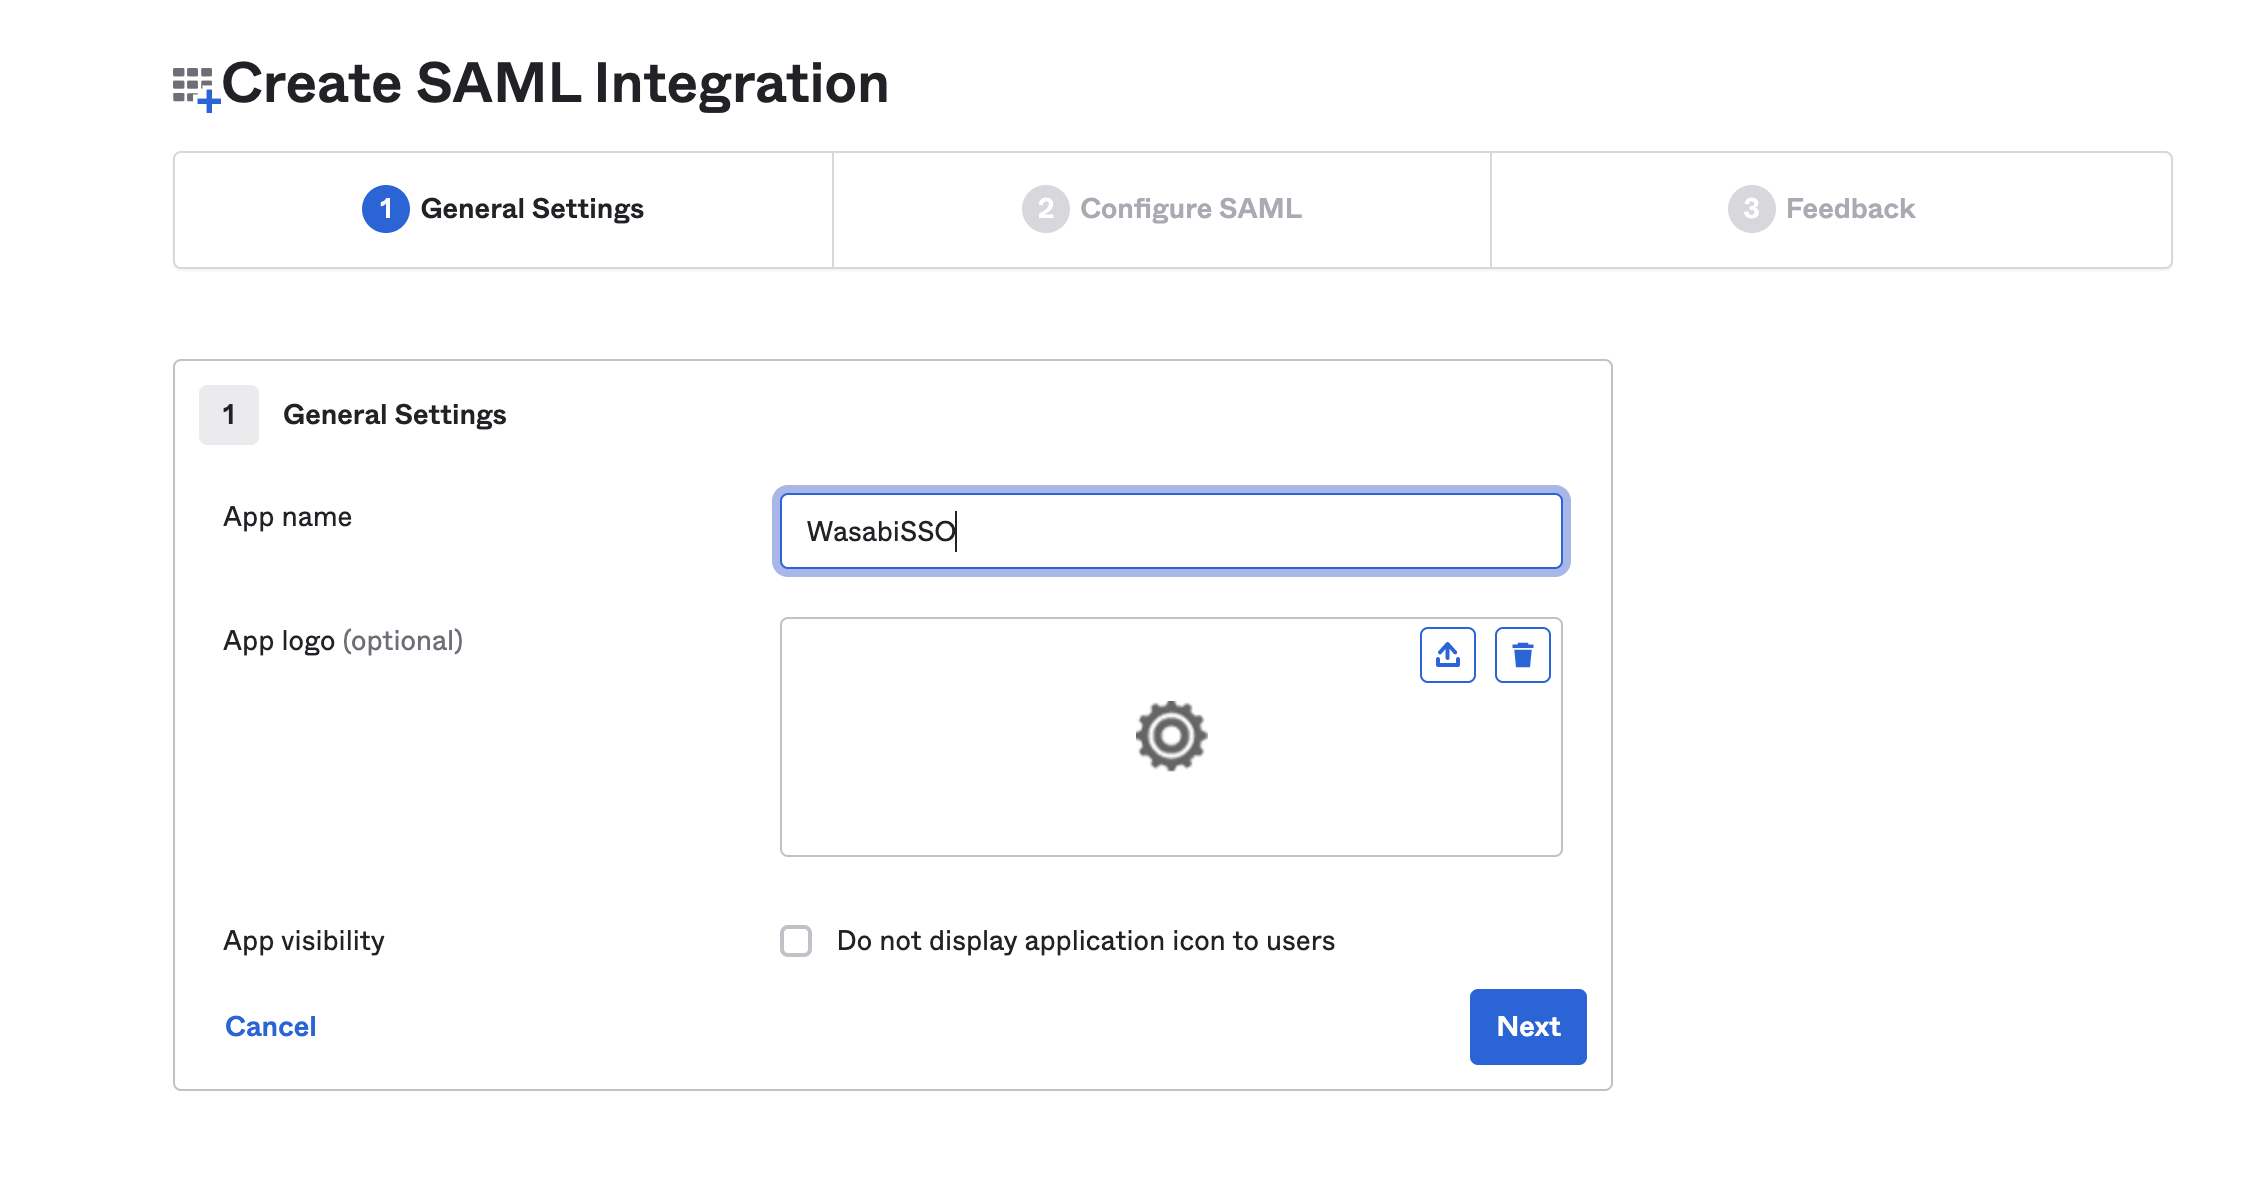
In the General Settings section, enter a name for the SAML application in the App name field, such as “WasabiSSO.” Click Next.
In the SAML Settings page, copy and paste the following information:
Single sign-on URL—https://sso.wasabisys.com/login/callback
Audience URL (SP Entity ID)—https://sso.wasabisys.com/saml
Group Attribute Statements (Name)—groups
Group Attribute Statements (Filter - Starts with)—The Okta group with access to the Wasabi Console, which you will create later, such as "WasabiAdmin."
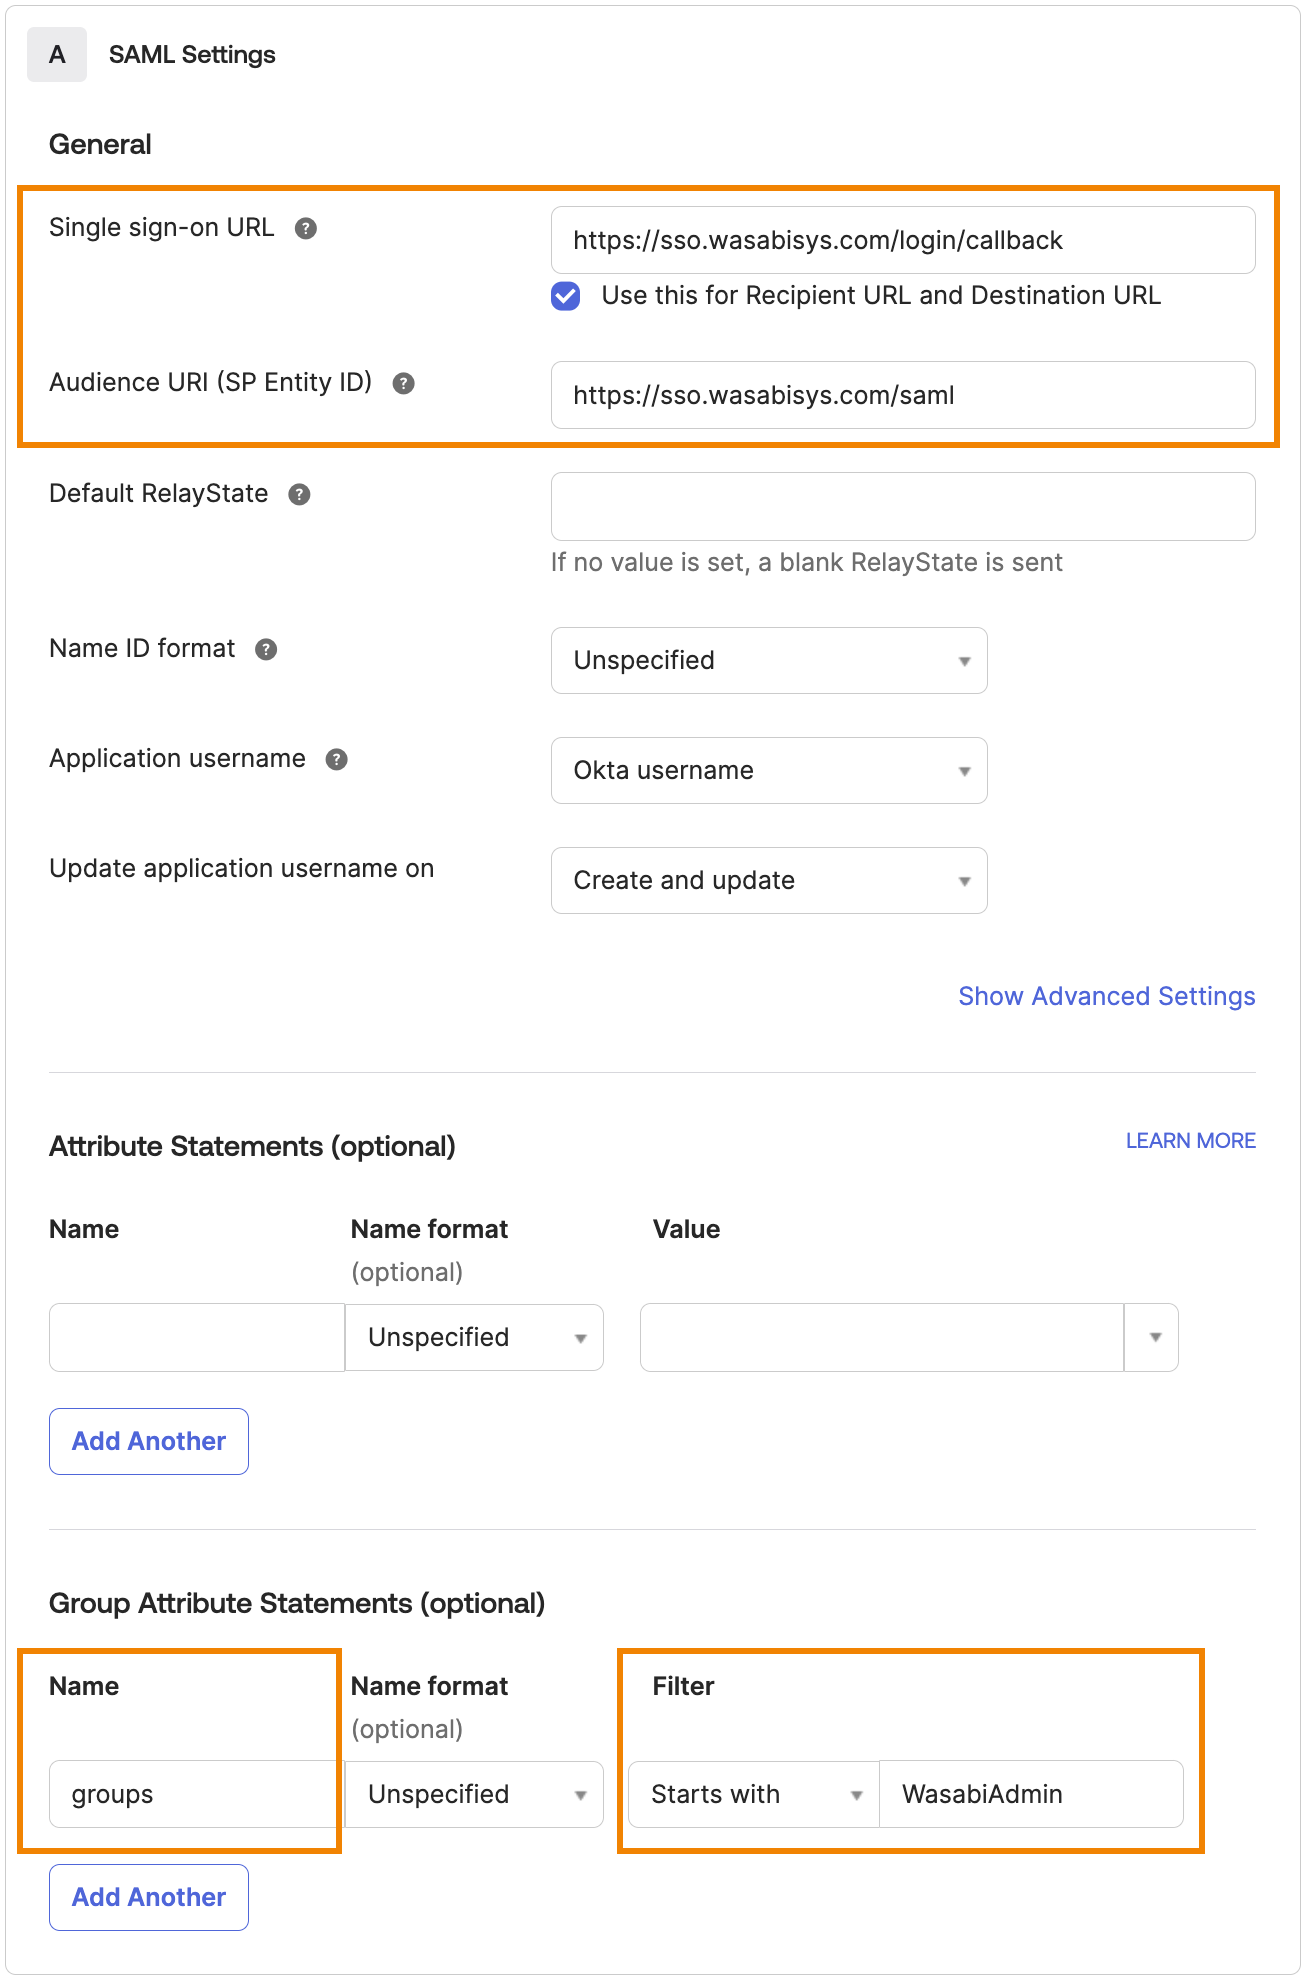
When all the entries are made, click Next.
In response to the customer or partner question on the Feedback page, select I'm a software vendor…
DO NOT click Submit your app for review. Wasabi does not need multiple customers submitting apps for review to Okta.

Click Finish.
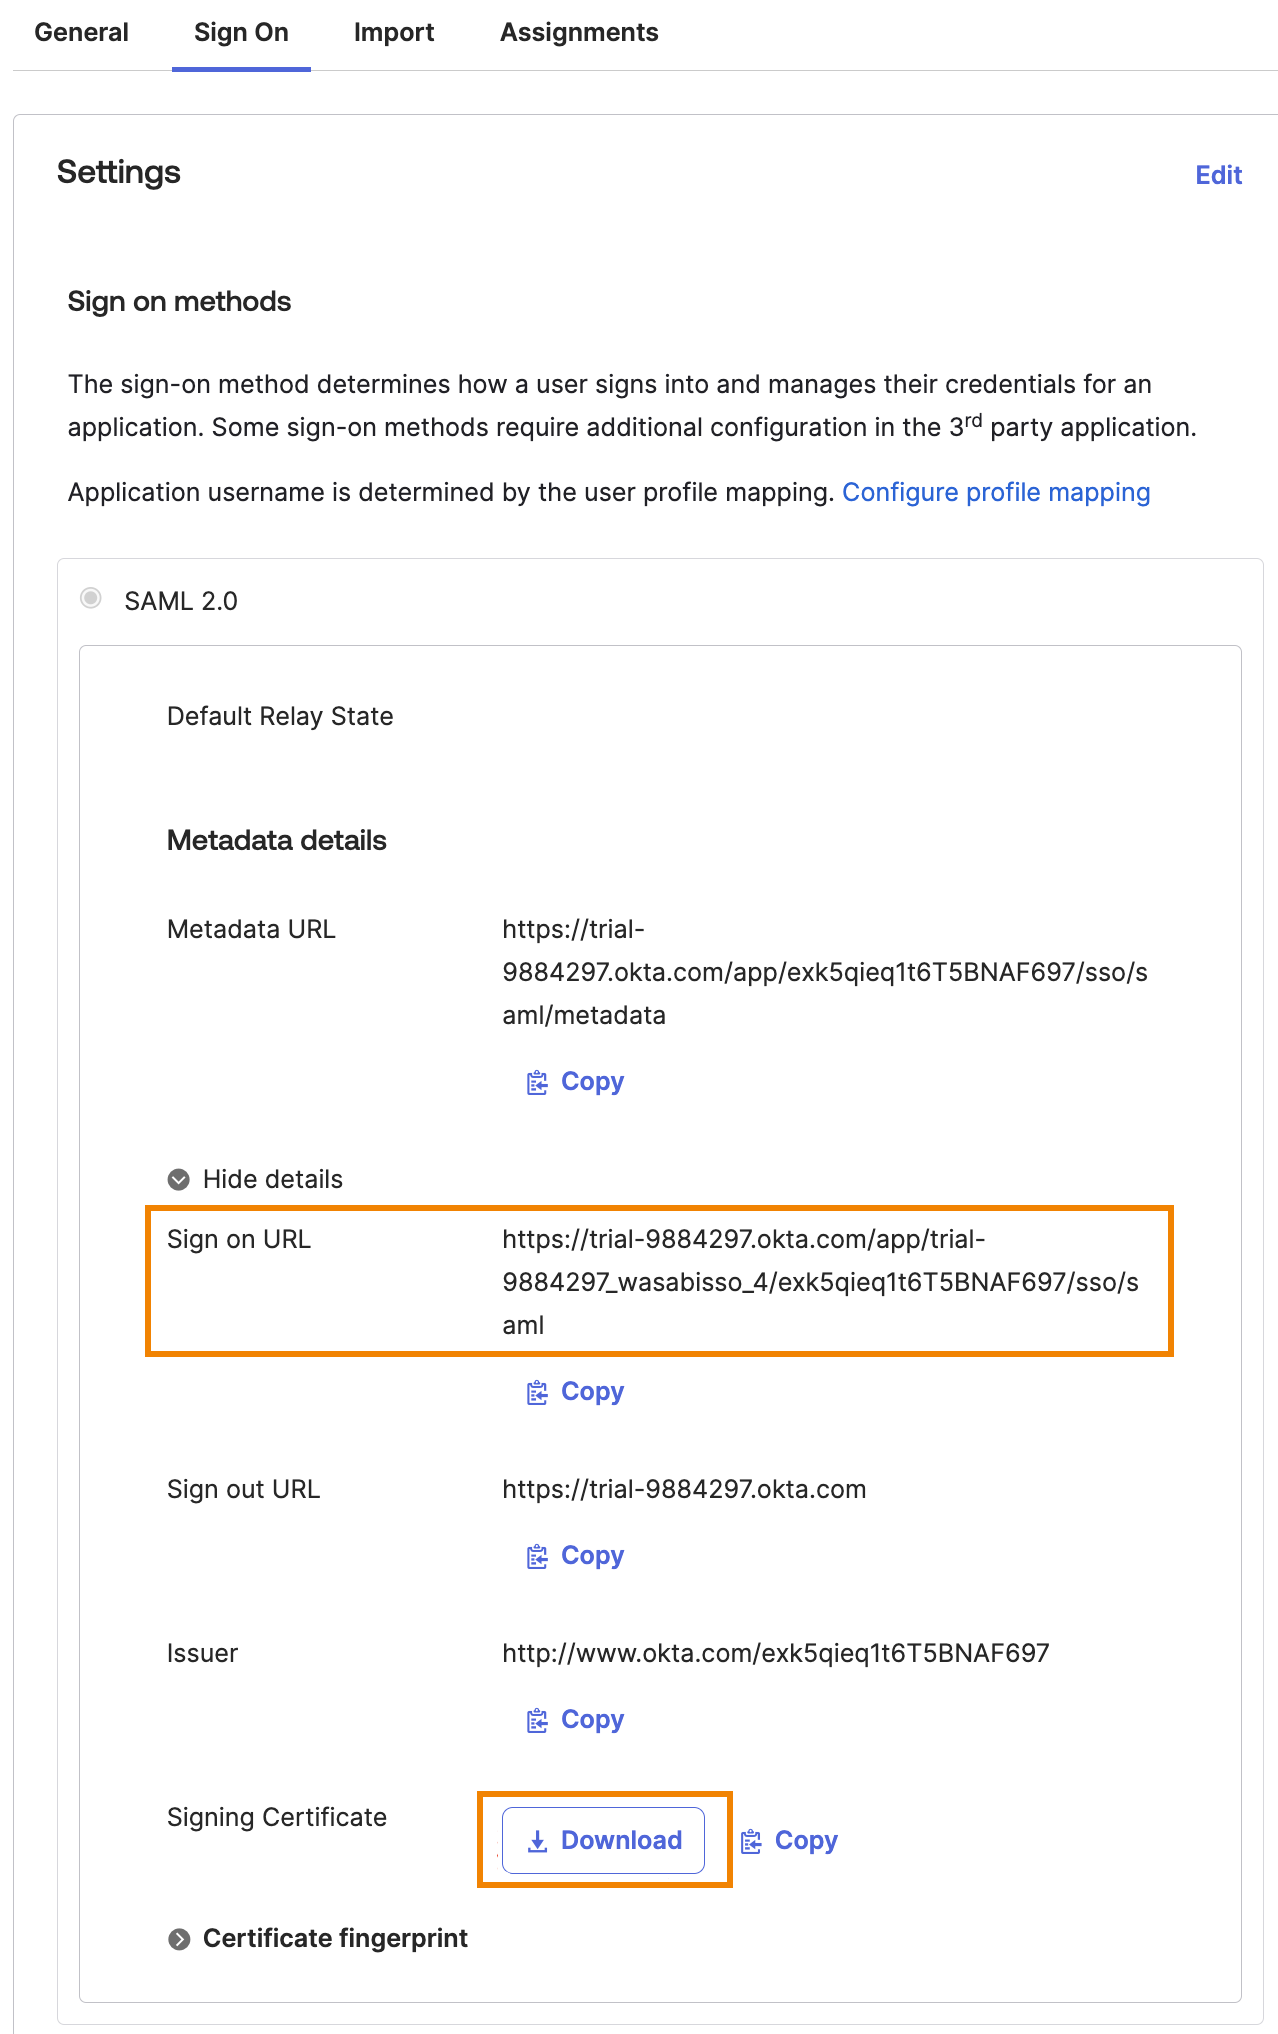
Click Sign On in the SAML Application you just created. Note the Sign on URL, then click Download for the Signing Certificate. You will need those details for the Wasabi Console.
You must be the Wasabi Root user to configure the Wasabi Console SSO.
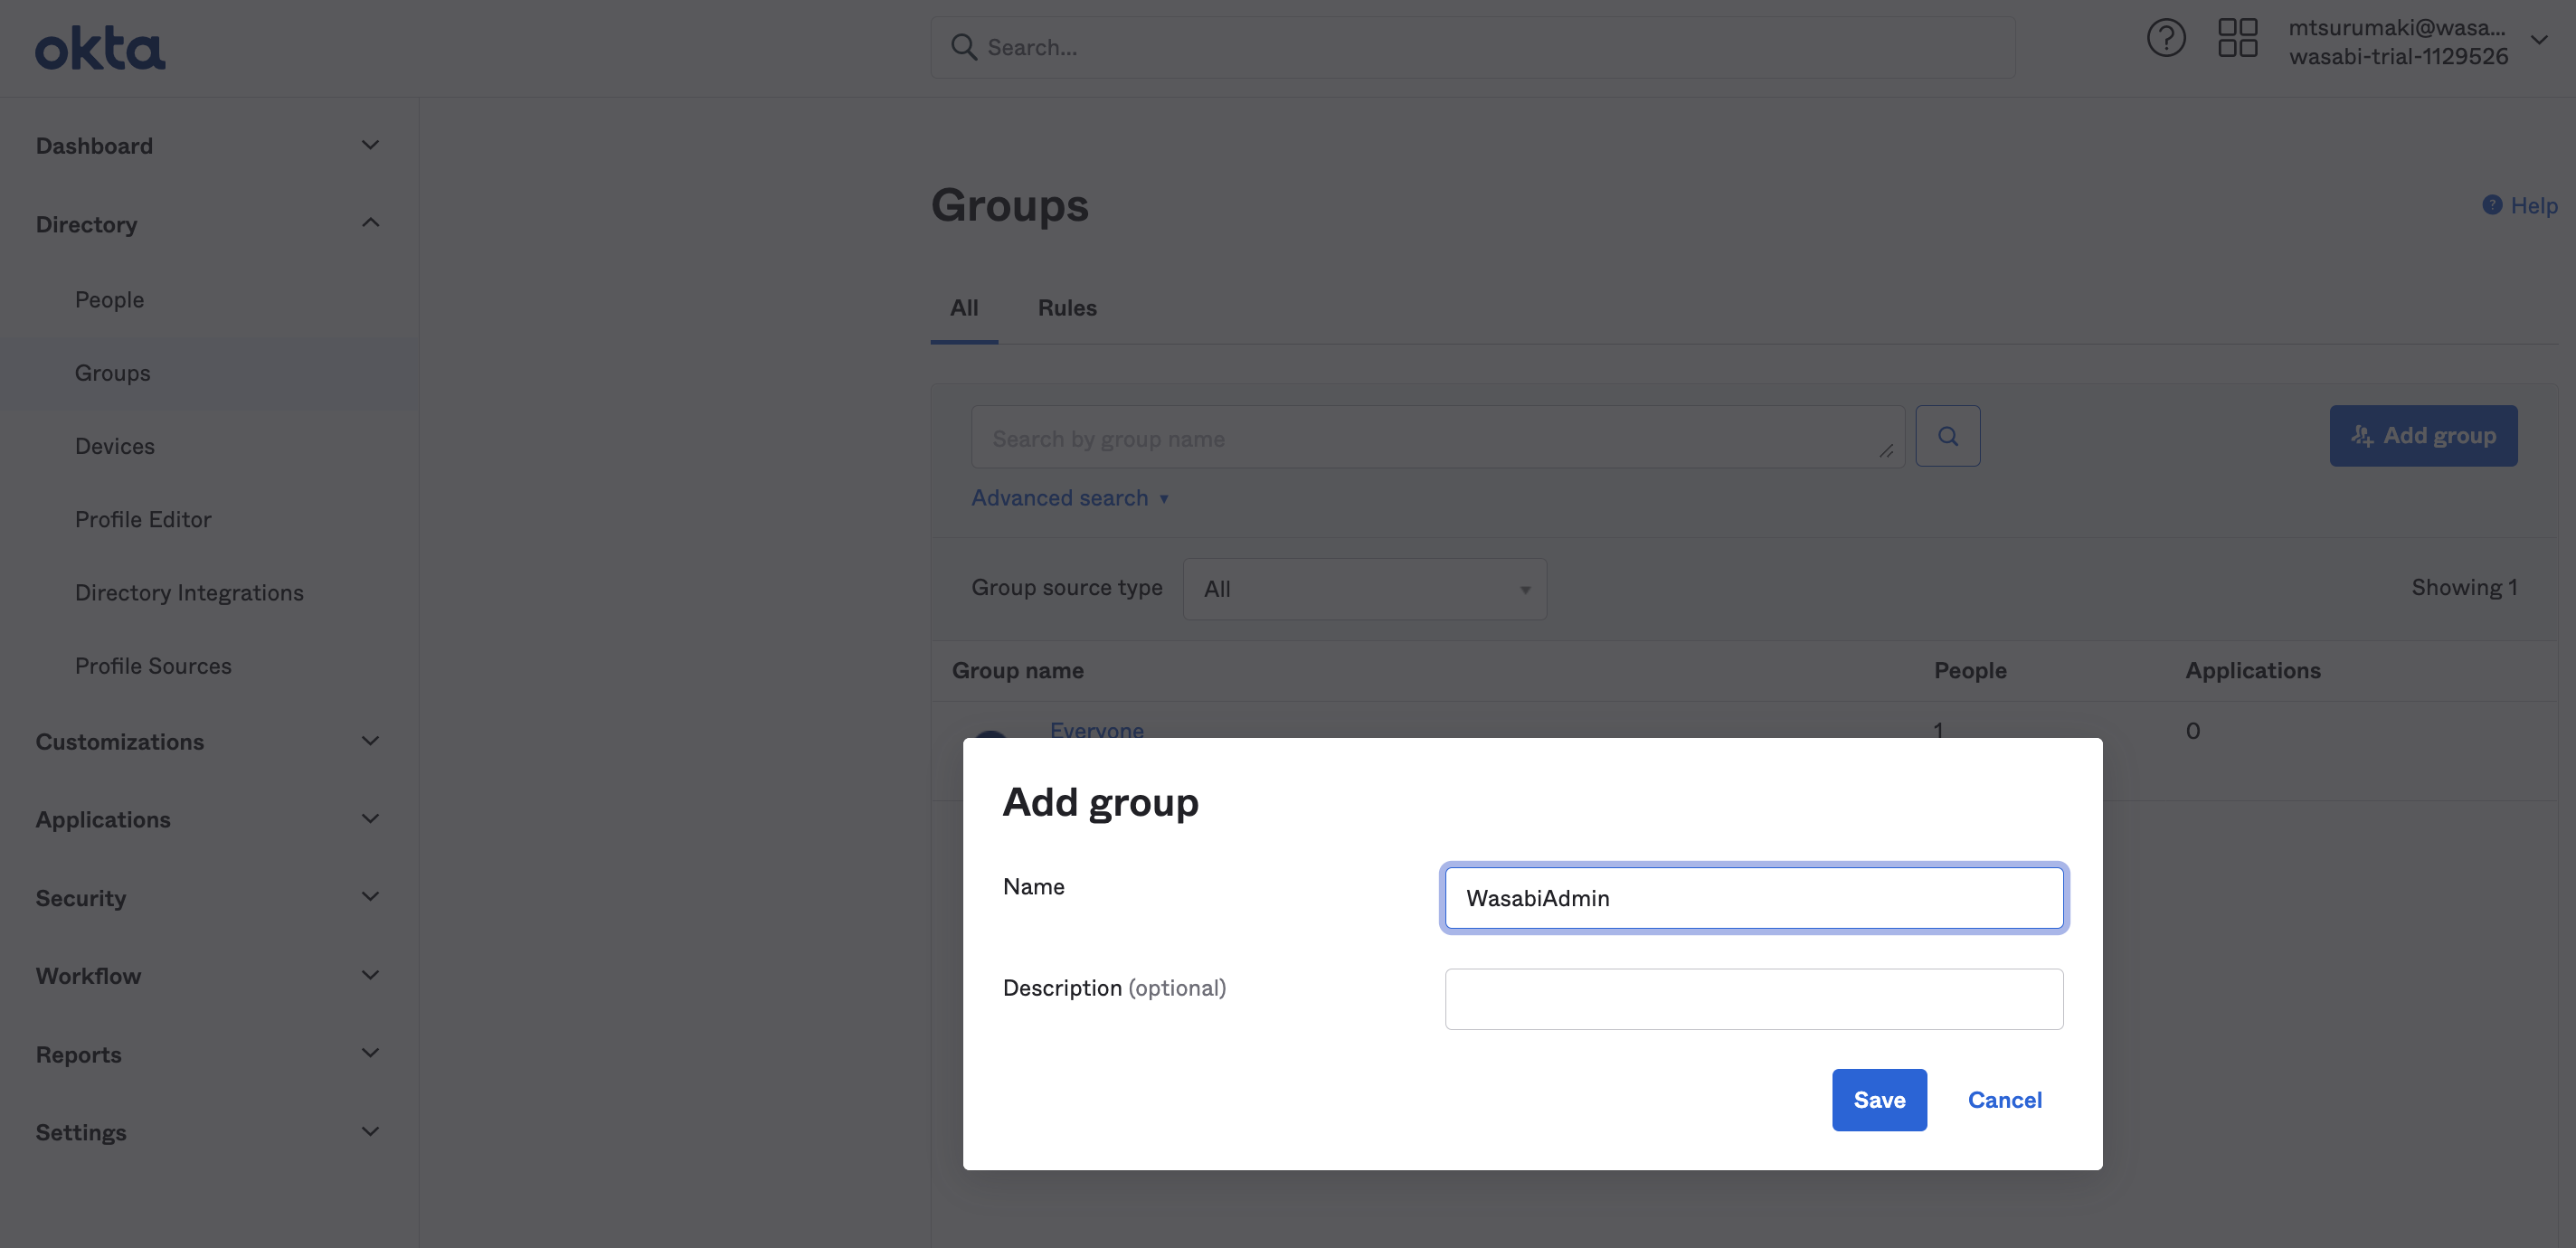
Click Directory in the left menu and select Groups.
In this example, we created a group called "WasabiAdmin" (entered in the Group Attribute Statements (Filter - Starts with).
If you have an existing group that you want to give access to the Wasabi Console, you can skip this step. If you are using an existing group, be sure to enter your existing group name in Group Attribute Statements (Filter - Starts with).
After you create the group, be sure to add the users/groups you want to access in the Wasabi Console through Okta SSO.
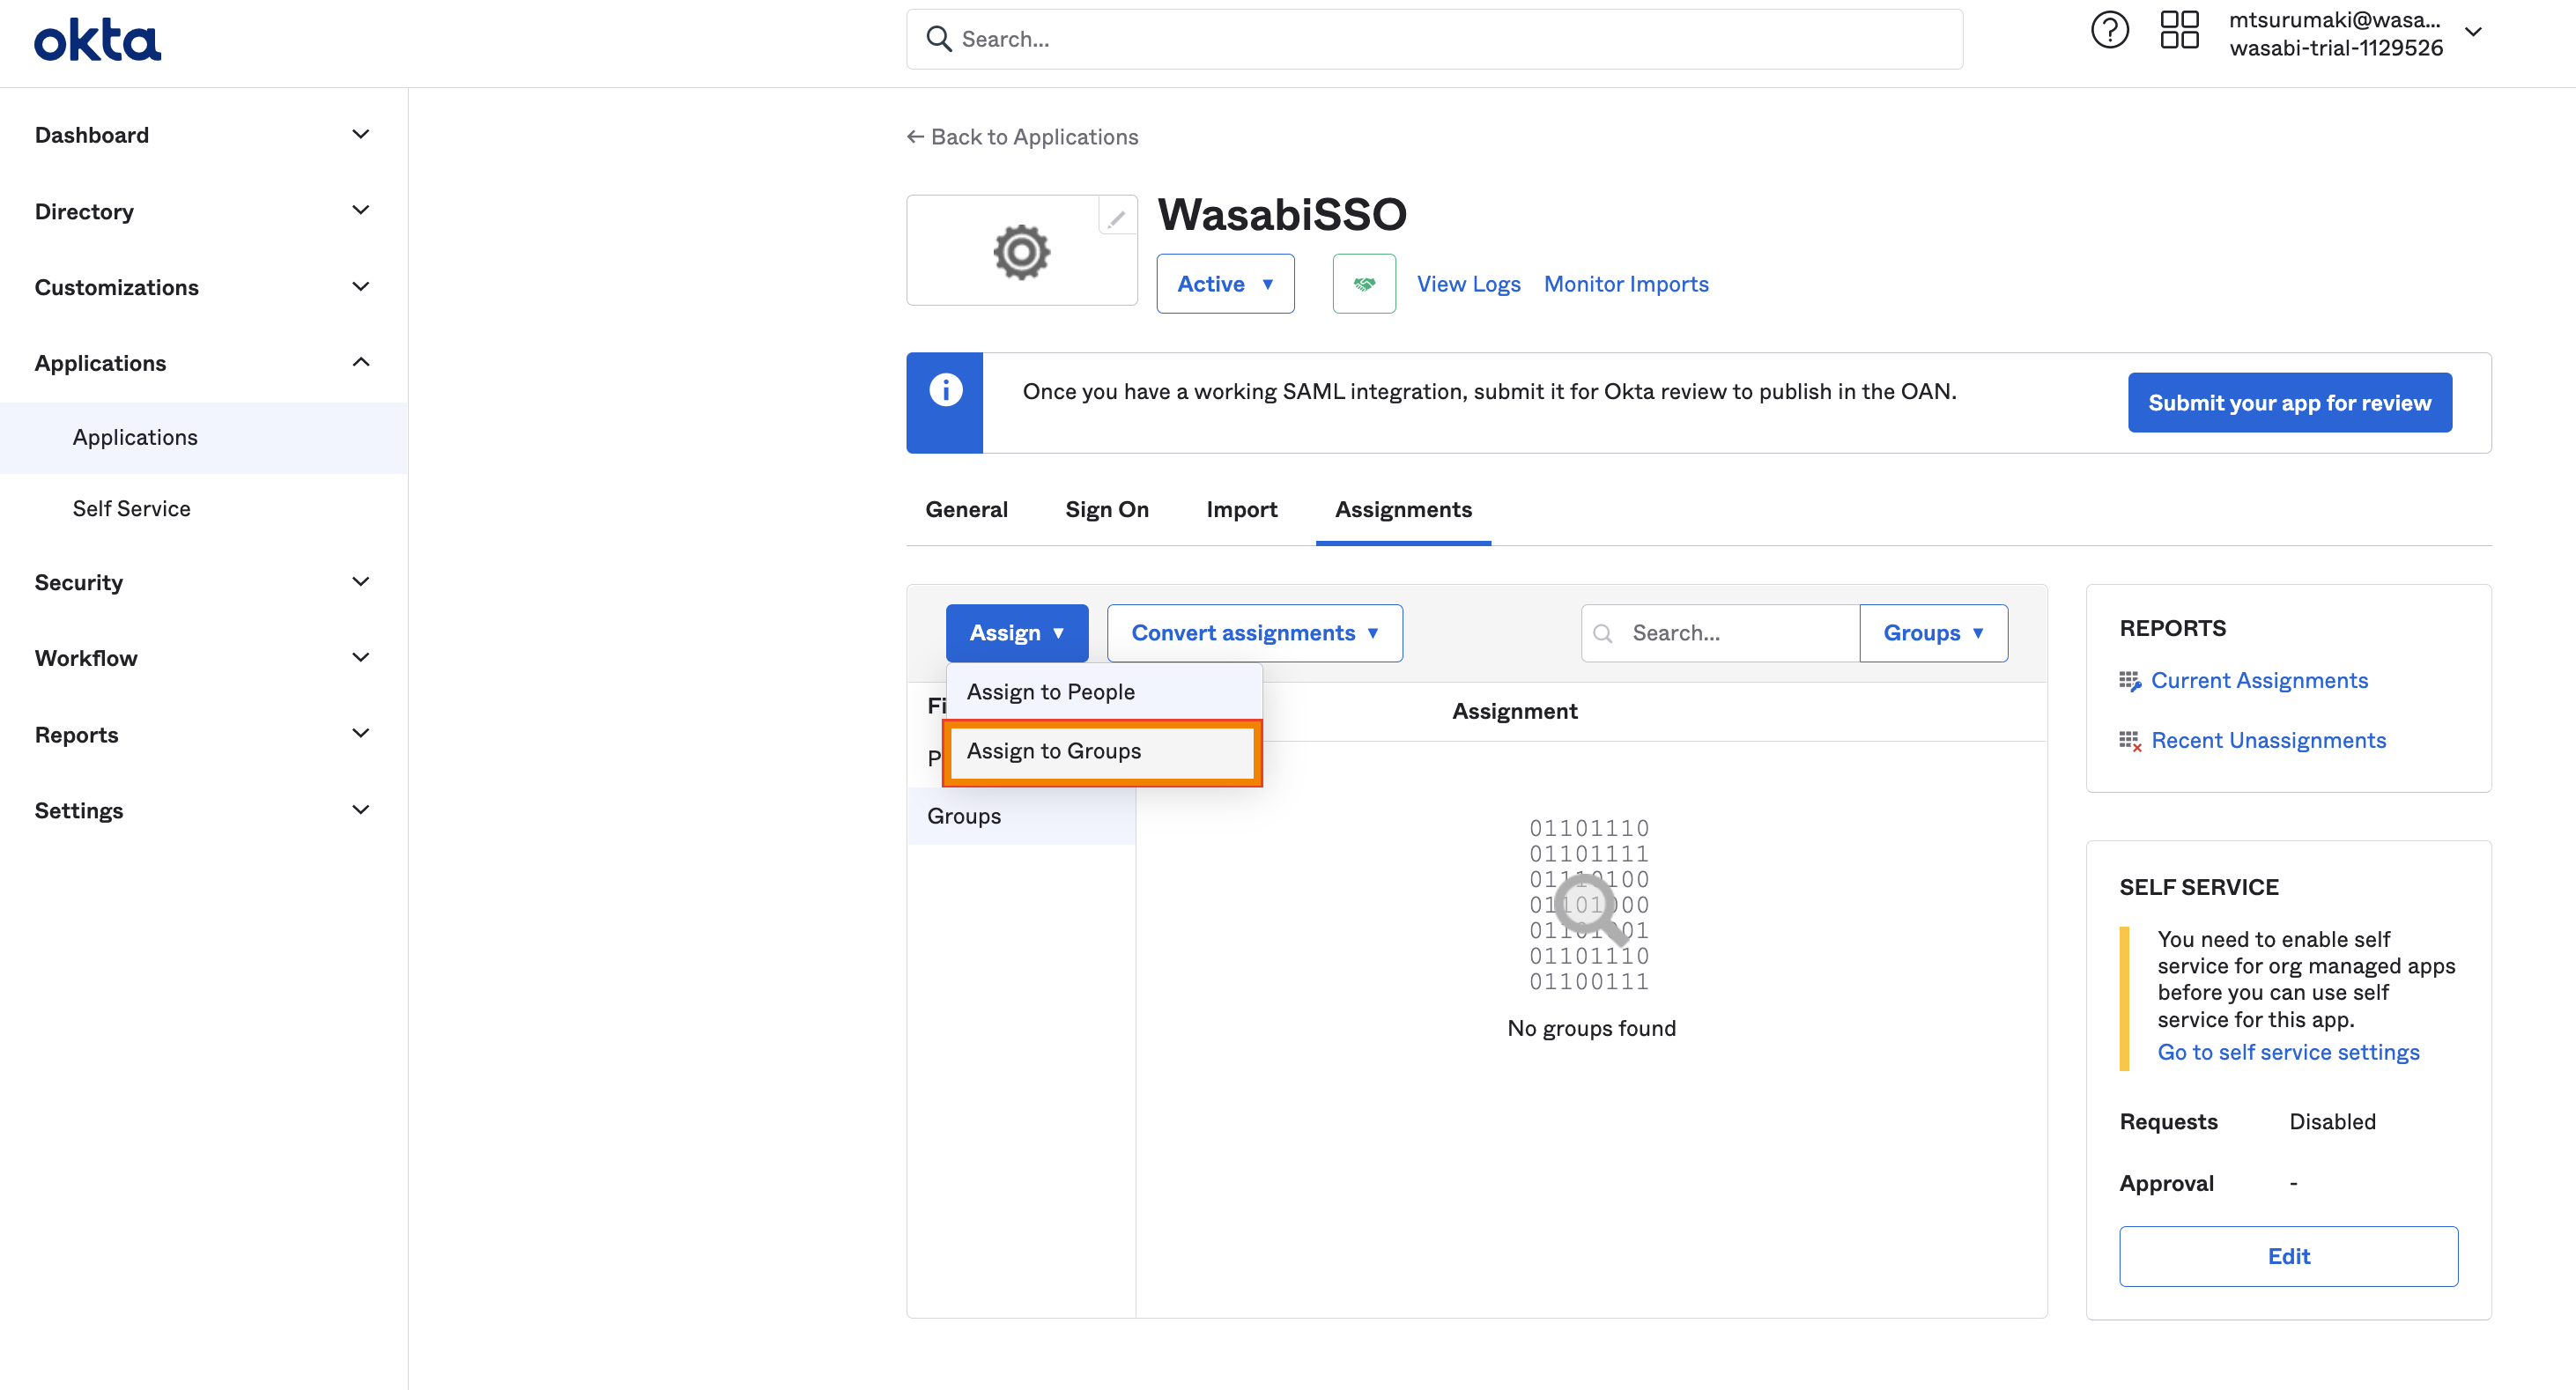
After you have added the users/groups to the Okta group, go back to Applications and select the application you created earlier, such as “WasabiSSO.” Then, in the Assign drop-down, click Assign to Groups.
Configuring SAML Settings in Wasabi Console (SP / Client Side)
Sign in to the Wasabi Console (https://console.wasabisys.com/login) using a Root account email.
Click Security in the Console navigation bar.
Click the SSO (Single Sign On) tab and enter the following information:
Select SAML for the configuration connection type.
Paste the URL from Step 8 in the Sign In URL.
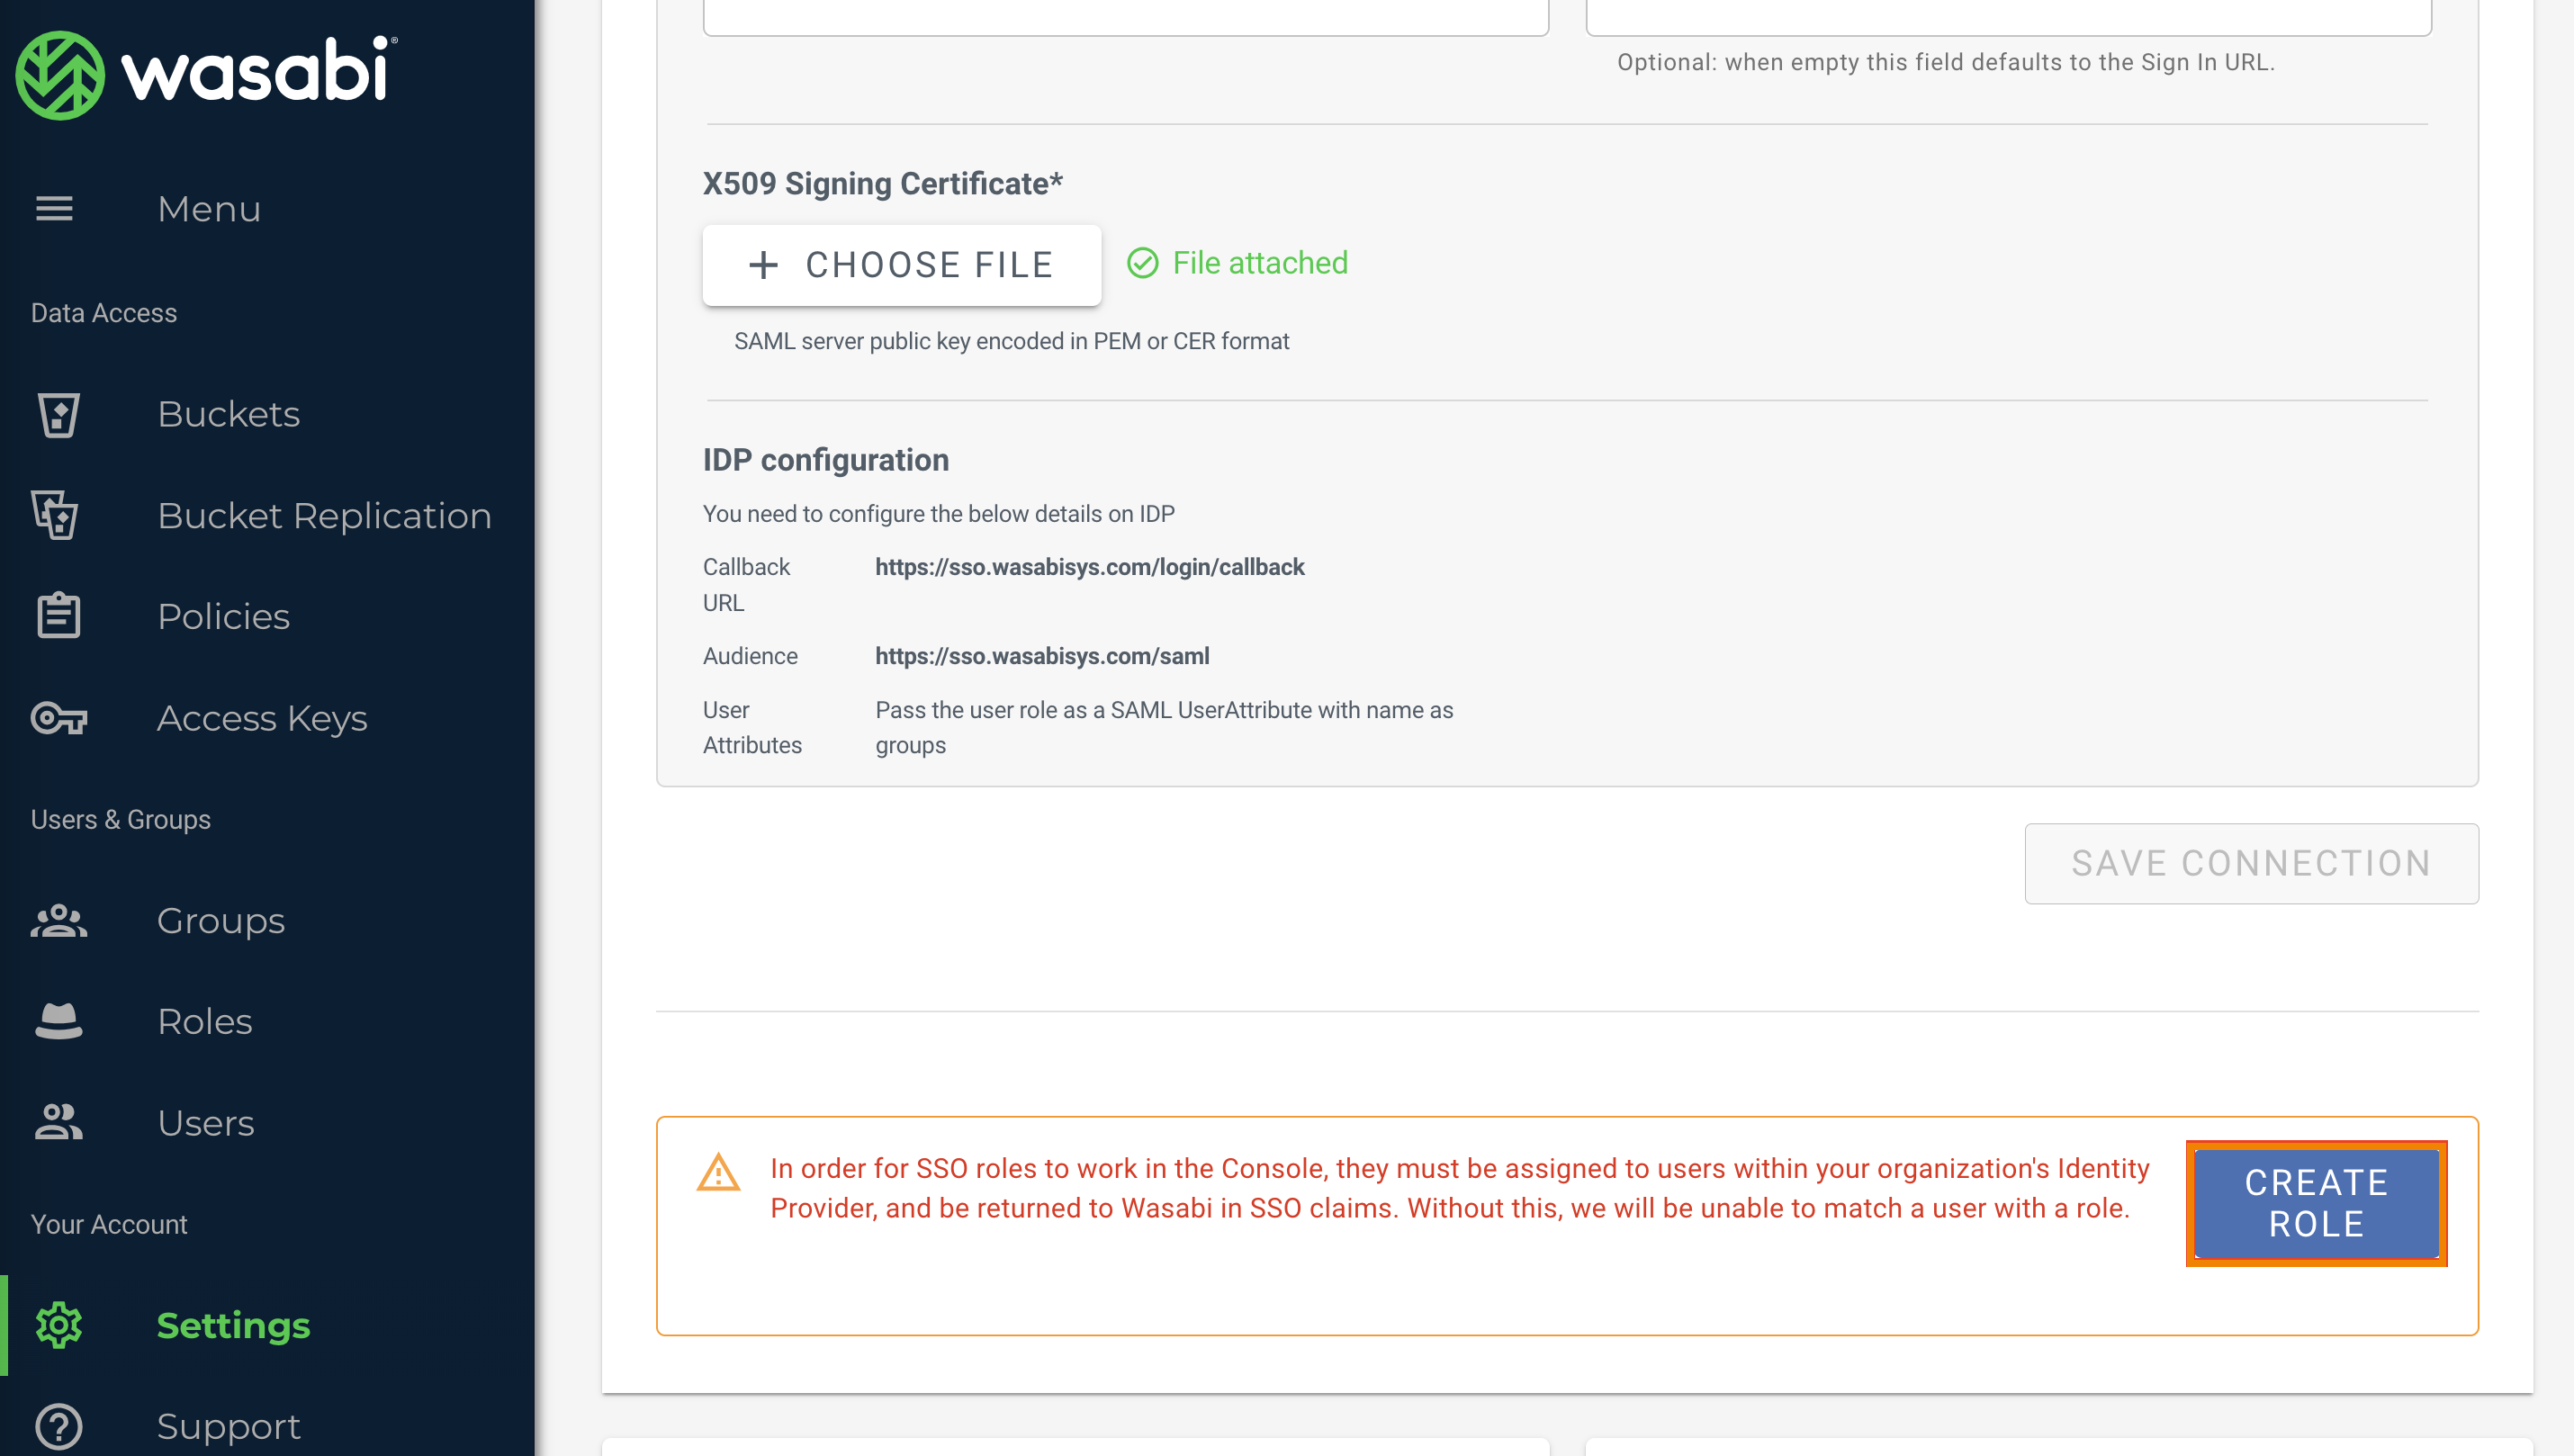
Upload the X509 Signing Certificate from Step 8.
Optionally, enter a Sign Out URL, which is located in the SAML setting on Okta.
You will not see this tab if you have a Wasabi trial account. This feature is available only for paid accounts.
Create a Wasabi role for SSO roles to work in the Console. Click Create Role in the SSO tab in the Security section. Roles must be assigned to users within your organization's Identity Provider and returned to Wasabi in SSO claims. Without this, Wasabi will be unable to match a user with a role.
Do not create the role through the Roles feature (in the Console navigation bar). SSO roles must be created through the SSO tab in Security.
In the Create Role pane, enter the Okta group name you created in the previous section, Step 6, or enter your existing group.
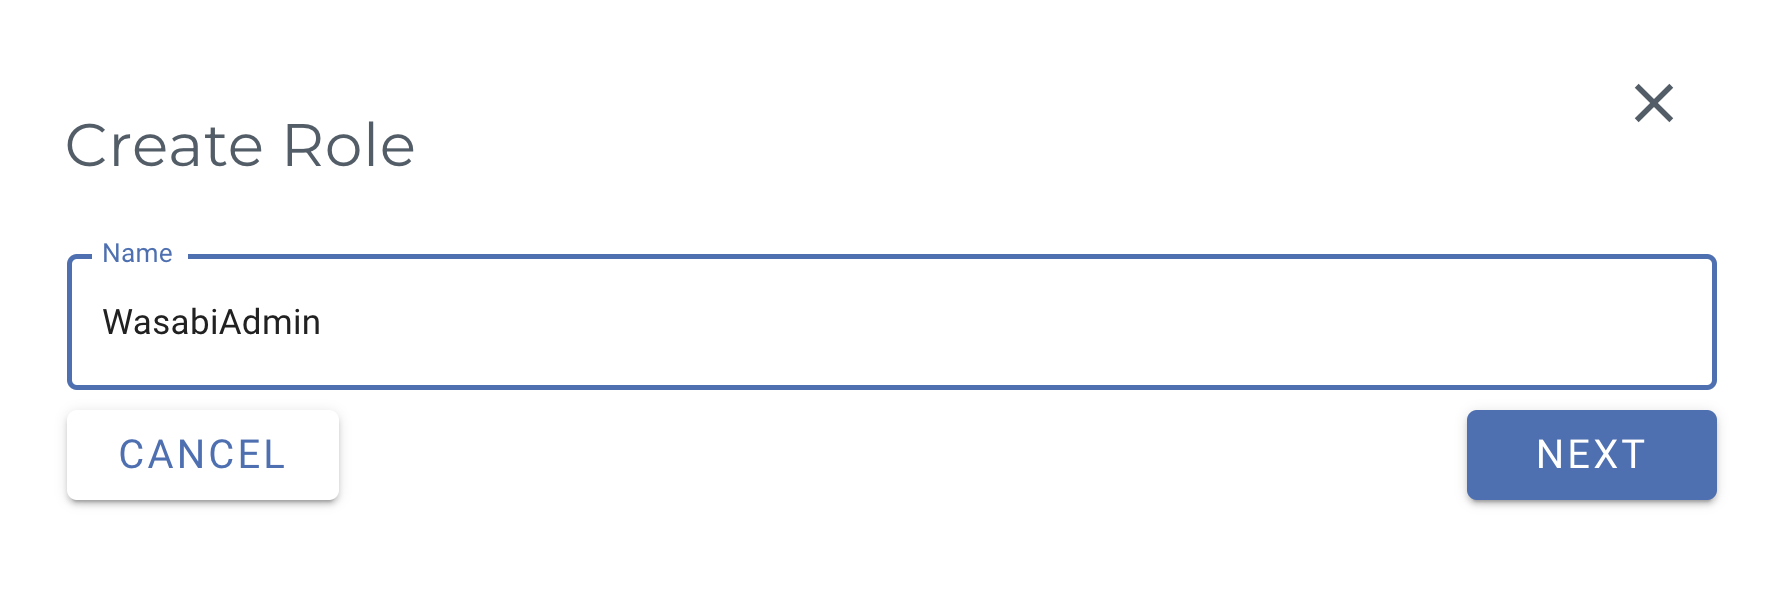
Assign a Policy to this role to give the user specific access. You can assign multiple policies to the user role. Review Policies in Wasabi Hot Cloud Storage for a description of the default policies available in the Wasabi Console. Refer to Creating and Deleting a Policy to create your own IAM policies. Click Create Role when finished.
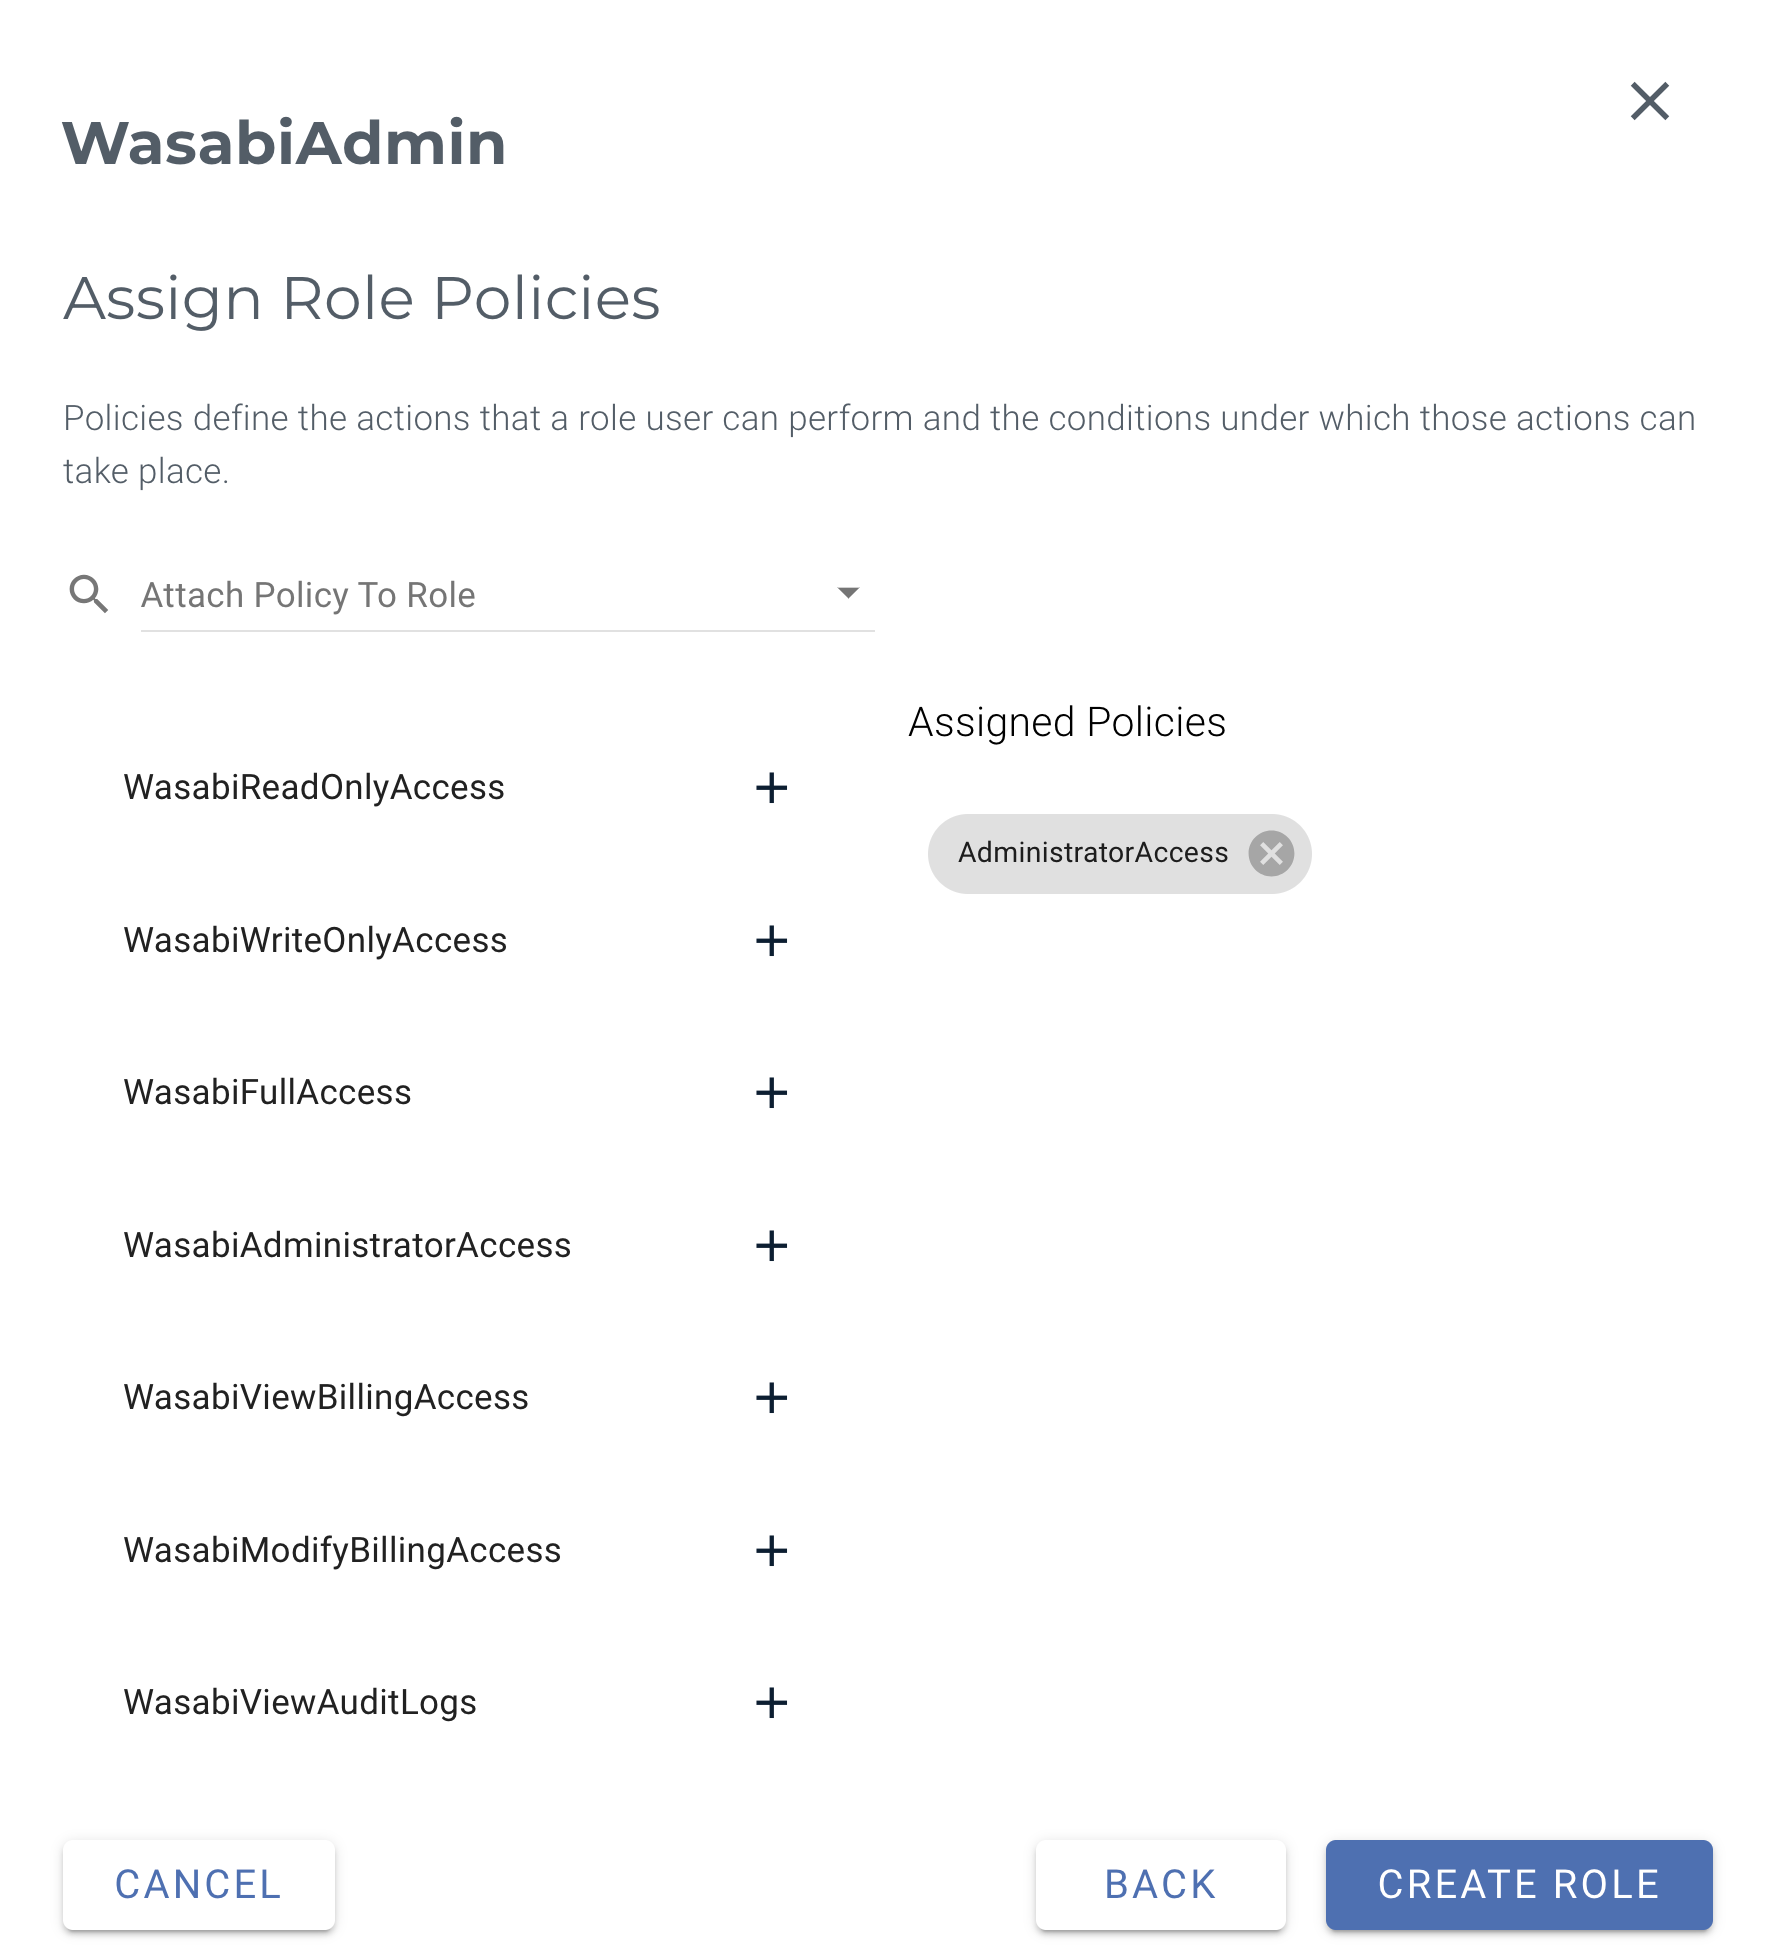
This example uses the AdministratorAccess policy. You may assign any Wasabi-managed or user-managed policy based on your requirements.
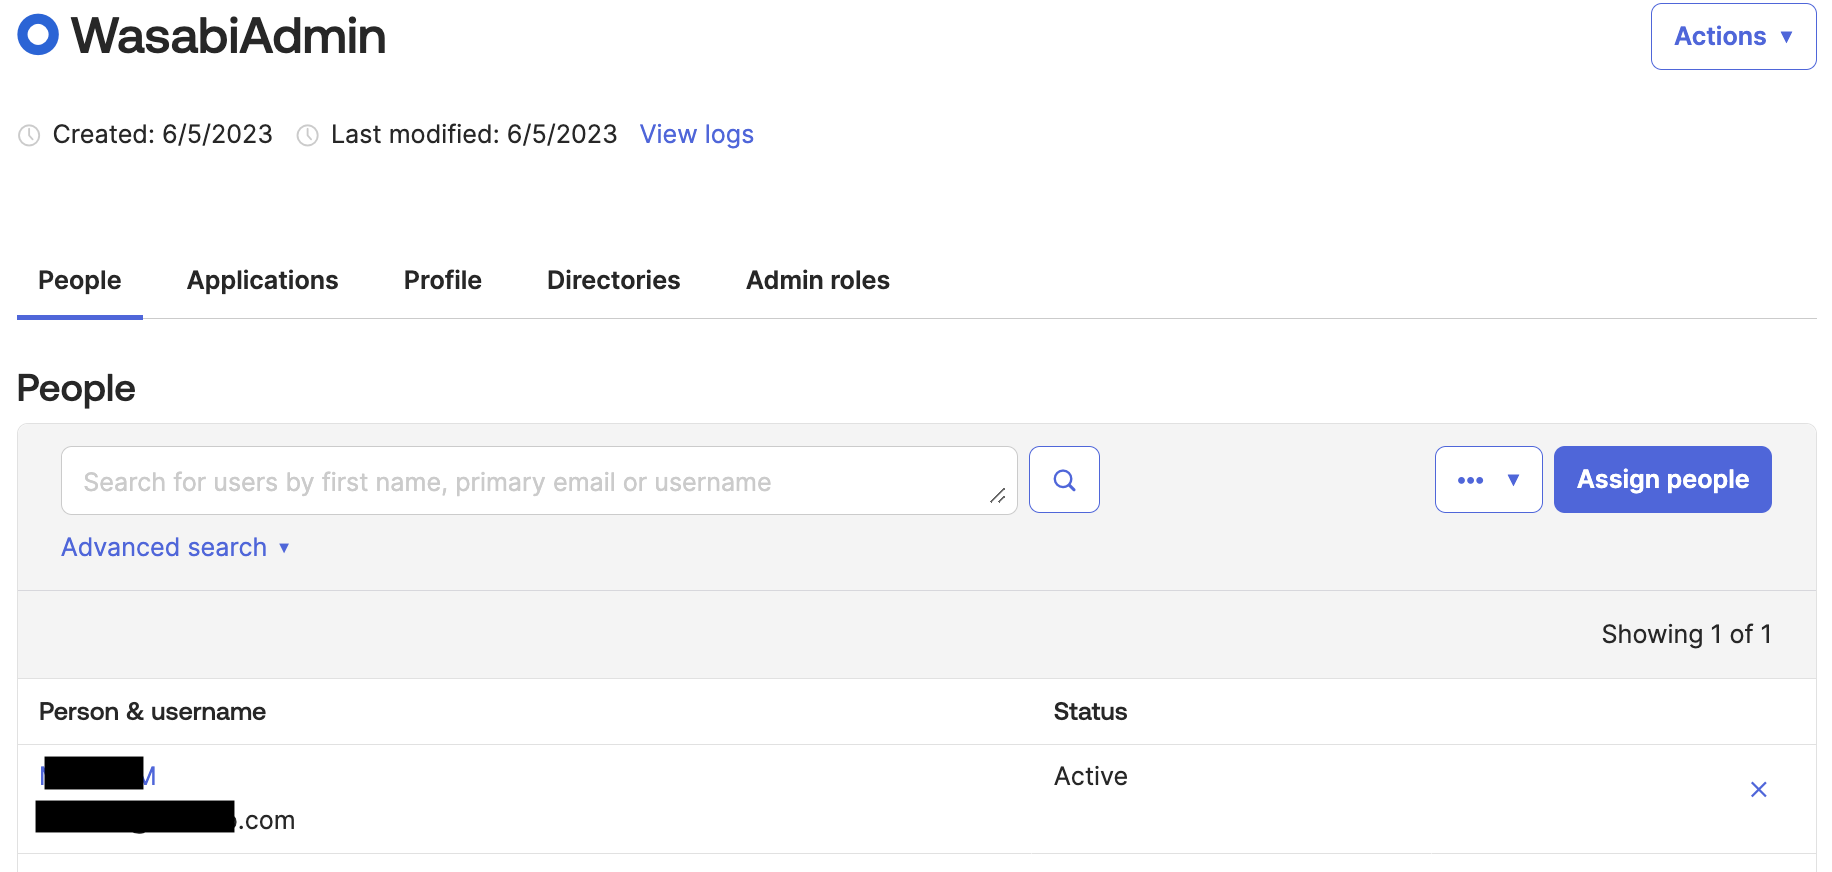
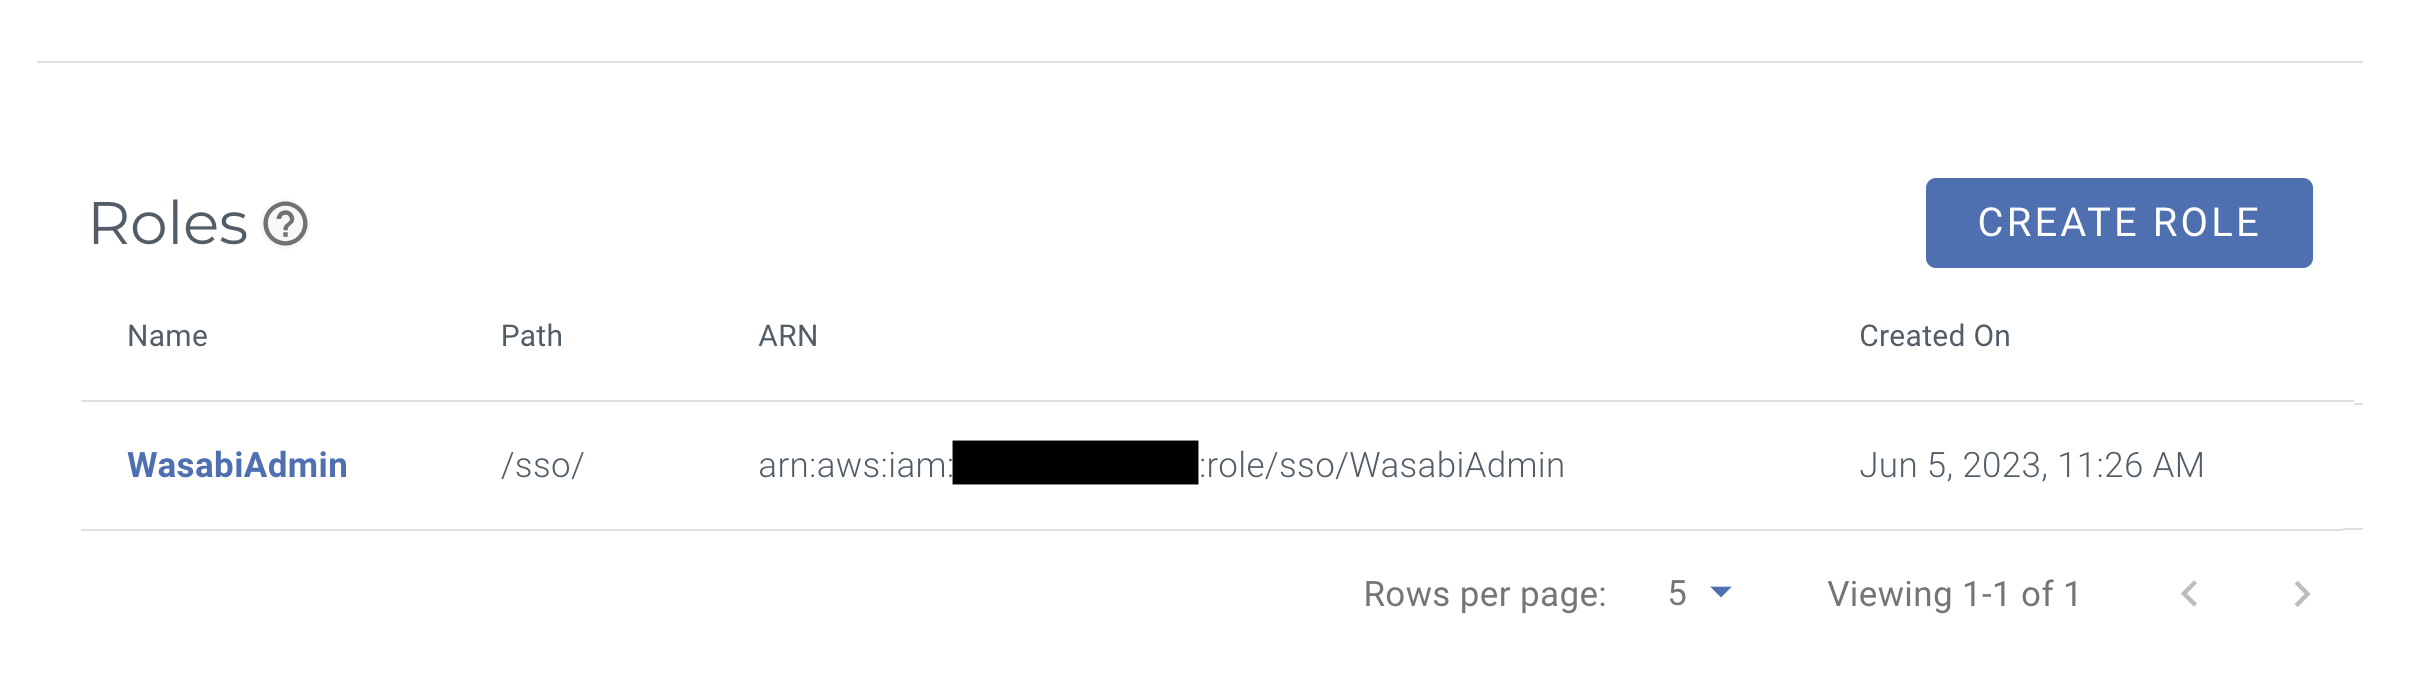
You should see the Wasabi role you have created in the SSO tab in Security. For example:
Testing the Integration
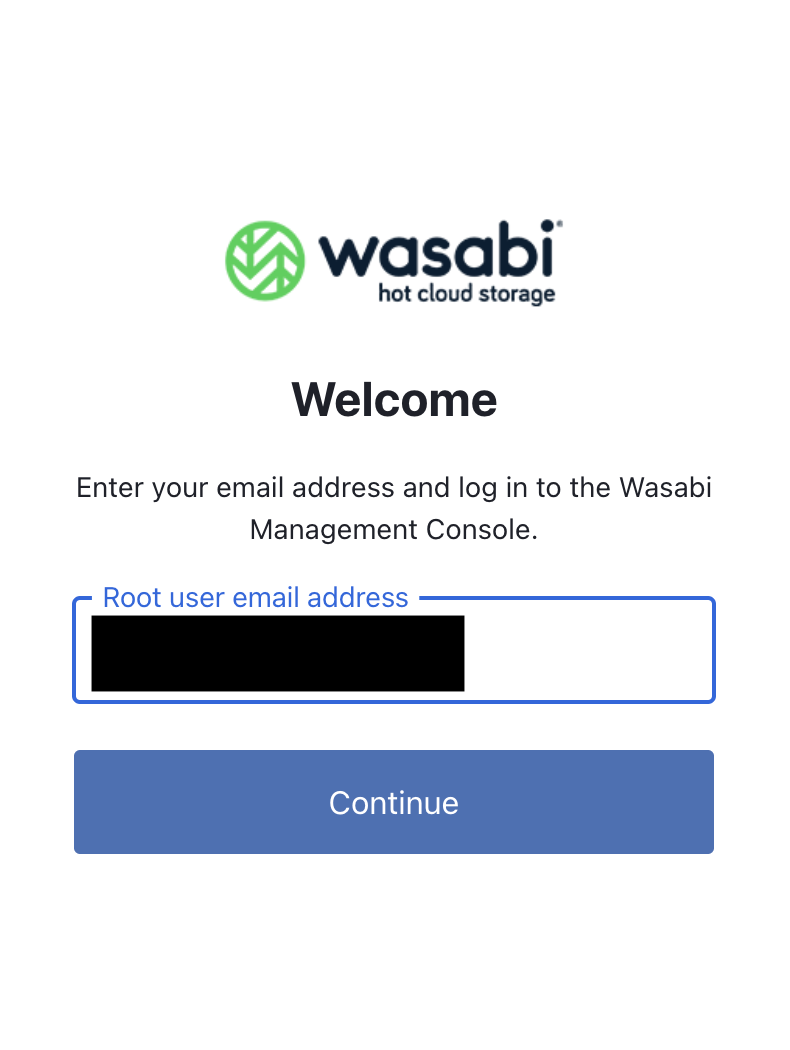
Sign in to the Wasabi Console (https://console.wasabisys.com) to test the SSO configuration.

Enter the Wasabi Root user email address. Click Continue.
You will be redirected to your IdP’s Okta login page. Enter your company’s Okta username and password. Click Next.

Once you have successfully logged in with your company's Okta username and password, you will be redirected back to the Wasabi Console.
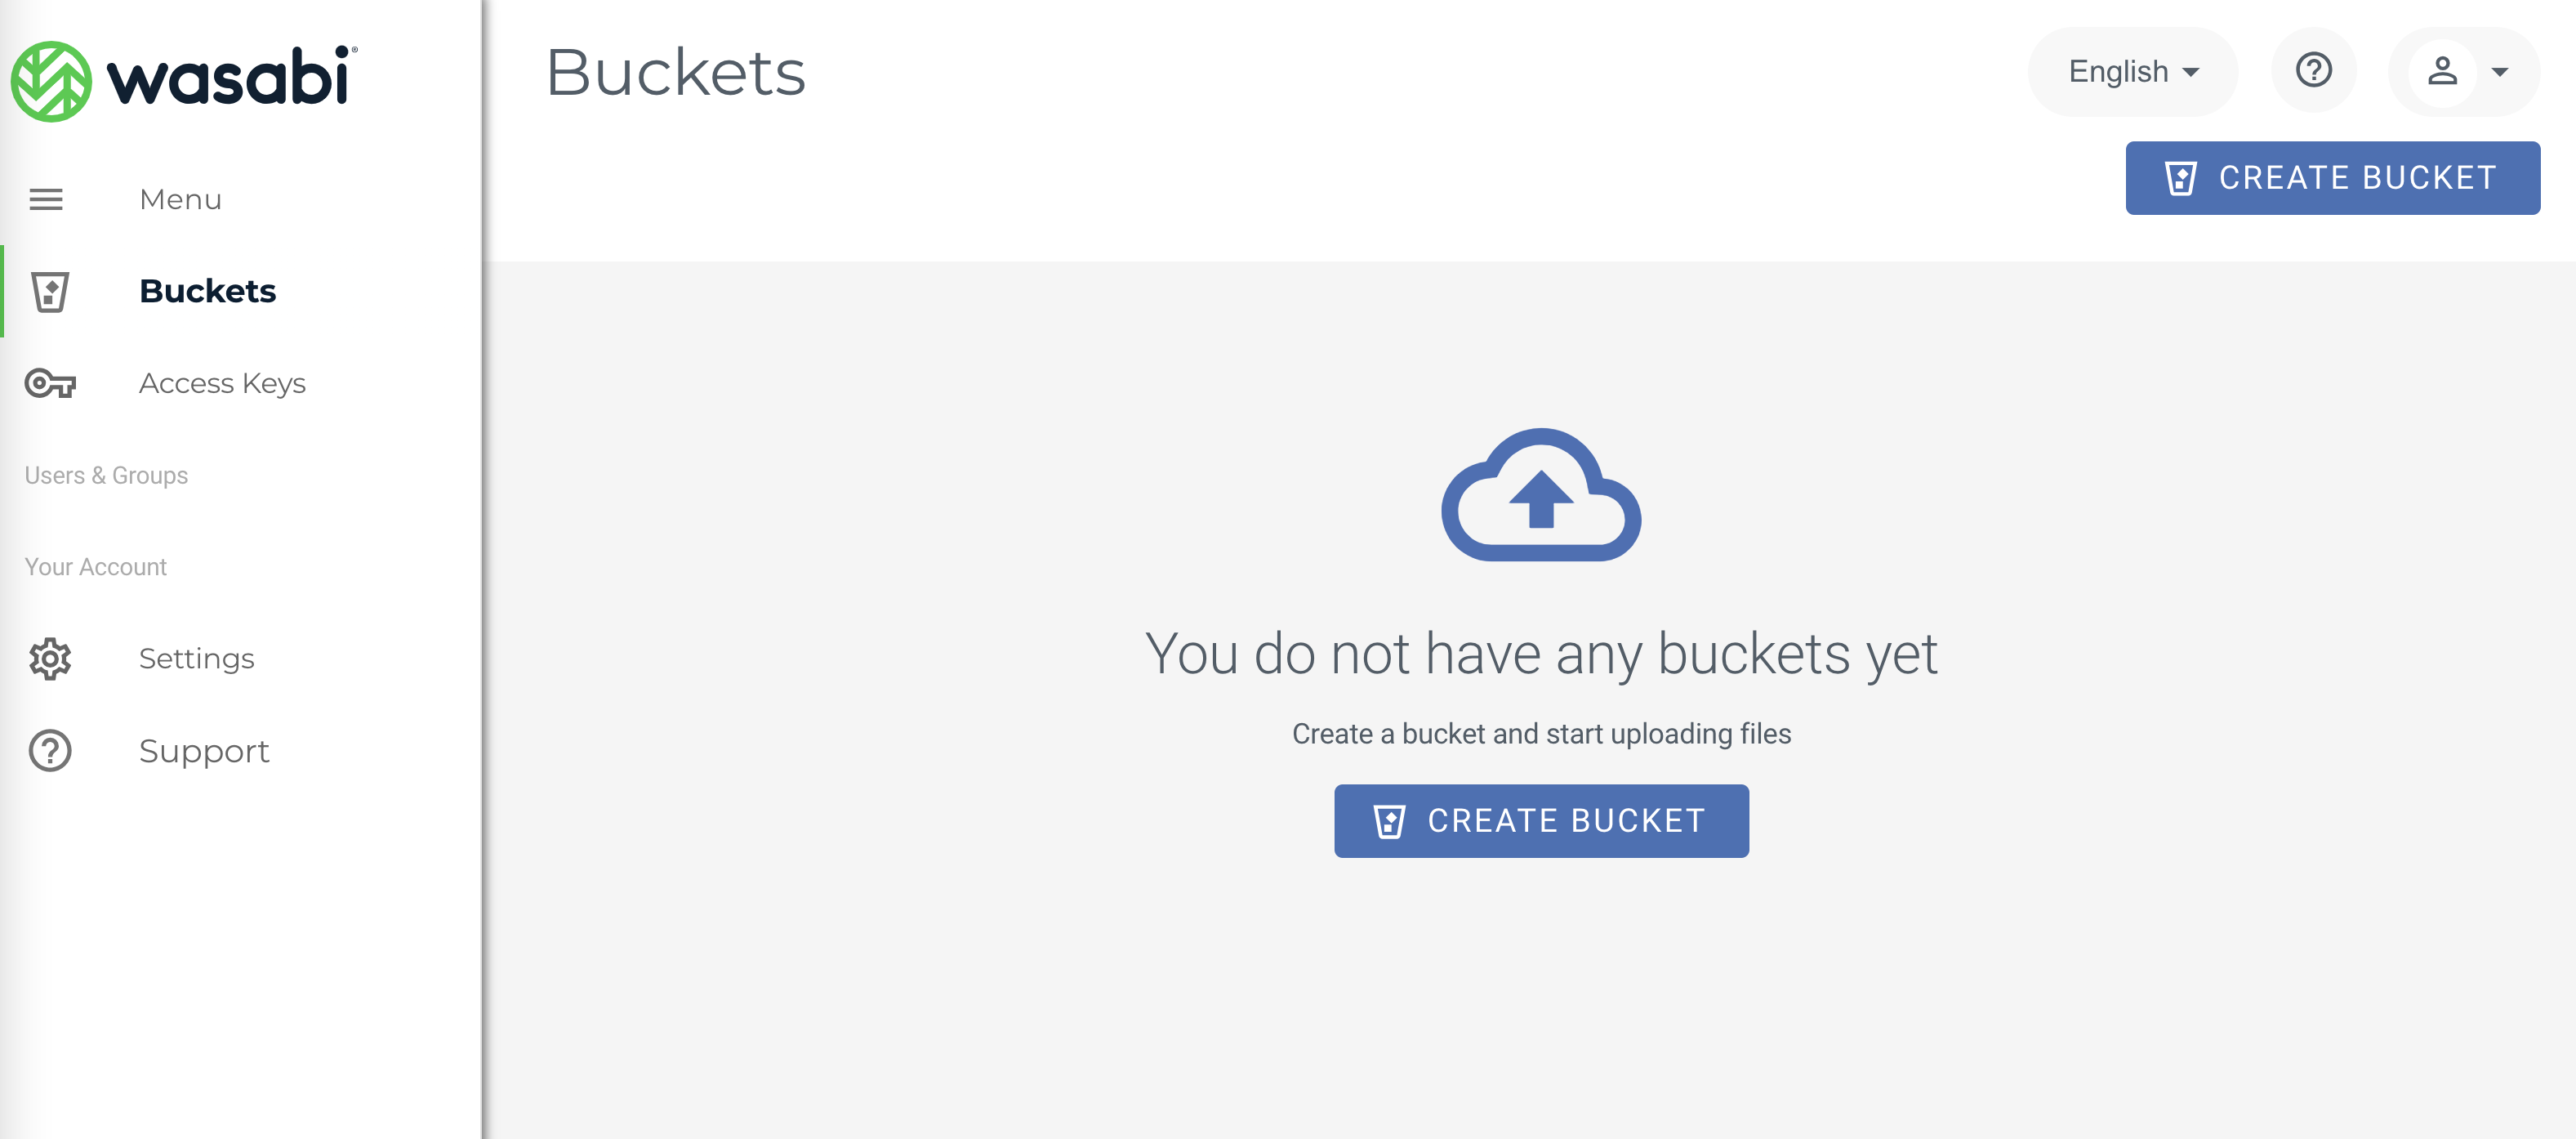
Your view of the Wasabi Console may differ depending on the IAM policy set for the SSO role you created.