How do I use Veeam v10 Cloud Connect with Wasabi?
Veeam Cloud Connect Service Providers (VCSPs) can use Veeam Backup & Replication to offer cloud repository and disaster recovery as services for their customers (tenants). Veeam Backup & Replication enables VCSPs to set up the cloud infrastructure for tenants to send and store their data to the cloud in an easy and secure way. This article describes how to configure Veeam Cloud Connect with Wasabi.
If you are going to leverage immutable Veeam backups, follow the steps in Object Lock: Enabling.
Enabling bucket versioning only is not a proper configuration for immutable Veeam backups and can cause problems.
If you are simply going to use regular Veeam backups with Wasabi buckets, bucket versioning is not required.
Prerequisites for VCC to Integrate With Wasabi
Veeam Backup & Replication release v10.
Veeam Service Provider license: Ensure that the license has "Cloud Connect Provider” set to Yes.
Veeam Backup & Replication release v10 as a customer.
Wasabi account.
Note: Wasabi is NOT a Veeam Cloud Connect provider. A Veeam Cloud Connect provider can use Wasabi to offload end-customer backups to Wasabi. You can find a Veeam Cloud Connect provider on Veeam's Partner page.
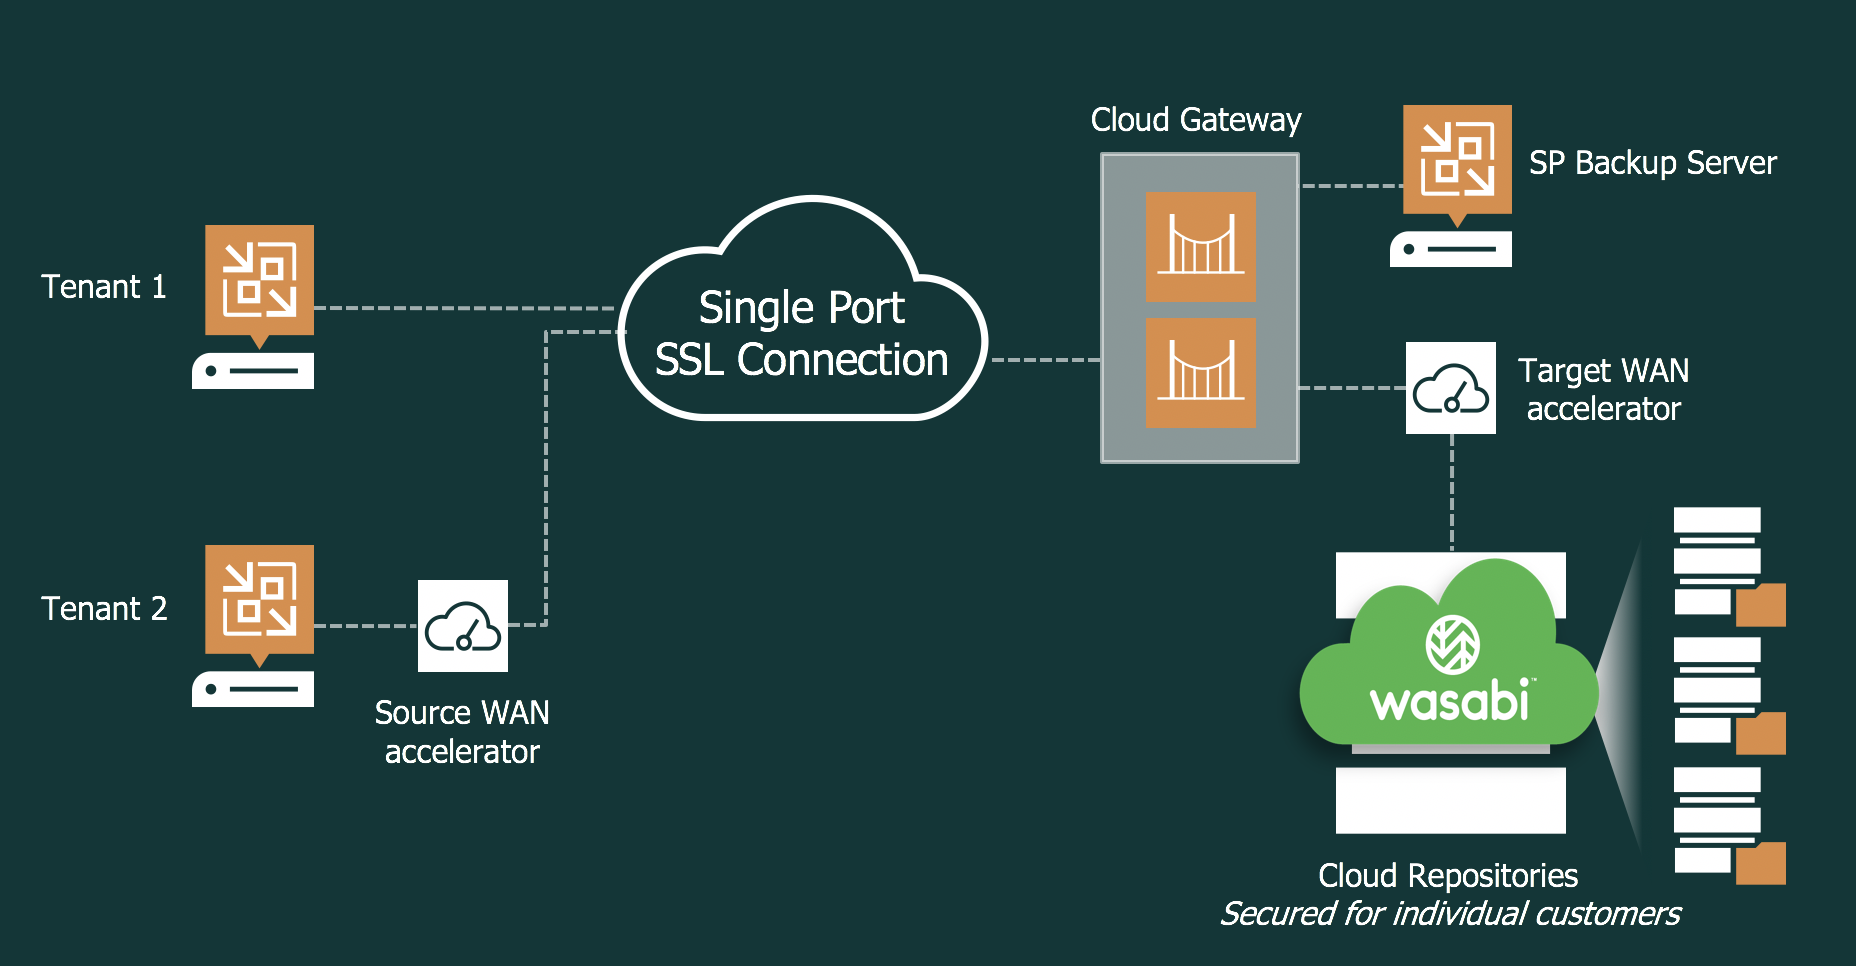
Reference Architecture
Configuring Cloud Gateway
Confirm your license. Veeam v10 requires the Cloud Connect license to operate your Veeam instance in a Cloud Connect mode.
If this is a new instance of Veeam Cloud Connect (or VCSP) setup, follow Steps 2-5 to activate a certificate. If not, proceed to Step 6.
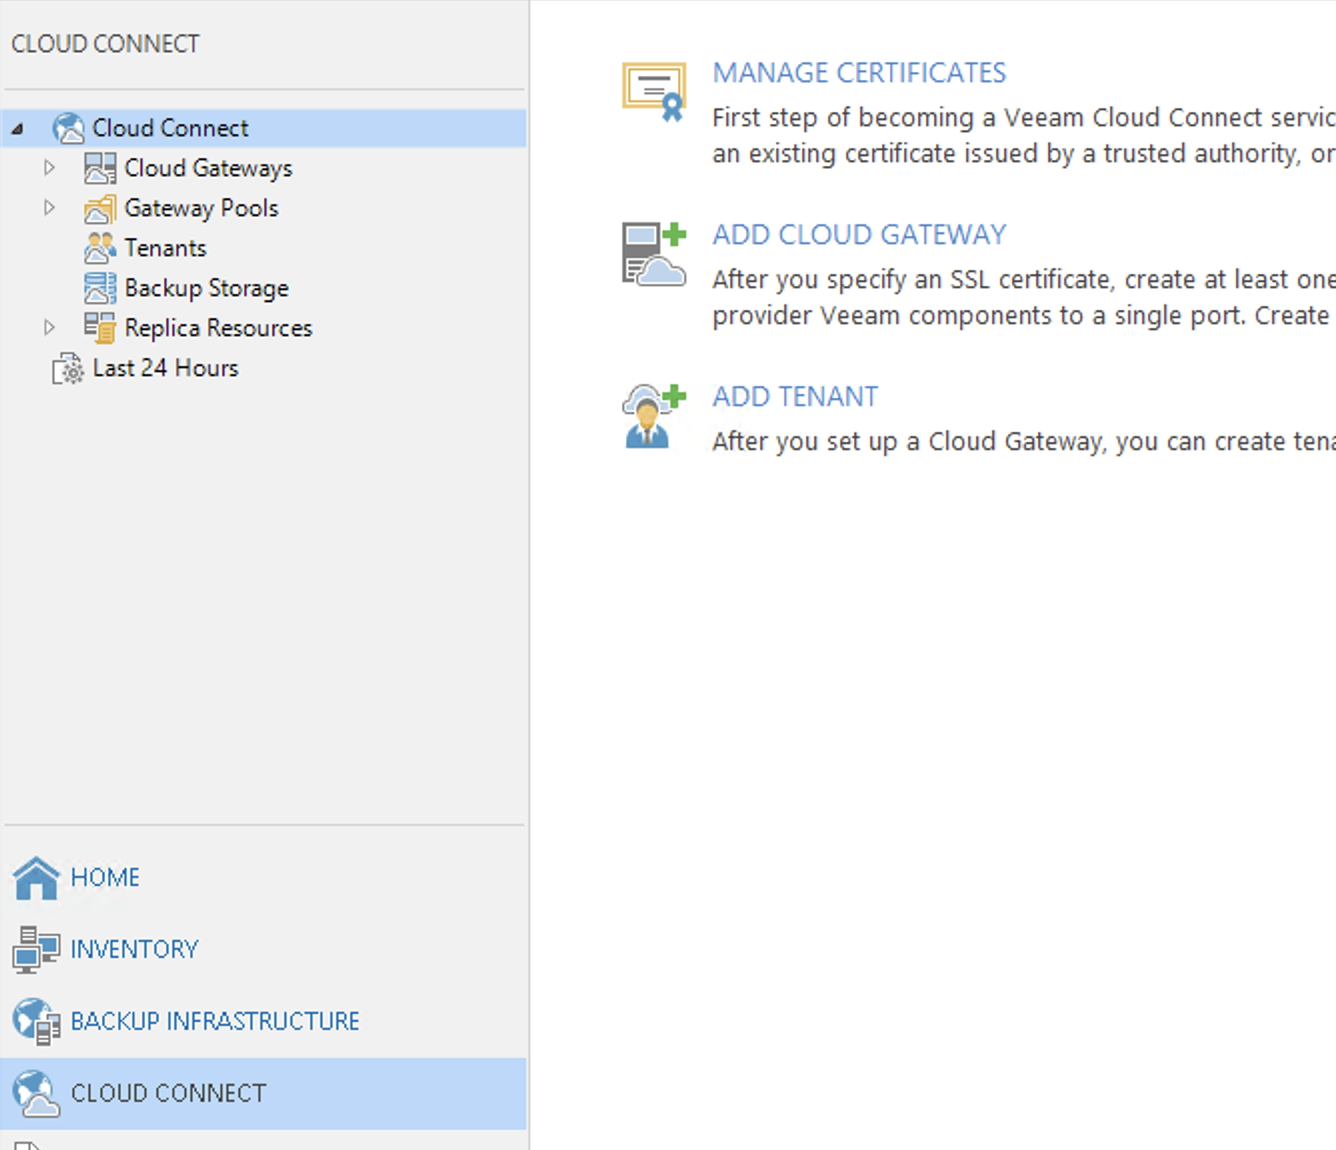
Click Manage Certificates.

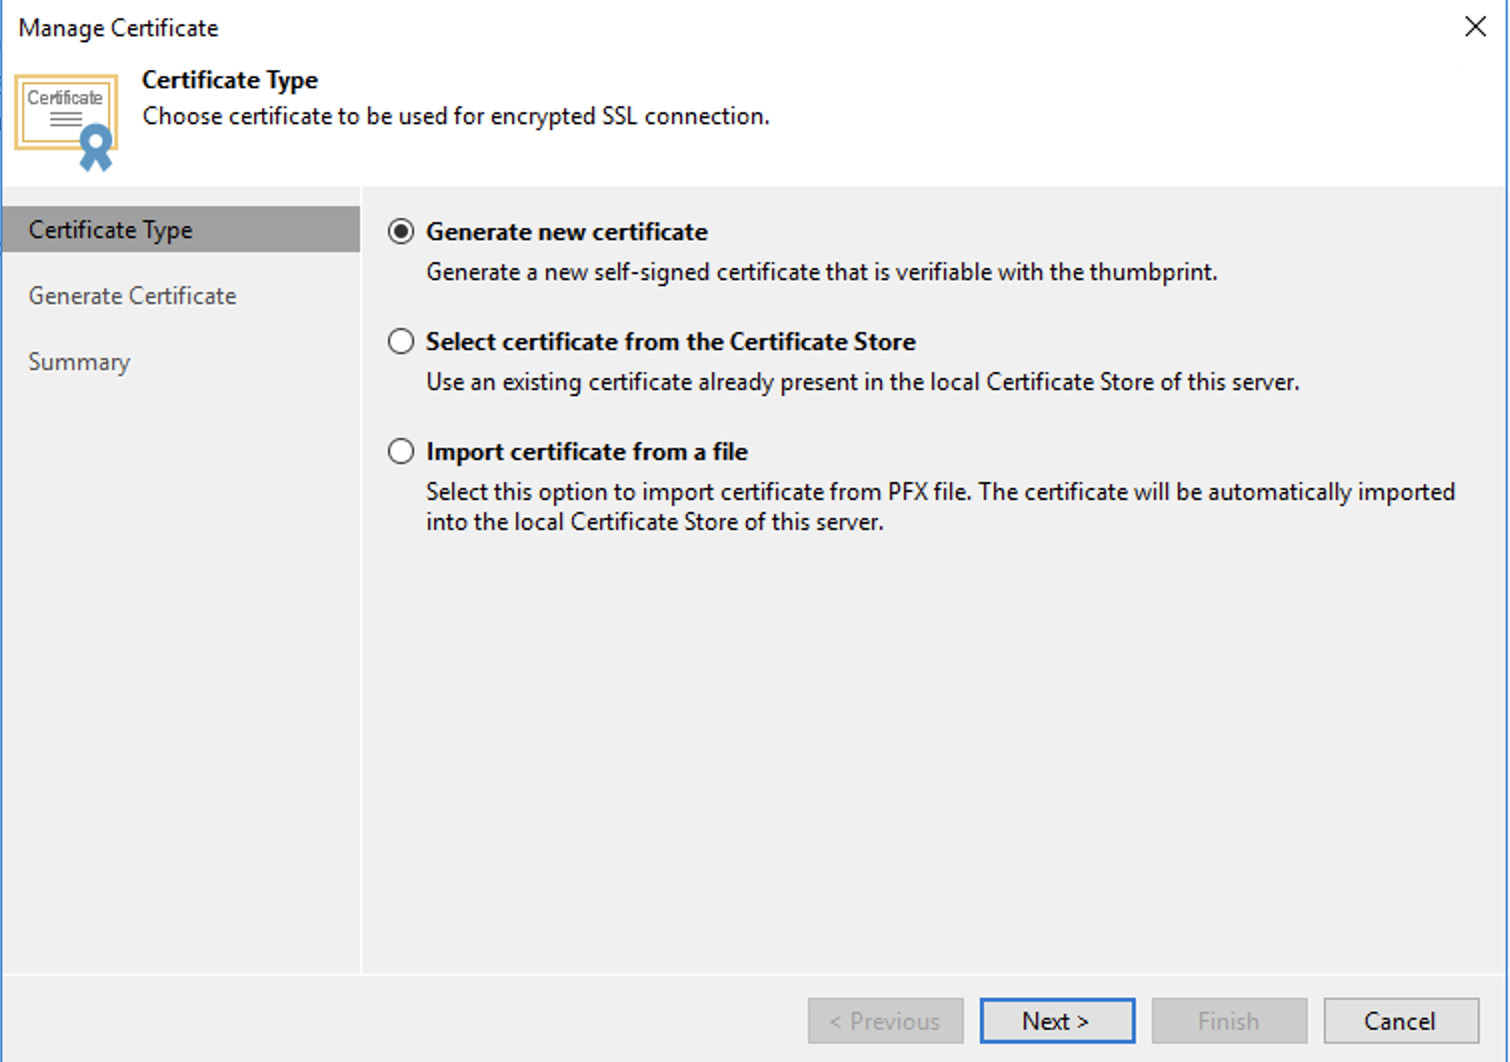
Select Generate new certificate. Click Next.
Input a Name. Click Next.
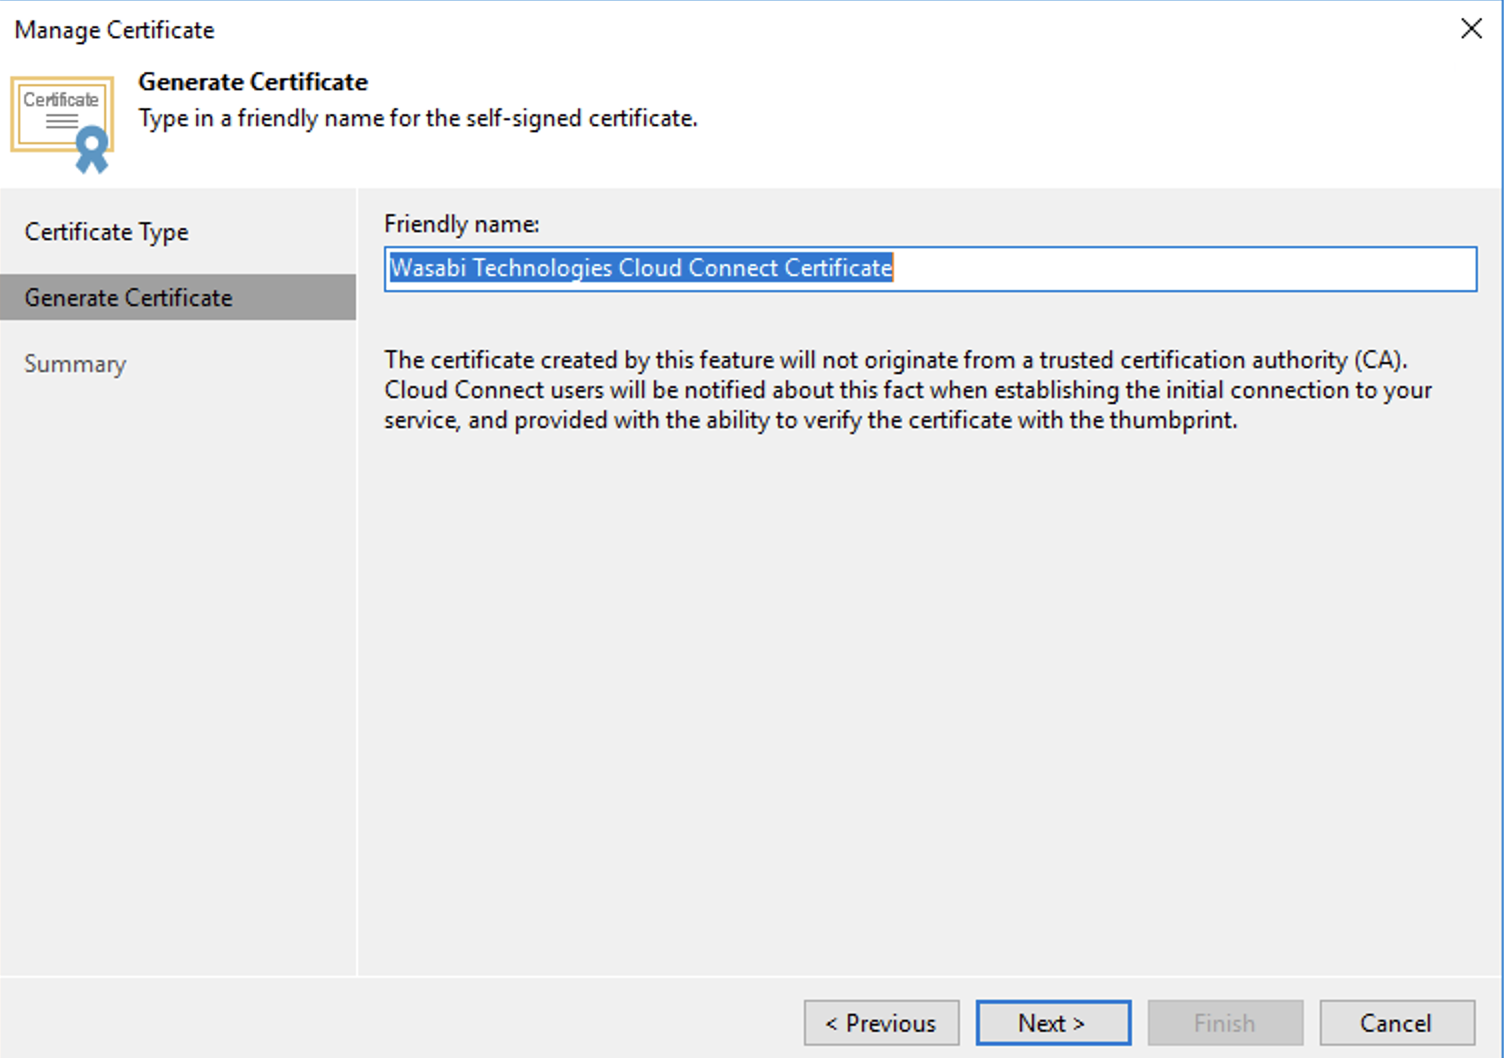
Review the Summary page. Click Finish.
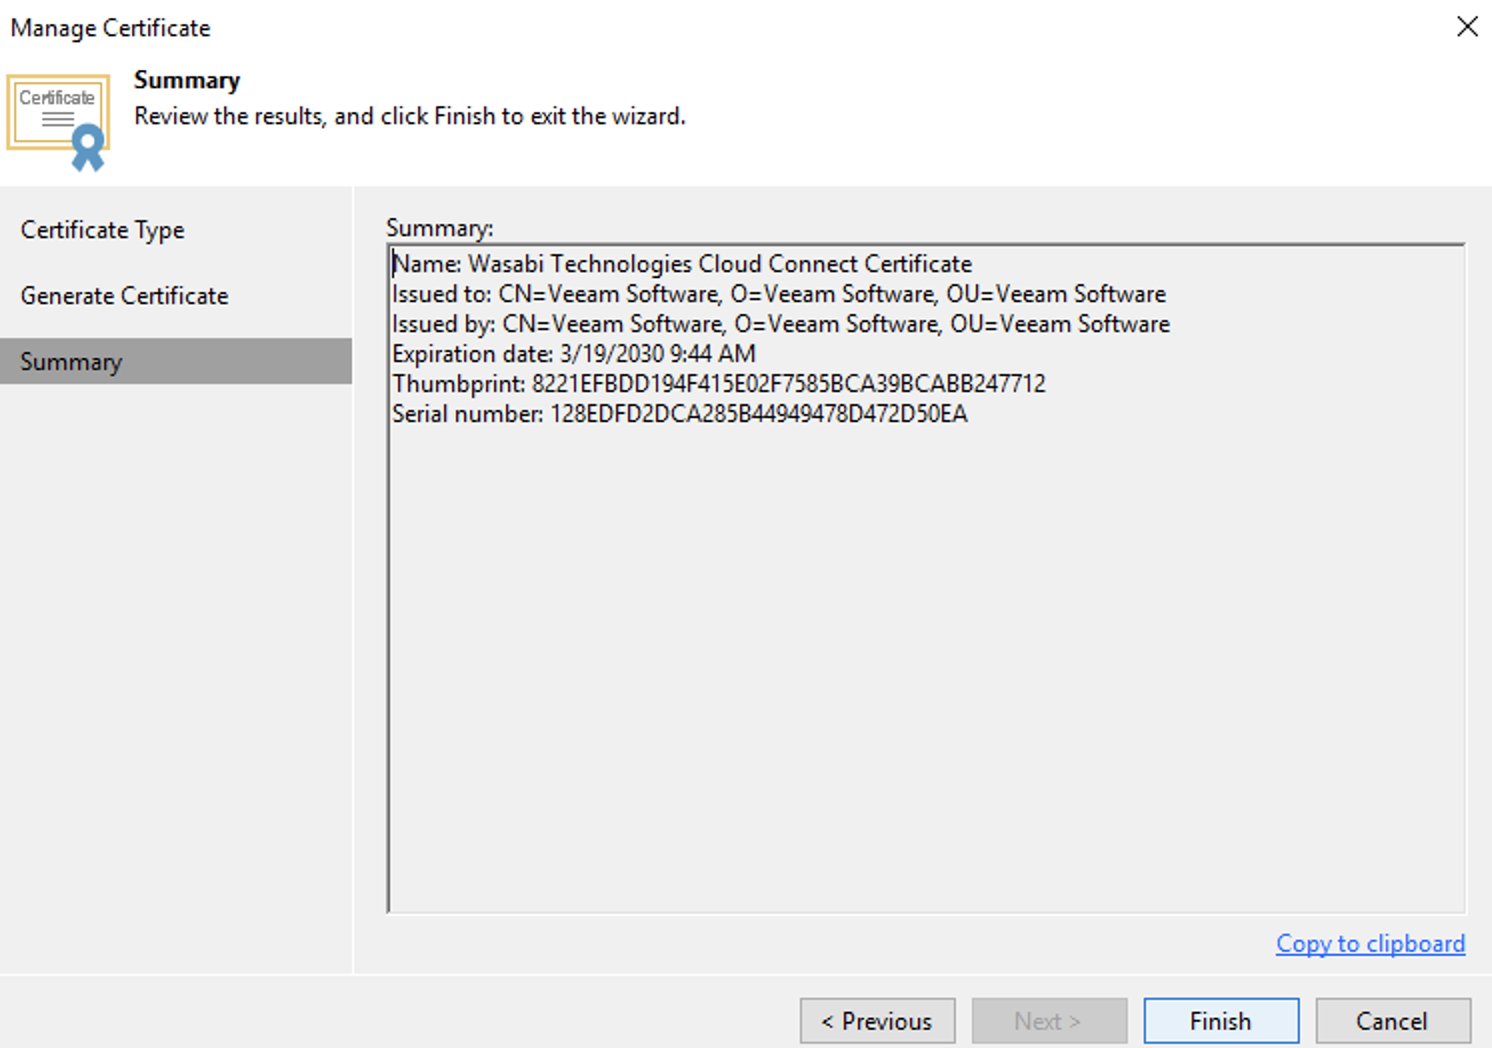
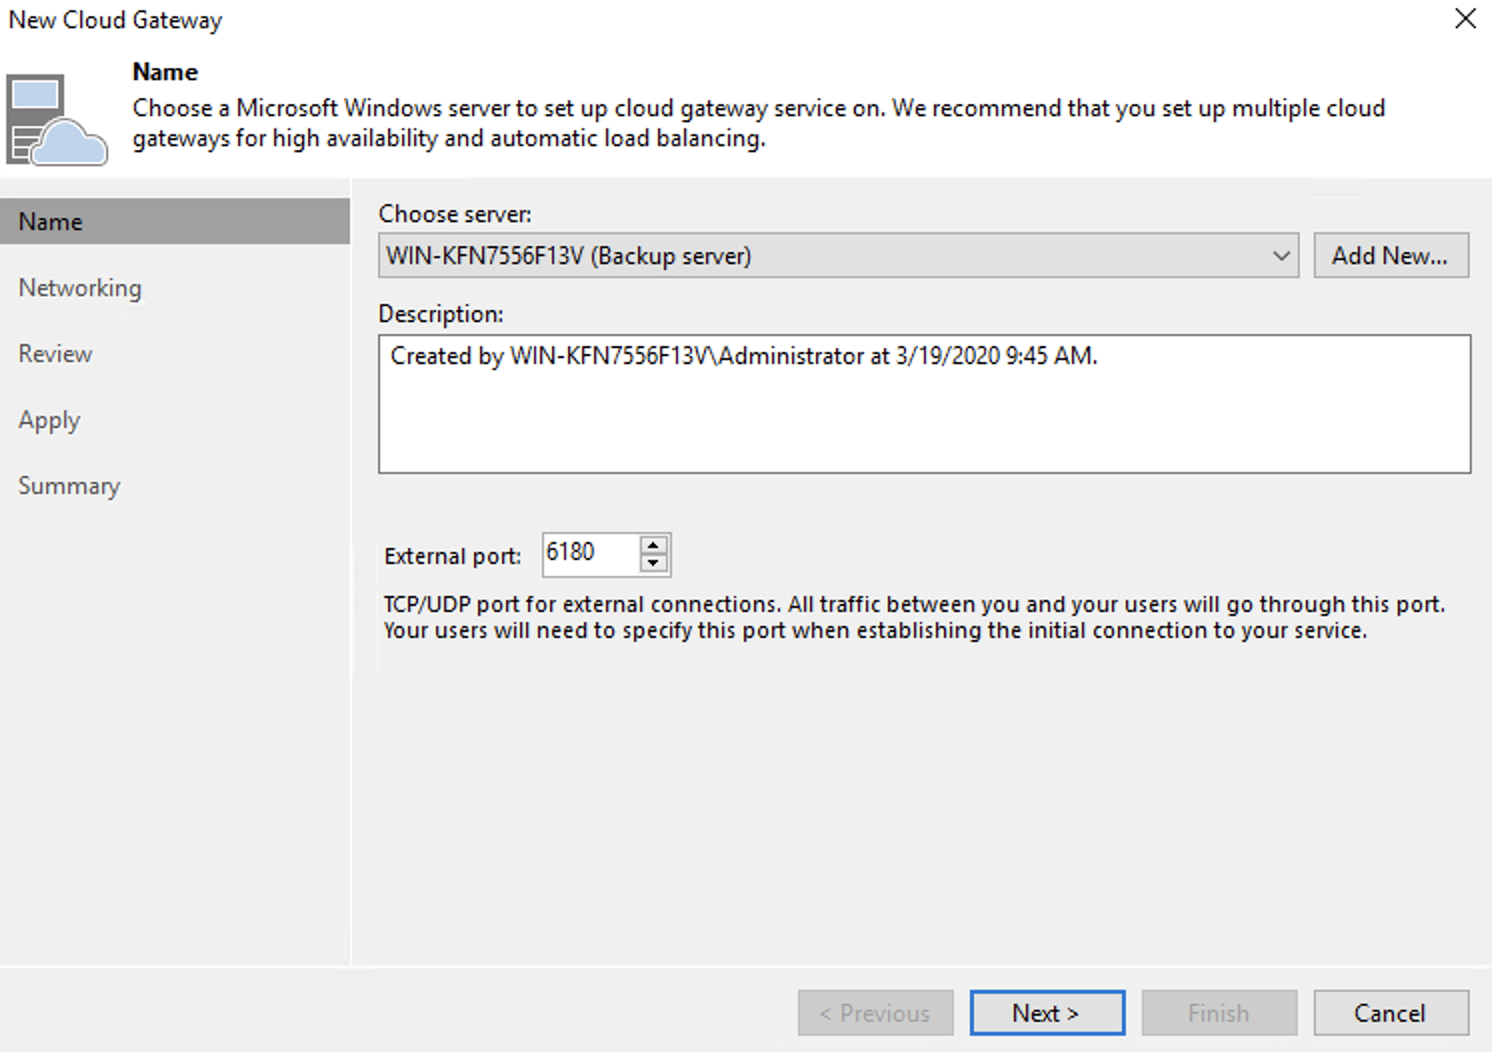
Click Add Cloud Gateway.

Choose a server from the drop-down menu. Click Next.
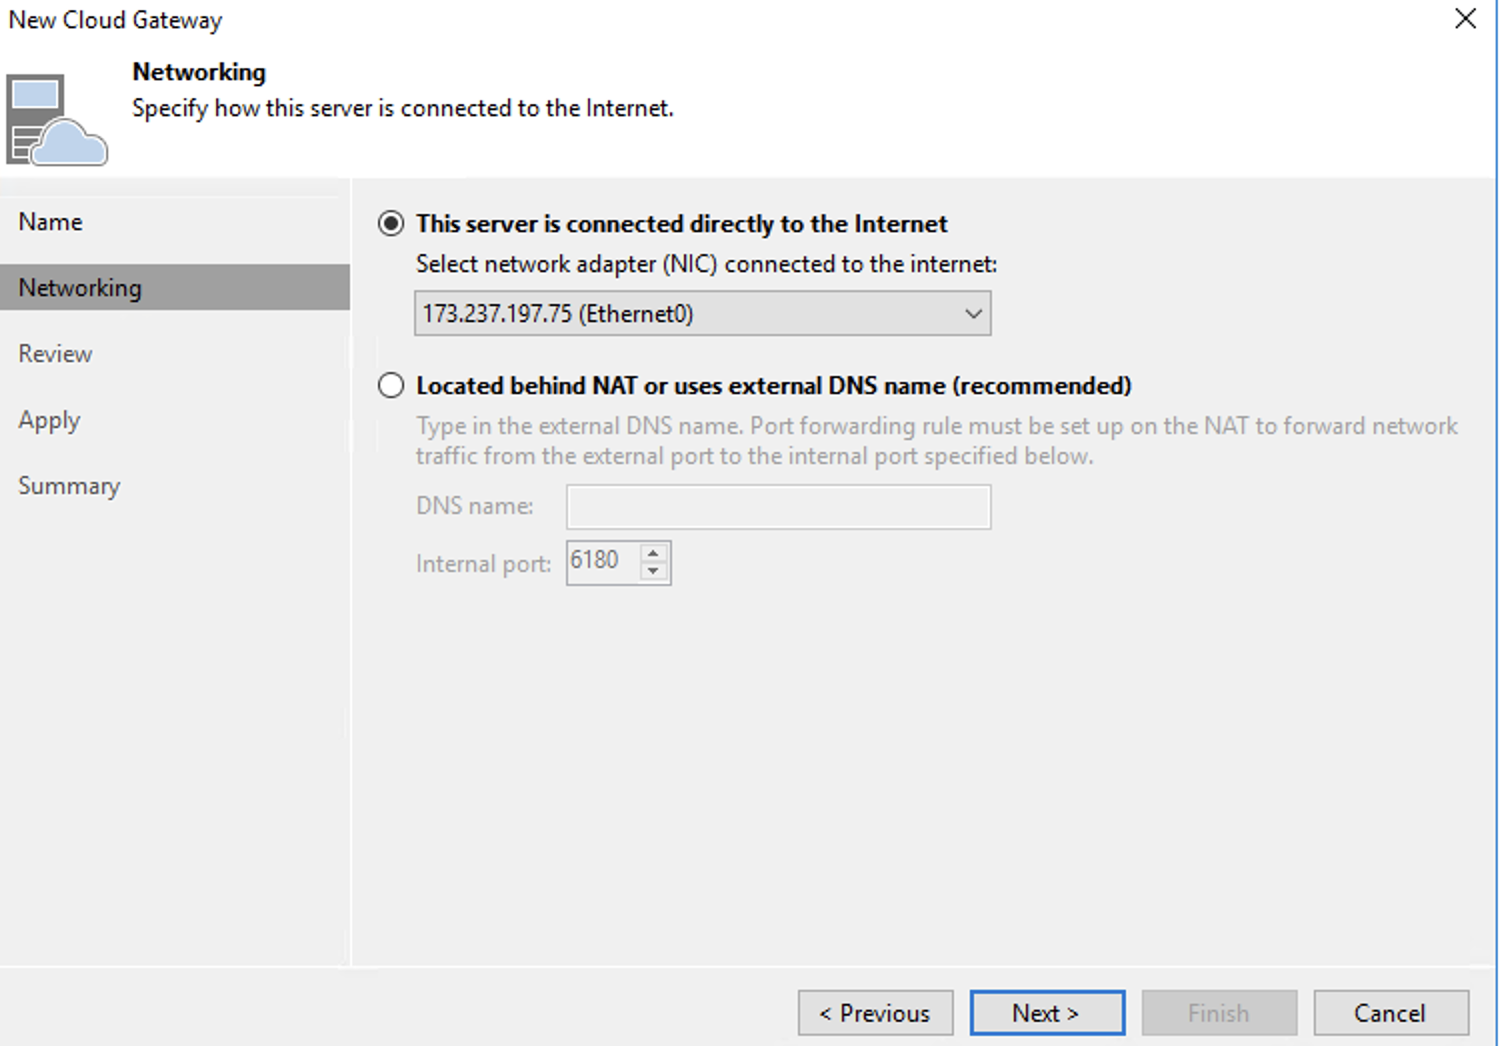
Confirm the Network settings. Click Next.
Review the default settings on the Review and Apply pages. On the Summary page, click Next then click Finish.
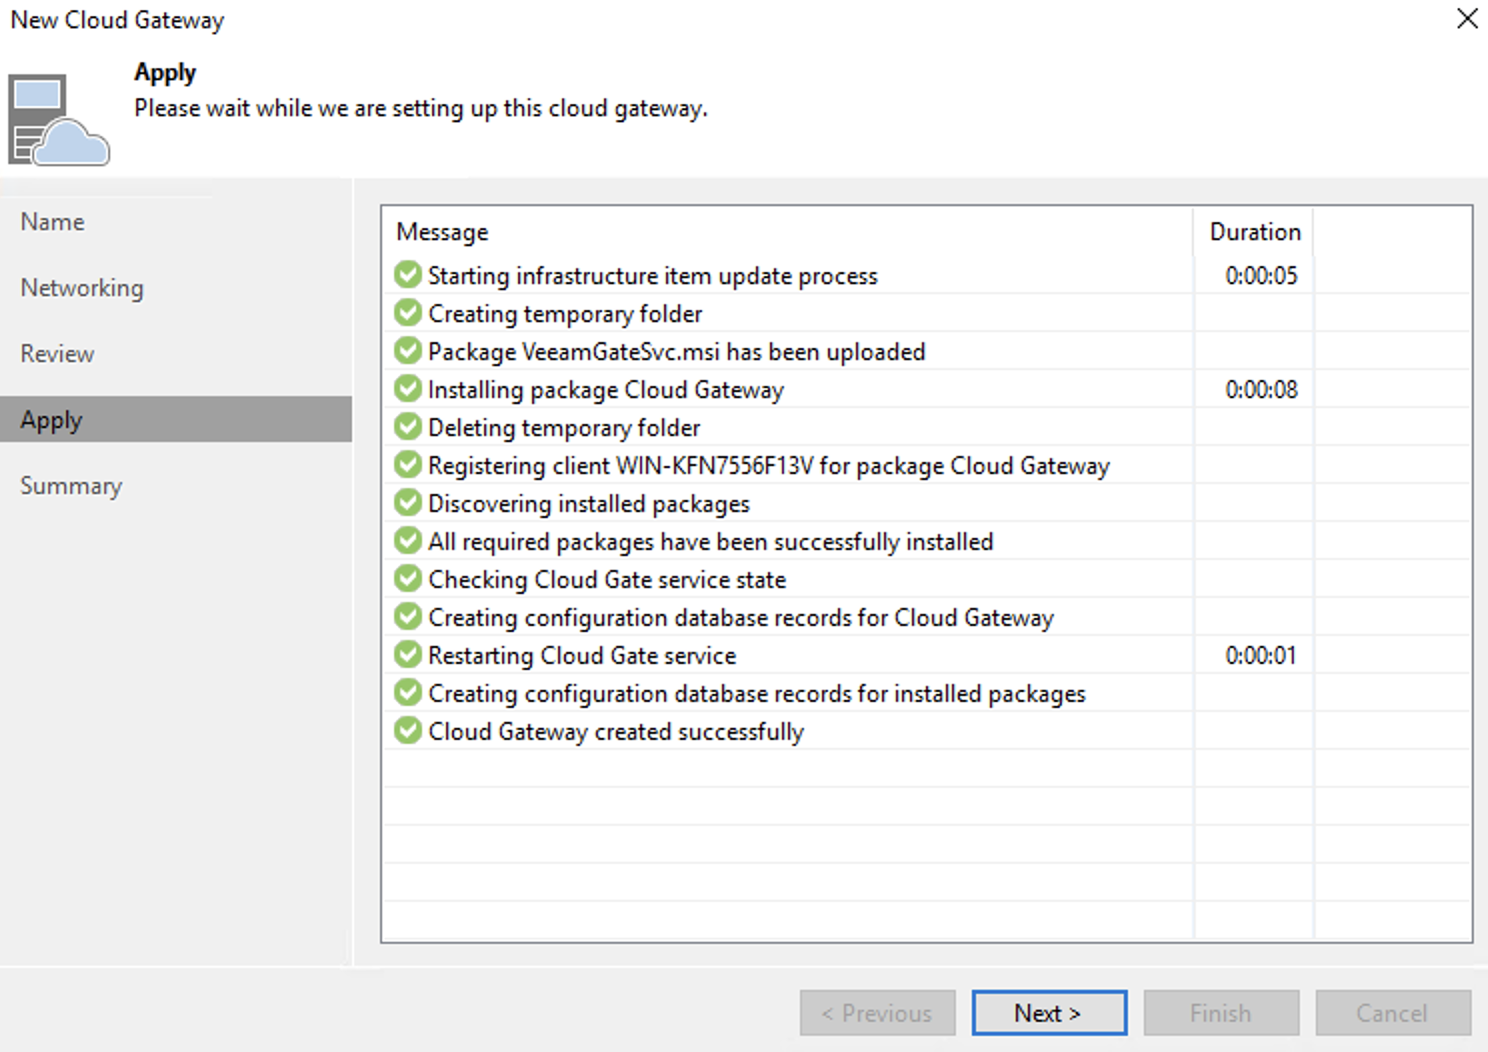
Configuring the Gateway Pool
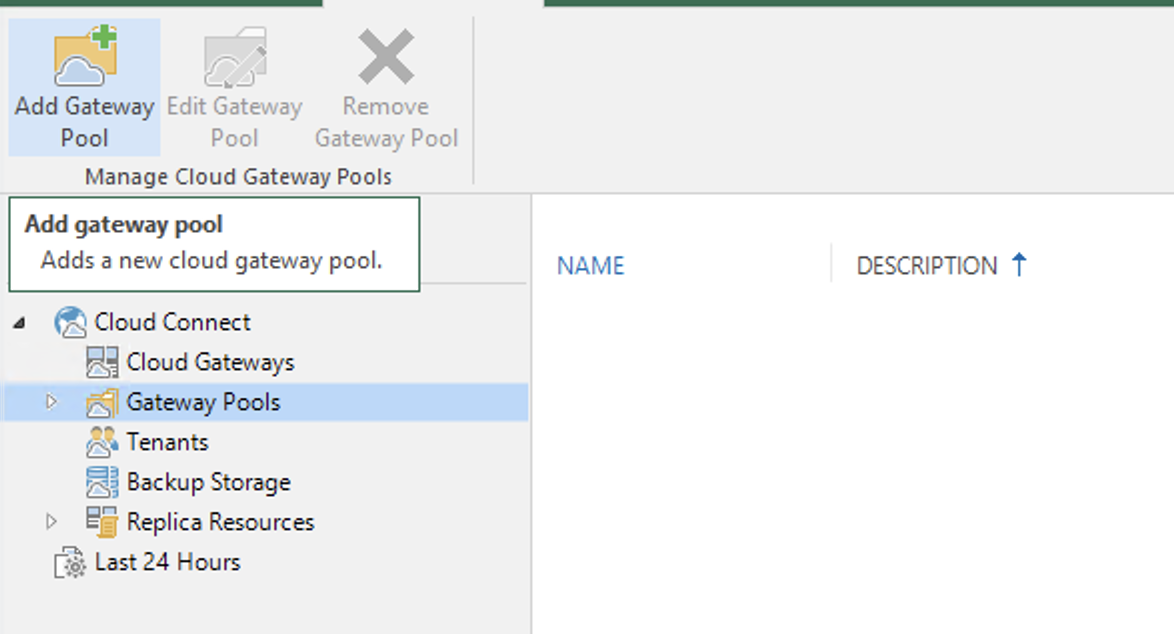
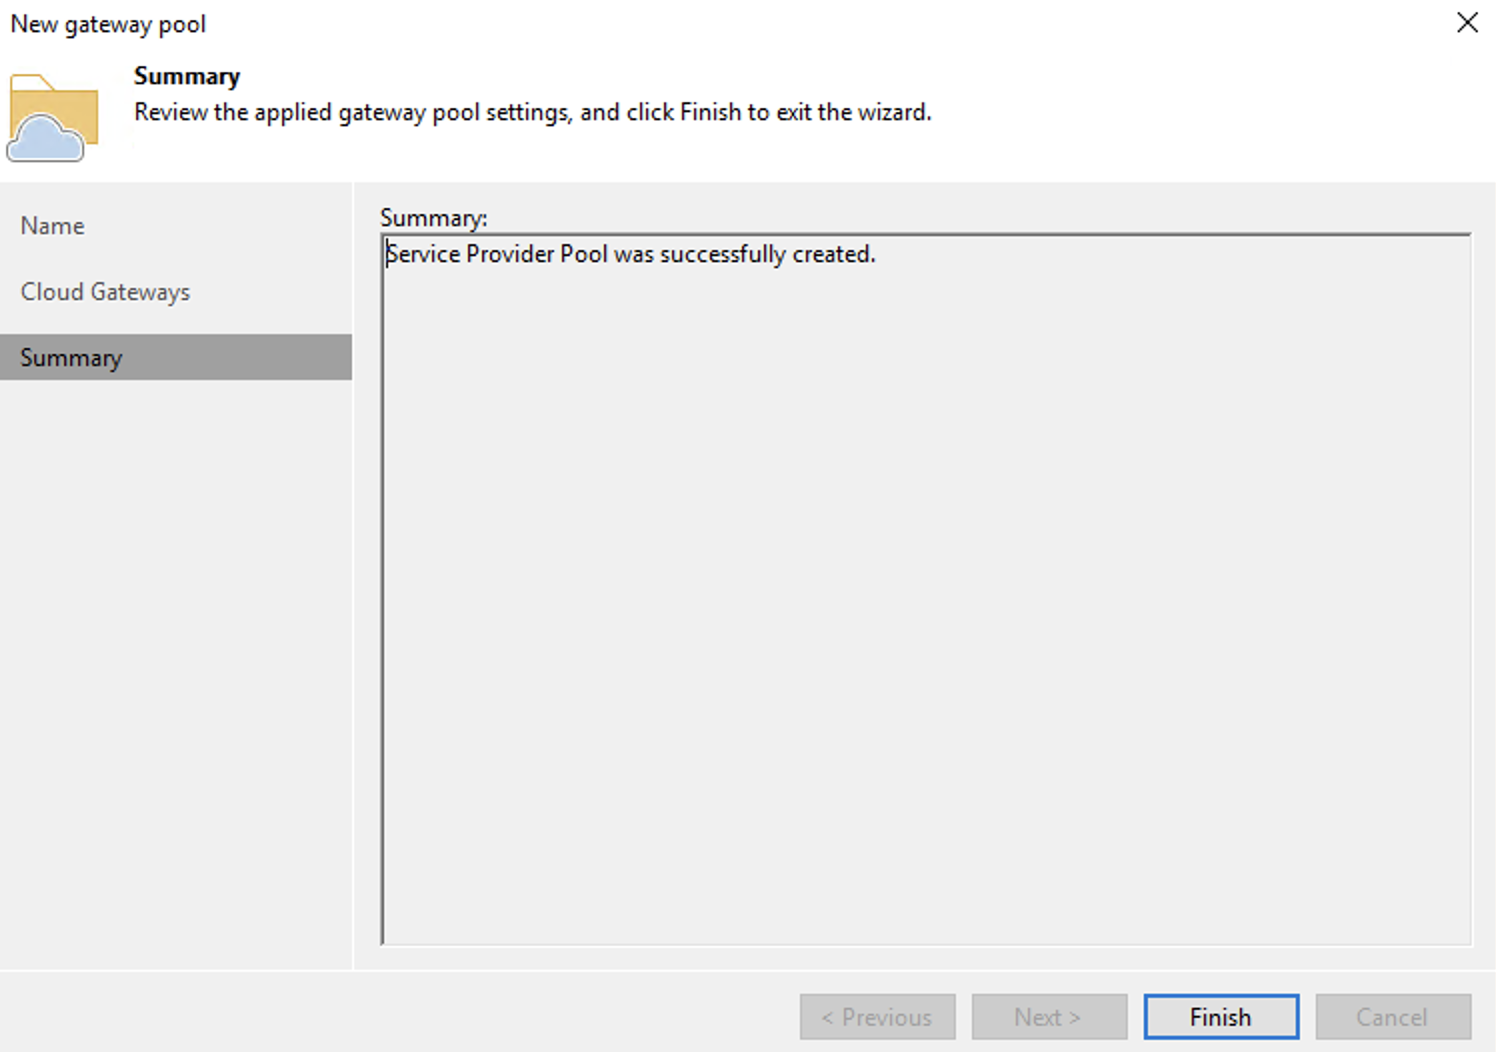
Create a Cloud Gateway Pool. Click Add gateway pool.
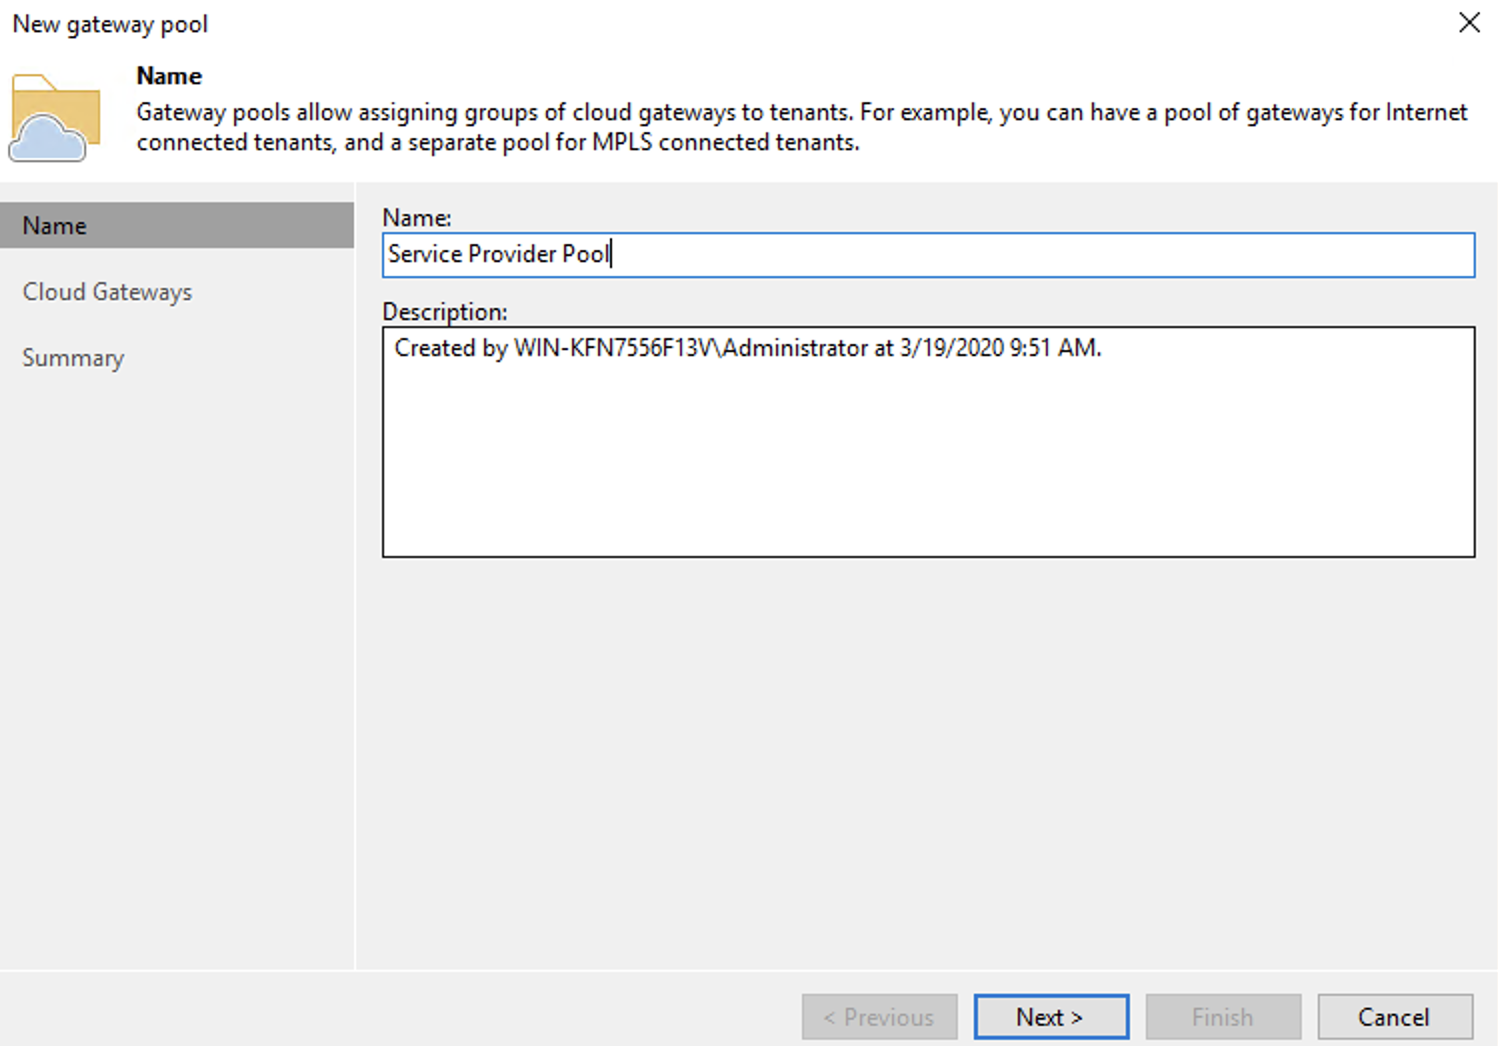
Input a Name and Description. Click Next.
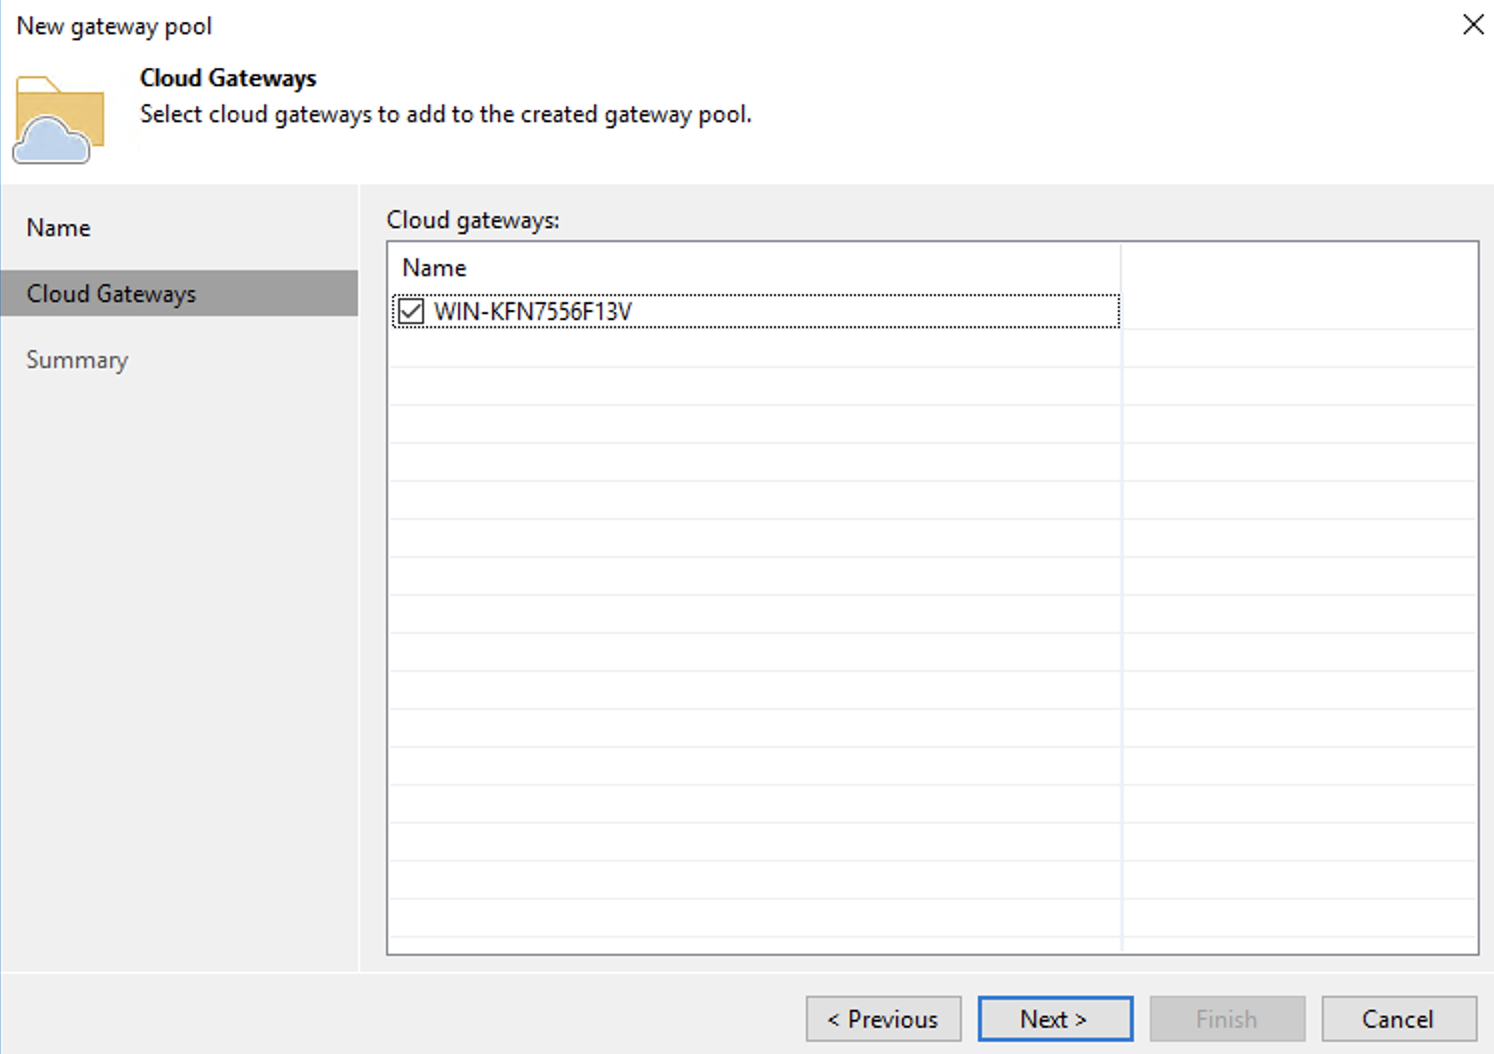
Select the Cloud Gateway created in the previous section. Click Next.
Click Finish.
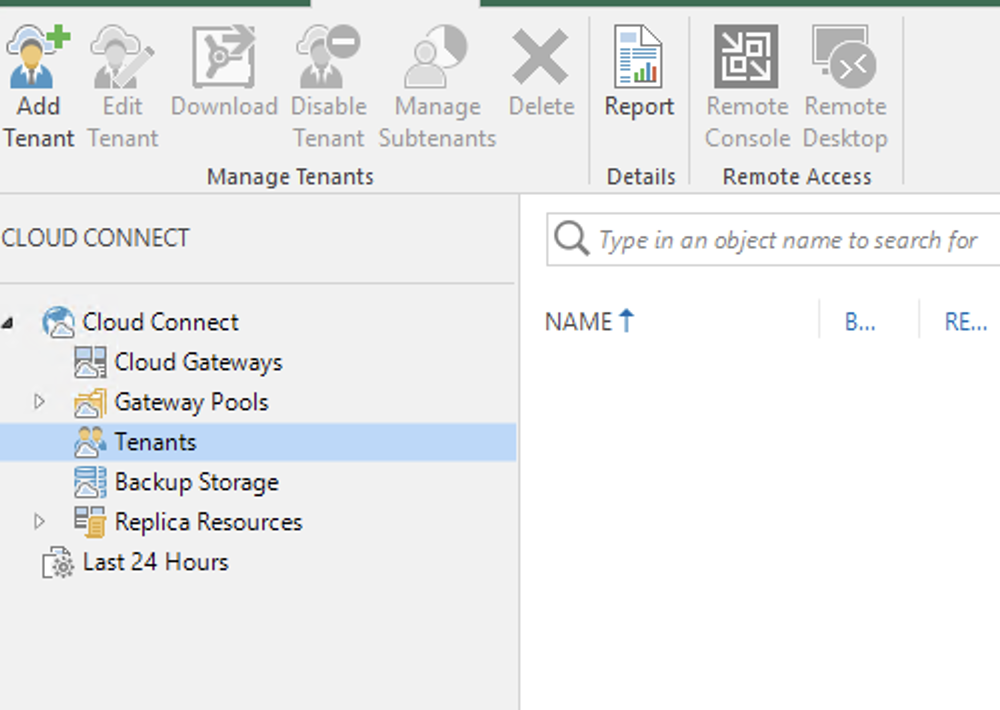
Creating a Tenant/End-Customer
To add a new Tenant, click Add Tenant.
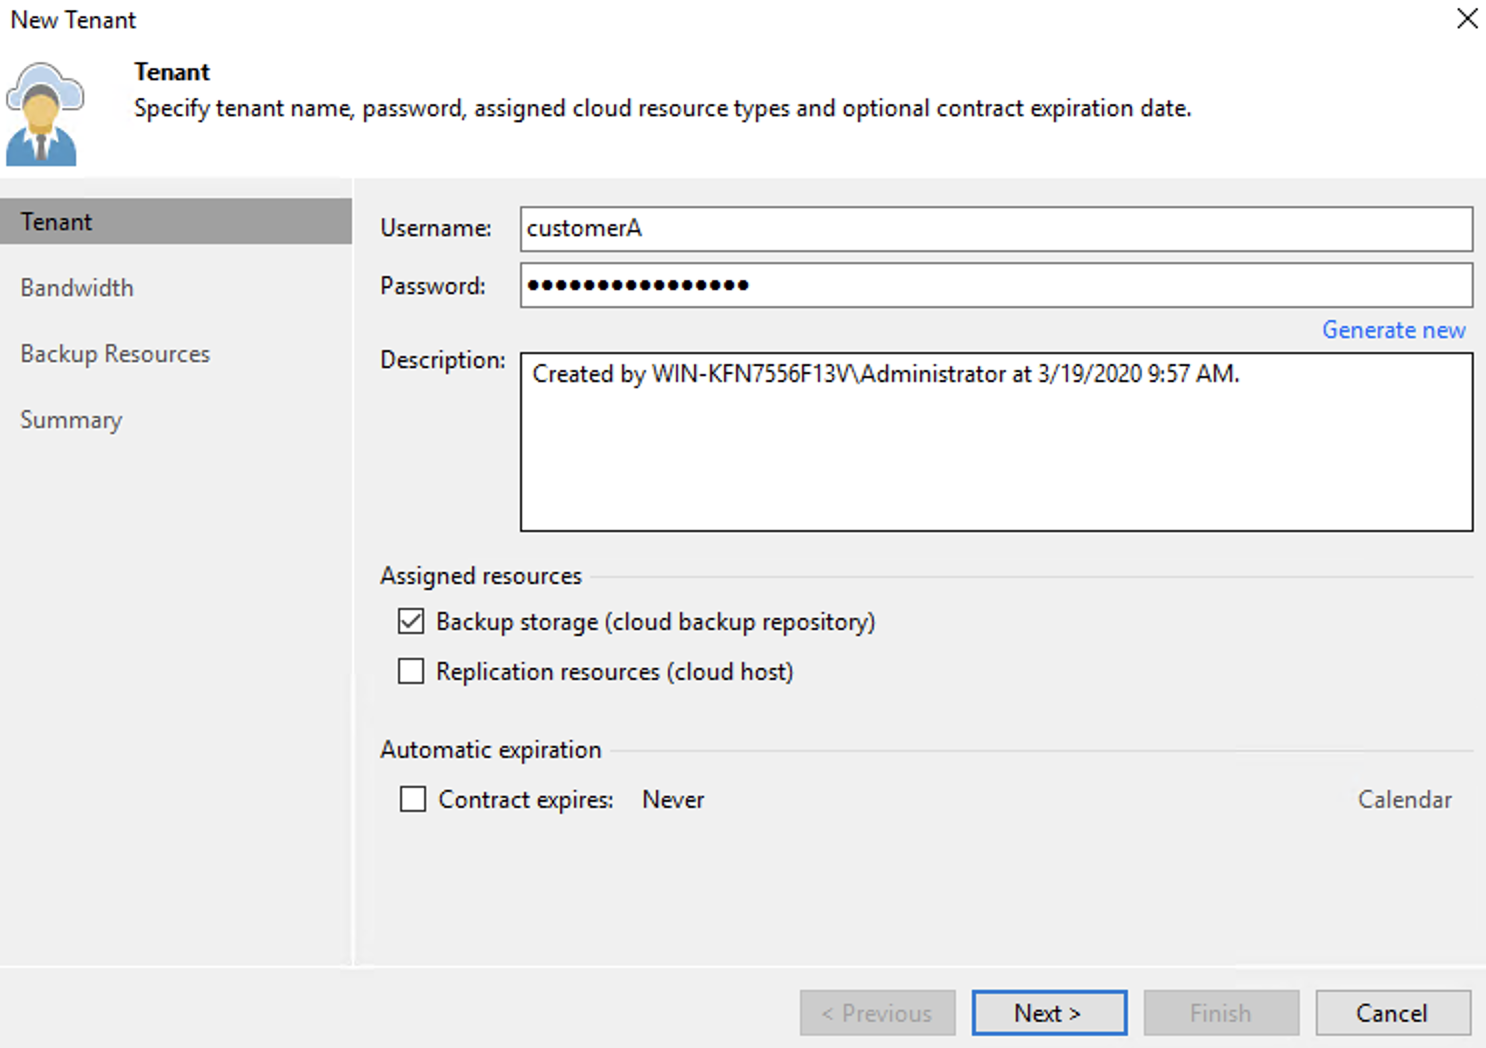
Input the following information.
Username
Password
Check the box for Backup storage.
Leave the default value for Max concurrent tasks. Next to the Gateway pool field, click "Choose...".
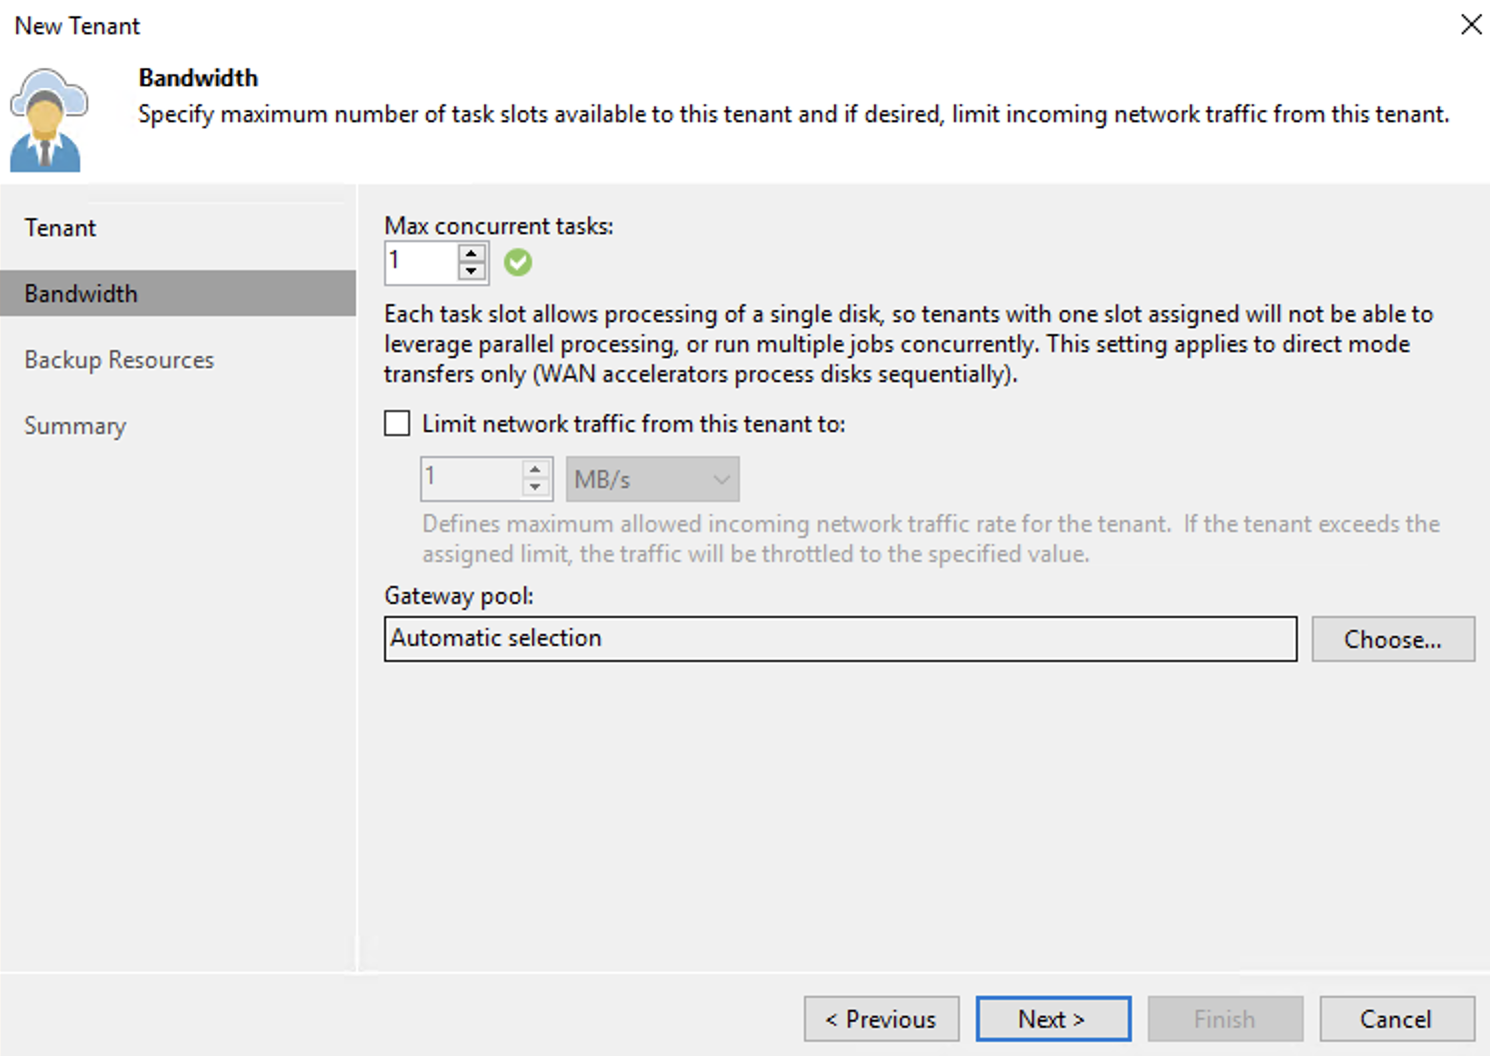
If multiple gateway pools are available, manually allocate a gateway pool with the following method. If not, automatic selection should be selected. Click OK.
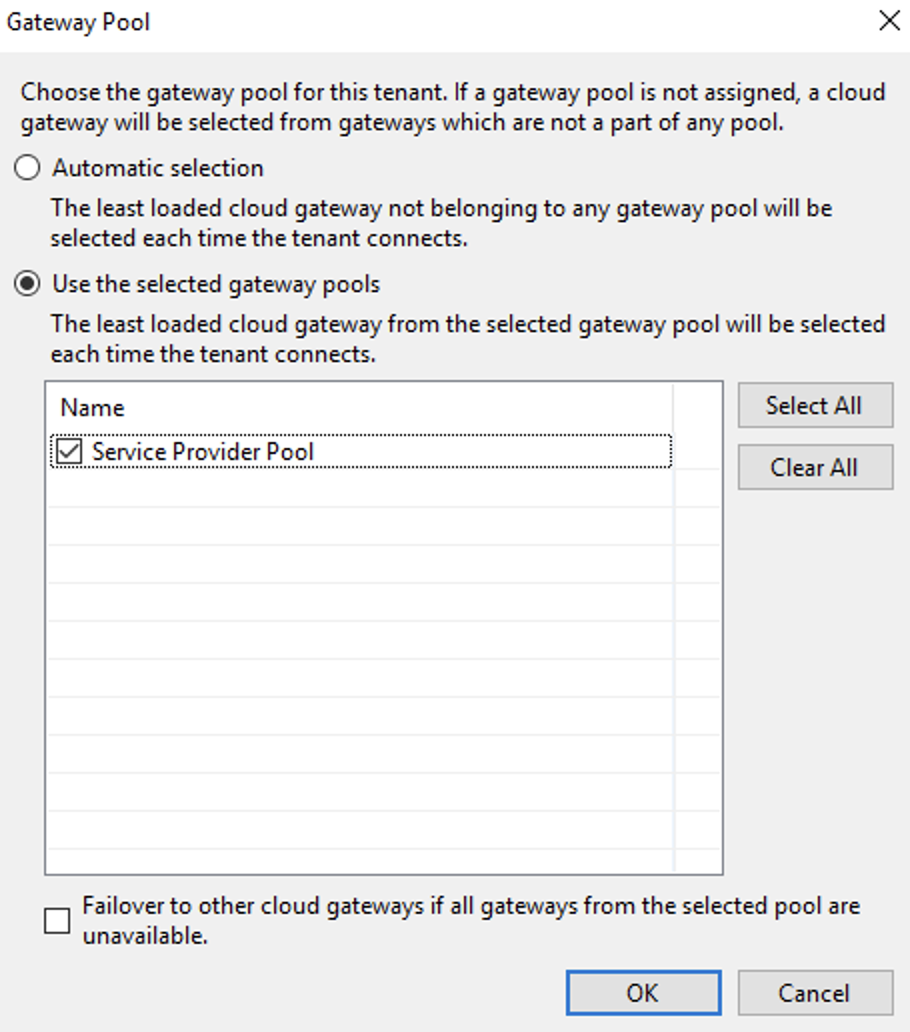
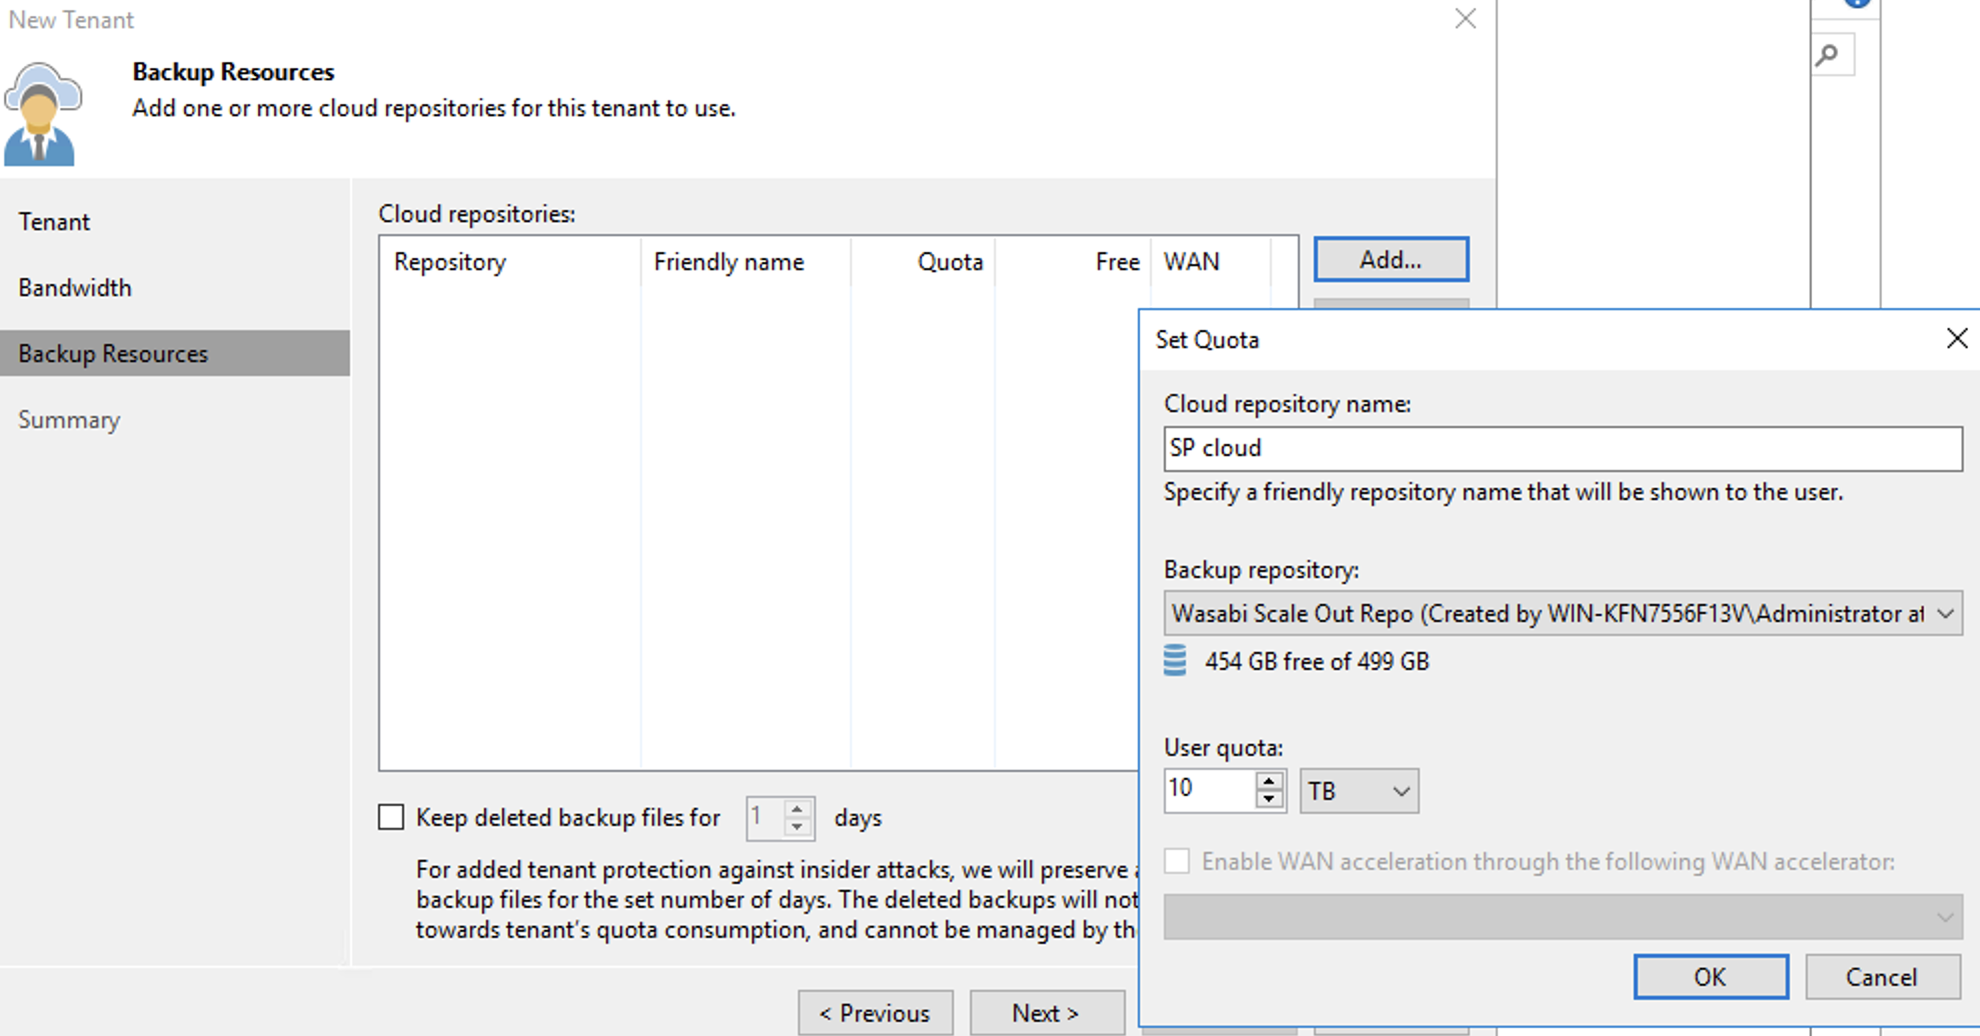
On the Backup Resources page, click Add to create a cloud repository. A pop-up window will open. Input the following information and click OK.
Provide a Name: "SP Cloud".
Choose a Backup Repository: "Wasabi Scale Out Repo".
Refer to Steps 22-27 in Backup Job in Veeam v10 With Wasabi.
Alter the quota, if applicable.
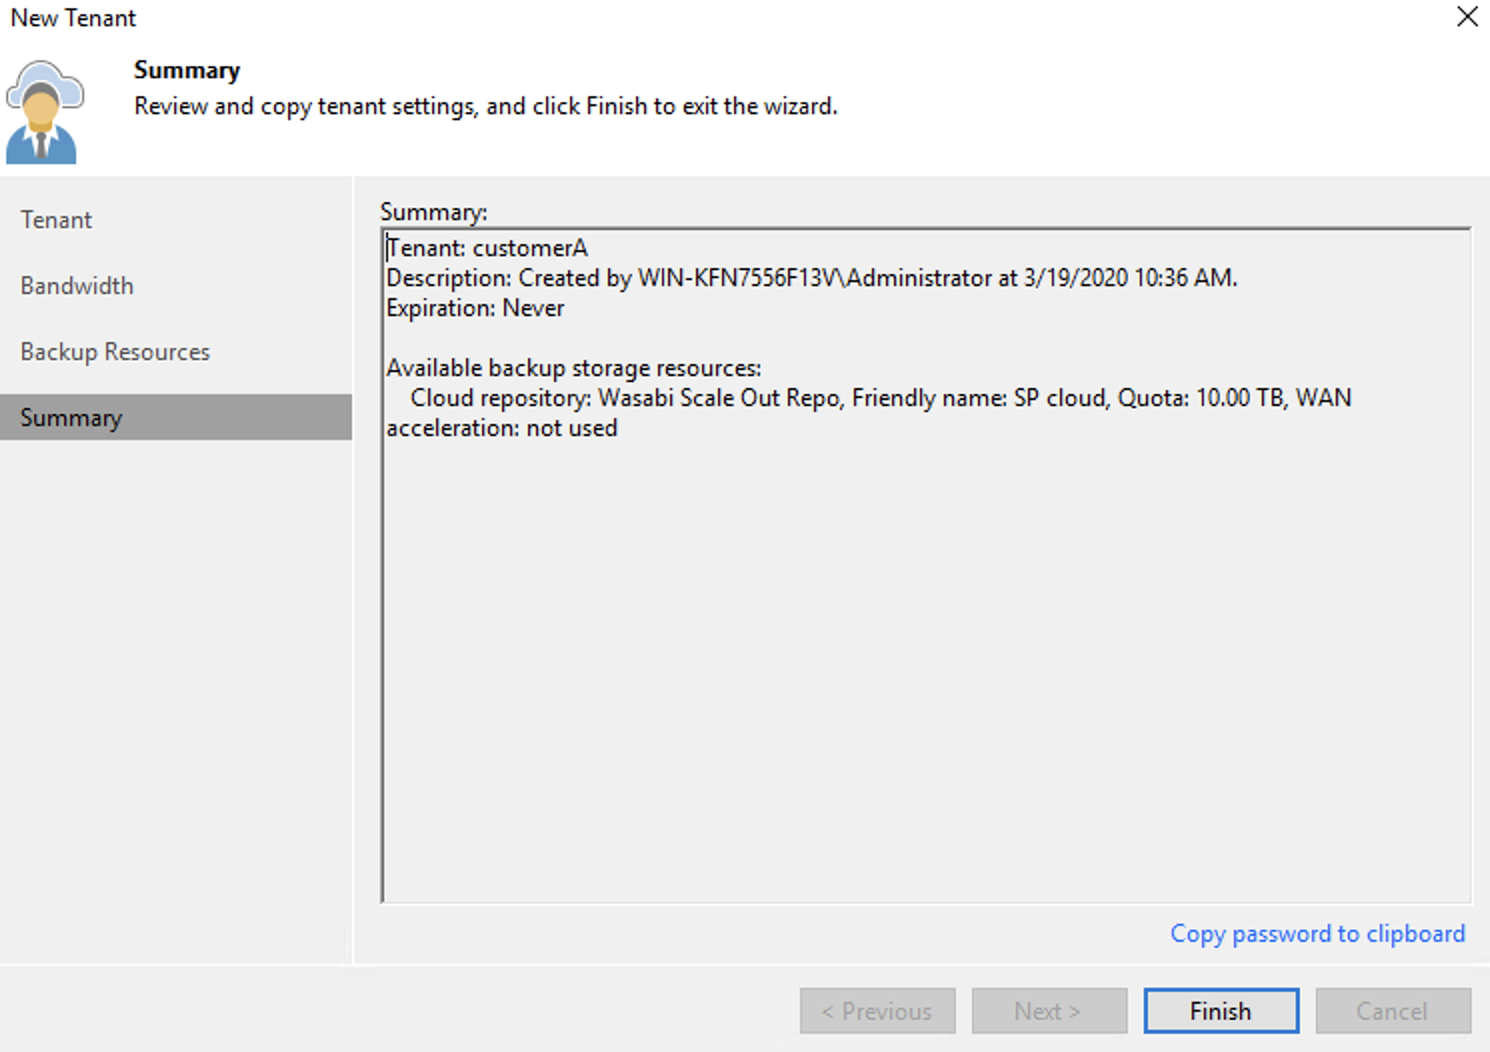
Review the Summary page. Click Finish.
Configuring Tenant/End-Customer Veeam
Click Backup Infrastructure. Click Service Providers.

Click Add Provider and input your service provider's DNS name or IP address. If you do not have a service provider, find a service provider on Veeam's Cloud Connect Partner page.
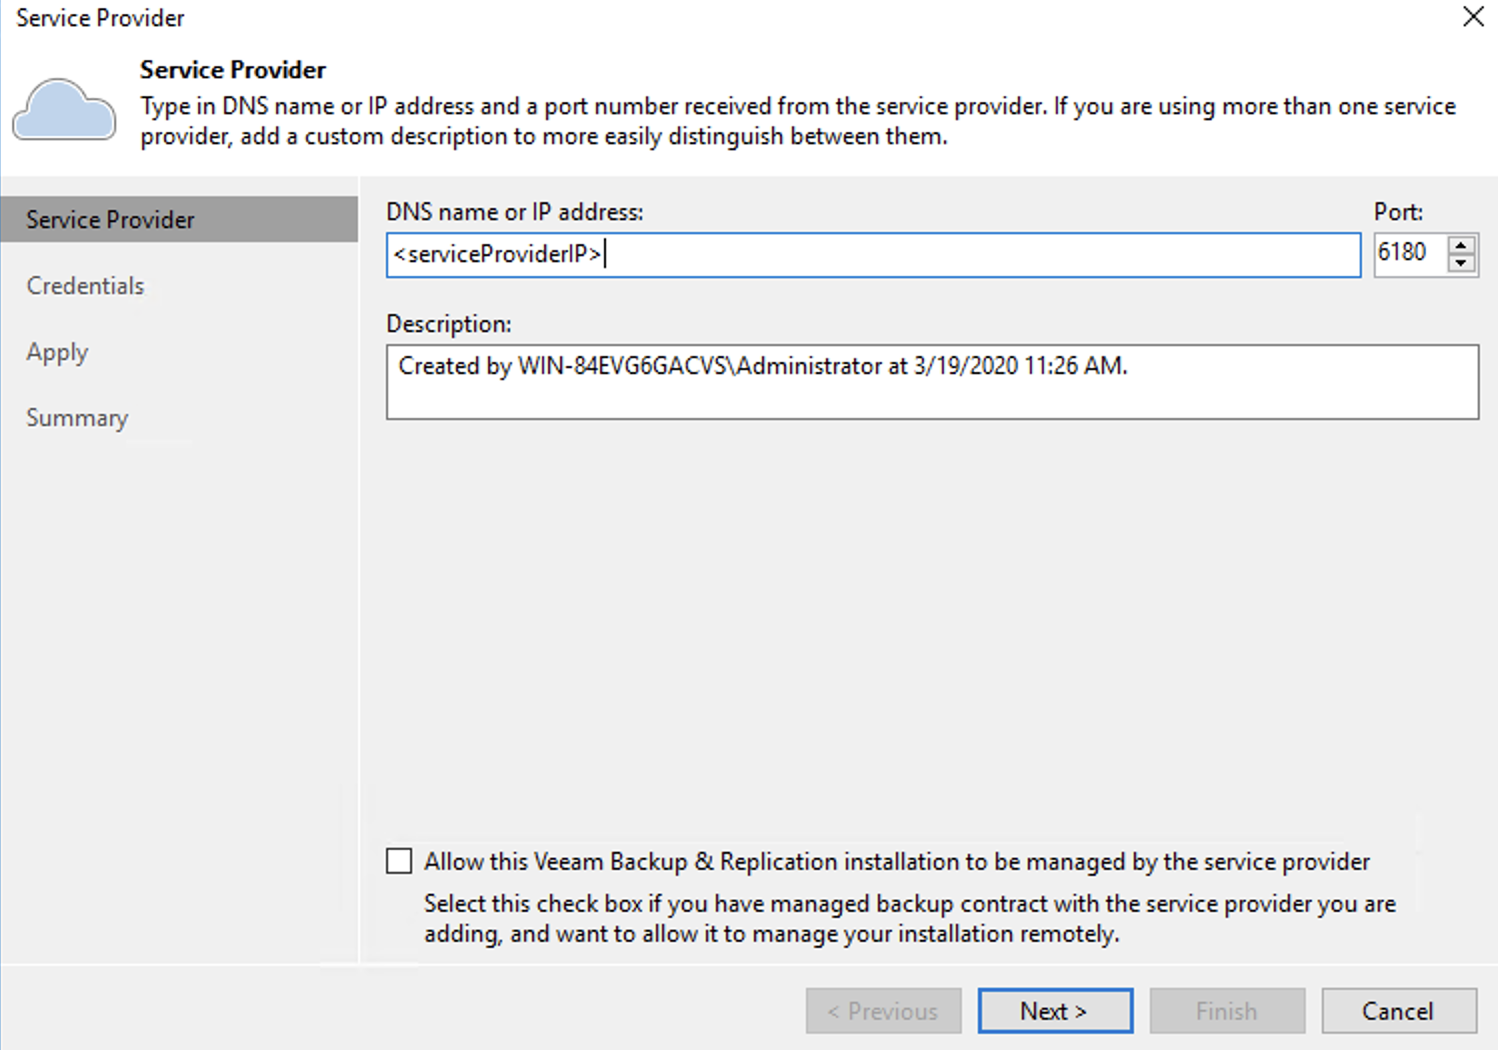
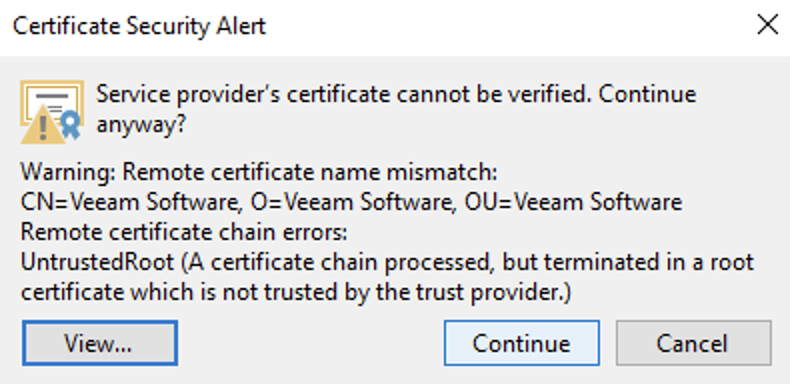
The certificate will be negotiated with your Service Provider's Veeam instance. Click Continue.
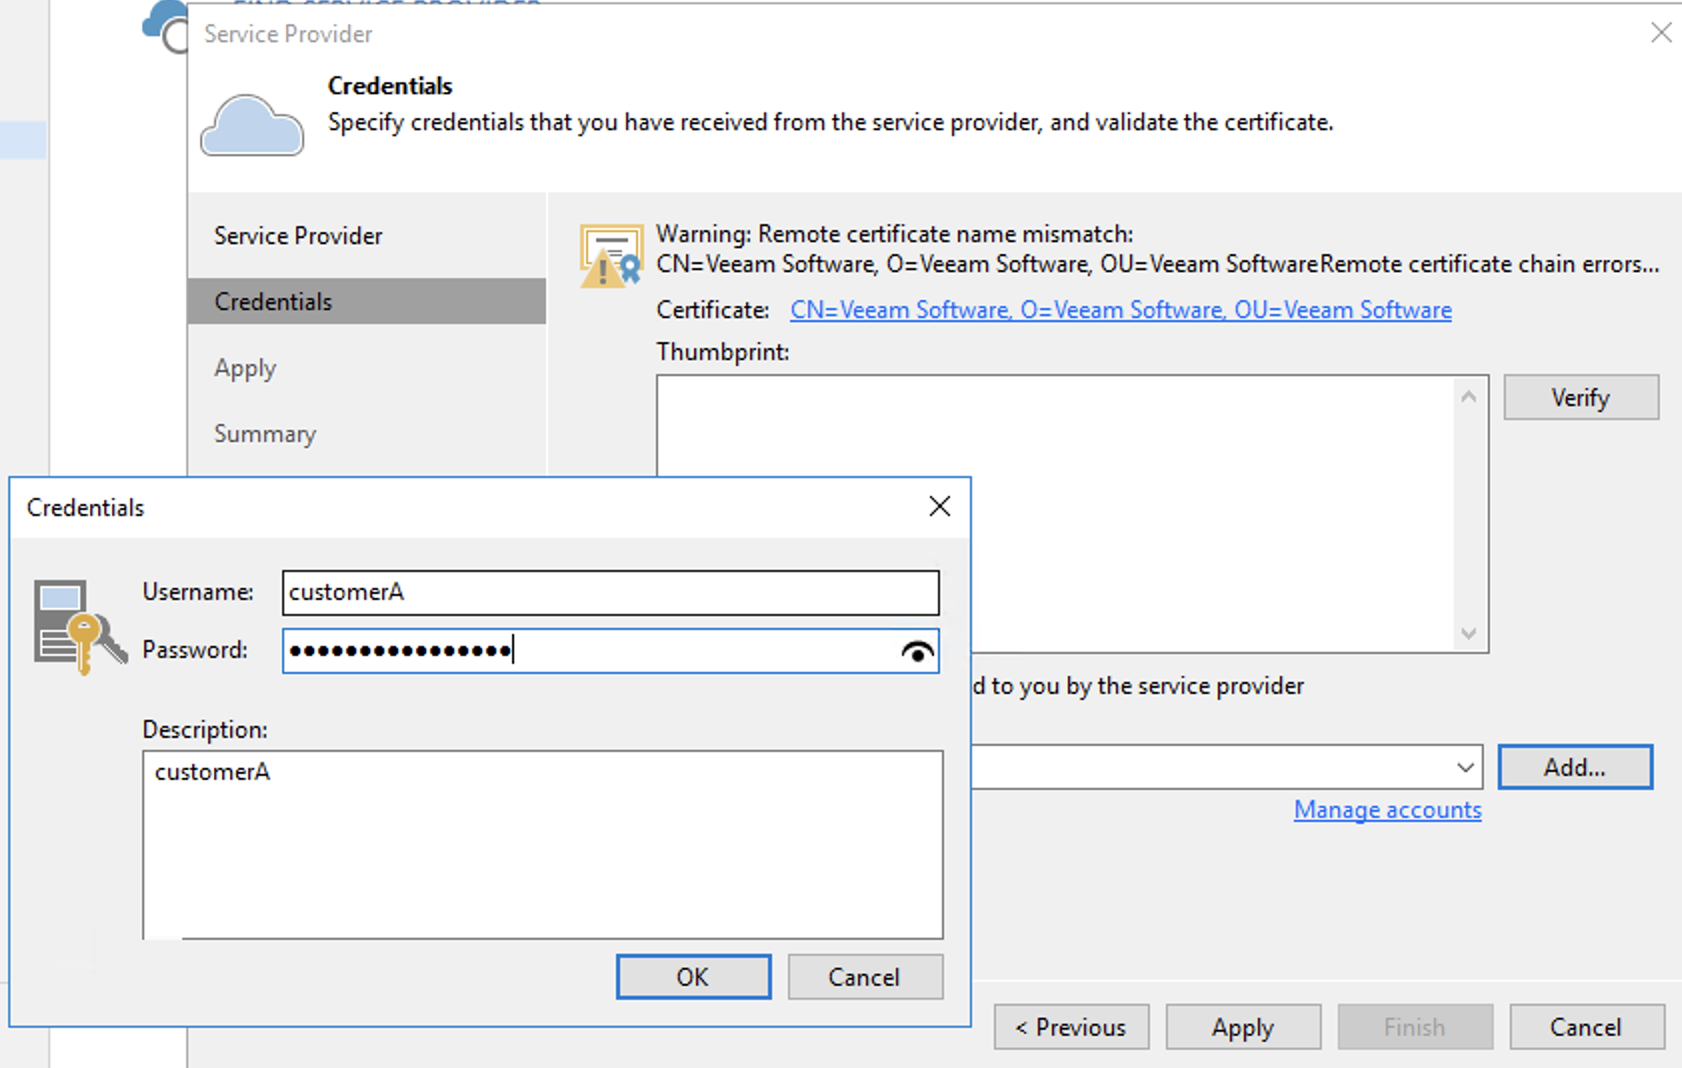
On the Credentials page, click Add to input the credentials created in Step 2 of Creating a Tenant/End-Customer. Click OK.
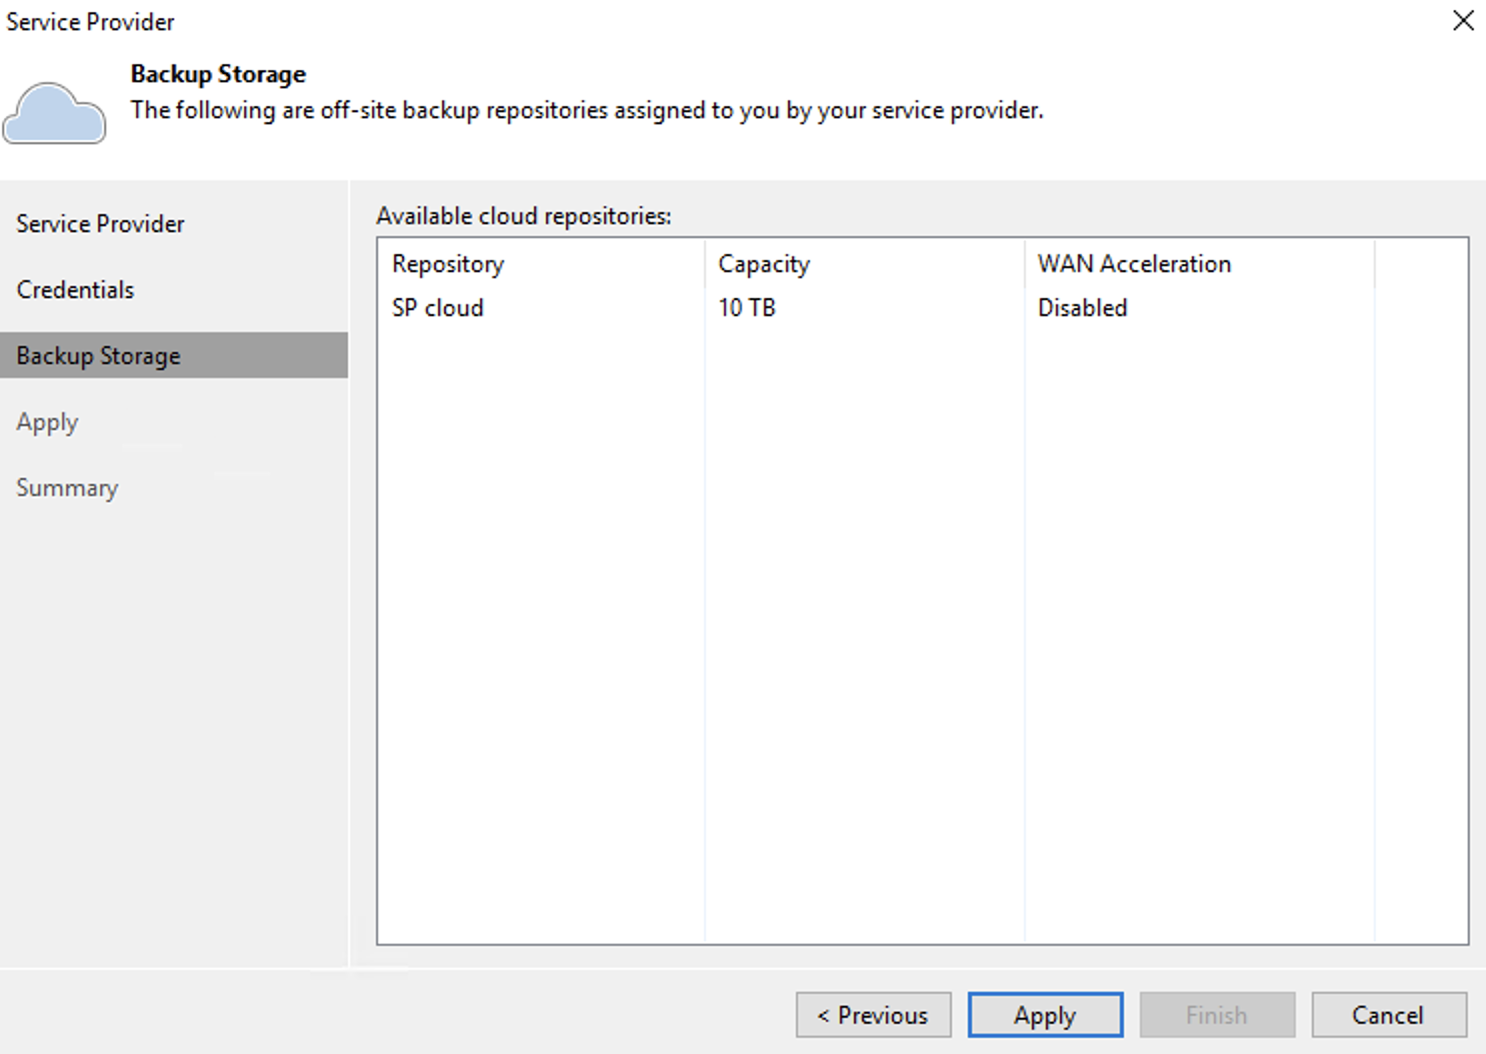
On the Credentials page, click Apply. The credentials will be verified with your service provider. Once authenticated, the application will navigate to the Backup Storage page. Click Apply.
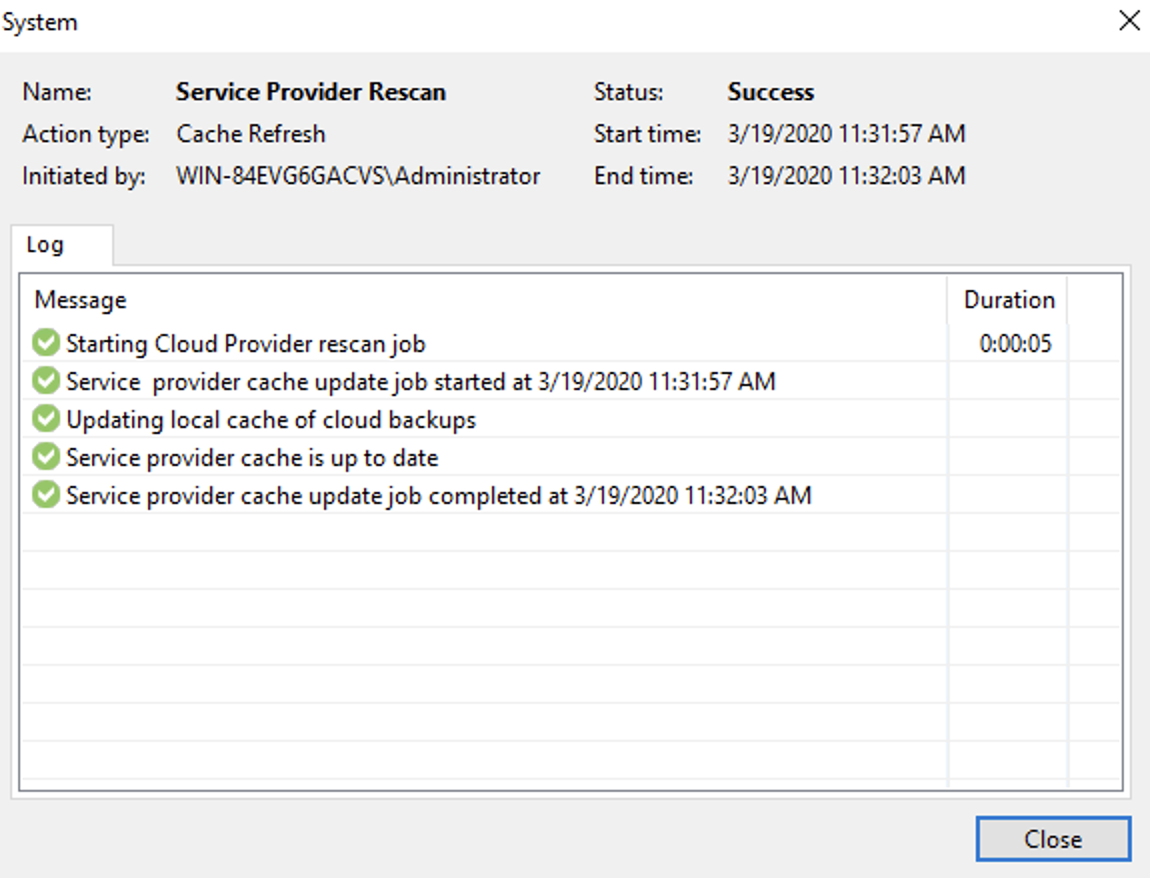
Leave the default values for the Apply and Summary pages.
Creating a job to Your Veeam Service Provider
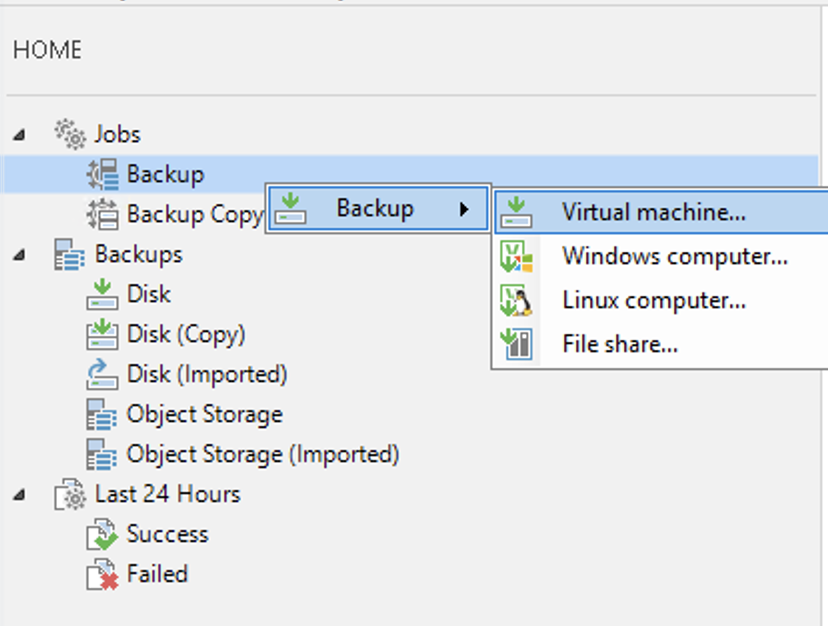
Navigate to Home. Right-click Backup, then click Virtual Machine.
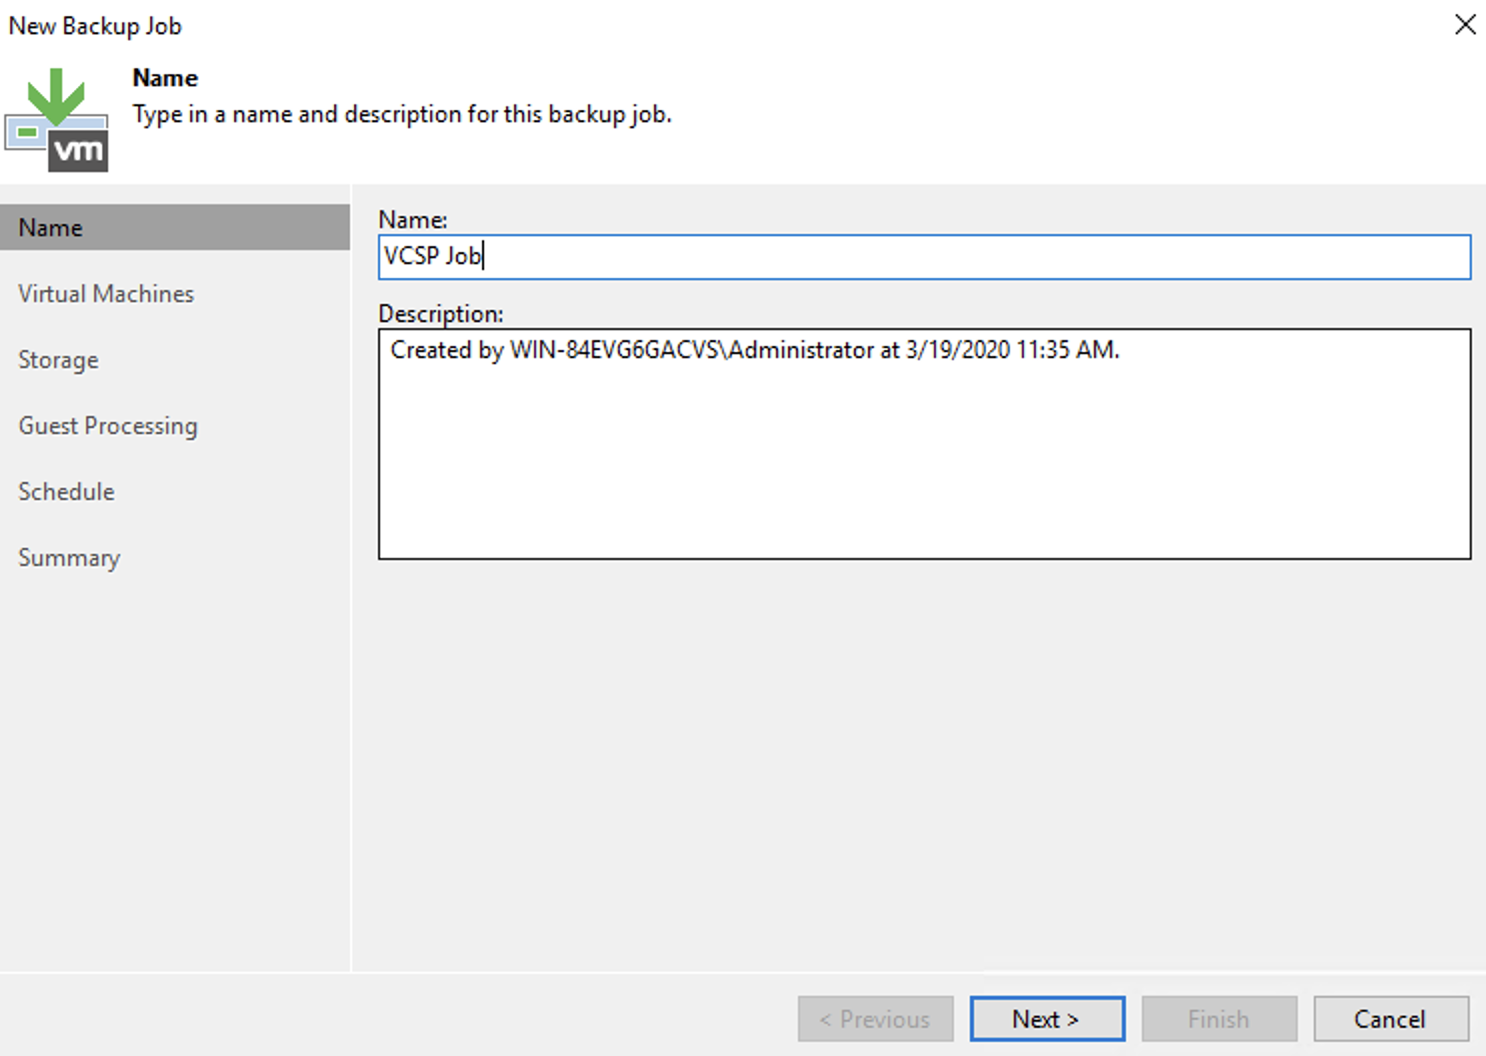
Input a Name and Description for the Backup Job. Click Next.
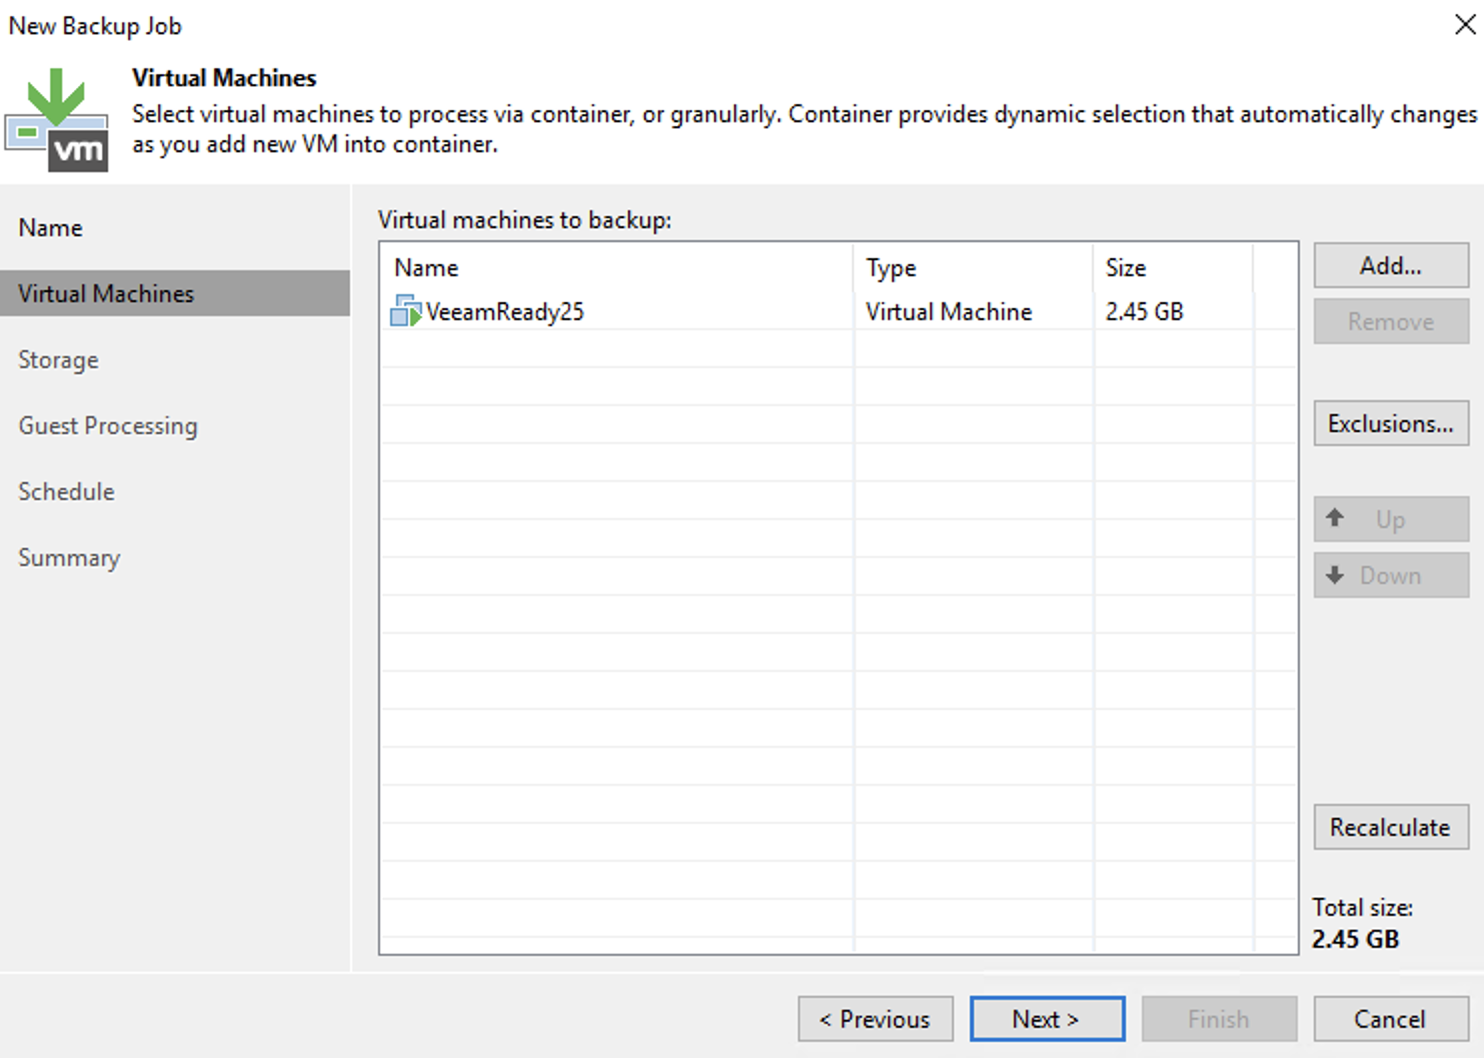
Choose the VM(s) to be backed up. Click Next.
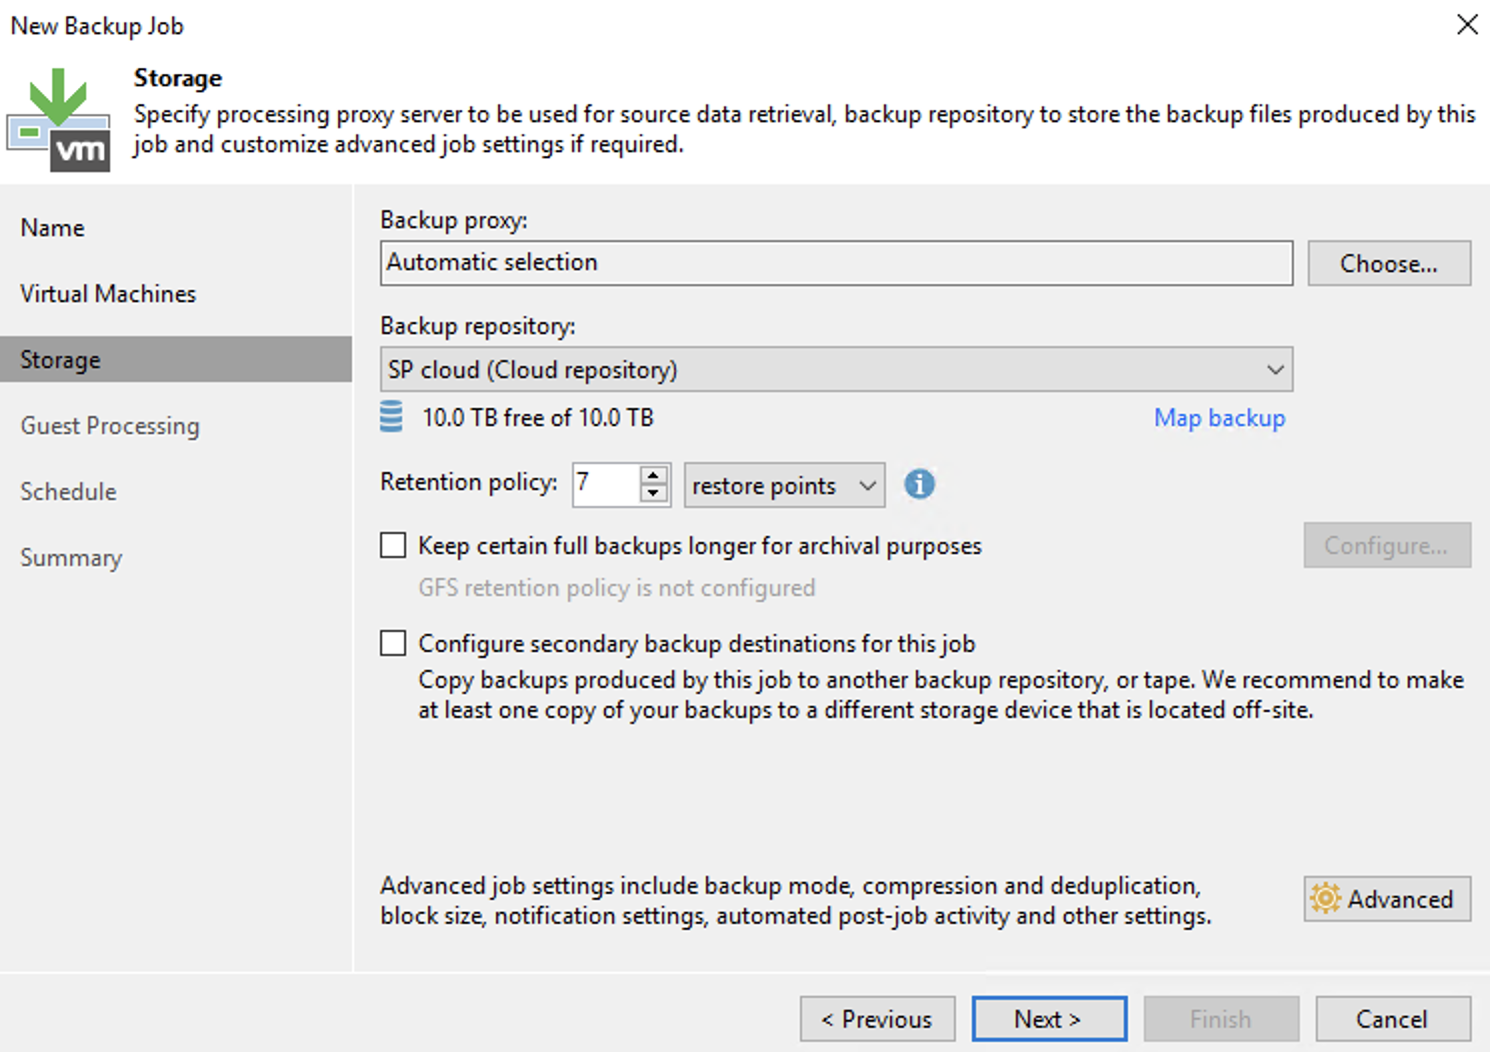
Select the cloud repository (SP Cloud) from the drop-down. Click Next.
Leave the default settings for the Guest processing and Schedule pages. Review the Summary page and click Finish.
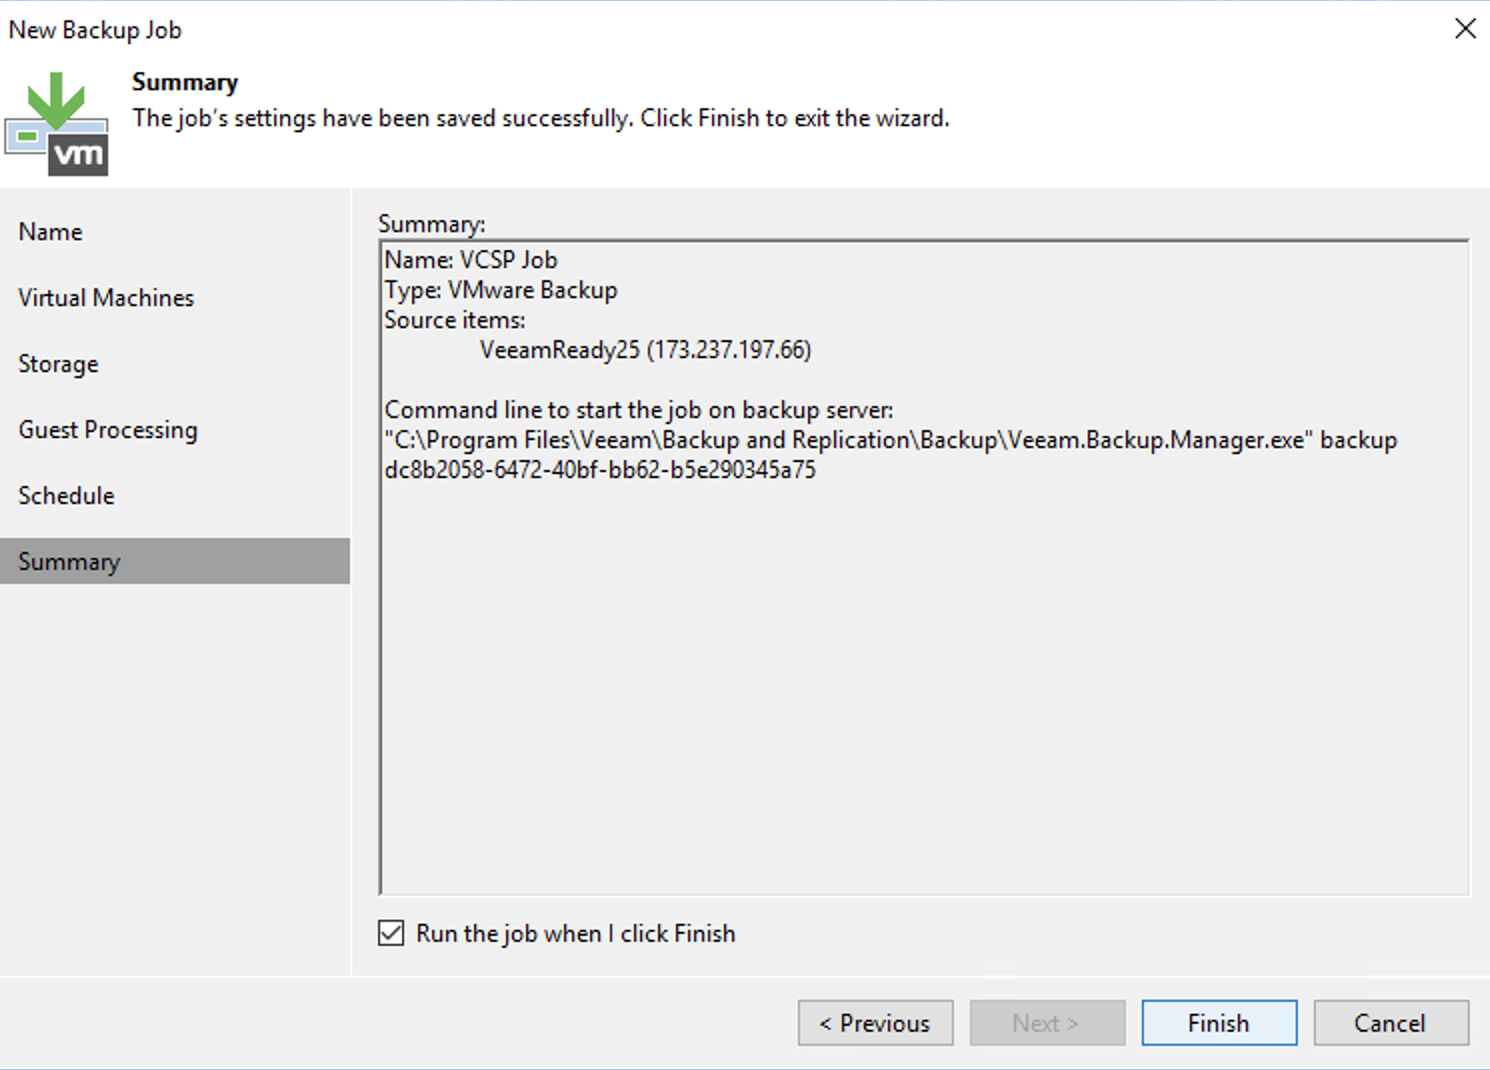
The backup job will commence and store the backup on your cloud service provider's local storage.
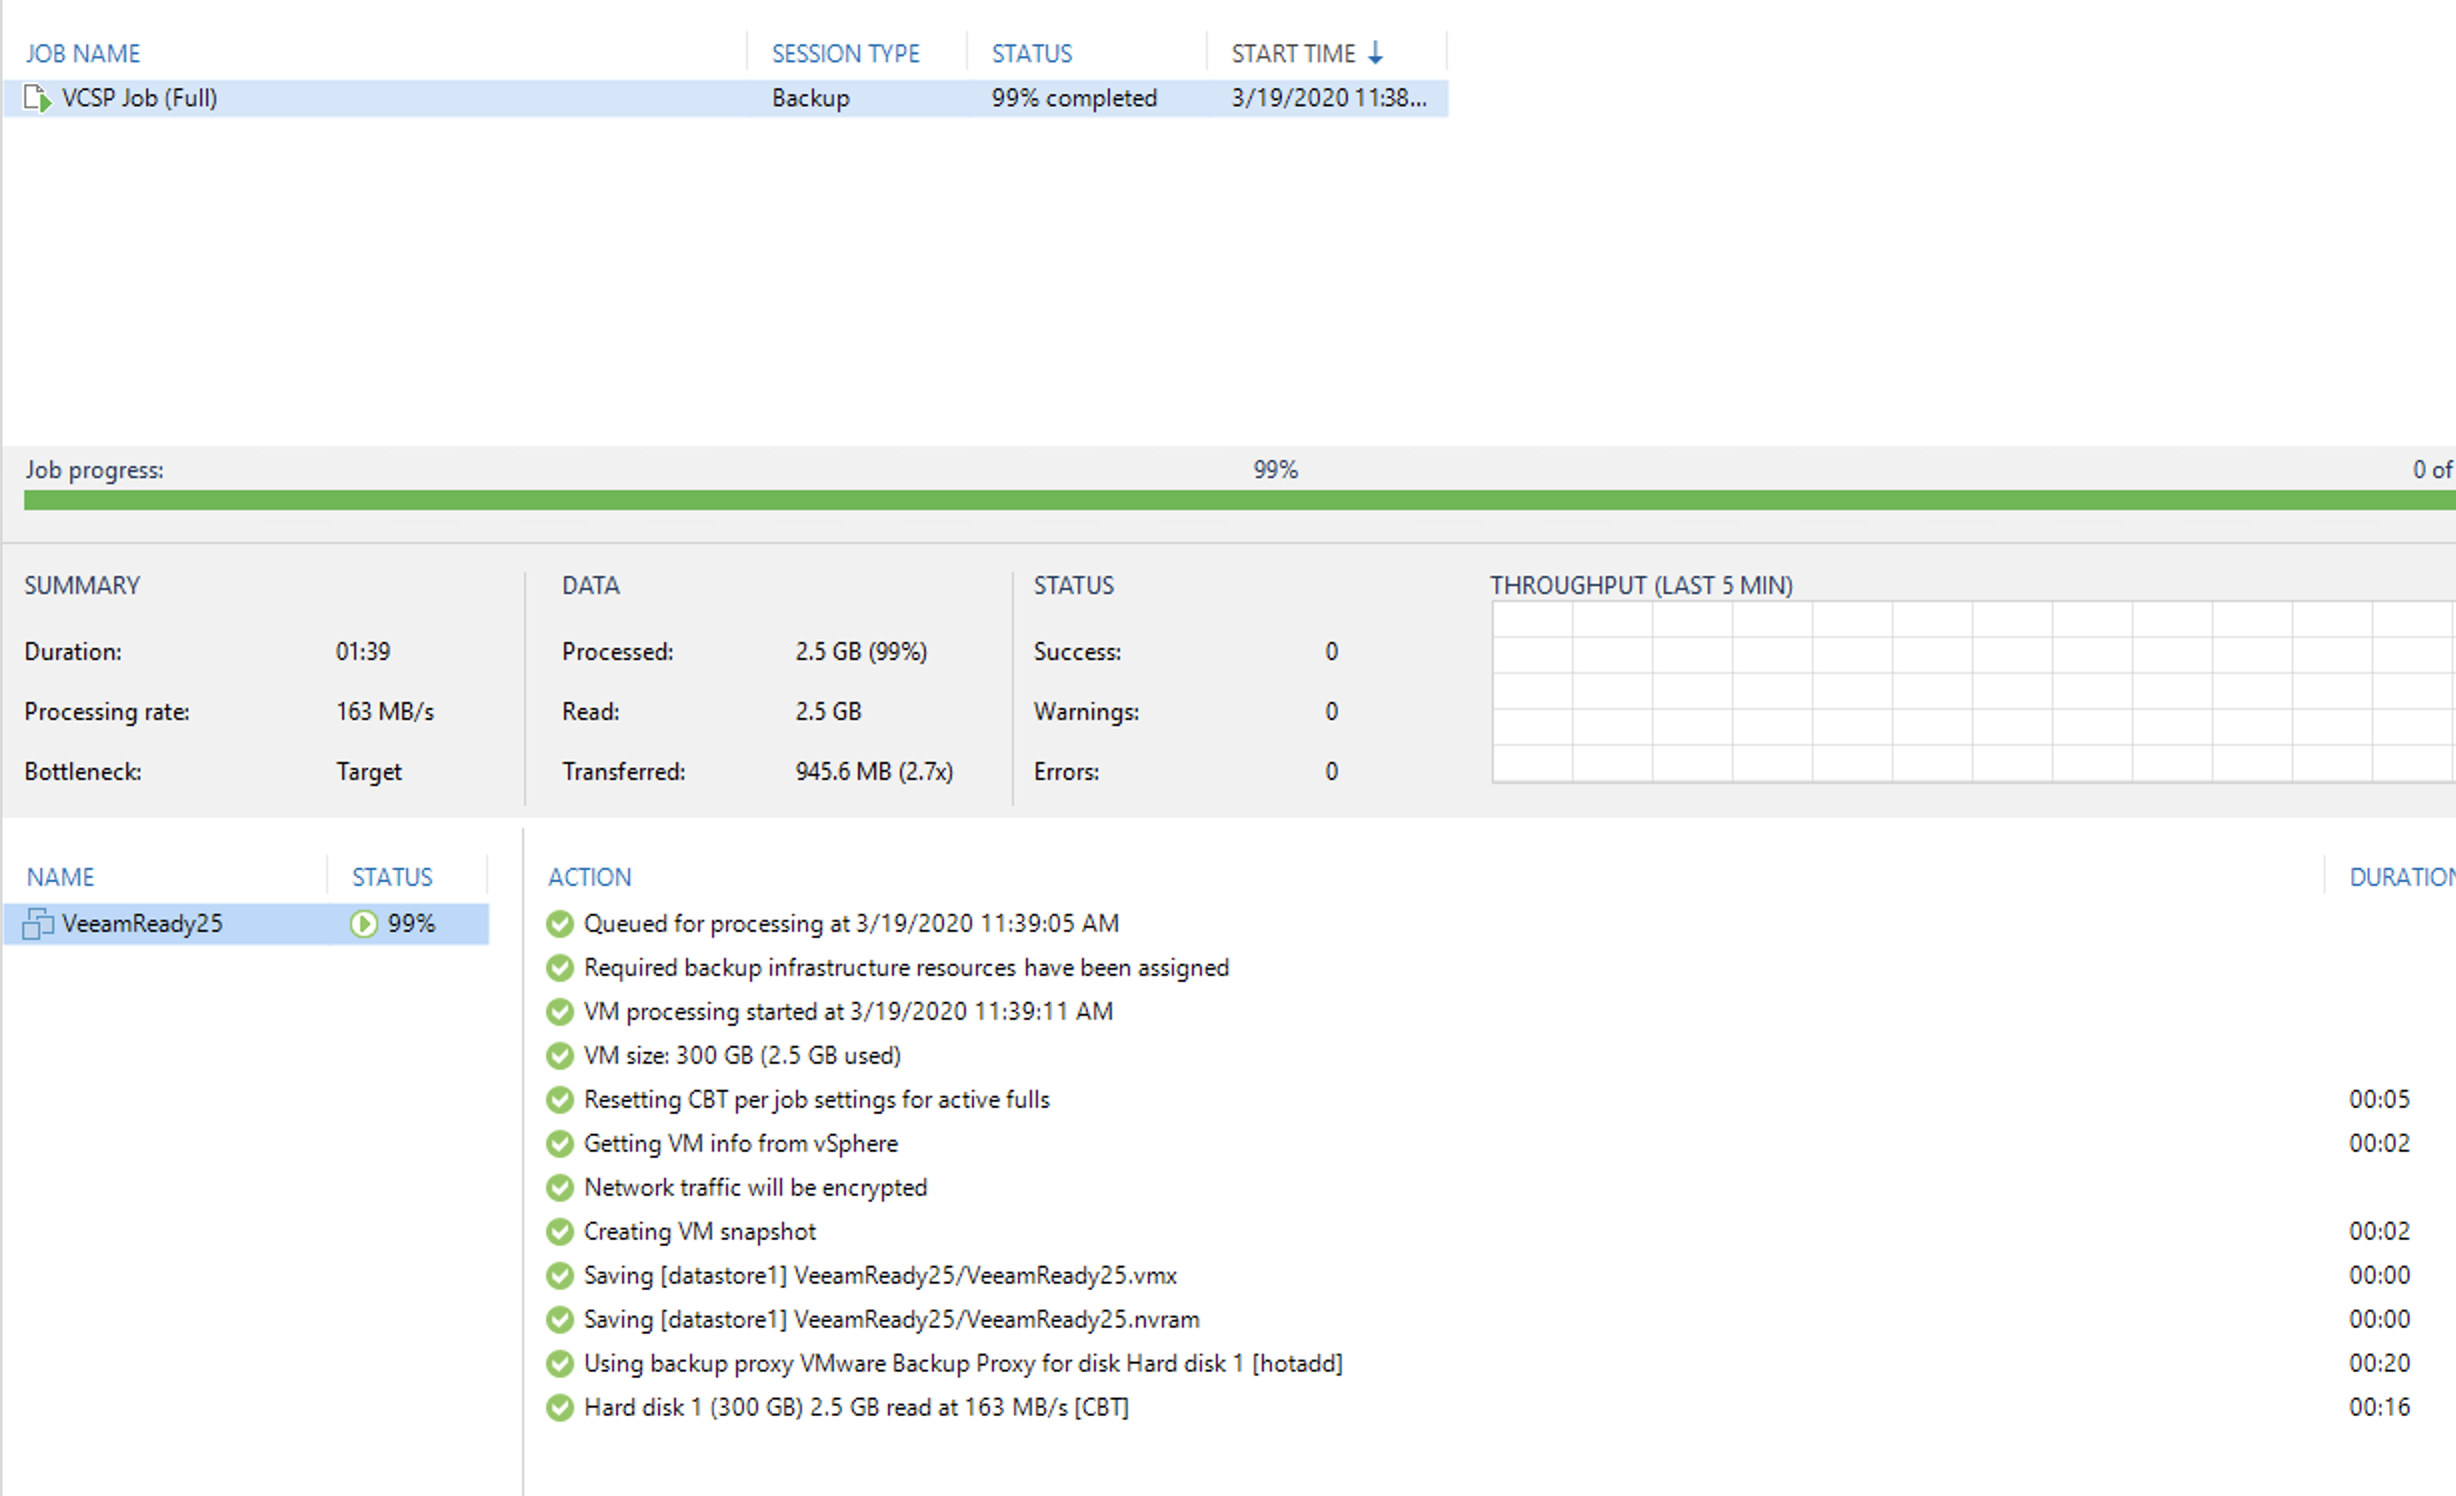
The backup data, stored on Service Provider's local storage network:

Verifying the Backup Stored on Service Provider's Veeam
Once the backup is written to your cloud service provider's local storag and the Instant Copy feature has been enabled, the backup will be offloaded from your VCSP storage to Wasabi storage.
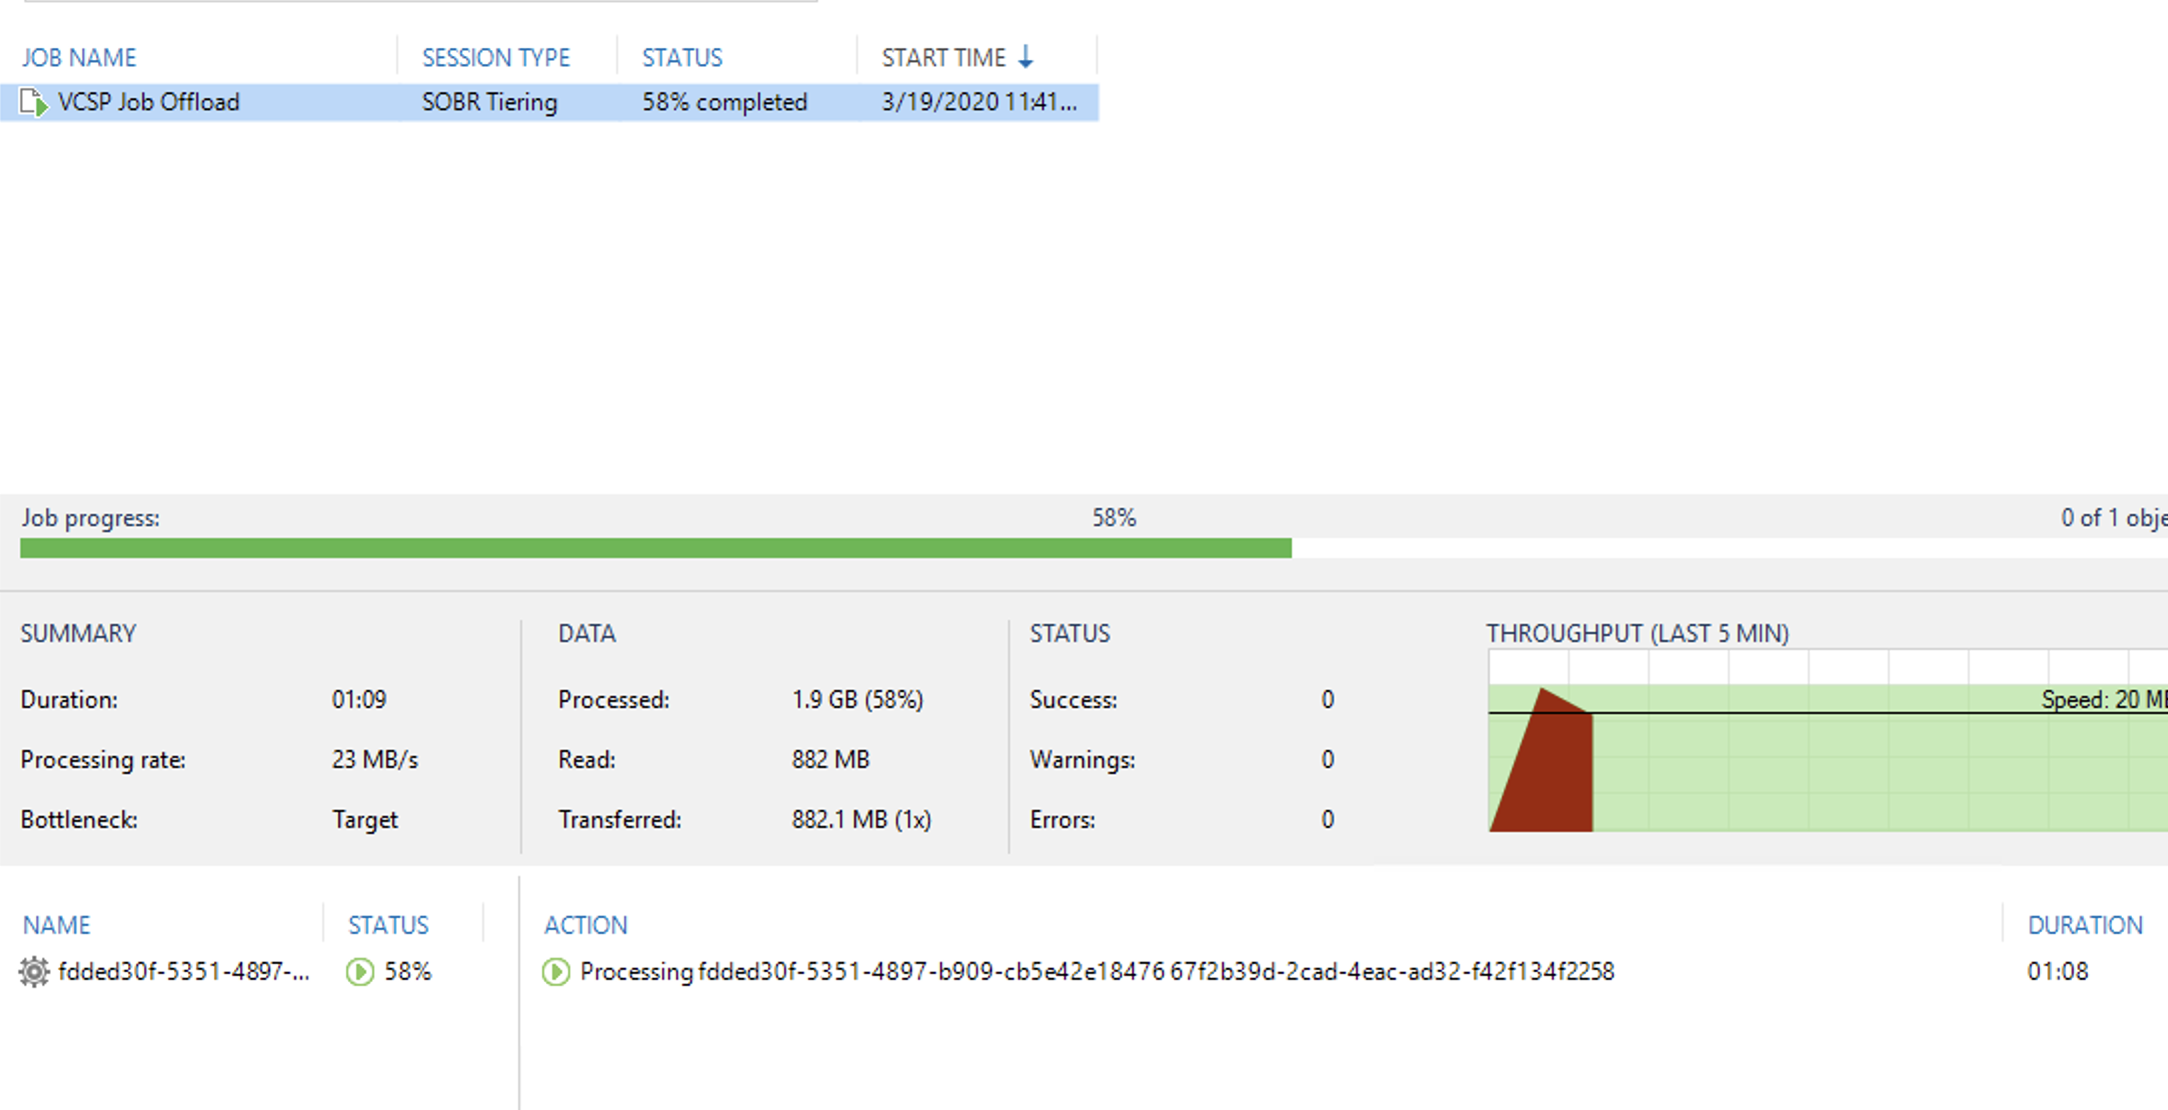
Verifying the Backup on Wasabi
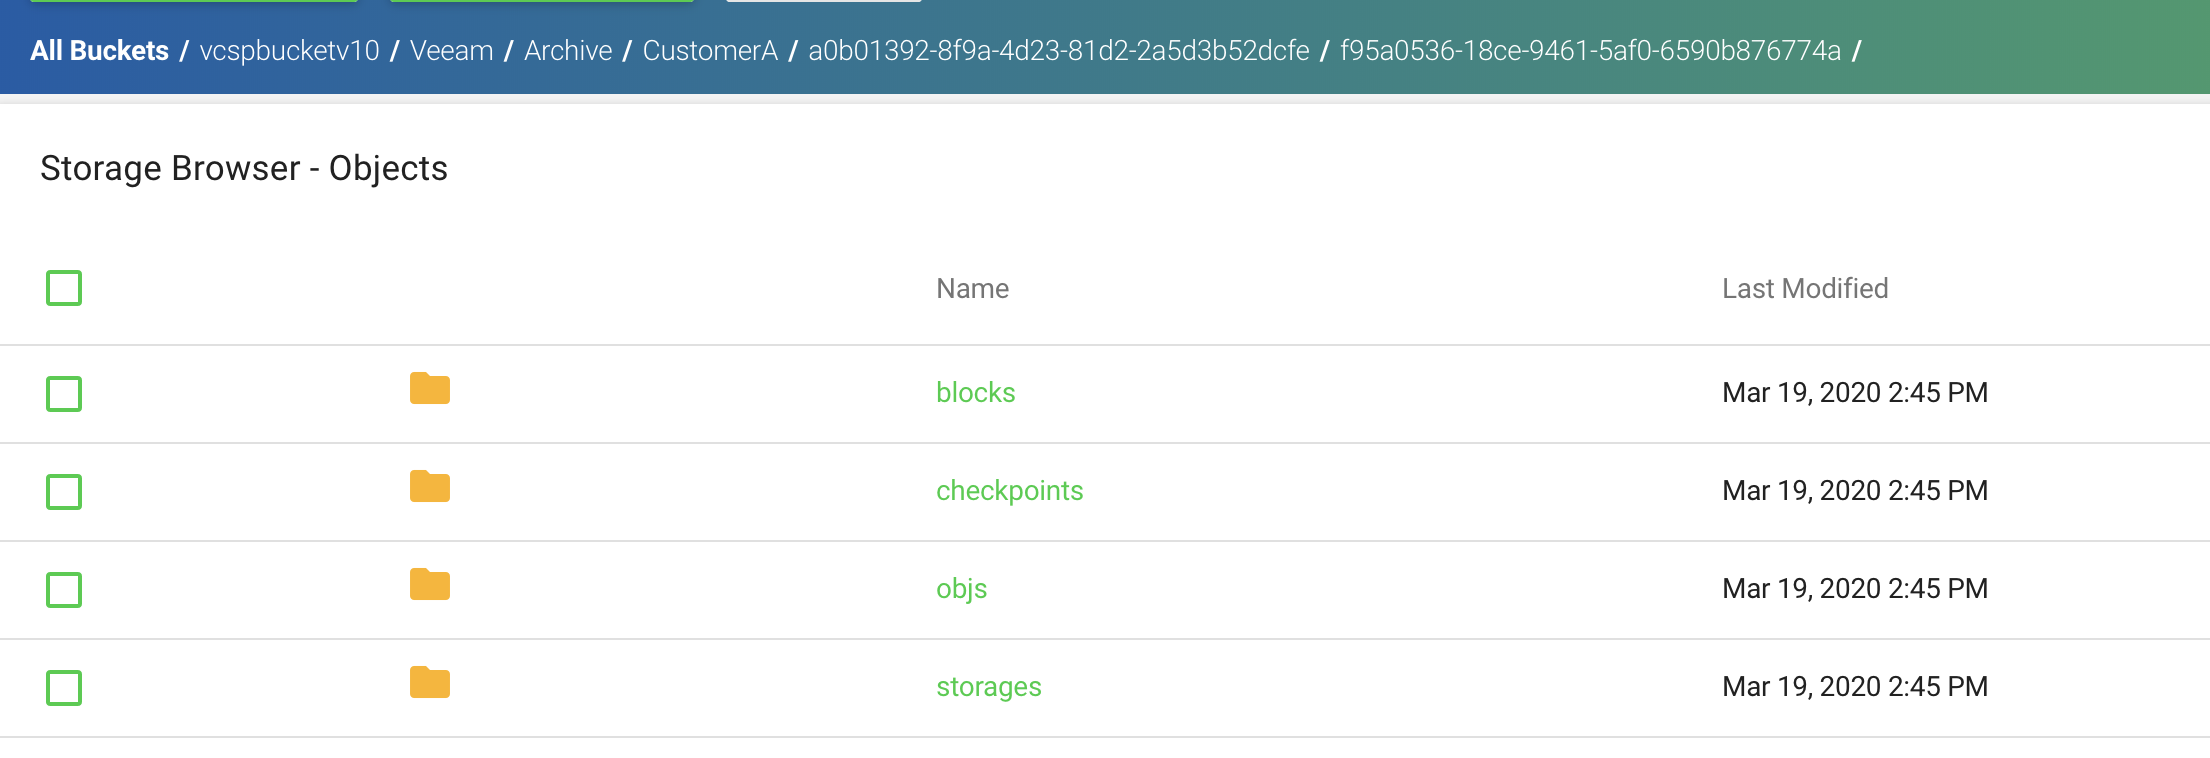
Verify the backup data has been written to Wasabi.
