Dell Avamar has been validated to work in conjunction with Dell PowerProtect DDVE and Wasabi Cloud Tier. Avamar data protection software delivers flexible and efficient backup and recovery operations that can scale from daily backup protection for endpoints to high-performance protection for large enterprises with diverse applications and workloads.
Requirements
Active Wasabi Cloud Storage Account
Wasabi Bucket (see our Bucket Creation Guide)
Access & Secret Key Pair (see our Access Keys Guide)
Avamar Software licensed and installed
Dell PowerProtect DDVE Software installed and licensed to include DD Boost capabilities
PowerProtect DD requires Cloud Tier licensing
Adding Dell PowerProtect DD System to Avamar
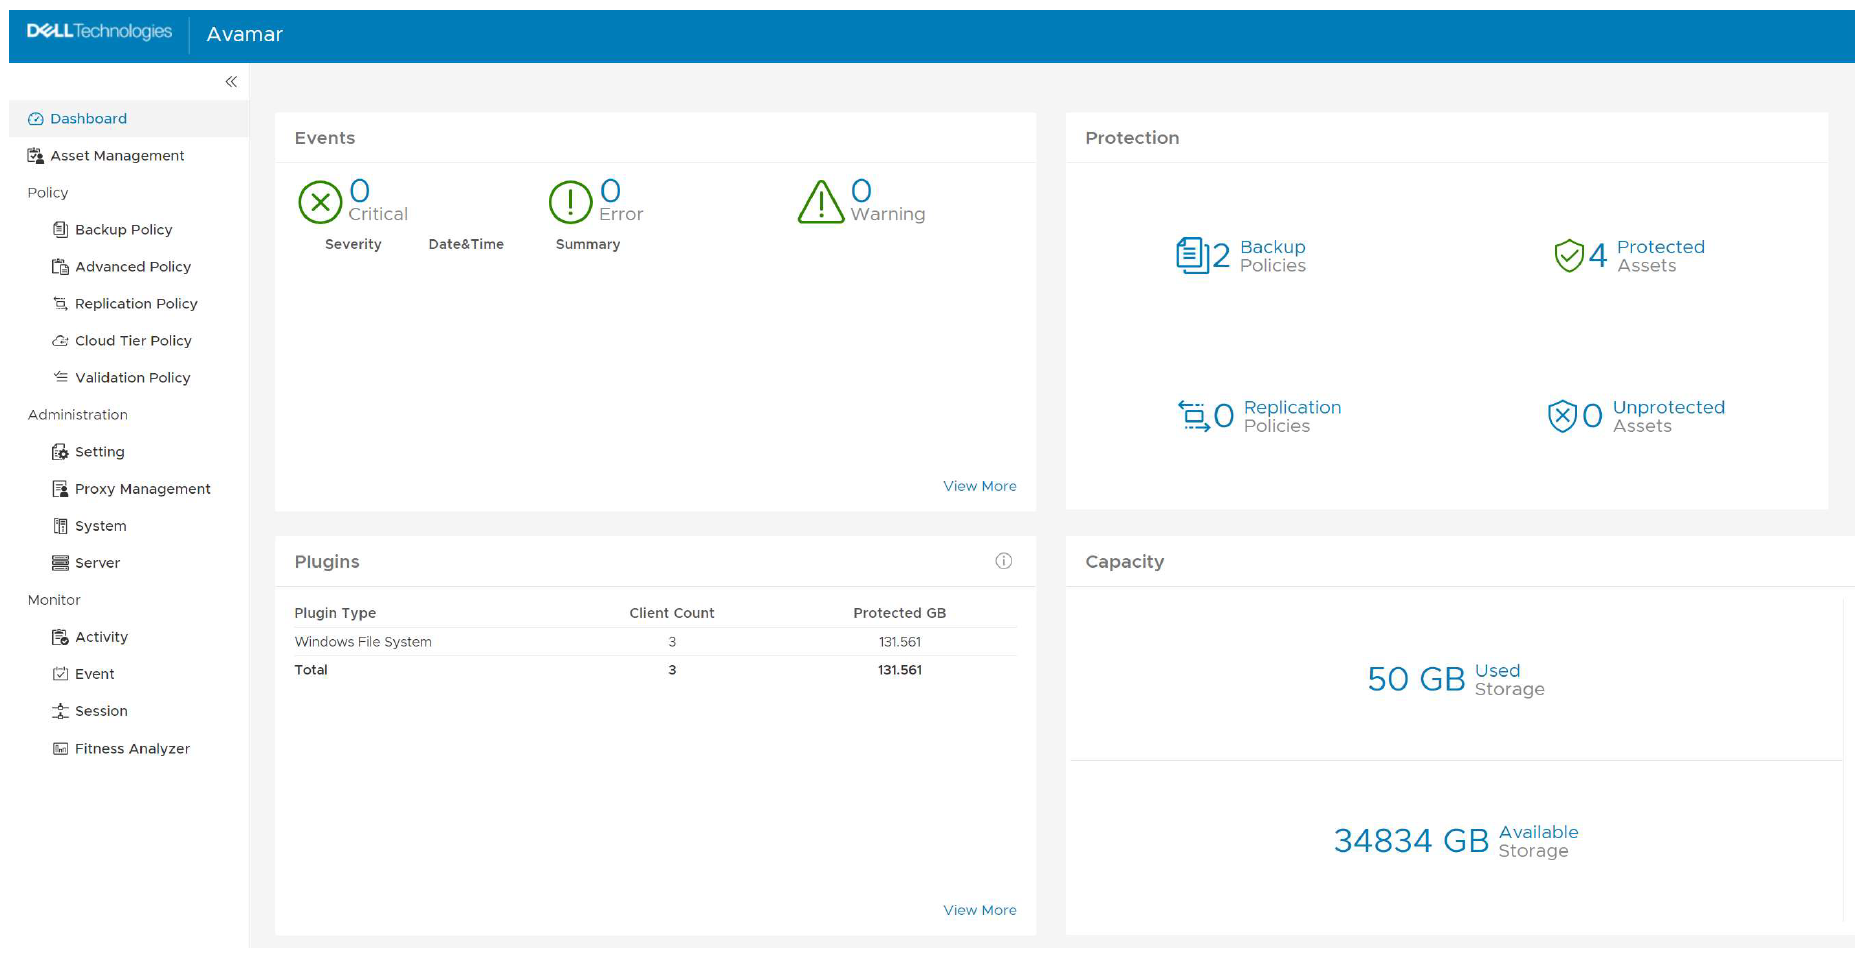
Log in to the Dell Avamar management interface.
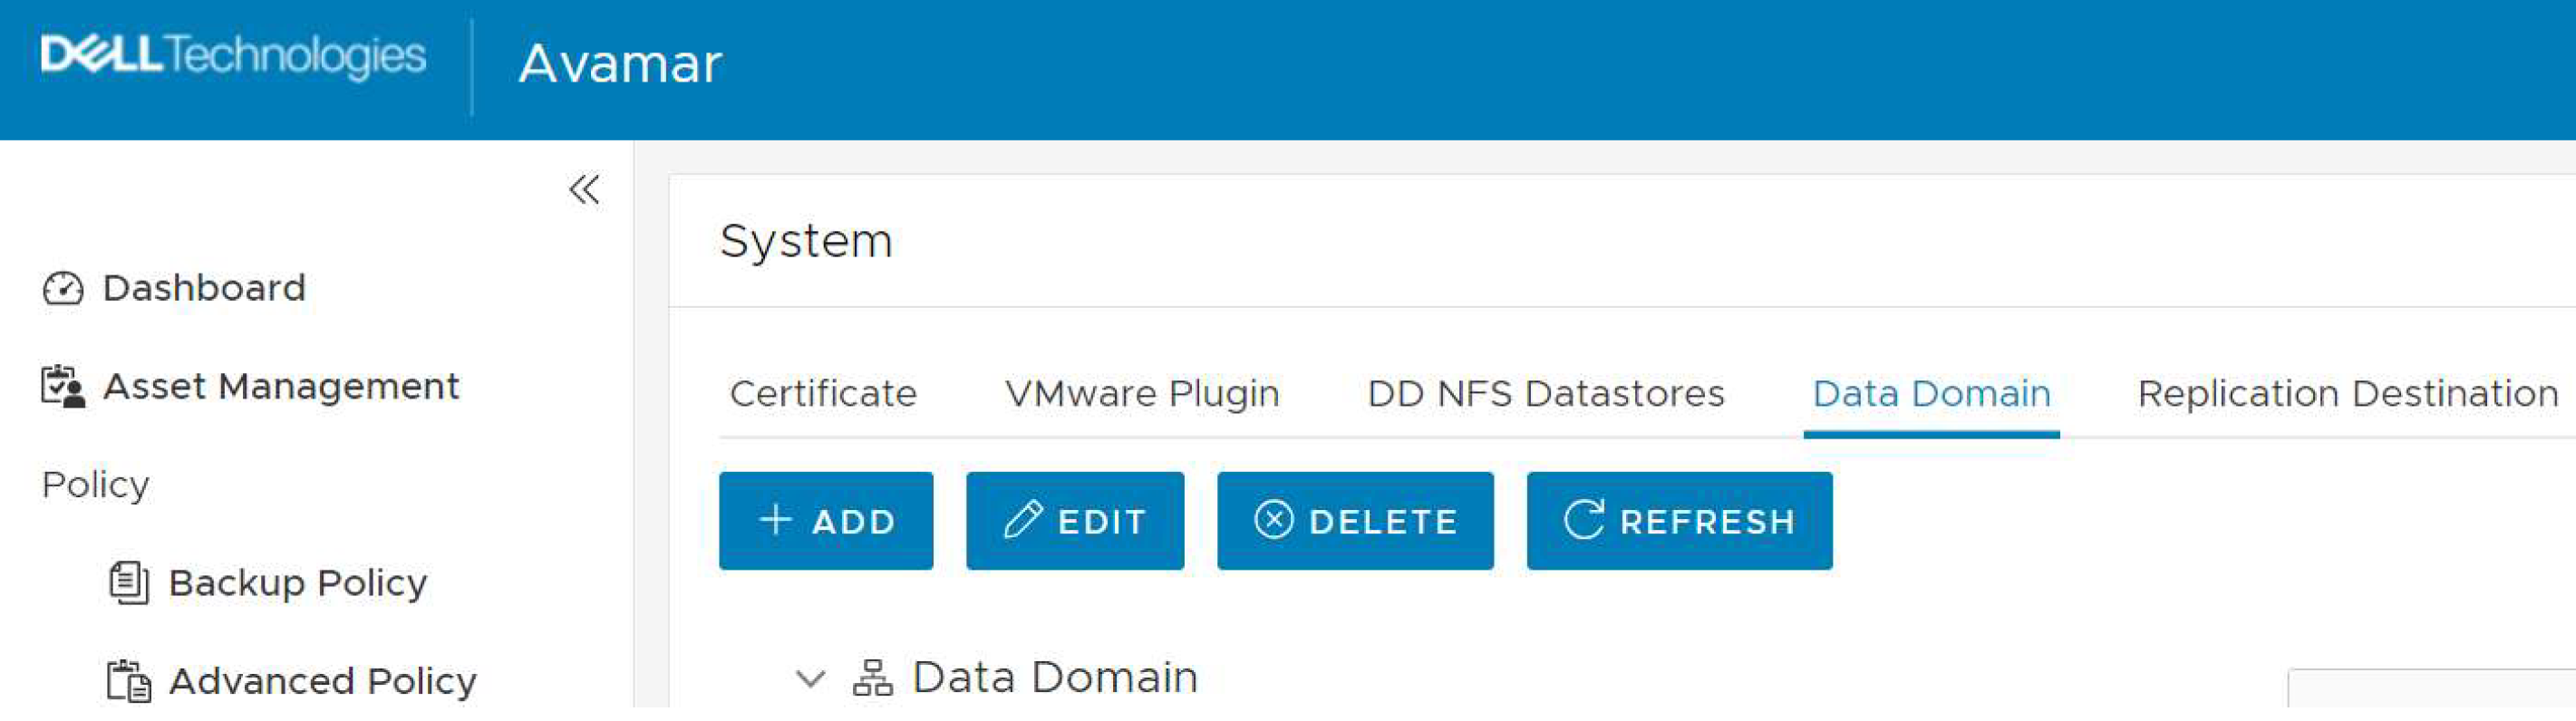
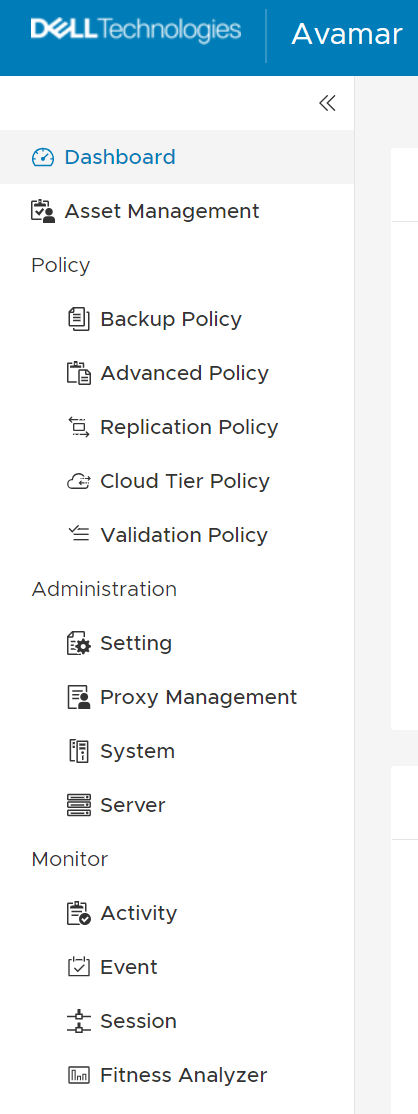
Click System under the Administration section.
Click Data Domain.
Click Add.
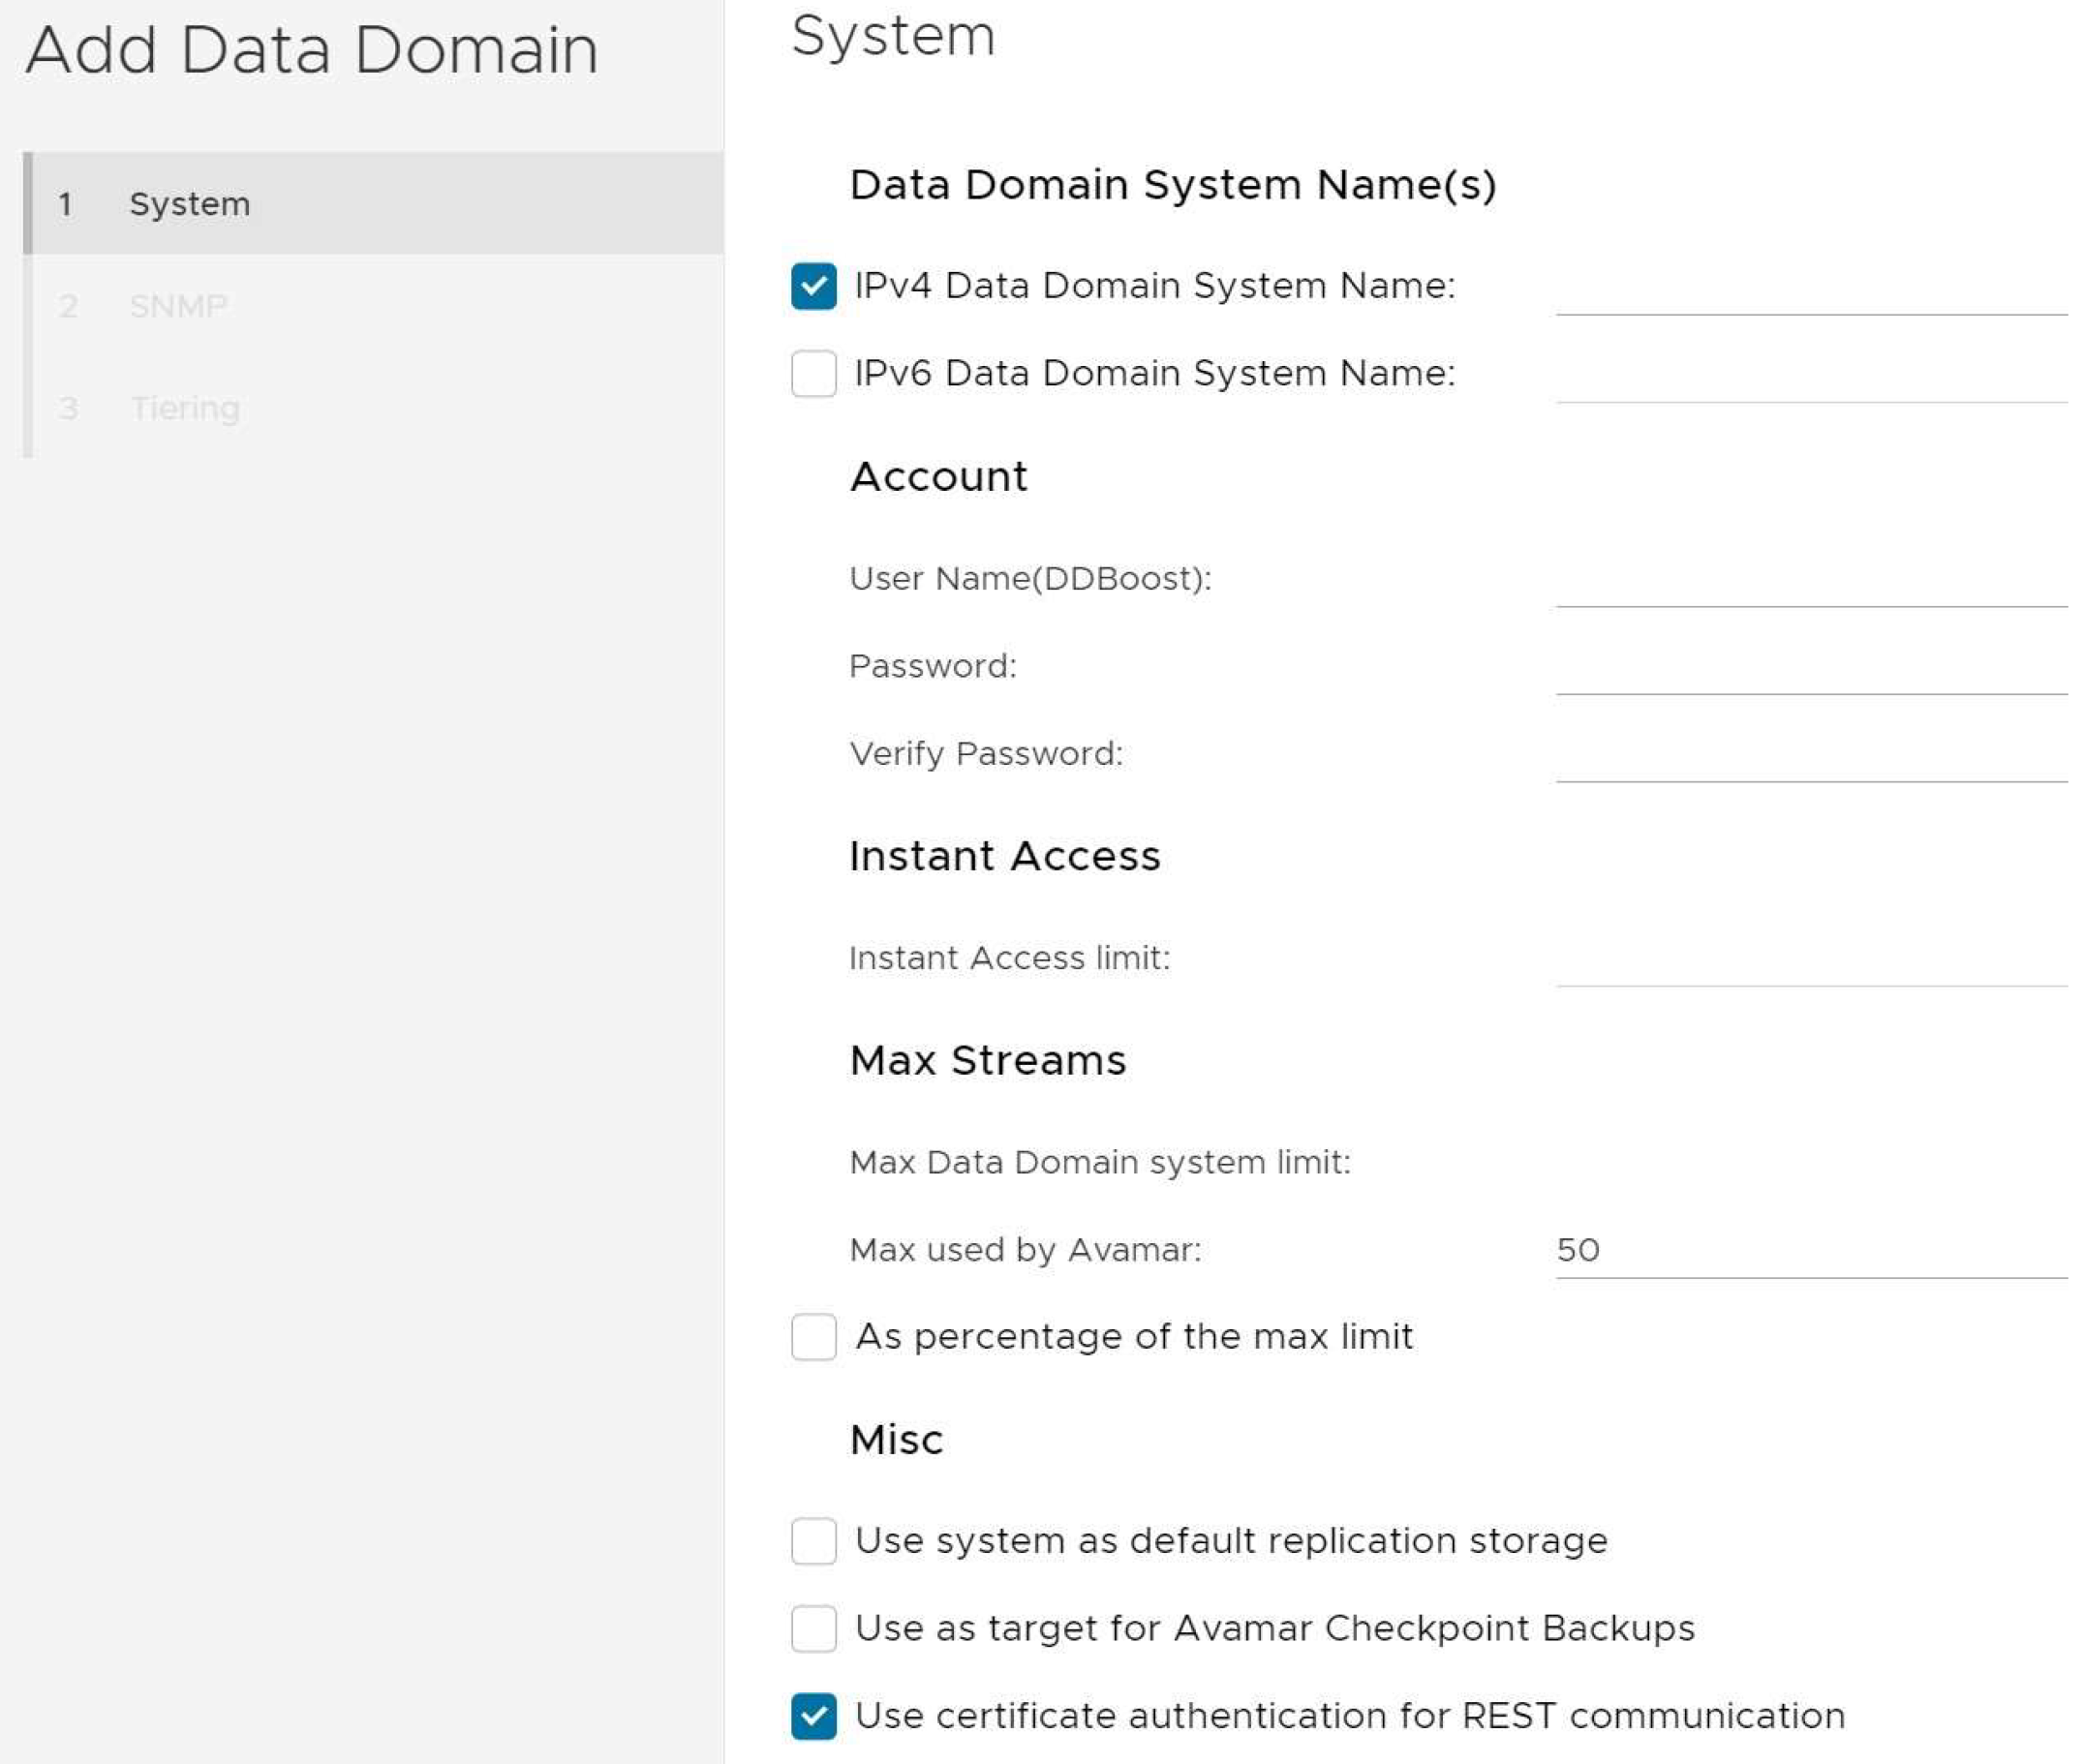
Fill out the following information.
IPv4 Data Domain System Name—Specify the IP address or DNS name.
User Name(DDBoost)—Specify the DD Boost User you created on your DDVE system.
Password—Enter the password for your DD Boost User.
Verify Password—Reenter the same password.
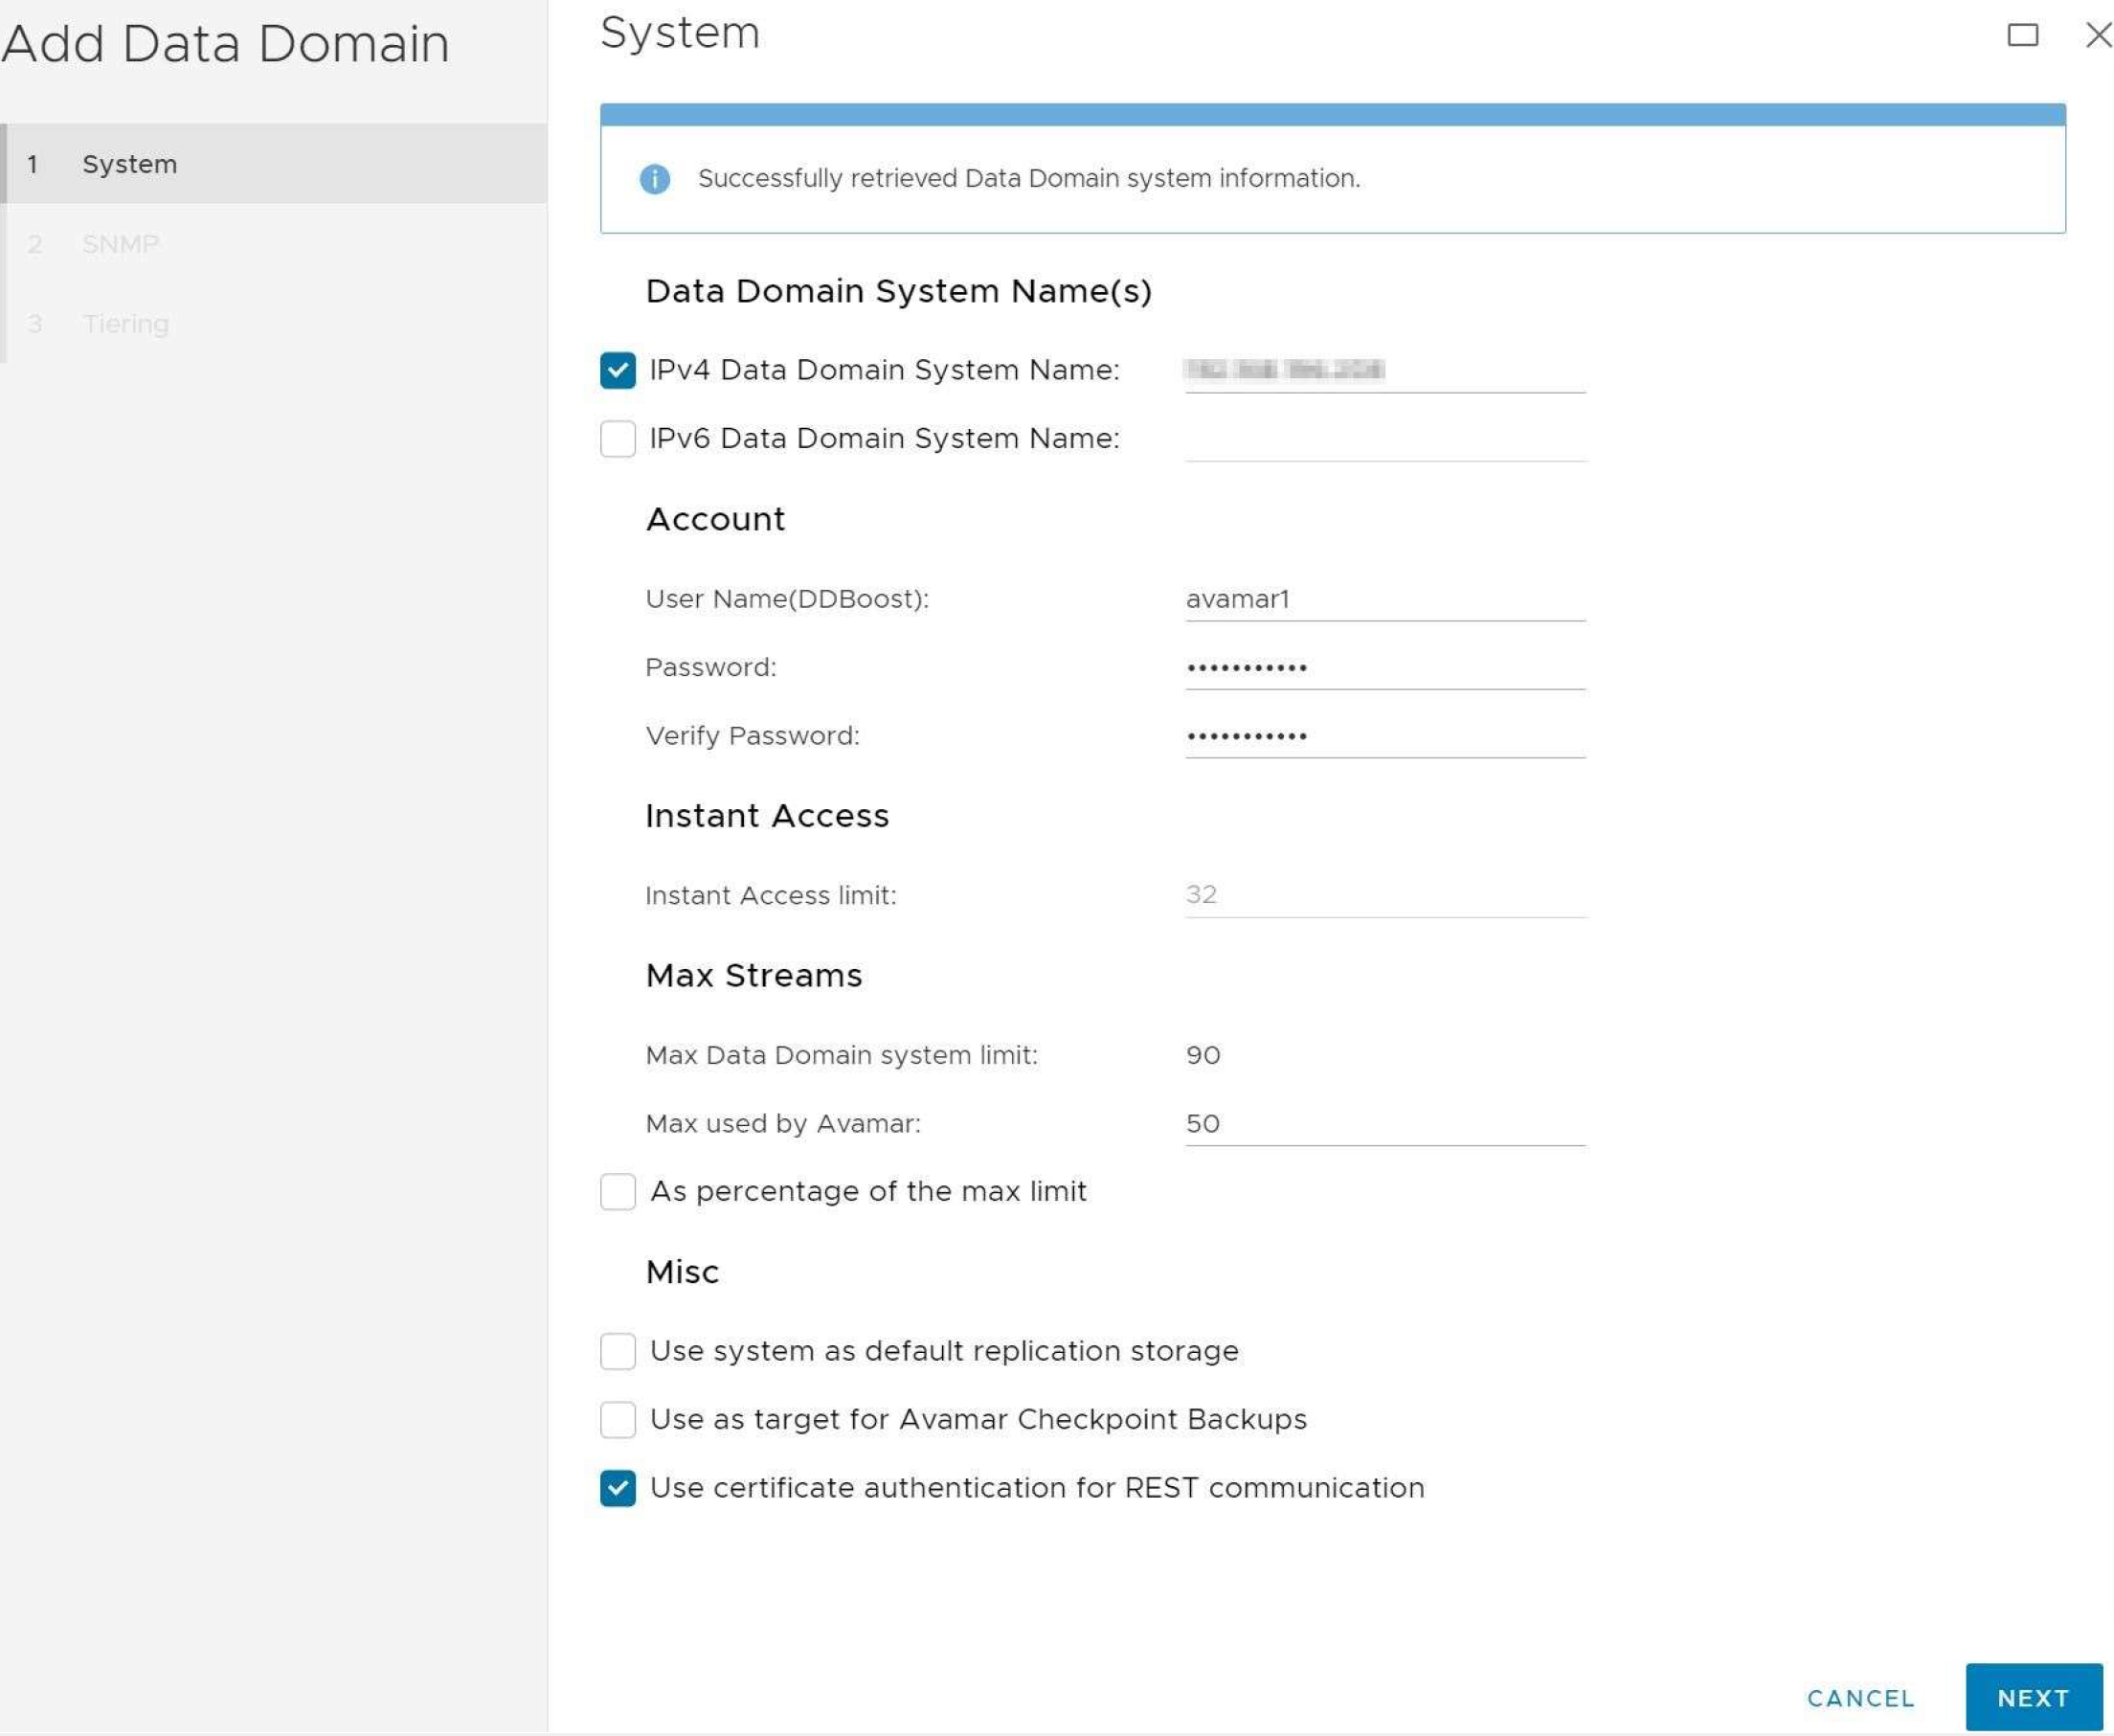
Click Validate.
If successful with connecting, you will receive a message to continue with your setup. Click Next.
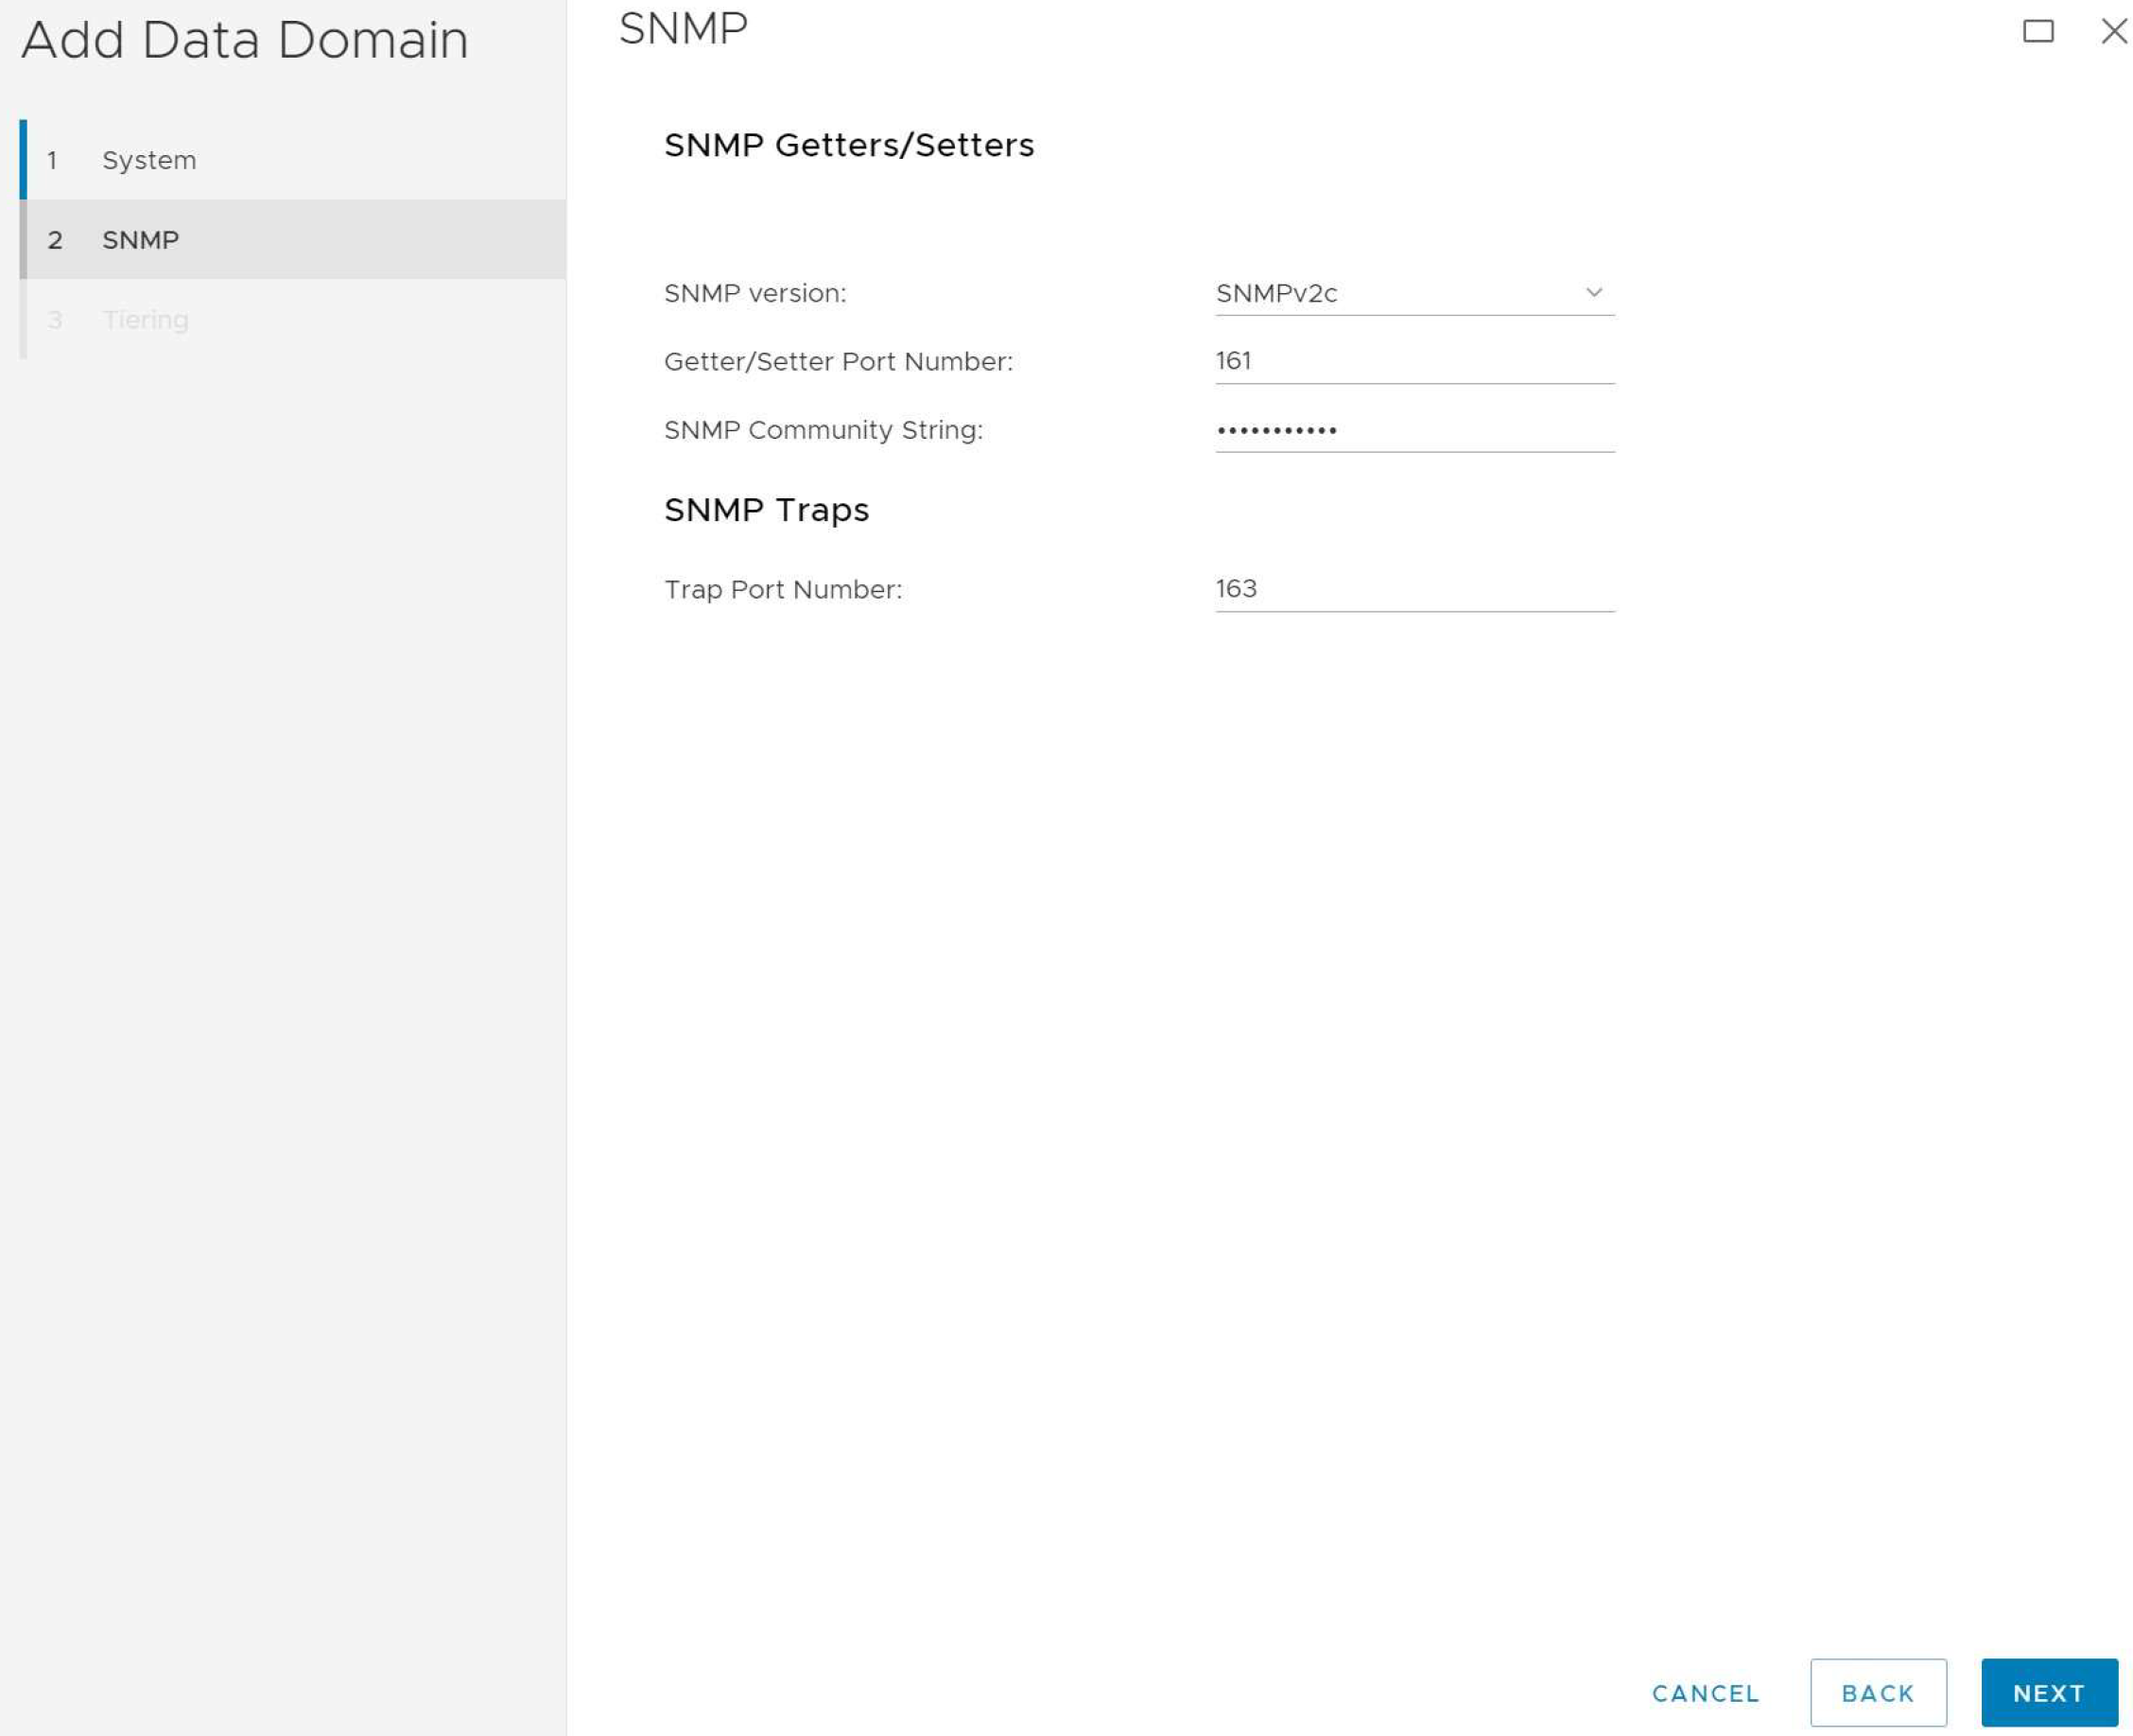
Enter an SNMP Community String. Make sure it is the same string you created in your DDVE environment.
Click Next.
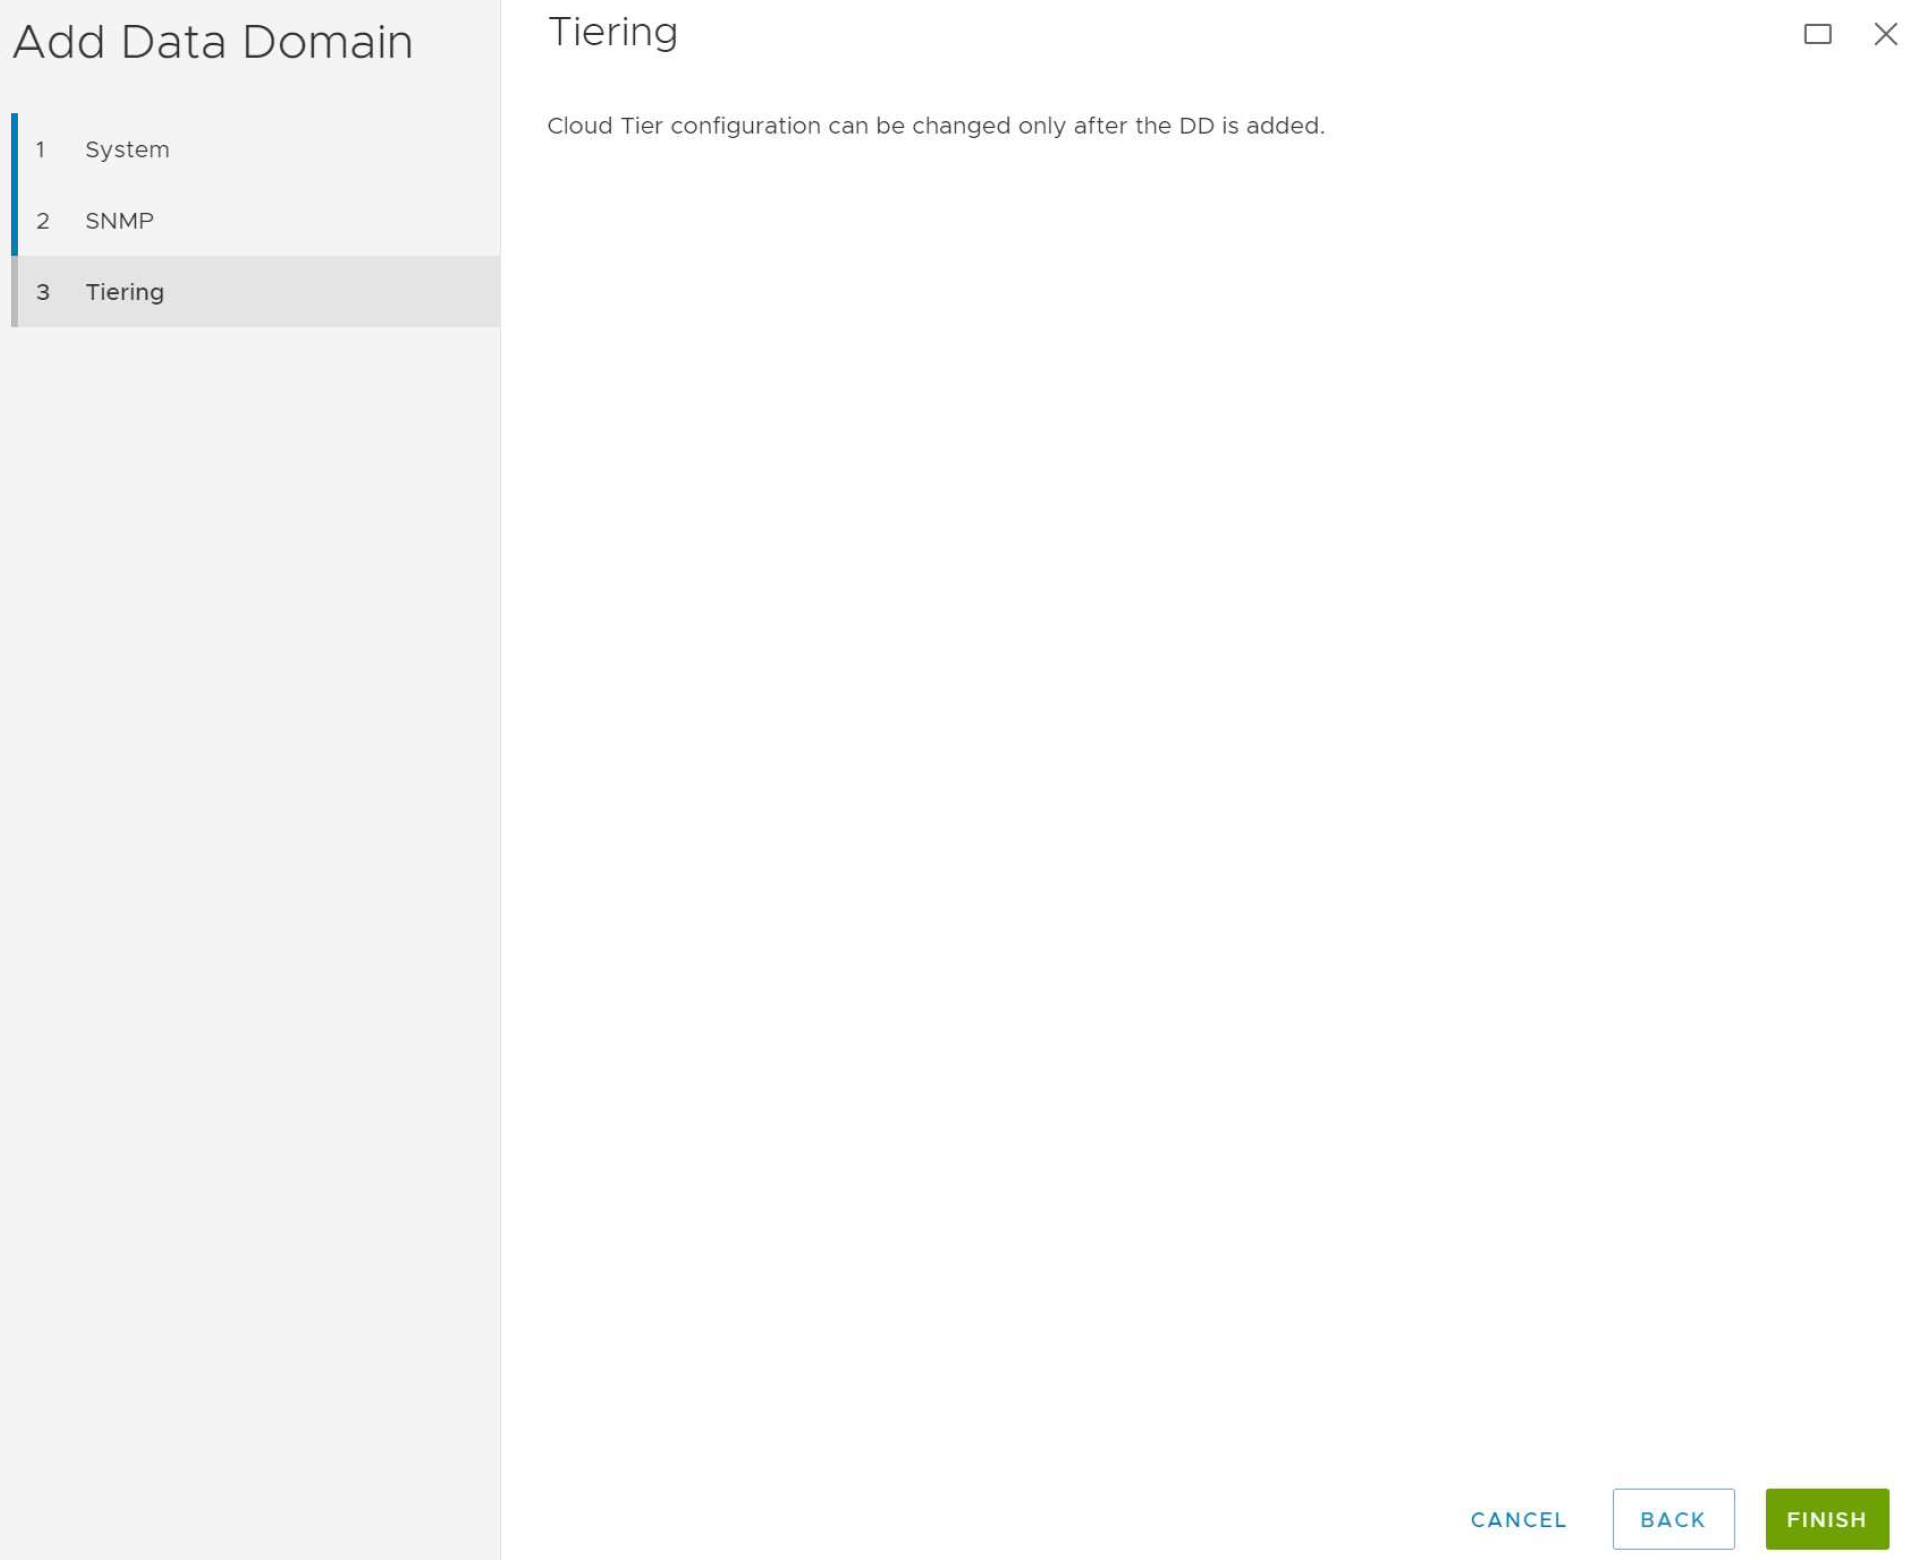
Cloud Tiering can be set up once the initial configuration has been completed and the Data Domain system has been added to Avamar. Click Finish.
You will see your Data Domain system listed below.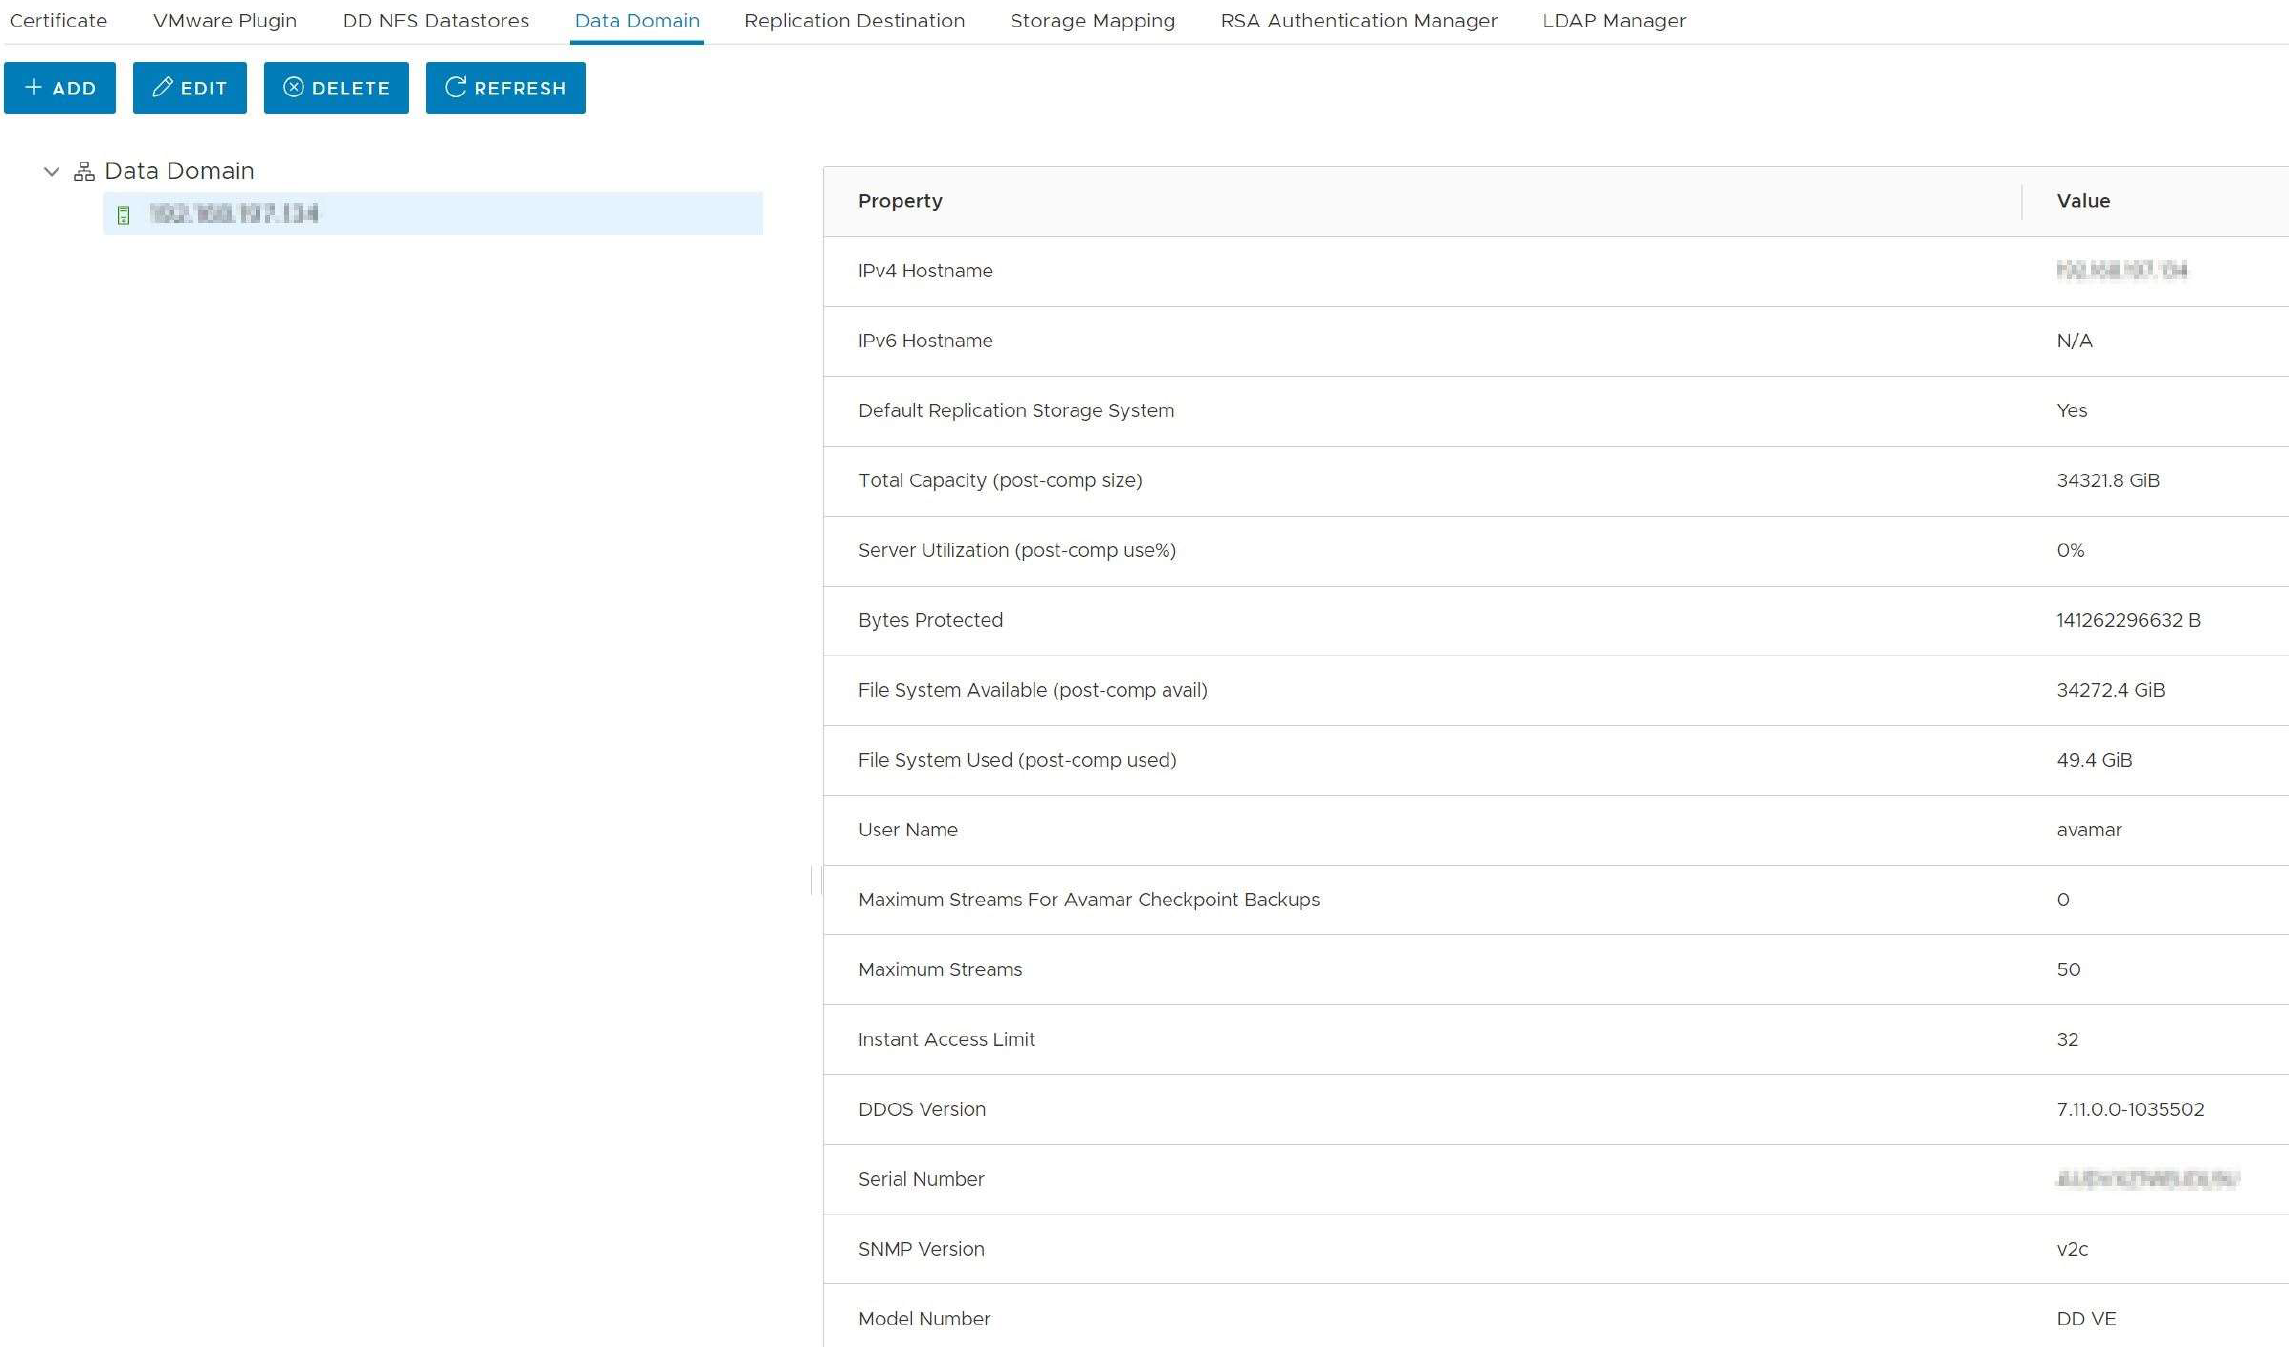
Click Edit again.
Enter your password to connect and validate the DD system.
Click Next until you get to the Tiering section.
Now you can see your Cloud Tier Unit that you previously set up on your DD system. Select the unit you want to use, then click Finish.
Connecting VMware vCenter to Avamar
Log in to the Avamar AUI with Administrator privileges. Open a web browser and type the following URL: "https://avamar_IP/aui".
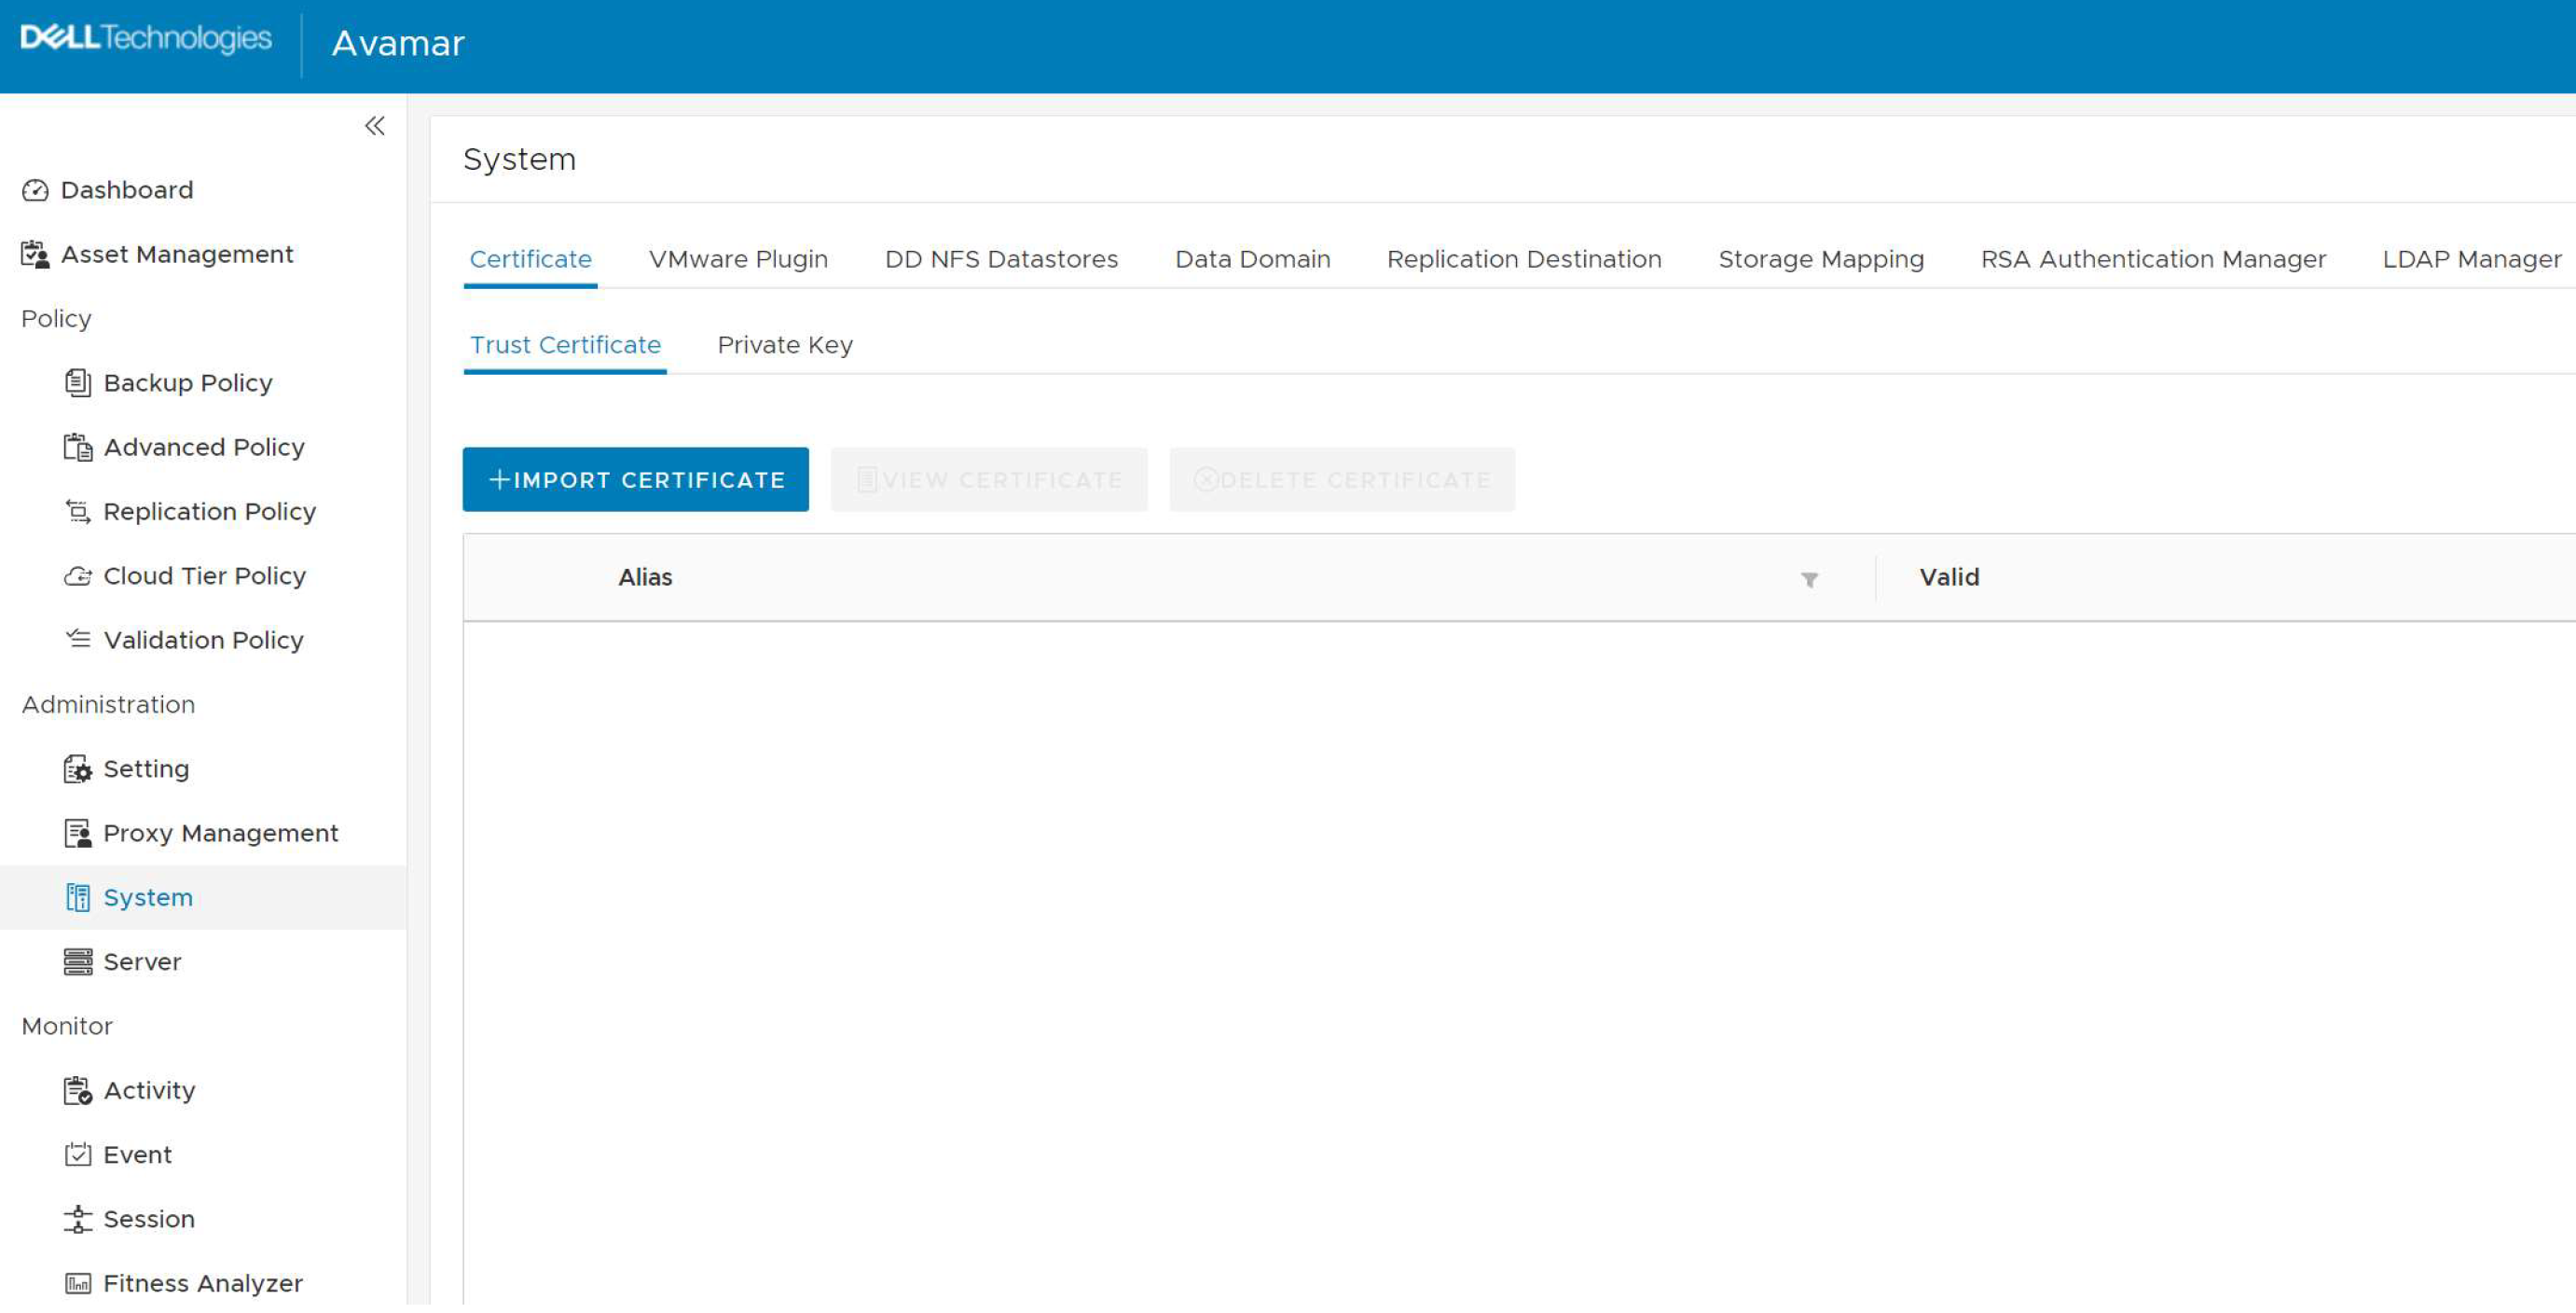
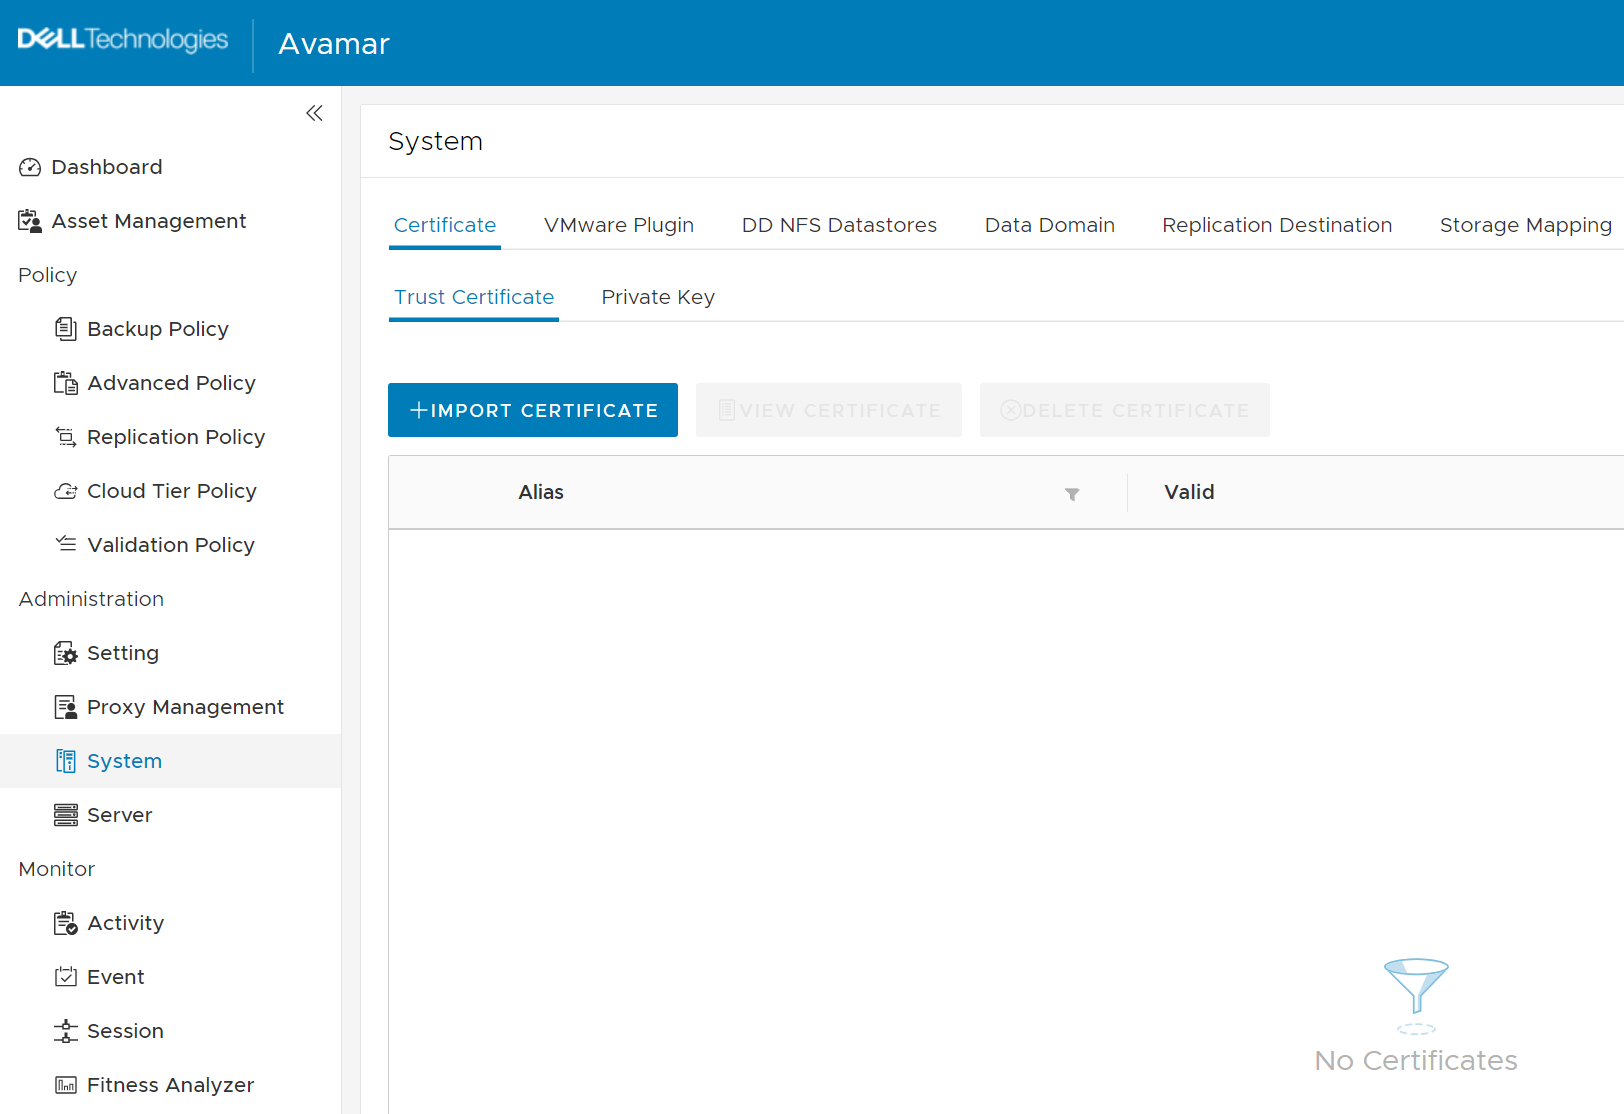
In the AUI navigation pane on the left, expand the menu tree. Click System.
Select the Certificate tab. Click Import Certificate under the Trust Certificate tab. The Import Certificate dialog box appears.
Provide an Alias for the Certificate.
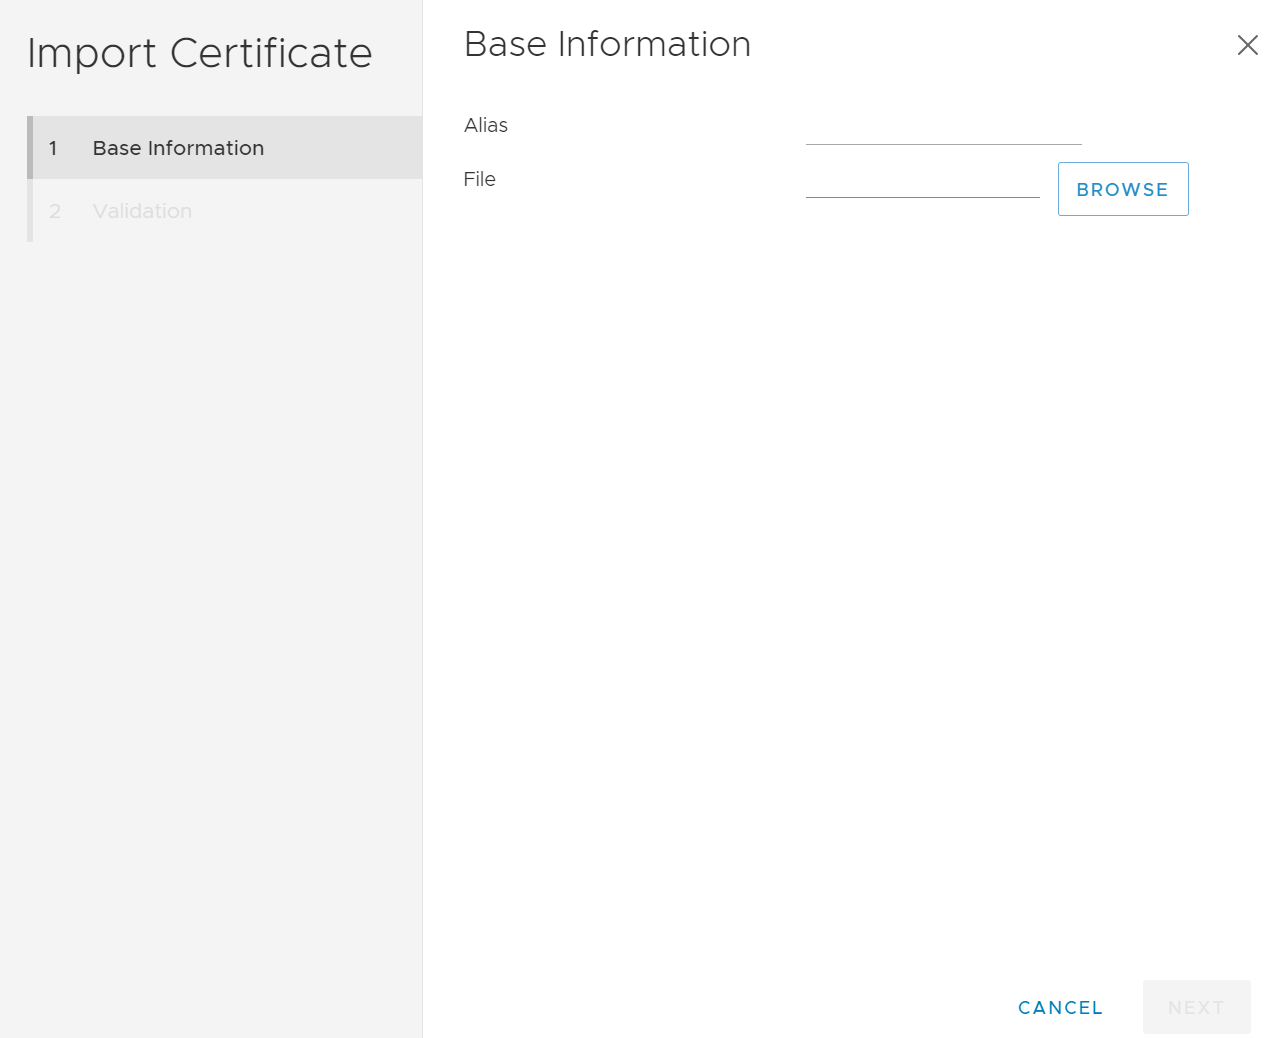
Click Browse, then select the location where you saved the vCenter certificate.
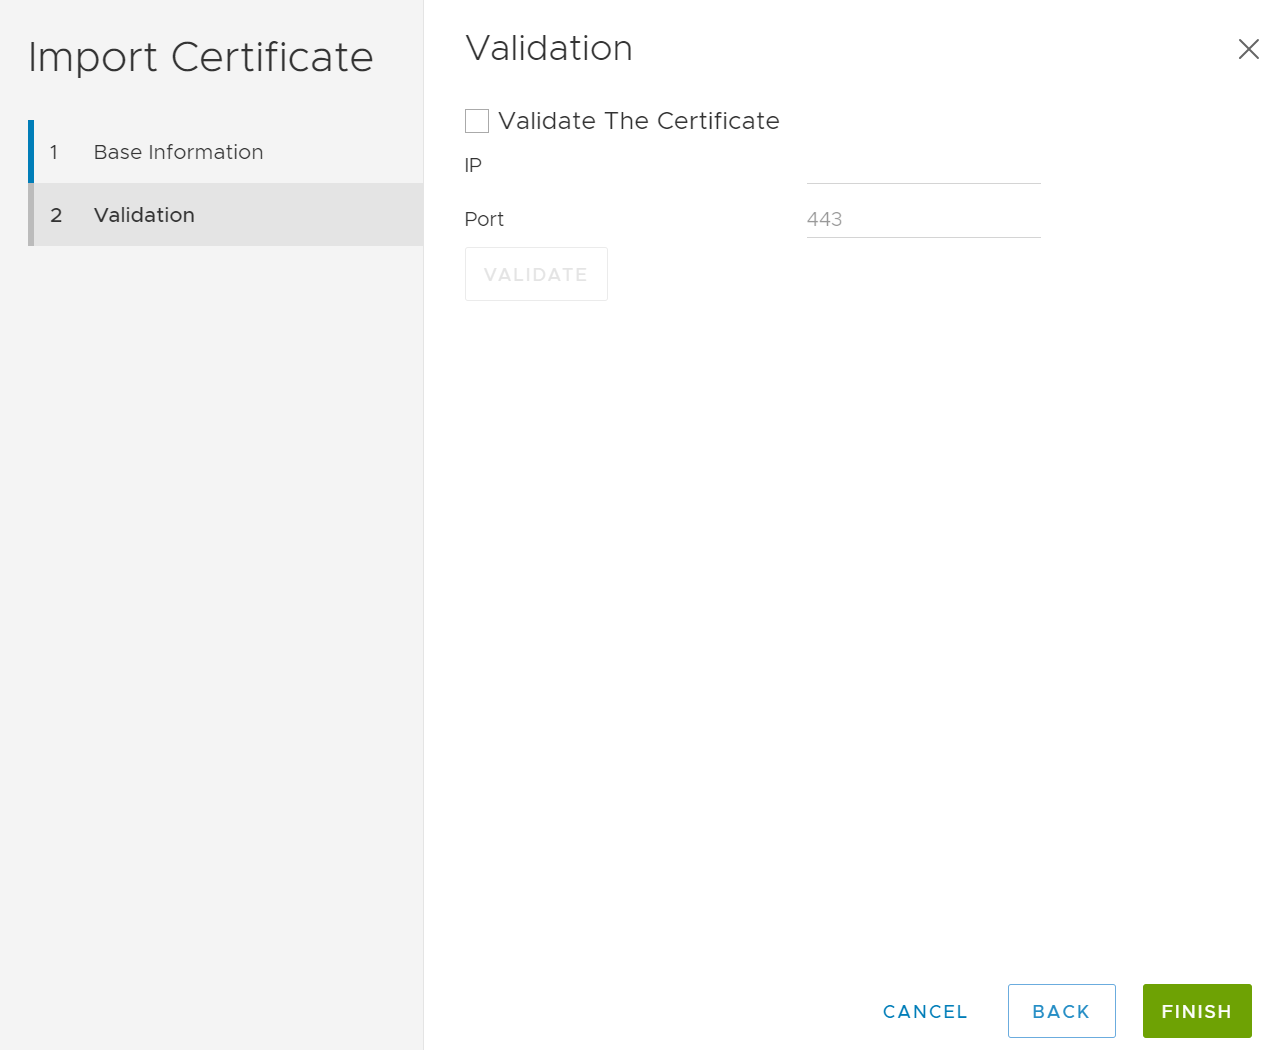
Validating the Certificate is optional. Otherwise, click Finish.
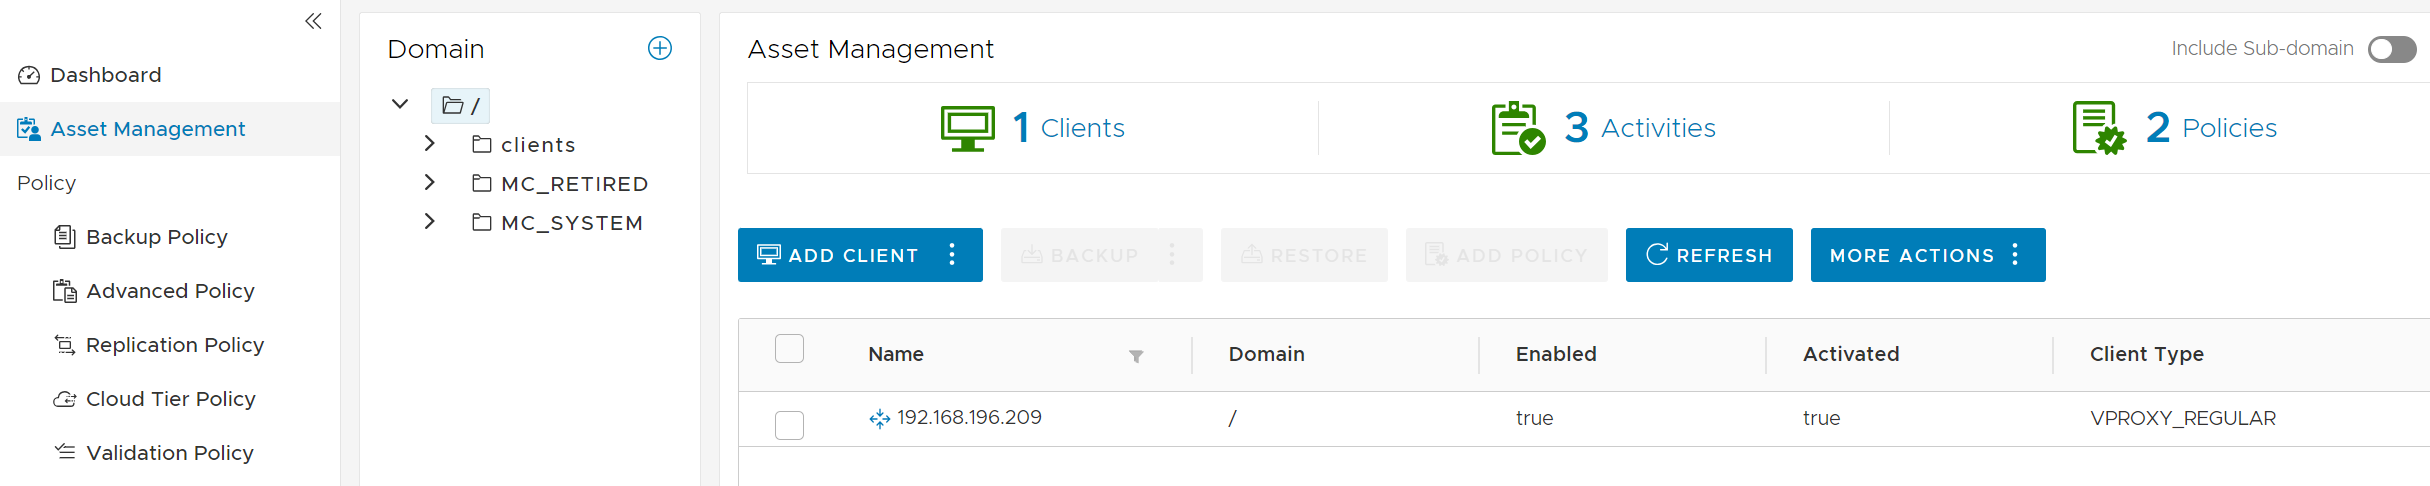
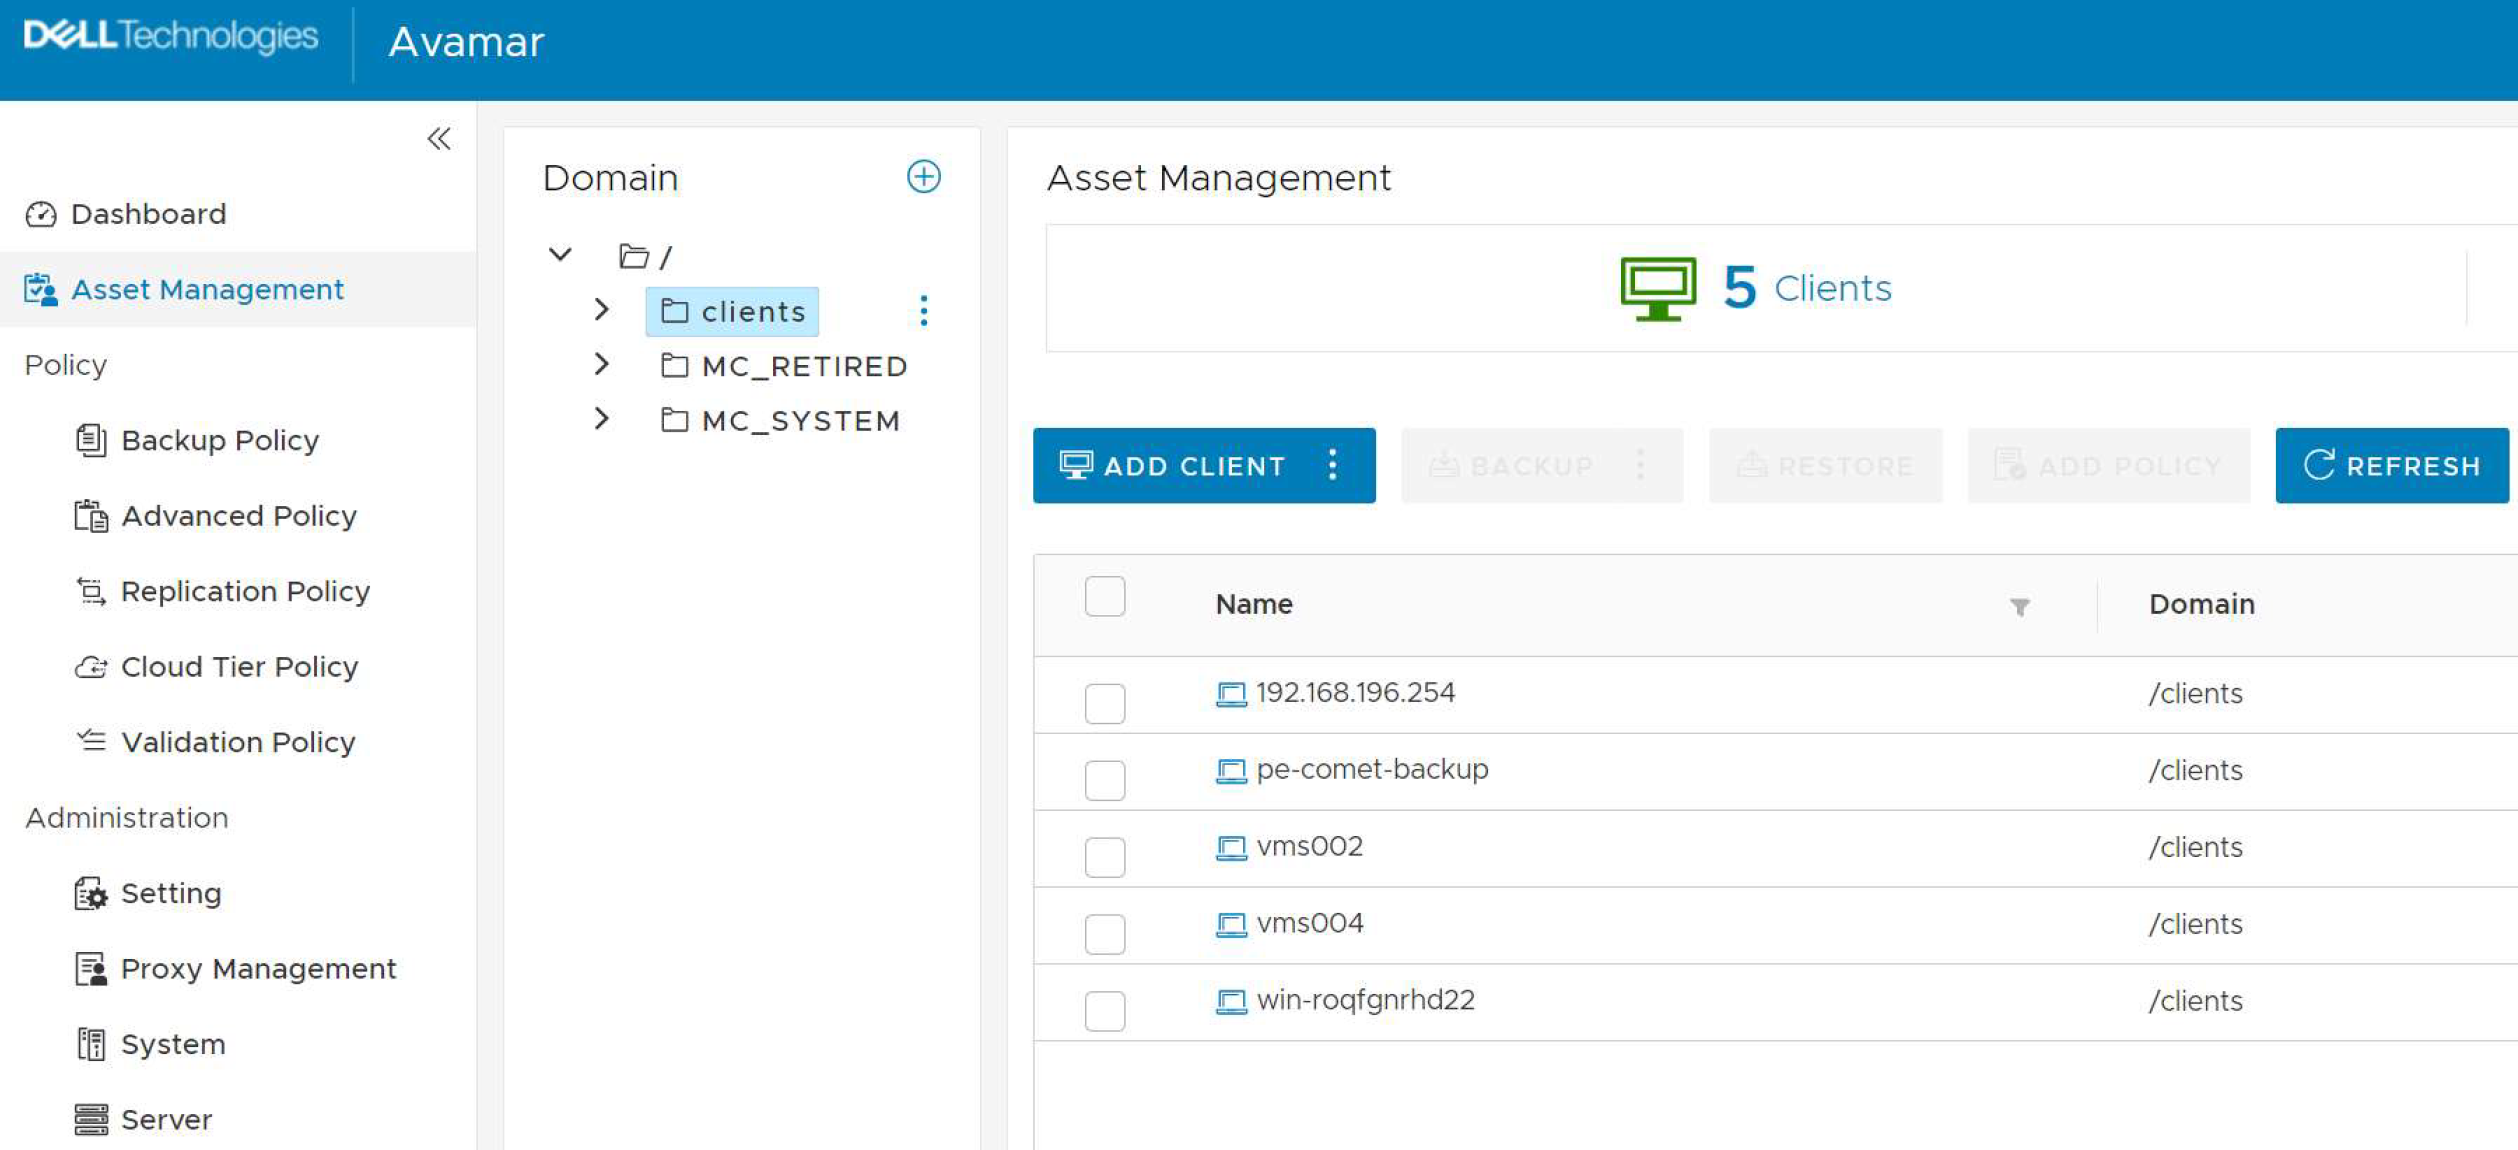
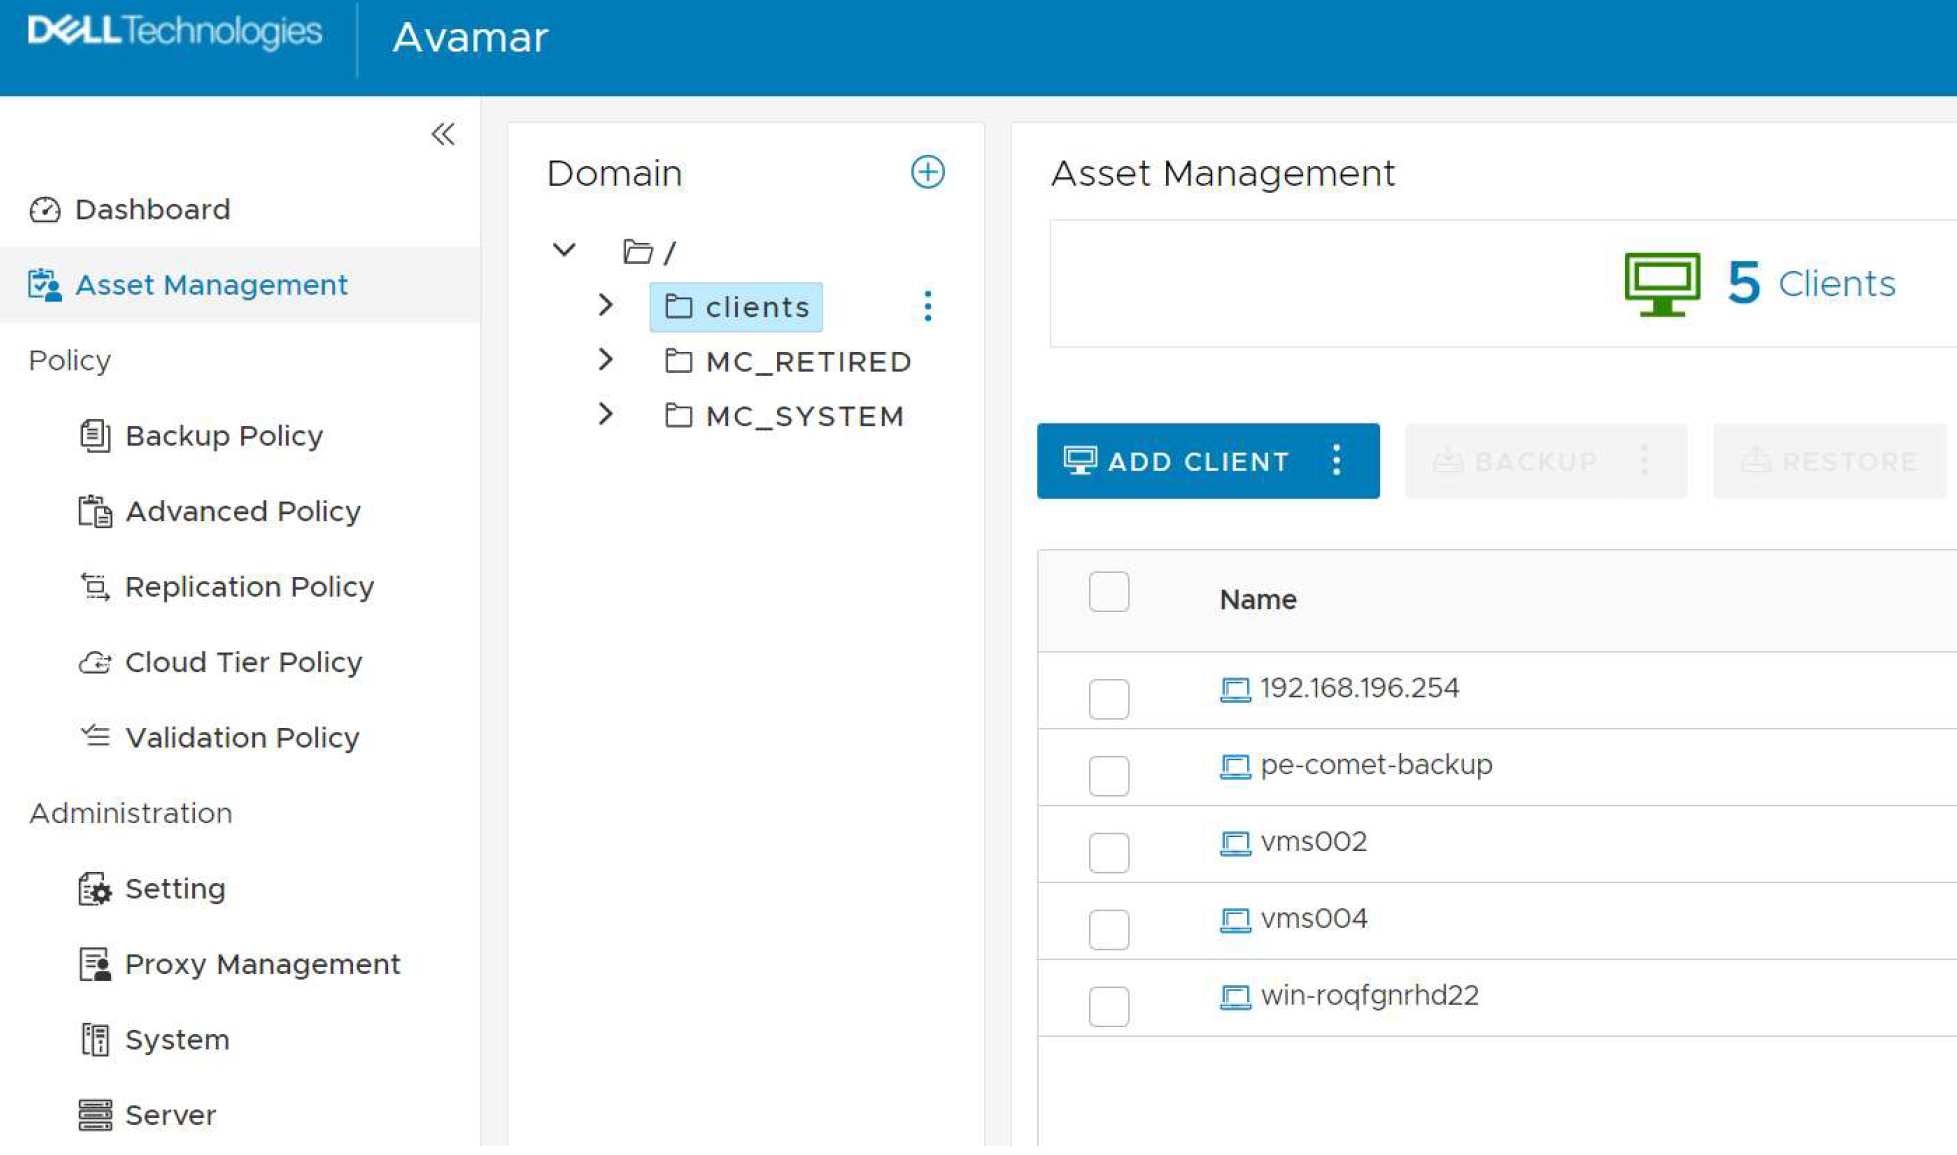
On the menu tree, click Asset Management.
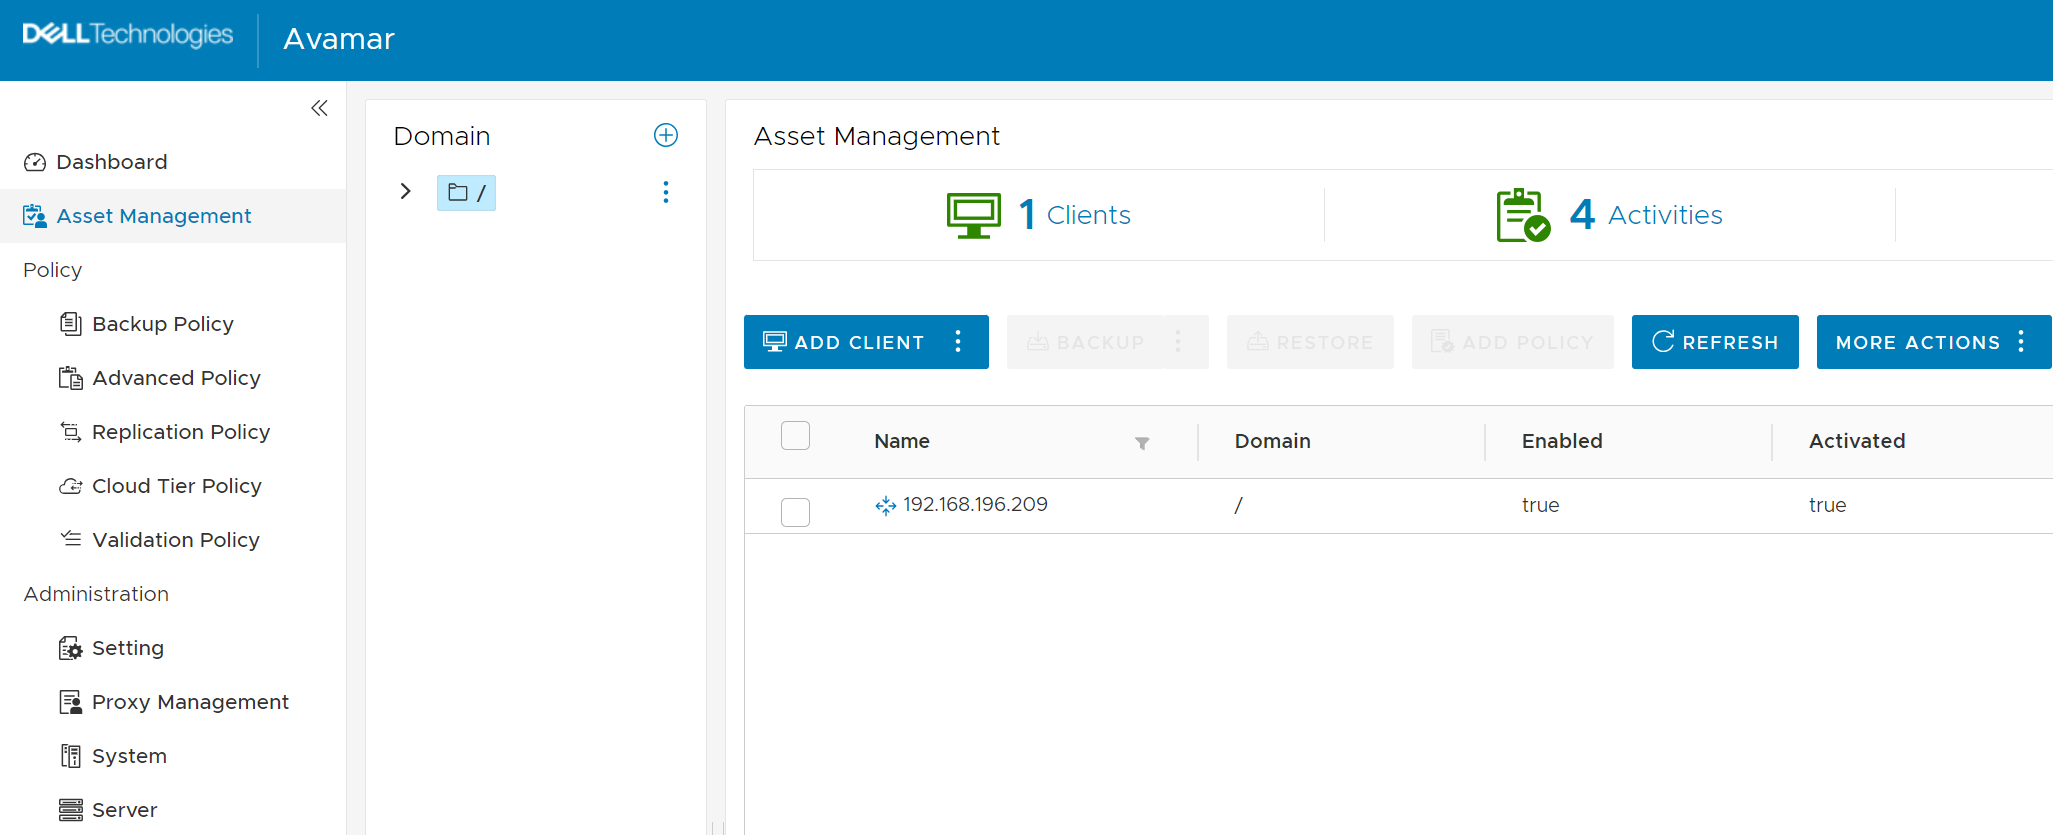
Expand your Domain. Click on clients and Add Client. A new client dialog box will appear.
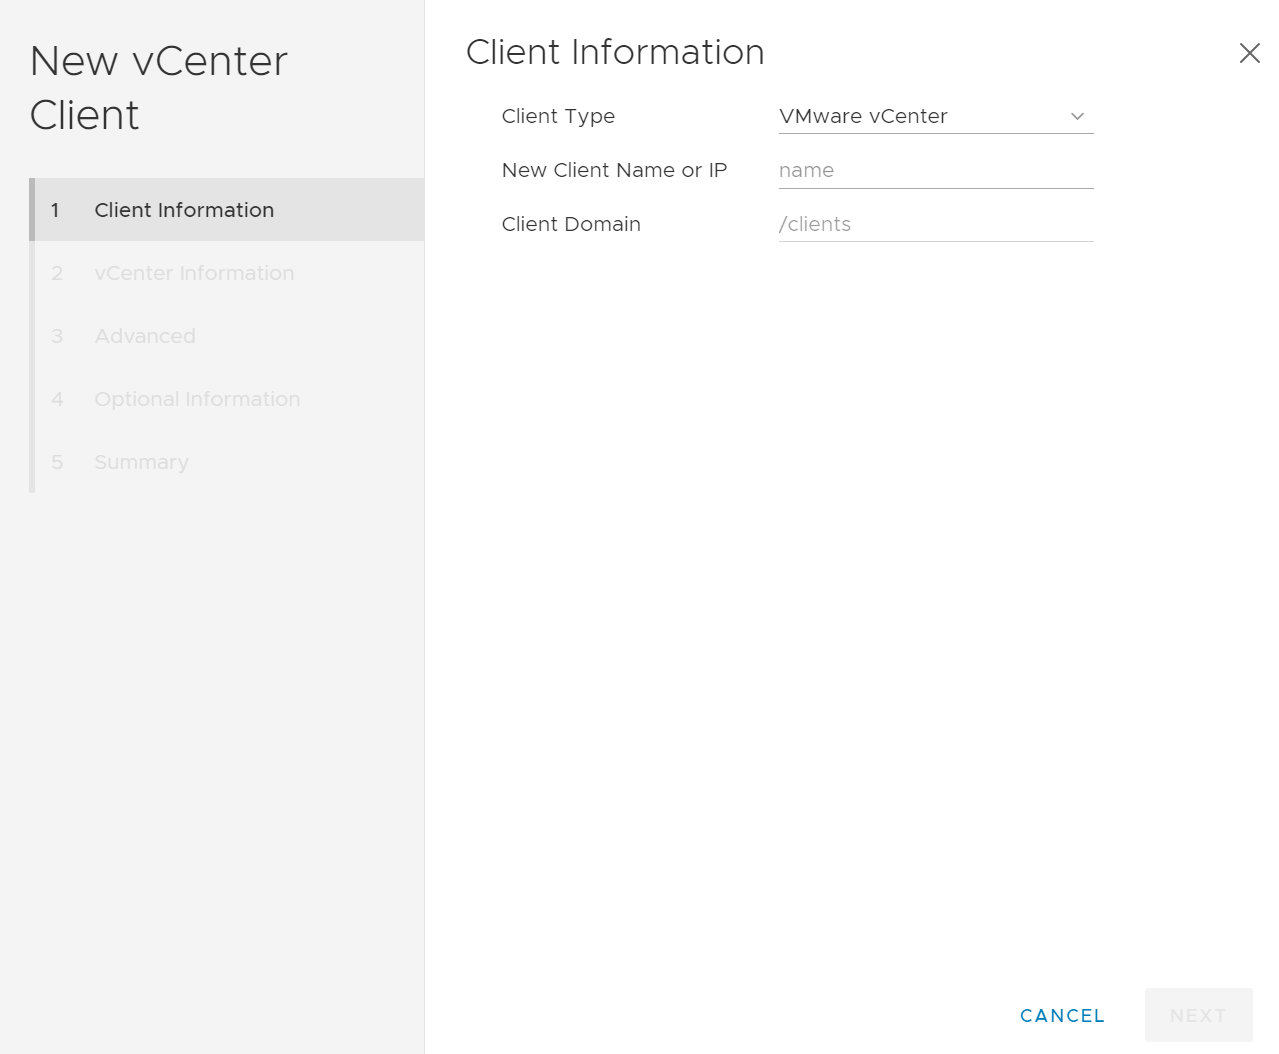
Enter the following information:
Client Type - Select VMware vCenter
New Client Name or IP - Input the name or IP address of your vCenter
Click Next.
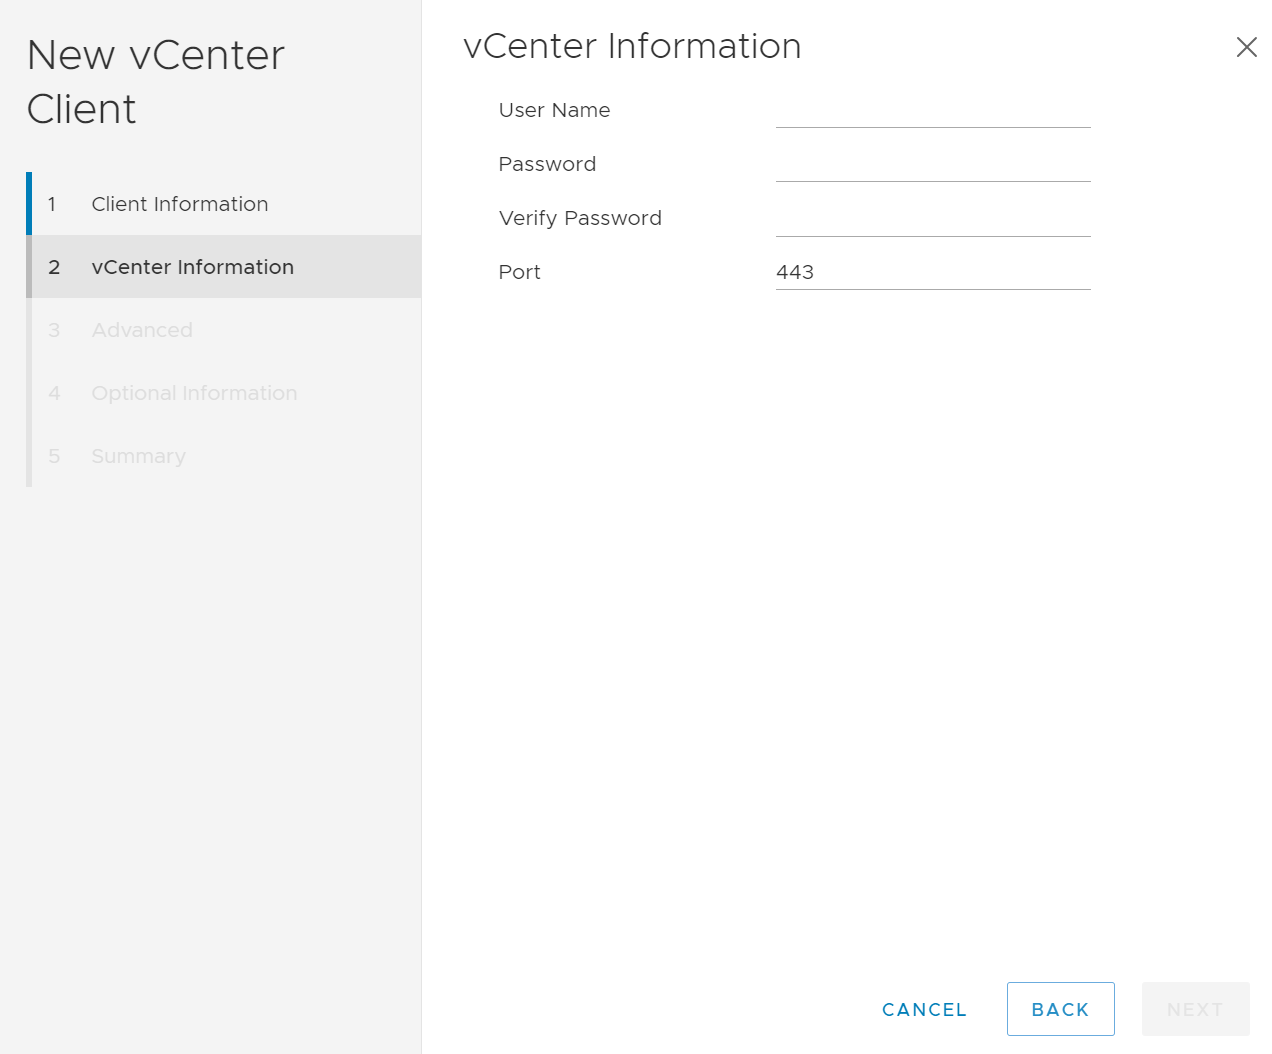
Enter the following information:
User Name - vCenter user account with Admin privileges to connect
Password - vCenter user account password
Click Next.
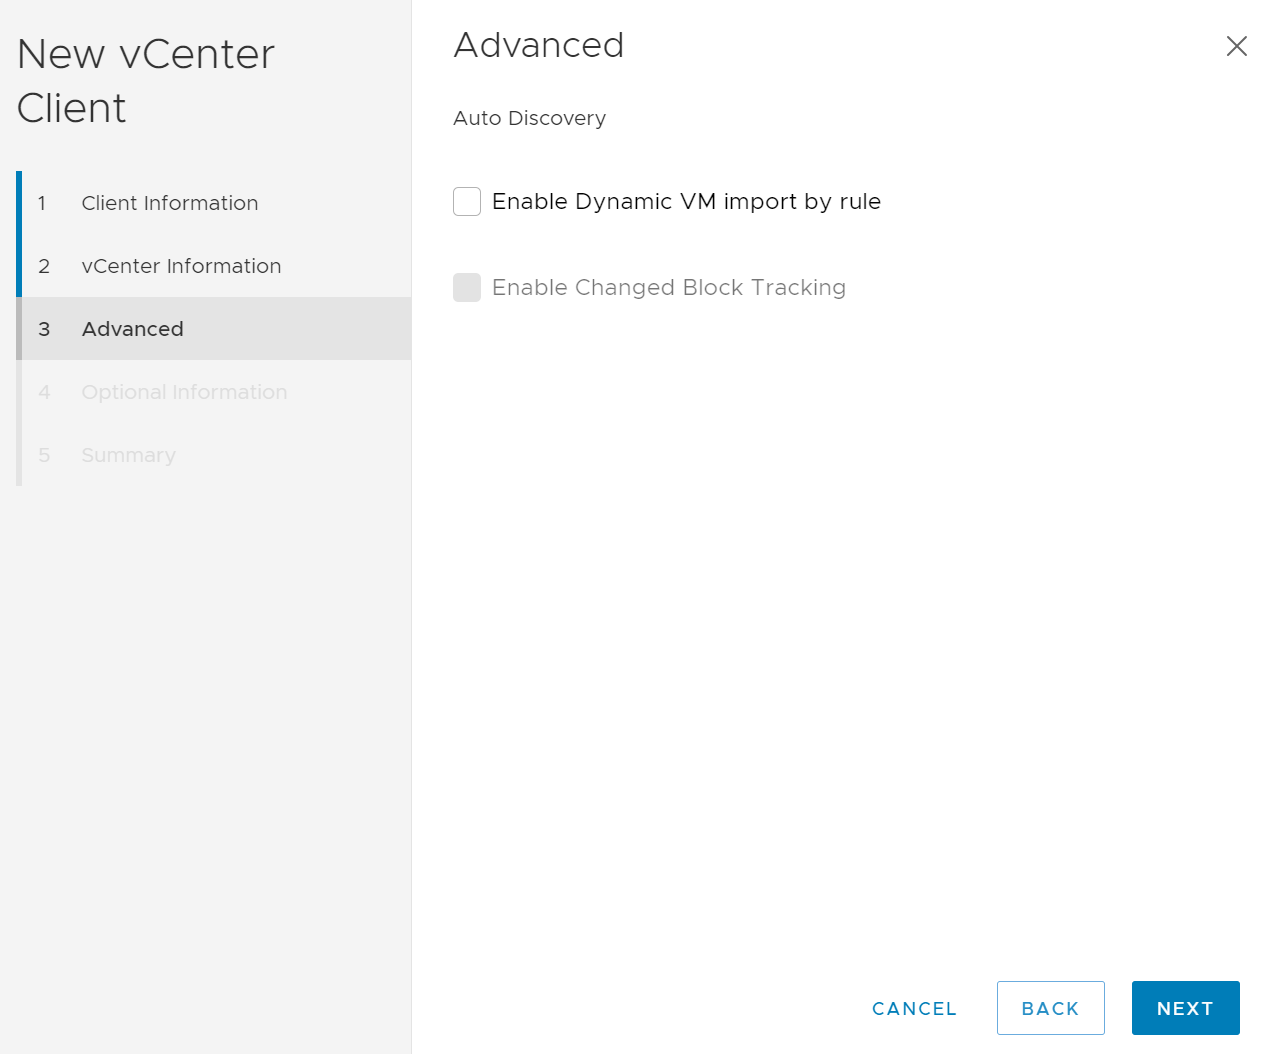
Check Enable Dynamic VM import by Rule if you want and click Next.
If enabled when the VMs are auto-discovered, user defined rules are used by the Avamar software to map the auto-discovered VMs to Avamar domains. User-defined rules are also used to automatically assign backup policies to auto-discovered VMs.
On the Optional Information page, click Next.
On the Summary page, review your information and click Add.
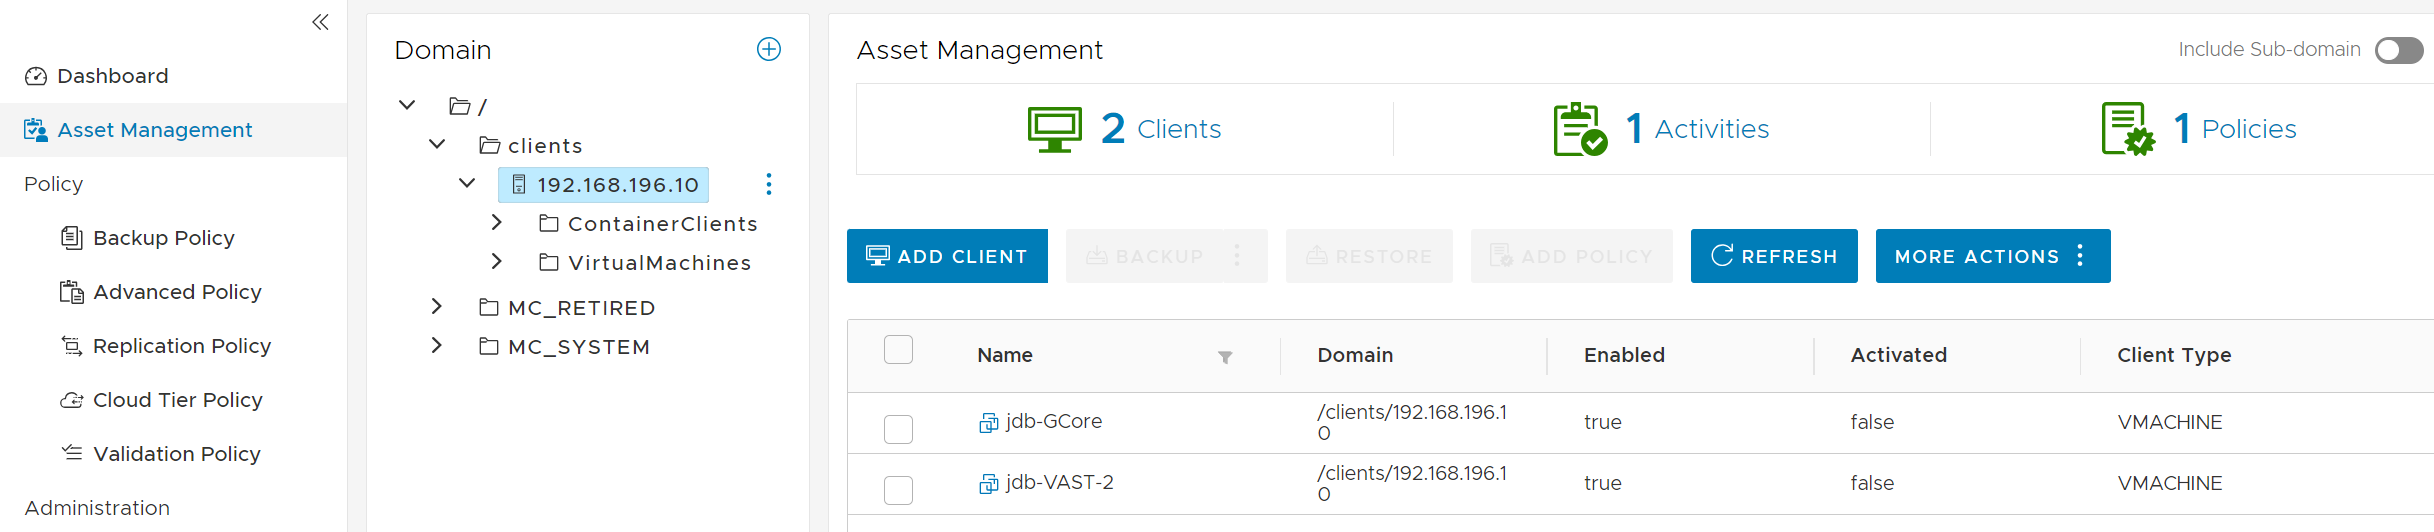
When you expand your client's folder, you will see your vCenter client listed.
To add a VM as an Avamar Client, you will need to click on your vCenter Client. Click Add Client.
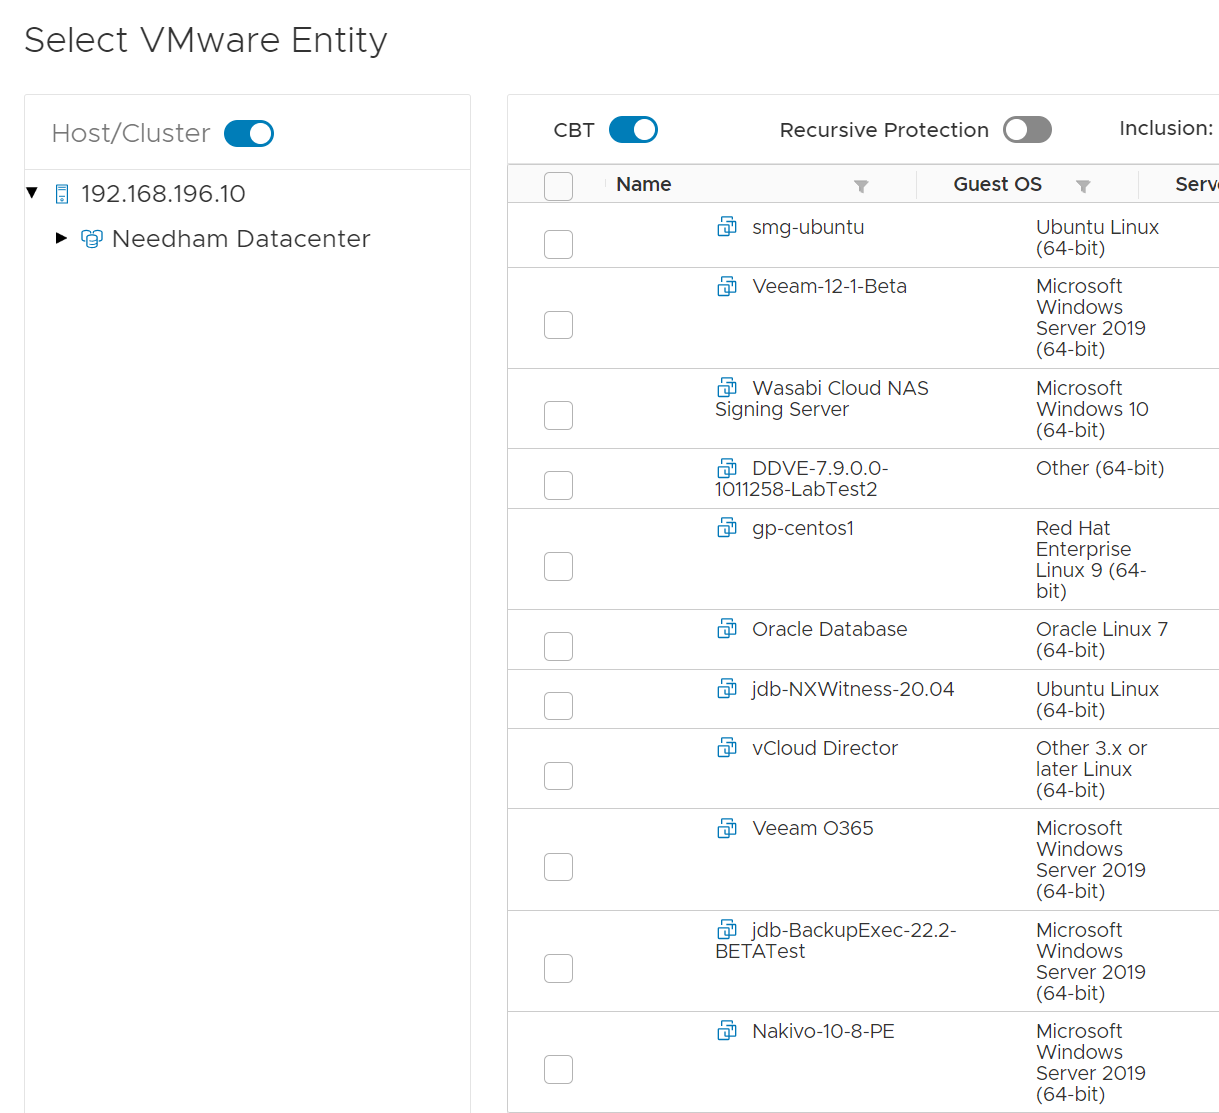
On the Select VMware Entity dialog box, enable the Host/Cluster slider option and then search for the VM you want to add from your cluster.
You will see a list of the VMs you added.
Adding a Proxy Image Server
In order to do Image-level backup and restore operations, you must install a proxy virtual machine client within your vCenter environment.
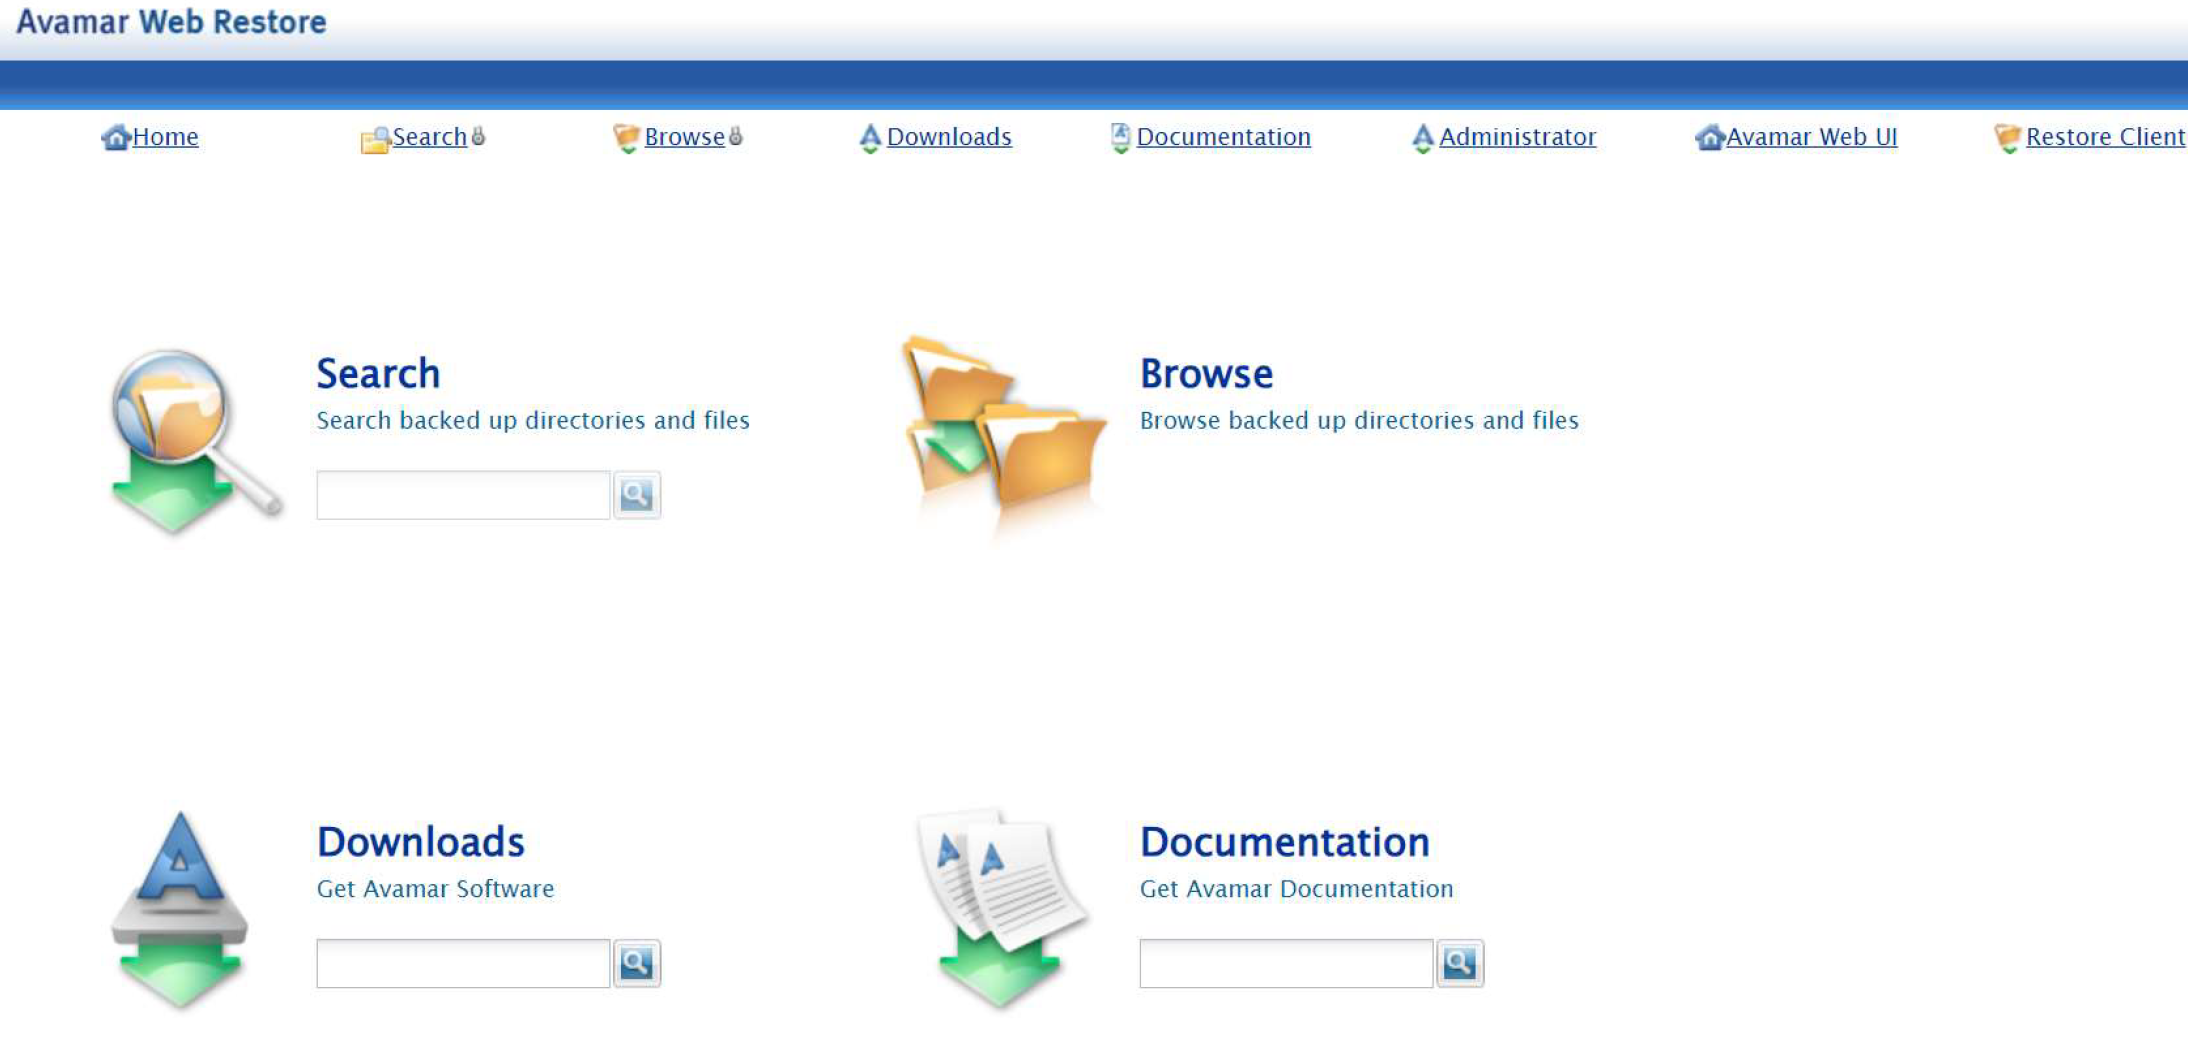
Go to your Avamar Web Restore interface located at https://avamar_IP/dtlt. Replace avamar_IP with the IP address of your Avamar instance.
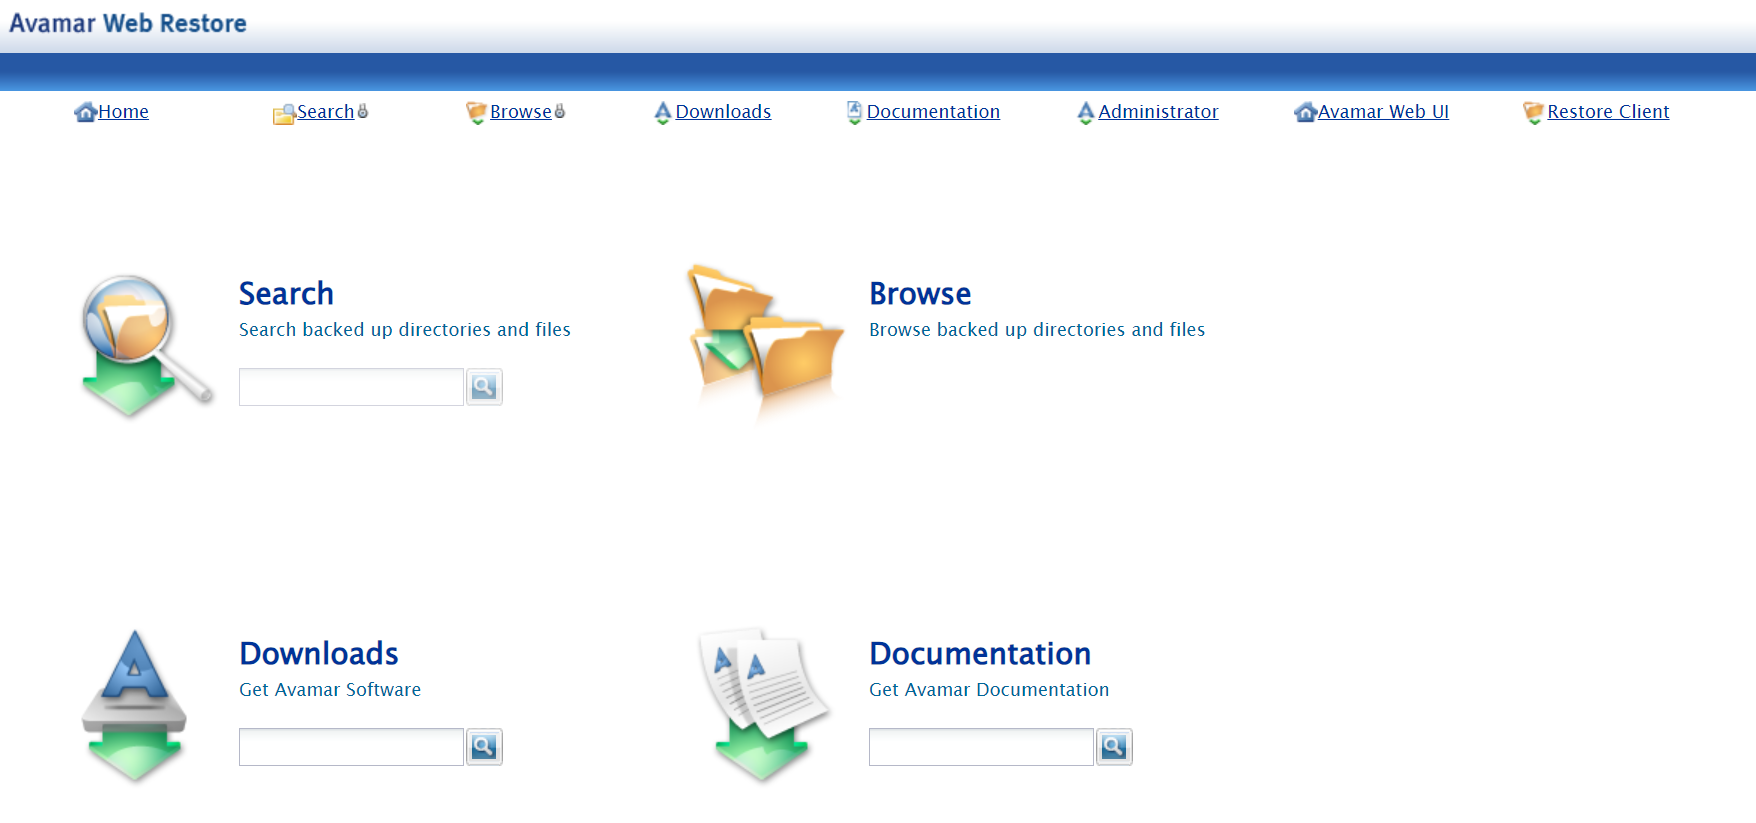
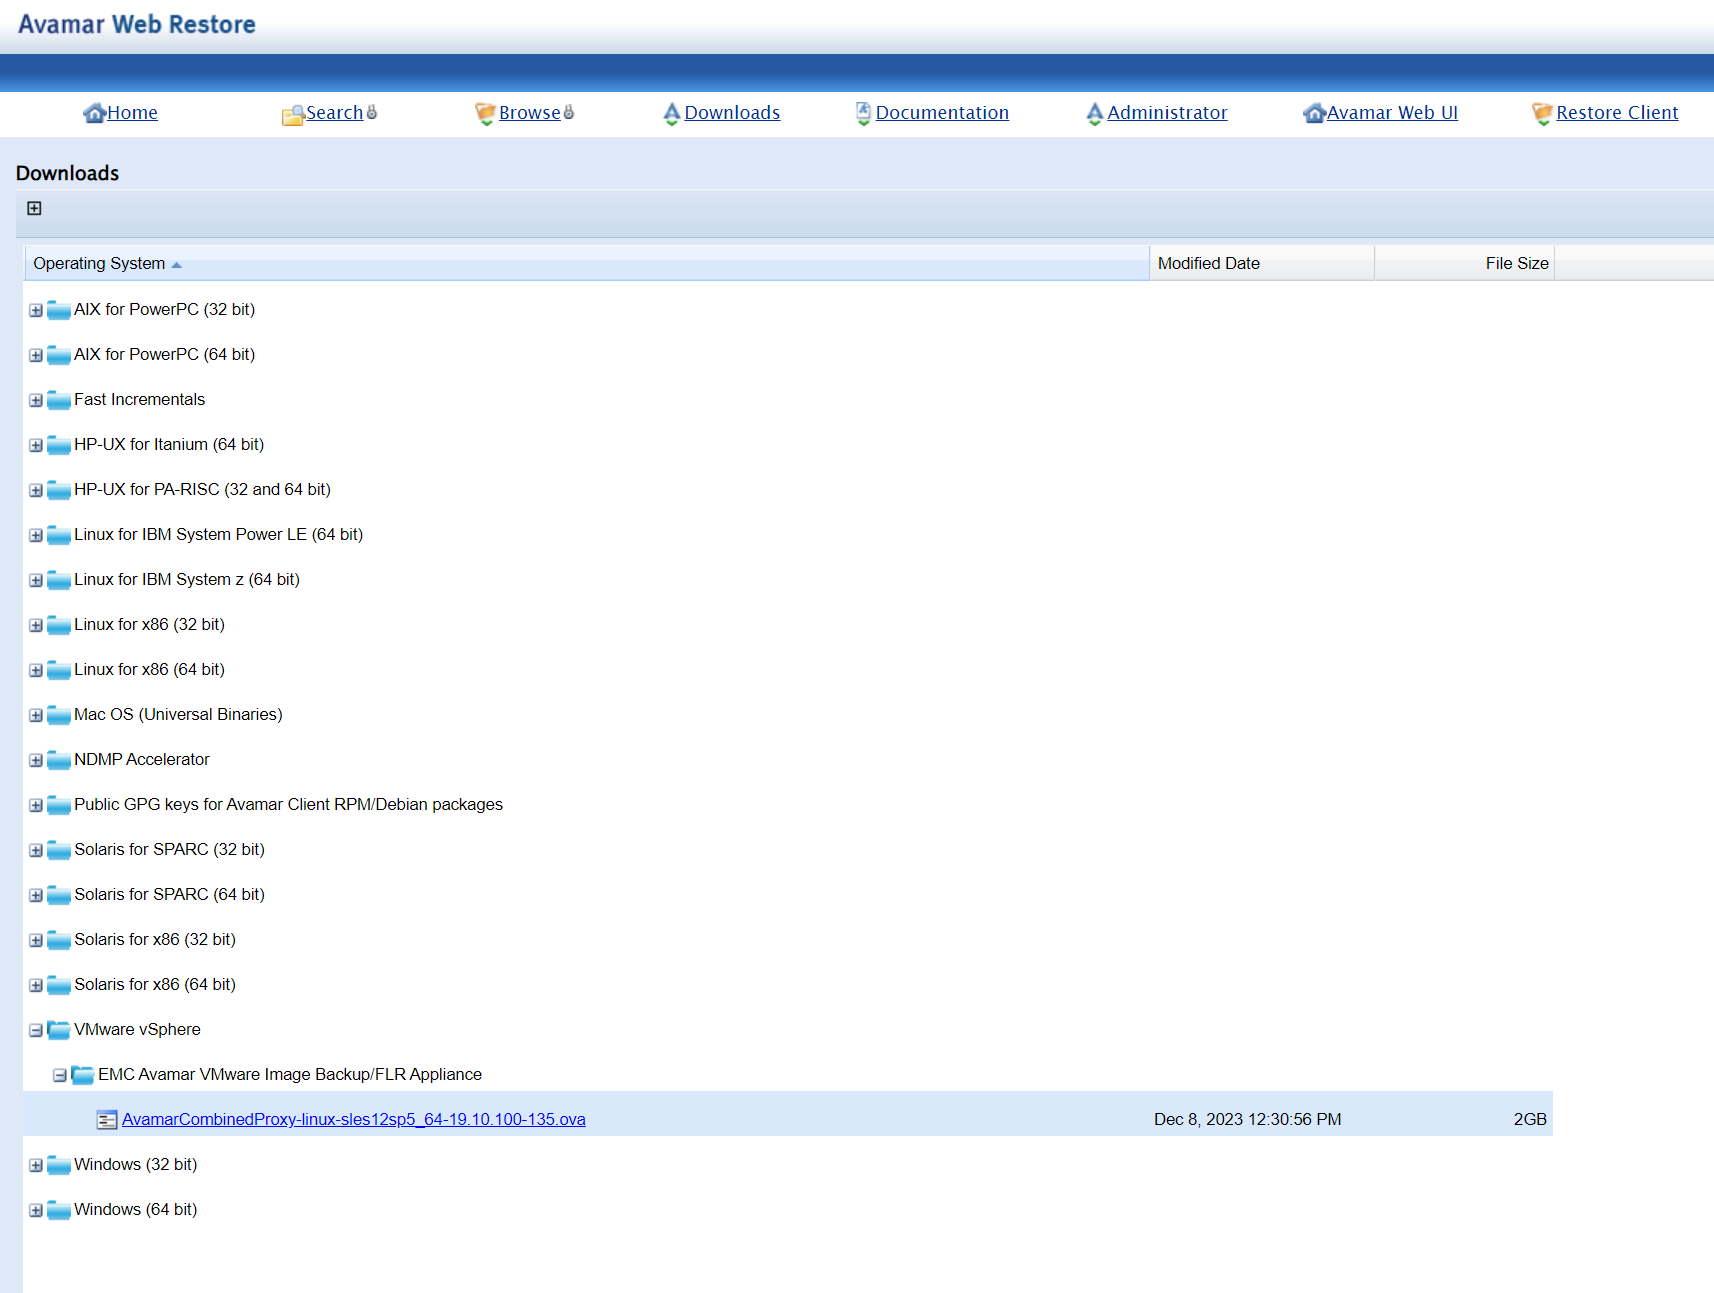
Click Downloads.
Expand VMware vSphere, expand EMC Avamar, and click on the AvamarCombinedProxy.ova file to download it.
Deploy the ova file to your vCenter environment to build the VM for the Proxy Client.
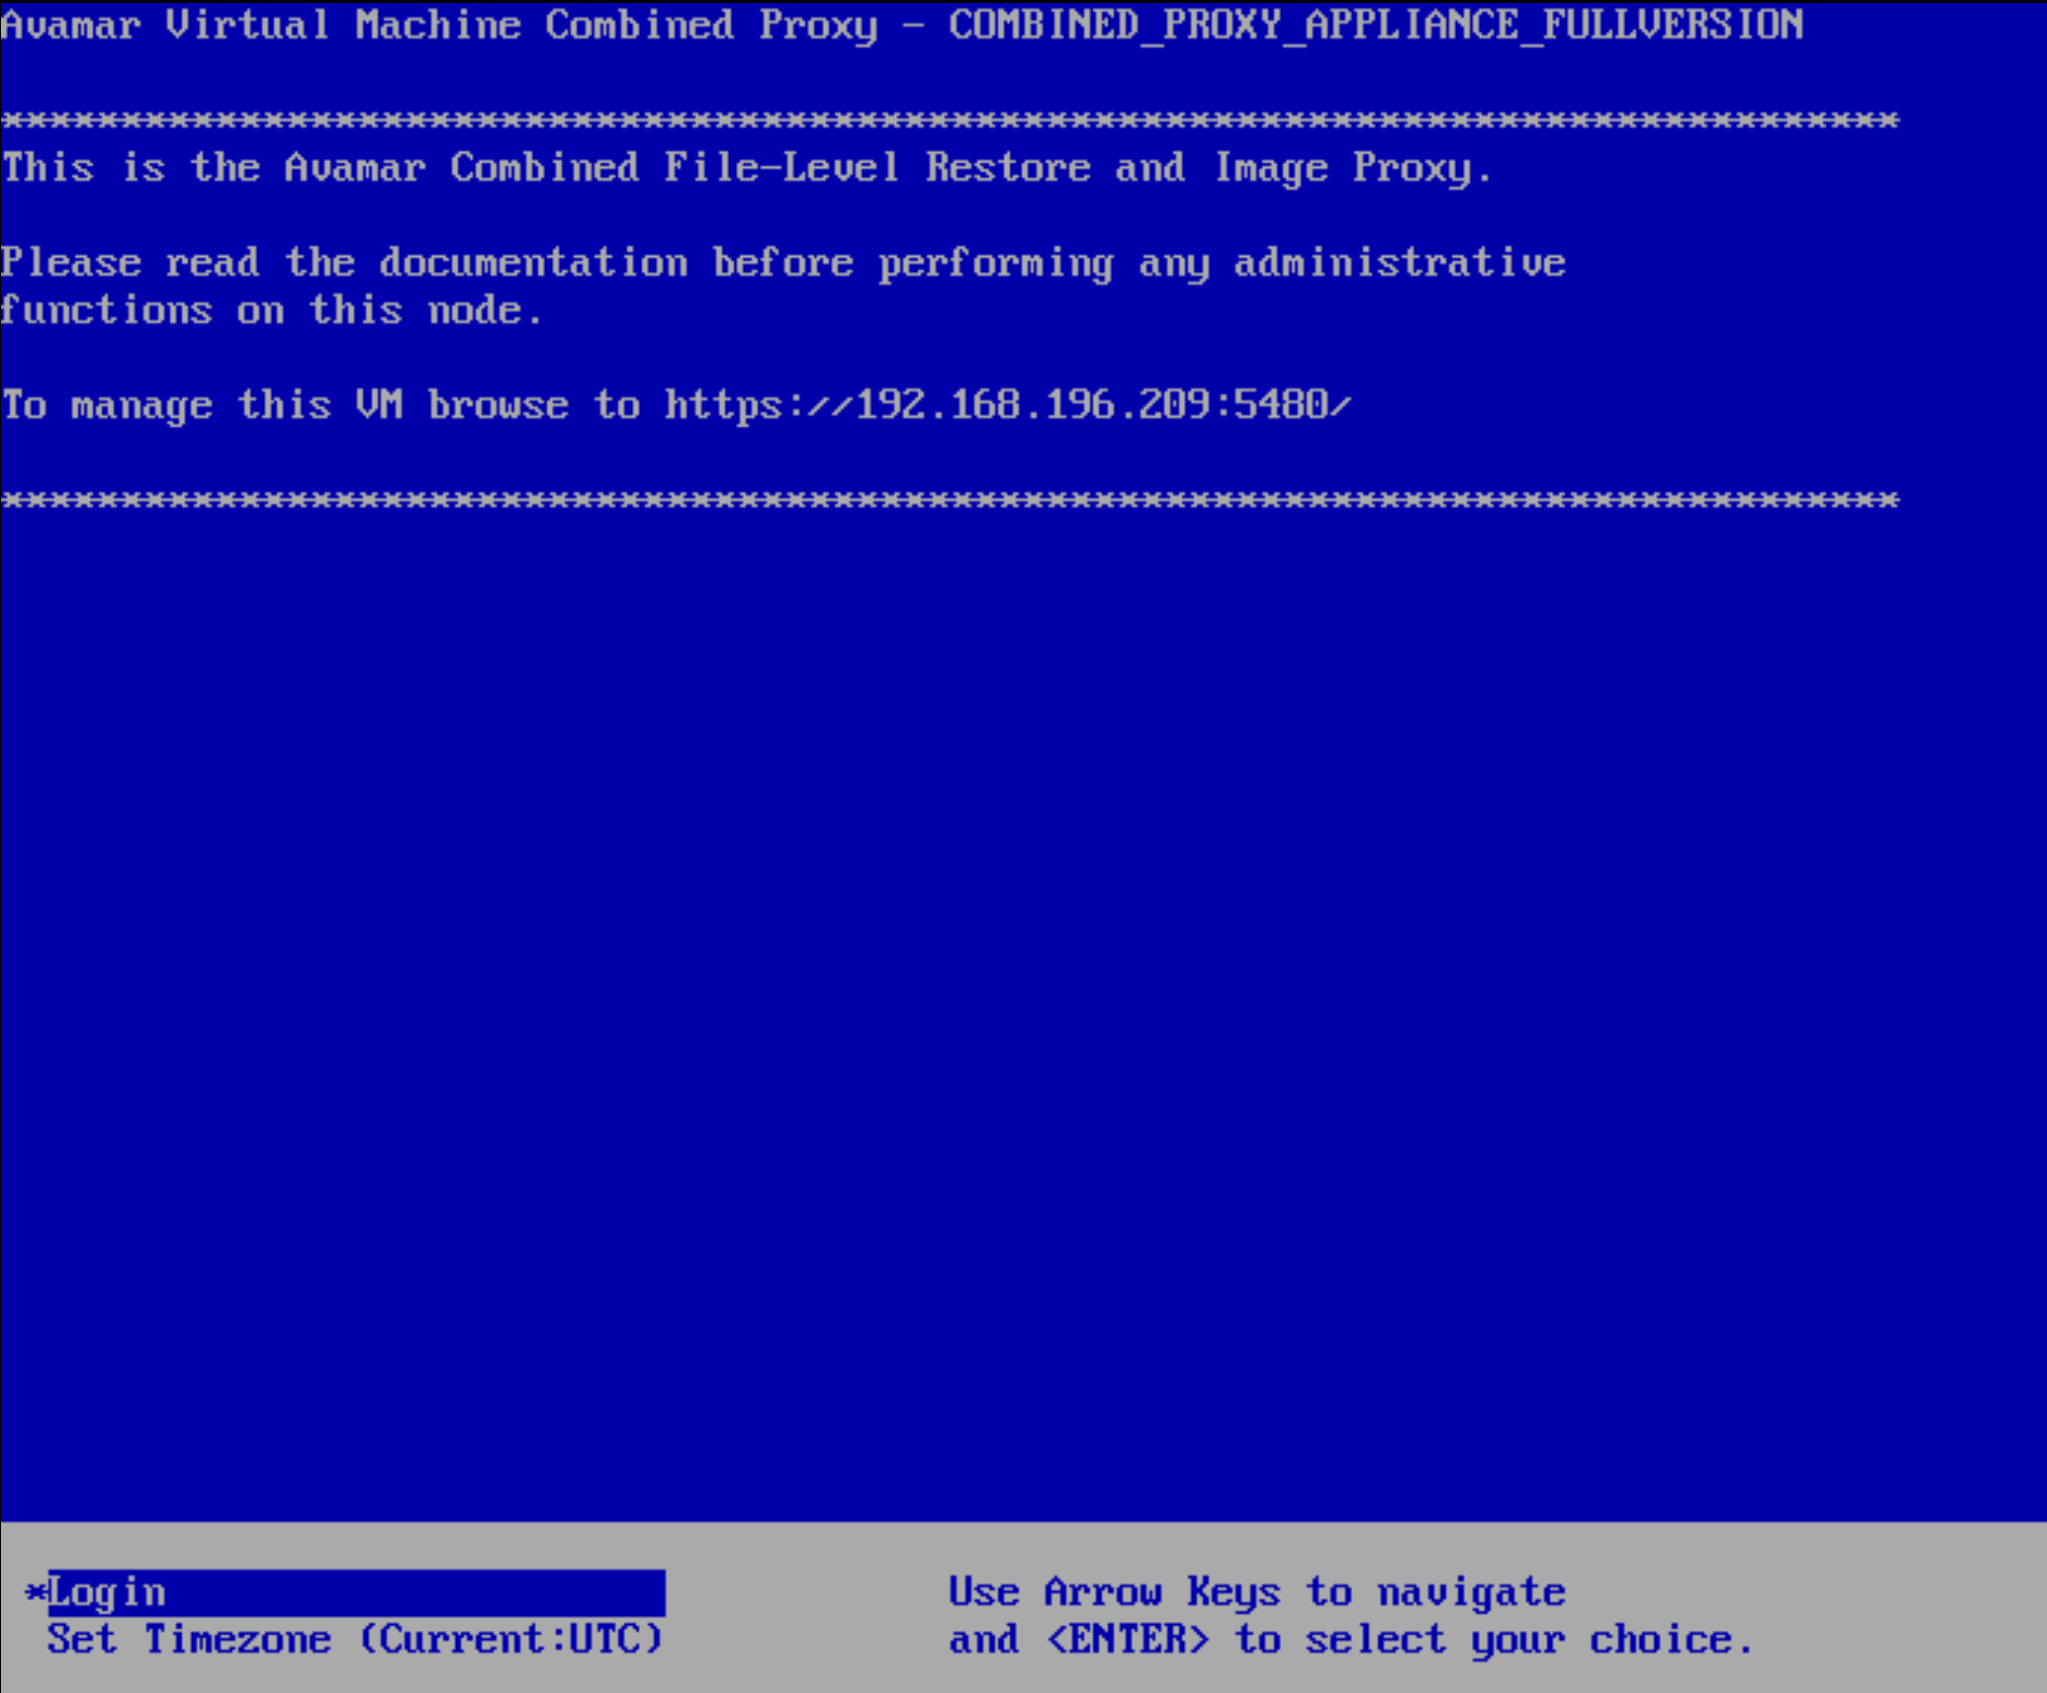
Register the Proxy Client with the Avamar server.
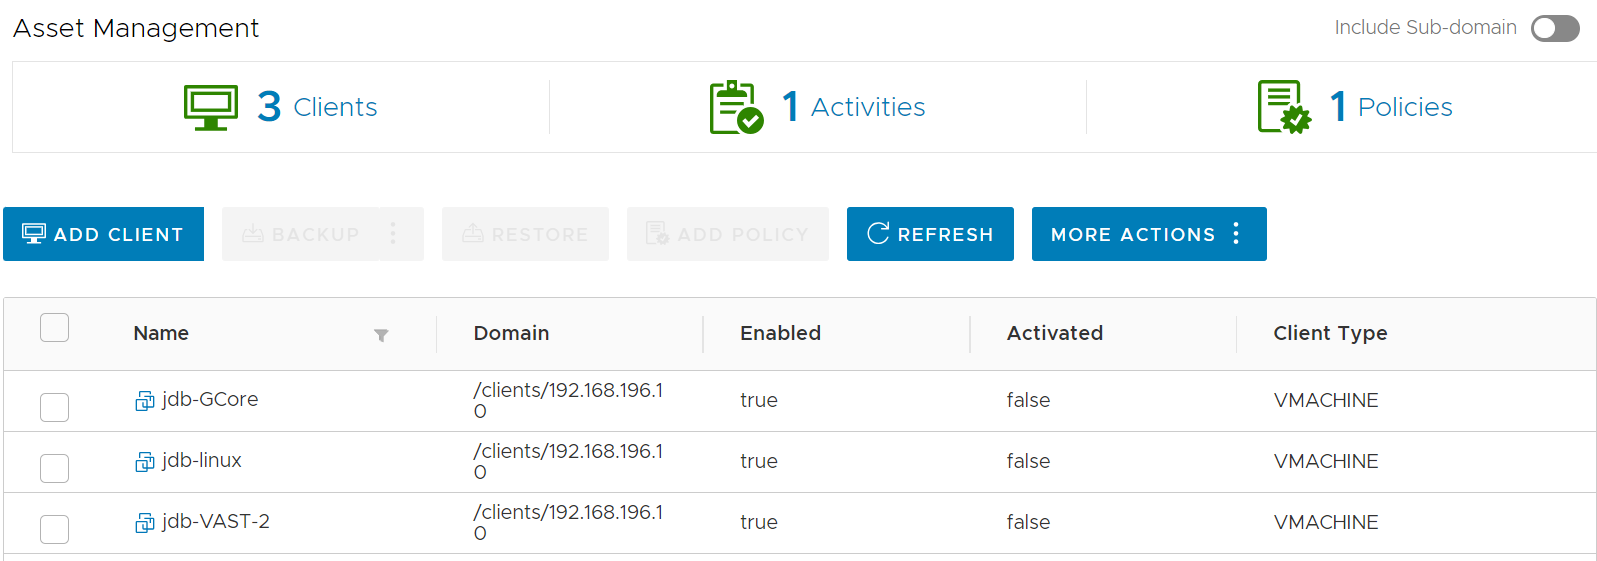
Once registered, you will see the Proxy Appliance show up in the Avamar Management Interface under Asset Management.
Installing the Avamar Client Plugin
If you want to do Windows File Level System backups you will need to install the Avamar Client plugin on the clients directly.
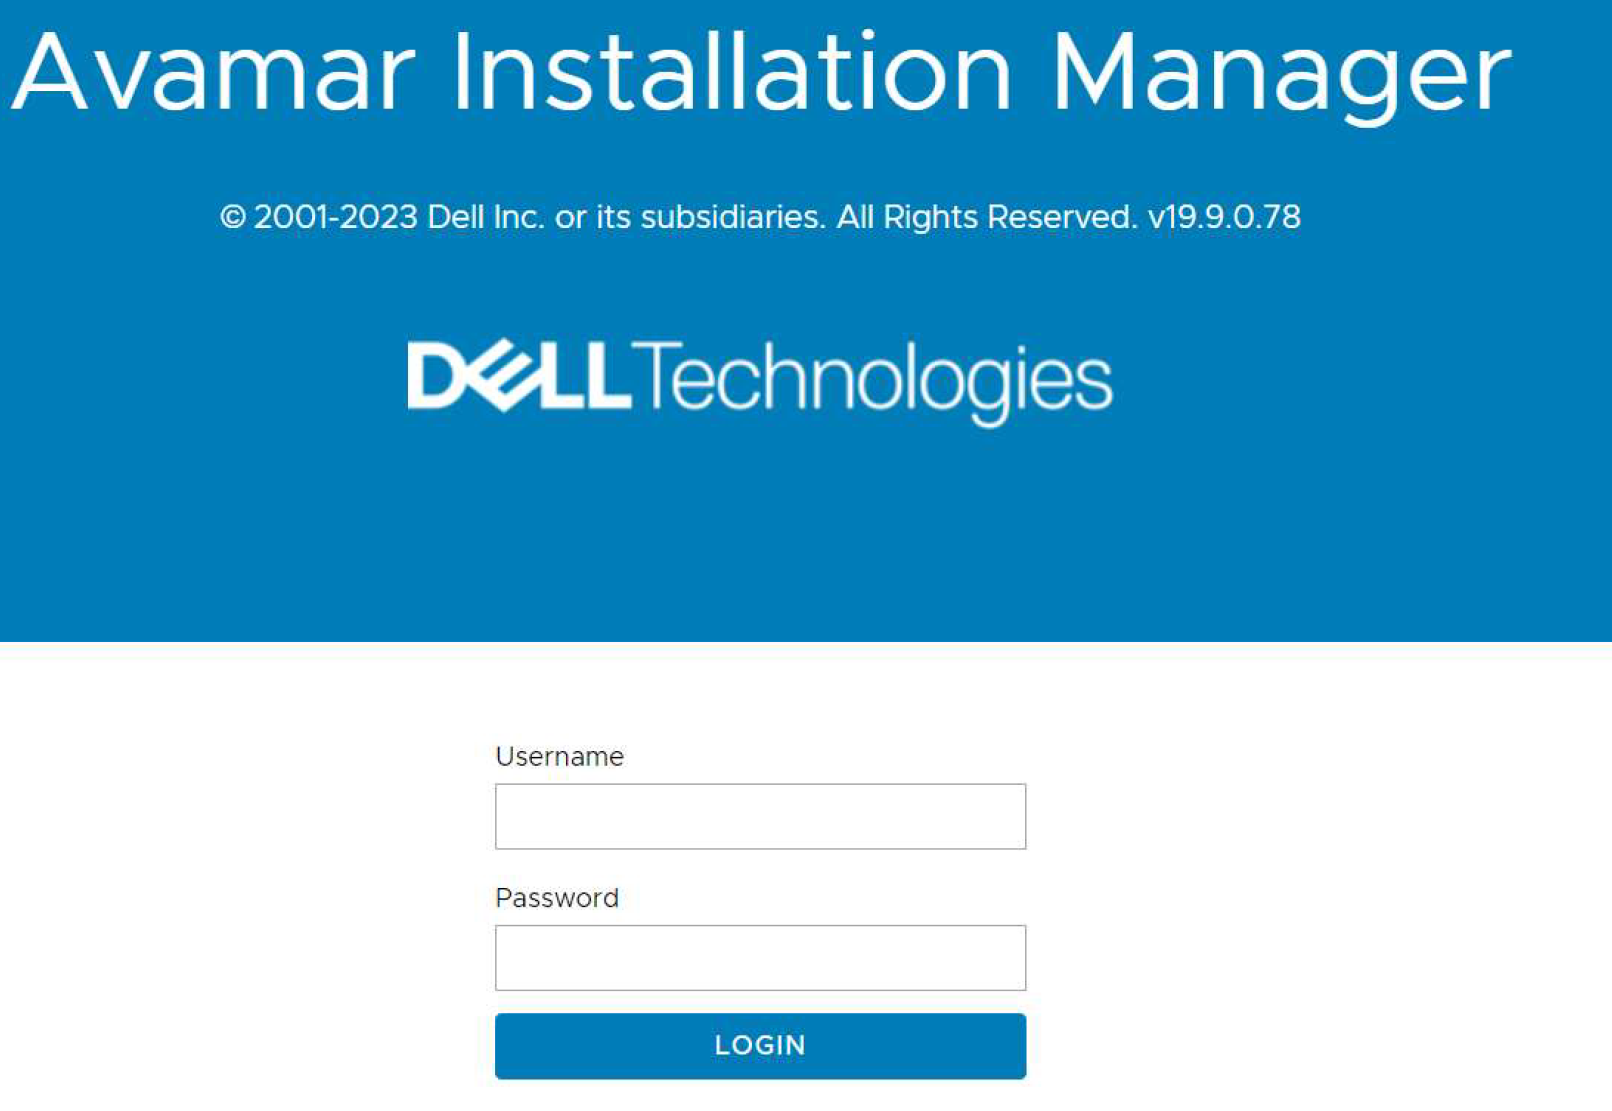
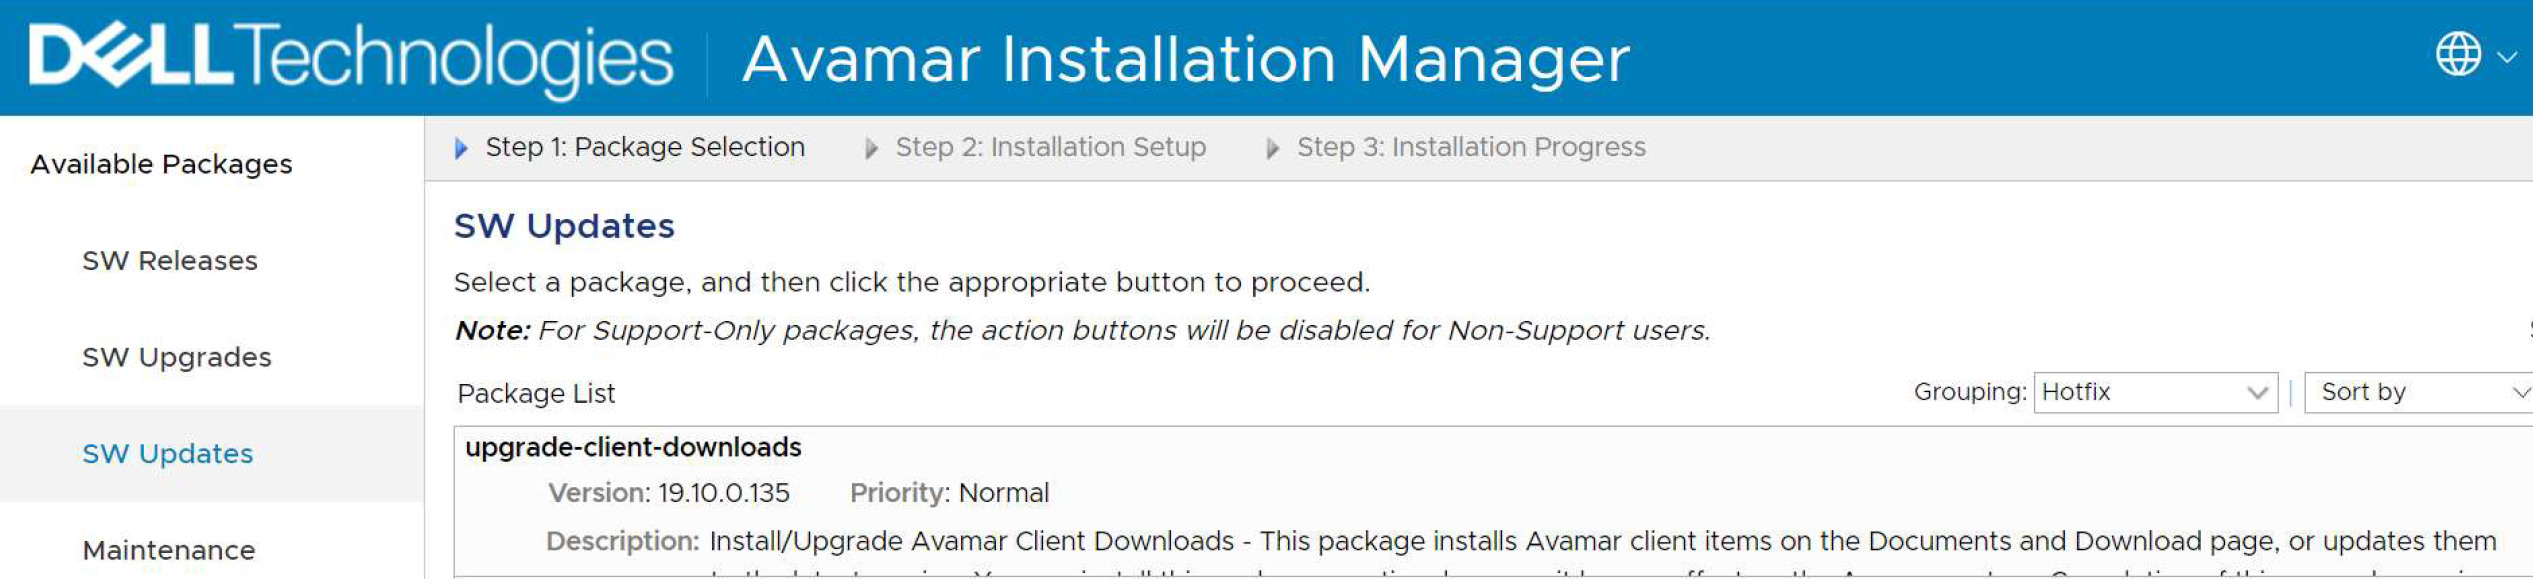
Go to your Avamar Installation Manager interface located at https://avamarIP/avi. Replace avamarIP with the IP address of your Avamar instance and log in.
Click SW Updates and look for the client downloads package. Click Download and Install.
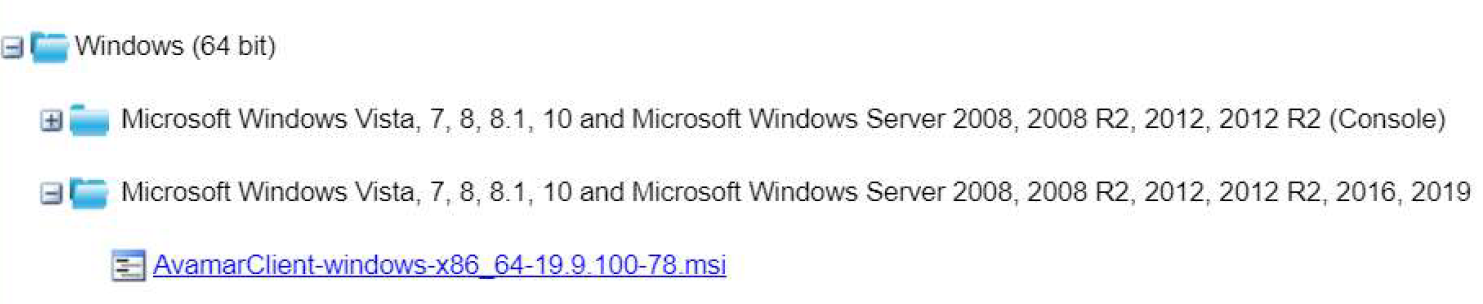
Go to your Avamar Web Restore interface and click Downloads.
You will see the full list of available client OS downloads that you can select for your install.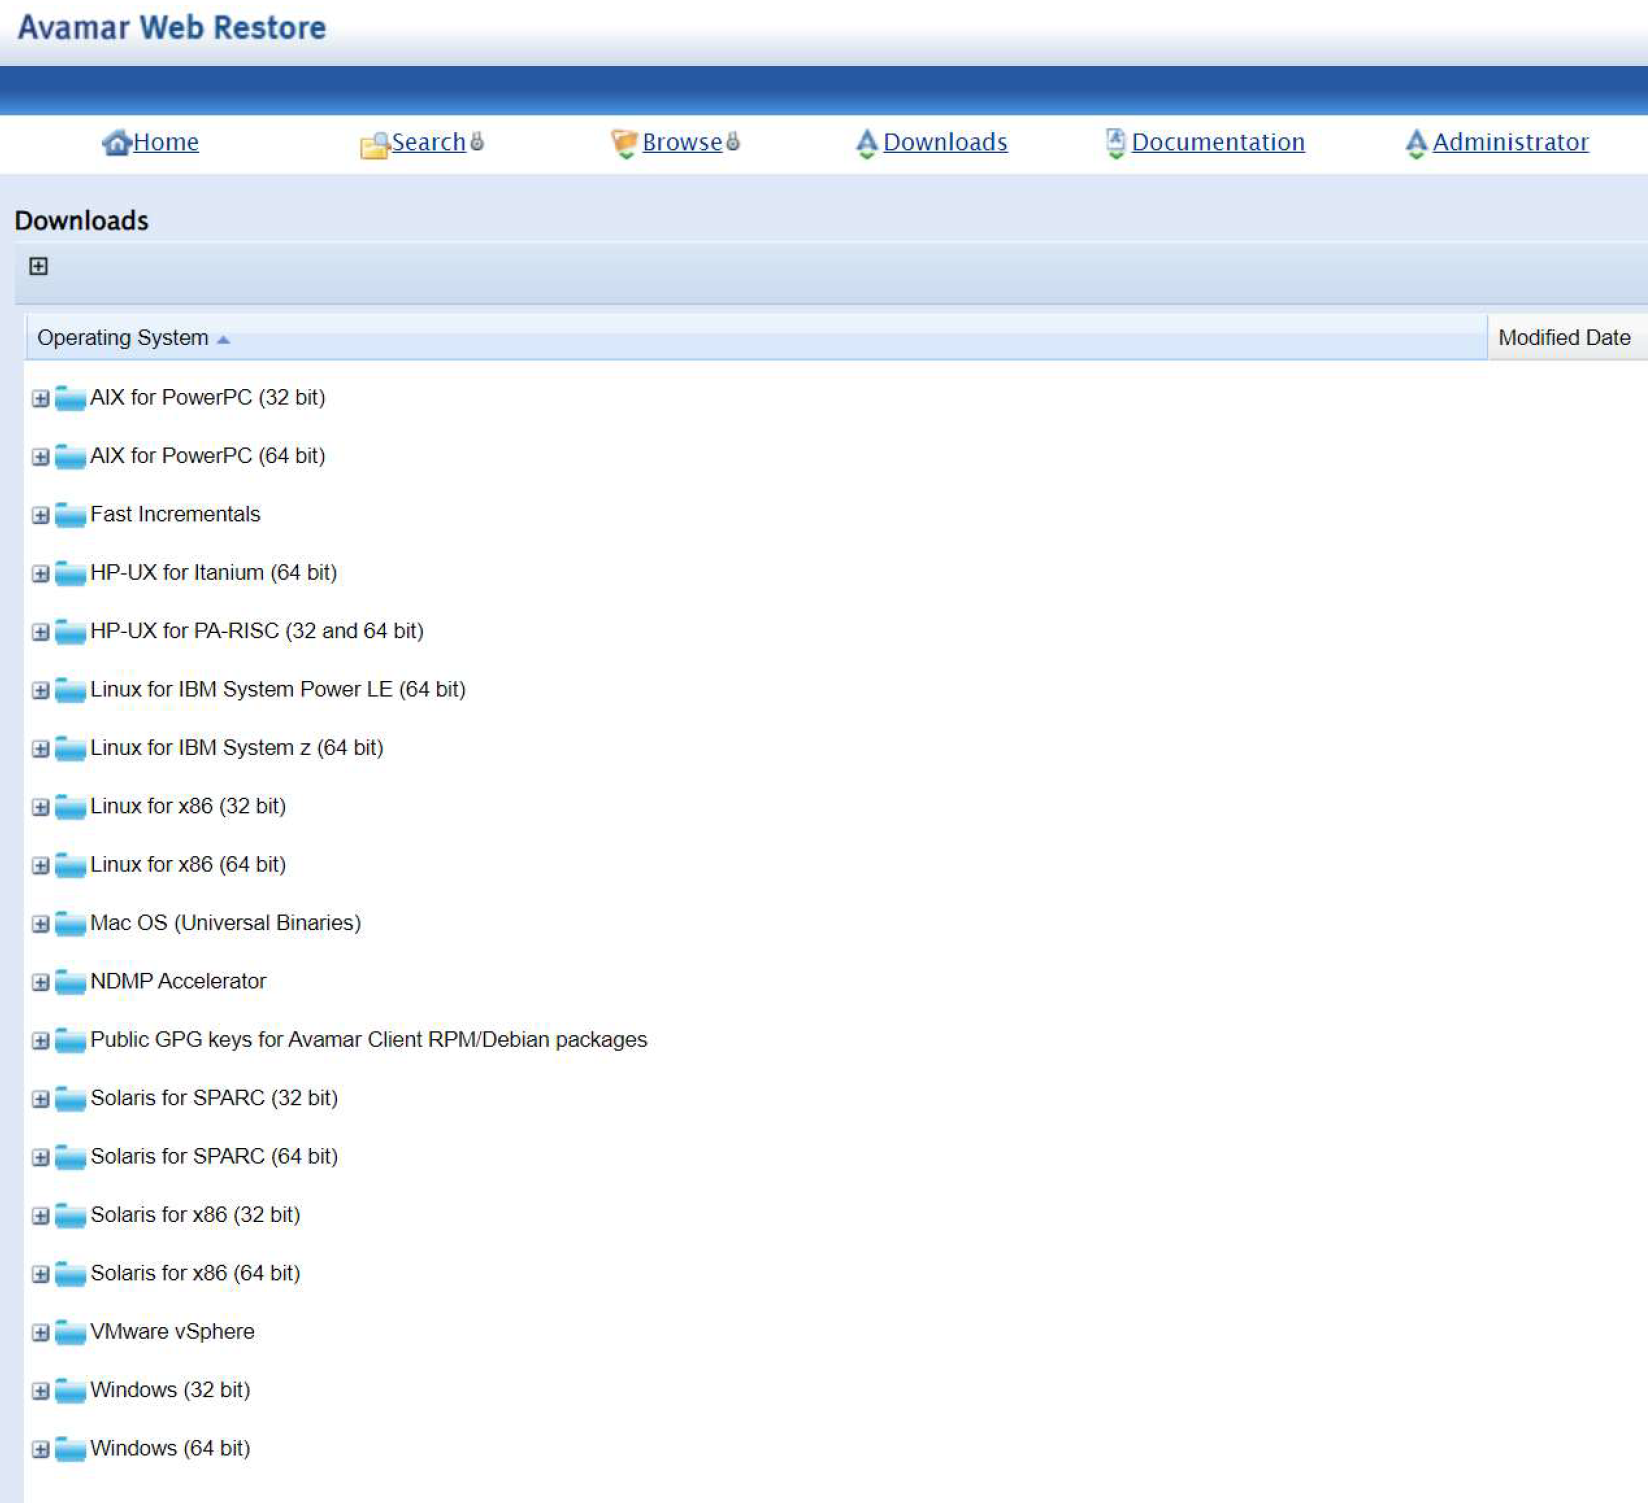
Select your OS, expand the tree, and download the Avamar Client installer.
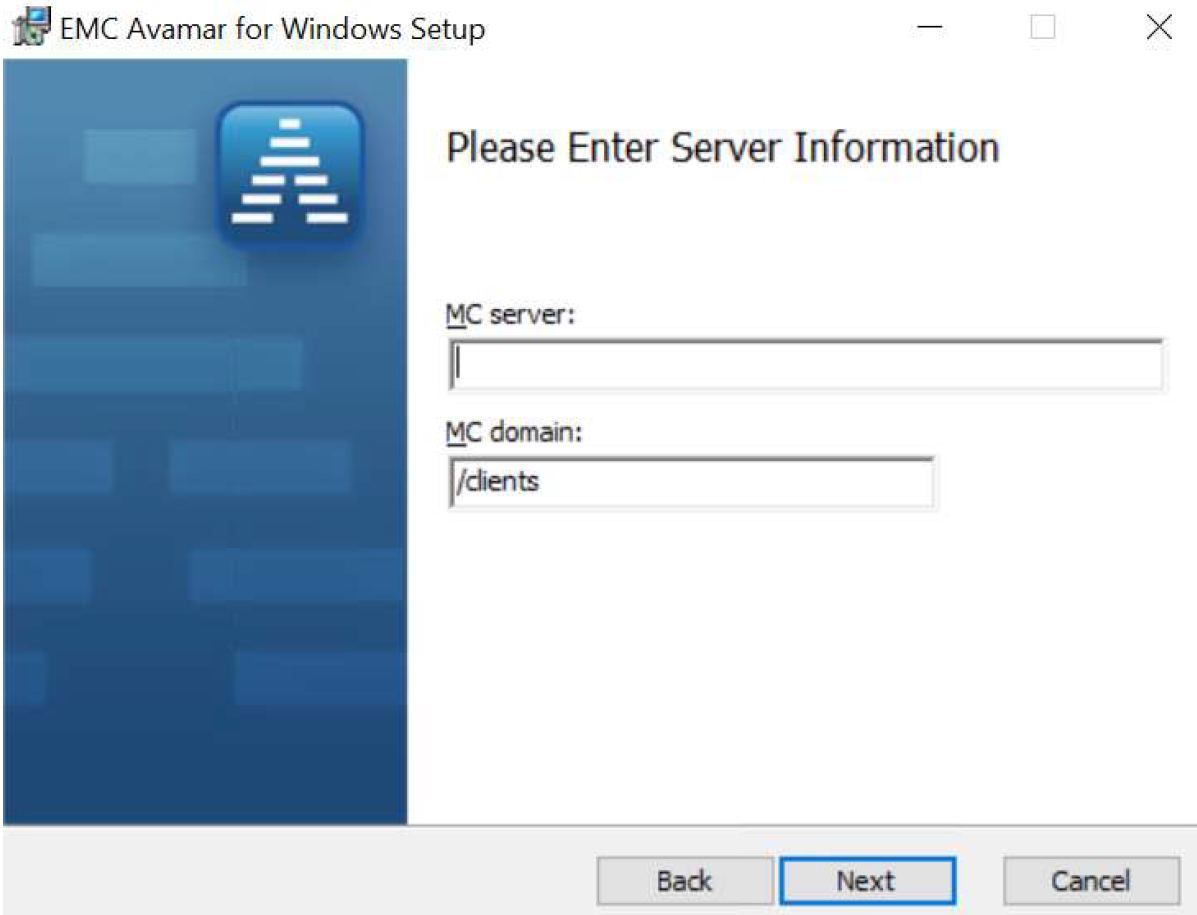
Run the installer on the VM that you want to back up.

Click Next until you get to the Server Information screen.
Input the IP address of your Avamar server. Click Next.
Click Install.
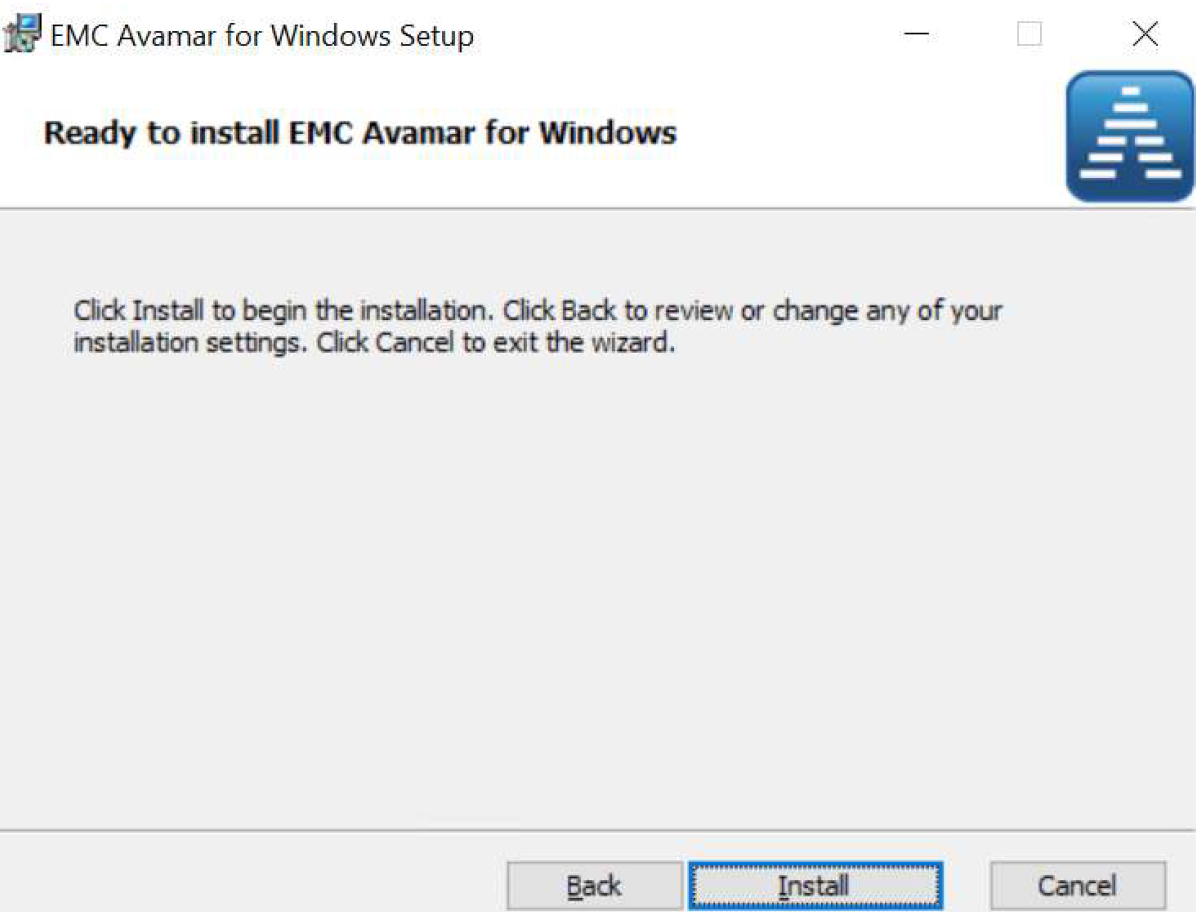
Click Finish.
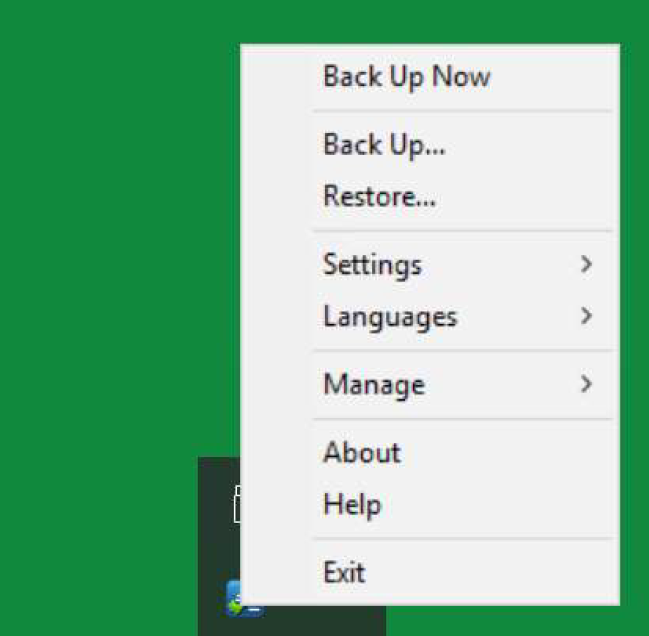
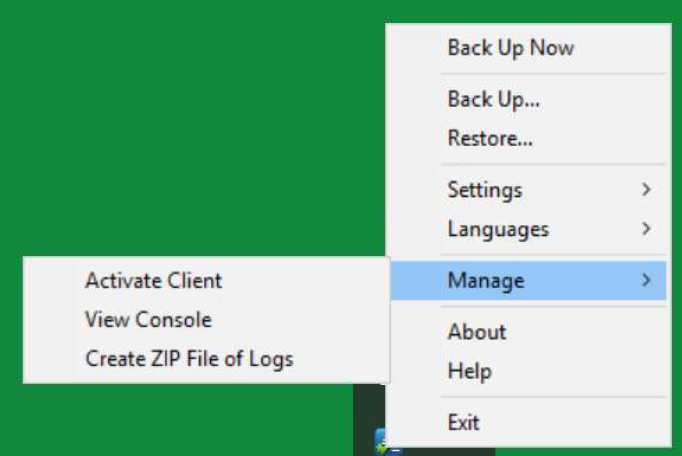
In the task bar, right-click on the Avamar Client icon. Click Manage.
Click Activate Client.
Verify the Server information is correct. Click Activate.
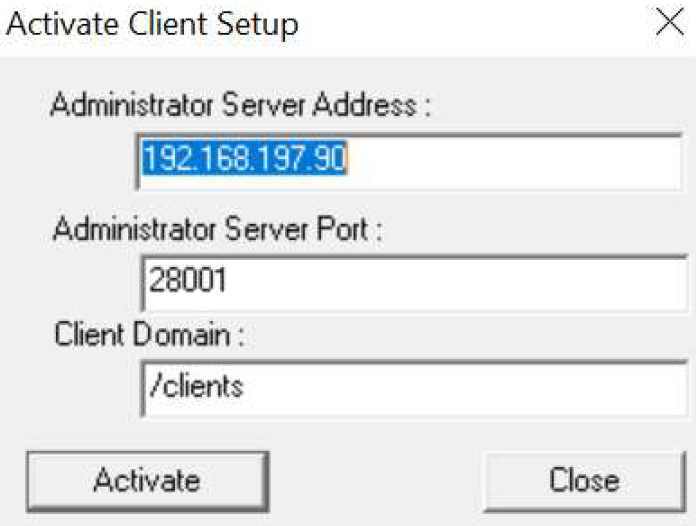
You will receive a success message upon activation.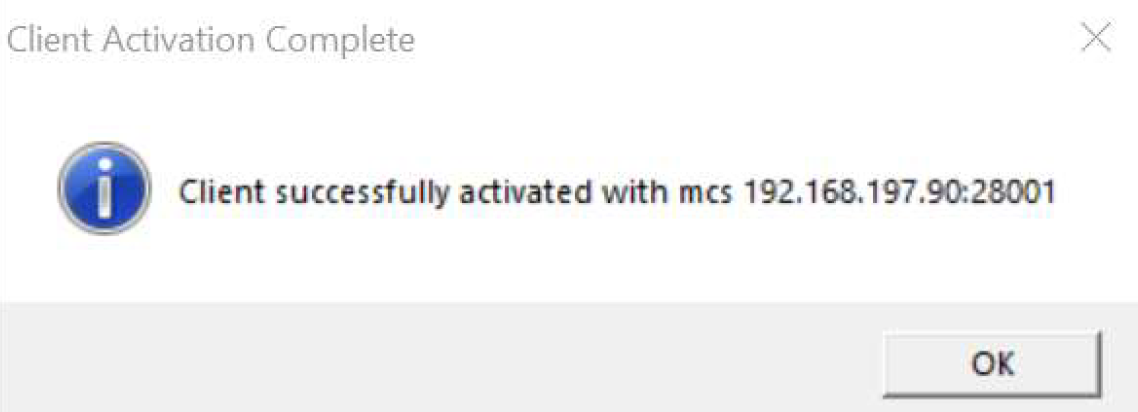
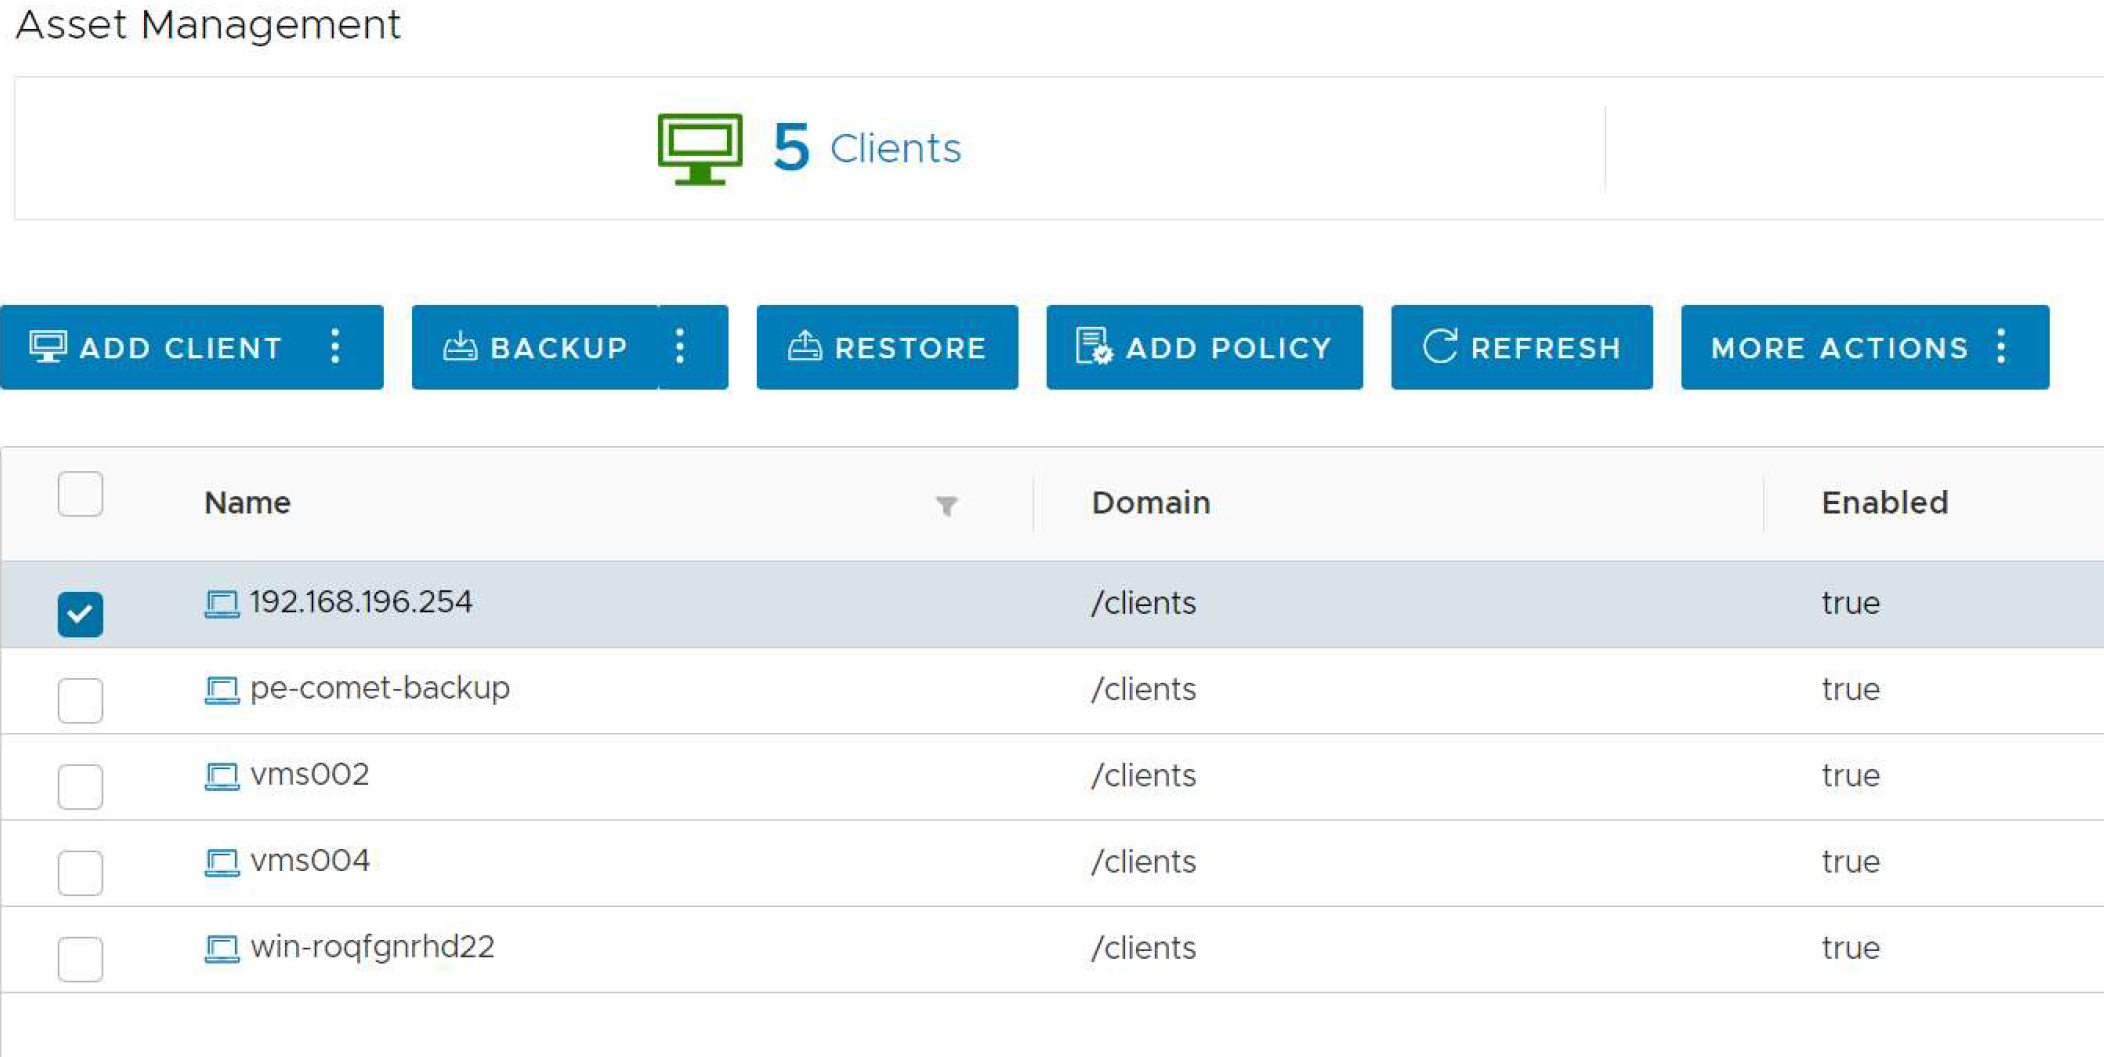
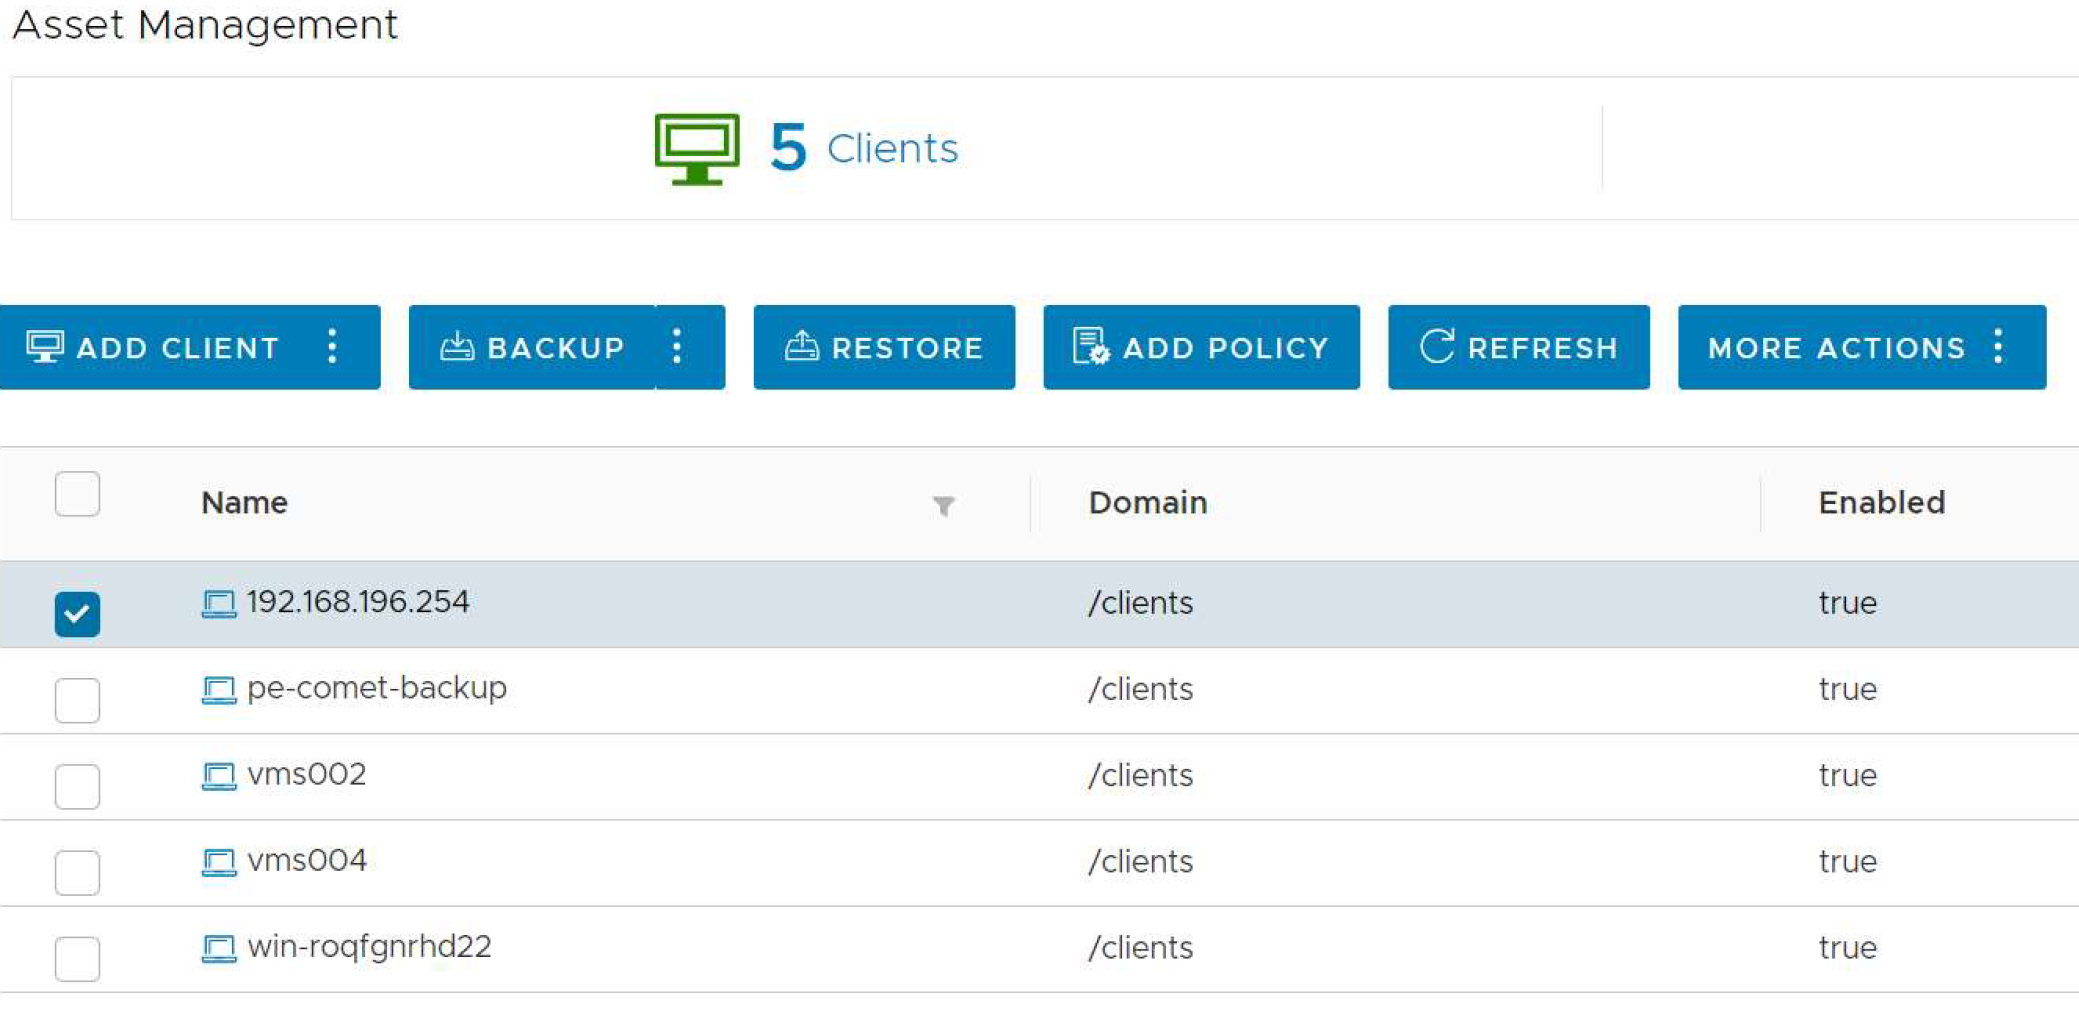
Go back to your Avamar Admin interface and under the Asset Management Client section you will see your VMs listed once activated.

Backing Up Virtual Machines
Select one of your VMs listed under your client asset section.
Click Backup.
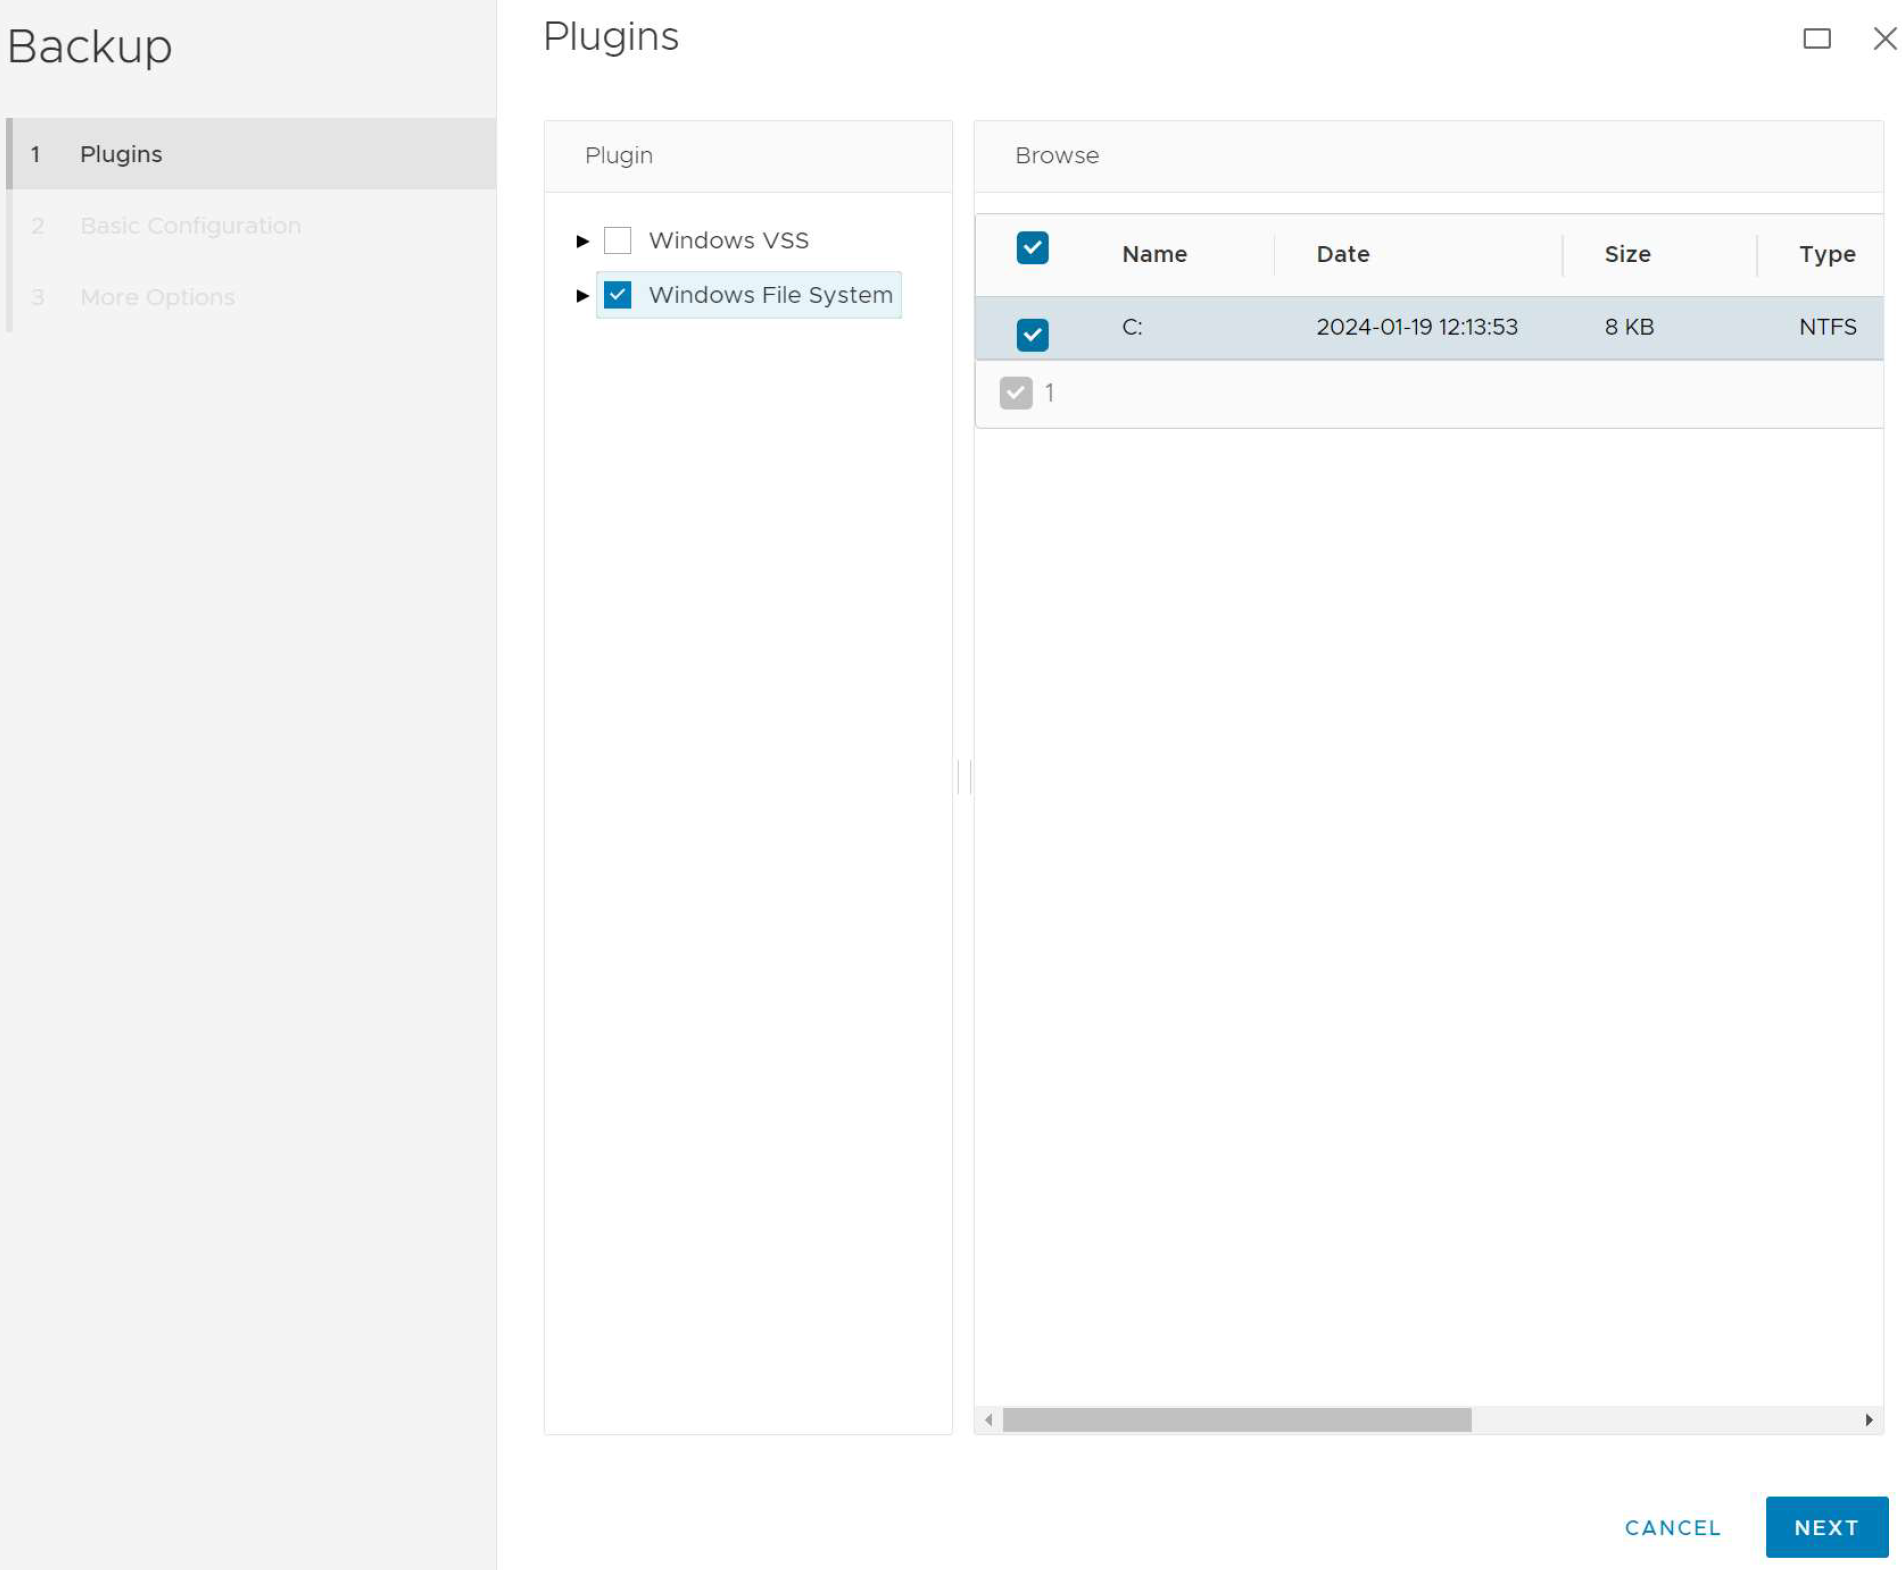
Select whether you want to back up the Windows VSS or a specific file system. Click Next.
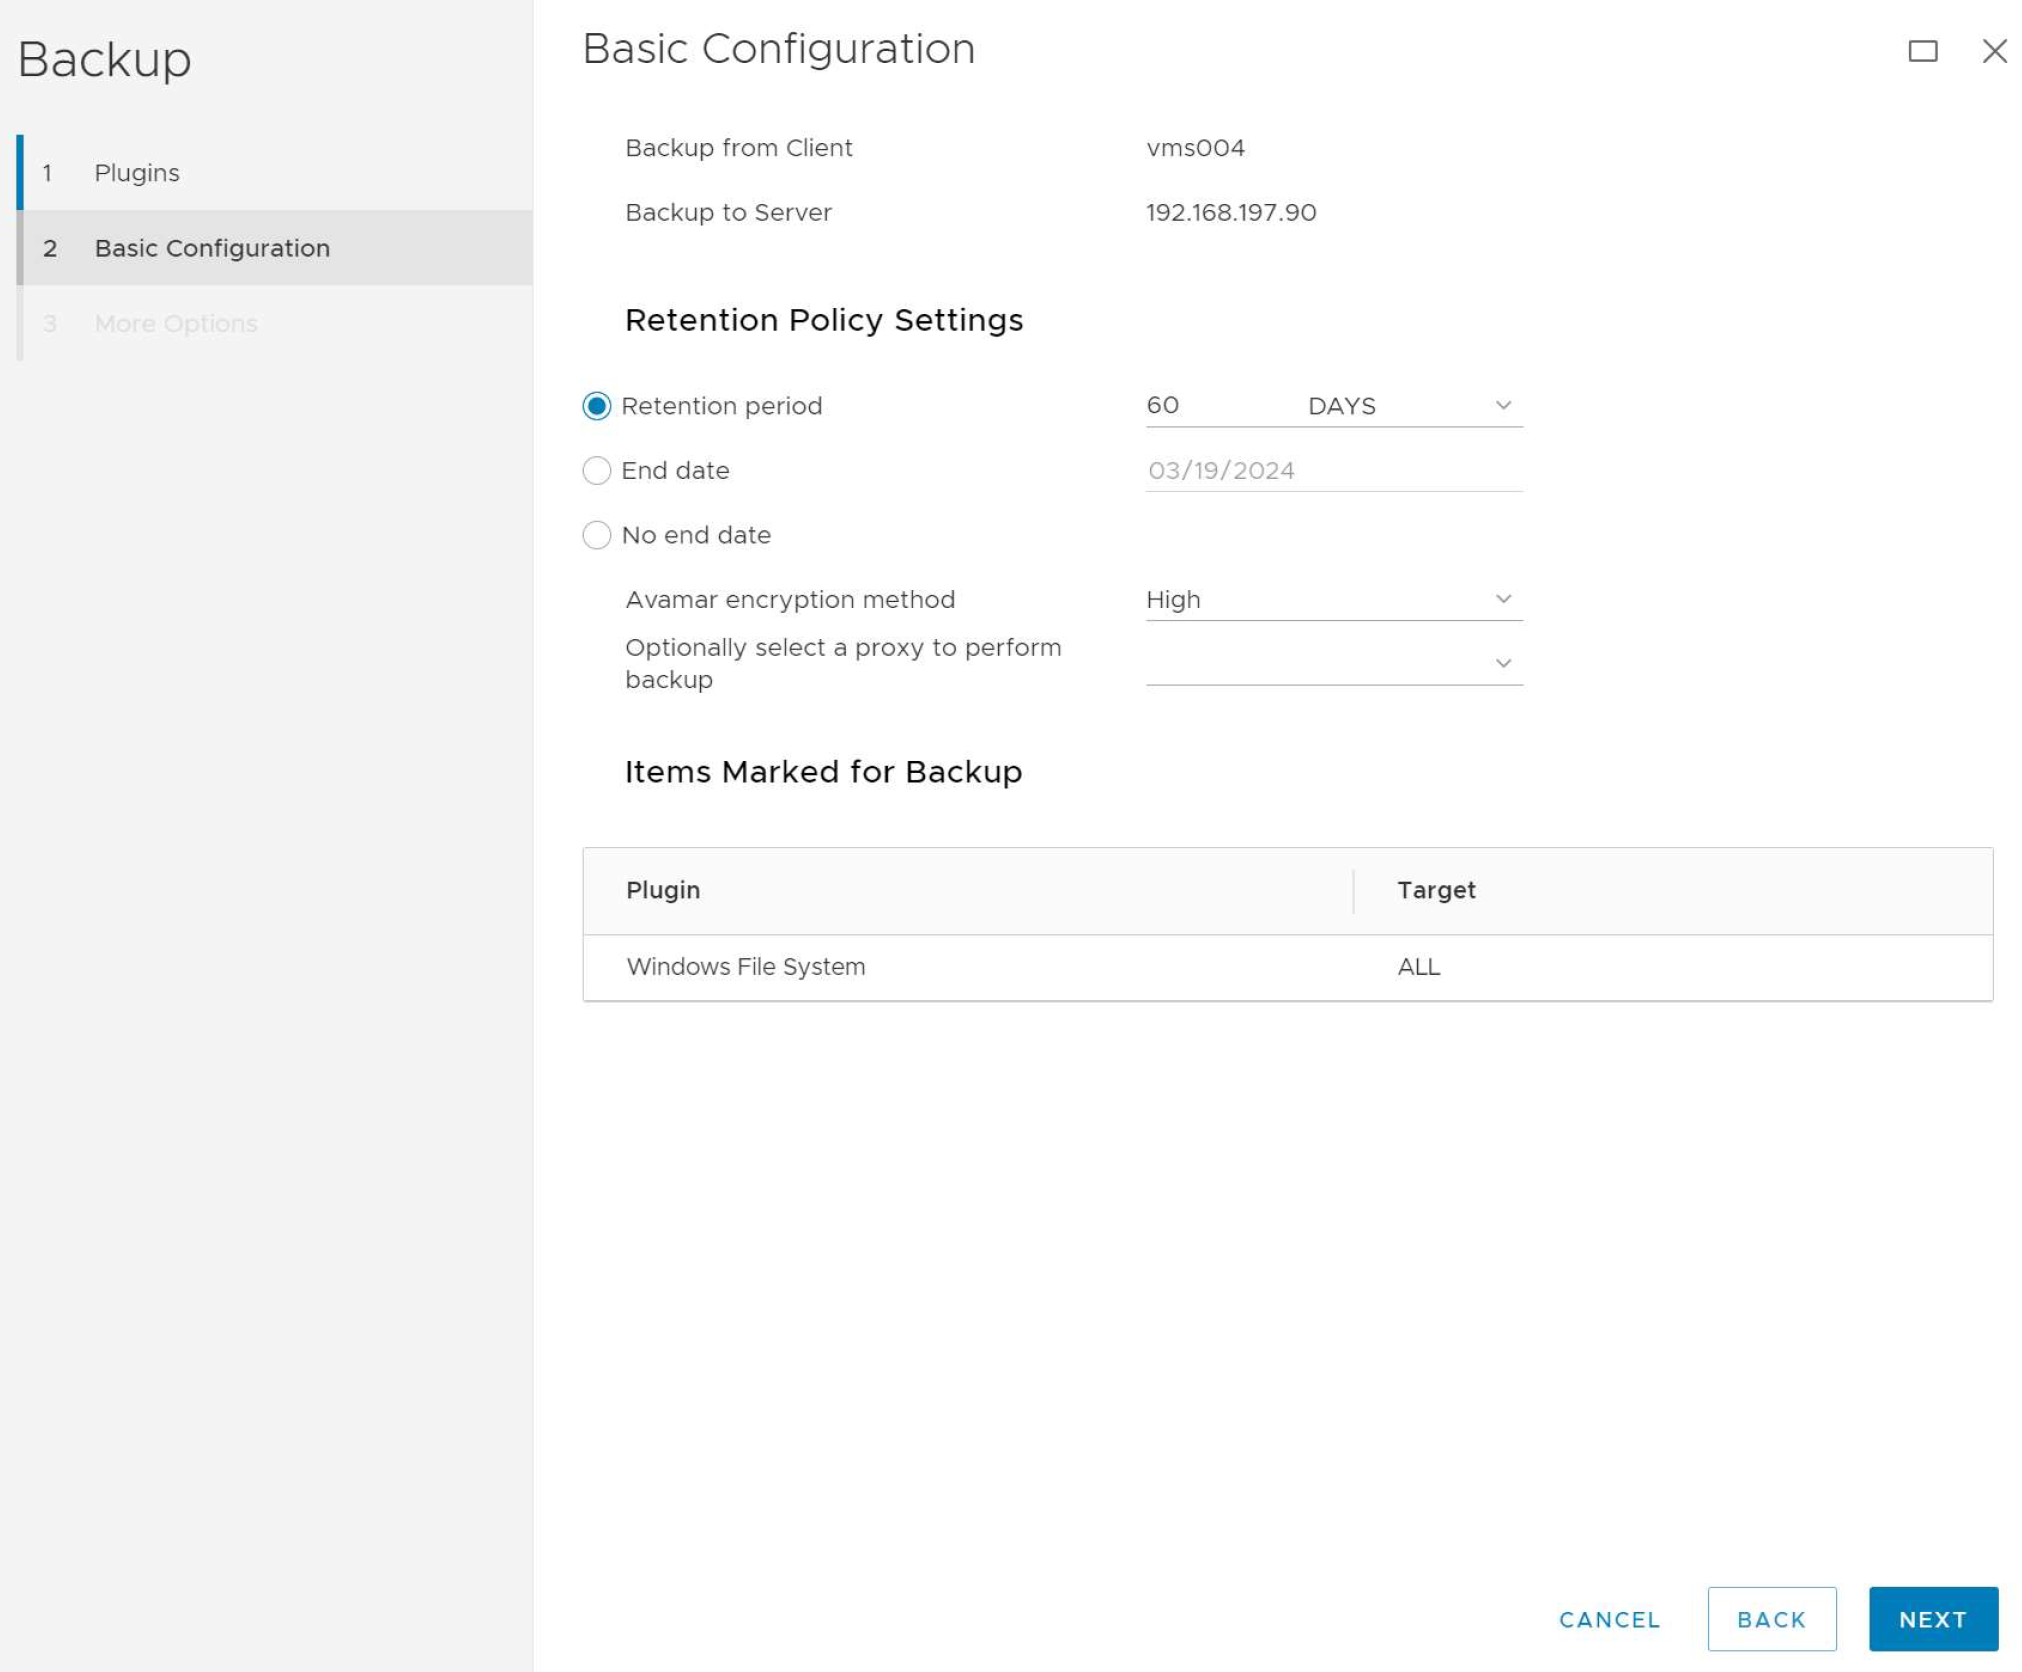
Specify your retention period for the backup. Click Next.
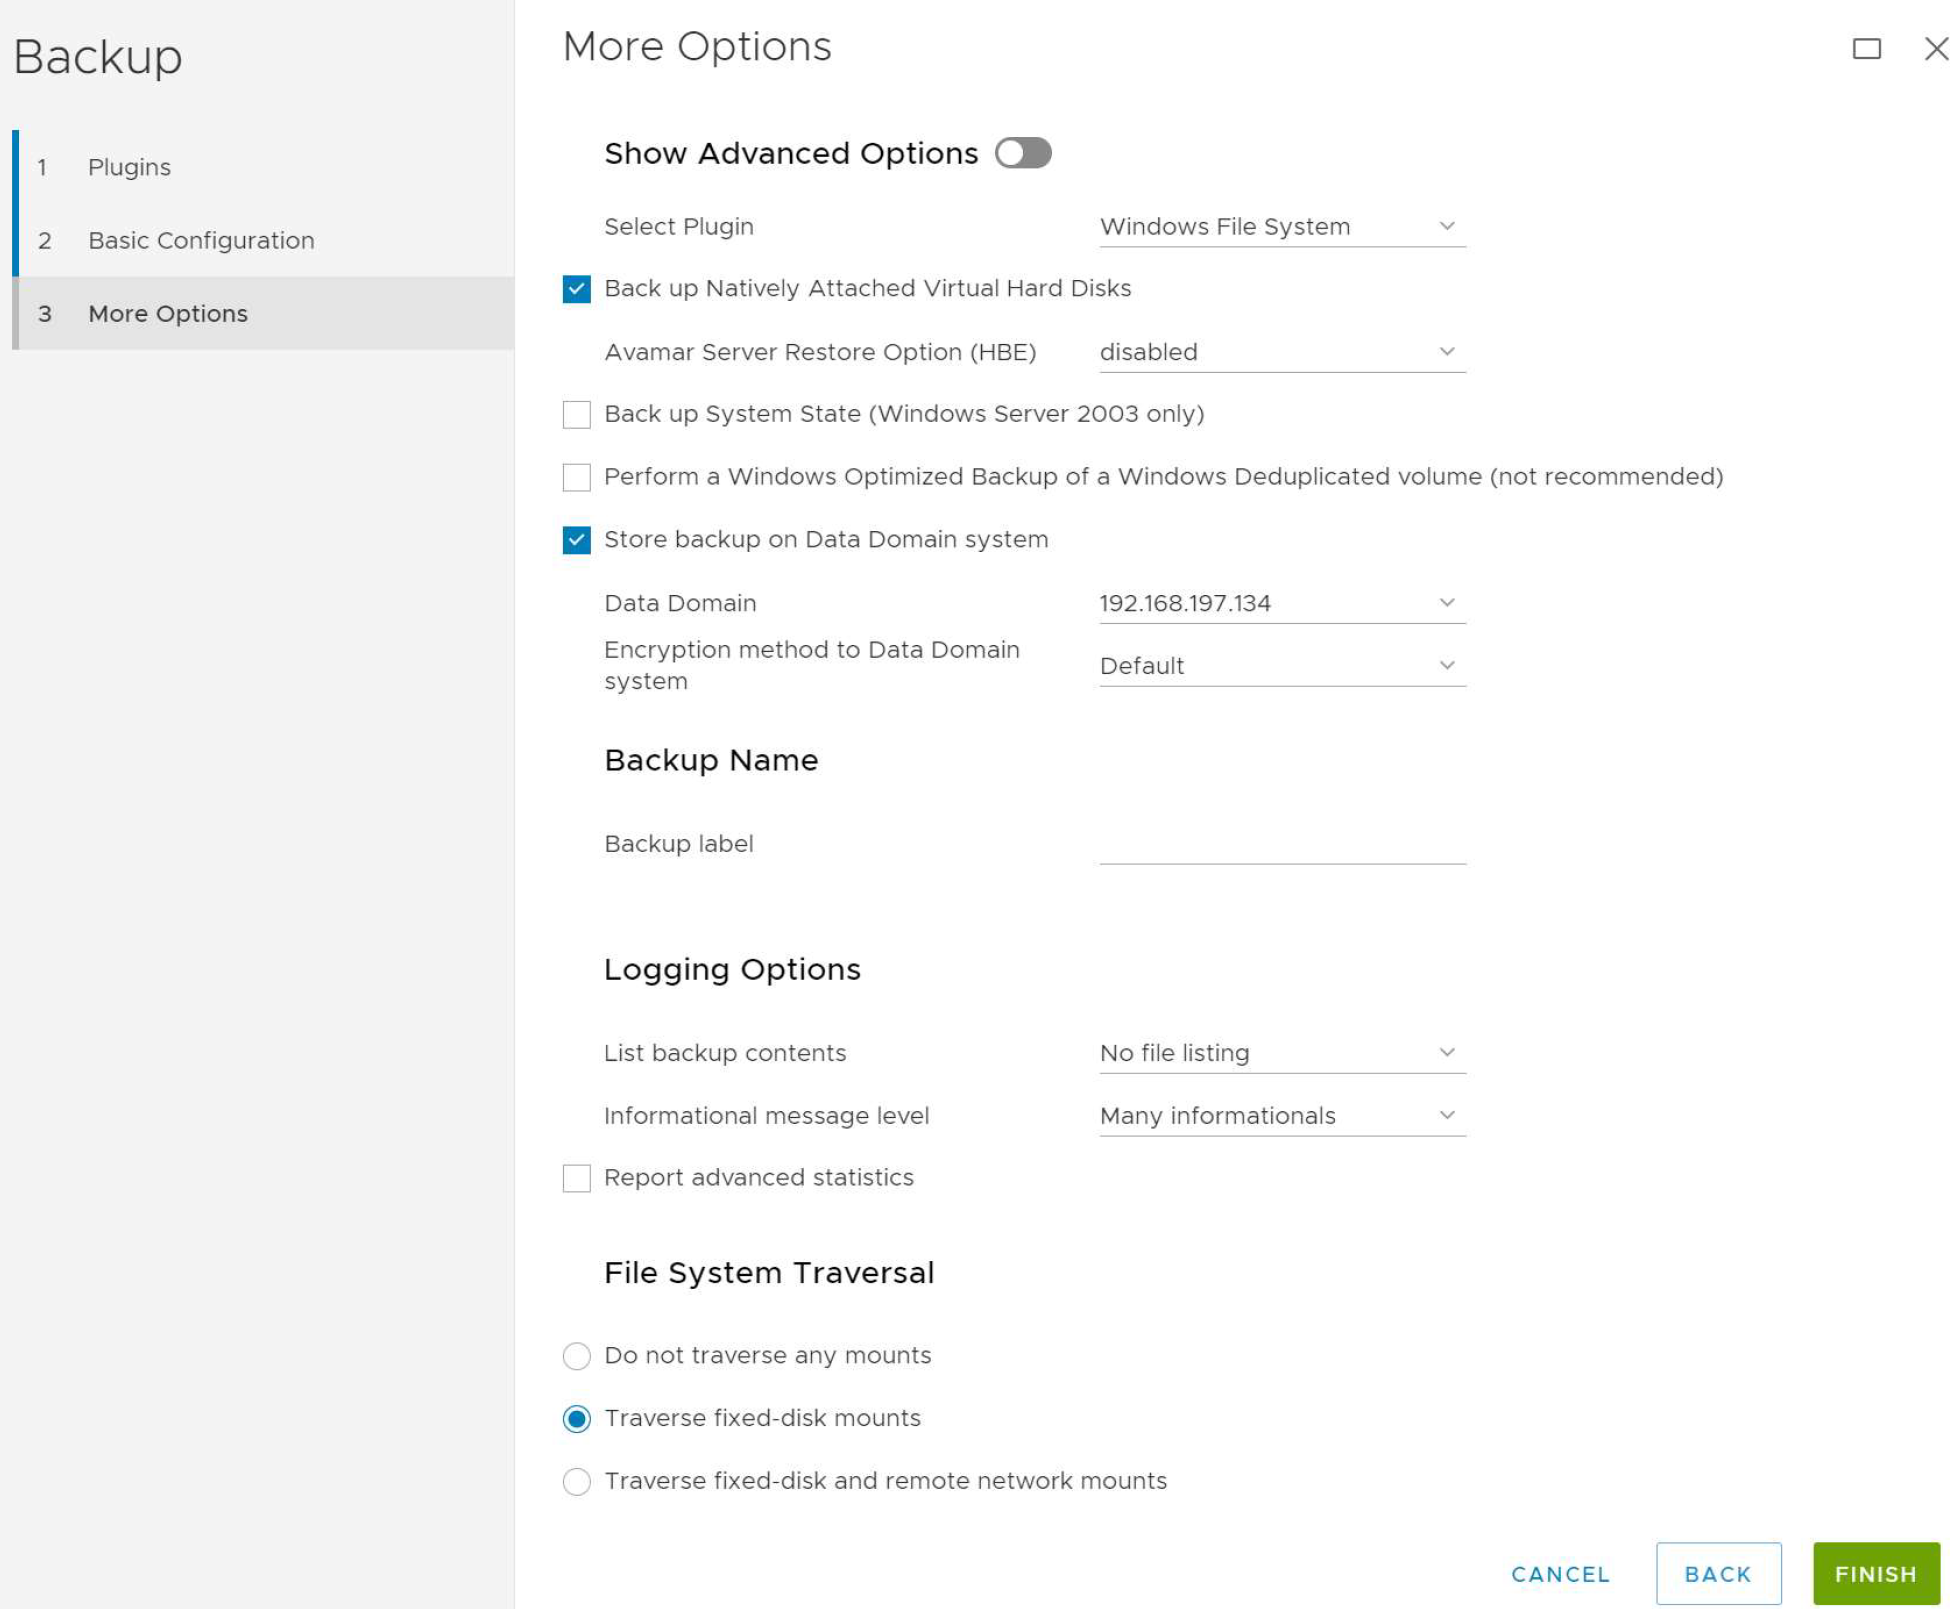
Make sure that you select Store backup on Data Domain system and the correct instance is chosen from the drop-down list. Click Finish.
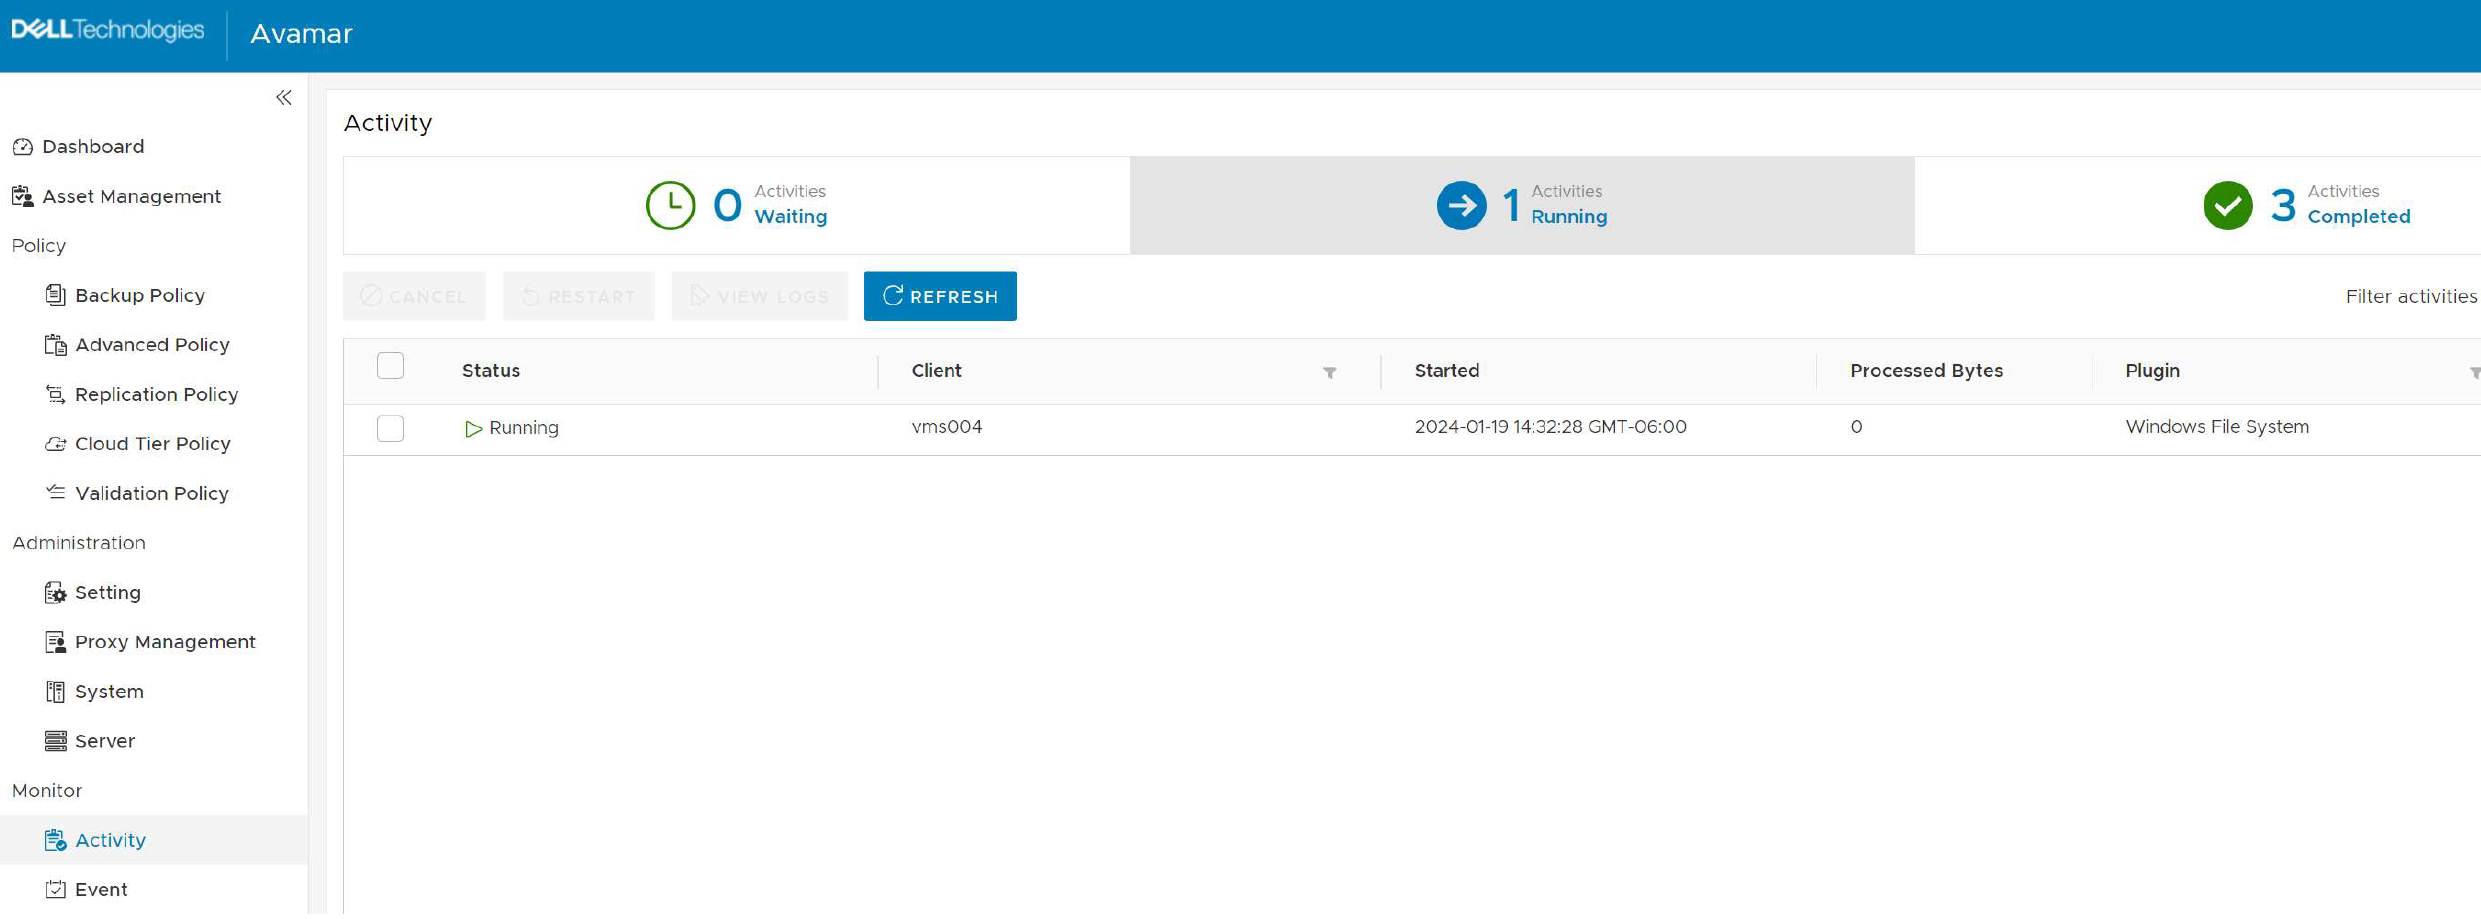
Your backup request will be initiated and can be monitored in the Activity section.
Adding Clients to Cloud Tiering Policy
Once the backup of your VM is complete, you will next need to add the VM to the Cloud Tier policy so that Ava mar can move your backups from Active Tier to Cloud Tier.
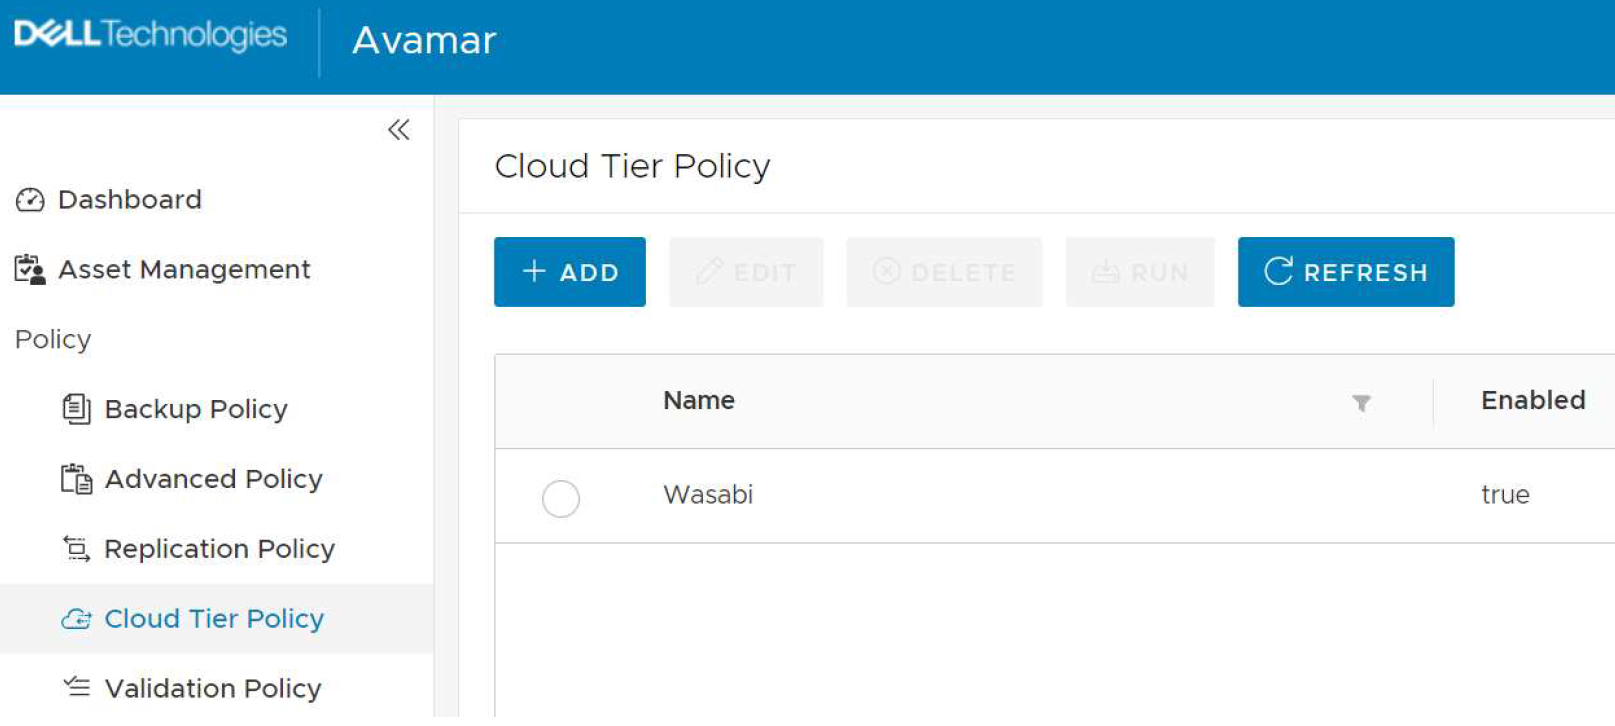
Click Cloud Tier Policy and + ADD.
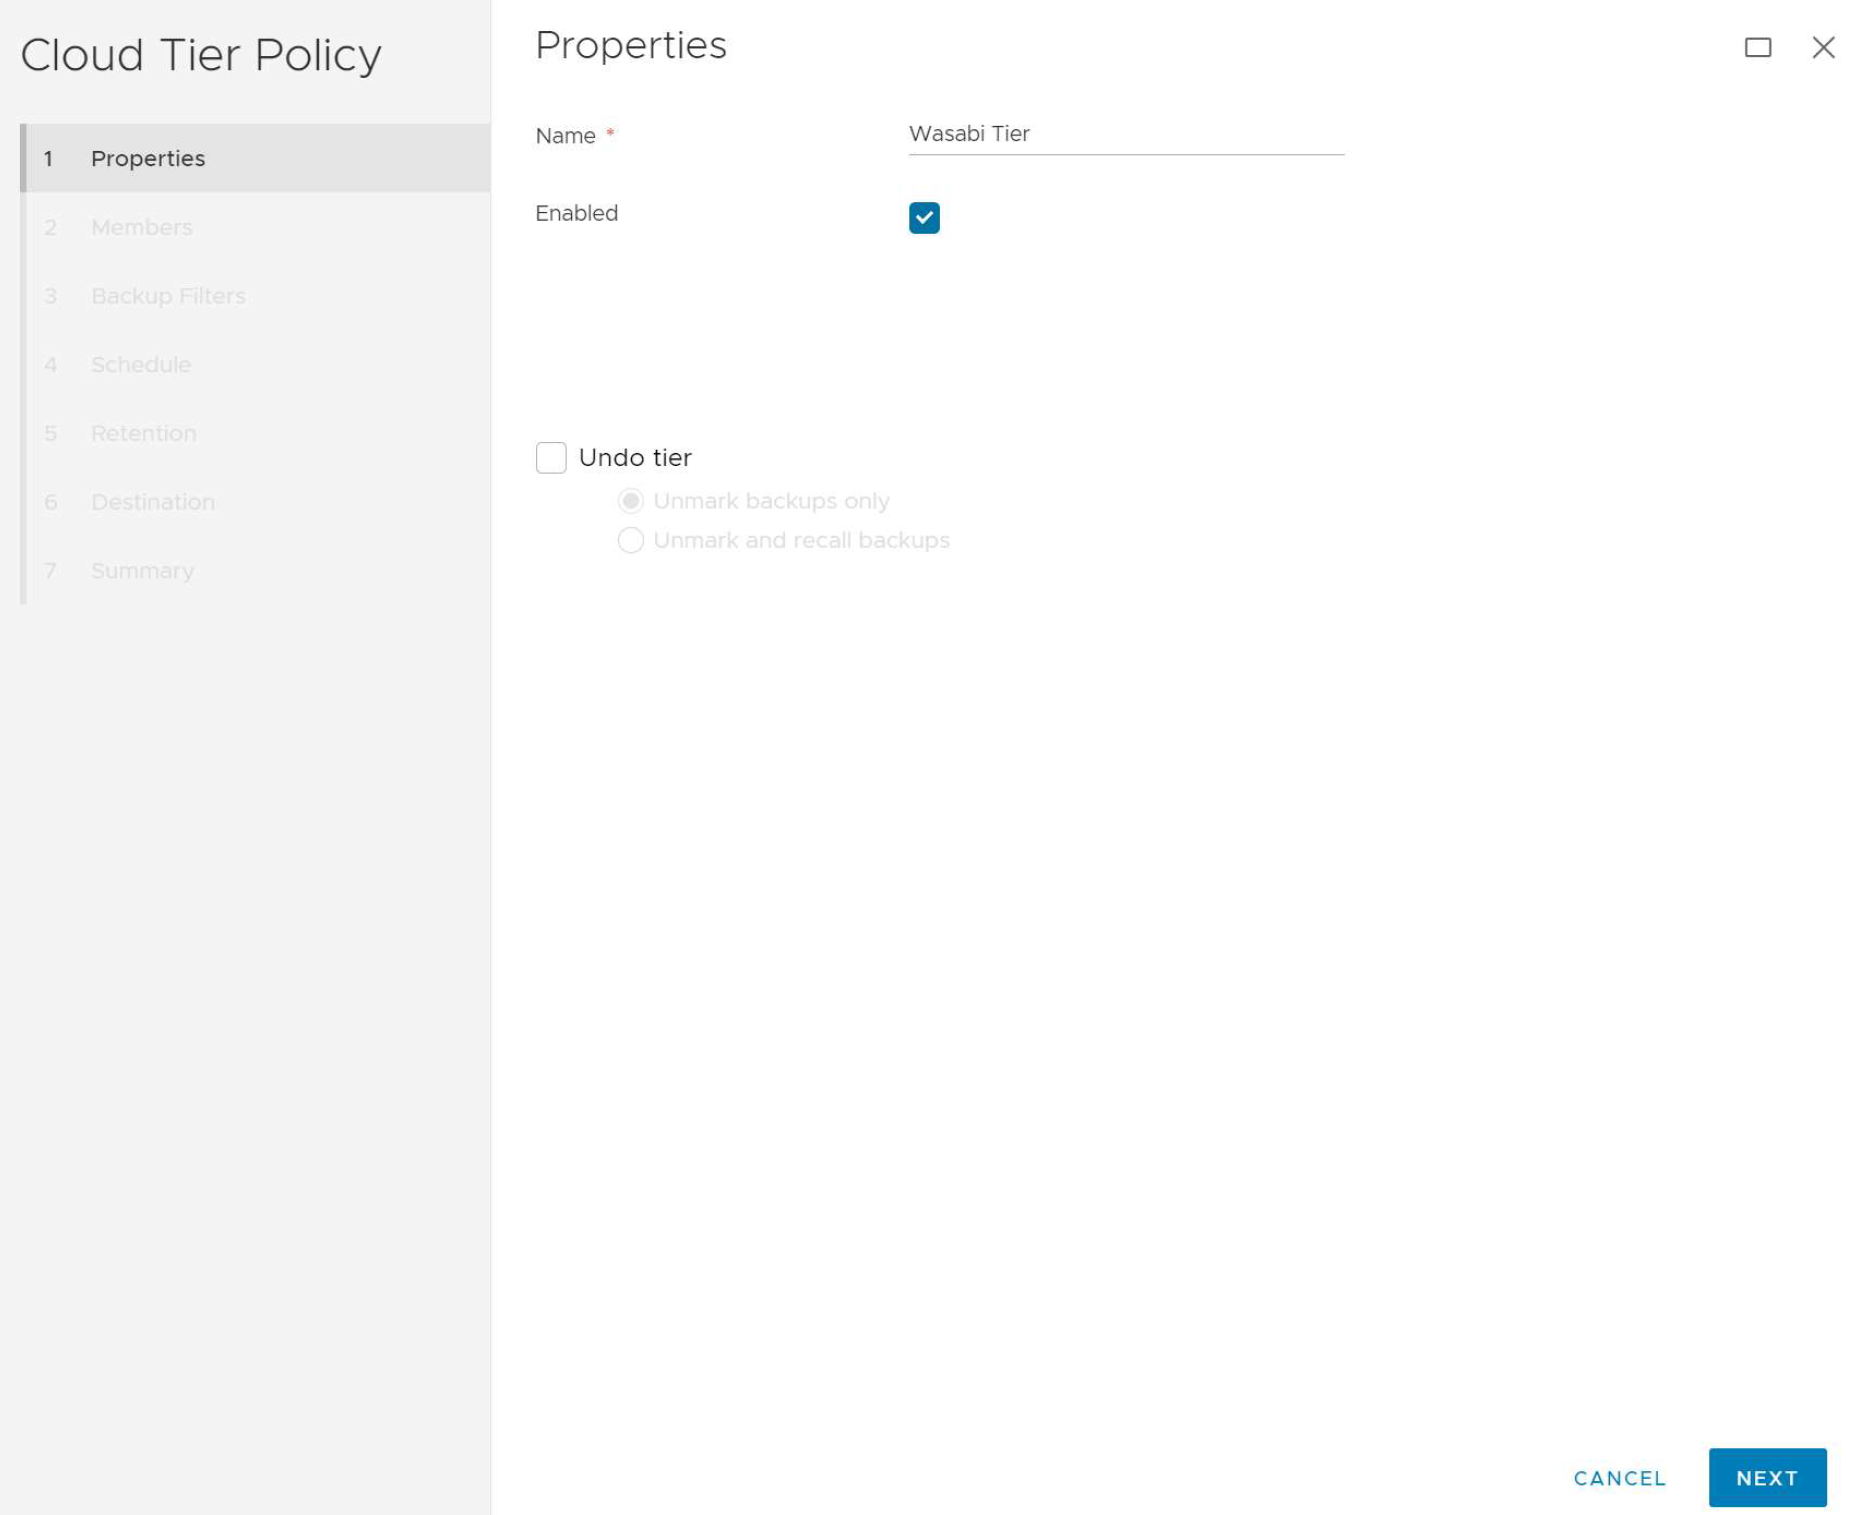
Give the policy a name. Be sure to enable the policy. Click Next.
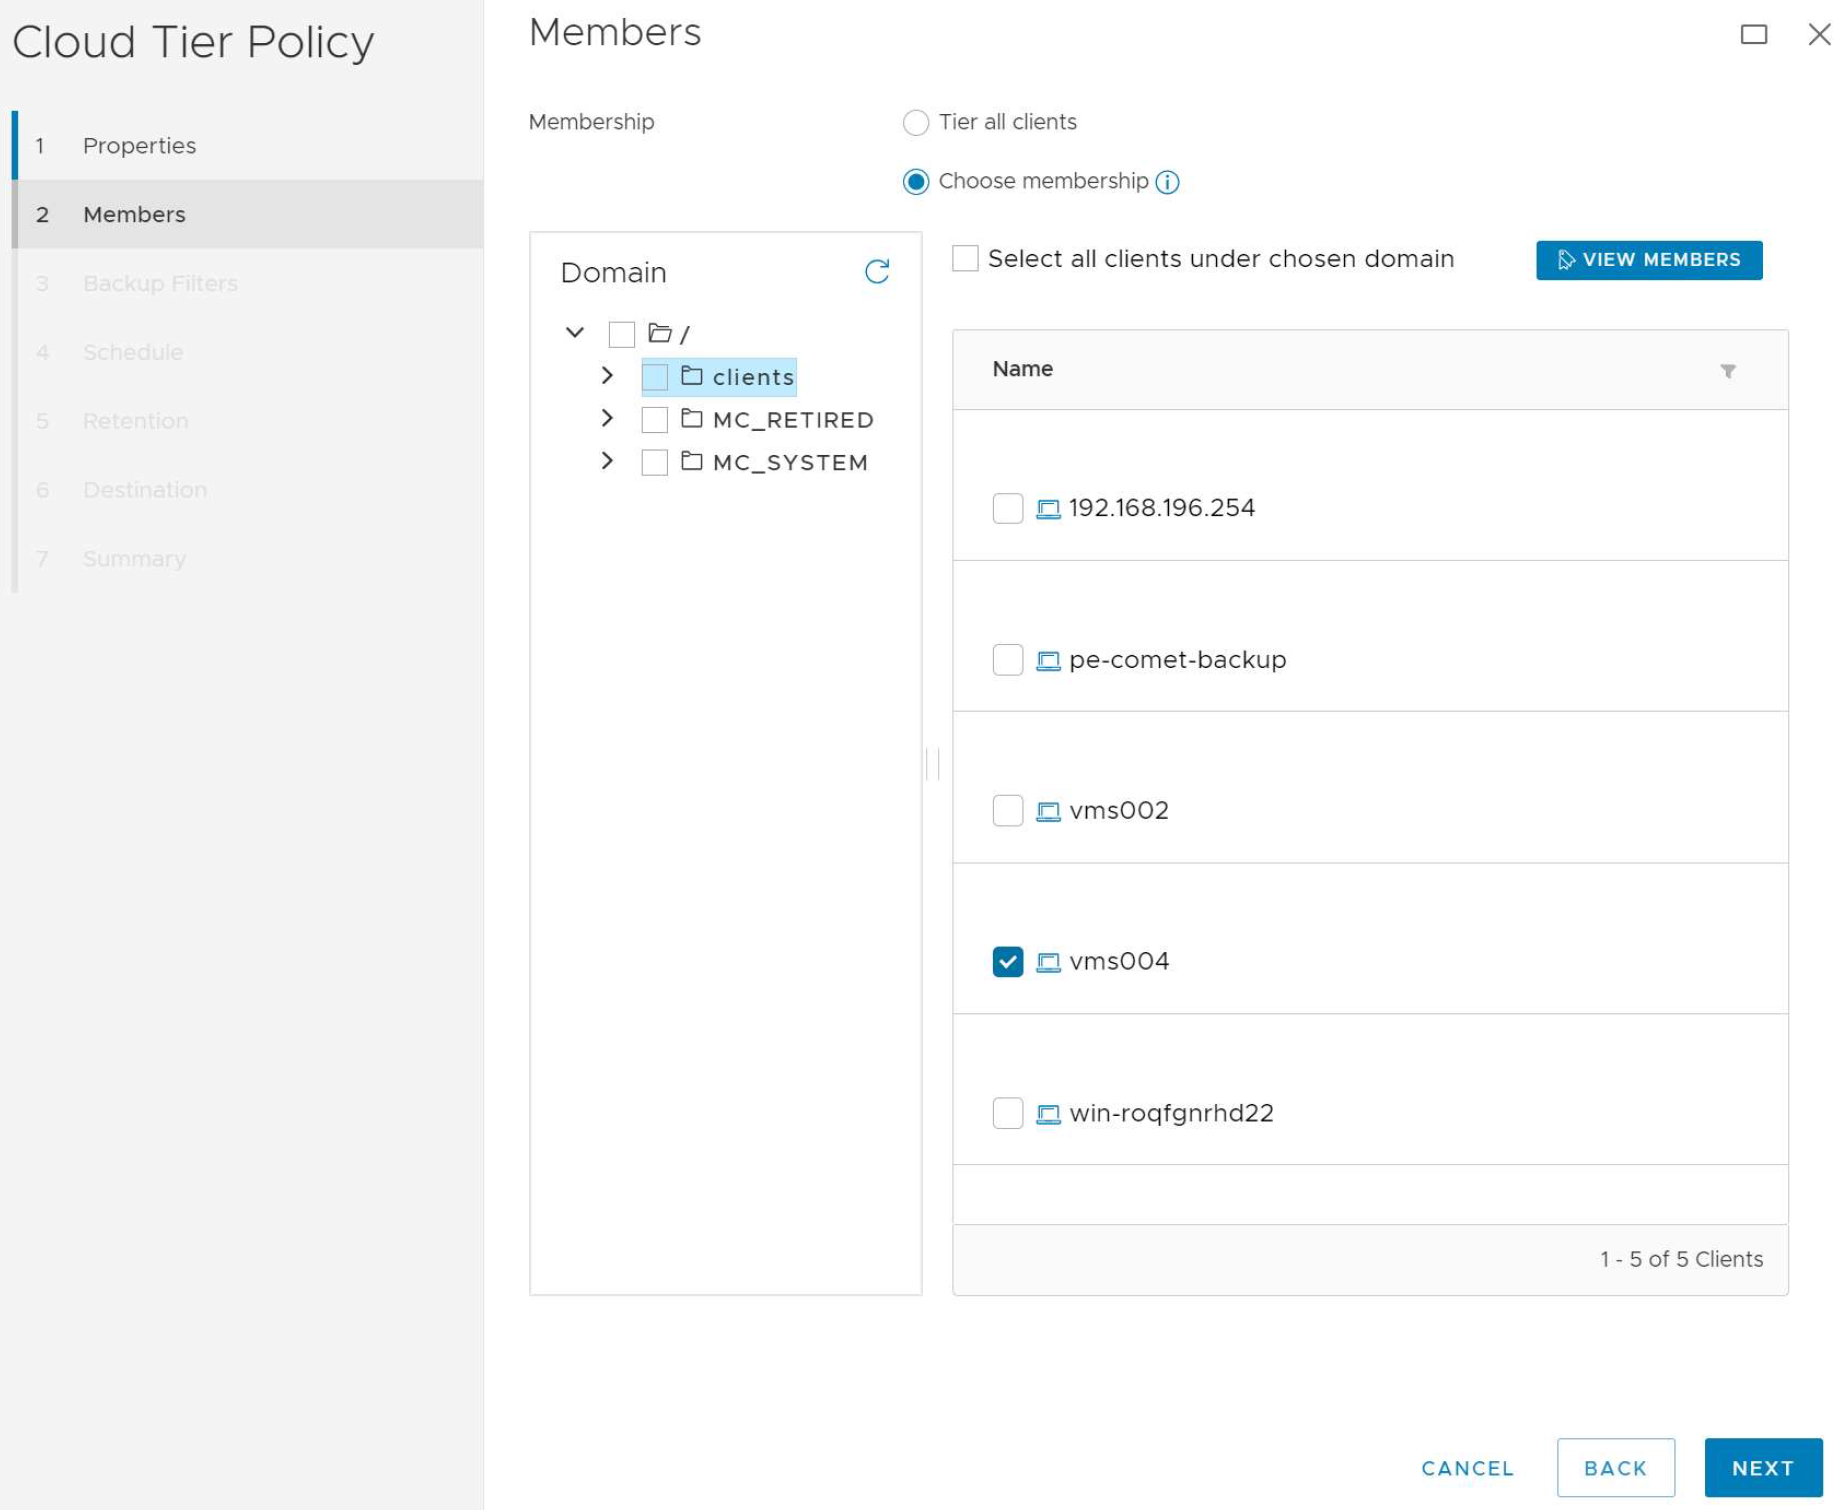
Choose which members you want to add to the Cloud Tier Policy. Click Next.
Set the Age threshold for when you want your Active Tier backups to move to the Cloud Tier. Click Next.
The minimum age that you can set is 14 days.

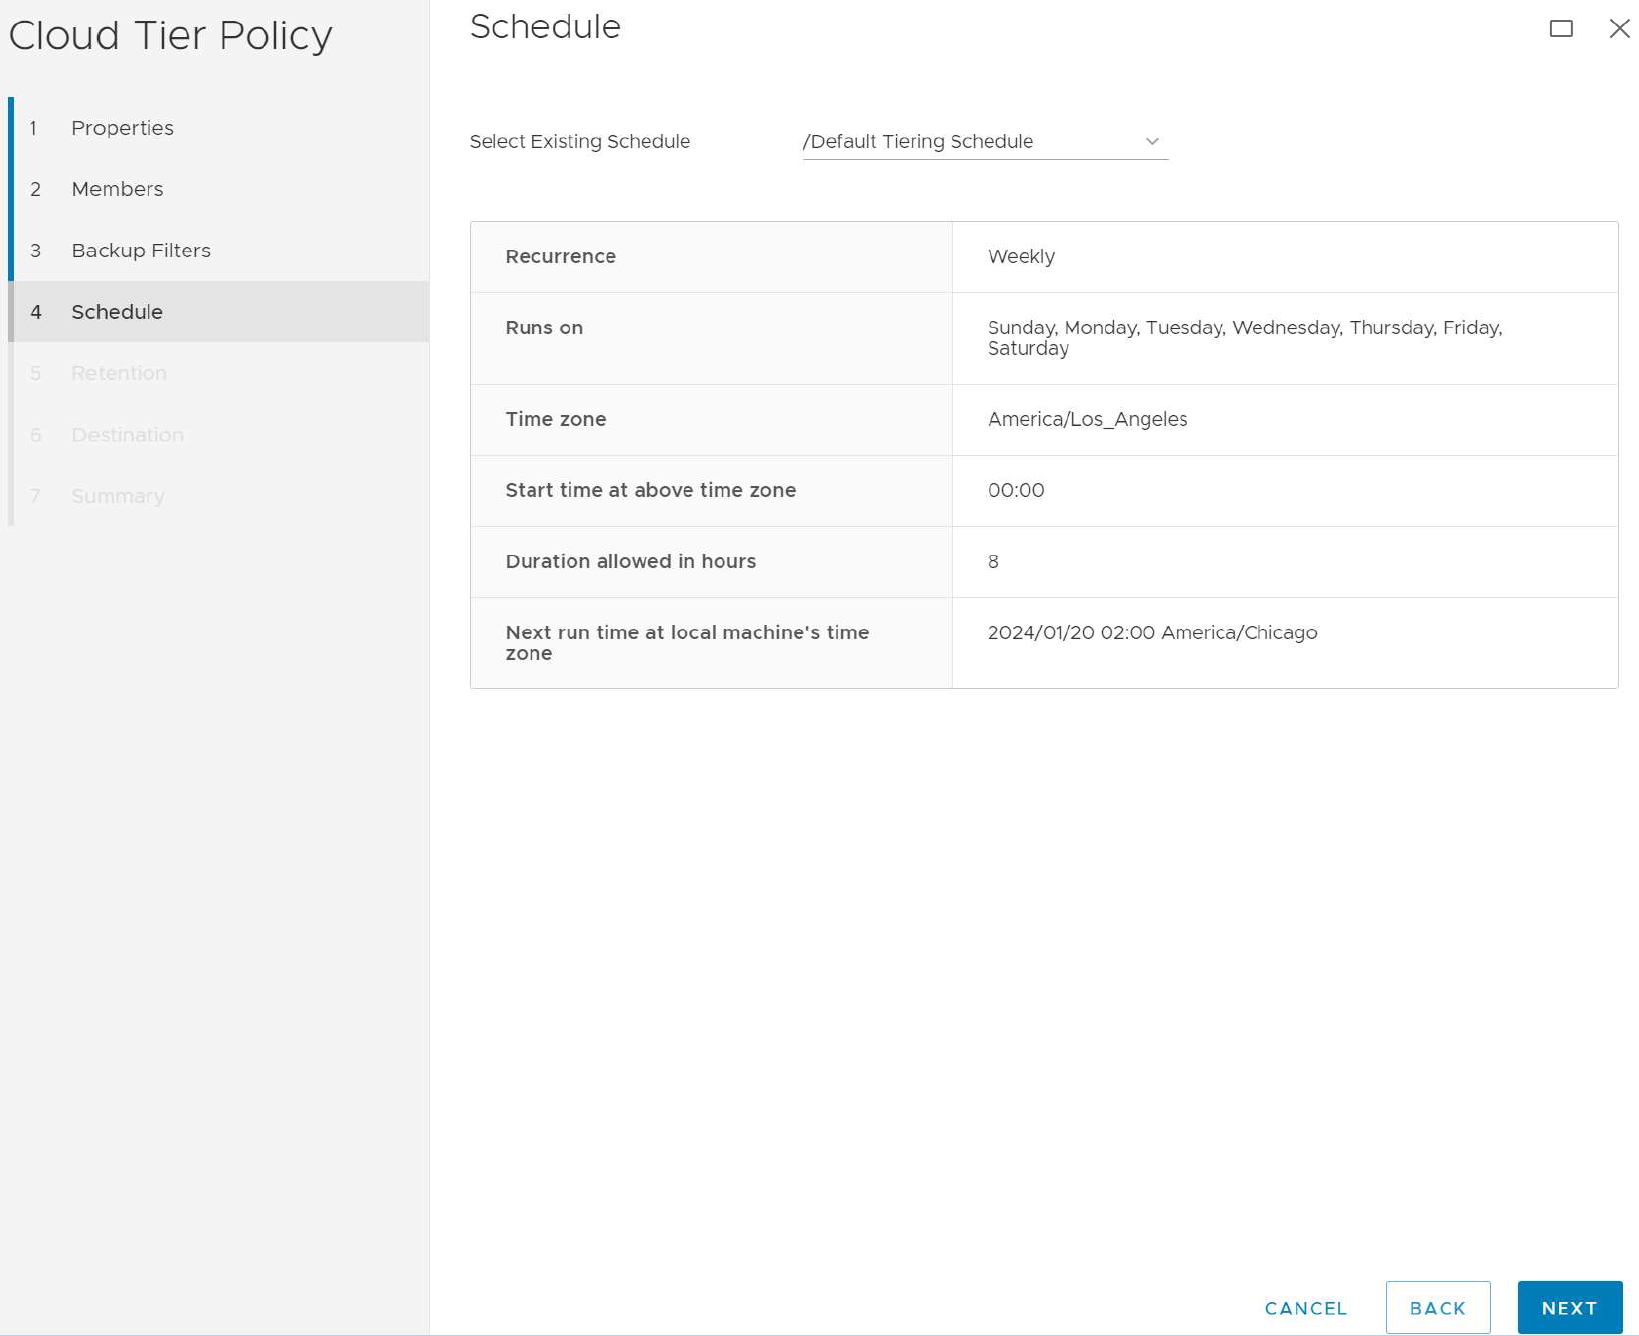
Choose the schedule for when you want your tiering to run. Click Next.
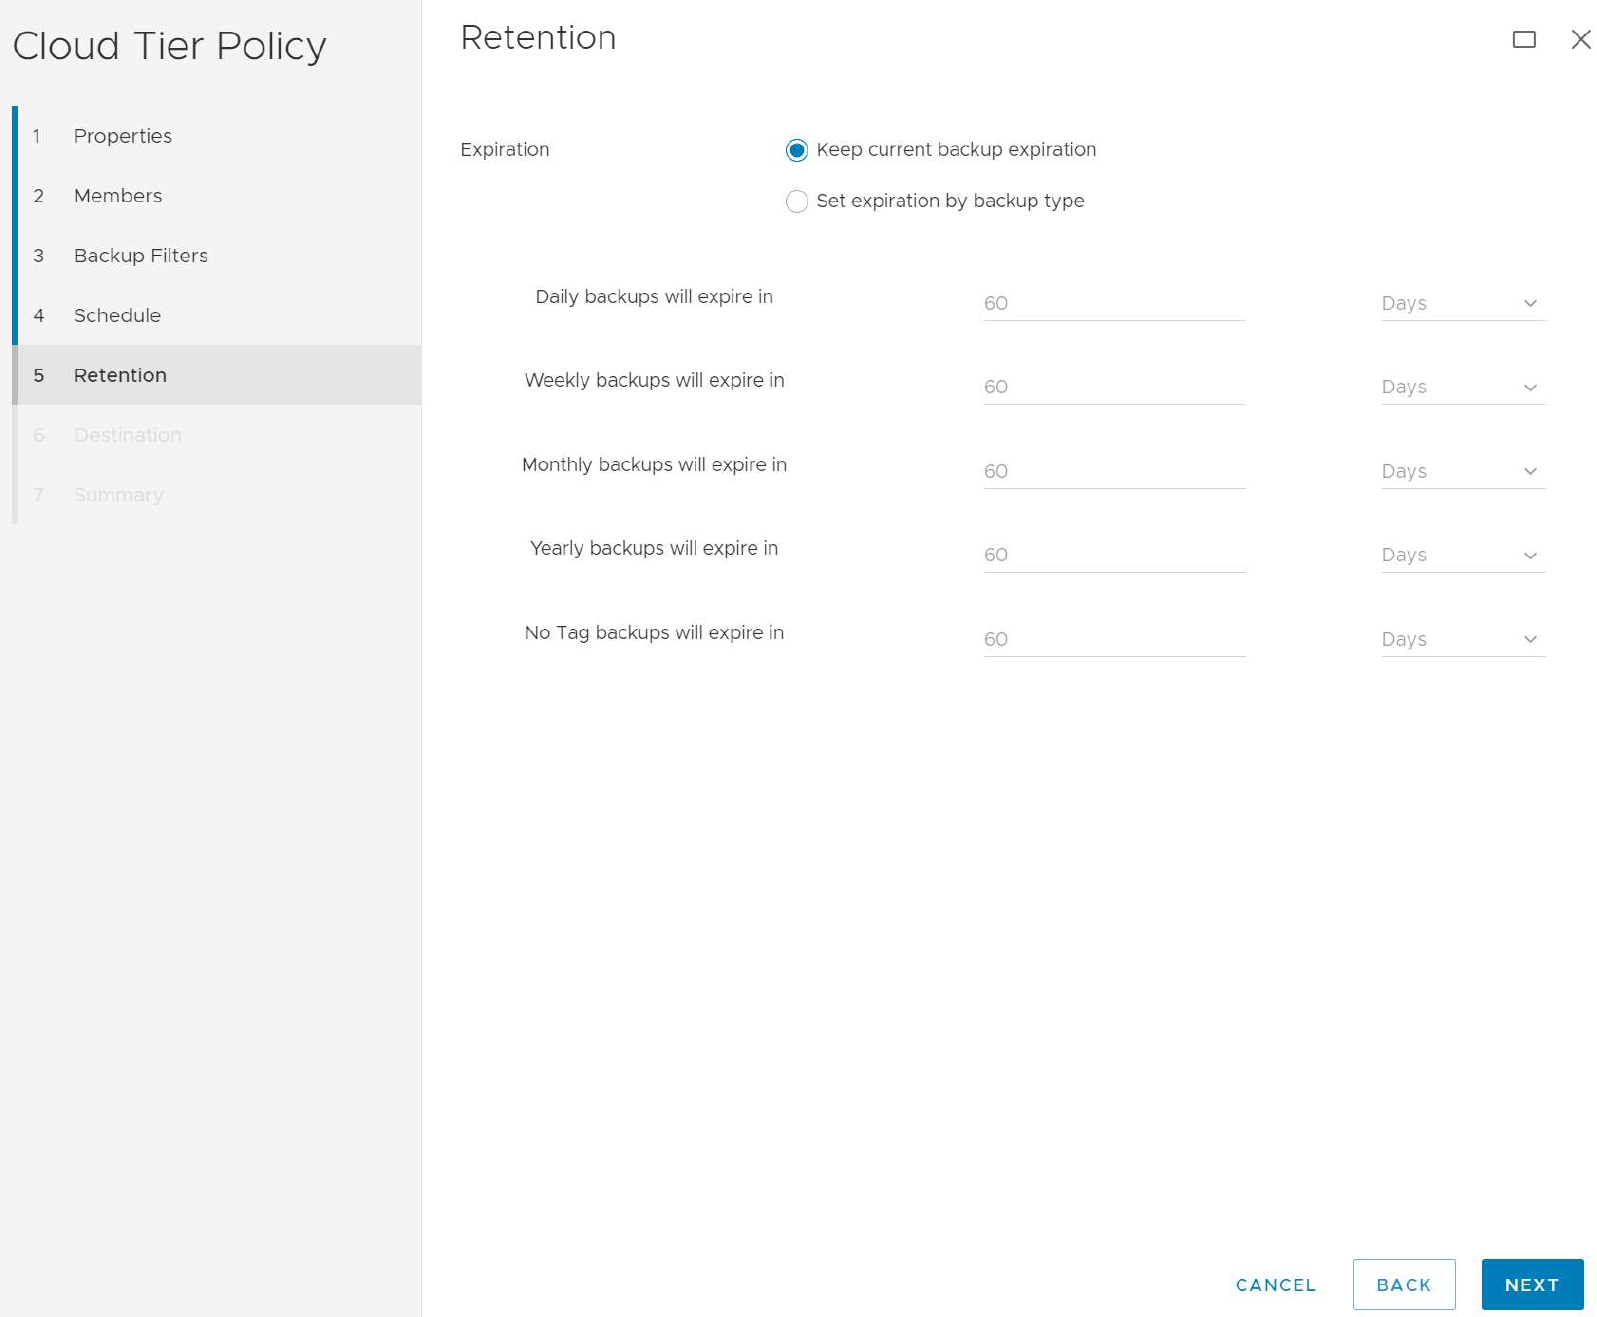
Choose to either keep your current expiration or set expiration by backup type. Click Next.
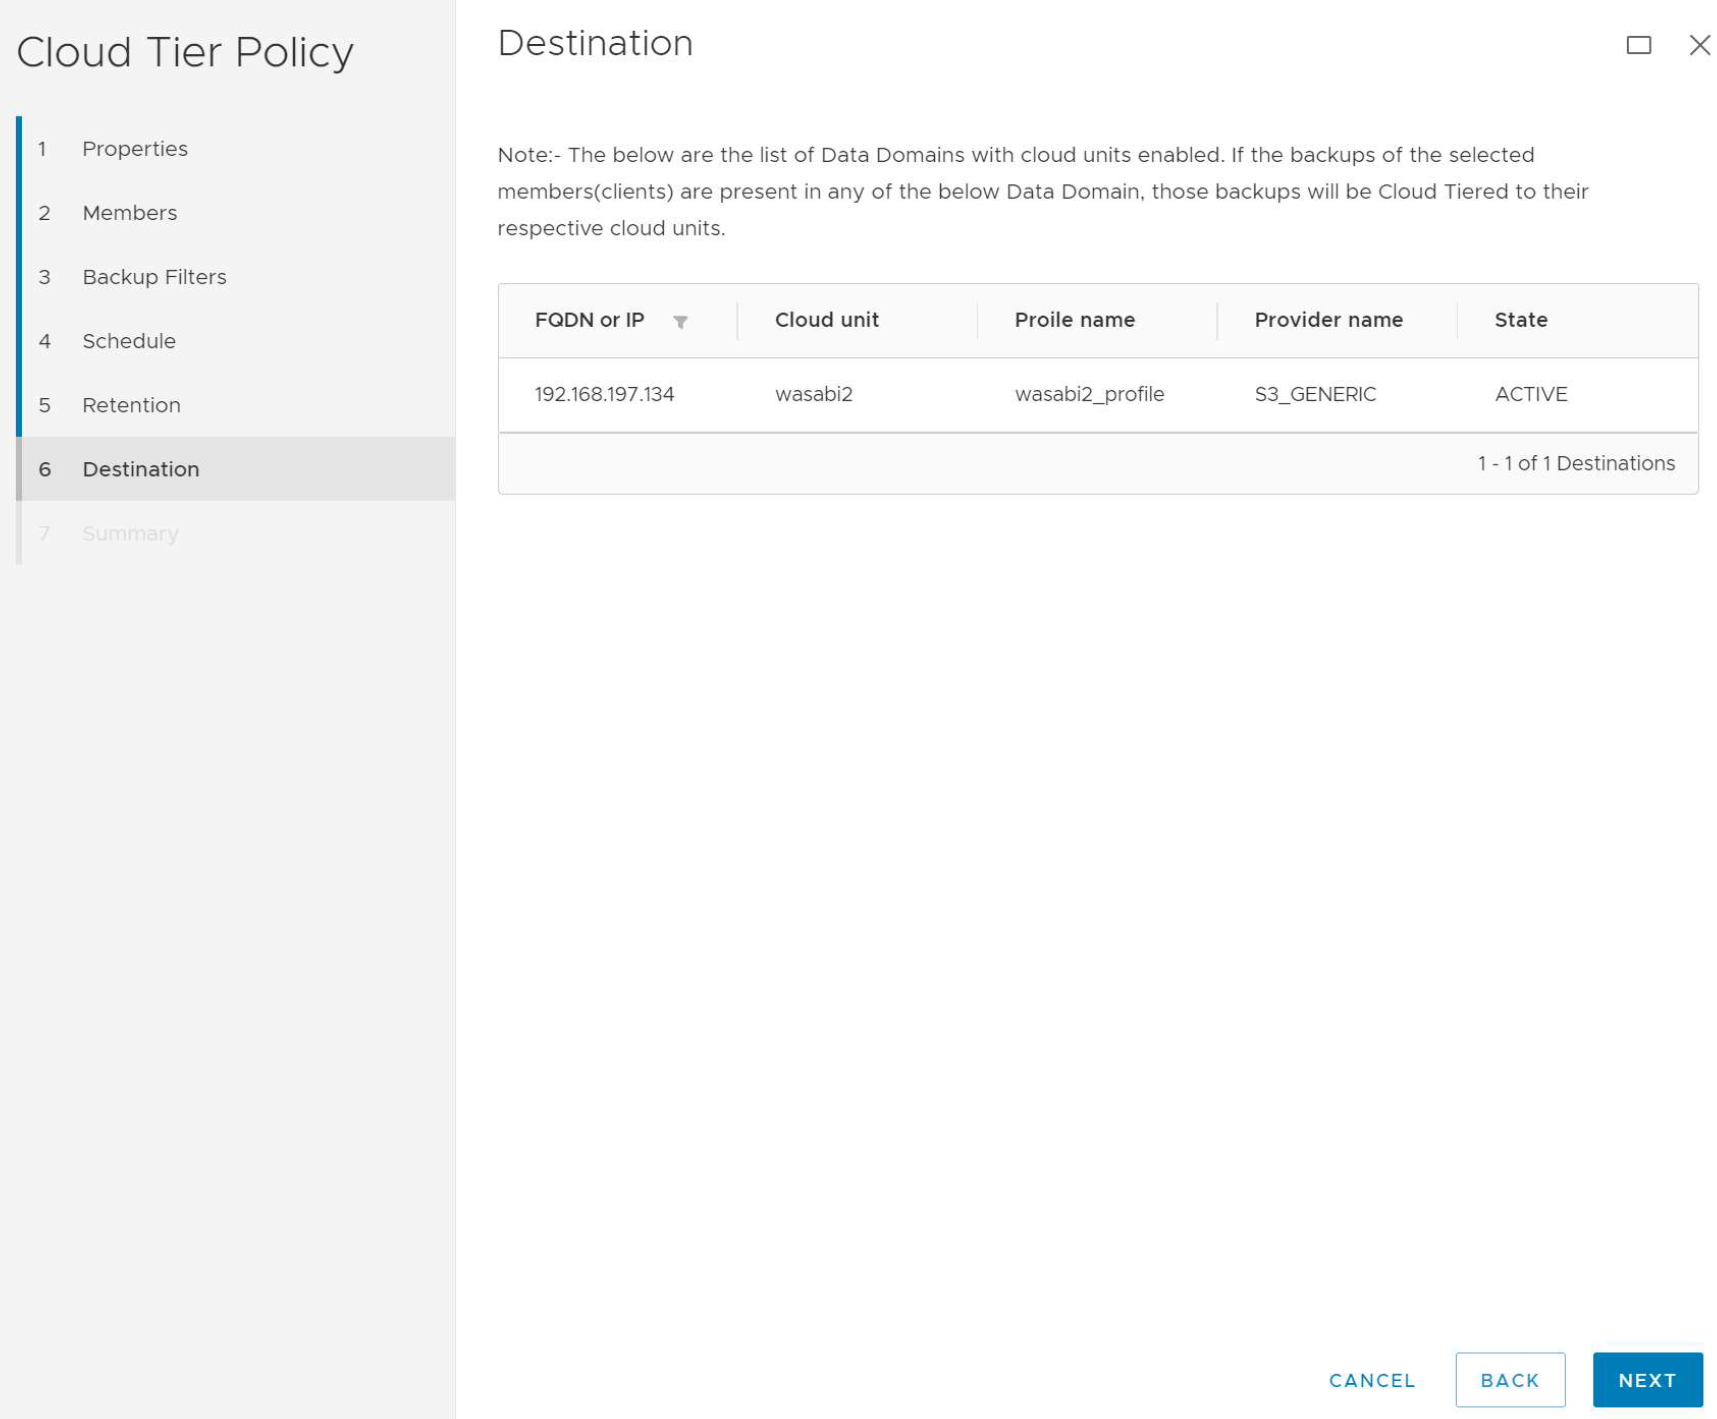
Verify the Cloud Unit information is correct. Click Next.
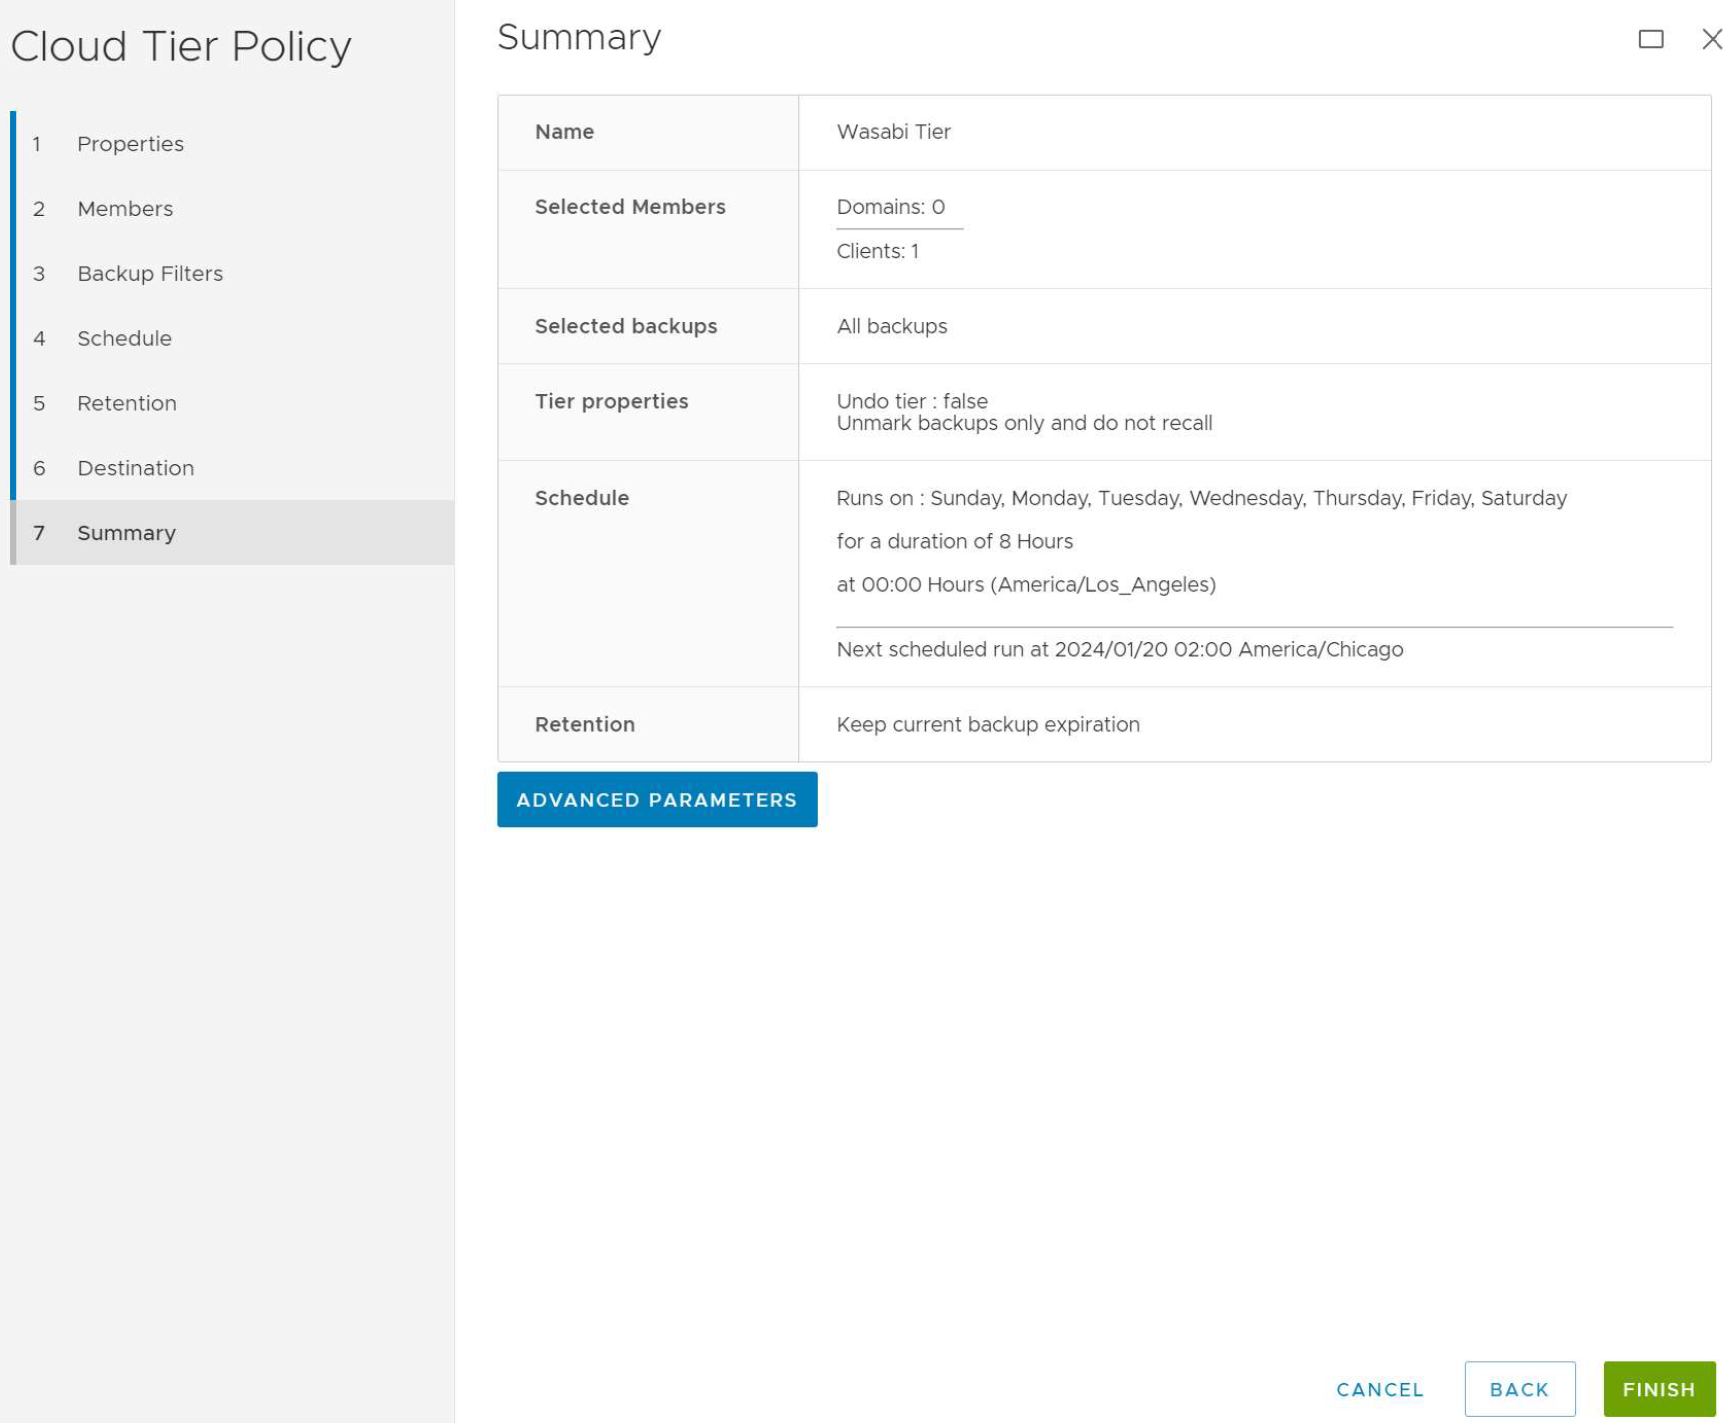
On the Summary page, click Finish.
Restoring a Backup From Wasabi
Once a backup job has been Tiered to Wasabi, you can restore directly from that backup job from the Cloud tier.
Click Asset Management, then select the VM you want to restore.
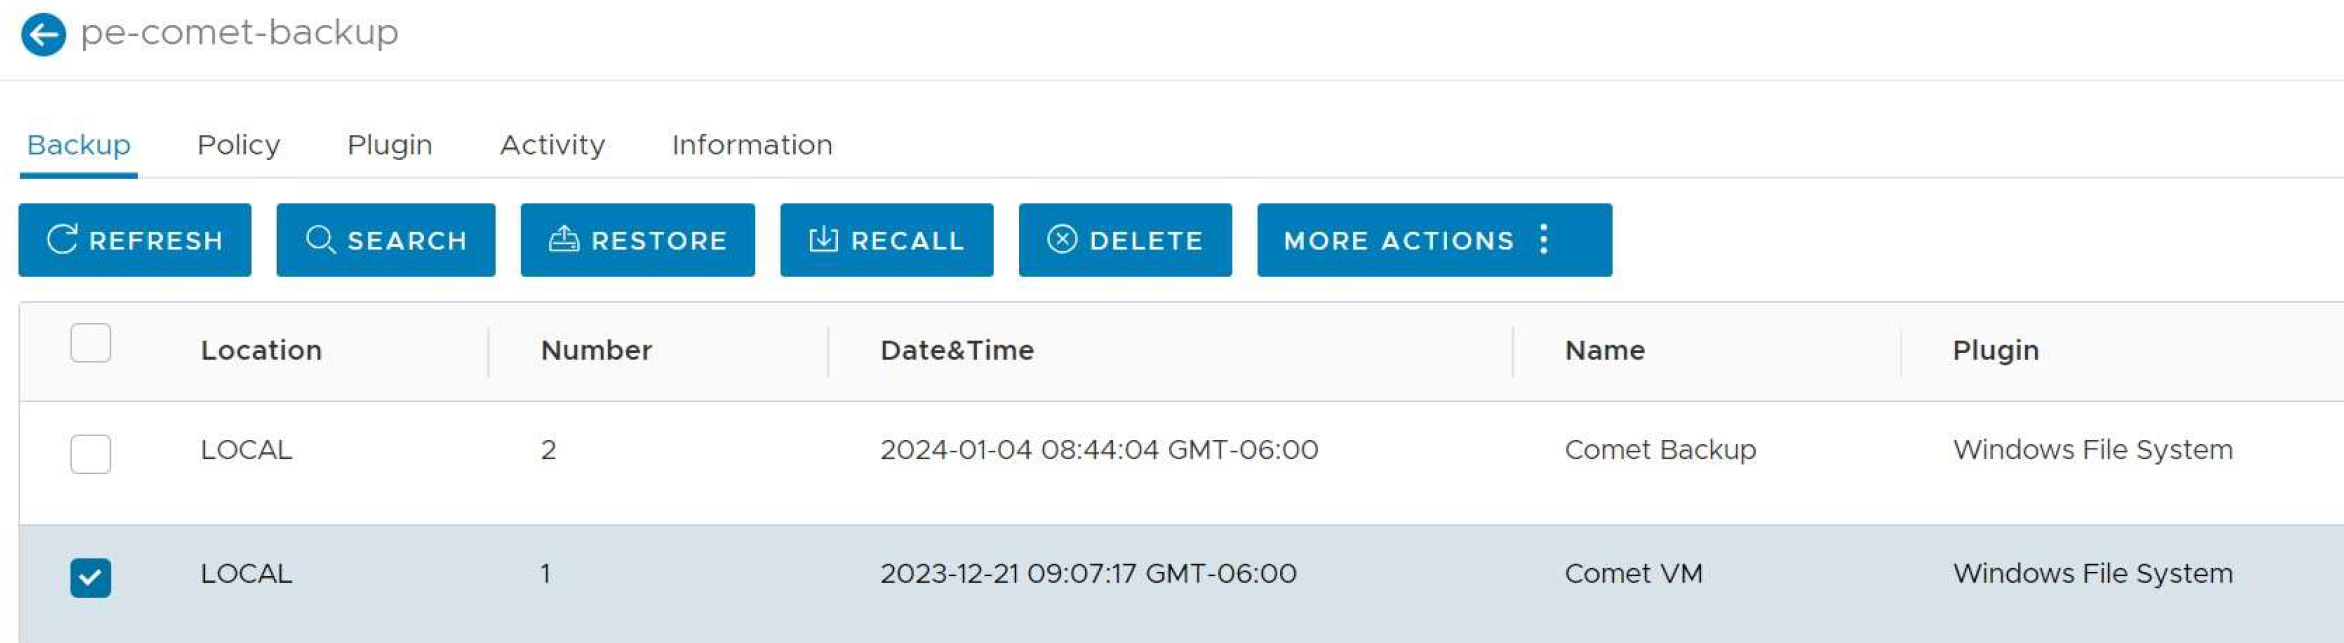
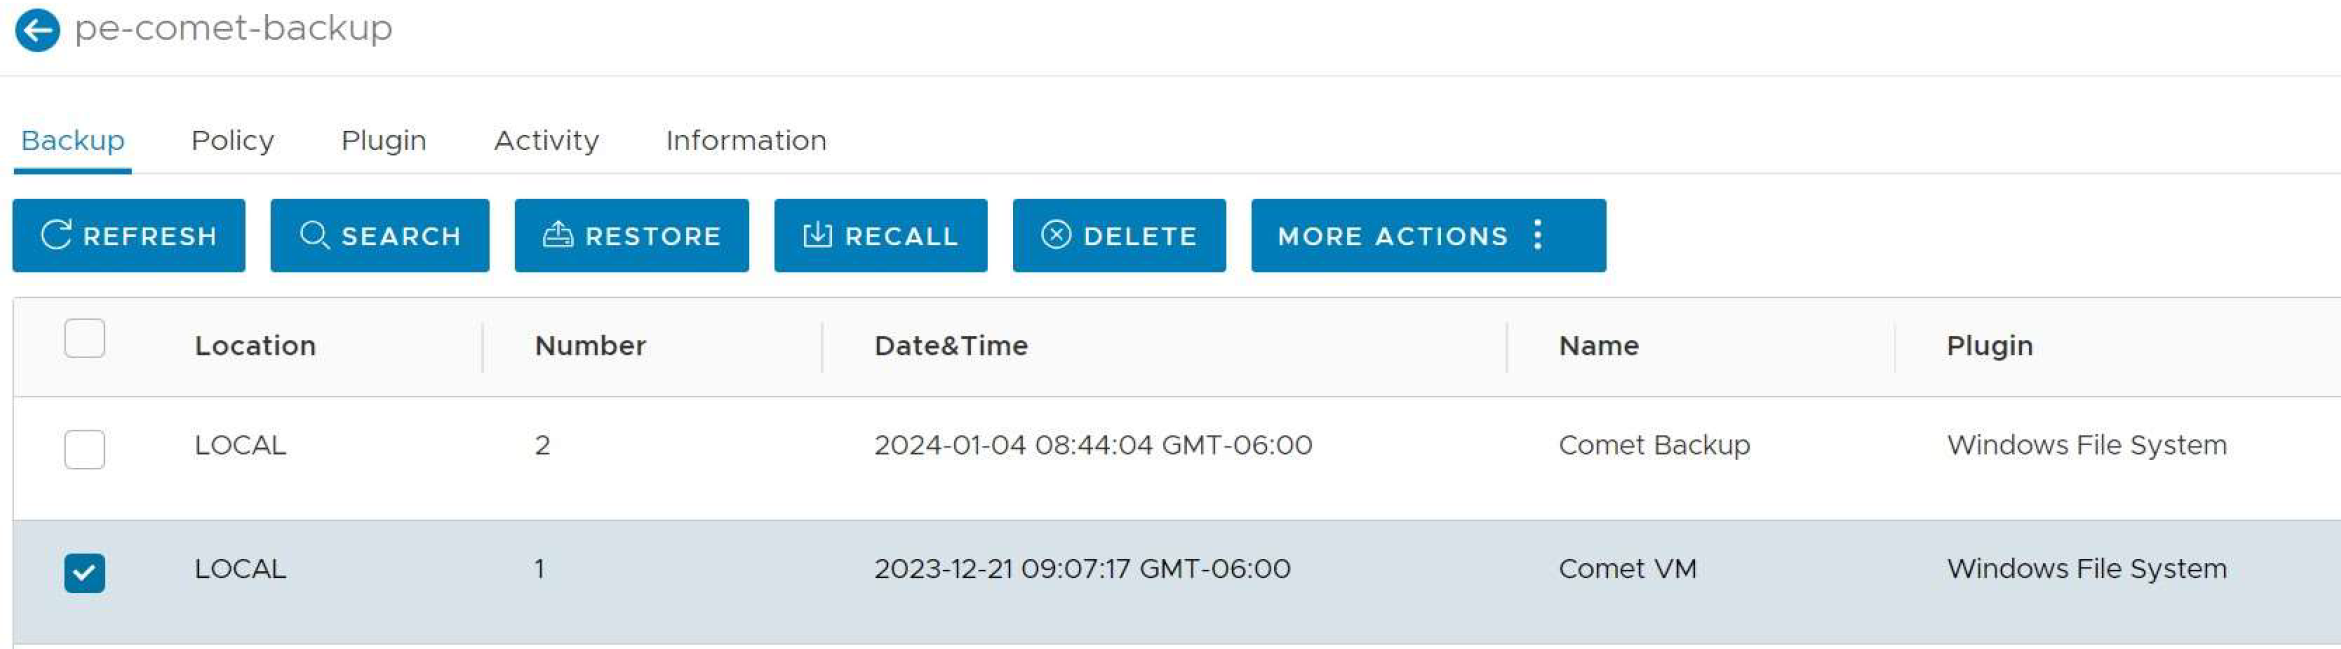
Select the VM, then click View More.
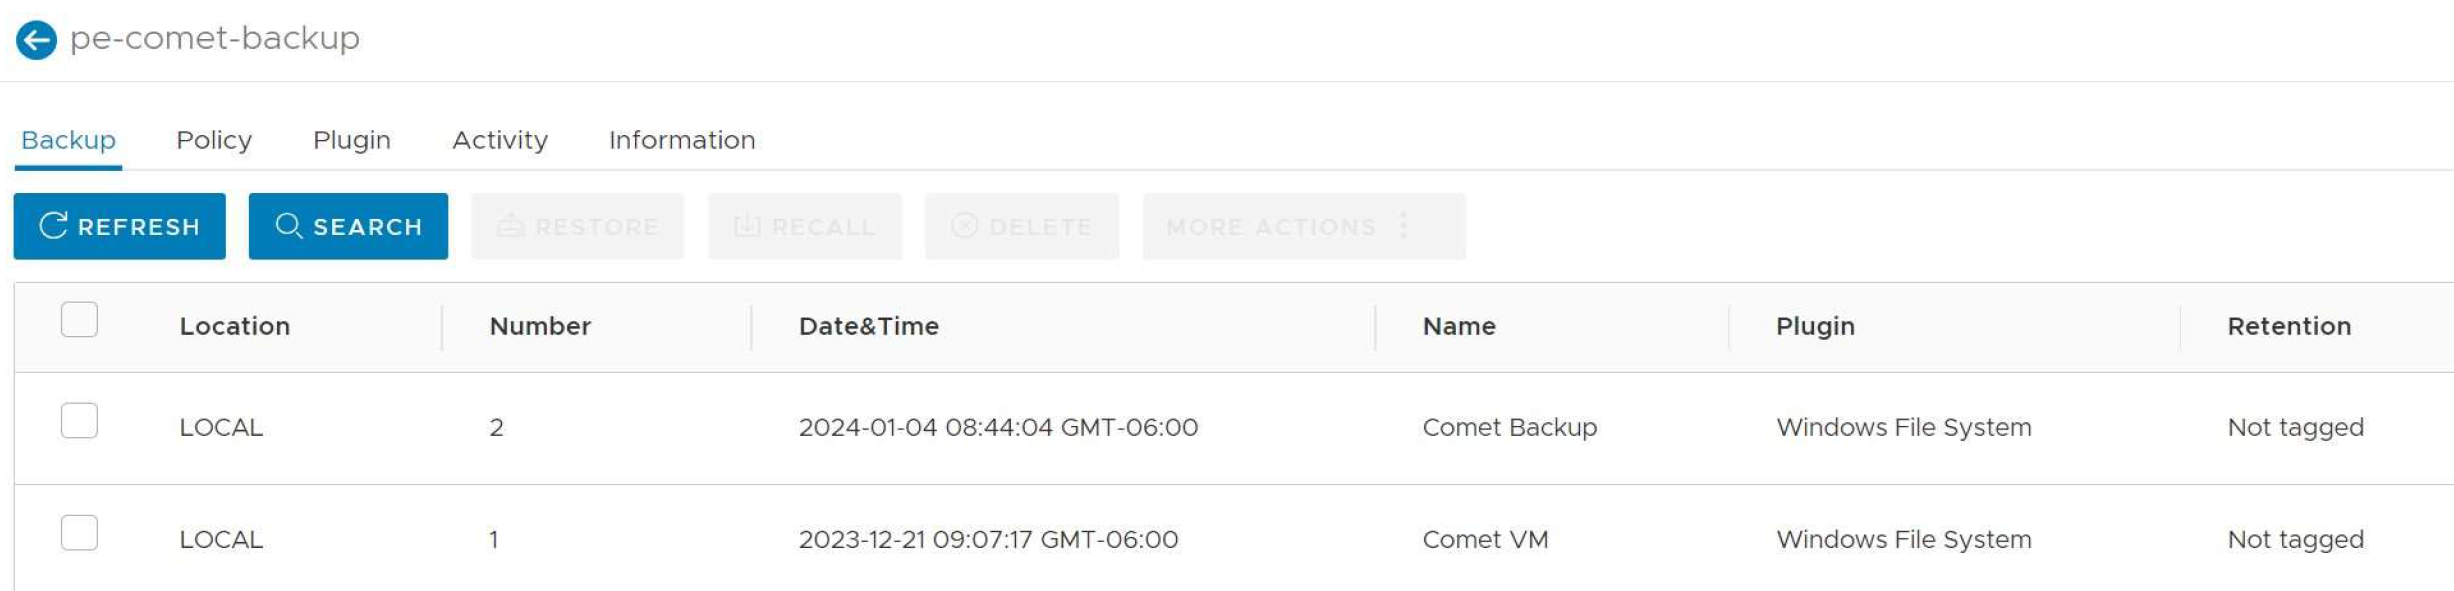
You will see your backup jobs for that VM listed and in which Tier they are located.
Click on the job that is located in the Cloud Tier and Restore.
You will be prompted about the restore options. Click OK.
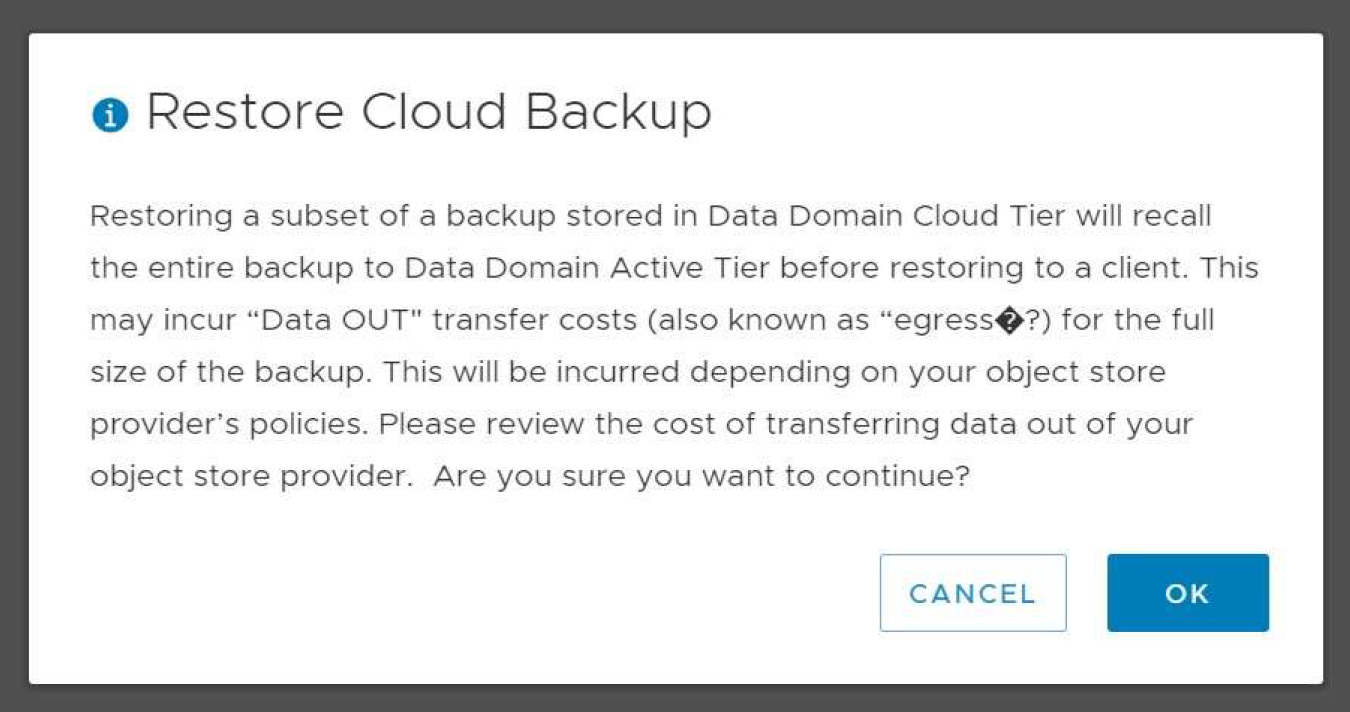
With Wasabi Cloud Storage, there are no egress fees for pulling your data back down out of the Cloud.
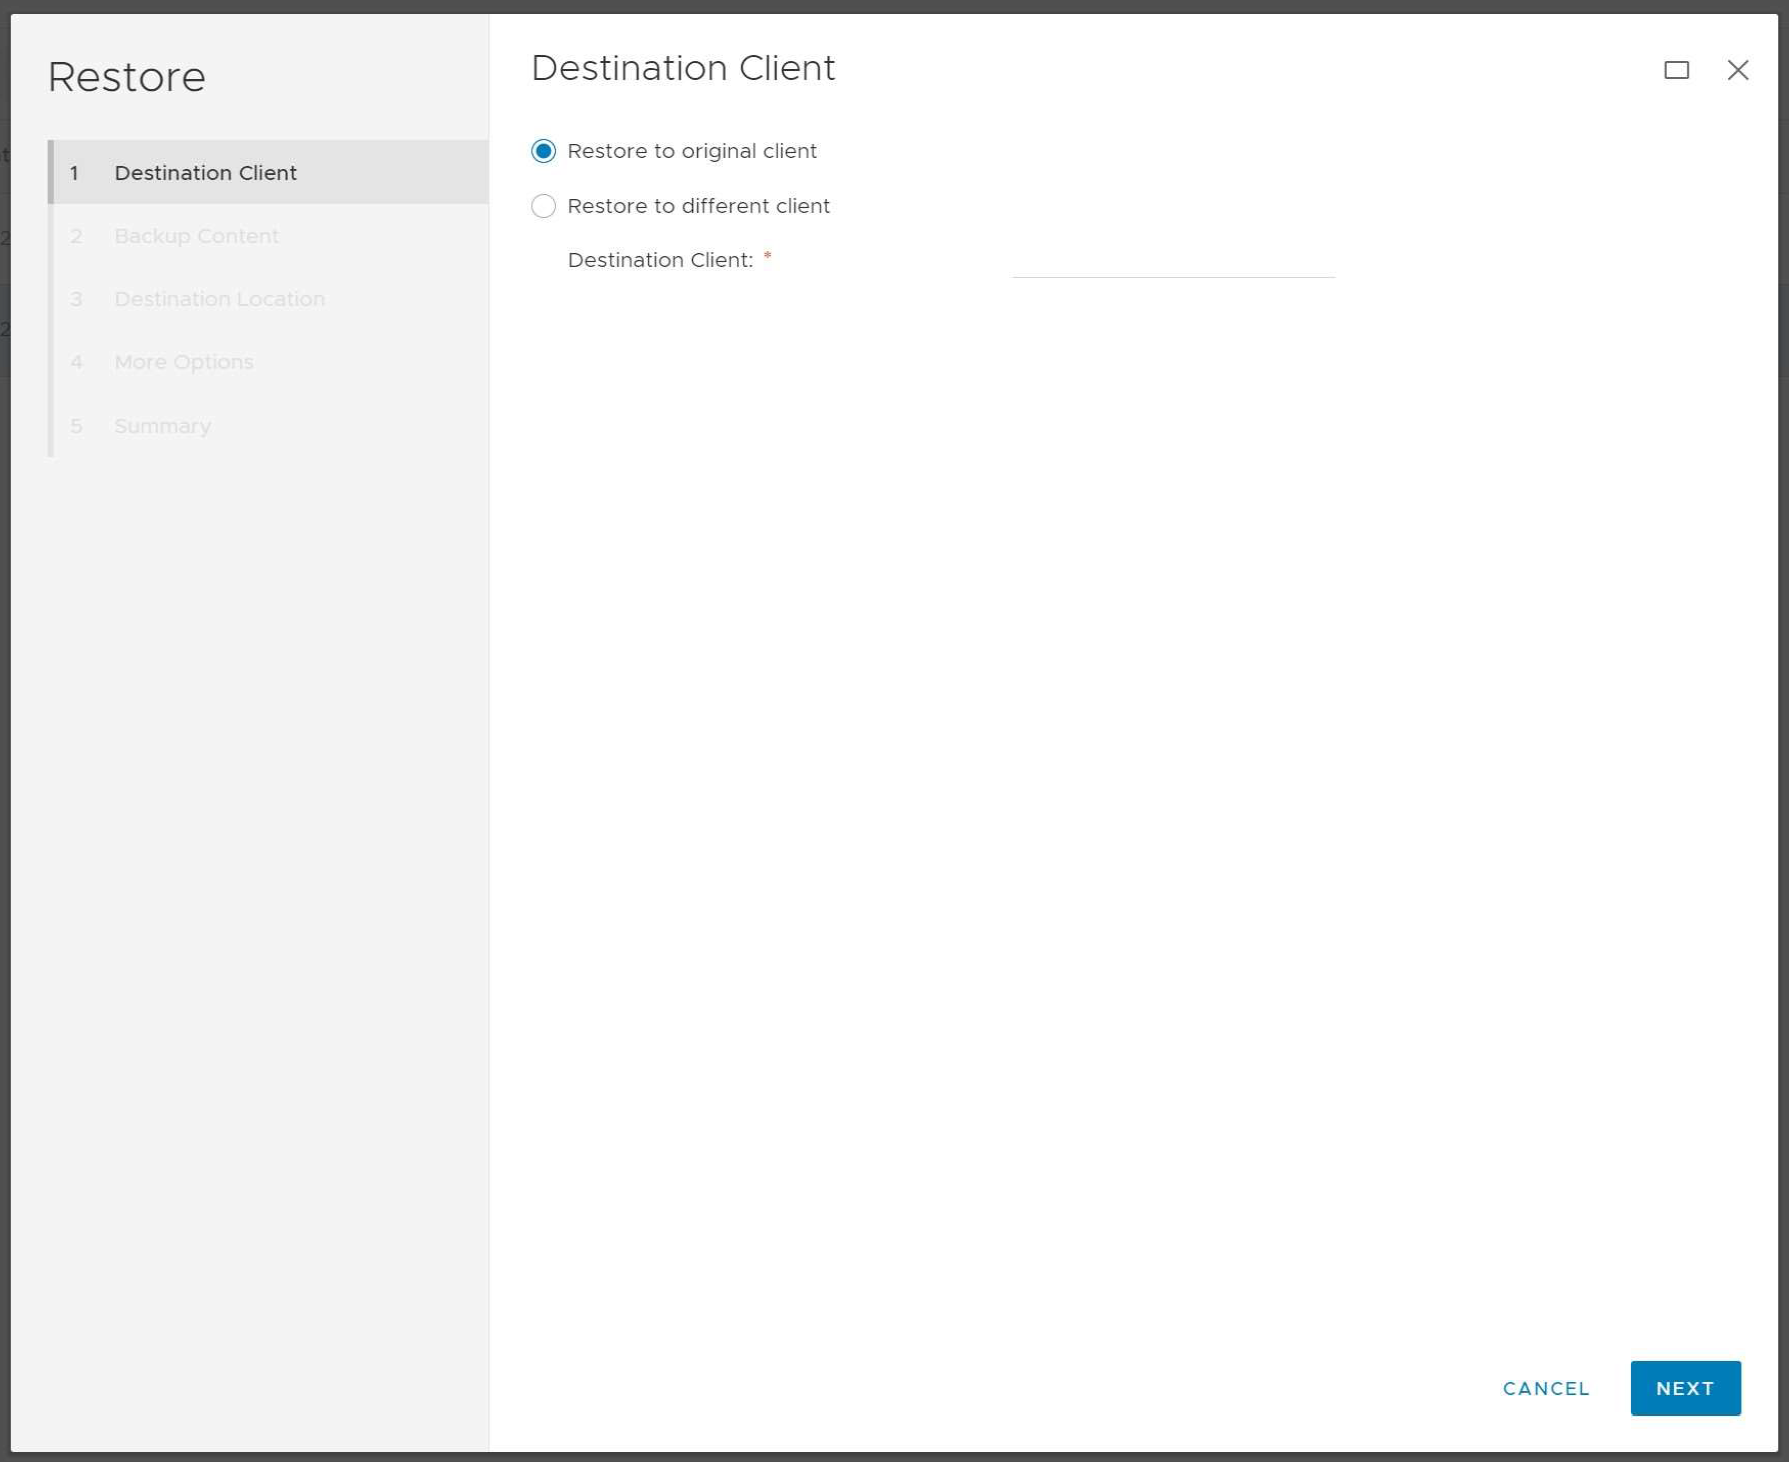
Choose your Destination Client preference for the Restore, being either the Original Client or a different client. Click Next.
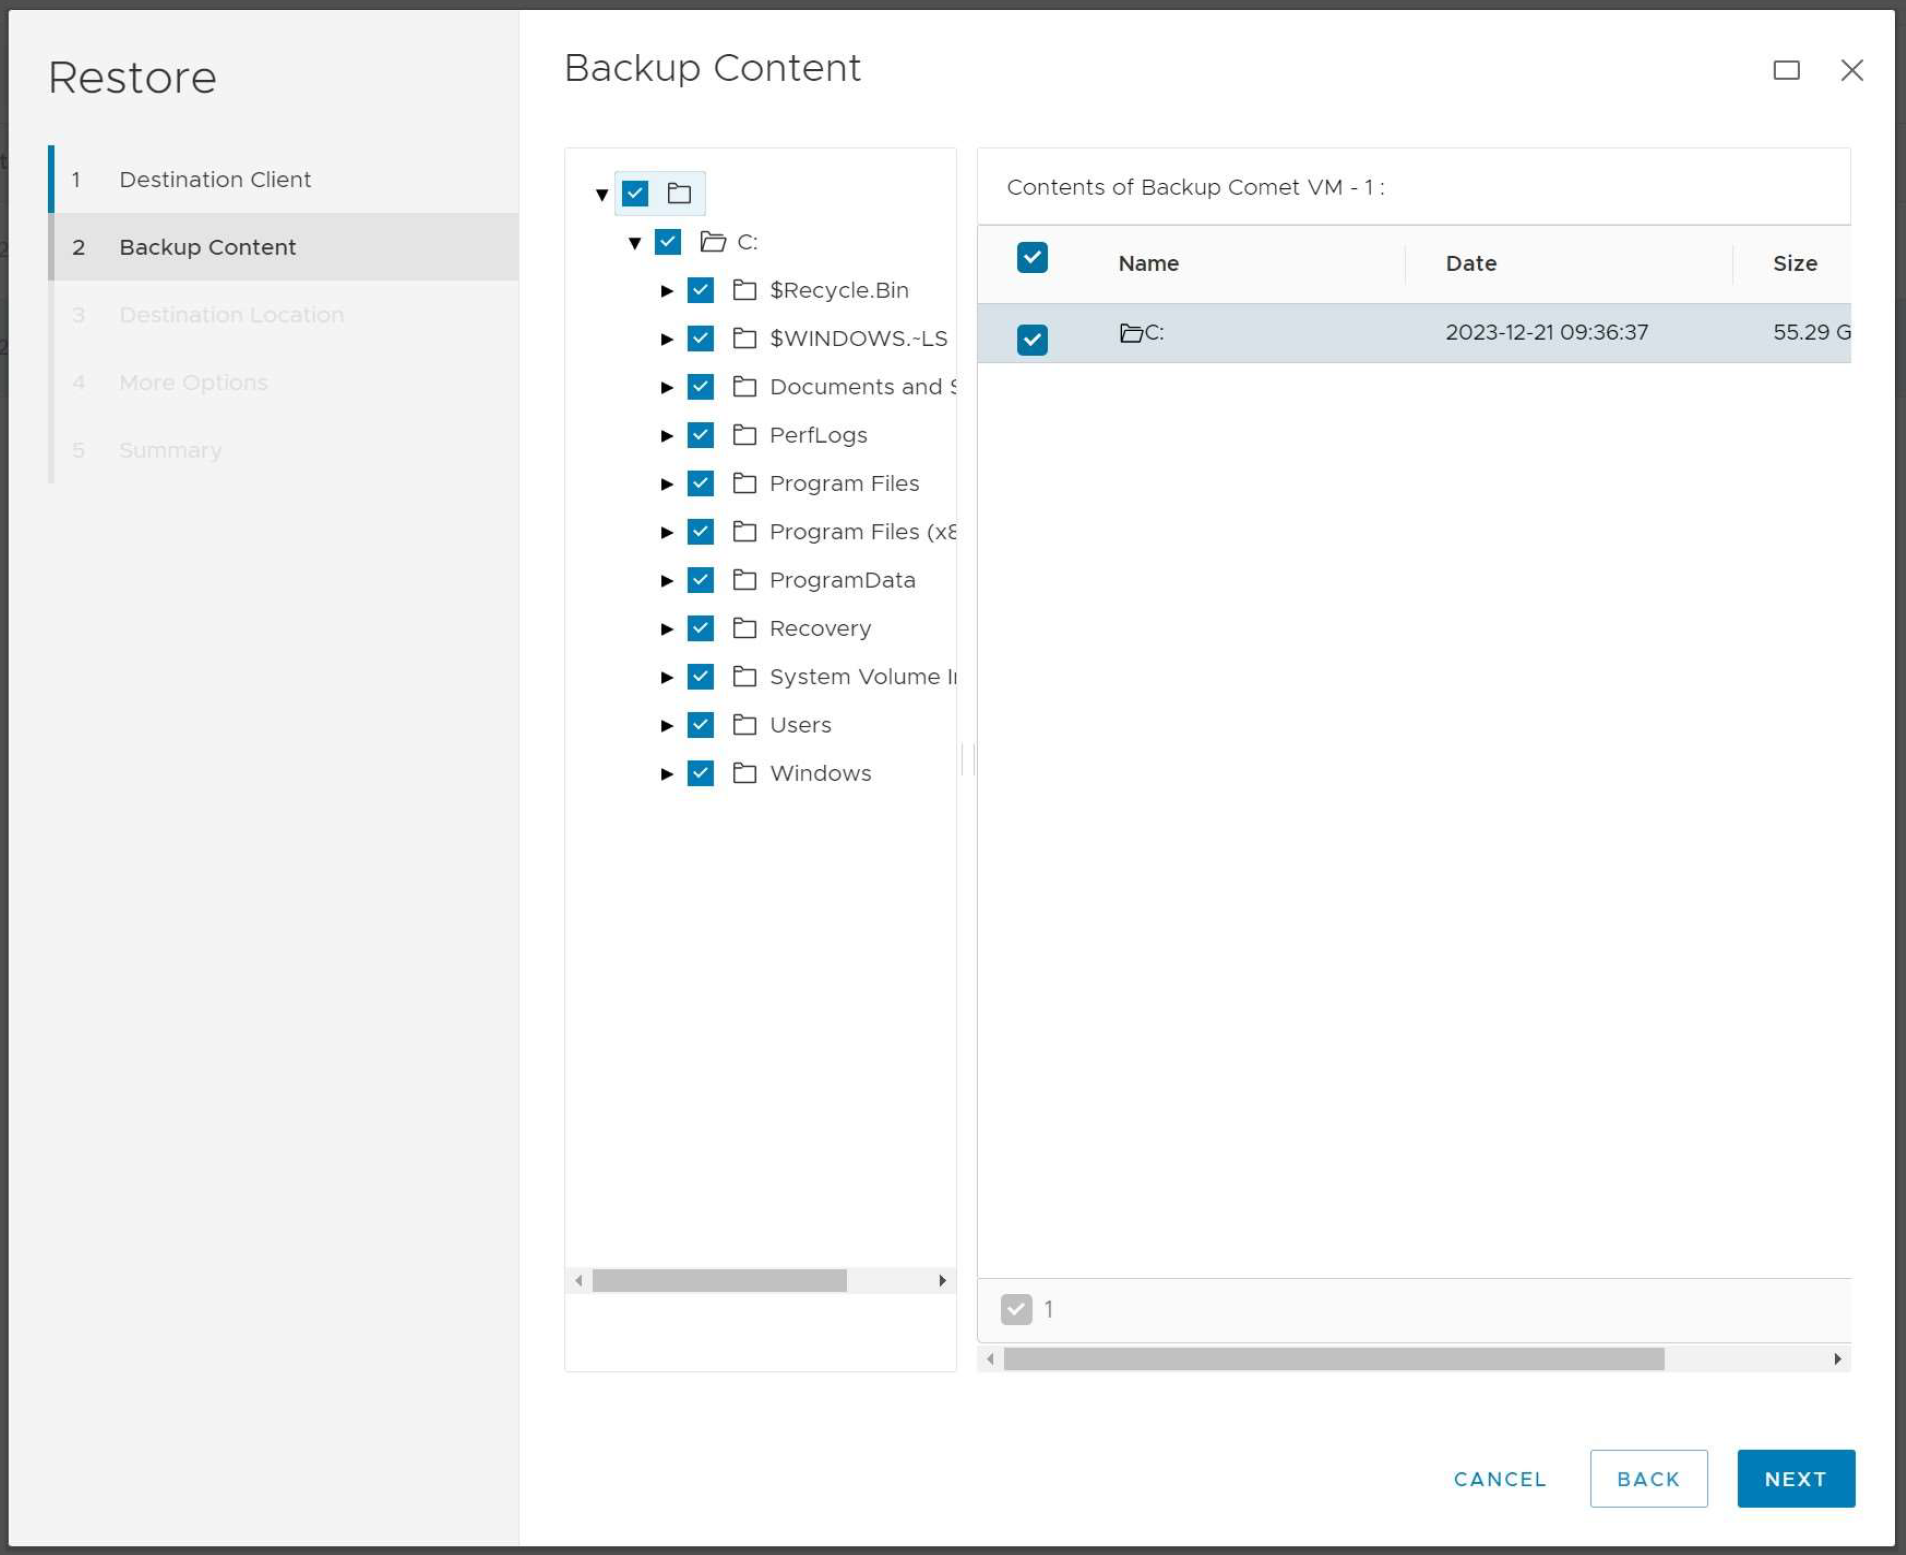
Choose what you would like to Restore. Click Next.
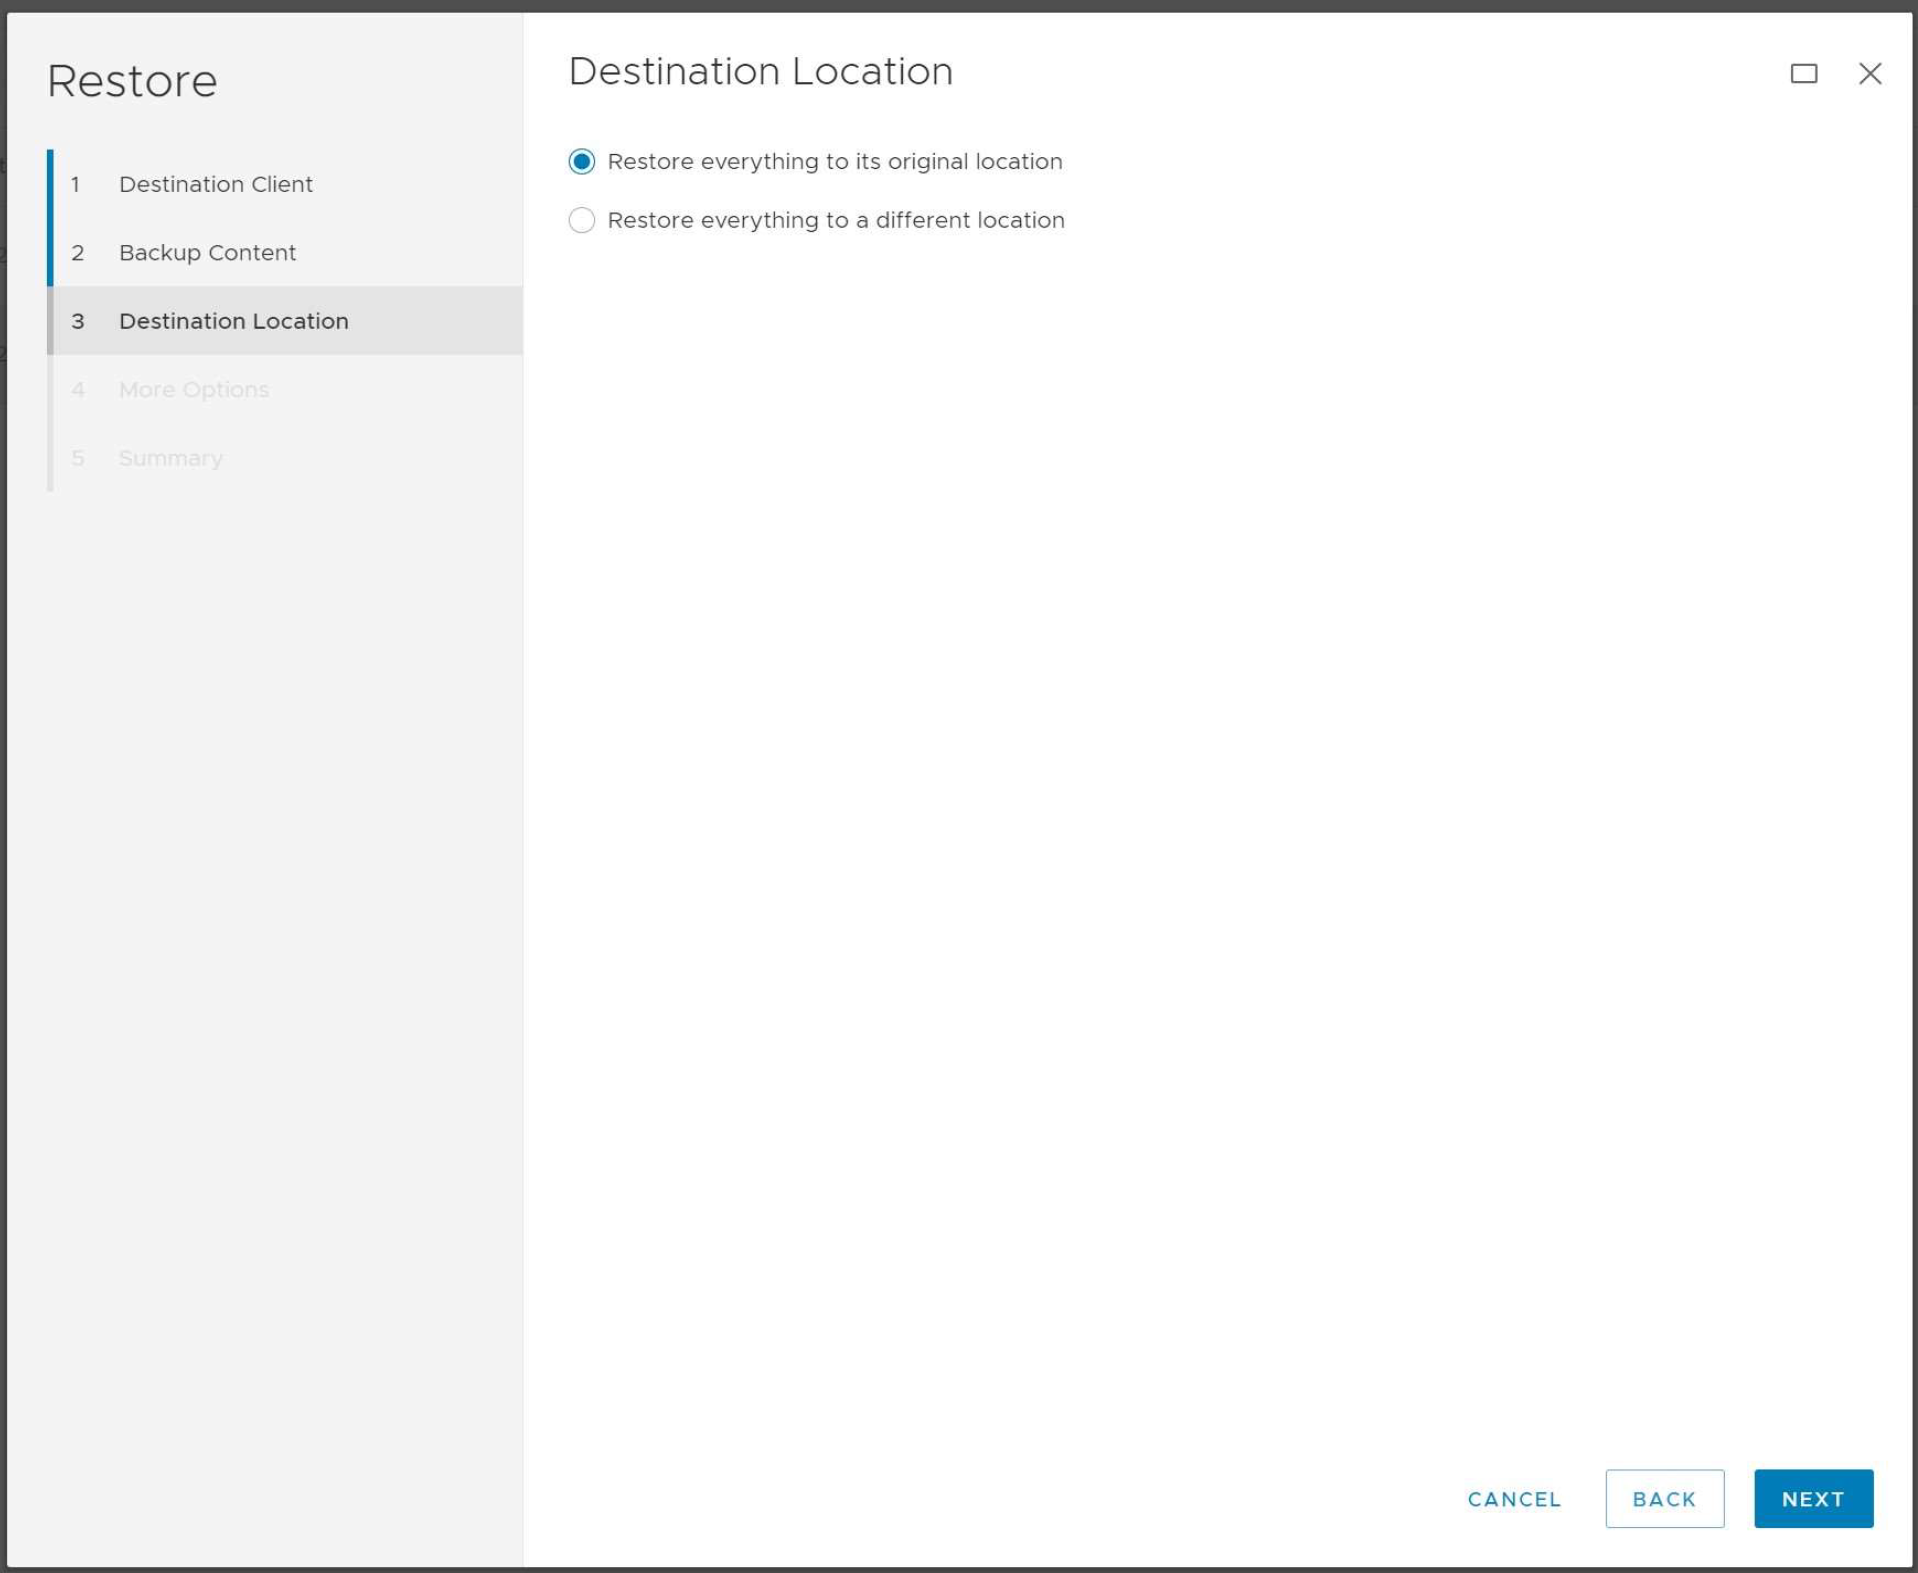
Choose your destination location preference, being either the original location or a different location. Click Next.
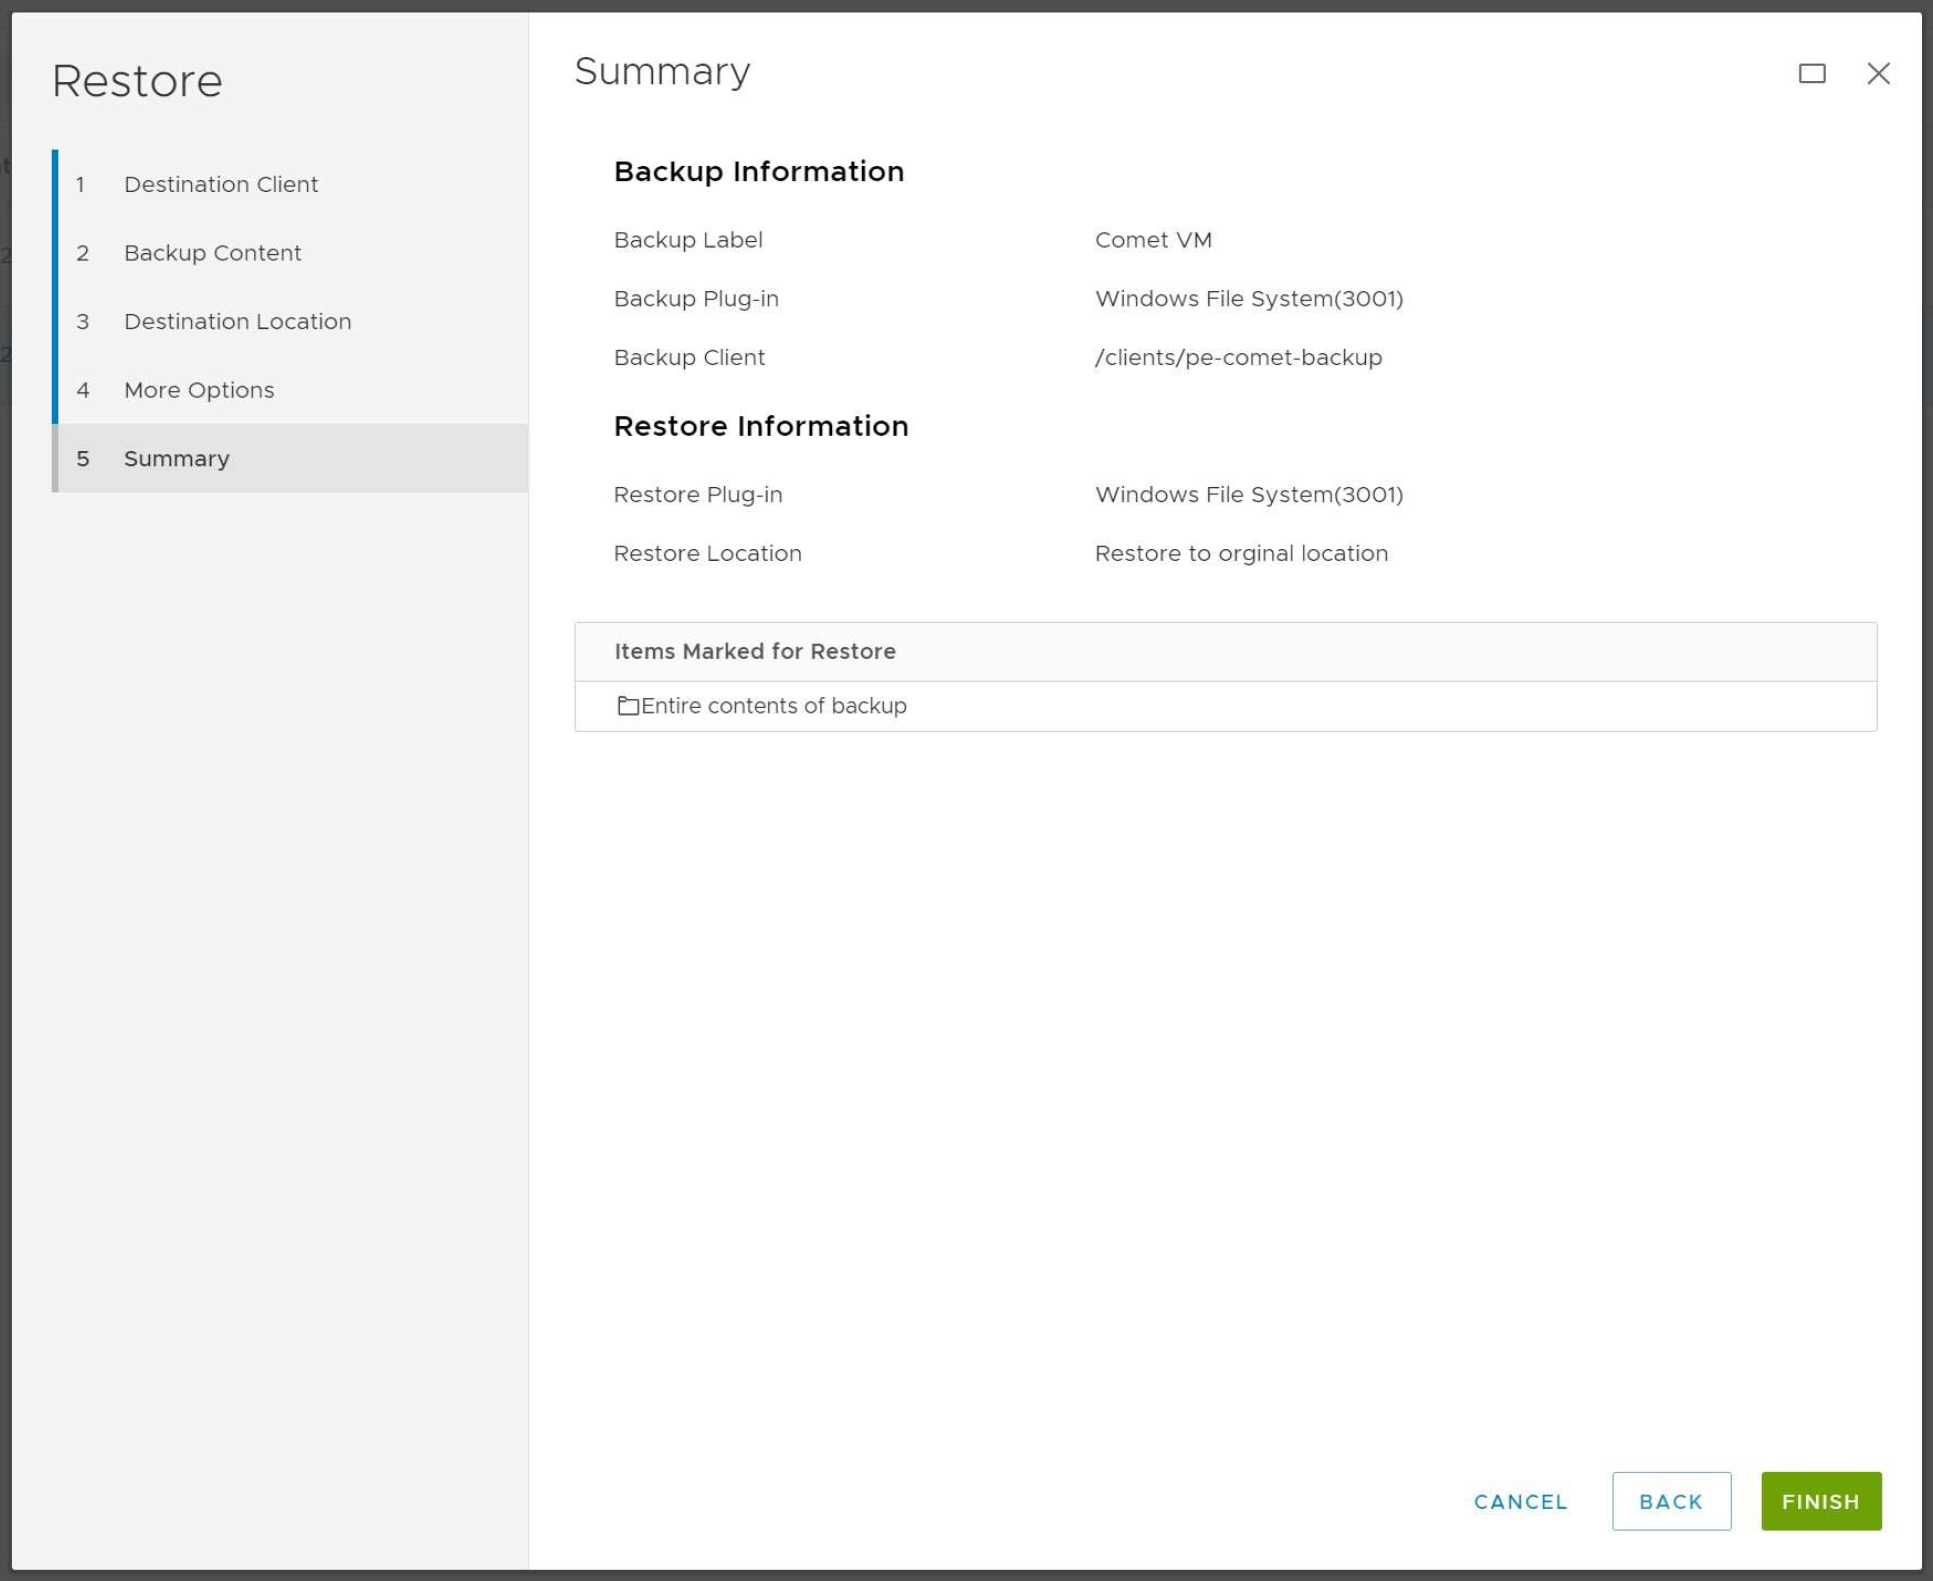
Review the summary. Click Finish.
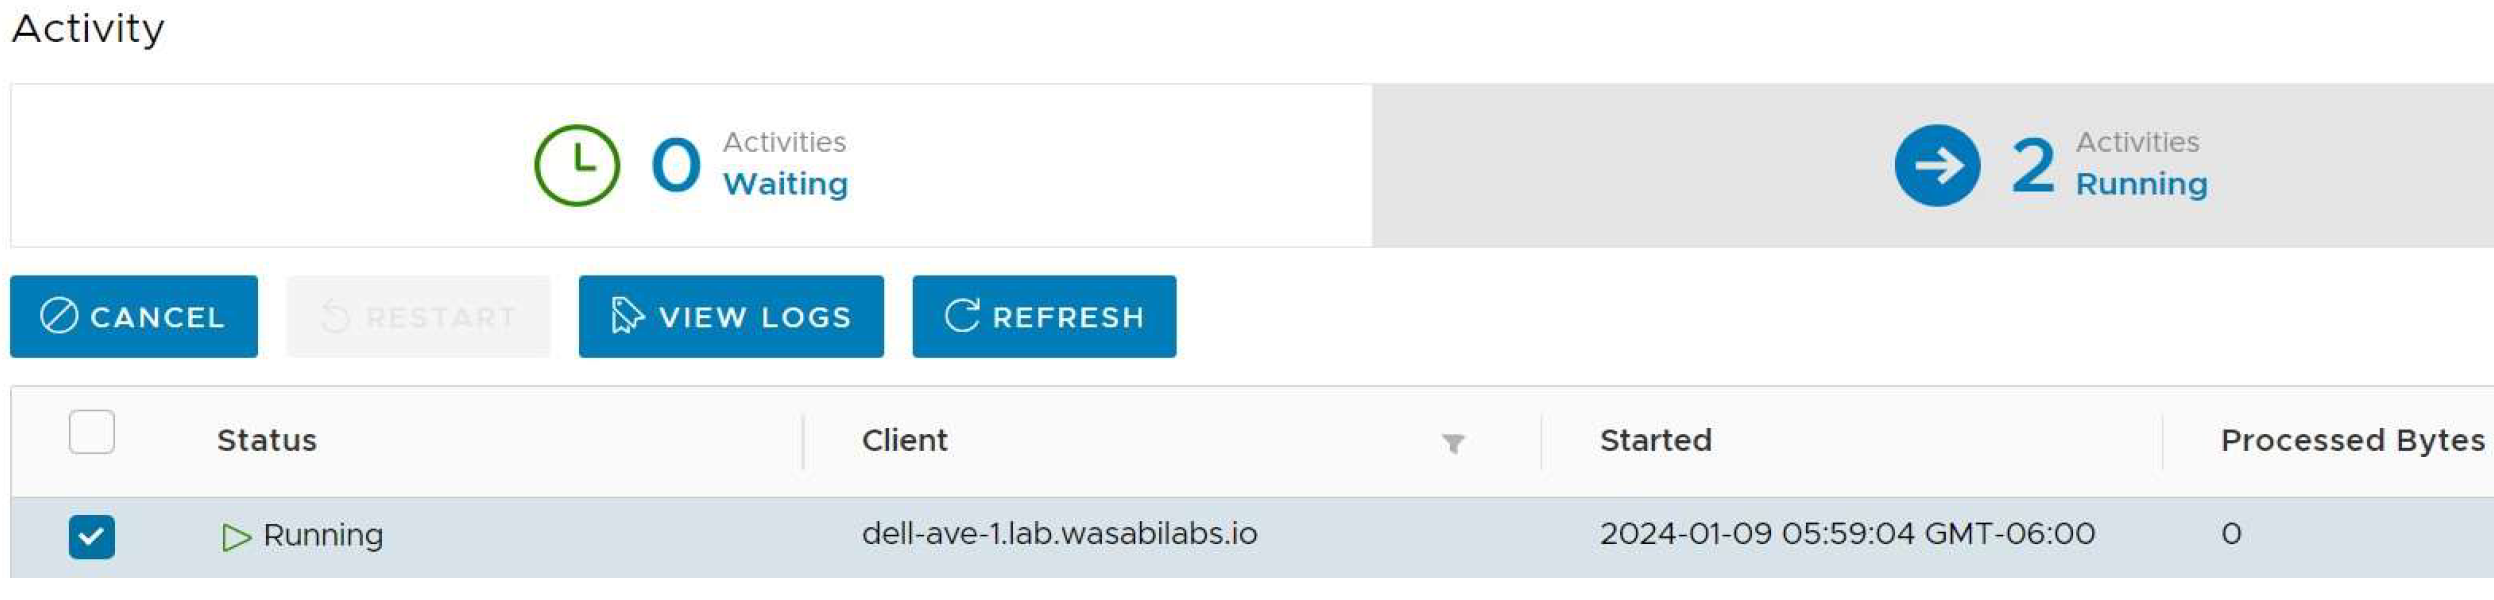
In the Activity section, you can watch as the job runs and processes through the stages.

Recalling a Backup Job from Wasabi
If you want to recall the backup job from the Cloud tier to the Active tier perform the following steps.
Go back to Asset management and click on the VM of your choice.
Click View More.
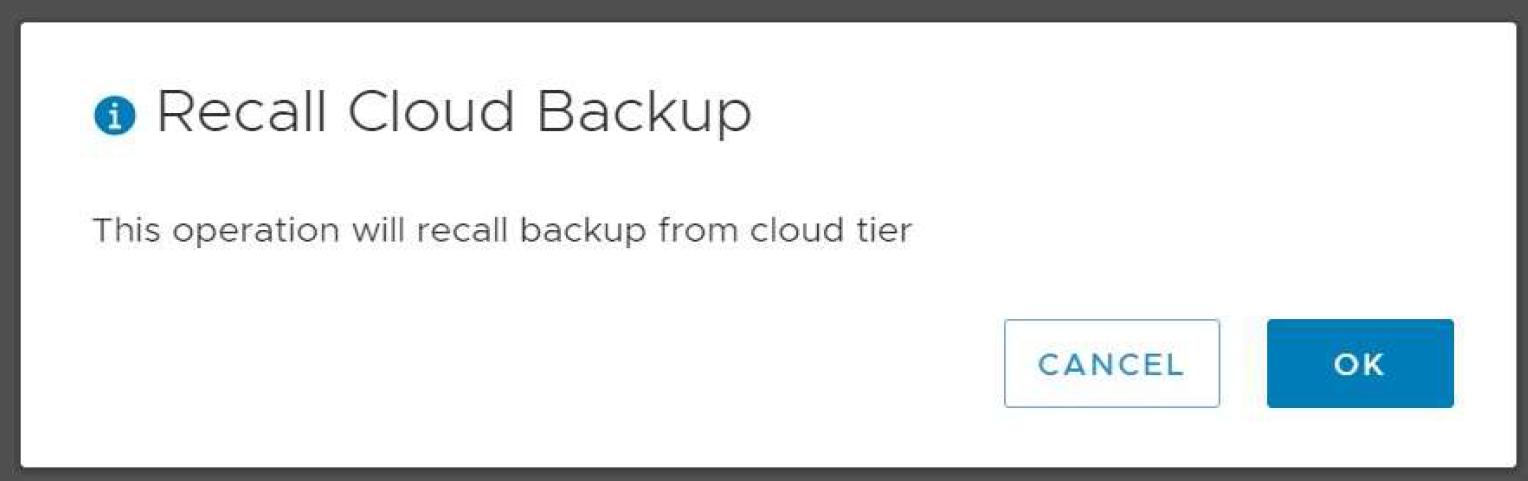
Click the backup job that is stored in the Cloud Tier. Click Recall.
You will be prompted with the following message. Click OK.
In the activity section, you will see your Recall job running.
When you go back to your backup jobs for that particular VM, you will see that both jobs are listed in the Active Tier.