How to use Veeam explorer to restore Microsoft 365 files backed-up to Wasabi?
Veeam Backup for Microsoft 365 v7 empowers customers to securely back up Office 365 to on-premises or cloud object storage. Veeam Explorer has been validated to be used to browse and restore files backed up to Wasabi.
For more detail on specific features, refer to Veeam's Documentation.
The data restoration process is handled by your specific backup software application. As there are many, potential variables that will affect your unique environment, Wasabi strongly recommends that you seek the guidance of your backup software's technical support team in the event that you encounter difficulty or have application-specific inquiries.
If you are going to leverage immutable Veeam backups, follow the steps in Object Lock: Enabling.
Enabling bucket versioning only is not a proper configuration for immutable Veeam backups and can cause problems.
If you are simply going to use regular Veeam backups with Wasabi buckets, bucket versioning is not required.
Prerequisites
Veeam Backup for Microsoft 365 v7 installed and licensed.
Active Microsoft 365 account with two-step authentication turned On.
Active Wasabi Cloud Storage account.
A Microsoft 365 organization backed up directly to Wasabi object storage using Veeam for Microsoft 365. For more information, refer to Create a Backup to Wasabi on Veeam Backup for Microsoft 365 v7.
Restoring Microsoft 365 Items Using Veeam Explorer
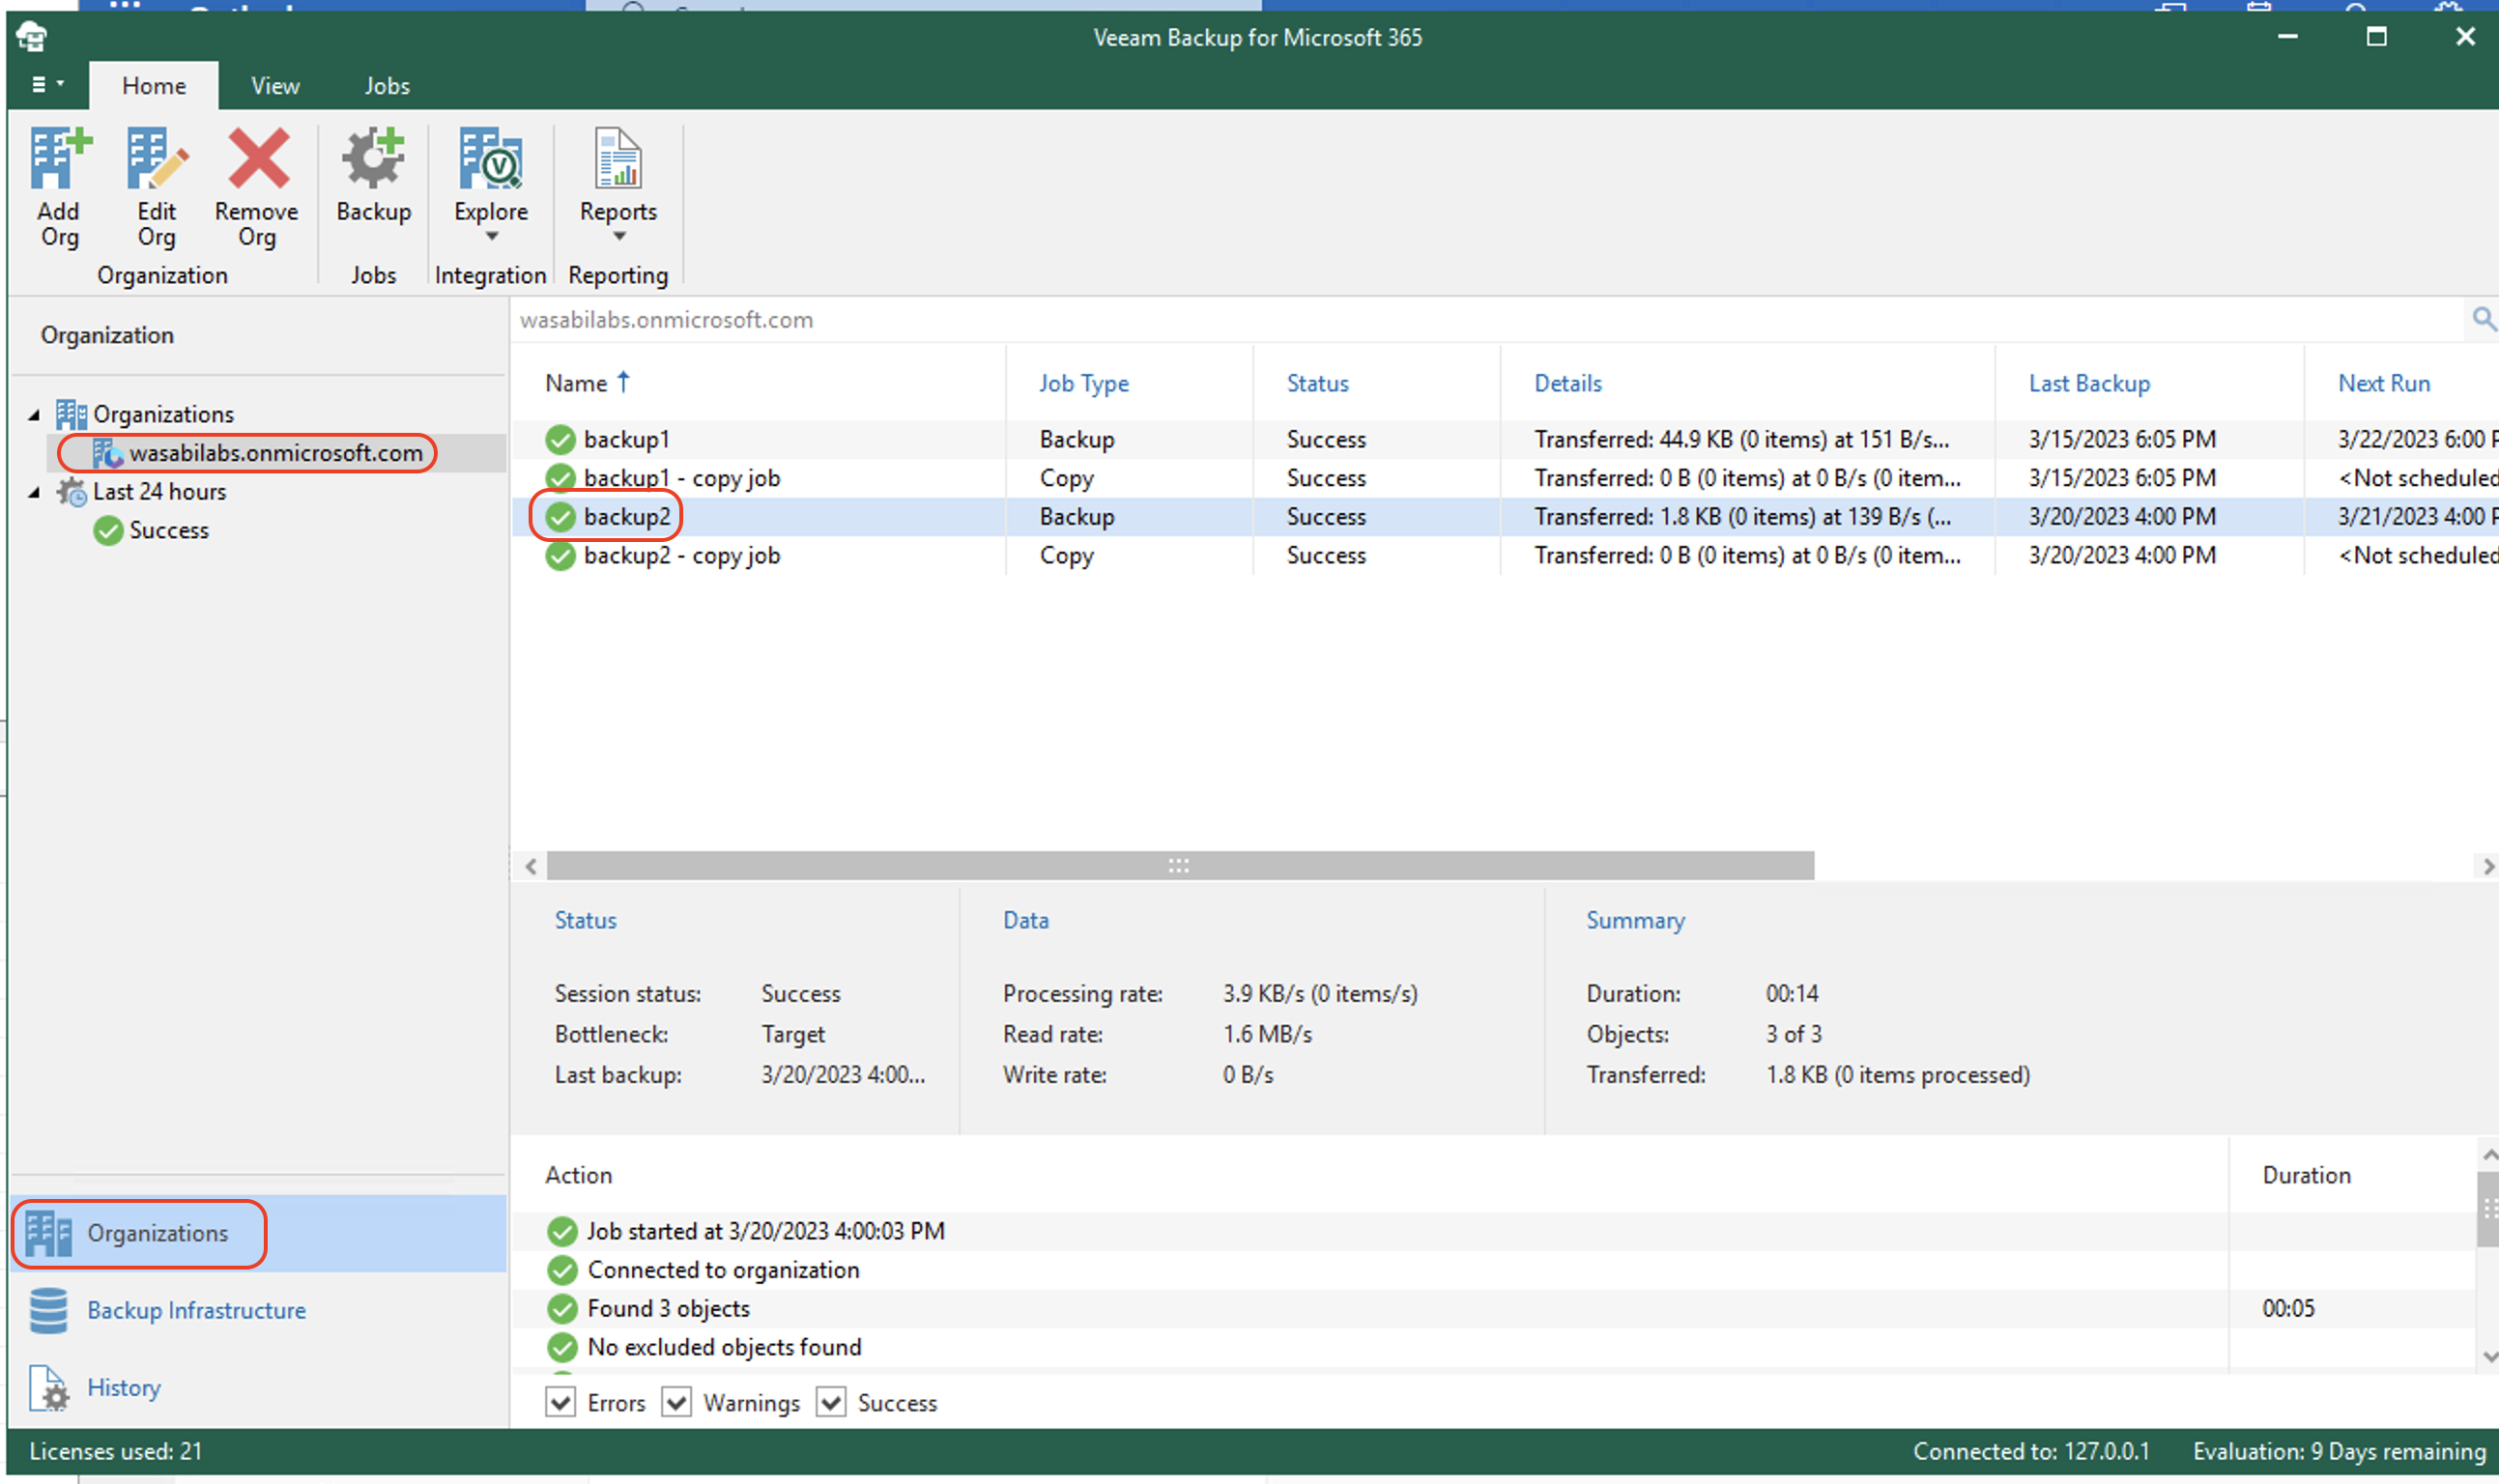
From the Organizations tab, click the organization and select the backup from which to restore the file.
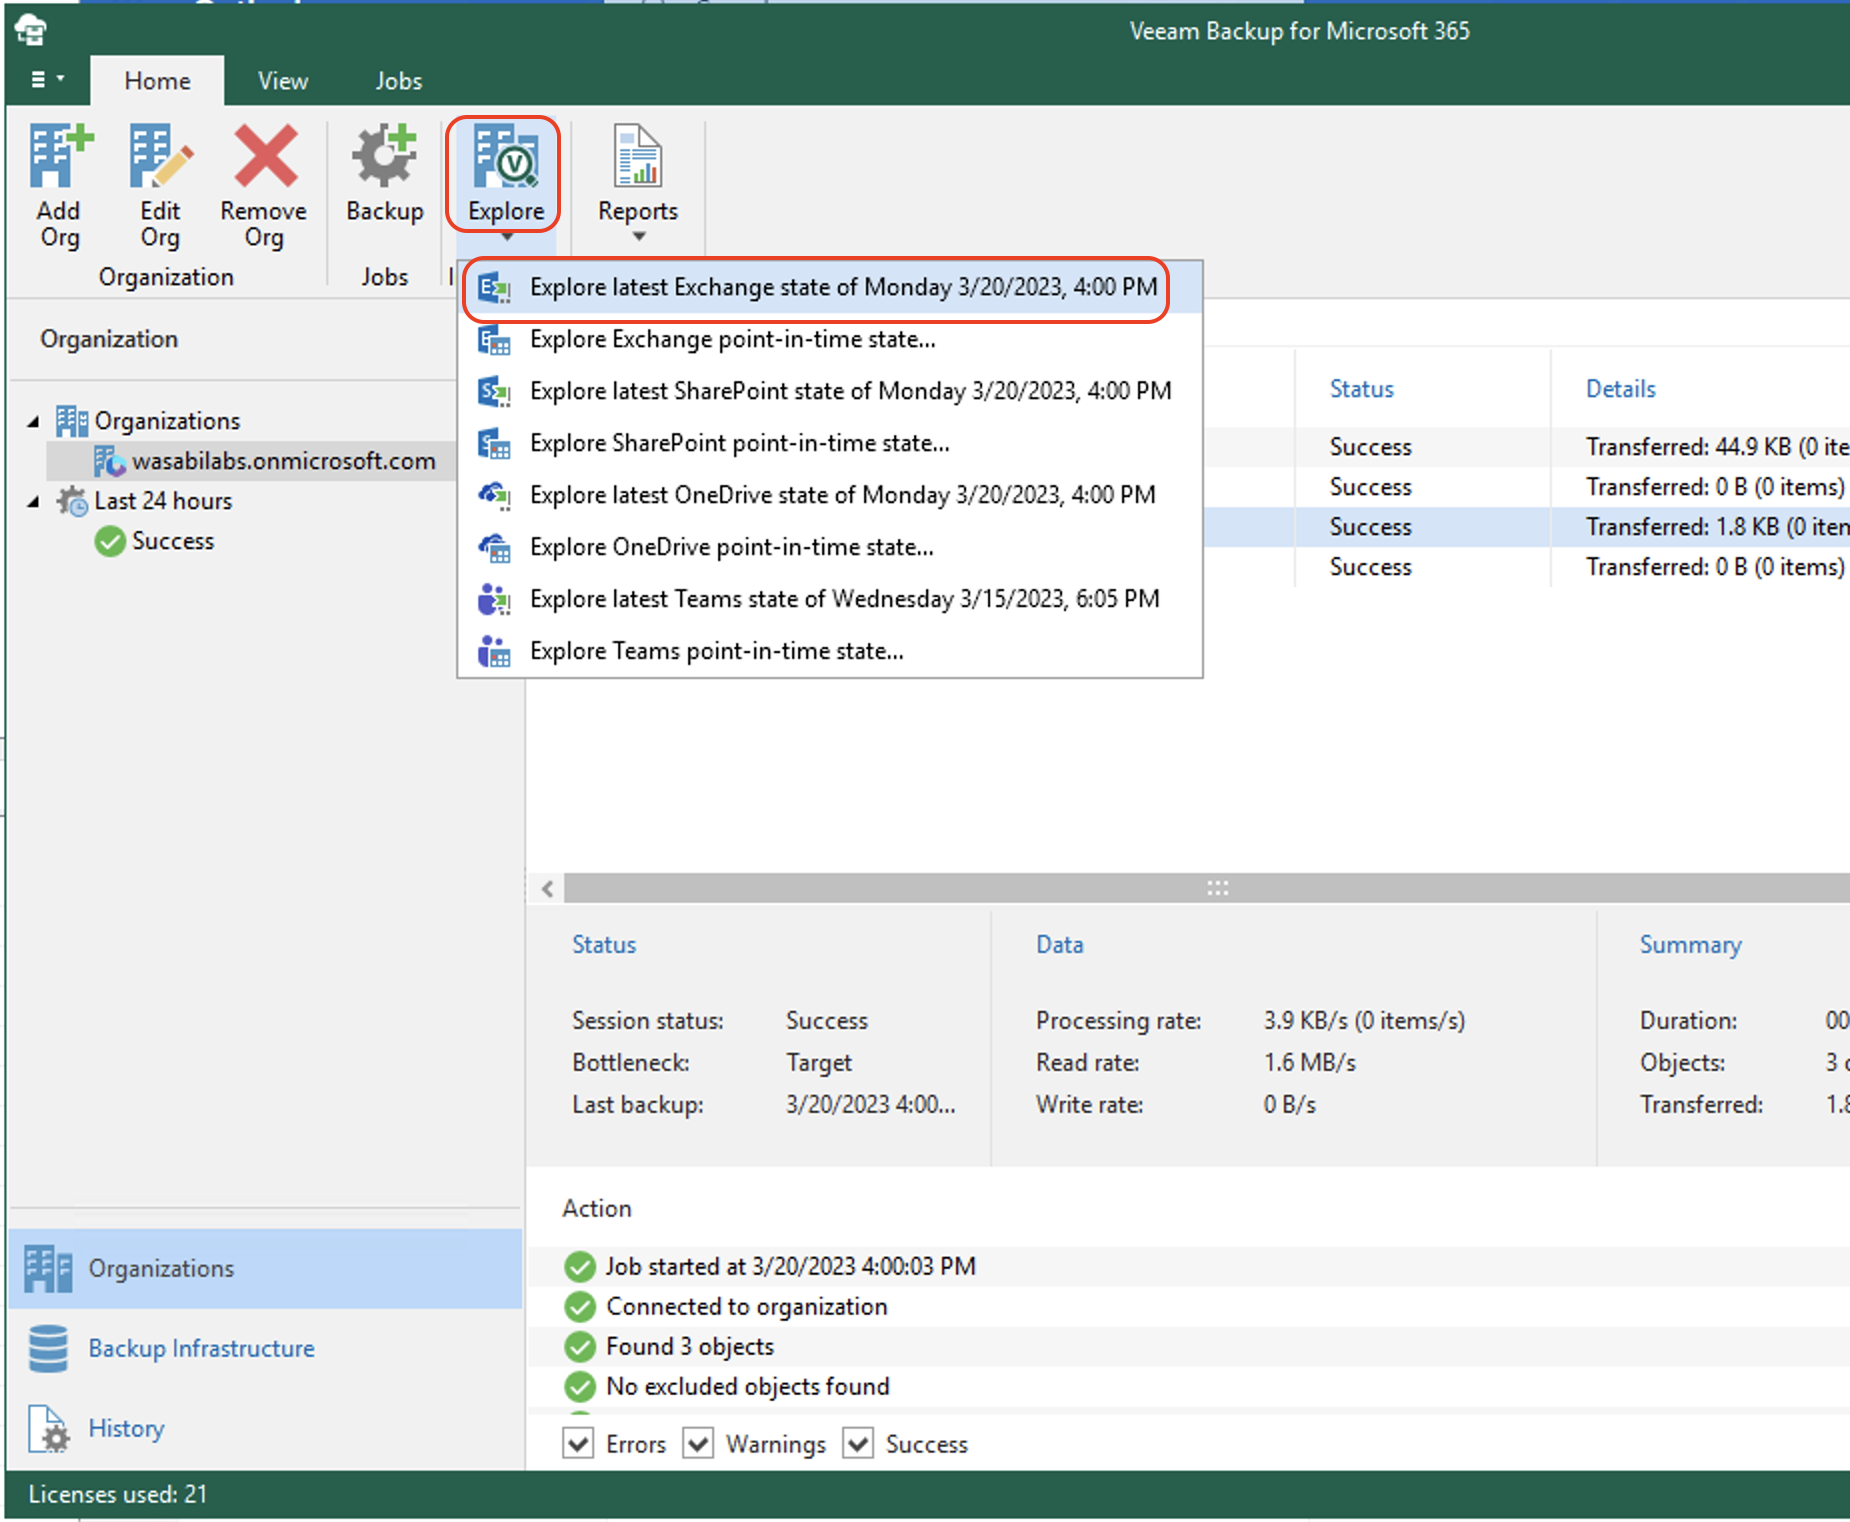
Click Explore. Select the the exchange backup from which to browse and restore. The example below shows how to restore the exchange state, but you can restore SharePoint, OneDrive, and Teams state in a similar way.
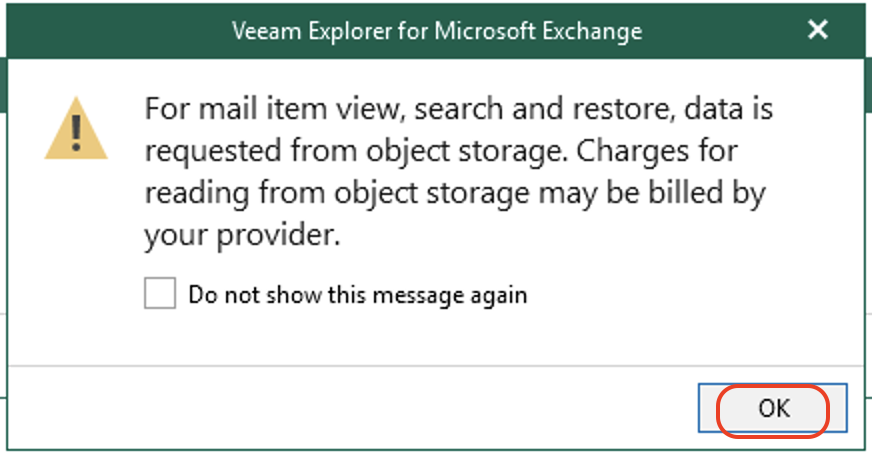
Veeam will warn you about charges for reading from object storage. Since Wasabi does not charge any fees (besides the storage costs), this will not add any additional costs. Click OK.
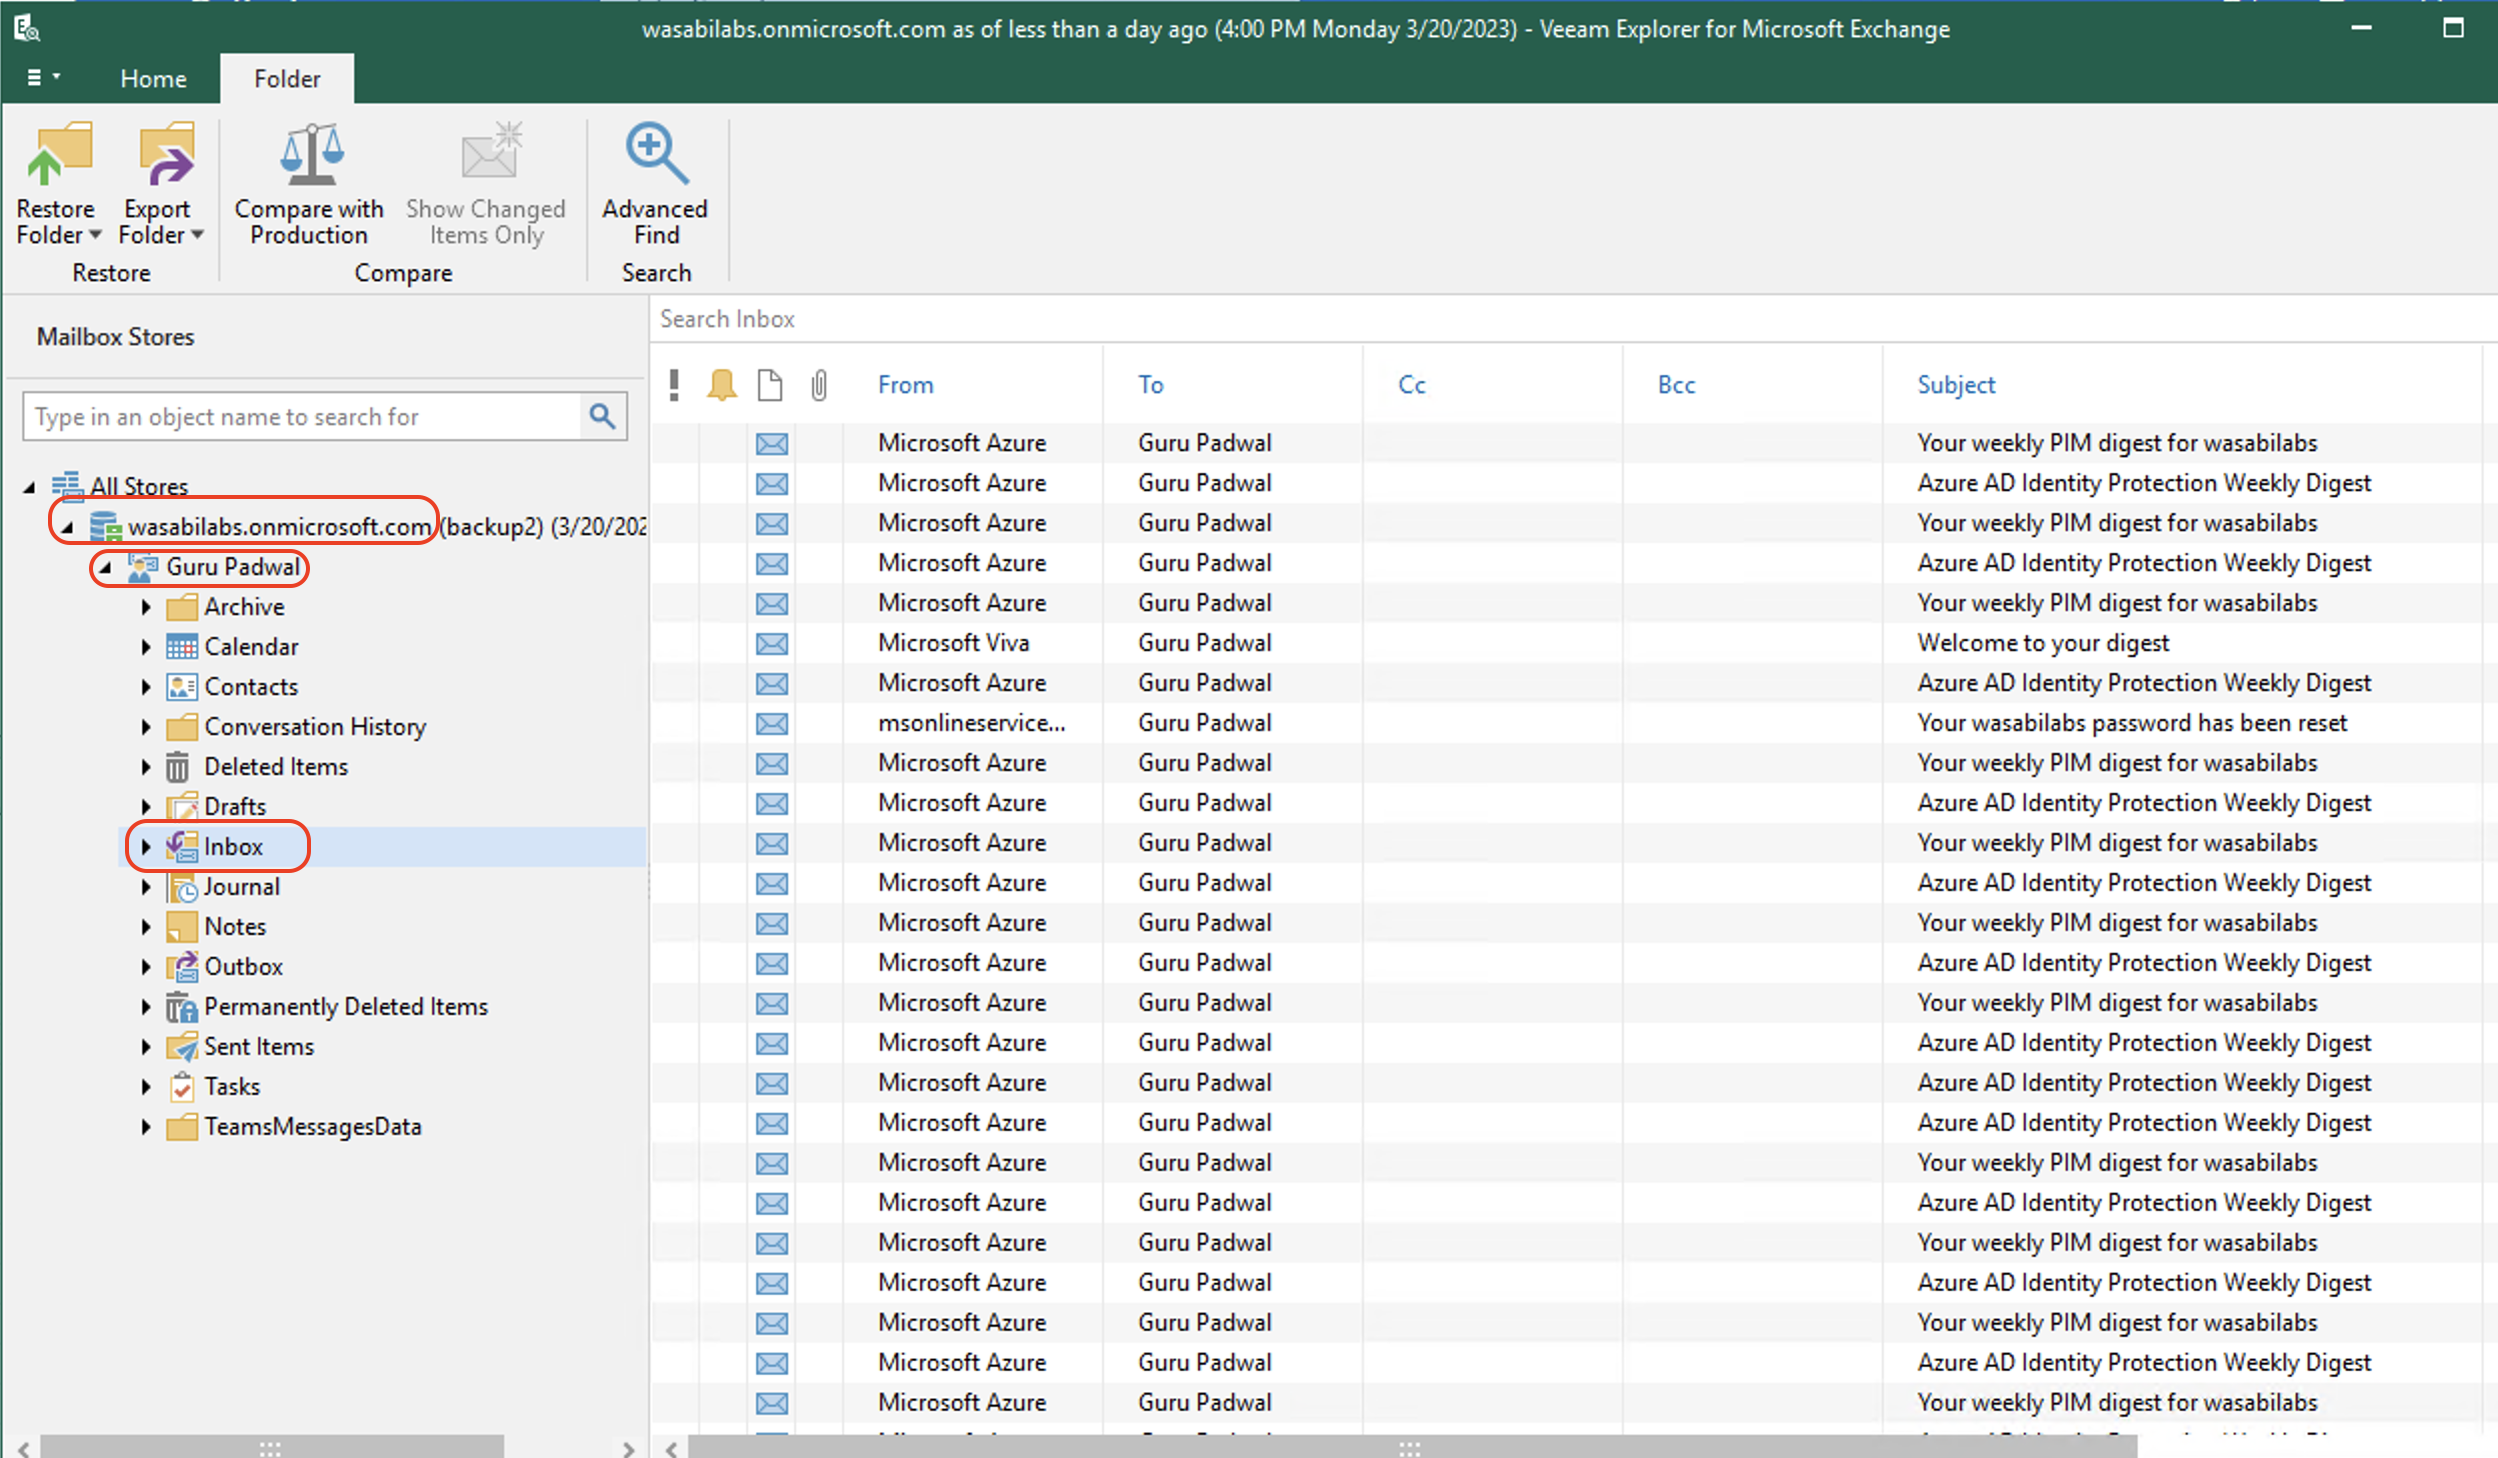
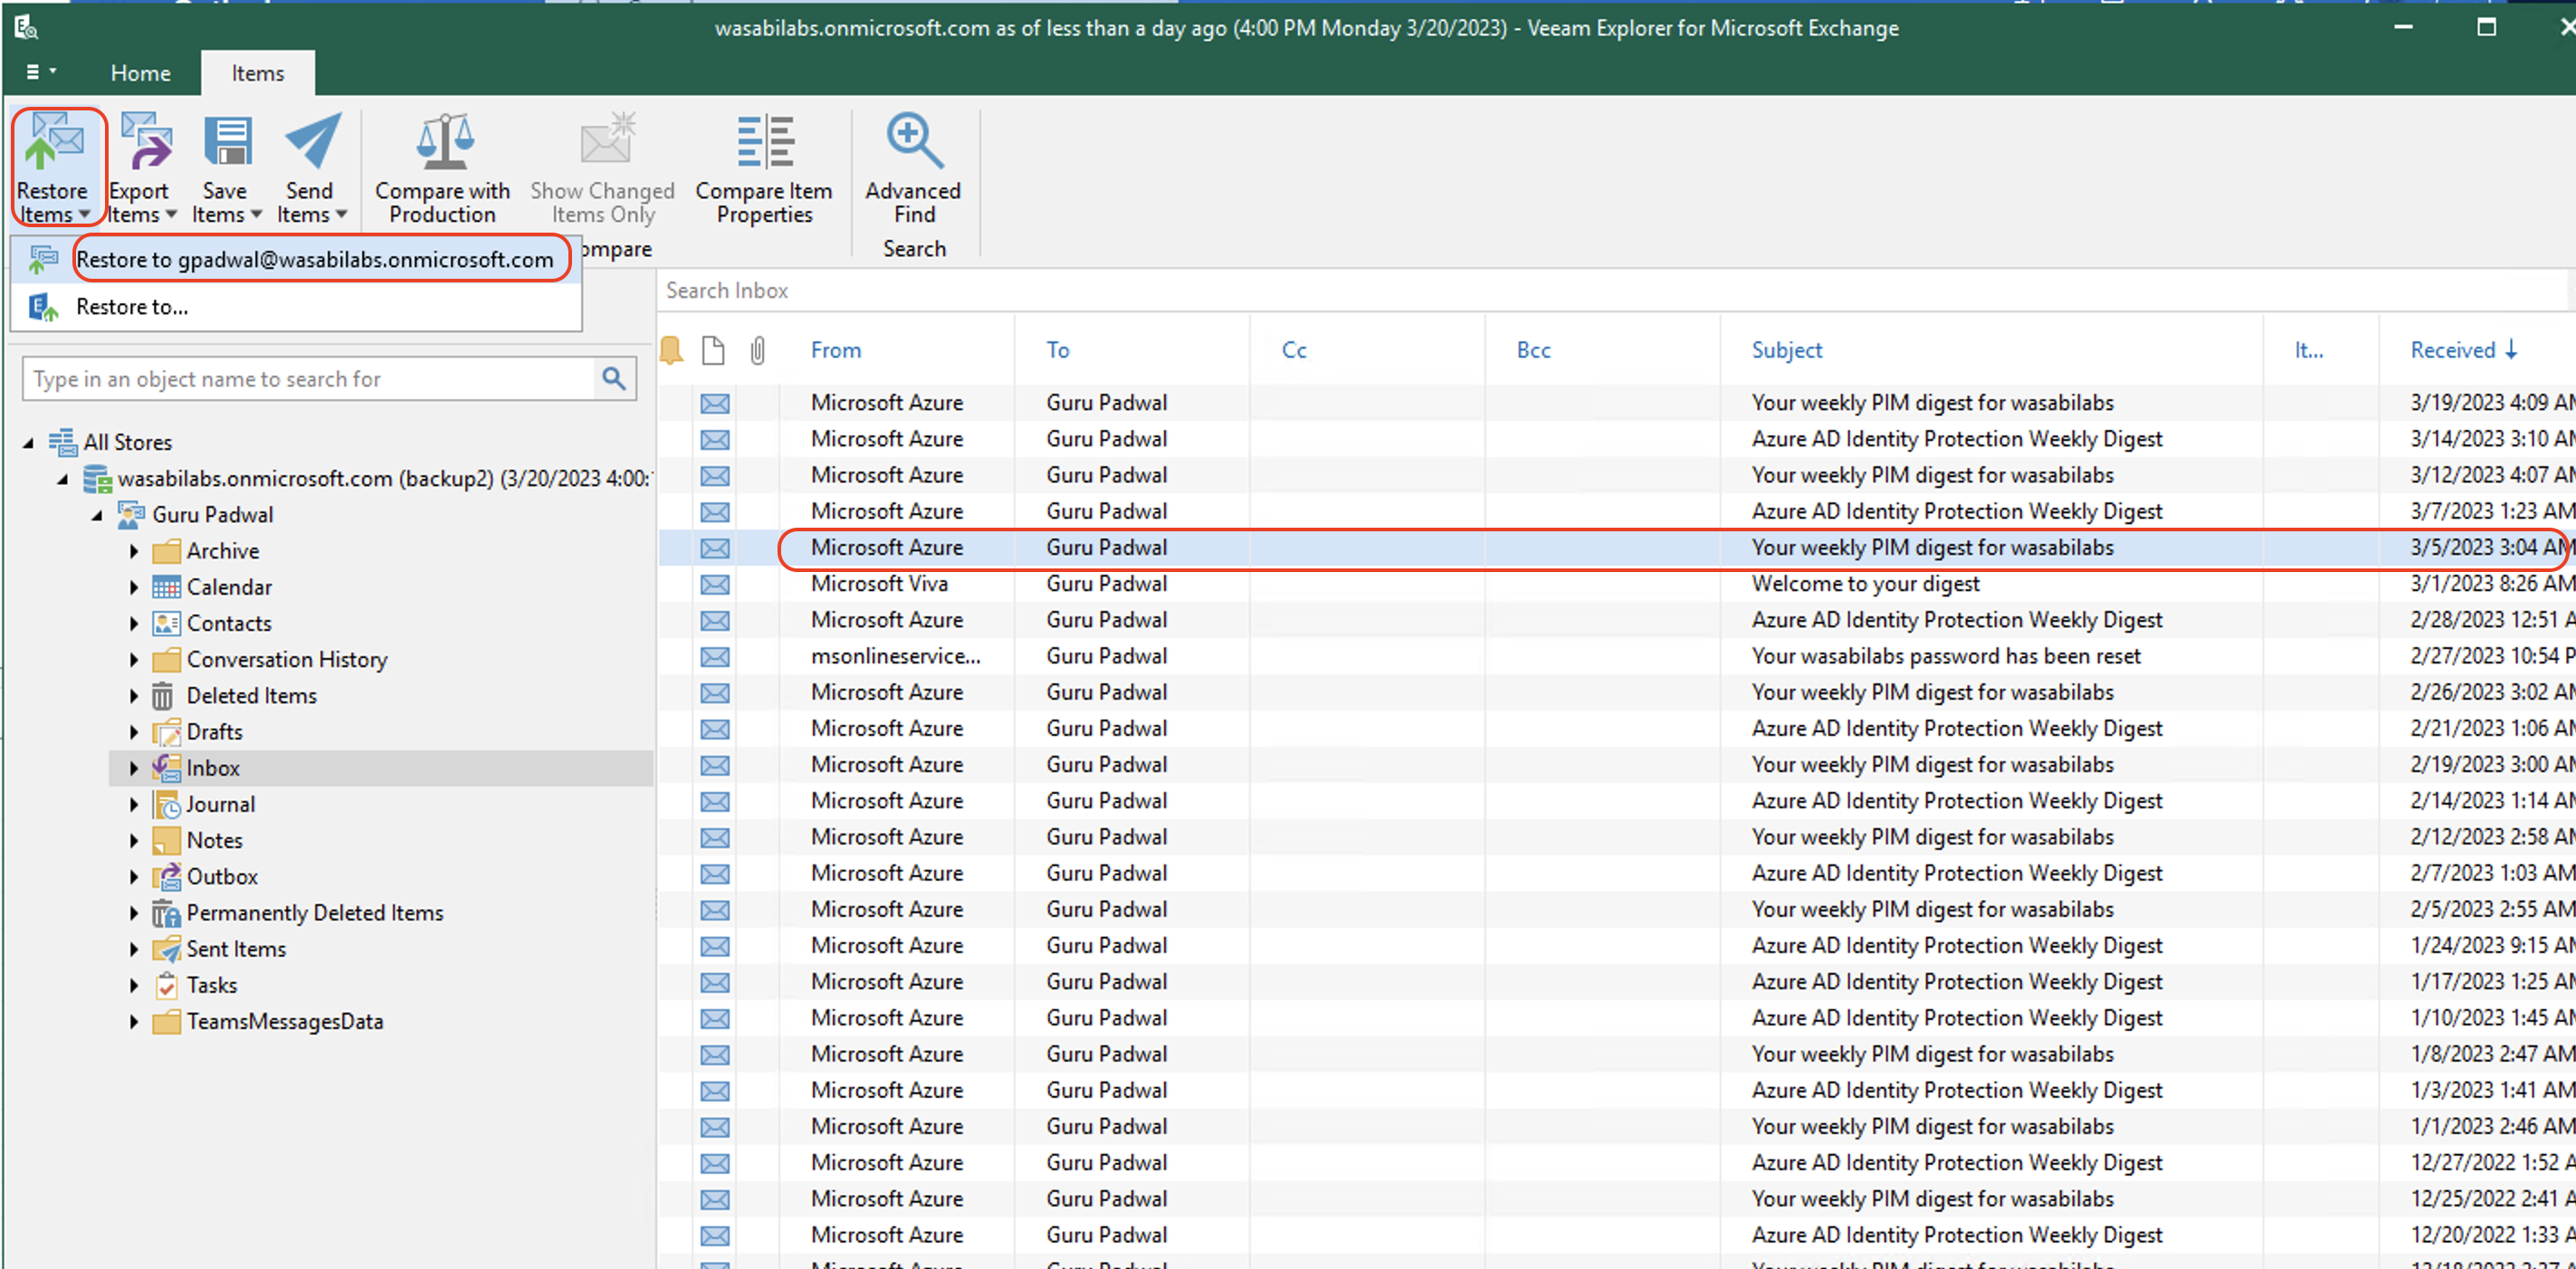
Veeam will open the Veeam Explorer window. Click the organization and select the item in which to browse and restore. In this example, we browse the Microsoft 365 Inbox and restore an email. You can browse and restore other items including Calendar, Contacts, and so on.
Select Mail to restore. Click Restore Items, then click Restore to the Inbox.
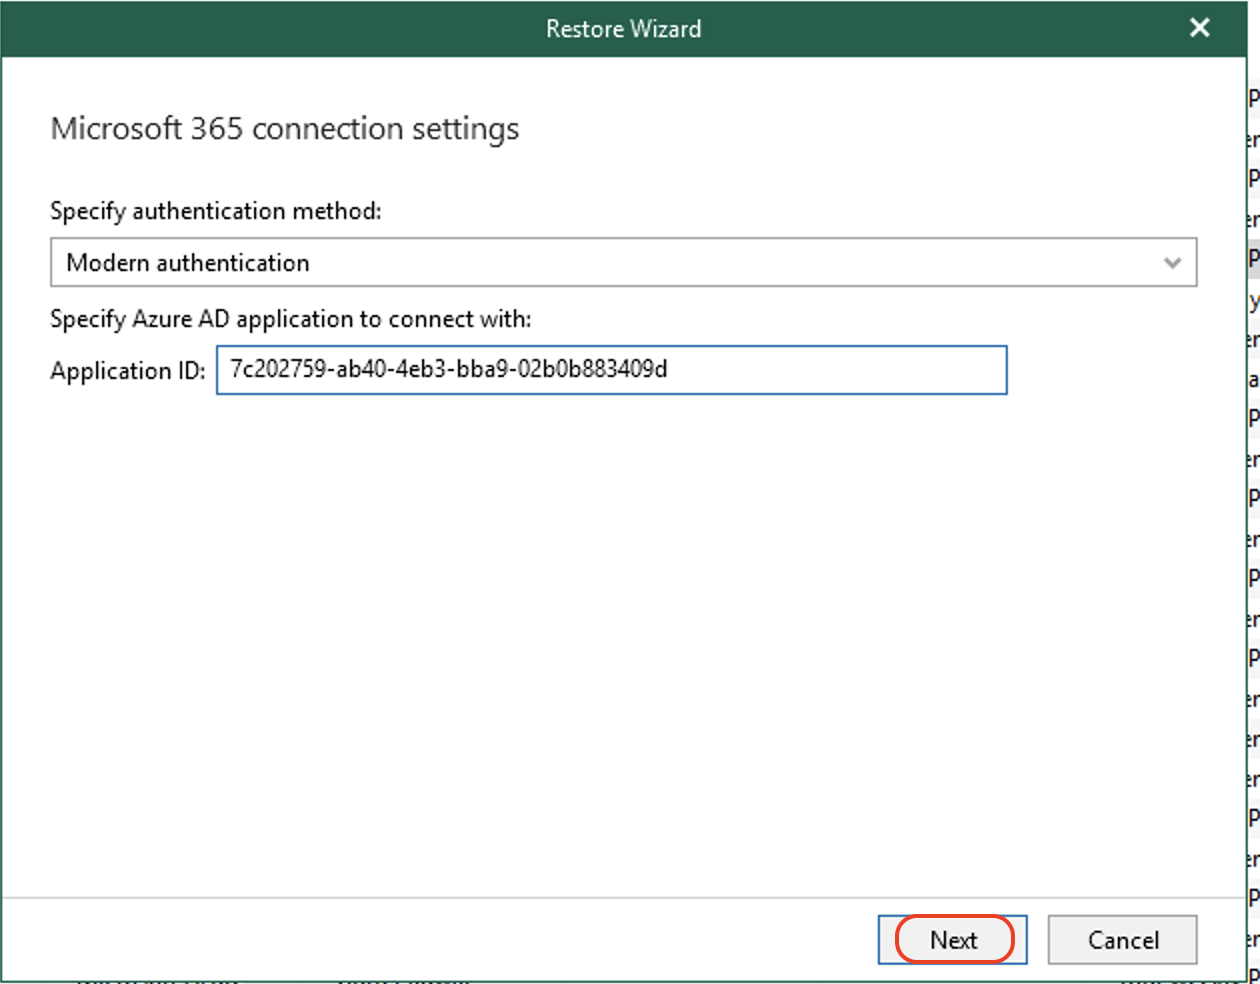
On the Restore Wizard, use the default Application ID and click Next to continue.
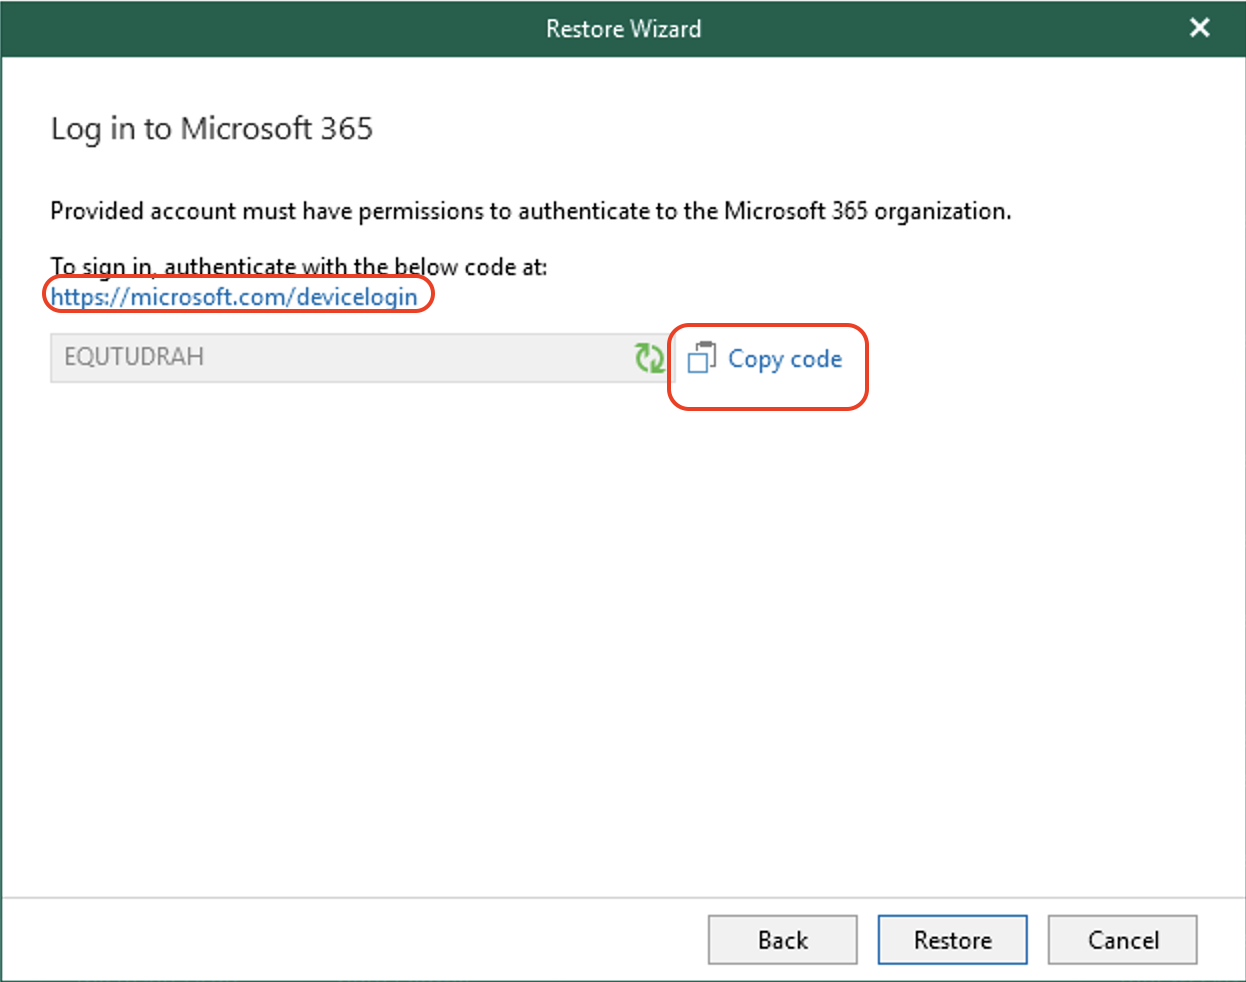
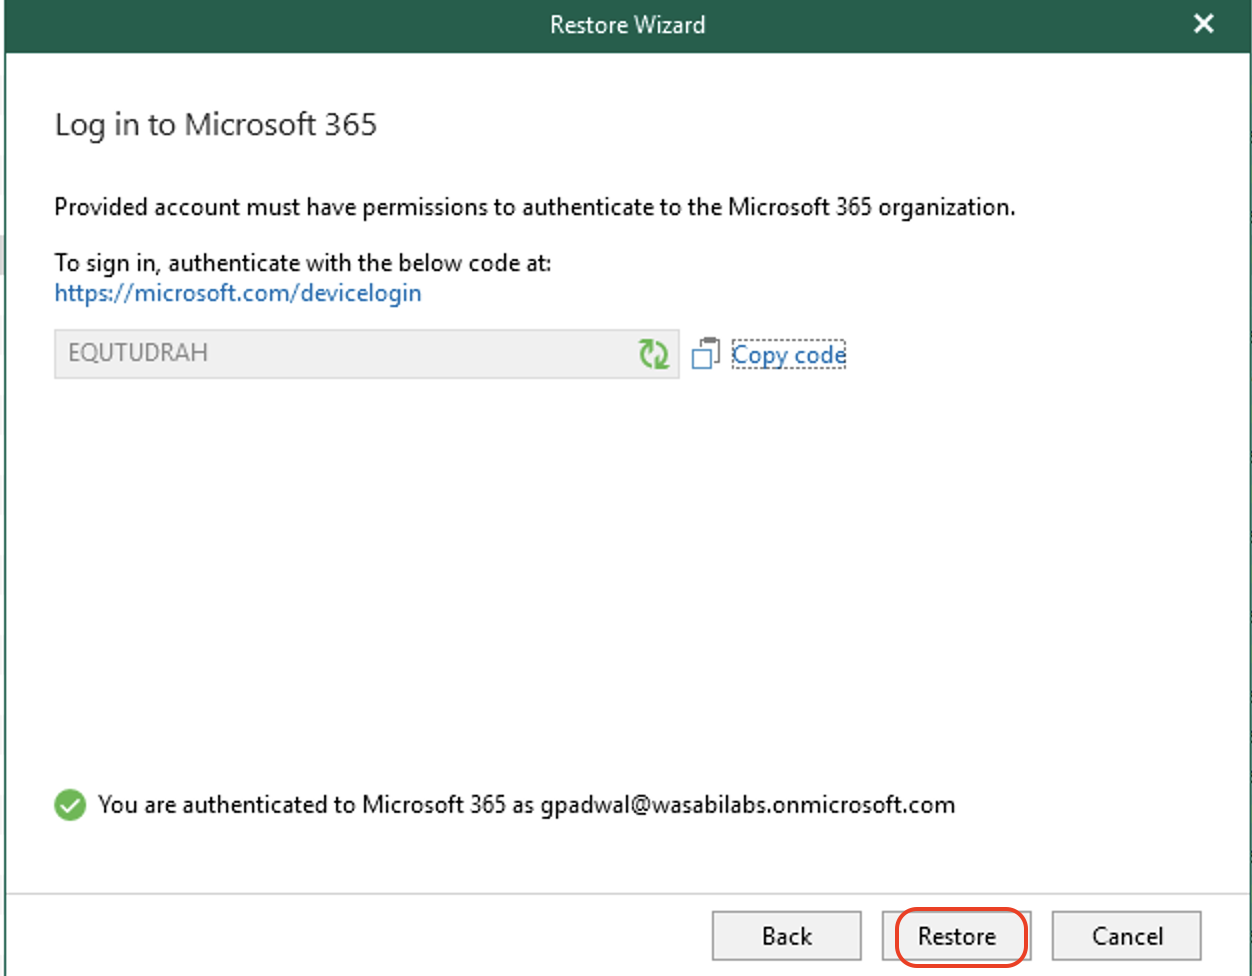
Provide Veeam with access to the Microsoft 365 account. Click the link for the device login and authenticate with Microsoft365.
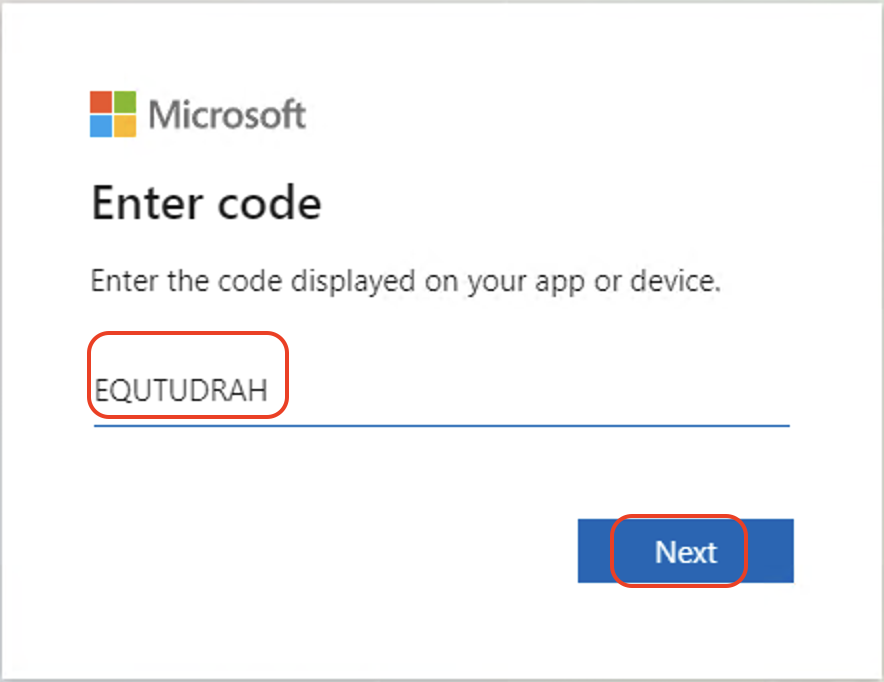
Enter the device code for Veeam into the authentication window. Click Next.
Sign into your Microsoft 365 account.
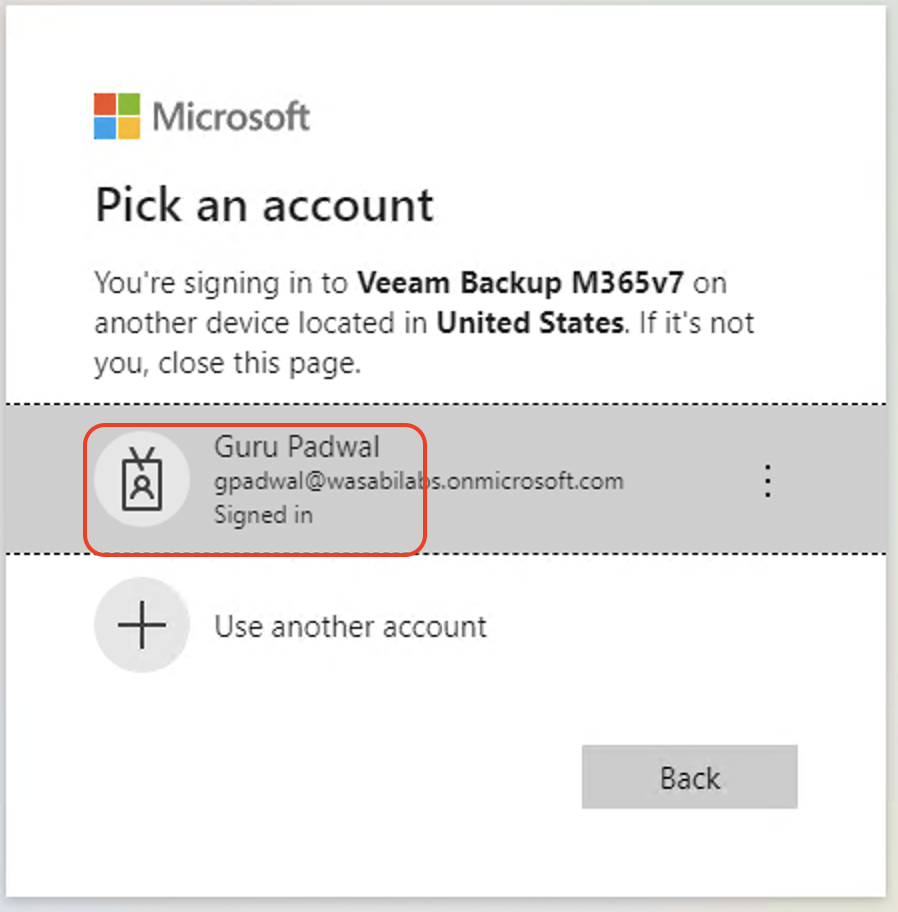
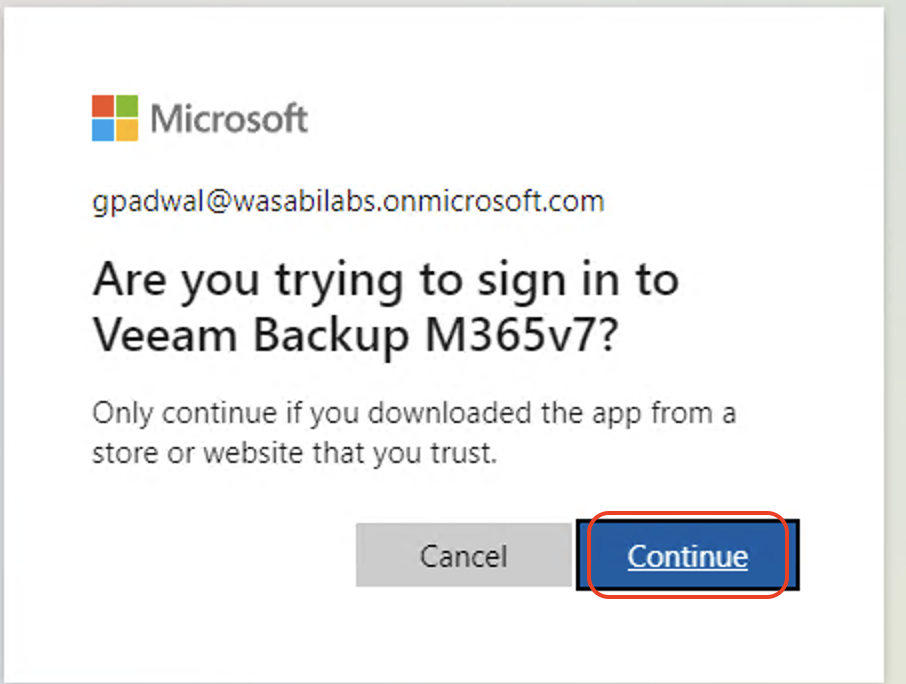
Click Continue to provide Veeam with access to your Microsoft 365 account.
On the Veeam Restore Wizard, click Restore. You will see a green checkmark icon confirming the authentication to your Microsoft 365 account.
Once the item is restored, click OK on the confirmation box after the item is successfully restored.
