The information in this article has been tested on a VM running on Ubuntu 22.04.4 LTS OS with nginx 1.21.6.
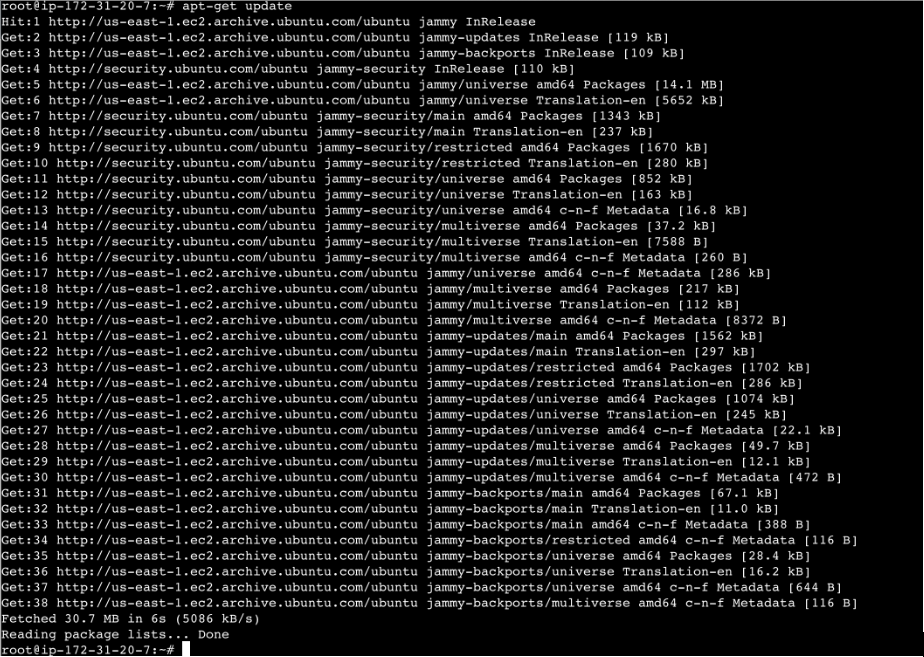
Update the packages on the system to make sure the system is up-to-date:
# sudo apt-get update
Once done, install the dependencies, which are essential, using the following command:
# sudo apt-get install build-essential libpcre3-dev zlib1g-dev libssl-dev -y
The subsequent steps involve installing nginx from the source with the ngx_aws_auth and ssl modules. You can find the ngx_aws_auth module here:
https://github.com/anomalizer/ngx_aws_auth.gitSince you need to install nginx with custom modules, download and extract nginx from the source using the following commands:
# wget http://nginx.org/download/nginx-1.21.6.tar.gz

# tar -zxvf nginx-1.21.6.tar.gz
Navigate to the nginx folder and clone the GitHub repository containing the ngx_aws_auth module:
# cd nginx-1.21.6

# git clone https://github.com/anomalizer/ngx_aws_auth.git
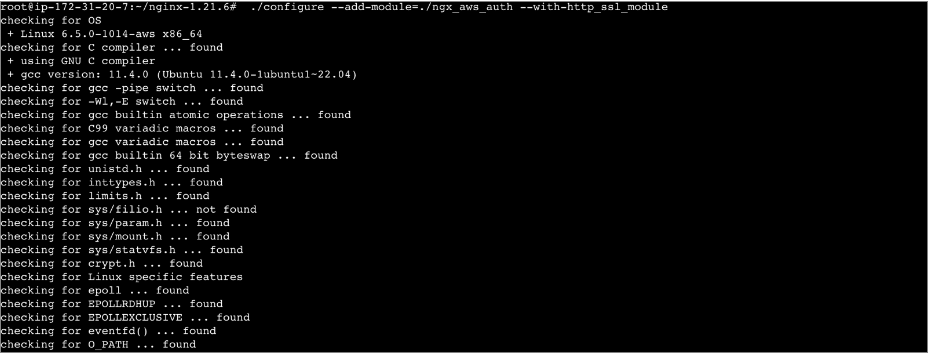
Wasabi recommends using the latest version of the module that supports AWS Signature v4.Compile with the ngx_aws_auth (to proxy the requests to Wasabi) and ngx_http_ssl_module (for SSL support) modules and install it:
# ./configure --add-module=./ngx_aws_auth –with-http_ssl_moduleec
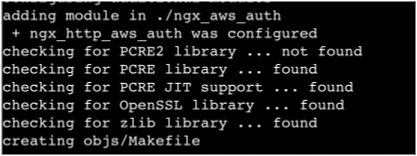
Confirm that the ngx_aws_auth module was added:

# make
# sudo make install
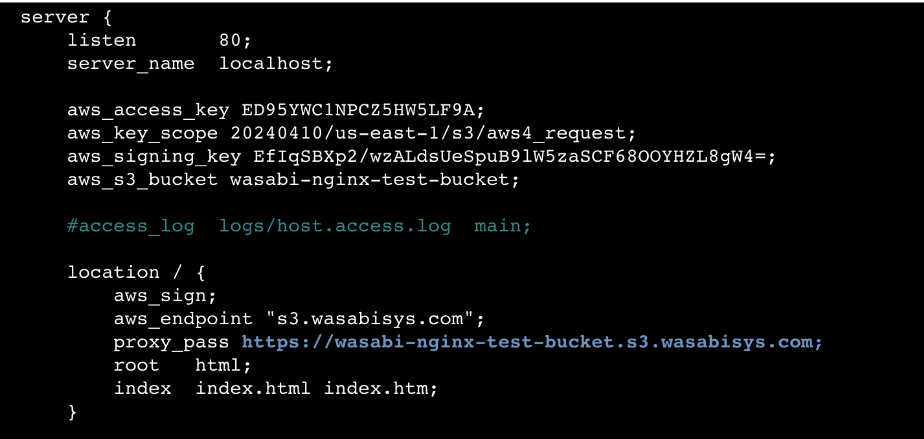
Once done, modify the nginx conf file (located at /usr/local/nginx/conf/nginx.conf) using your preferred text editor to proxy authenticated requests to Wasabi. An example of a nginx conf server block is:
server {

        listen       80;

        server_name  localhost;

        aws_access_key ED95YWC1NPCZ5HW5LF9A;

        aws_key_scope 20240410/us-east-1/s3/aws4_request;

        aws_signing_key EfIqSBXp2/wzALdsUeSpuB9lW5zaSCF68OOYHZL8gW4=;

        aws_s3_bucket wasabi-nginx-test-bucket;

        location / {

            aws_sign;

            aws_endpoint "s3.wasabisys.com";

            proxy_pass https://wasabi-nginx-test-bucket.s3.wasabisys.com;

            root   html;

            index  index.html index.htm;

        }

         location = /50x.html {

            root   html;

        }

 }
aws_access_key will be the access key that you generate from the Wasabi Console Access Keys feature.Use the following command in the nginx-1.21.6/ngx_aws_auth folder to generate the aws_key_scope and aws_signing_key:
# python3 generate_signing_key -k XXXXXXXXXX -r us-east-1or simply:
# ./generate_signing_key -k XXXXXXXXXX -r us-east-1where XXXXXXXXXX is the AWS secret key associated with your AWS access key.
us-east-1 is your bucket region.
Use the first line of the output in the aws_signing_key section and use the second line in the aws_key_scope section.Furthermore, replace wasabi-nginx-test-bucket with the name of your bucket, aws_endpoint with the appropriate endpoint depending on your bucket location, and proxy_pass with a URL in the following format:
https://your-bucket-name-here.s3.your-wasabi-region-here.wasabisys.comStart nginx:
# sudo /usr/local/nginx/sbin/nginx
After starting nginx, you may test the working of the proxy using curl:
# curl http://localhost/text.txt; echoWasabi Test

You will be trying to access the text.txt object under your respective bucket.
You can view the access logs using the following command:
# tail -f /usr/local/nginx/logs/access.log

127.0.0.1 - - [12/Apr/2024:14:17:00 +0000] "GET /test.txt HTTP/1.1" 404 293 "-" "curl/7.81.0"

127.0.0.1 - - [12/Apr/2024:14:17:12 +0000] "GET /text.txt HTTP/1.1" 200 11 "-" "curl/7.81.0"
If your request yields a 404 error, you queried to the wrong object, one which does not exist in your bucket.

You can enable logging on your bucket from the Wasabi Console Bucket Settings feature, which will generate access logs relevant to these requests. For example:
E94A502930FD68059CCAAD65BDEC94E539B48D67BD07C820AB64573A2EB2A592 wasabi-nginx-test-bucket [12/Apr/2024:14:33:51 +0000] 52.72.187.166 E94A502930FD68059CCAAD65BDEC94E539B48D67BD07C820AB64573A2EB2A592 7A916E8DF599C503:B REST.GET.OBJECT text.txt "GET /text.txt" 200 - 11 11 10 10 "" "curl/7.81.0" -