Shareio securely shares and monetizes any file directly from your Wasabi storage, turning content you already store into a revenue stream, all protected by quantum-resistant encryption. This article documents the configuration required for Shareio to work with Wasabi.
Be aware of and follow Wasabi's Free Egress Policy when storing and streaming files. Files are streamed directly from Wasabi, and this counts toward the Free Egress Policy.
Requirements
A Wasabi bucket (see Creating a Bucket
Wasabi Console access
Shareio App access
Configuration
Log in to the Shareio App.
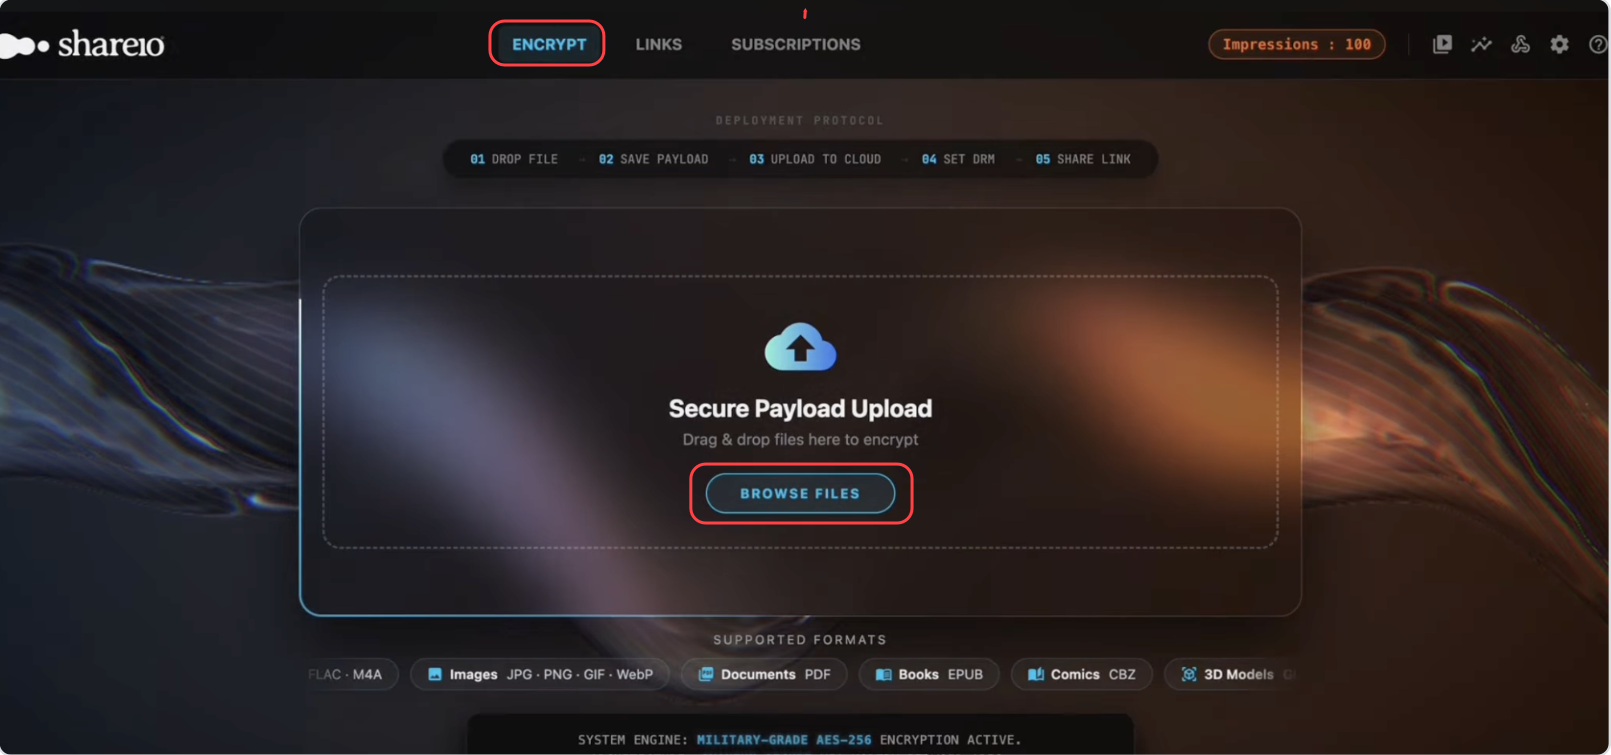
On Shareio's Encrypt screen, add your file by clicking Browse Files. It is encrypted locally (zero-knowledge AES-256) and stored in a .shr payload. (The file will be uploaded to Wasabi in Step 14 below.)
Select Other / manual (just download) from the drop-down menu.
Click Continue to save.
.png)
On the Links screen, set the Storage Provider as Wasabi.
Click the console button to open https://console.wasabisys.com.
.png)
Log in to the Wasabi Console.
Select a bucket that will be used for sharing this file. Click Buckets.
Select the name of your bucket.
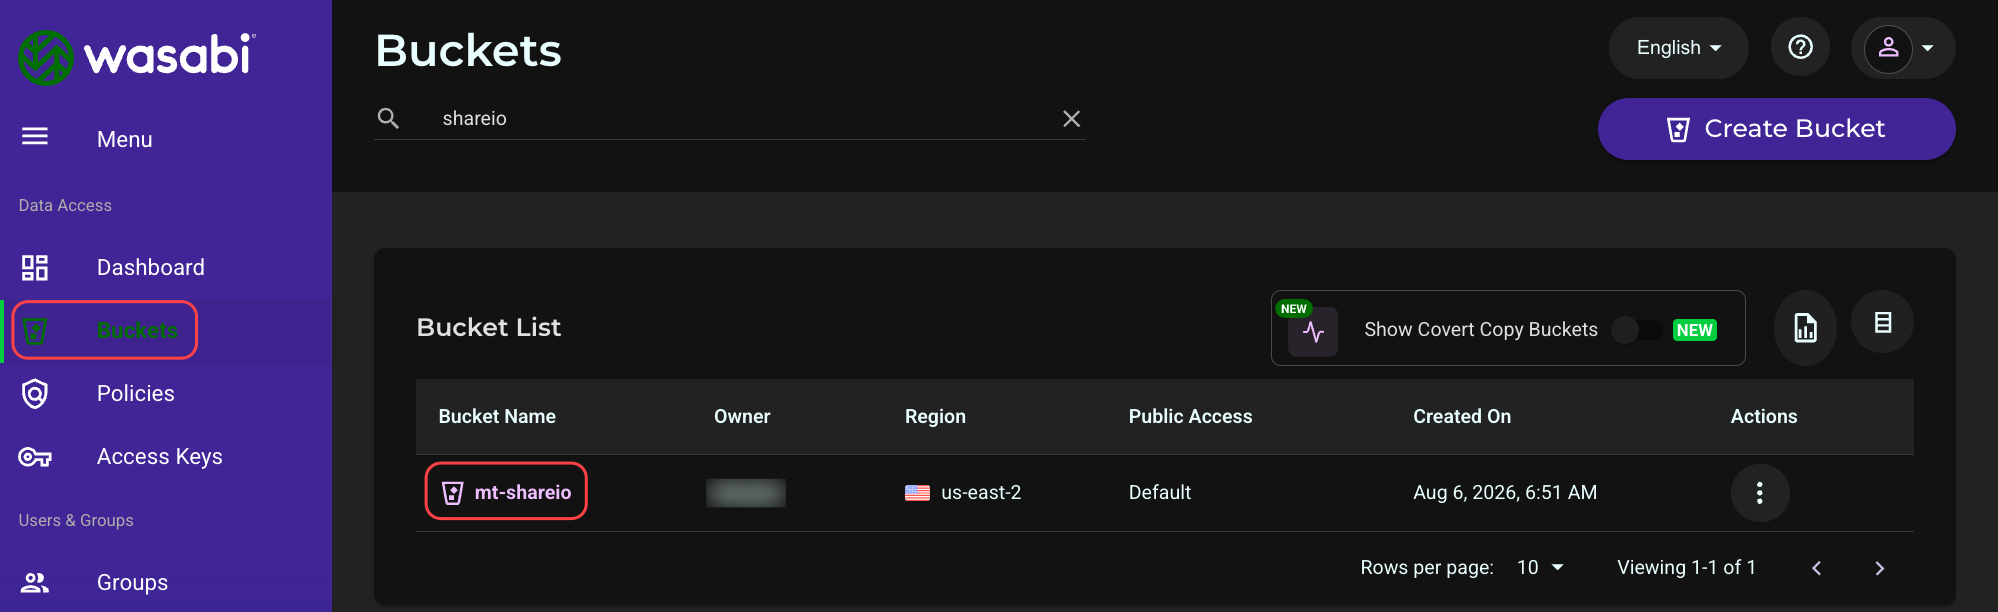
Click the Settings gearwheel.
.png)
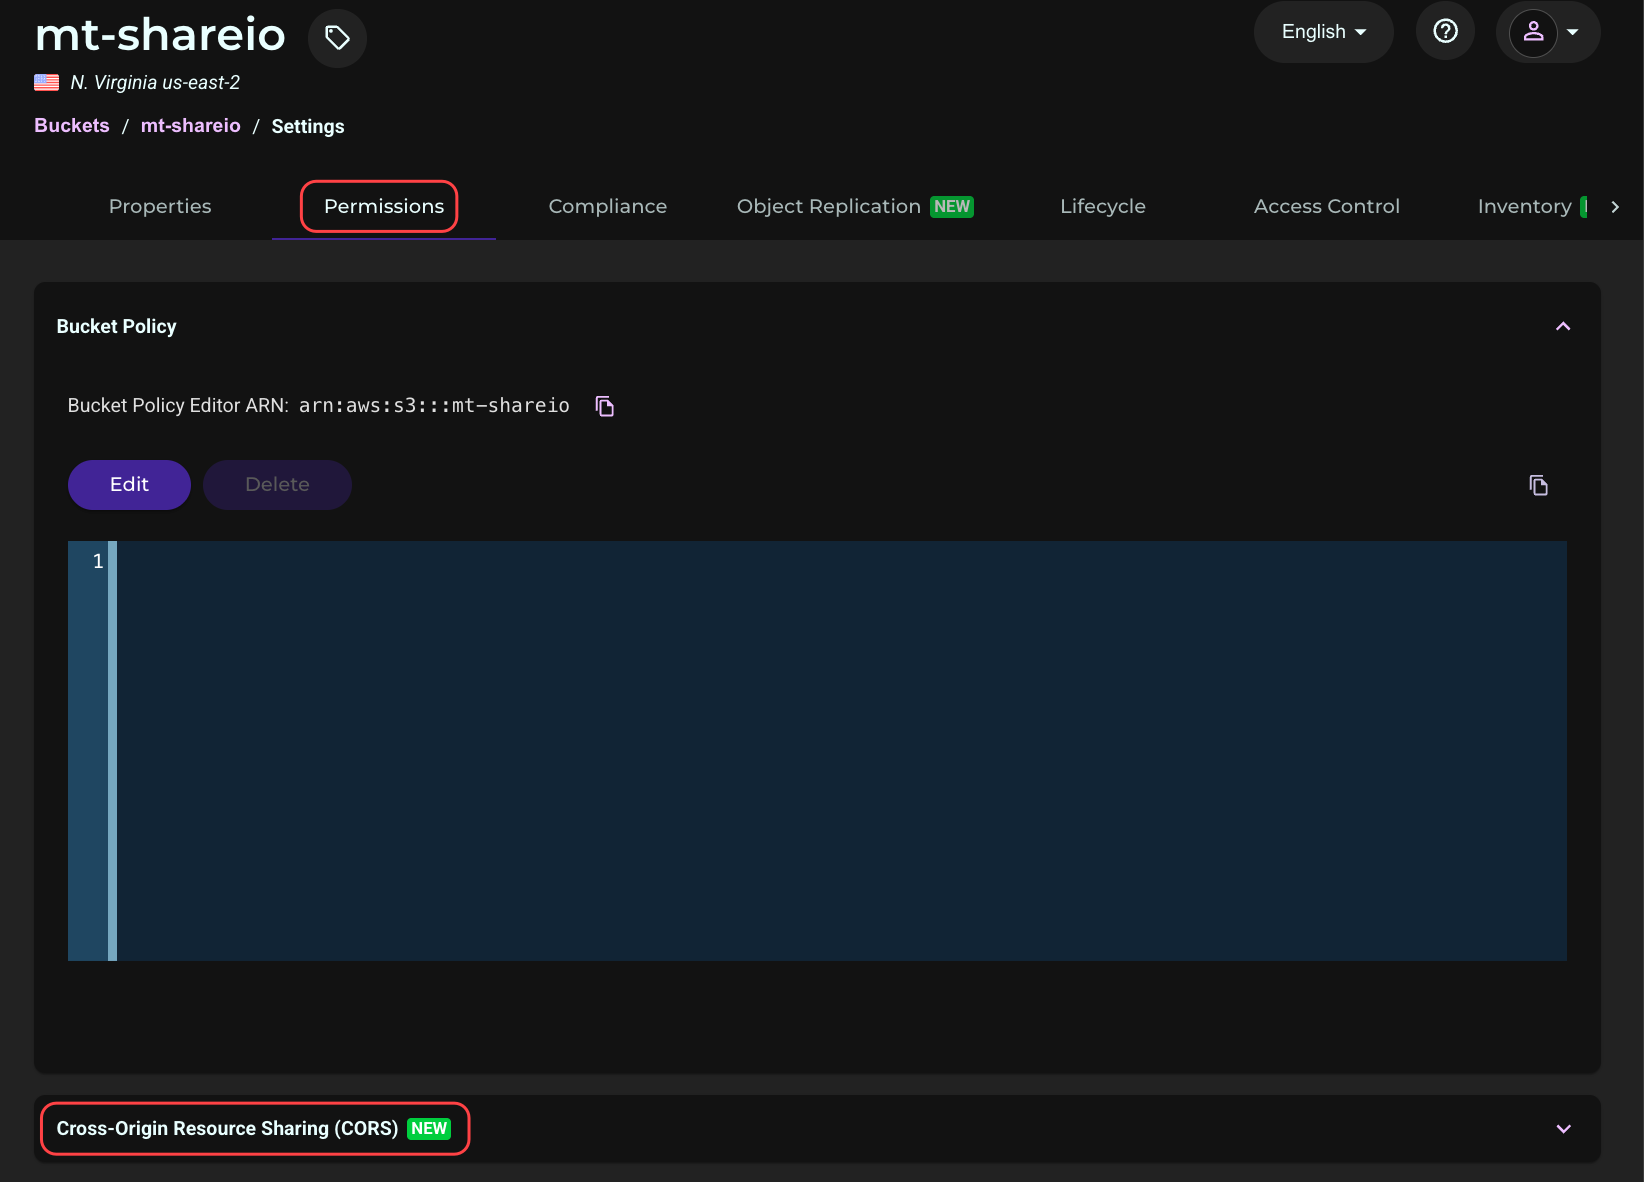
Click Permissions.
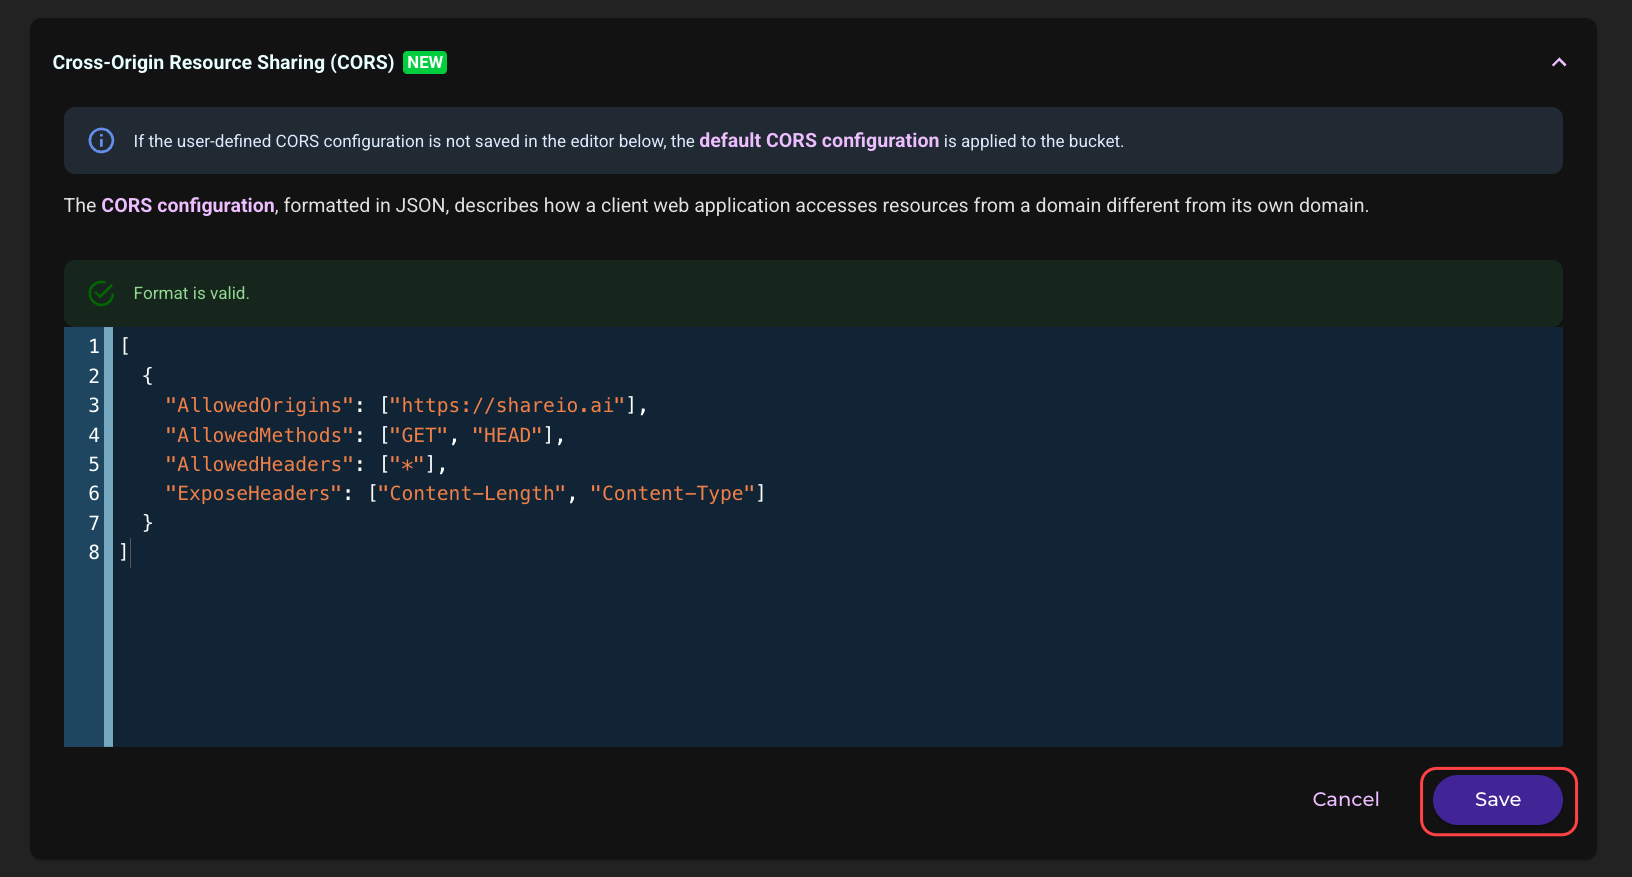
Click Cross-Origin Resource Sharing (CORS).
Click Edit.
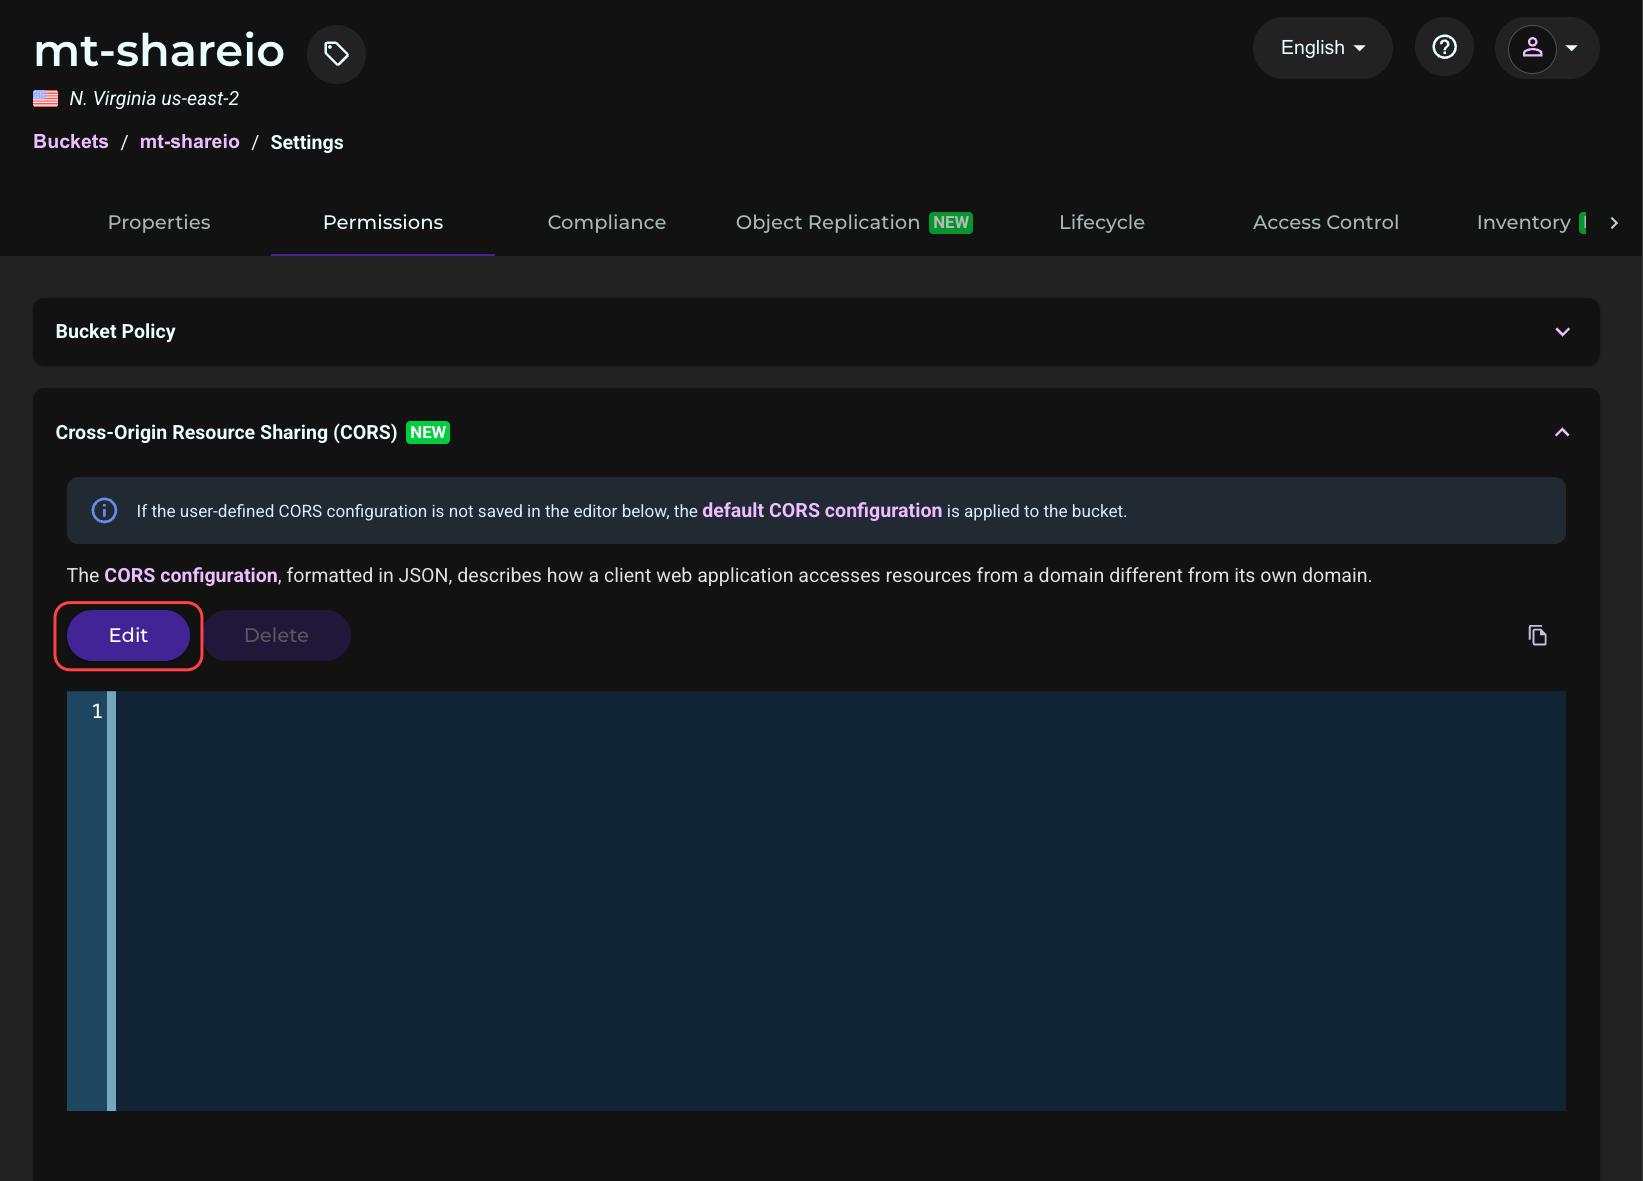
Paste Shareio's exact JSON shown below.
[
  {
    "AllowedOrigins": ["https://shareio.ai"],
    "AllowedMethods": ["GET", "HEAD"],
    "AllowedHeaders": ["*"],
    "ExposeHeaders": ["Content-Length", "Content-Type"]
  }
]
Click Save.
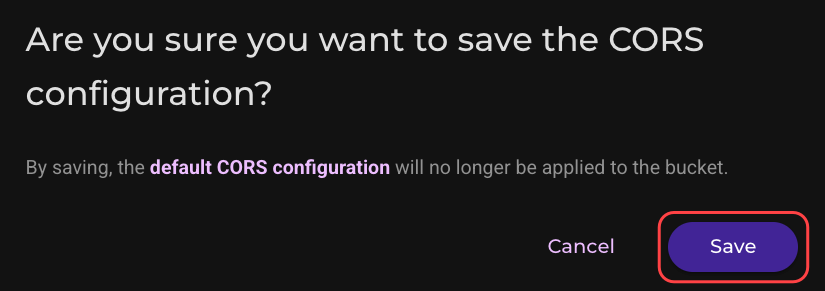
Click Save in the popup window.
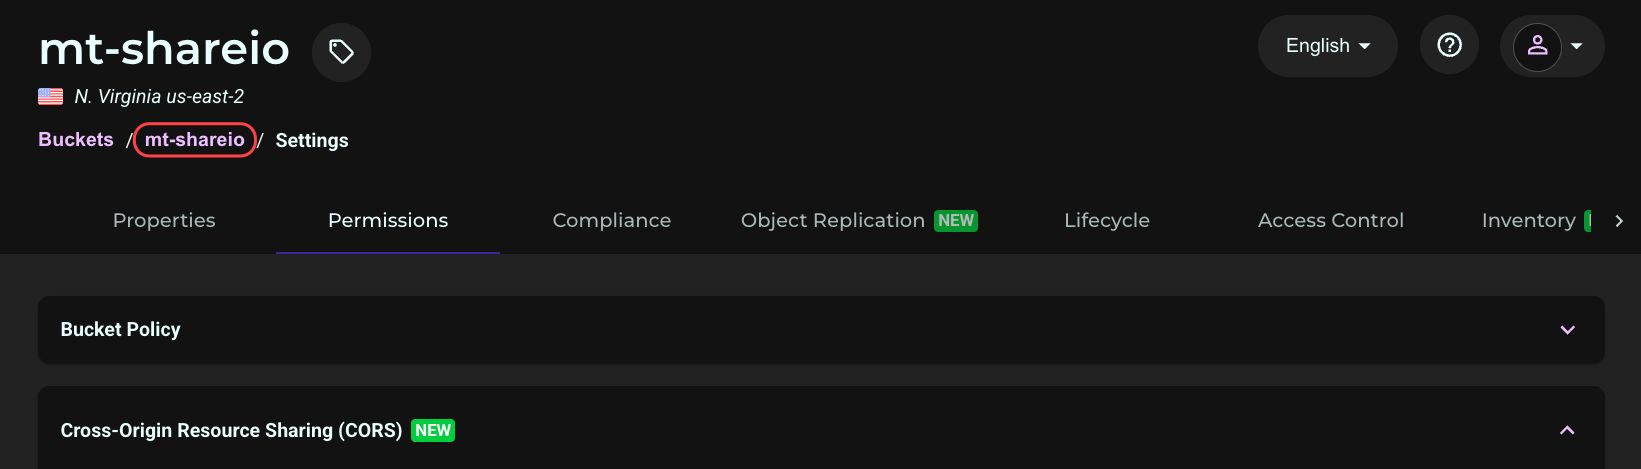
Select the name of your bucket (as shown below to go to the bucket’s contents).
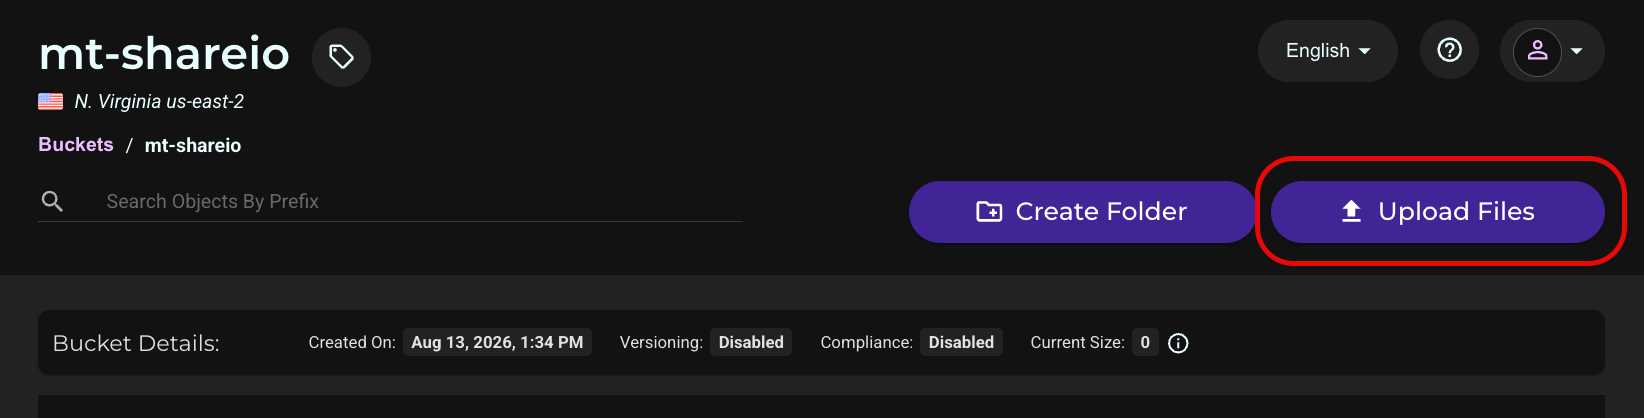
Upload the encrypted .SHR file from your device or drive into the bucket by clicking Upload Files.
Click the name of the file to share.
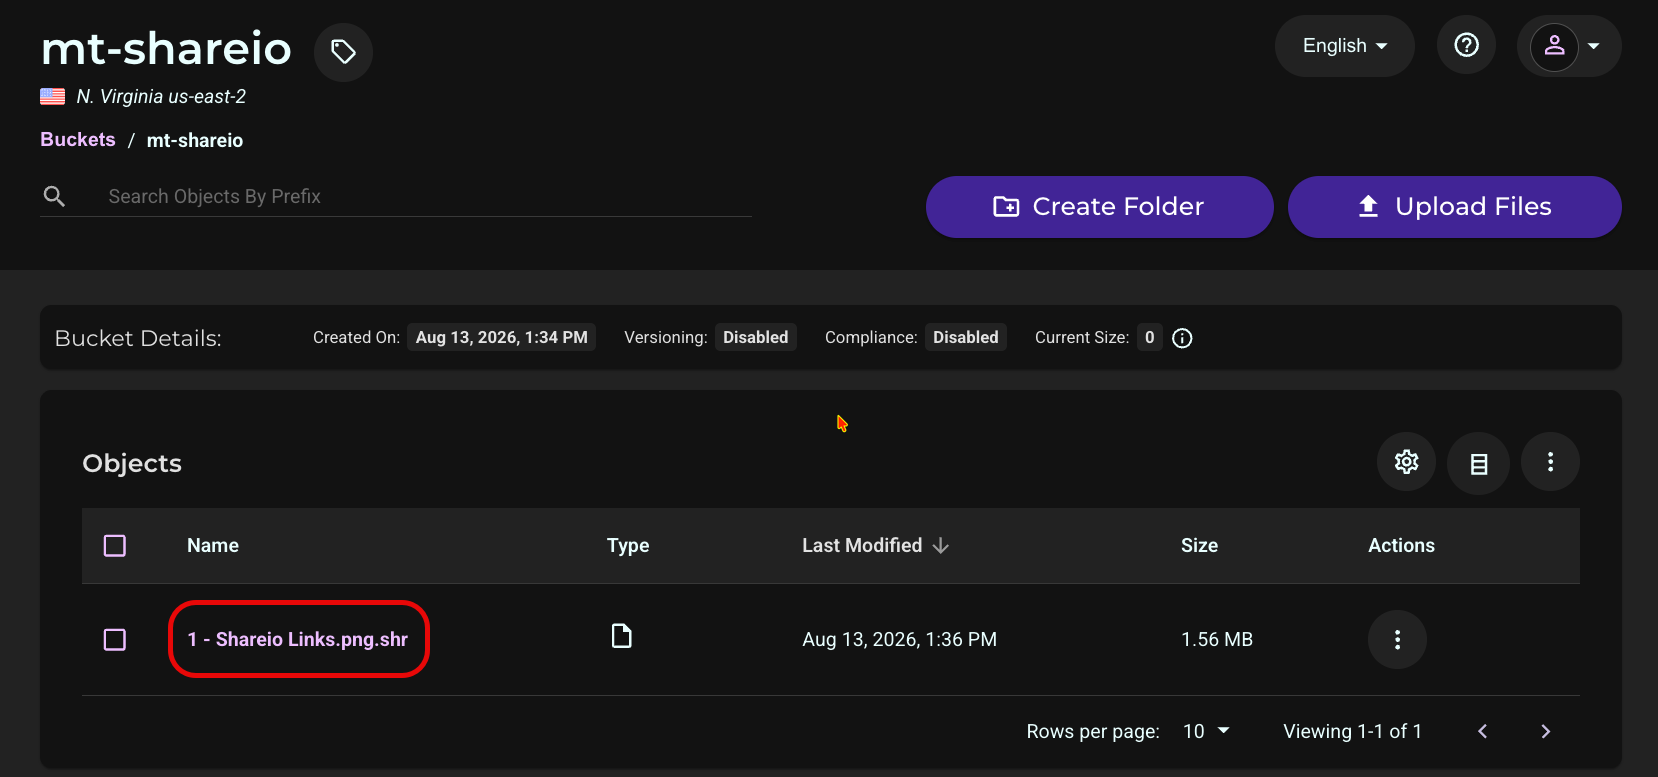
Create a pre-signed link that expires within a configurable period of time (maximum 7 days). Click Share with Presigned URL.
.png)
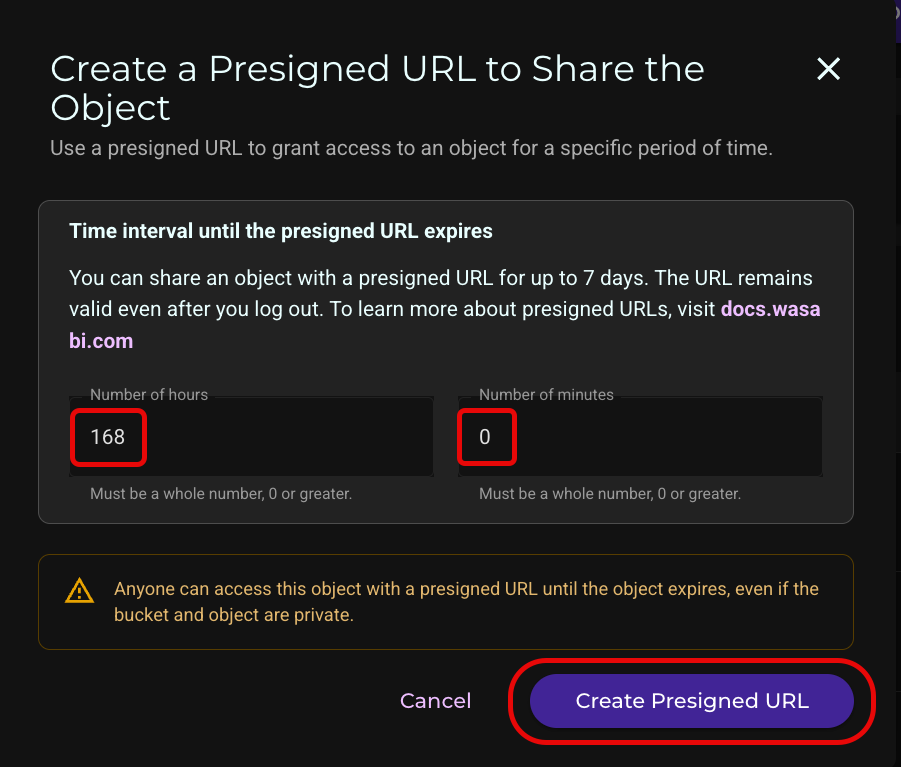
Ensure that the Shareio expiry is also set to seven days or less in Step 26 below.
The file will be accessible by anyone with the link. The file is protected by Shareio’s encryption, not by limiting access to the file.
Enter the number of hours and minutes you want the link to remain active (maximum 7 days or 168 hours). Click Create Presigned URL.
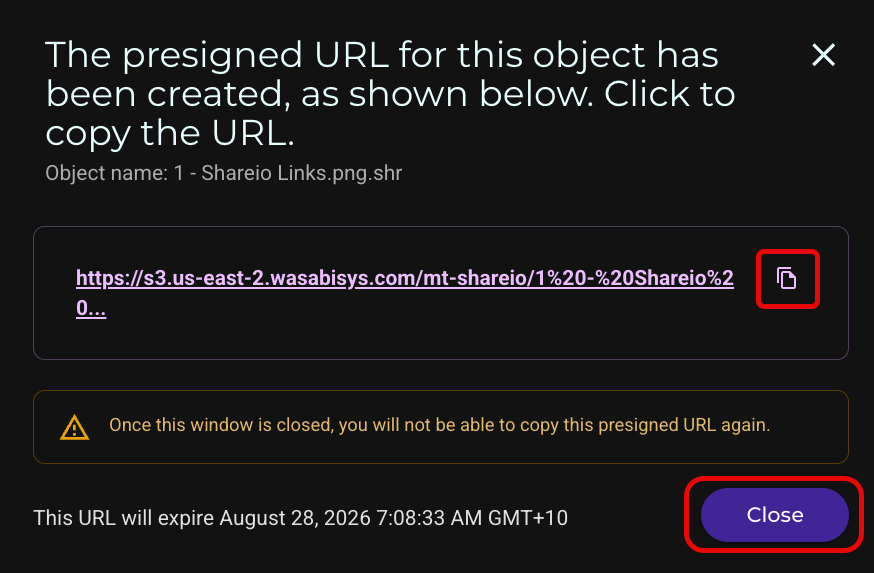
Click the copy icon to copy the link.
Click Close.
Go back to the Shareio App.
Ensure Wasabi is selected from the drop-down menu. Paste the previously copied link into the Wasabi Object URL field.
Configure price, expiry / view-count limit, watermark, and any other DRM options for the link.
Click Shareio's Save button.
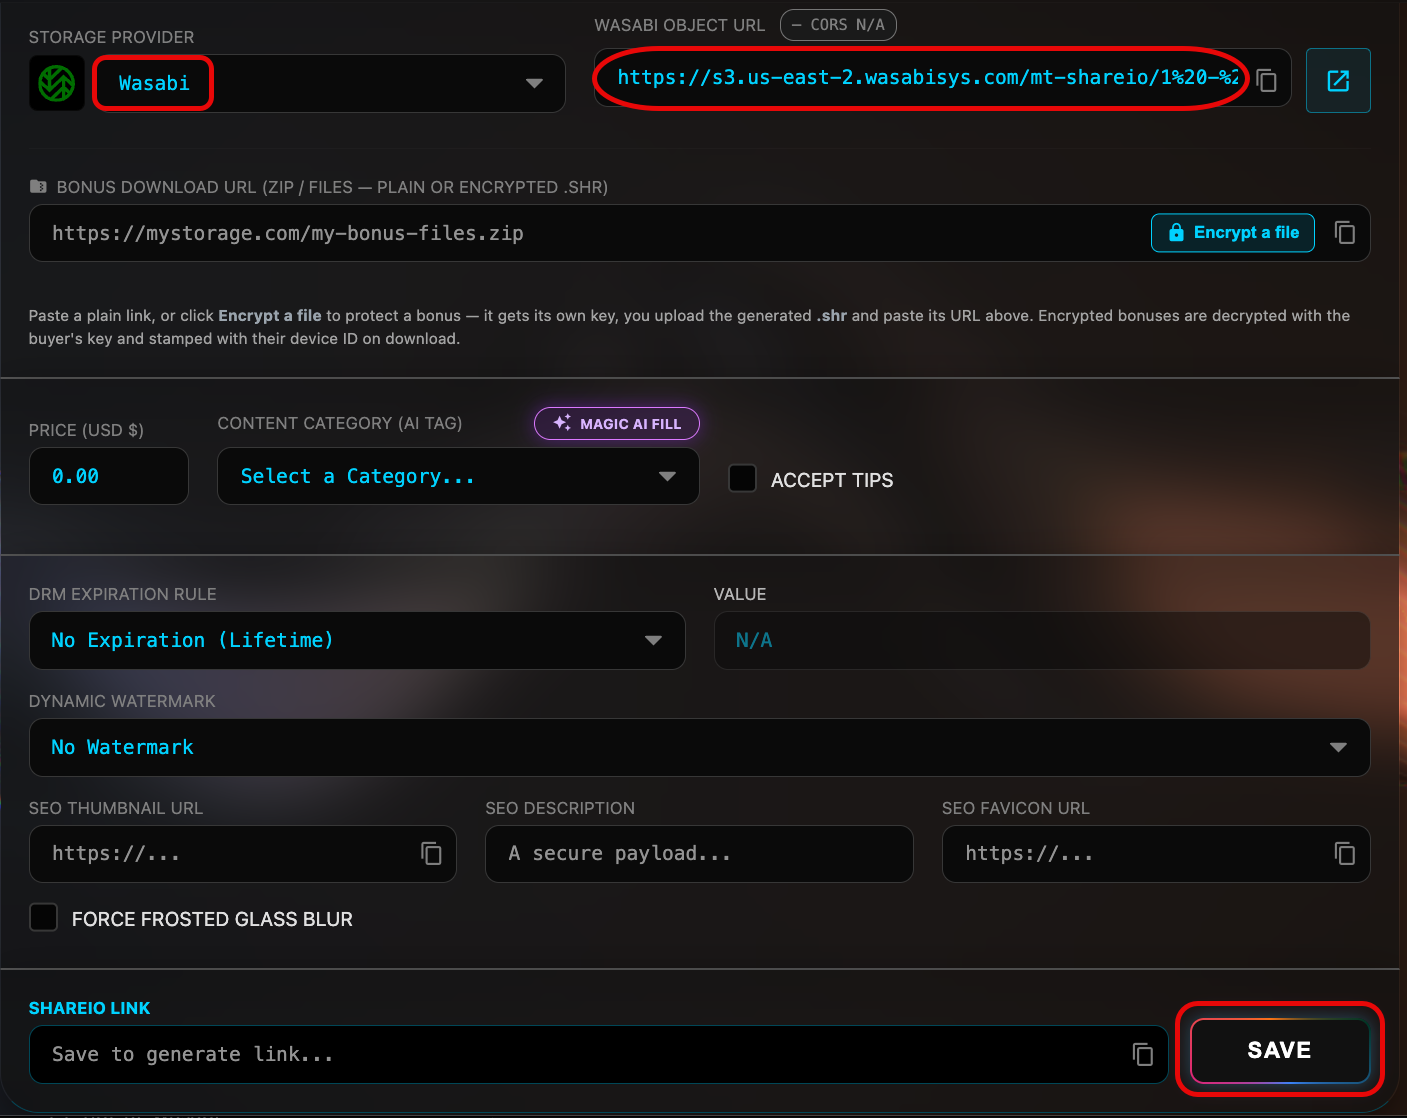
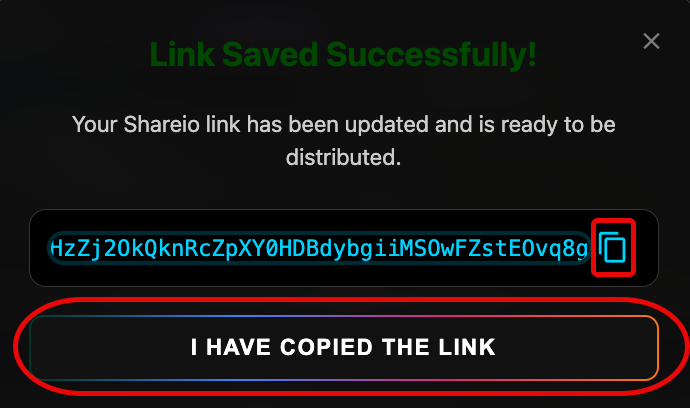
Copy and share the link by clicking the copy icon.
Click, I HAVE COPIED THE LINK.
Watch the CORS status pill — it should turn green.

Share the copied link with buyers. Buyers of your content will now stream the file from your Wasabi bucket.