Wasabi supports Single Sign-On (SSO) for enterprise and educational accounts using Cisco Duo as the Identity Provider (IdP), based on the SAML 2.0 (Security Assertion Markup Language) standard.
This knowledge base article provides configuration guidance for administrators and end users to set up and complete SSO login to the Wasabi Account Control Manager (WACM) using your organization’s Cisco Duo environment.
Configuring the SAML App in Cisco Duo (IdP Side)
Log in to the Cisco Duo portal (https://admin.duosecurity.com/login?) with Admin credentials.
Select Users in the left menu and click Add User.
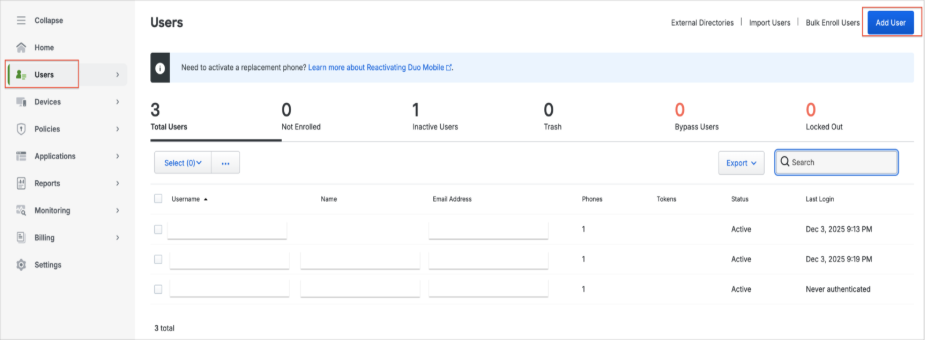
Assign the user to the Group name box, for example, “admin.” Then click Add users to group.
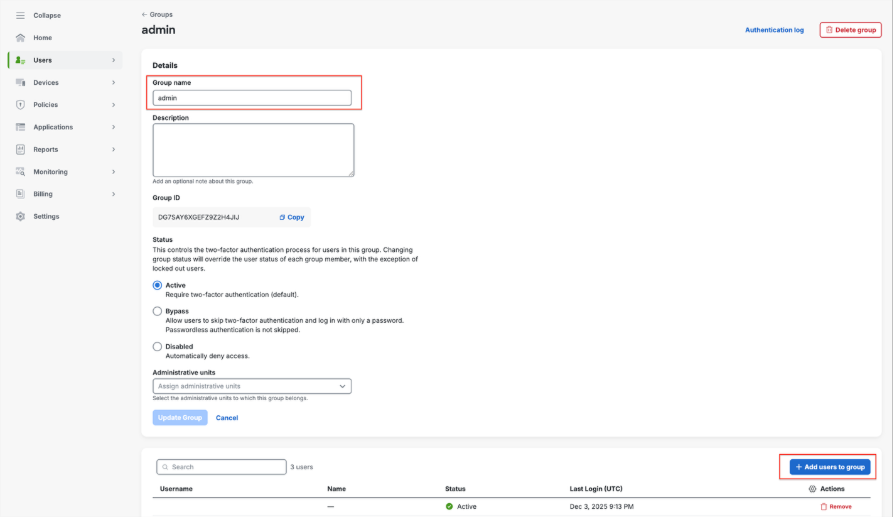
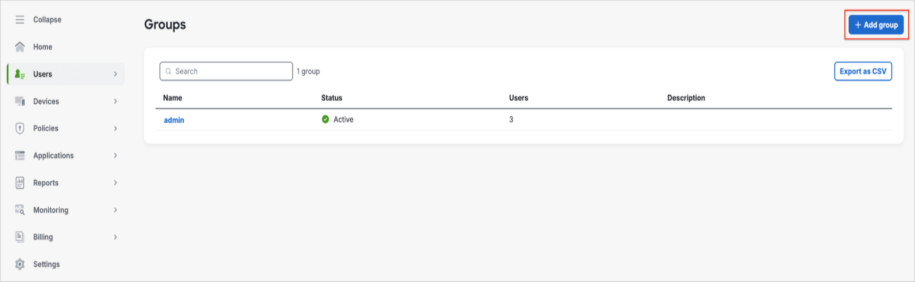
The Groups pane is displayed with the new group name “admin.” Click Add group.
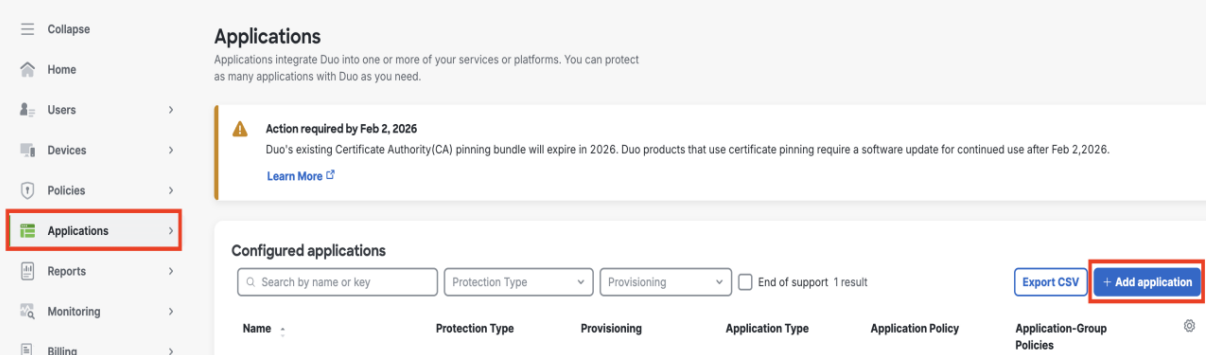
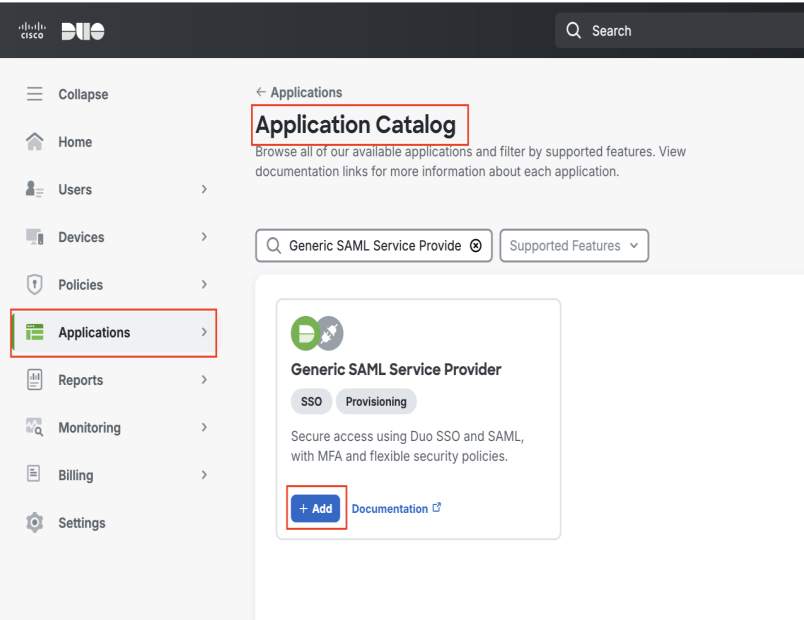
Navigate to Applications in the left menu. In the Applications pane, click Add application.
In the Application Catalog pane, search for “Generic SAML Service Provider,” then click Add.
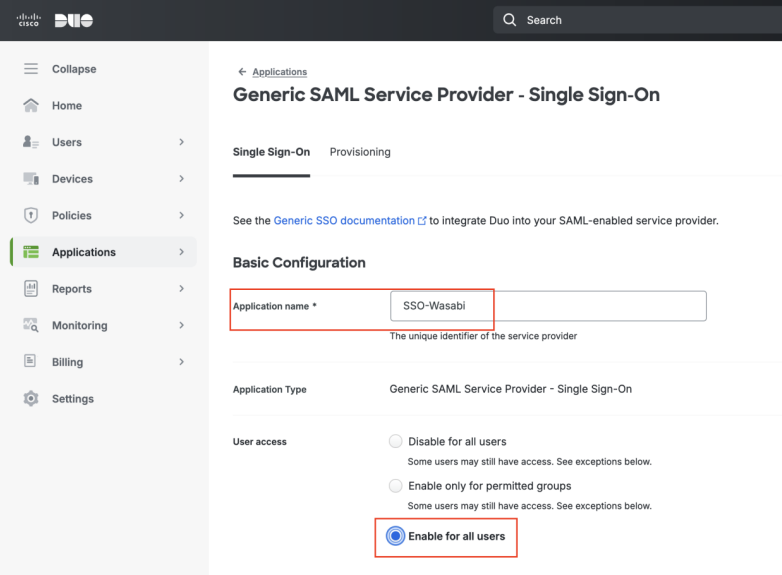
In the Basic Configuration section, enter a name in the Application name box, for example, SSO-Wasabi.
Select the User access option, as required.
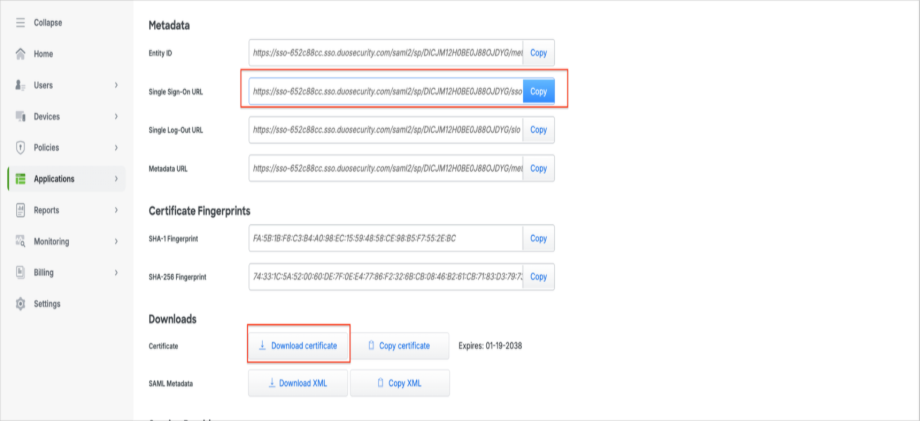
Scroll down to the Metadata section, copy the Single Sign-On URL, then click Download certificate. You will need this information for later use in the Wasabi Console.
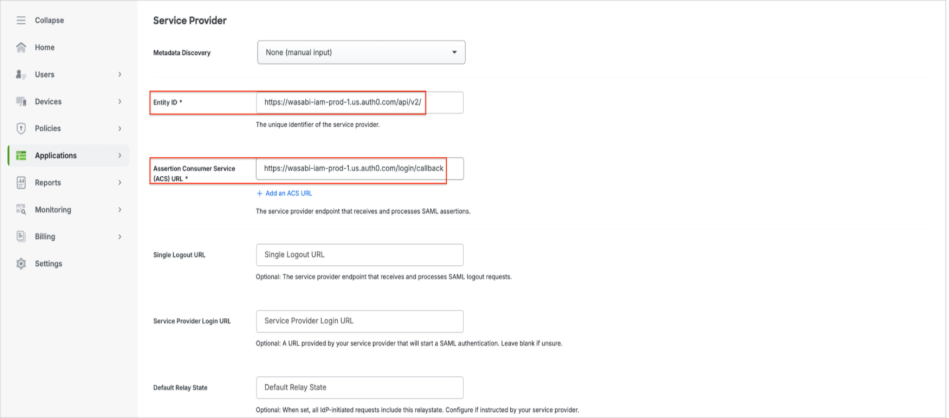
Scroll down to the Service Provider section and copy the following URLs into the appropriate box:
Entity ID—https://wasabi-iam-prod-1.us.auth0.com/api/v2/
Assertion Consumer Service (ACS) URL—https://wasabi-iam-prod-1.us.auth0.com/login/callback
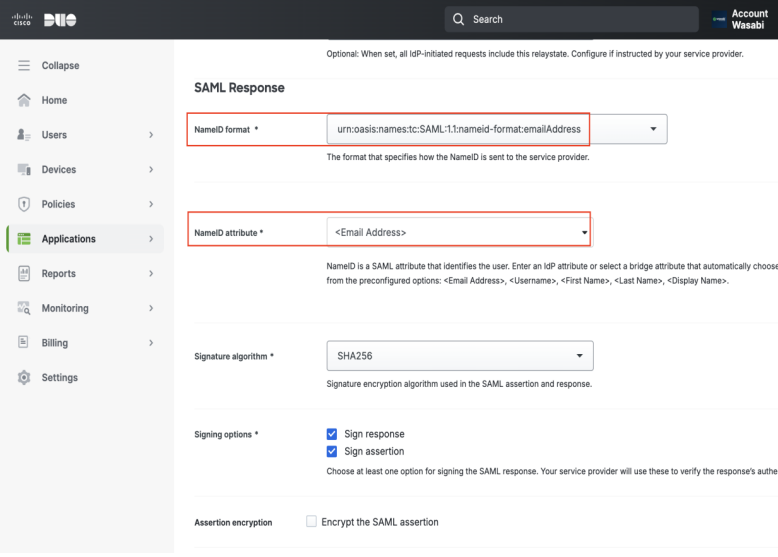
Scroll down to the SAML Response section and select the following drop-down options:
NameID format—urn:oasis:names:tc:SAML:1.1:nameid-format:emailAddress
NameID attribute—<Email Address>
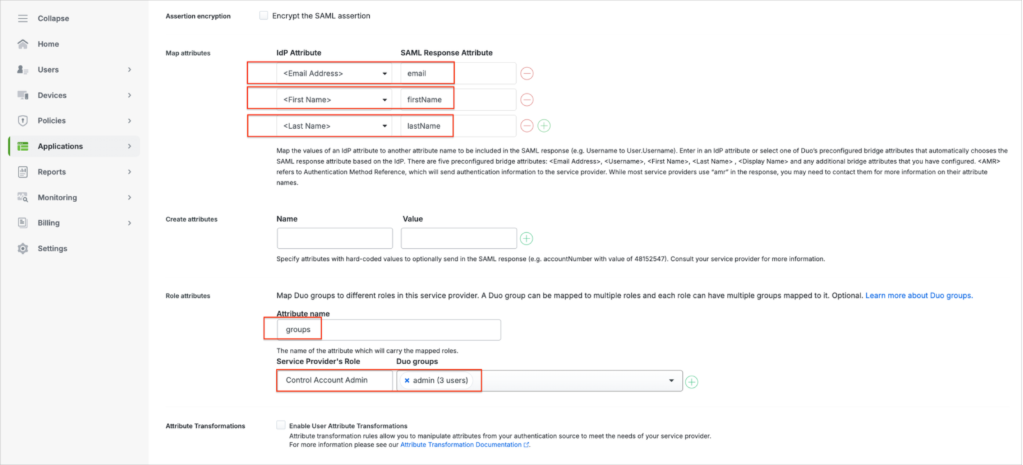
Scroll down to enter the following attributes.
Map attributes:
Email Address—email
First Name—firstName
Last Name—lastName
Role attributes:
Attribute name—groups (must match the SAML Response Attribute). The value assigned to this attribute in Cisco Duo must match the user role defined in WACM. This mapping ensures proper role assignment and access control during SSO authentication.
Service Provider’s Role—select your WACM user role.
Duo groups—select the group your user belongs to (in the admin group). Select the groups to add to Cisco Duo. Make sure the user you add to access WACM is in the selected group.
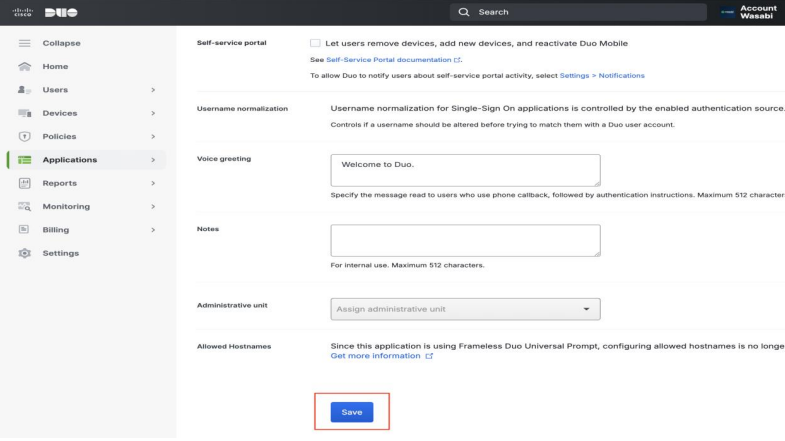
Leave the remaining settings at their defaults. Click Save.
Configuring SAML Settings in WACM Console (SP / Client Side)
Sign in to the WACM Console (https://wacm.wasabisys.com), where you will configure SSO.
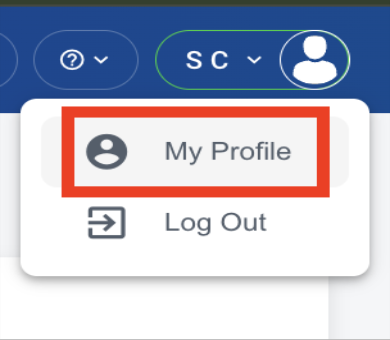
In the upper right corner, select your displayed name and click My Profile. The Profile page is displayed.
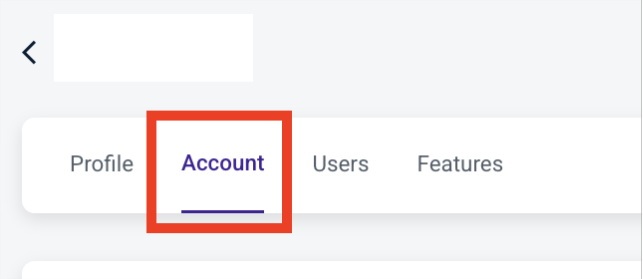
Click the Account tab. The Account page is displayed.
Scroll down to the SSO (Single-Sign-On) section and click Start SSO Configuration.

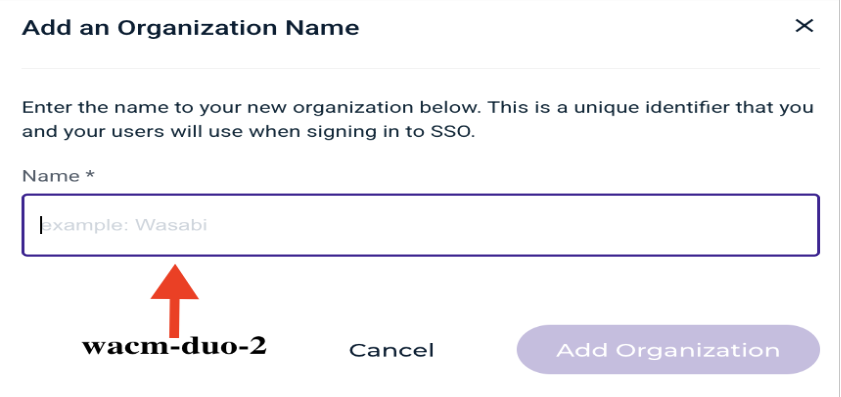
In the Add an Organization Name box, enter the name of your new organization. This is a unique identifier you will use to sign in to SSO, for example, “wacm-duo-2.” Click Add Organization.
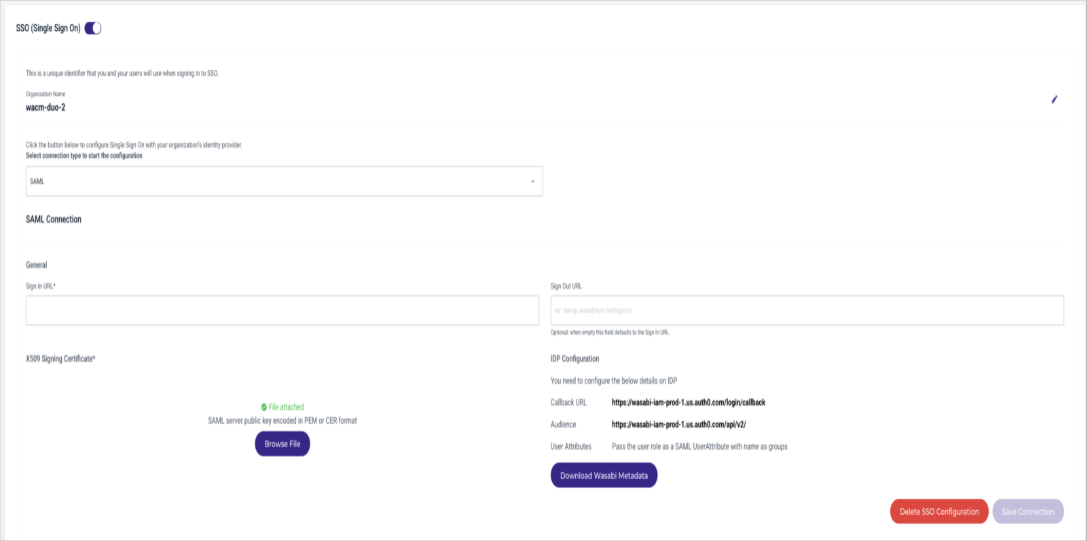
In the Select configuration type to start configuration section, select SAML from the drop-down.

Using the downloaded certificate and the Single-Sign-On URL copied from the Cisco Duo Applications section, click Browse File and select the X.509 Signing Certificate, then paste the Sign-On URL into the provided box. WACM SSO will match the WACM role names to the Cisco Duo Service Provider’s role in the “groups” name attribute.
Click Save Connection.
Sign in to the WACM Console (https://wacm.wasabisys.com) and click Sign In with SSO.
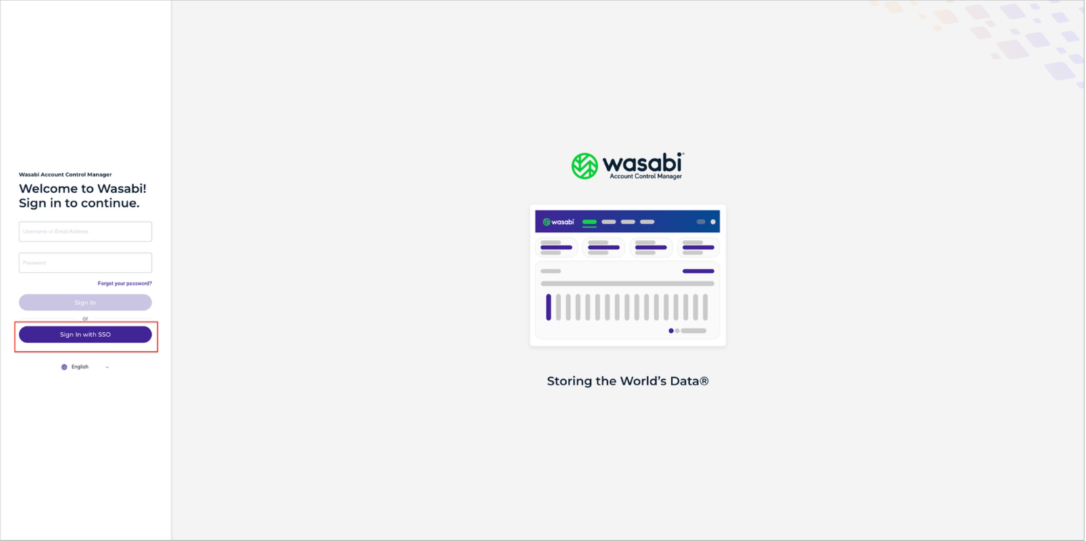
Enter the previously created organization name, for example, “wacm-duo-2.” Click Continue. You will be redirected to the Cisco Duo login page.

Log in to the Cisco Duo portal (https://admin.duosecurity.com/login?) with Admin credentials. Once your login is authenticated, you will be redirected to the WACM Console with access to the role mapped to your group in Cisco Duo.