Wasabi is validated for use with Supabase to backup and restore Postgres DB.
This article assumes that you have already installed the PostgreSQL (psql) tool. For more information on installation, review PostgreSQL Downloads.
Creating a Supabase Organization and Project
To create an account complete the following steps.
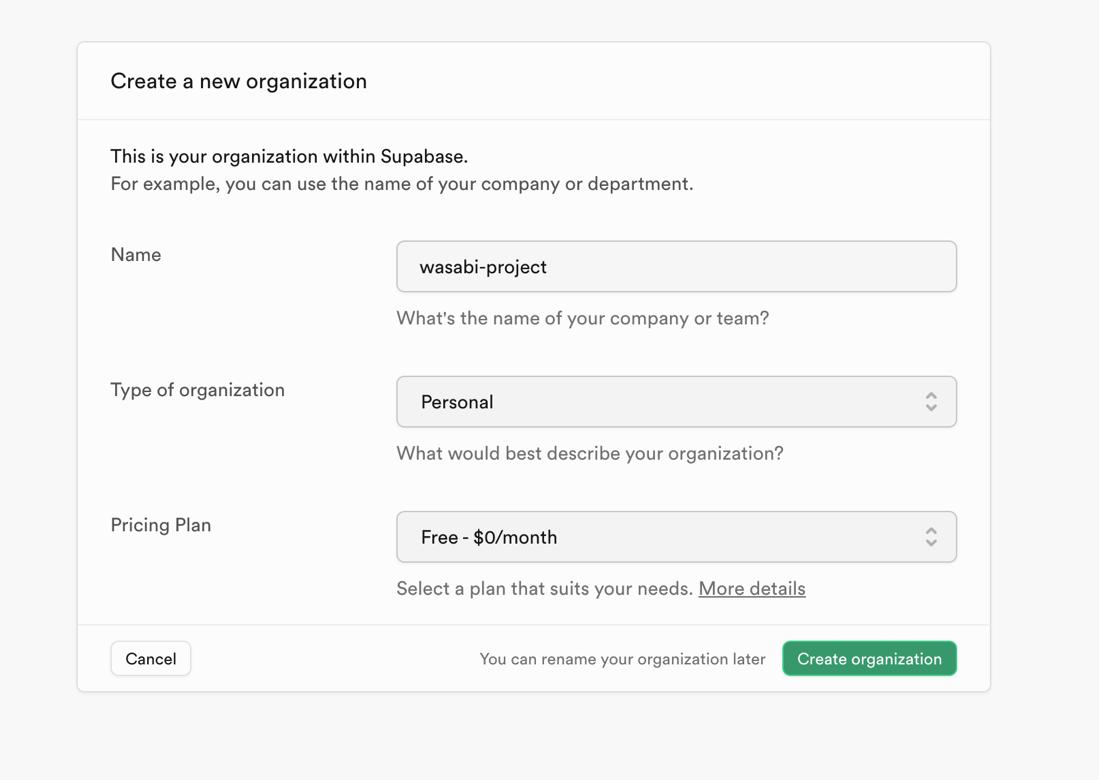
Navigate to Supabase to create an account. Create the organization and project. Fill in the name and type of organization, and select the pricing plan. Click Create organization.
Supabase’s pricing plan includes databases up to 500 MB with two shared Core CPUs and 1GB of RAM. Choose a pricing plan based on your database size and CPU requirements.
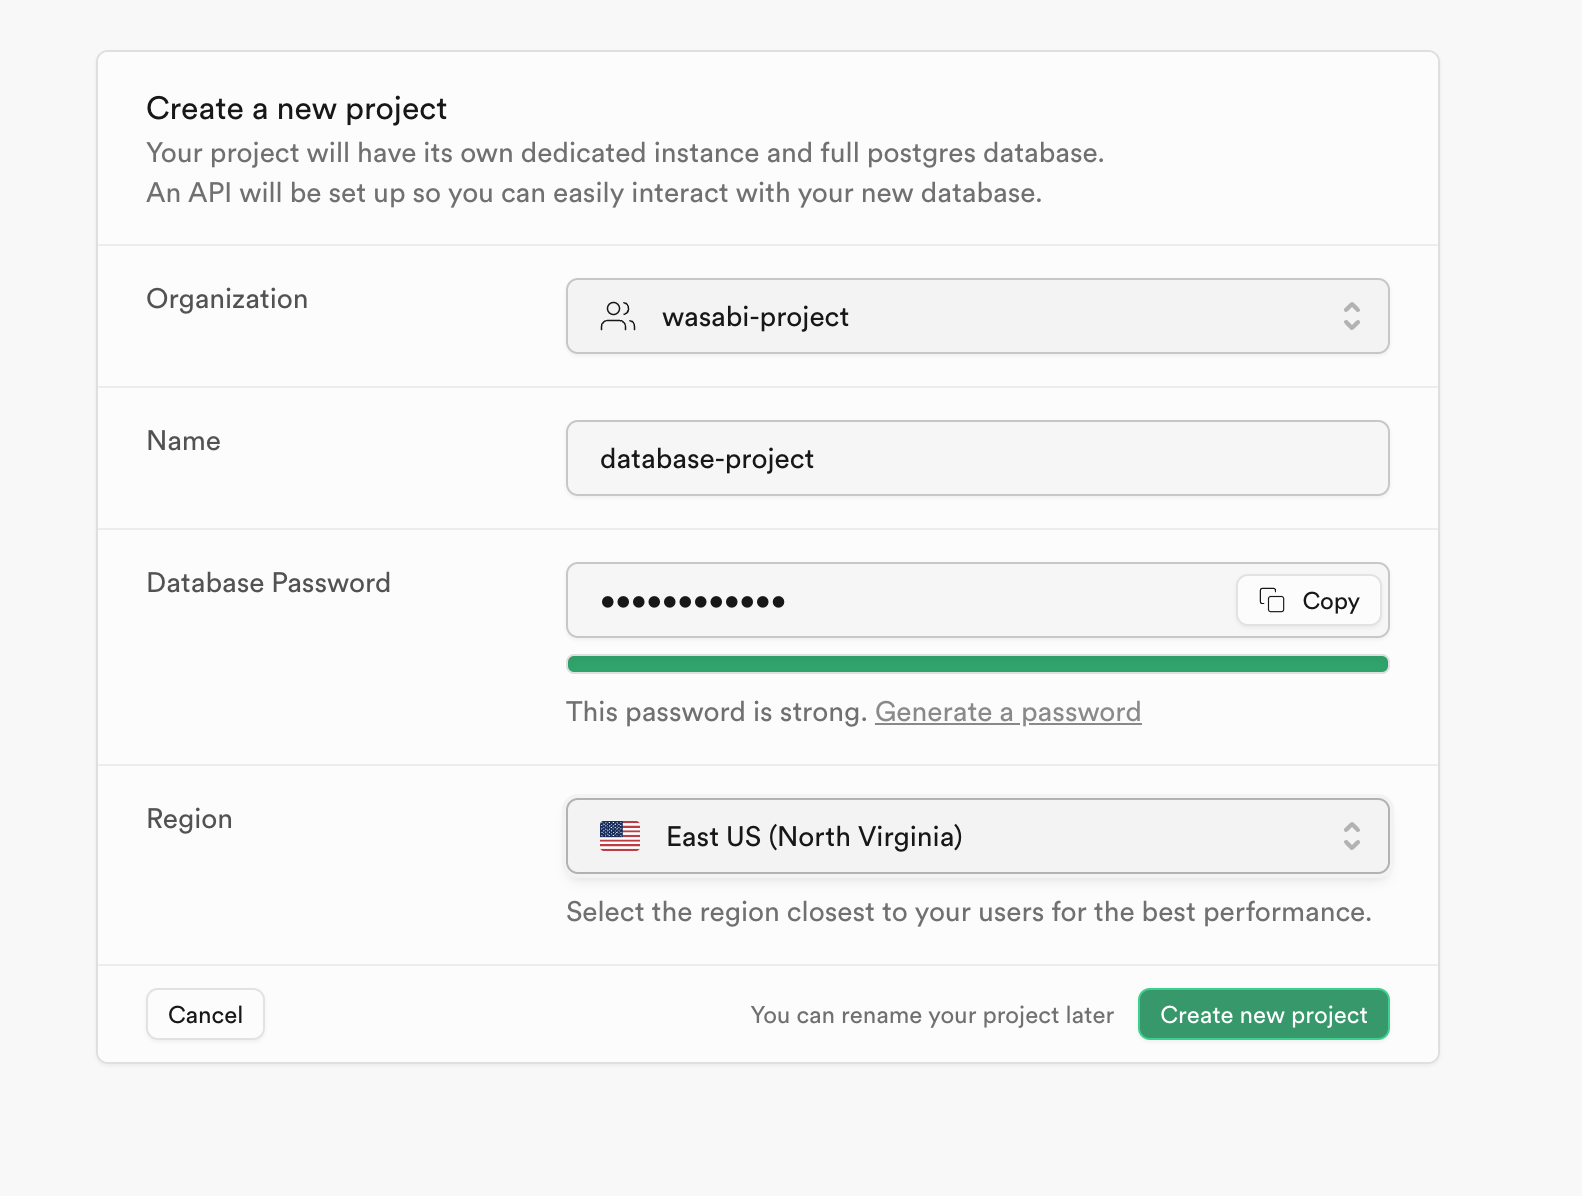
Once the organization is created, a window opens to Create a new project. Create a database password and select the region based on the use case. You may select any region; it does not have to match the region containing your bucket.
Creating an Account Access Token in Supabase
Once the Supabase project is created and activated, click Access Tokens on the Supabase account dashboard to generate the Access Token.
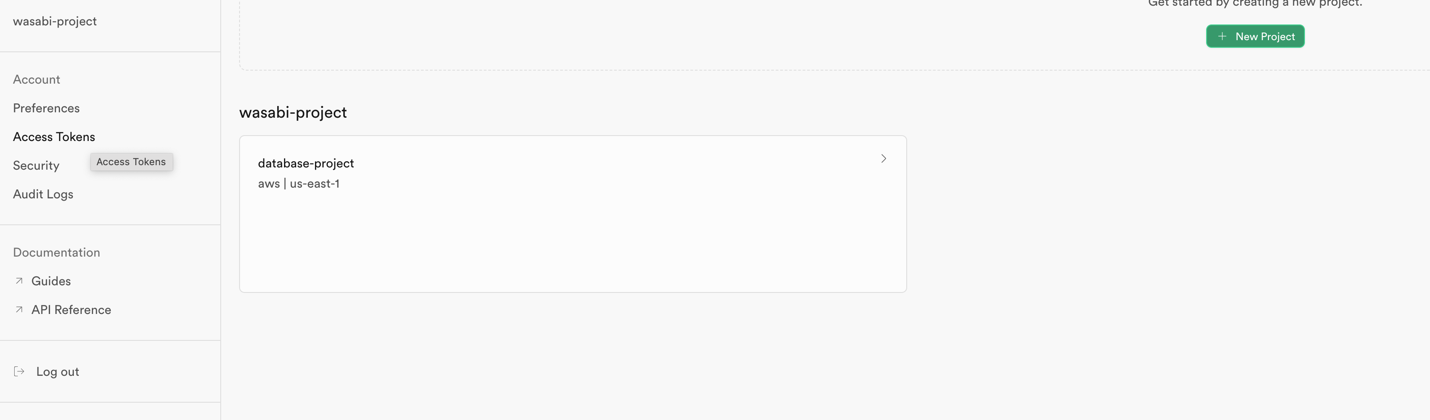
The region indicated in the project dashboard is the AWS region where your Supabase project is hosted.
Supabase simplifies user authentication by providing a seamless login experience with access tokens.
Generate an Access token to configure and link with Supabase CLI. Copy the newly created access token to a secure place.

Configuring the Supabase CLI
The Supabase CLI provides tools to develop your project locally, deploy to the Supabase Platform, handle database migrations, and generate types directly from your database schema.
For more details on installing the Supabase CLI, review Installing the Supabase CLI.
Once Supabase CLI is installed, link the Supabase CLI with the existing project using an access token.
Execute the following command in the terminal.
— supabase login --token <Account Token>

Verify that the account is linked using the Supabase CLI.
— supabase projects list

Initialize the Supabase environment using the command below.
— supabase init

Link the project to the Supabase CLI. By running the following command and choosing the project, you can link the Supabase project with the Supabase CLI. When prompted, enter the database password.
— supabase link

Create the tables and add data to the tables based on your use case.
In the example below, we added dummy data by creating a new table and uploading it from a CSV file.
Creating a Snapshot of Postgres DB
Once the project is linked with Supabase CLI, execute the following command to dump the database.
— pg_dumpall -h [database-host] -U [database-user] -f /tmp/customersdumpten.sql

Replace the database host from the database configuration in Project settings. Replace the database-user in the command. When prompted, enter the password.
see "Creating a Wasabi API Access Key Set."
Uploading the Database Snapshot to Wasabi
Create a bucket in the Wasabi account. For more information, review Creating a Bucket.
Create access keys and secret keys for the Wasabi account. For more information, review Creating a Wasabi API Access Key Set.
Database snapshots can be uploaded to the Wasabi bucket through the Wasabi Console, Wasabi Explorer, or any third-party S3-compatible tool. For larger databases, Wasabi recommends uploading through AWS CLI.
Configure the AWS CLI with the Wasabi access keys and secret keys. For more information, see “How do I use AWS CLI with Wasabi?”
You may configure the Wasabi credential with the profile name or proceed with the default.
Once the AWS CLI is set up, upload the database snapshot to the Wasabi bucket by running the following command and substituting your Wasabi bucket name.
The following example discusses the use of Wasabi's eu-central-1 storage region. To use other Wasabi storage regions, use the appropriate Wasabi service URL, as described in What are the service URLs for Wasabi's different storage regions?
— aws s3 cp /tmp/customersdumpten.sql s3://[wasabi-bucketname] --endpoint-url=https://s3.eu-central-1.wasabisys.com --profile wasabi

Restoring the Database Dump to Supabase Project
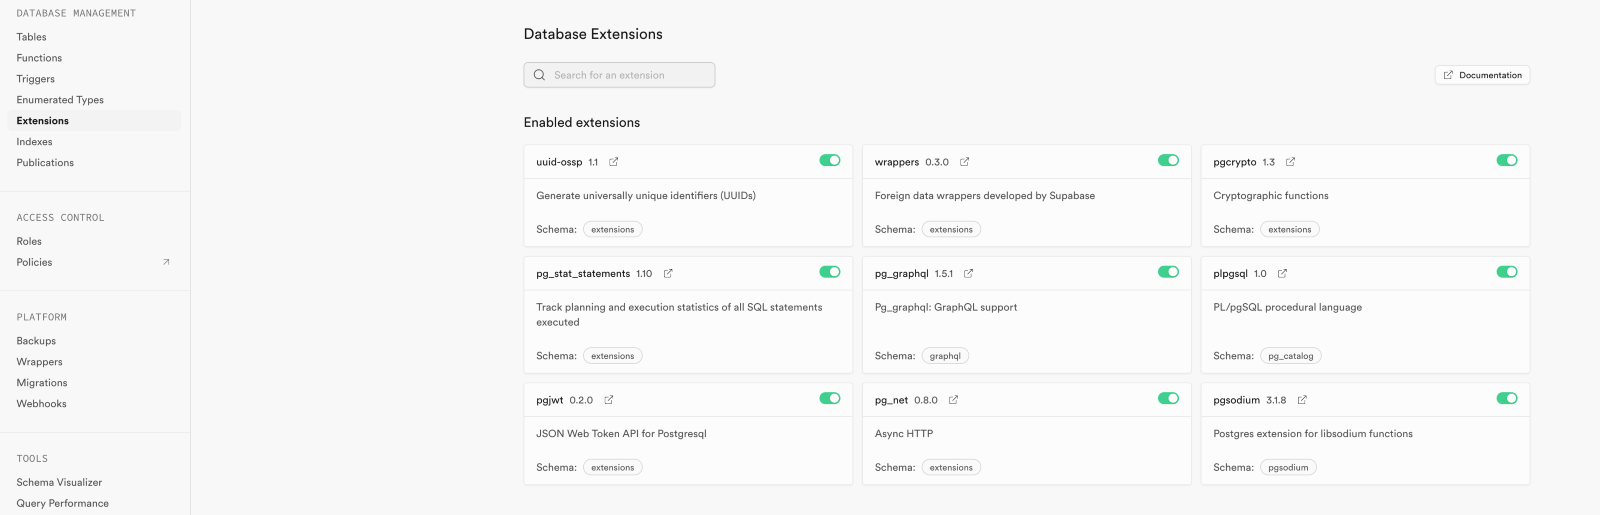
Before restoring the dump file, ensure that any extensions or wrappers enabled in the previous project are enabled in the same way in the new Supabase project.
Sample extensions page:
— psql -h [database-host] -d postgres -U [database-user] -f /tmp/customersdumpten.sql
Replace the database host and database-user with the actual string from project settings. Enter the password for the new project database.

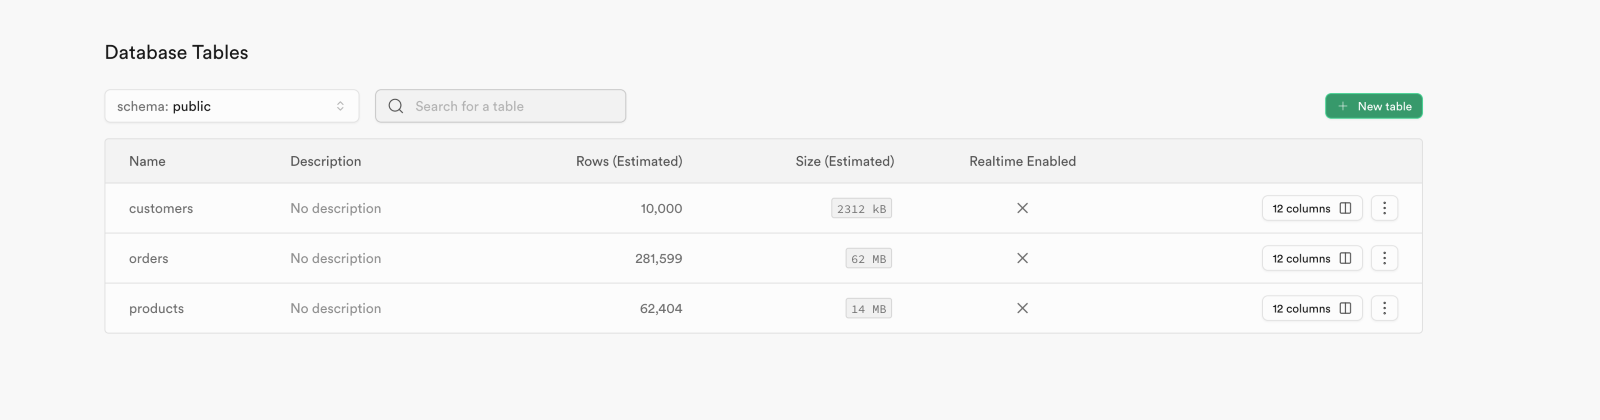
Click Tables on the Supabase project dashboard to confirm that the database was successfully restored.

For more questions, submit a request.