On the Asset Details page, the video preview window contains the following settings. Click  on the video player to view all settings.
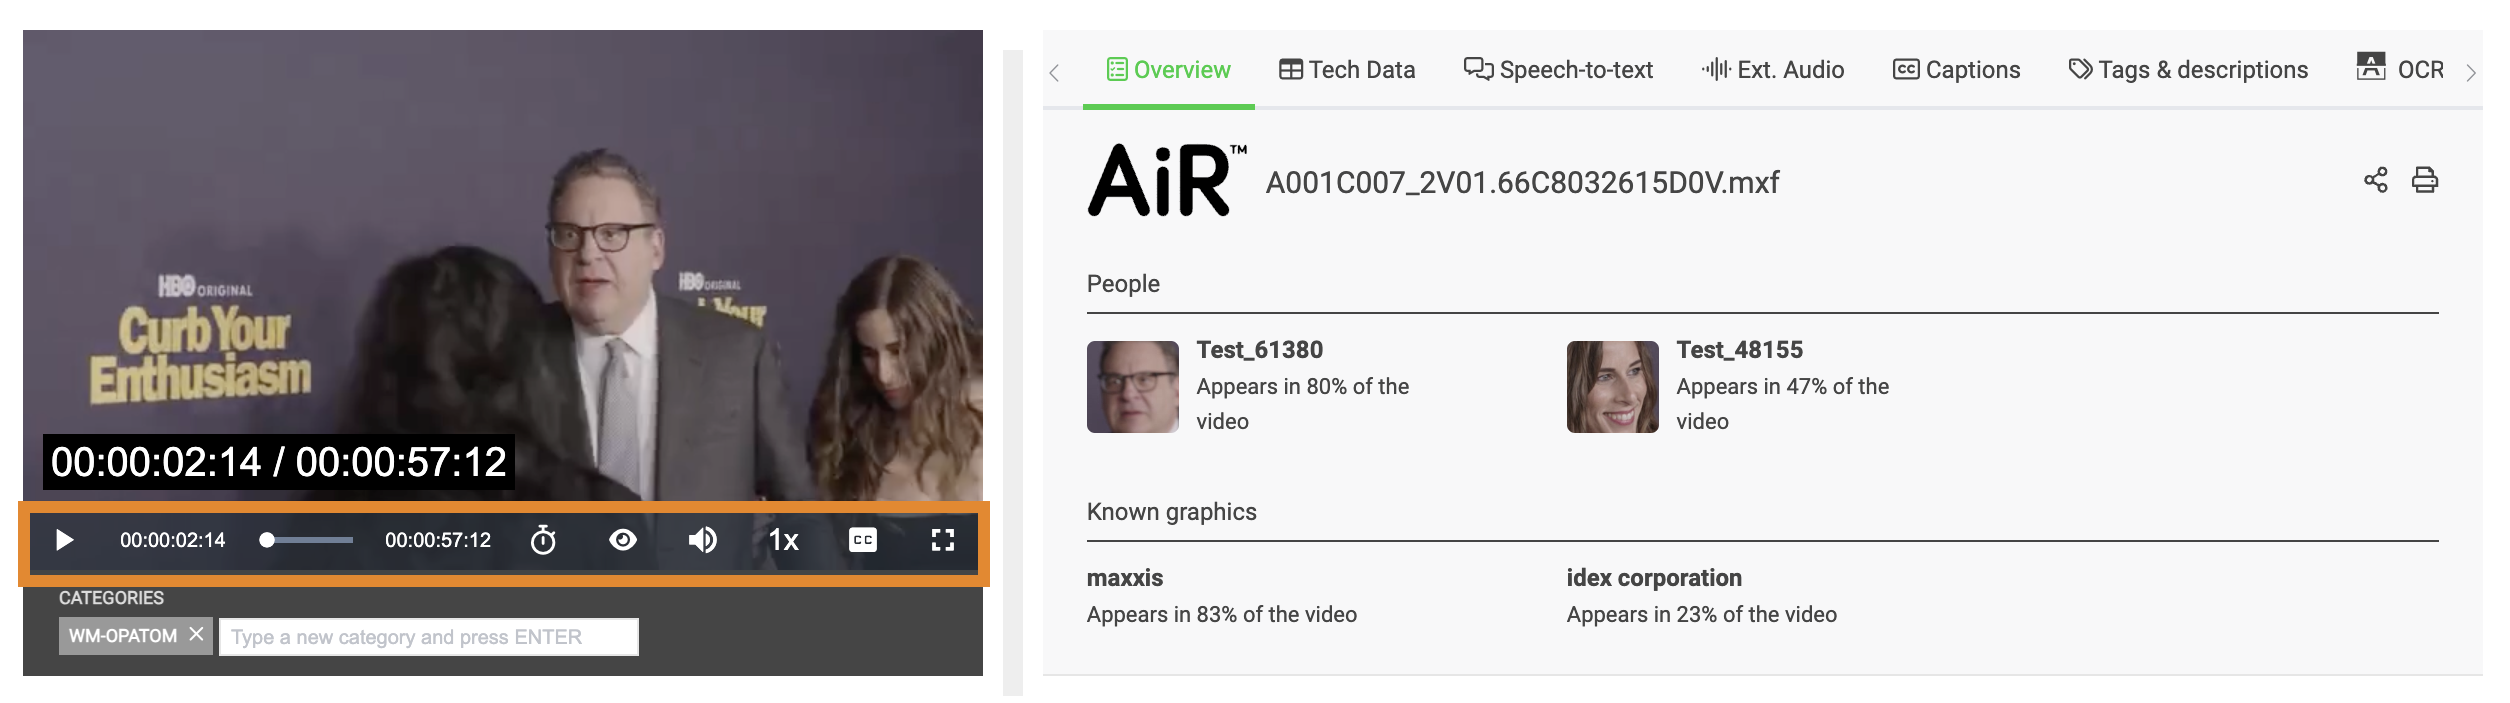
Play — Play/pause video.
 Toggle switch for timecode/frame — (default: timecode) Click to overlay frame details on the screen.
 Turn onscreen overlay on/off — Turn onscreen overlay off/on.
 Volume — Adjust volume.
 Playback Rate — Modify the speed of the video playback.
 Captions — (if applicable) Modify caption settings, turn captions on/off, and view existing closed captions.
 Audio Track — (if applicable) Toggle between embedded audio tracks.
 Fullscreen — Maximize the video view.
The asset details panel contains embedded and customizable data about the asset. The following tabs are located at the top of the panel. Click > to show more data types.
.png)
Overview
The Overview tab provides a summary of the People, Tags, Logos, Insights, and basic technical specifications detected in the asset. Use the scroll bar on the right of the panel to browse more detail. From the upper right corner of the window, you can use the following icons to:
 Share the overview as a link.
 Print the overview as a pre-formatted PDF file.

Tech Data
The Tech Data tab provides information about the technical metadata embedded in the video file. Select one of the following tabs from the list and use the scroll bar to browse more detail.
- Item Info
- Video Data
- Audio Data
- Audio Track Info
- General Metadata
- External Metadata
- Exiv2
- Loudness
- Stow Metadata
.png)
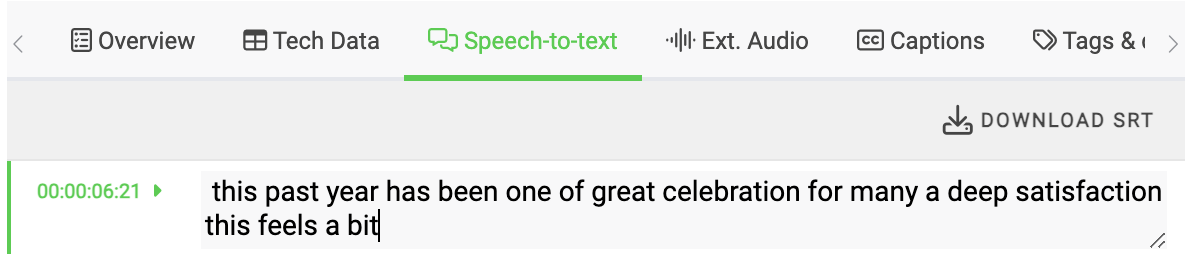
Speech-to-text
The Speech-to-text tab offers AI-created speech-to-text with corresponding timestamps. You can download, edit, and delete this text. Select a speech-to-text entry to quickly jump to the frame of the video where that text is spoken.
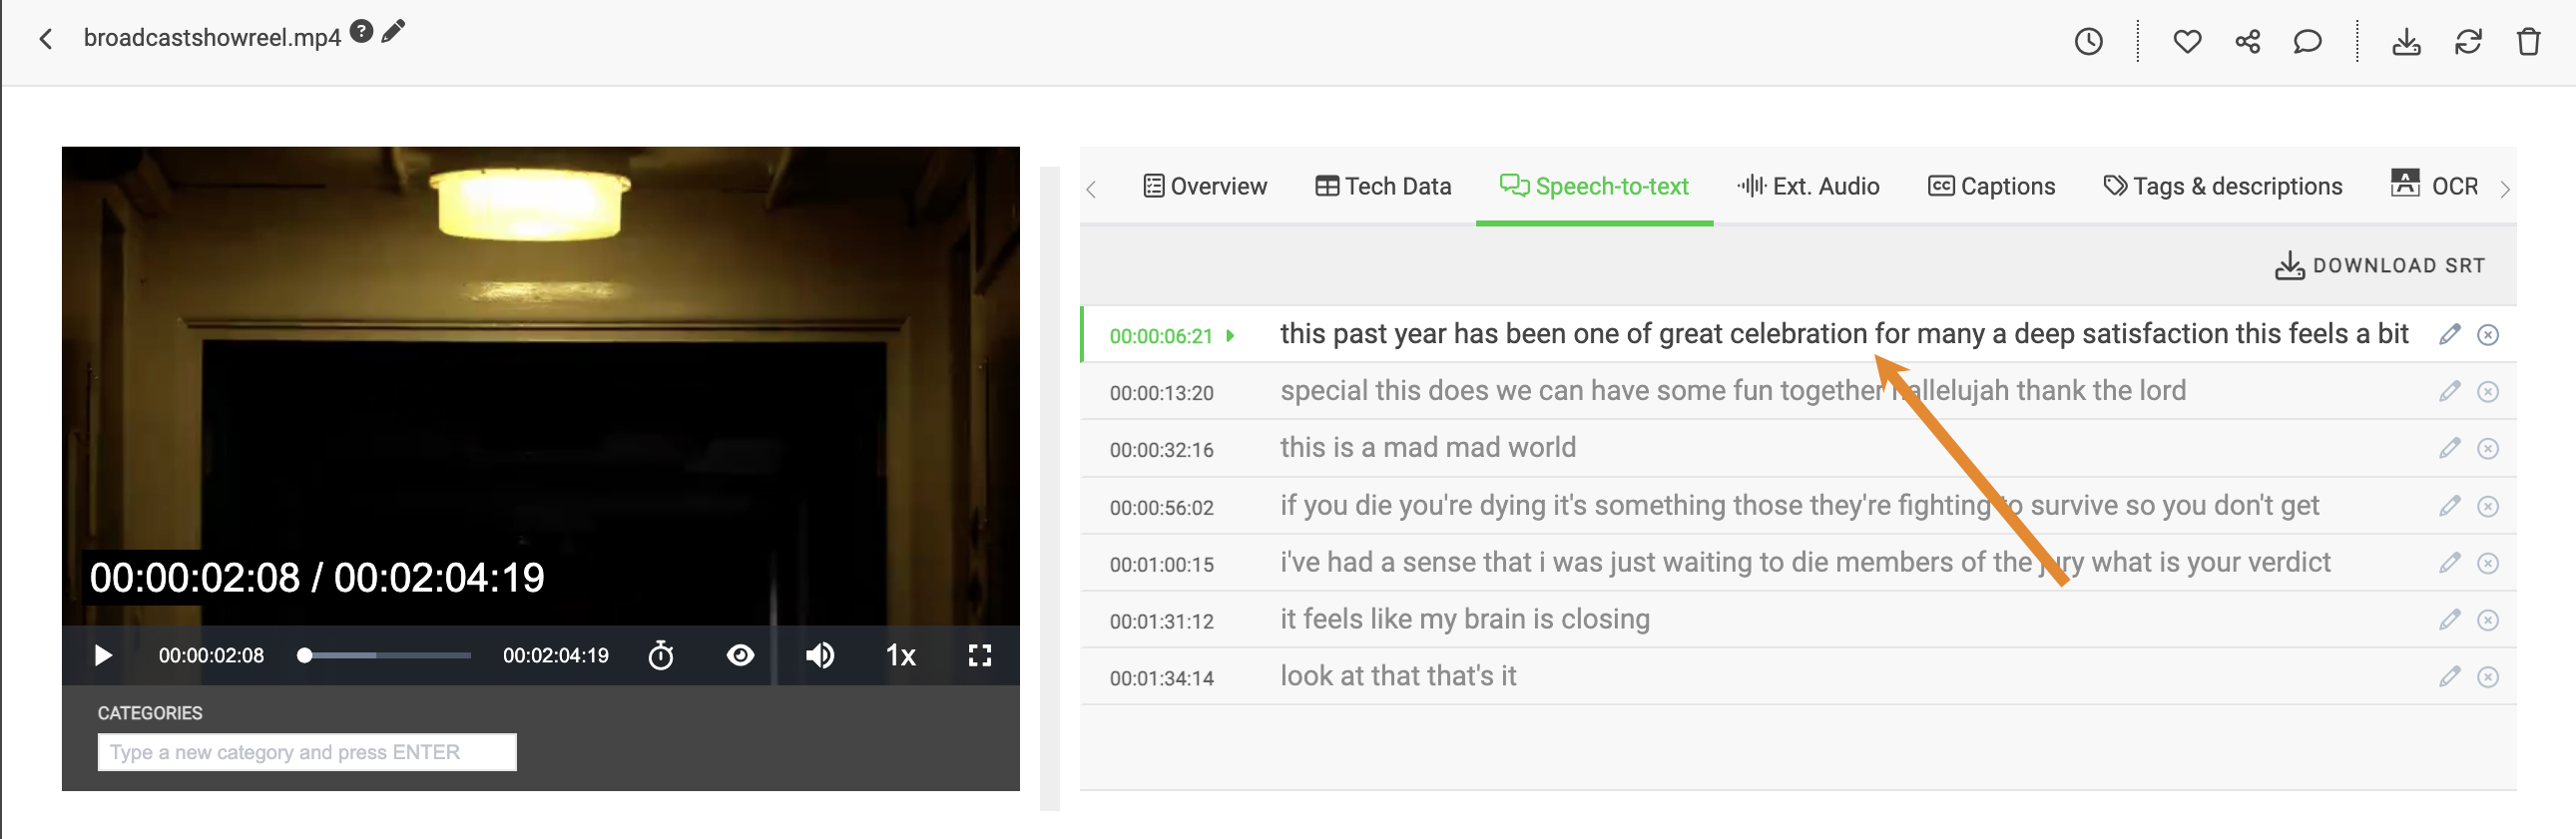
Downloading a Speech-to-text Entry
To download text as a common .srt file (subtitle), click DOWNLOAD SRT.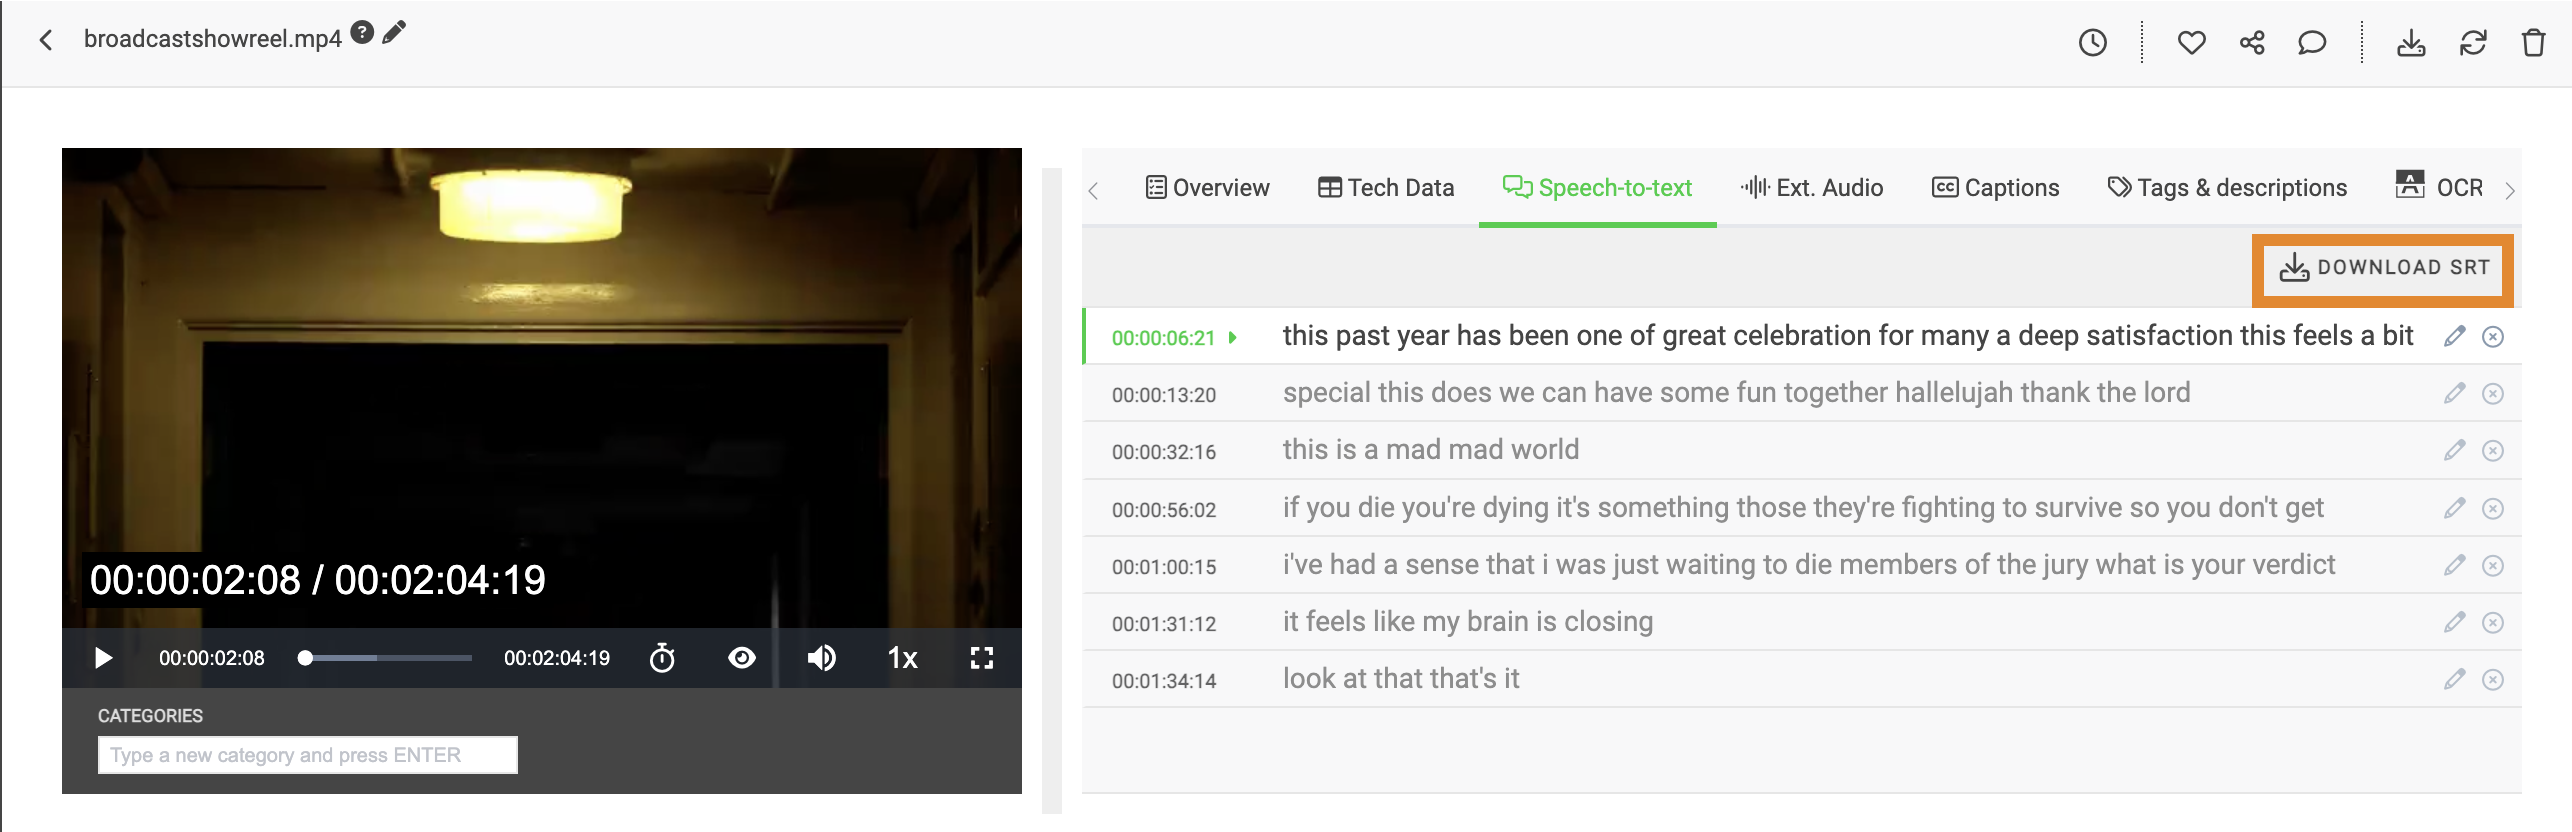
Editing a Speech-to-text Entry
- Select a line item in which to edit.
- Click
.png) .
.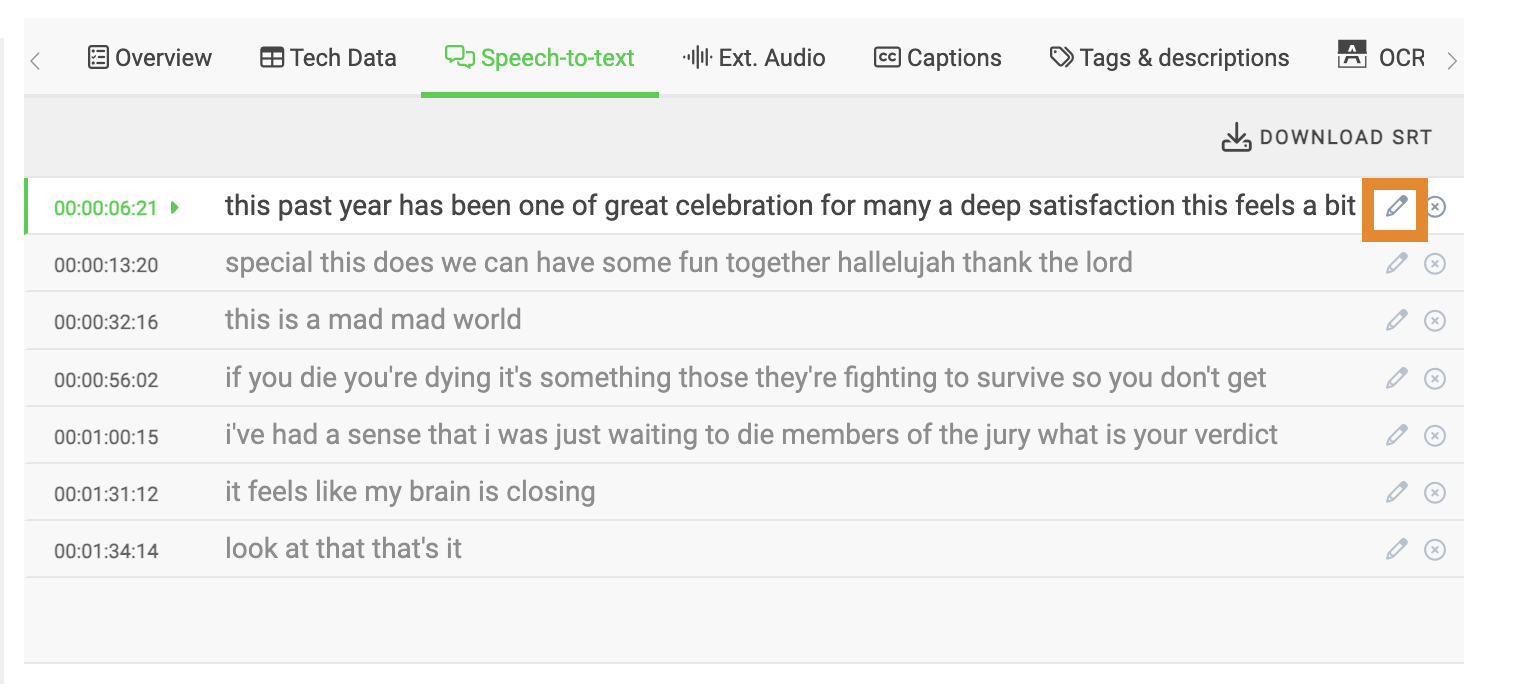
- Edit the text.
- Once complete, press the Return key to save.
A banner notification will confirm that the Speech-to-text entry has been successfully updated.
Deleting a Speech-to-text Entry
- Select a line item in which to delete.
- Click
 .
..png)
- A message will request that you confirm the deletion. Click DELETE.

Ext. Audio
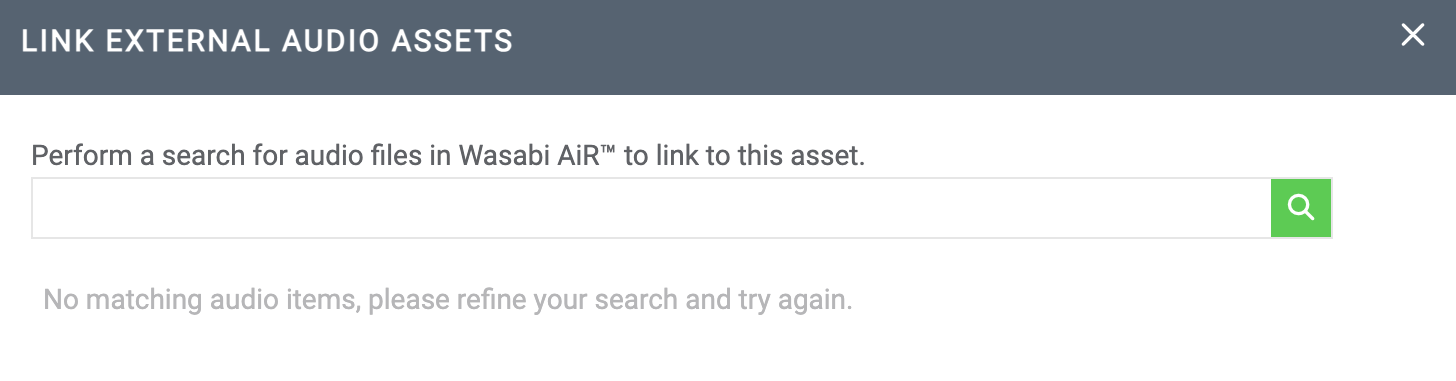
The Ext. Audio tab enables you to link external Wasabi AiR audio files to an asset. When you link an audio track, the track will play in-sync with the video player.
- Select the Ext. Audio tab.
- Click + LINK AUDIO ASSETS.

- In the type field, enter the name of the audio file.
- Once complete, click
 . Optionally, press Return.
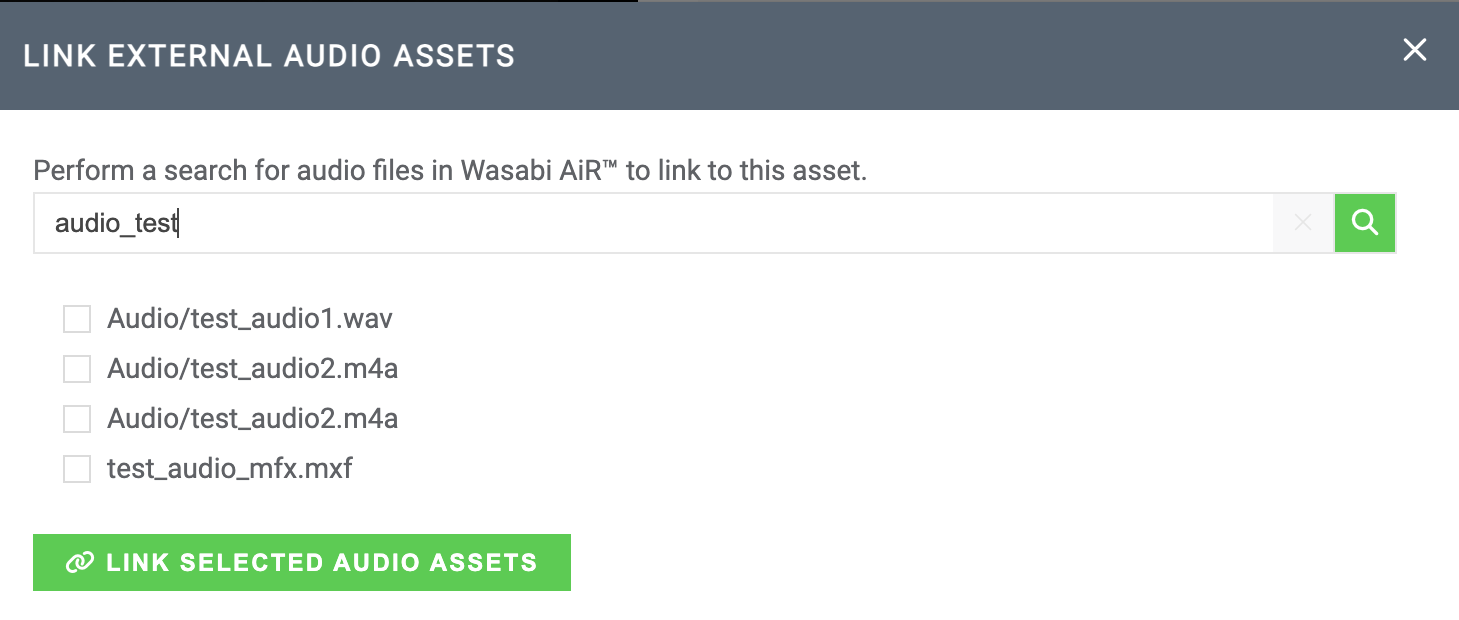
- Check the box in the list of suggestions to select a file.
- Optionally, select multiple audio files to link to the asset.
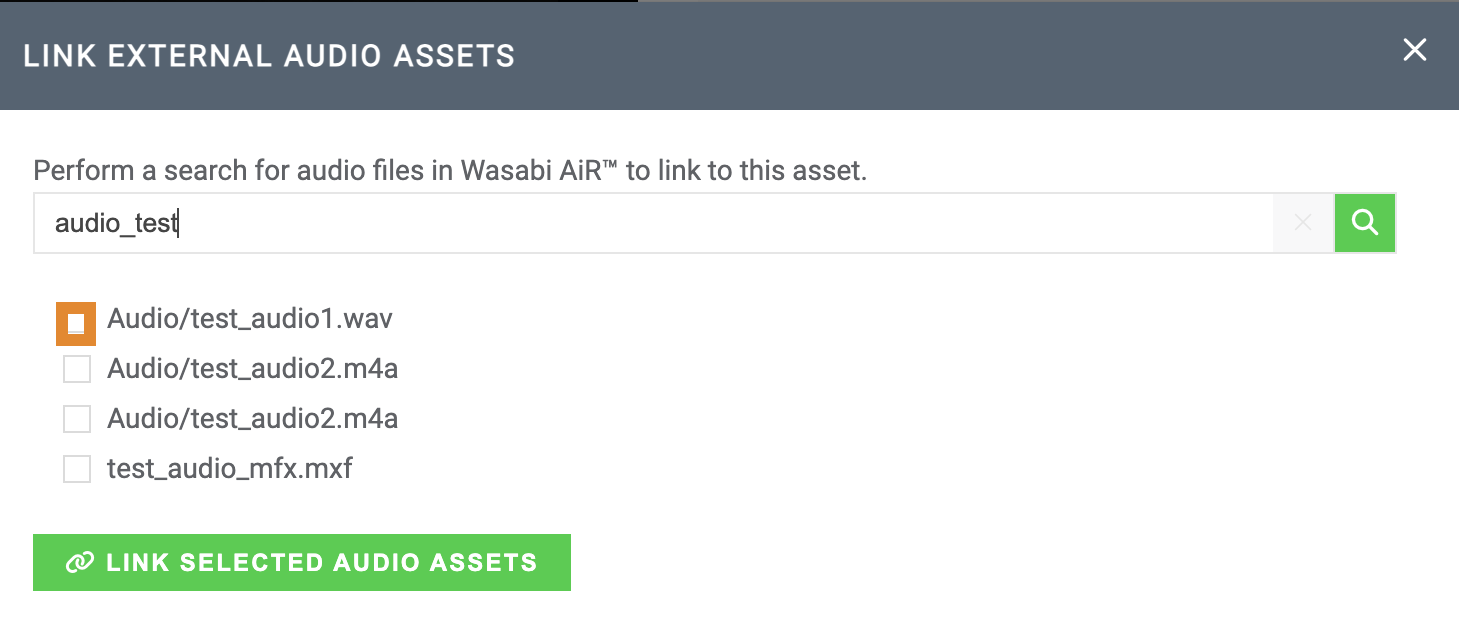
- Click LINK SELECTED AUDIO ASSETS.
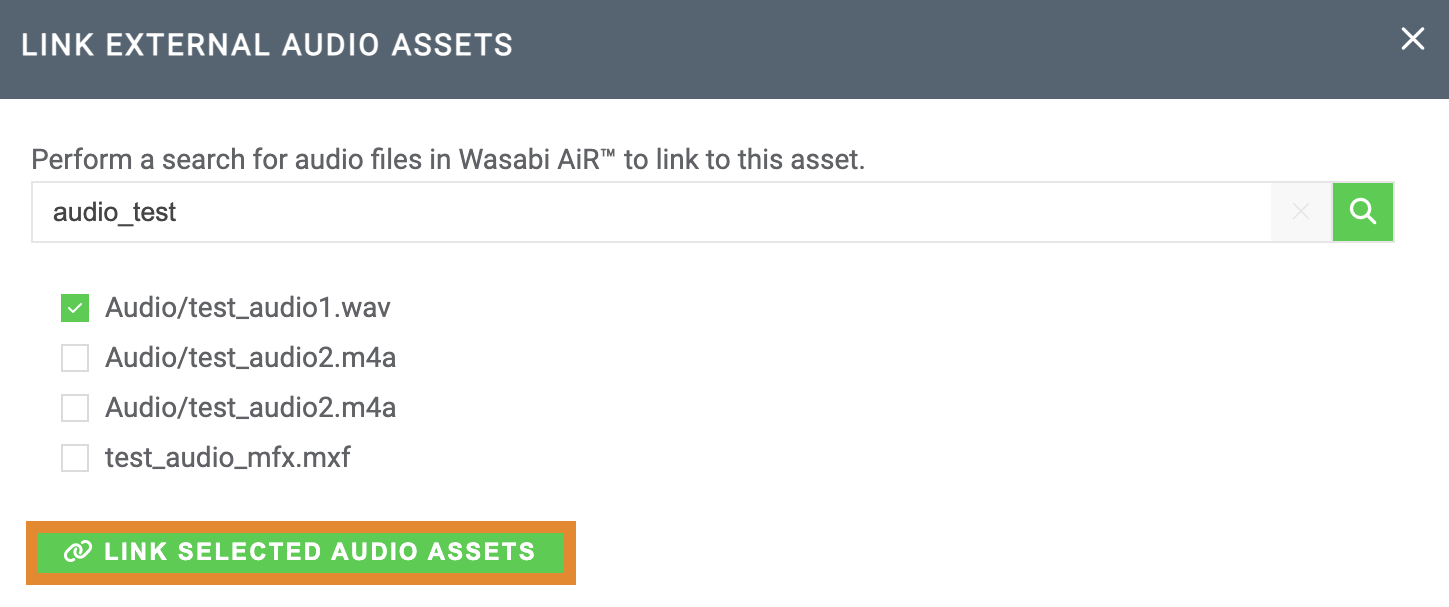
A message will confirm that the file has been linked to the asset.

- On the Ext. Audio tab, select the audio file.
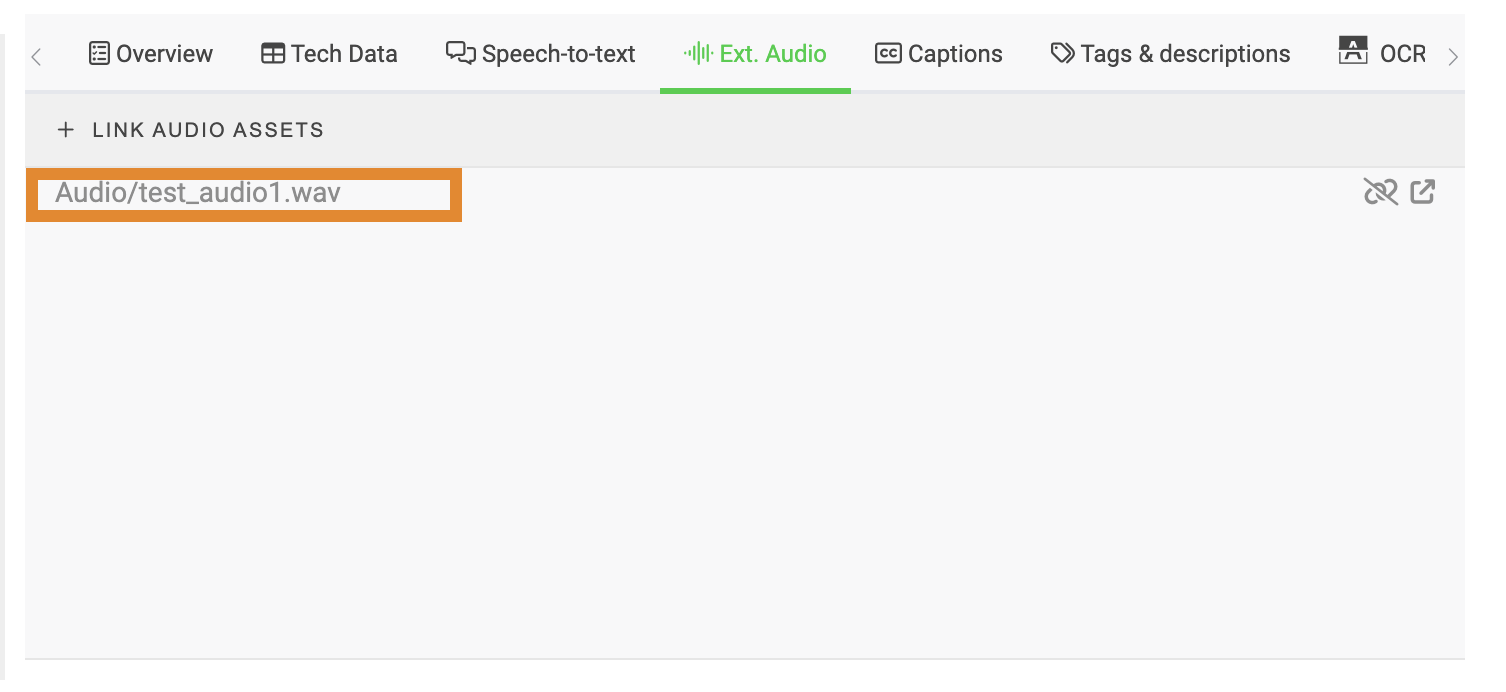
- Click
 on the video player to play the audio file in-sync with the video.
Each of your linked audio file(s) will provide the following options, as shown below.
Click  to unlink and remove the audio file.
Click .png) to open the audio file in a new window.
to open the audio file in a new window.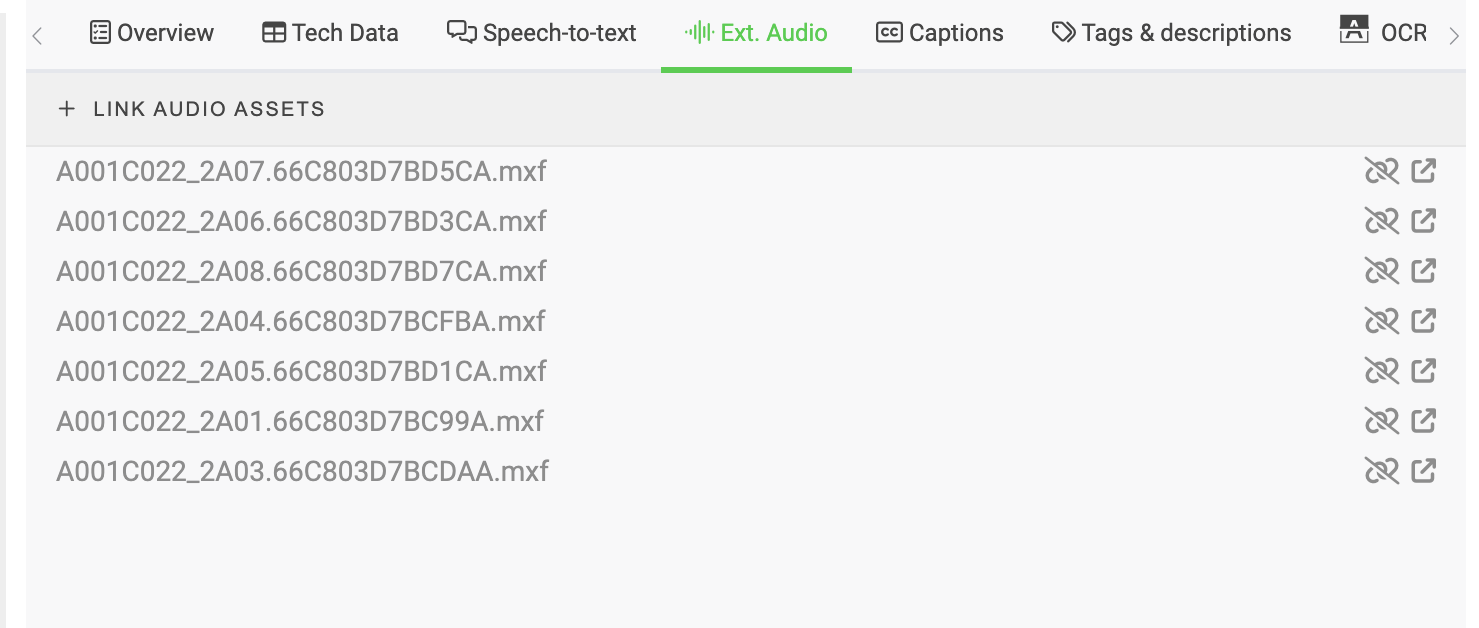
Embedded Audio
If a video file contains embedded audio, you can quickly toggle between audio tracks on the video player.
- Click on the video player.
- Select an audio track.
- Click to play the selected track in-sync with the video.
Captions
The Captions tab displays any captions that are embedded or uploaded to an asset. You can upload, download, delete, and cycle through multiple caption files (for example, caption files in different languages). Uploaded captions will play in-sync with the video player timecode, or can be off-set +/- in seconds, and align for an accurate sync.
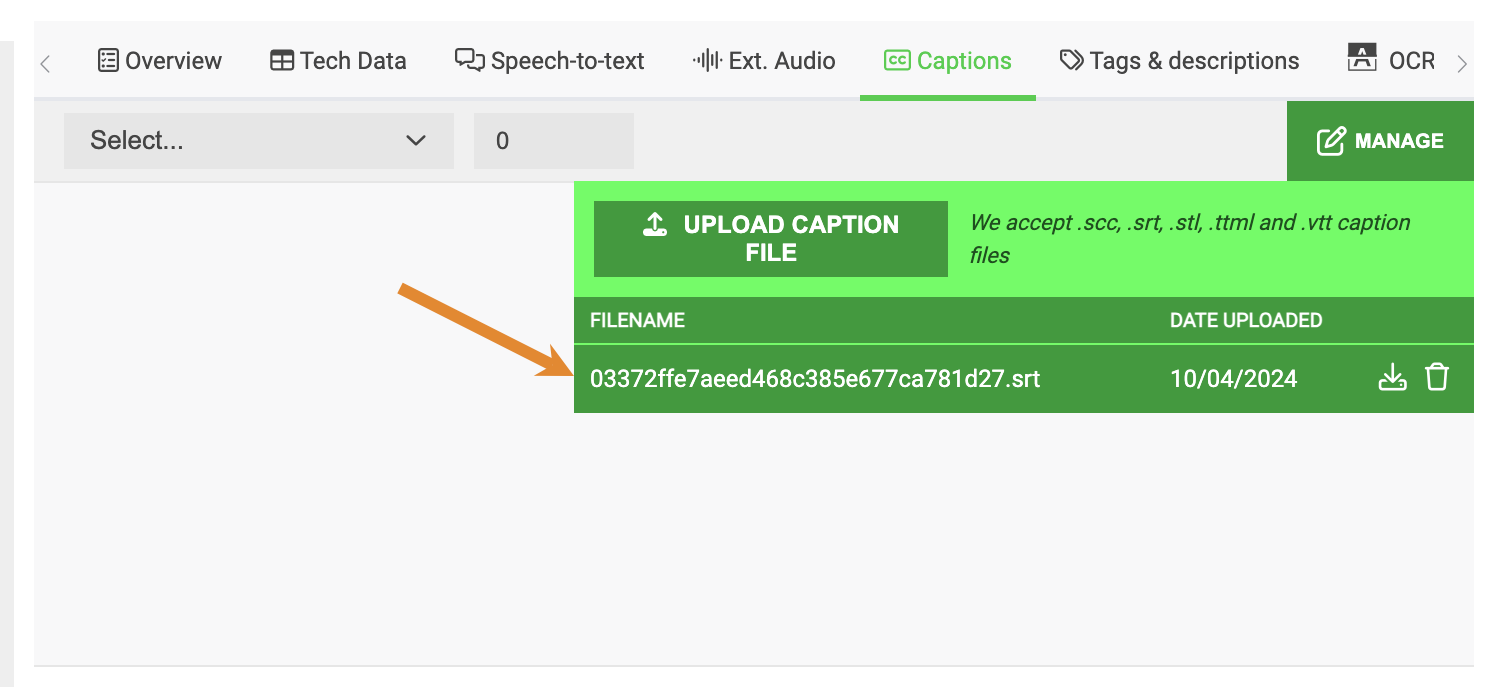
Uploading a Caption File
- Select the Captions tab.
- Click MANAGE.

- Click UPLOAD CAPTION FILE.
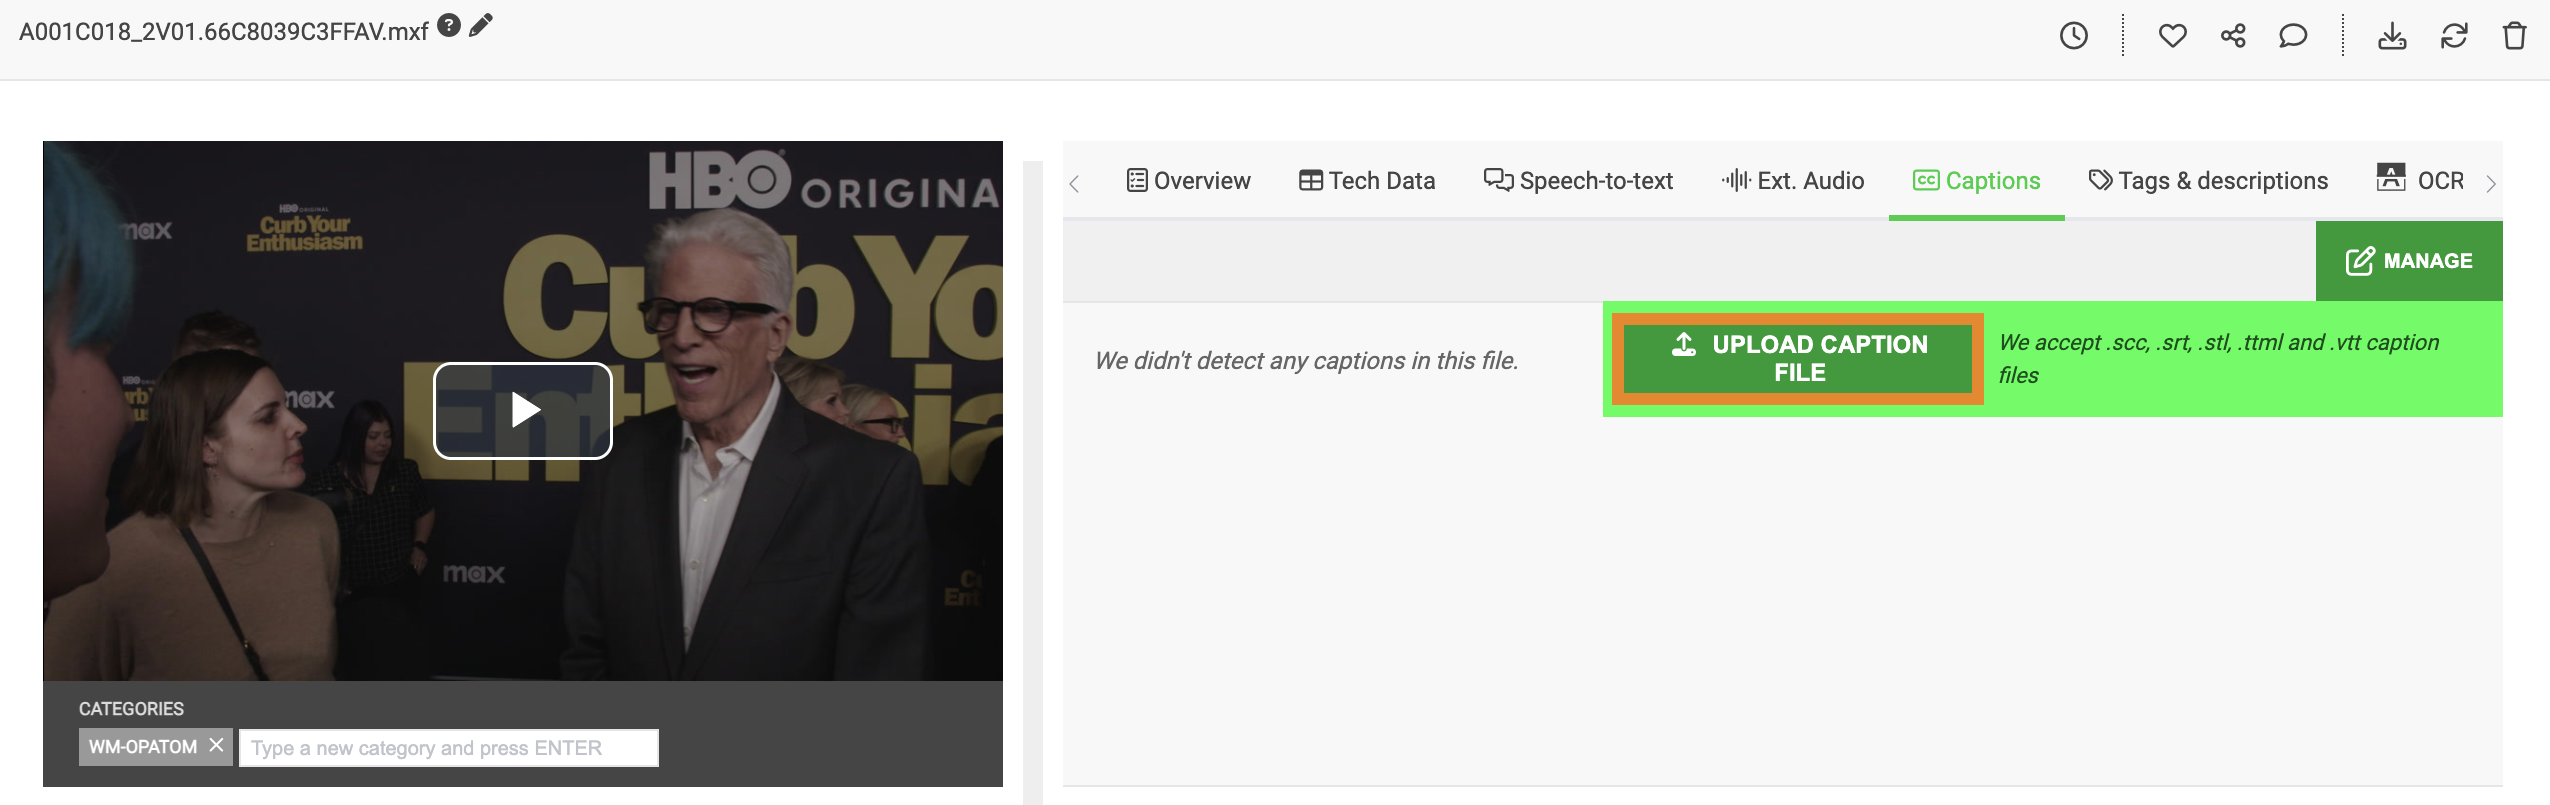
- Select a file from your local machine.
Once complete, the file will be displayed in the highlighted window.
- Select the file.
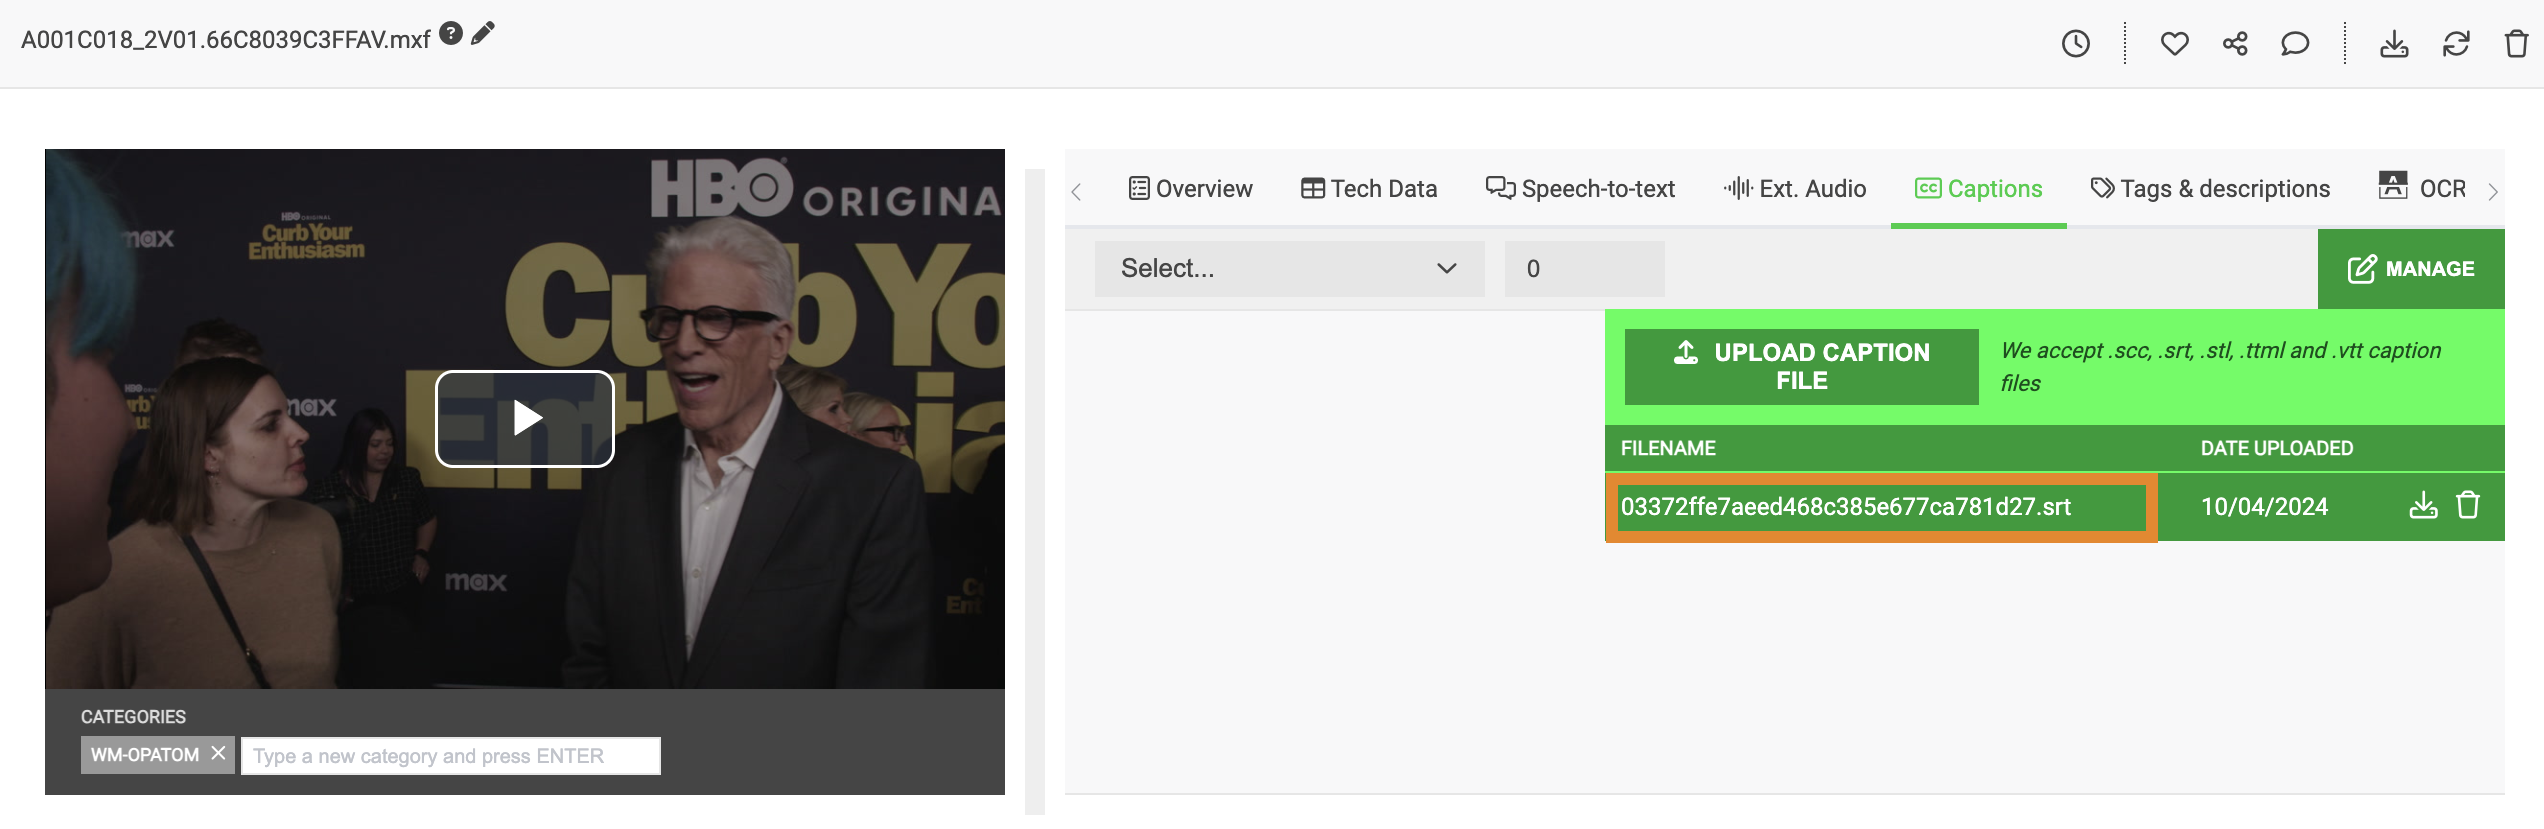
The caption file is now added to the asset.
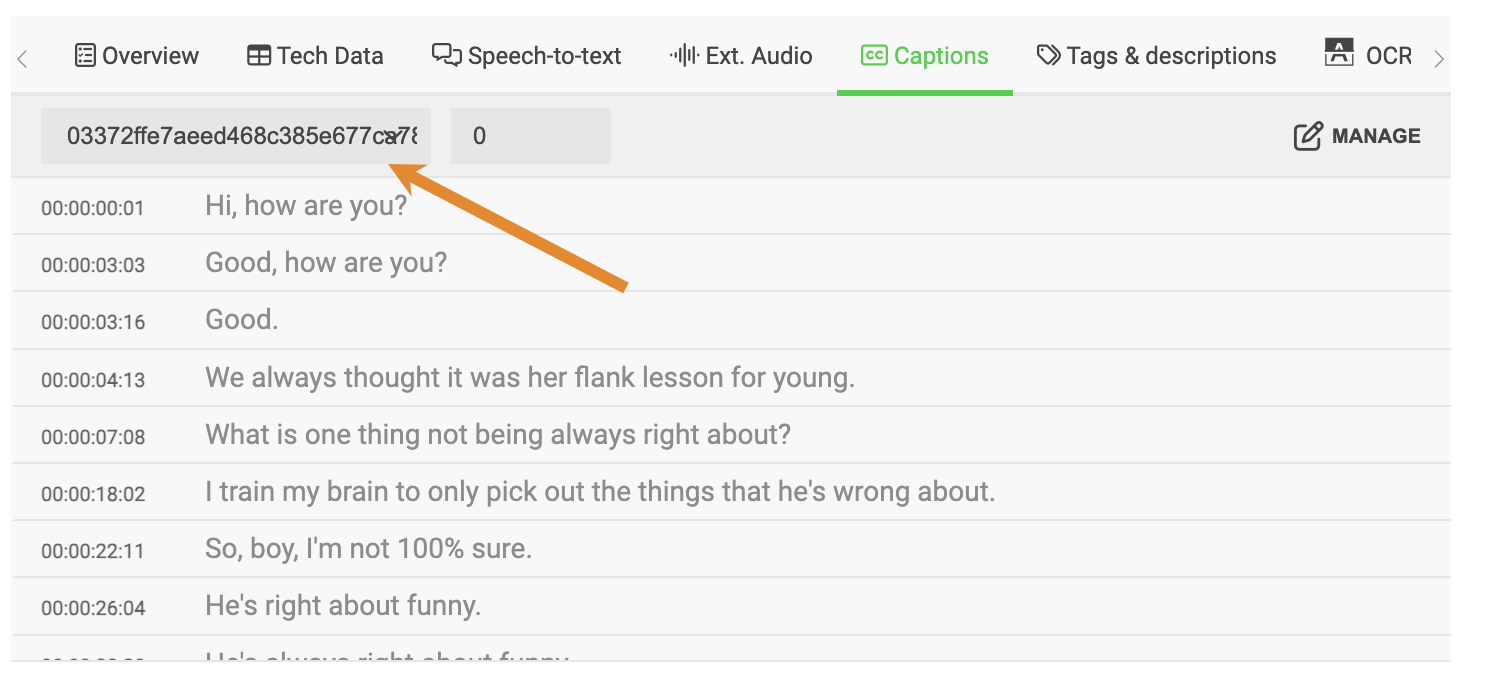
- To offset the playback of the caption file, enter a number (in seconds) into the type field.
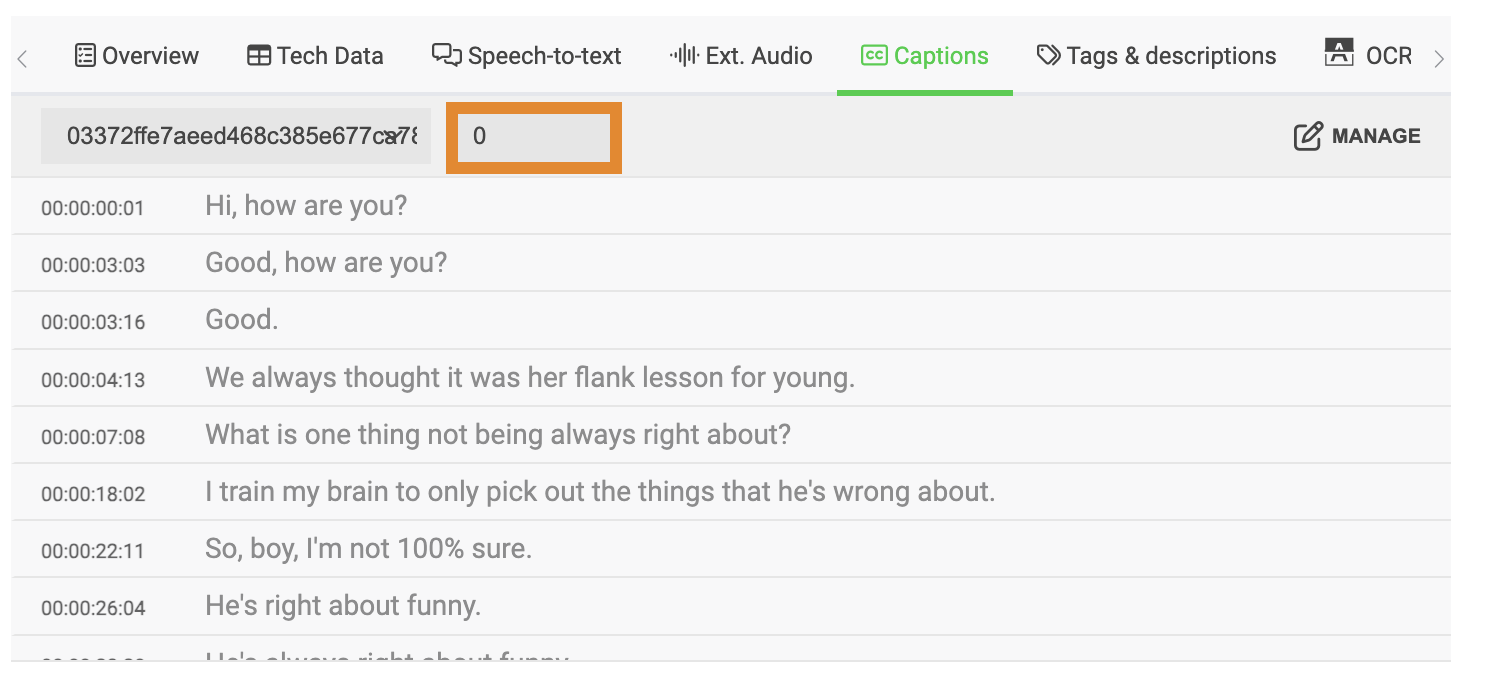
- Click
 to save the changes.
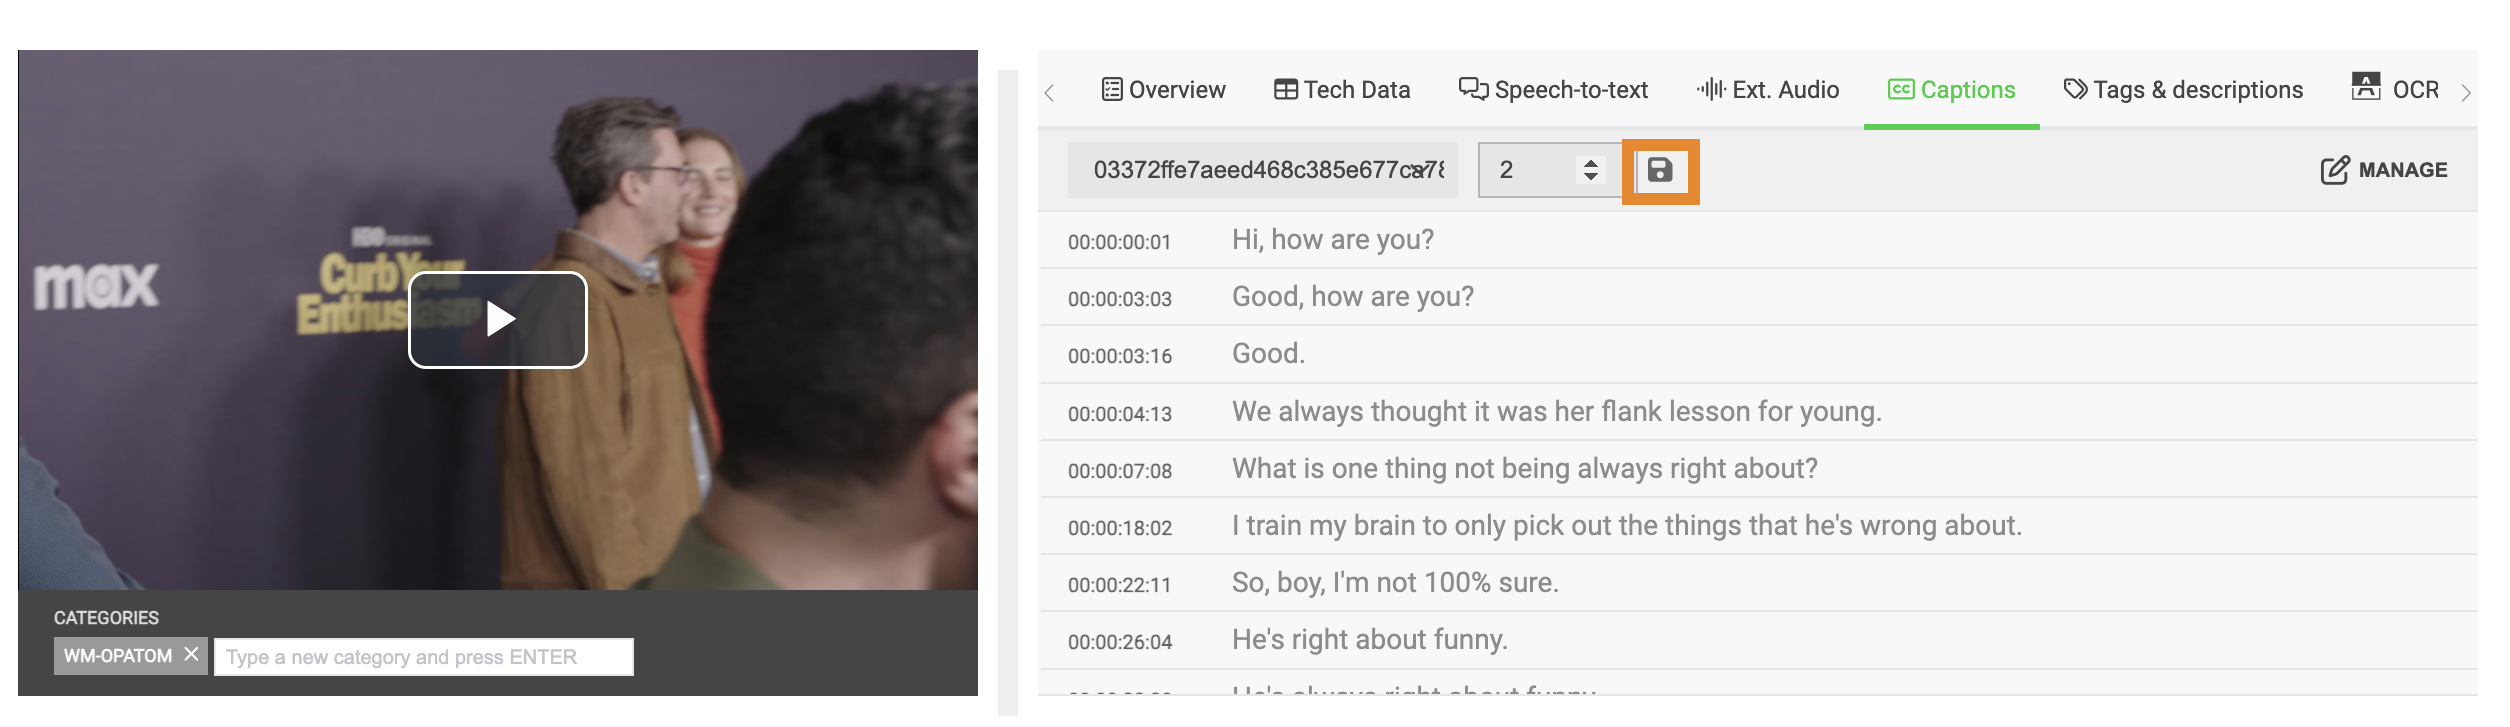
- Click on the video preview window to play the caption file over the video.
Downloading and Removing Caption Files
Caption files that are uploaded to an asset or embedded in the file can be managed from the Captions tab. Click MANAGE to view a list of all captions for the asset. Each caption will provide options to:
 Download the file to your local machine.
 Remove the file from the asset.
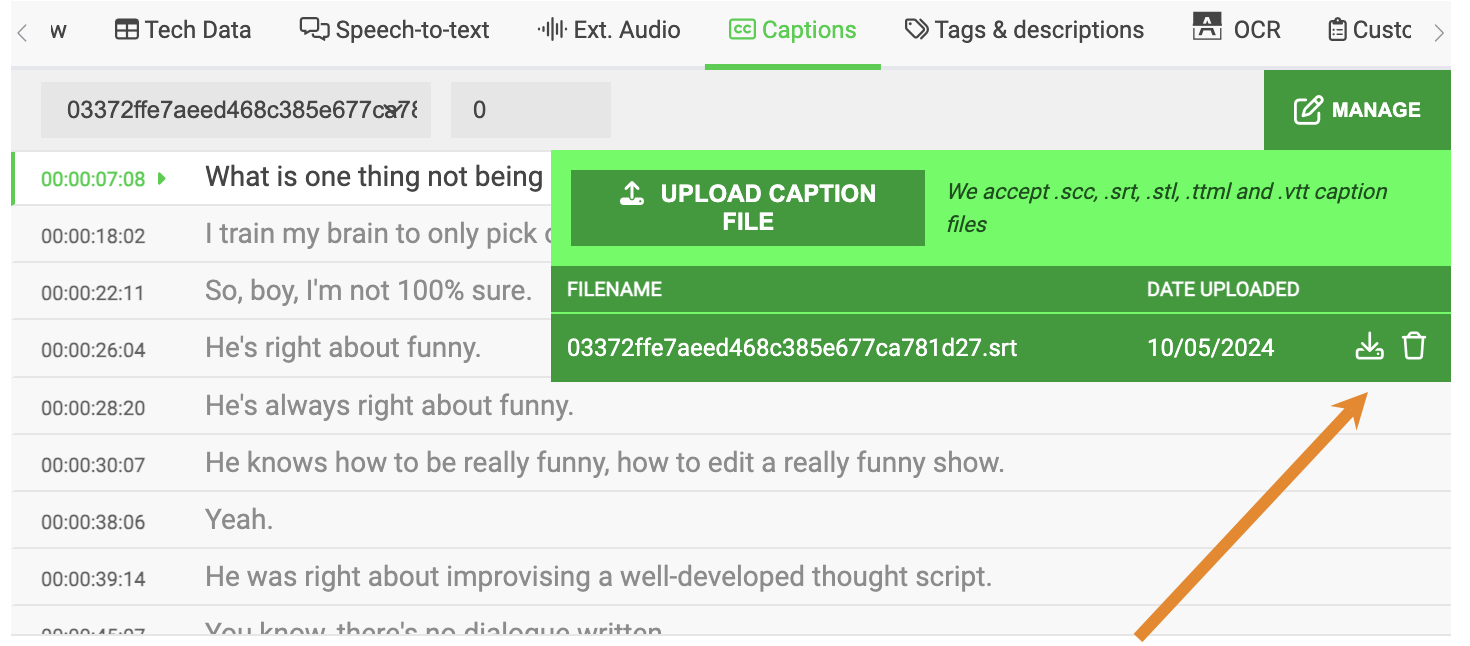
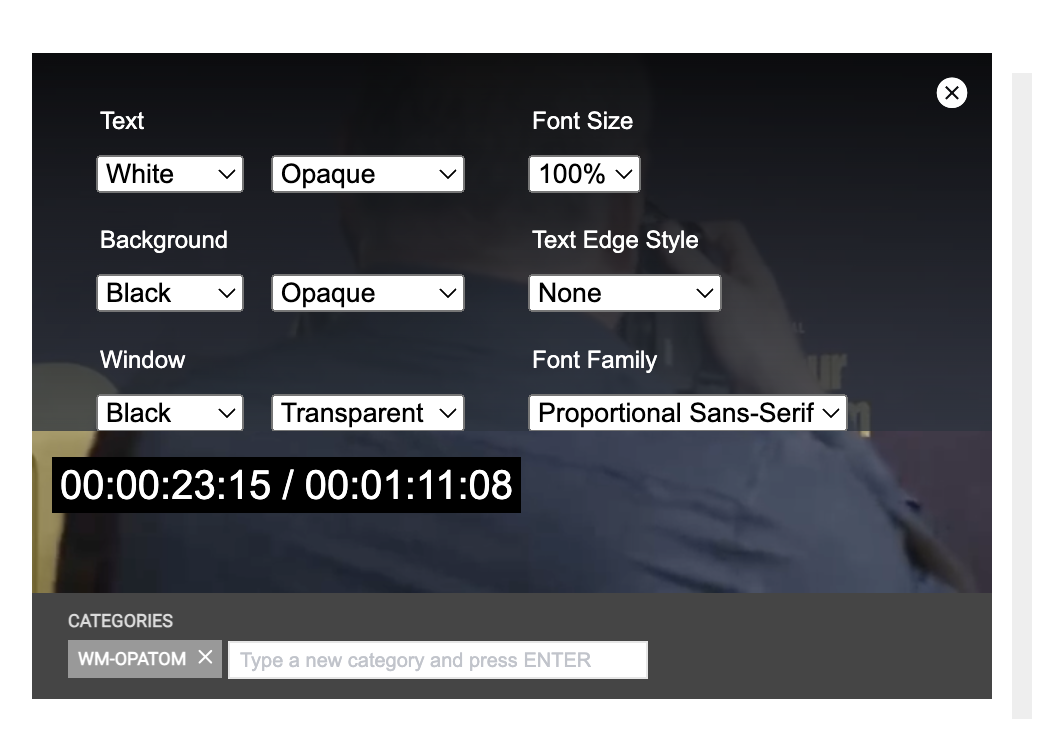
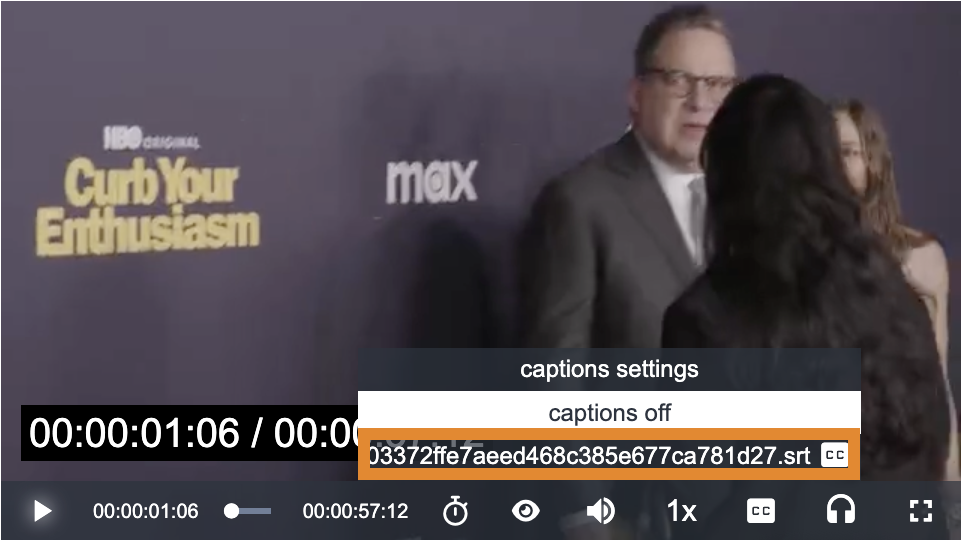
Modifying Caption Settings on the Video Player
On the video player, click to access the following settings:
- Caption settings enables you to select options from each drop-down menu to customize Text, Font Size, Background, Text Edge Style, Window, and Font Family.
- Captions off enables you to turn captions off of the video player.
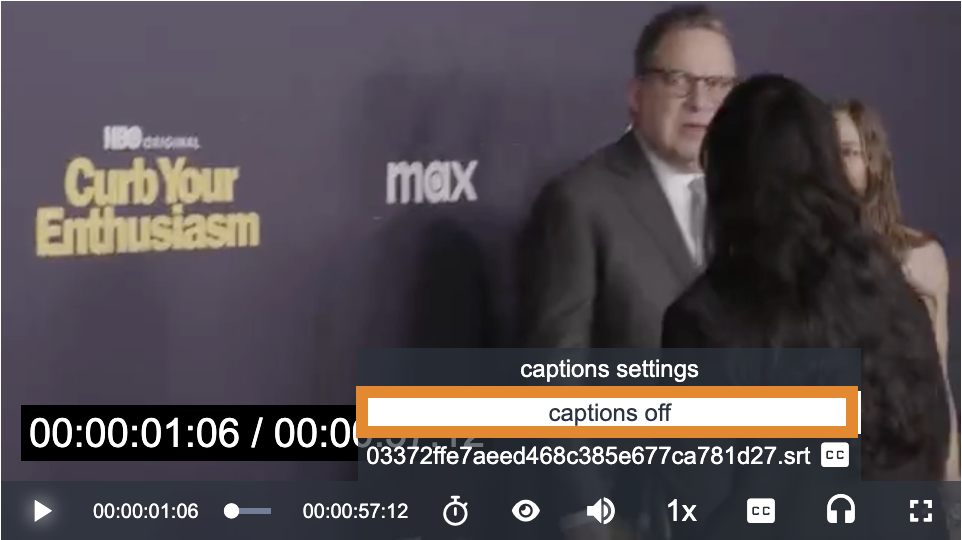
- Closed captions enables you to select and display embedded or uploaded closed captions on the video.
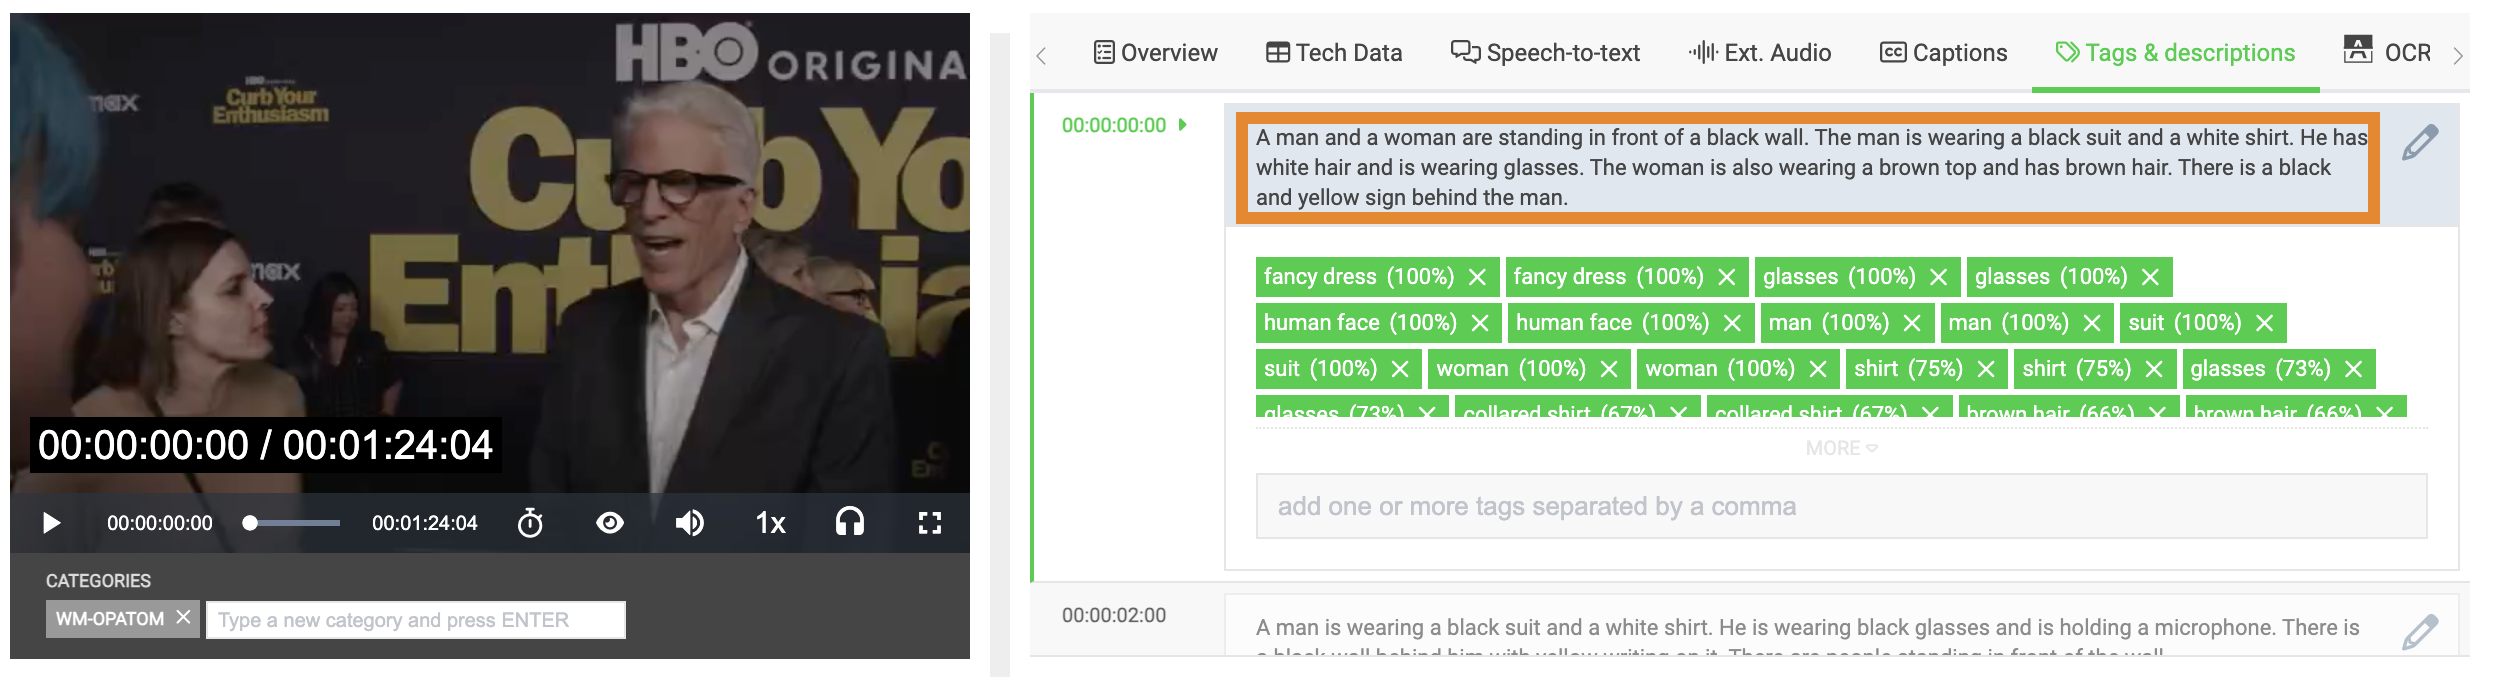
Tags & Descriptions
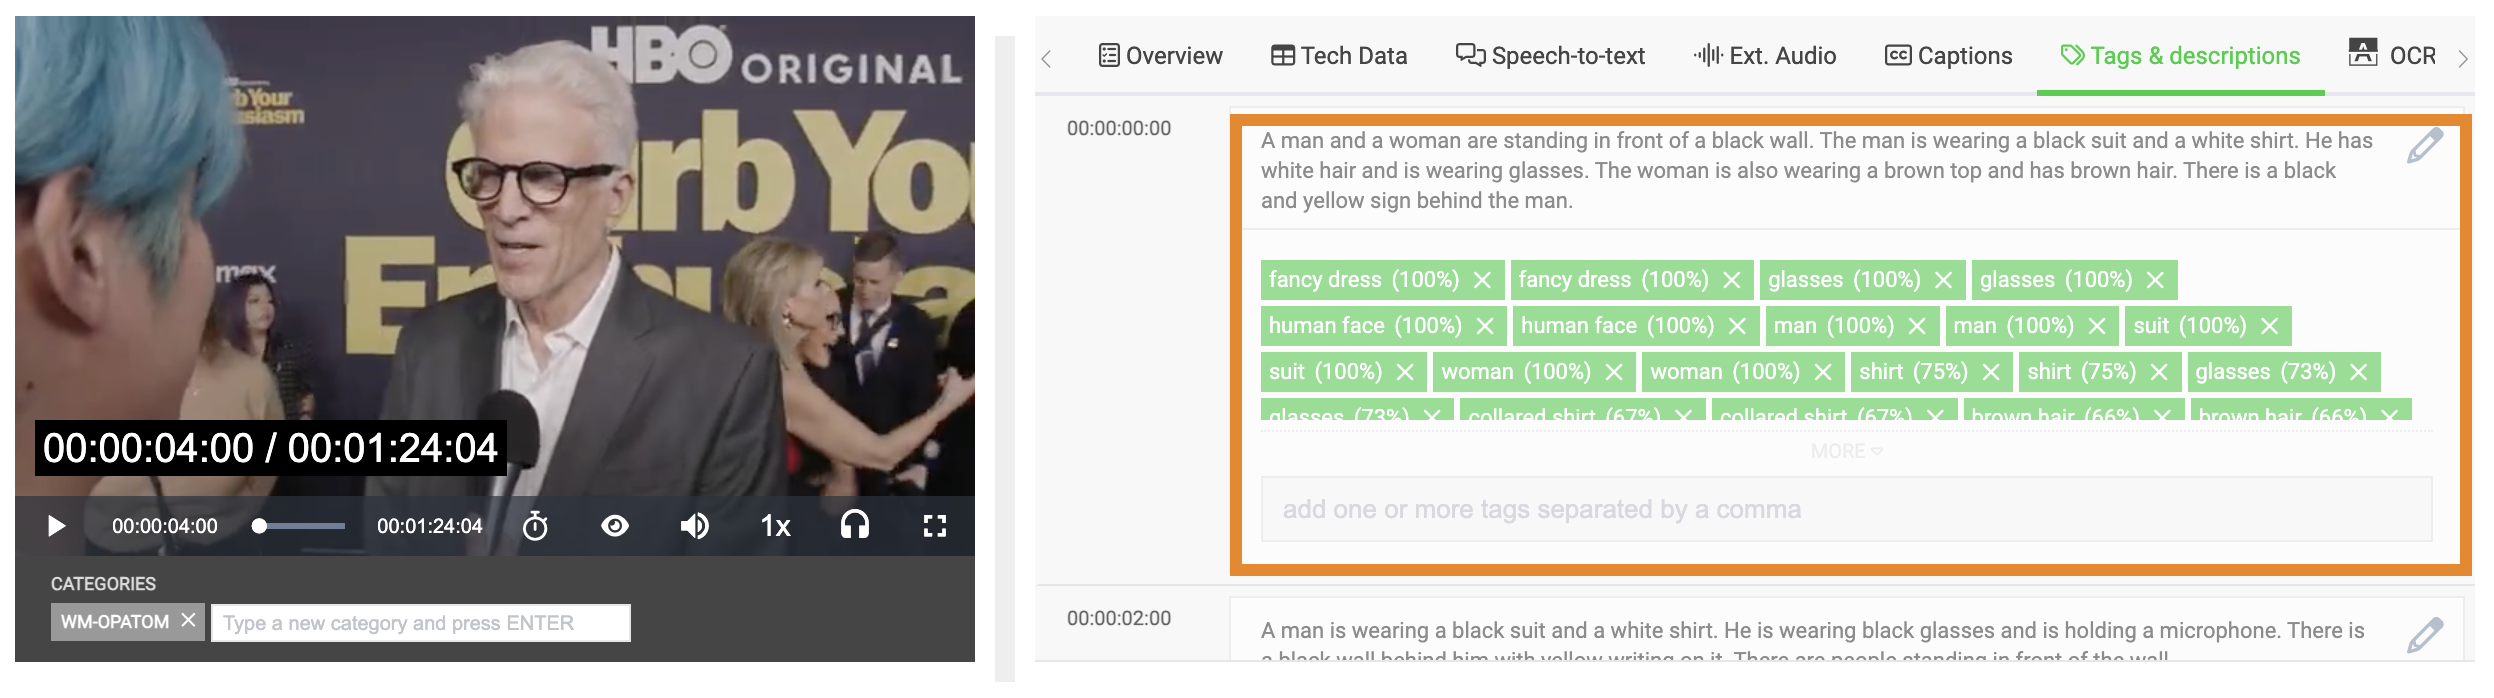
On the Tags & Descriptions tab, Tags provide AI-powered object detection data while descriptions provide Natural Language Description data. This data is based on pre-determined frame rates for a video. You can set the frame rate interval in your extractor profile to determine the frequency of which Wasabi AiR collects screen captures. These screen captures are interpreted by ML services and generate tags and descriptions of the frames.
Use the scroll bar on the right of the panel to browse the time-stamped tags and descriptions detected in the asset. Click in the time-stamped panel to quickly jump to the corresponding section of the video, as shown below.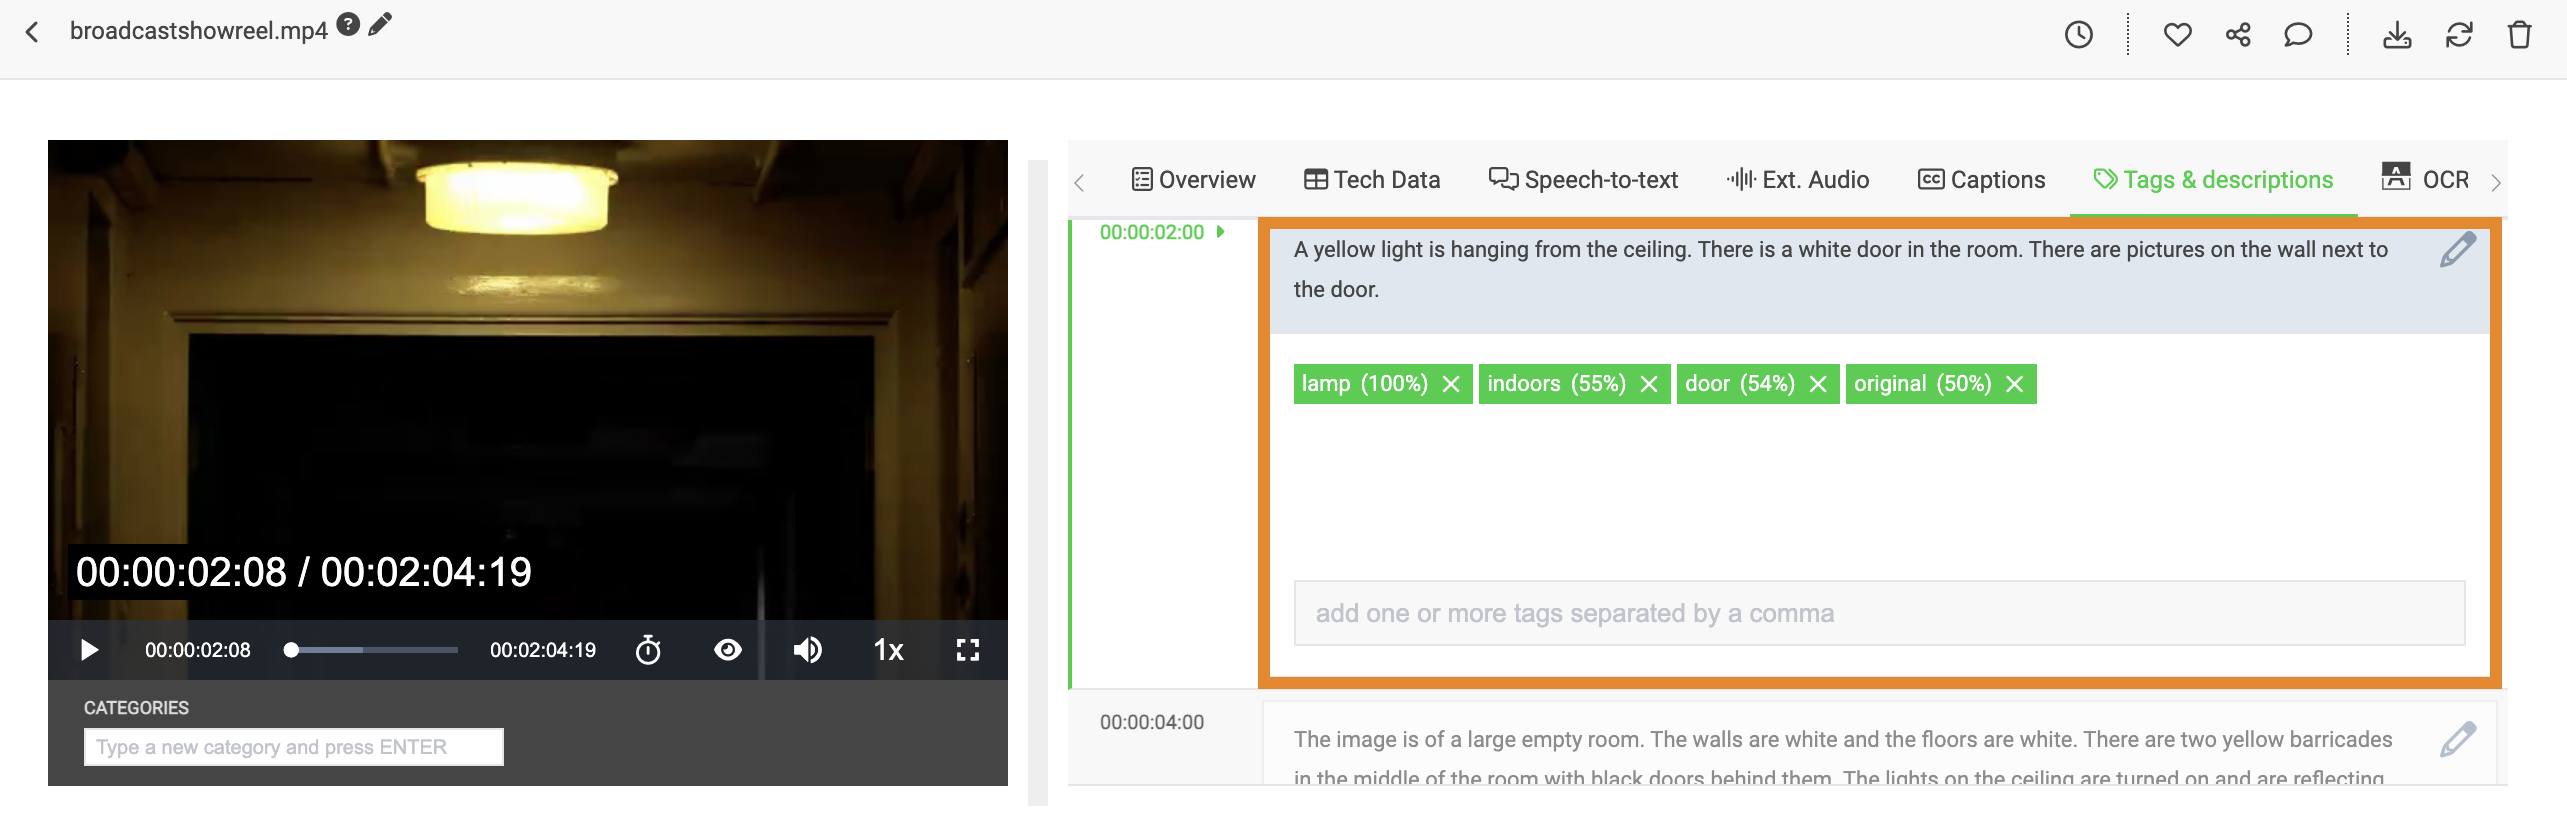
Tags and descriptions data is segmented by time stamps. Each dataset is divided into the following three fields and can be edited.
- Description field
- Tags field
- Tags type field
Notice that tags include percentages. These percentages are confidence scores. Any tags that you add manually will be assumed to be 100% accurate. Any confidence score below 100% is determined by the system..png)
Editing Descriptions
- Select a data segment in which to edit.
- Click .
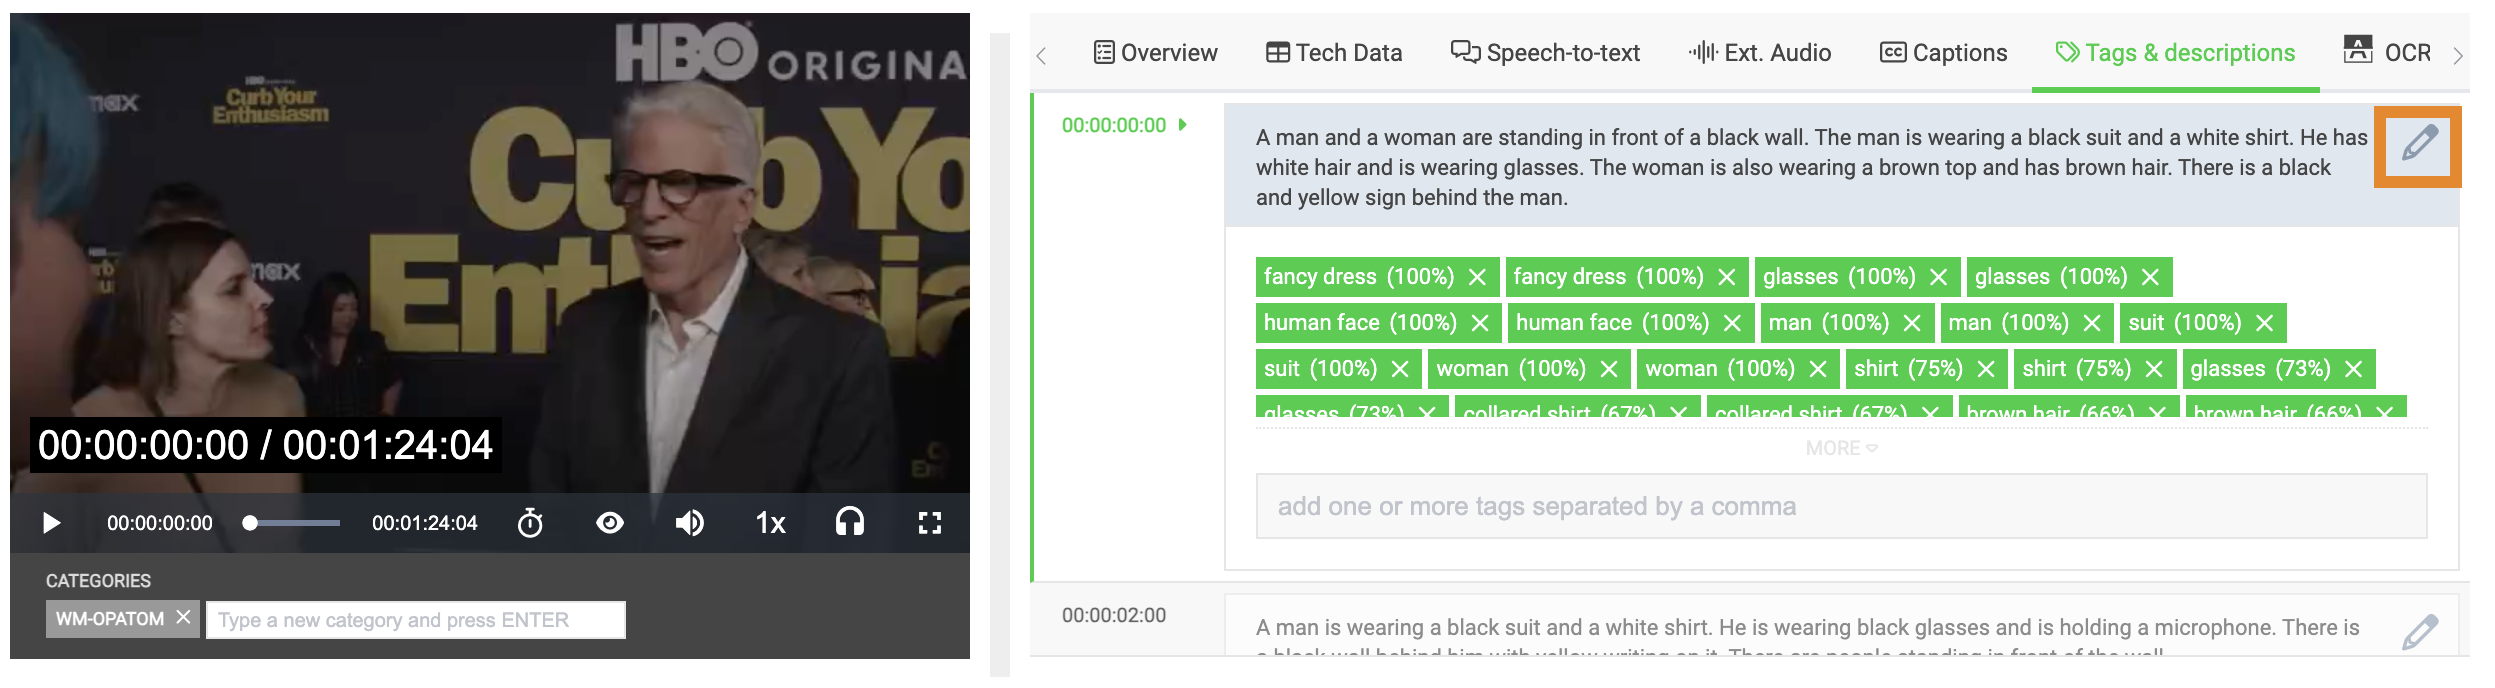
- Optionally, select the description text field to enable editing, as shown below.
- Once complete, press the Return key to save.
A banner notification will confirm that the description has been successfully updated, as shown below.
Adding Tags
- Select a data segment in which to edit.
- In the type field, enter one or more tags, separated by a comma.
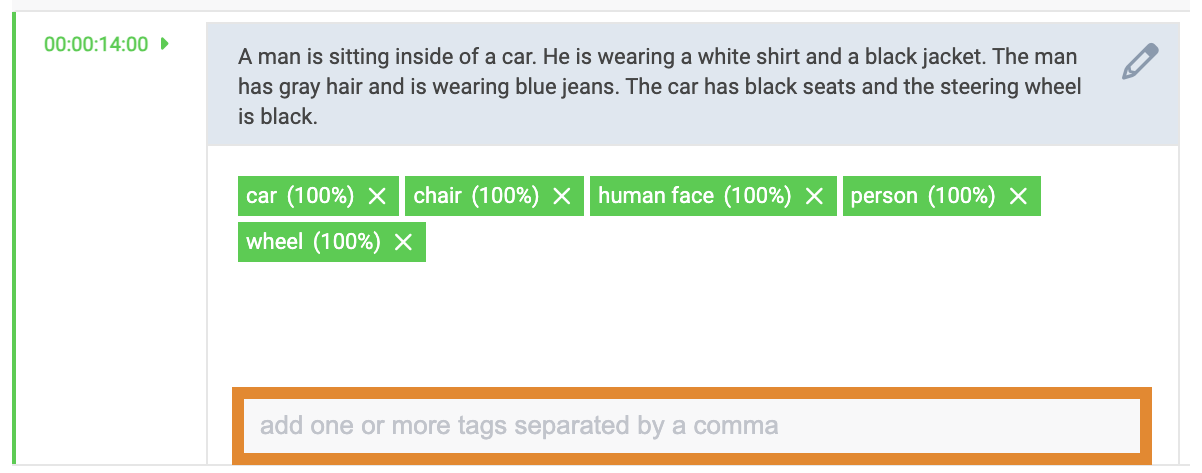
- Press the Return key to save.
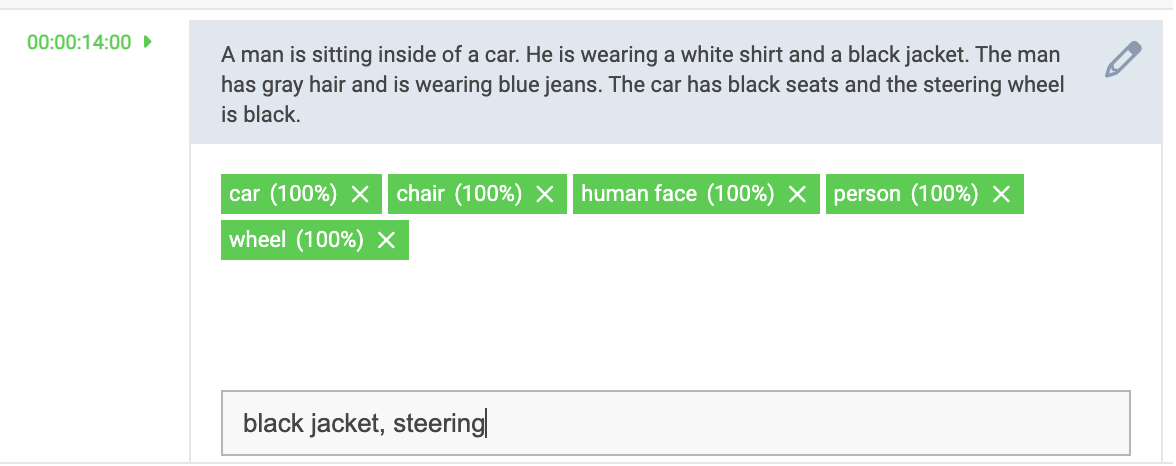
A banner notification will confirm that the tag(s) have been successfully updated, as shown below. 
Deleting a Tag
- Select a data segment in which to edit.
- Click
.png) to delete the tag from an asset.
to delete the tag from an asset.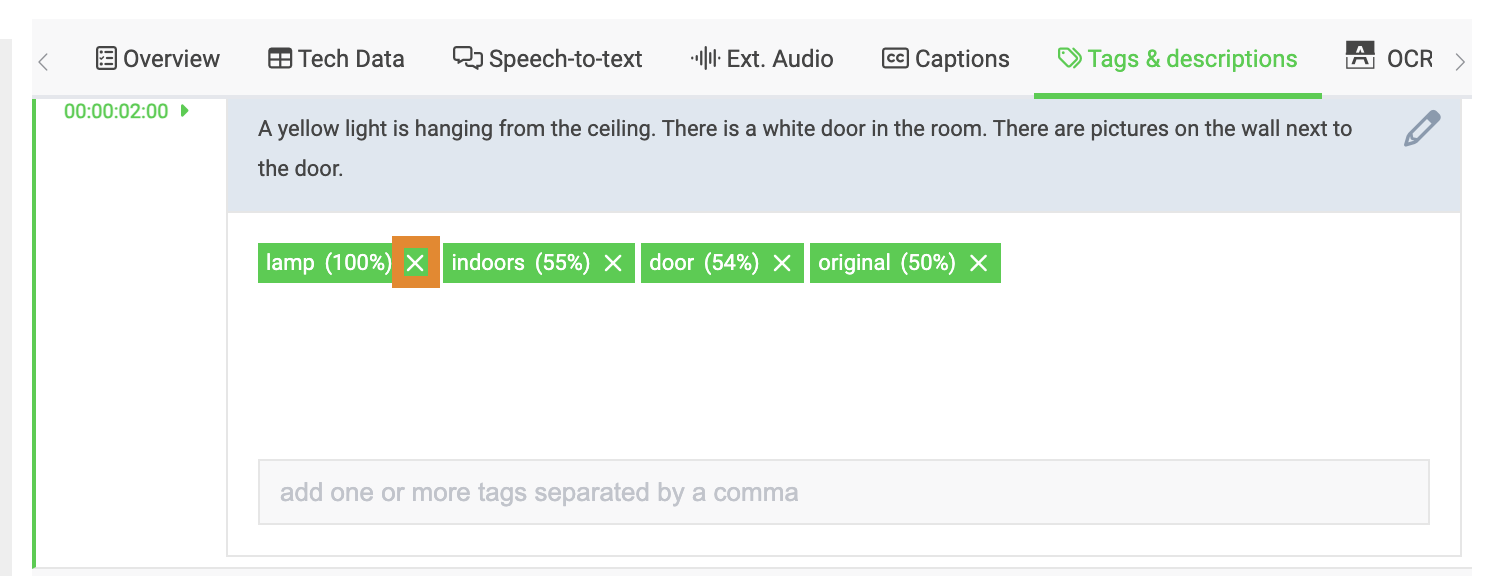
Visual Text (OCR)
The OCR tab displays any visual text extracted from the pre-determined frame rate interval of the video. Select a line of text in the list to quickly jump to the frame of the video where that text is shown.
Editing OCR
- Select a line item in which to edit.
- Click .
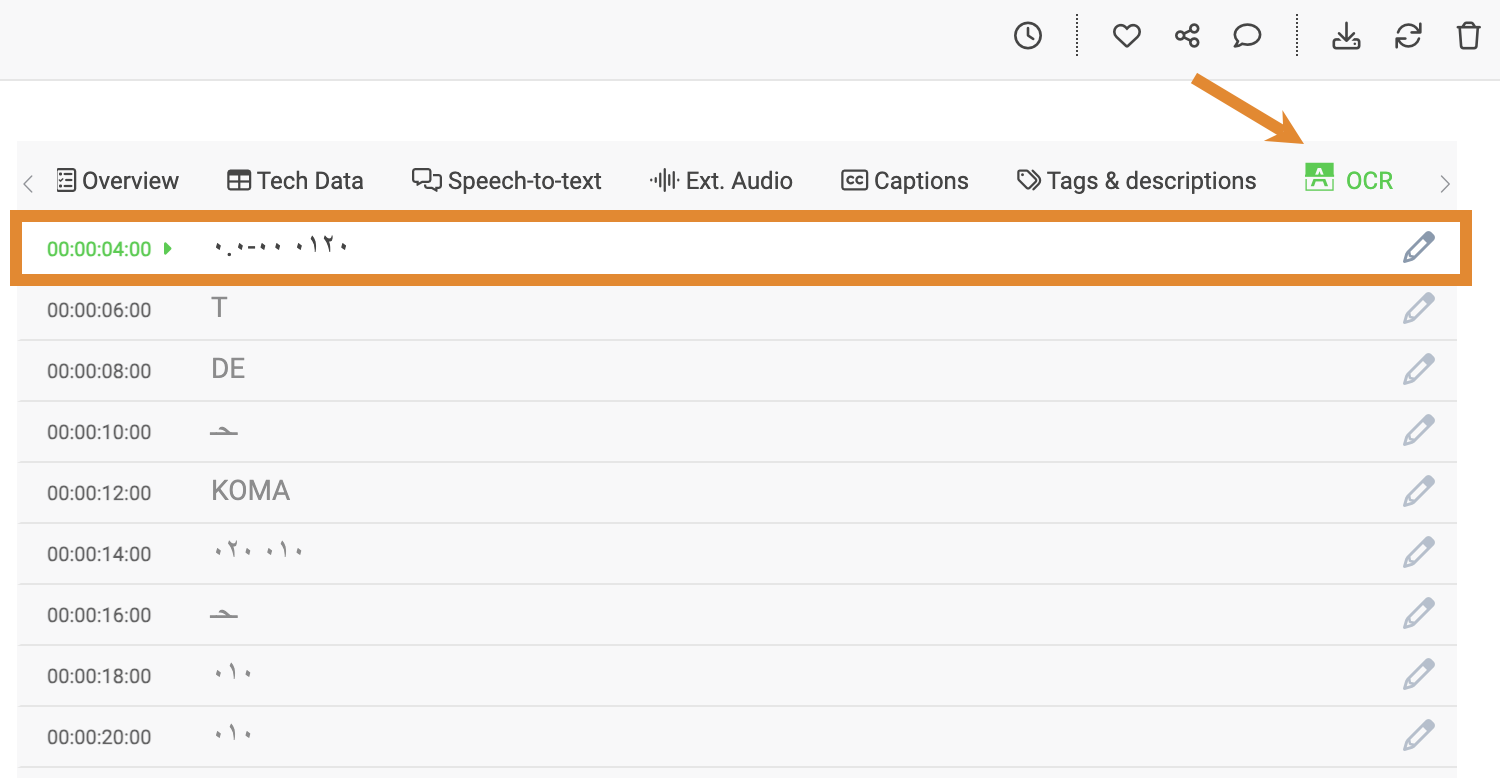
- Once complete, click
 .
. - Optionally, press the Return key to save.
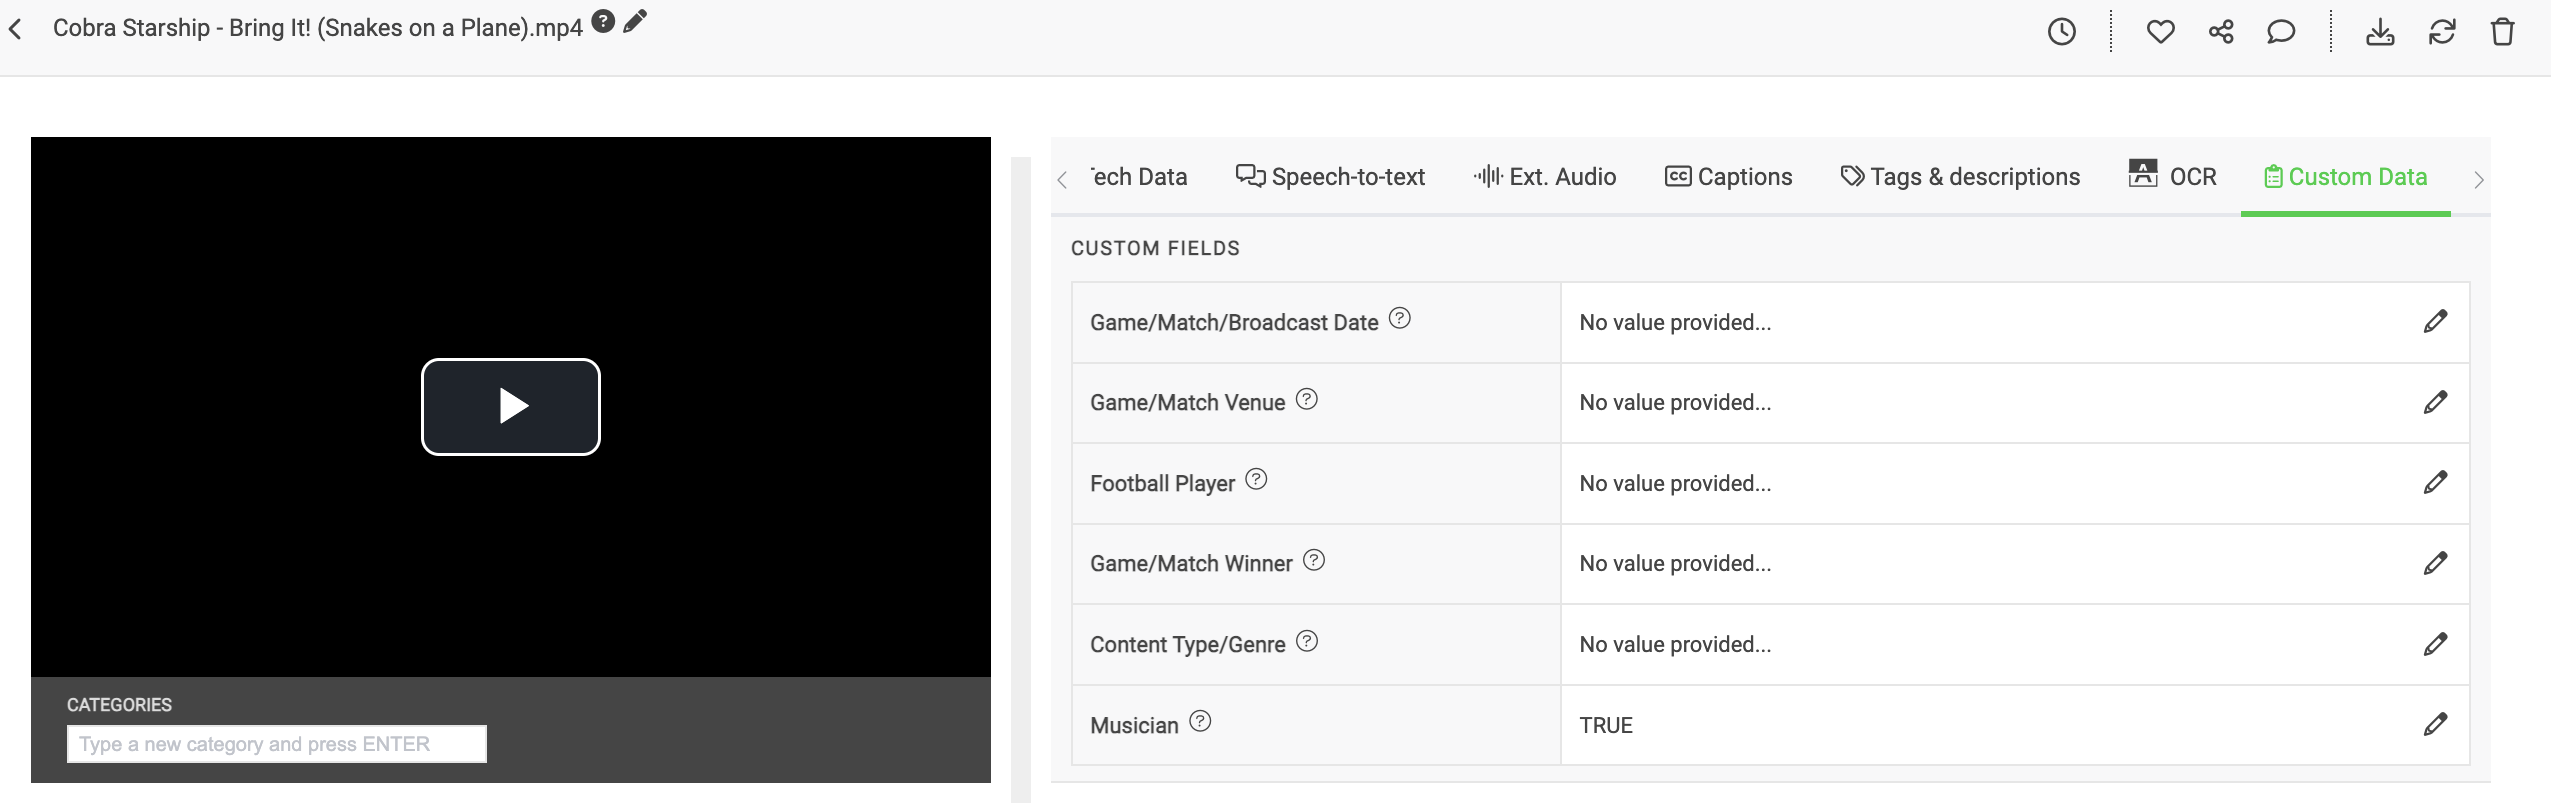
Custom Data
The Custom Data tab displays the custom fields that you or your team have created in Wasabi AiR. Custom data is configured to retrieve additional data points that are not already embedded in the asset file technical metadata. From this tab, you can provide values for your custom data points to create searchable metadata. For more information, refer to Creating Custom Fields.
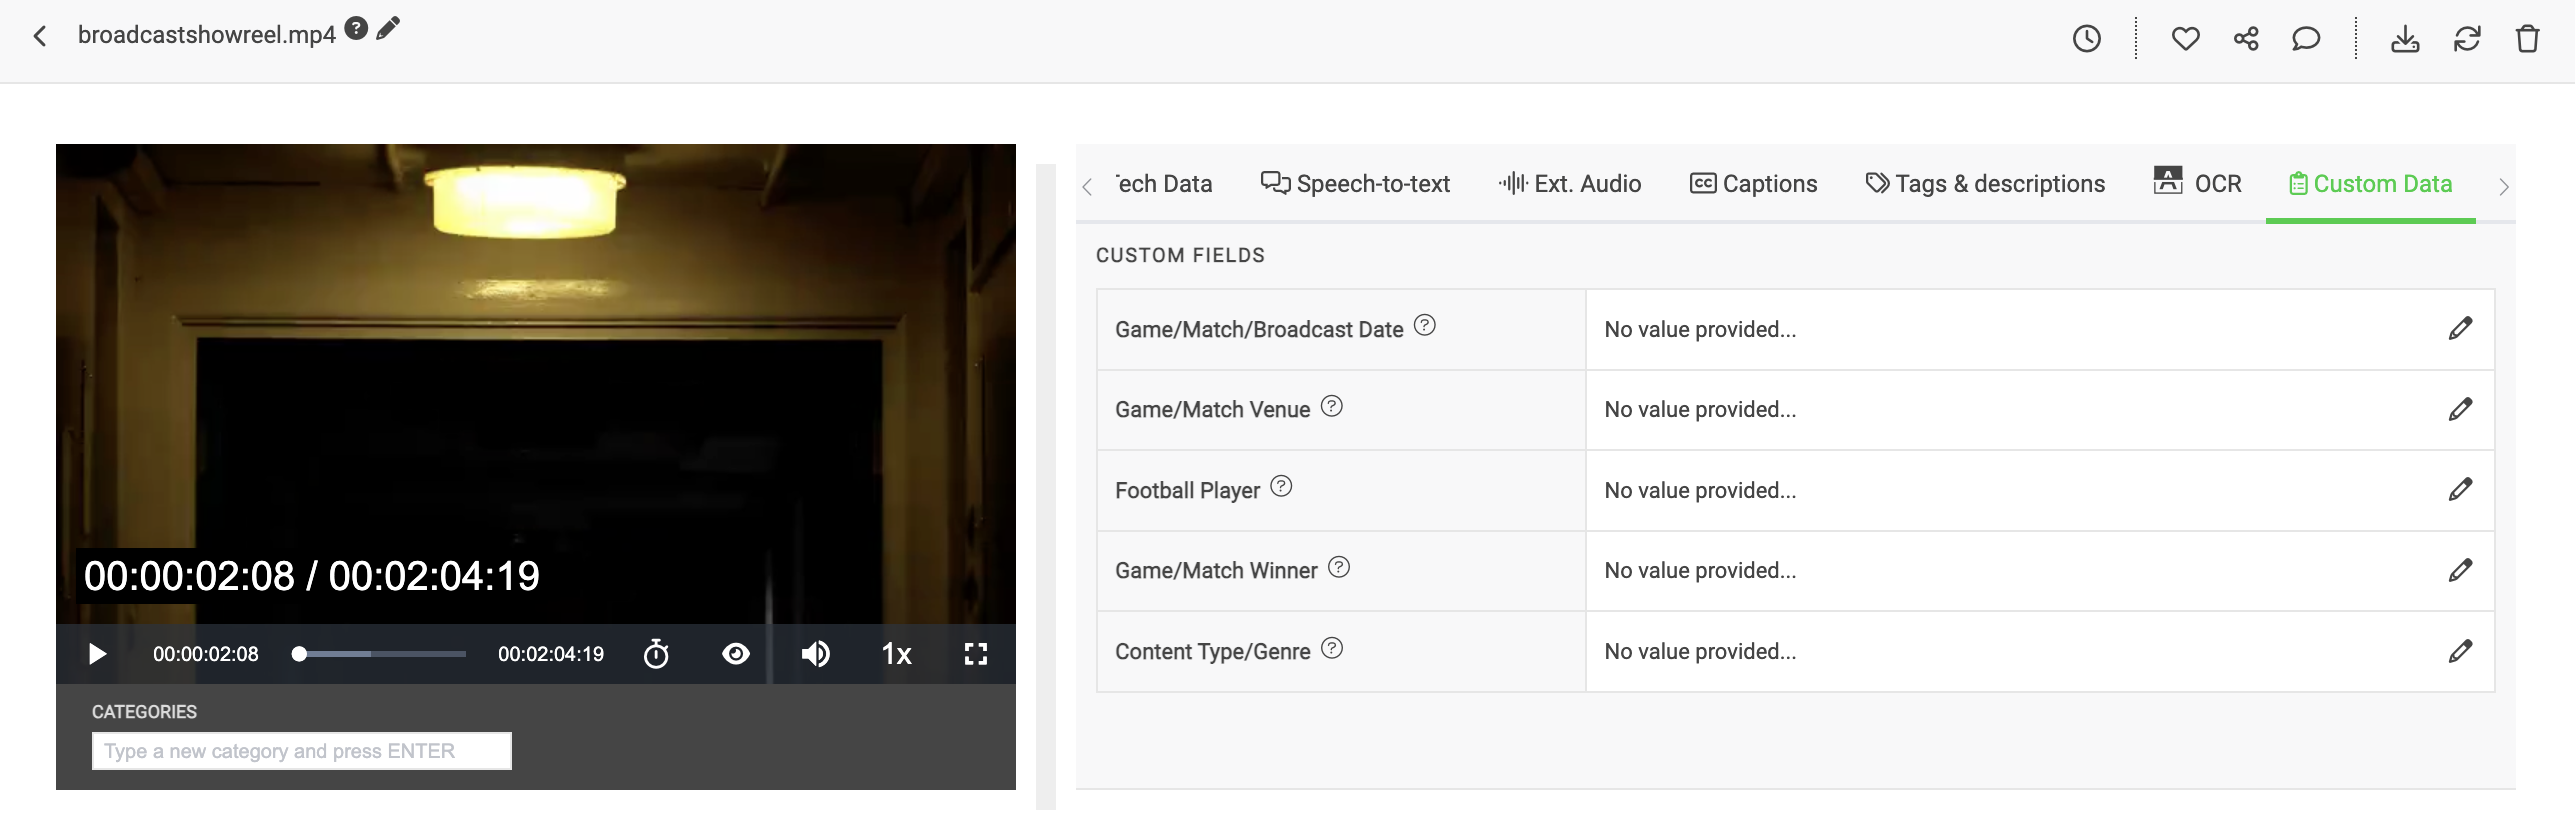
Assigning Values to Custom Fields
Provide values for your custom data points to search for content based on specific custom data point values. On the Custom Data tab, a list of your custom fields is displayed. When no value has been provided for the data point, "No value provided..." is shown.
- On the asset details panel, select the CUSTOM DATA tab.
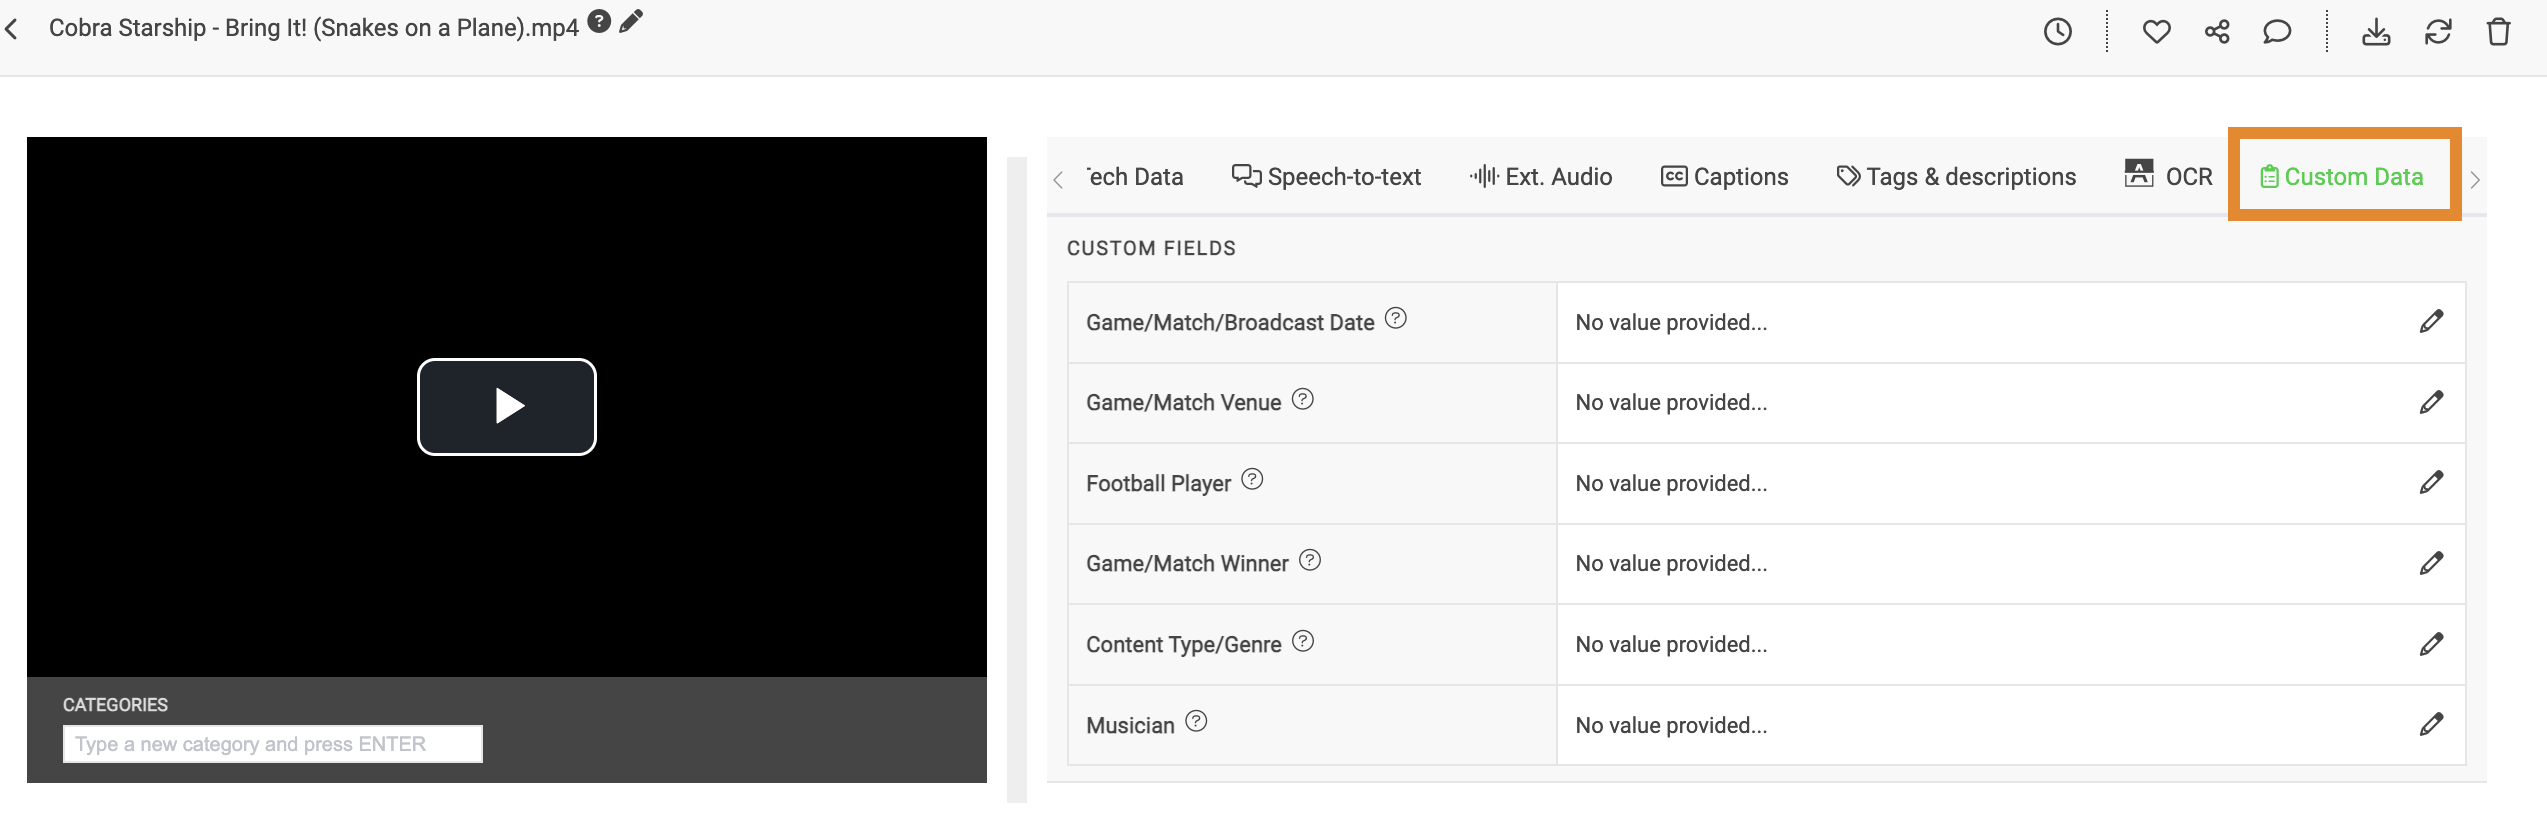
- Click
.png) .
.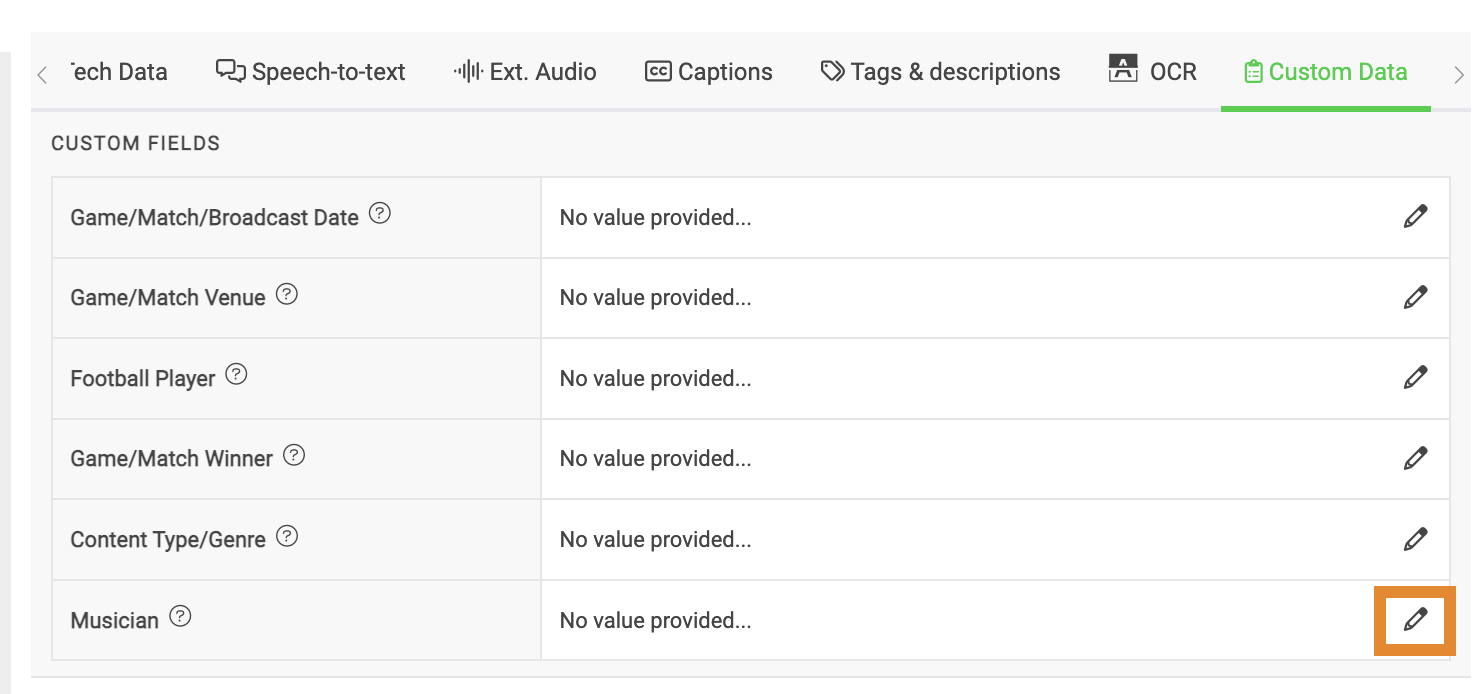
- Provide a value for the custom data point. In the example below, musicians are identified in the asset, so the Boolean value is True. Once selected, changes will be saved automatically.
- Optionally, if the custom field requires that you enter a value into a type field, enter the value. Once complete, press the Return key to save.