QNAP Hybrid Backup Sync 3 (HBS 3) has been validated for use with Wasabi. For information on how HBS 3 works with Wasabi, refer to QNAP.
This article describes the procedure to use Wasabi Object Replication to replicate objects from one region to another within the same continent. This can be used to recover from natural disasters or other events in a region.
The data restoration process is handled by your specific backup software application. As there are many potential variables that will affect your unique environment, Wasabi strongly recommends that you seek the guidance of your backup software's technical support team in the event that you encounter difficulty or have application-specific inquiries.
Requirements
QNAP HBS 3 version installed and licensed. This solution was tested with version 26.4.0.521.
Active Wasabi Cloud Storage account.
Active HBS 3 backup job pointing to a Wasabi bucket.
Existing backups reside in a Wasabi Object Locked (immutable) or non-Object-Locked (non-immutable) source bucket.
Access to the Wasabi Console.
High-Level Steps
Follow the high-level steps below to implement Object Replication from a source bucket to a destination bucket in another region with QNAP HBS 3. These are detailed further in the sections below.
Sign up for notifications to be sent to your account email address.
Create a Wasabi destination bucket where the source bucket will be replicated to.
Configure an object replication job on the source bucket pointing to the destination bucket. In the case of a disaster, a recovery may be performed from the destination bucket.
Signing Up for Object Replication Notifications
Signing up for notifications will enable you to receive information about any object replication failures.
Log into the Wasabi Console (console.wasabisys.com).
Navigate to Settings.
Click Notifications.
In the Object Replication field, enable Email Notification.
Enter your MFA code.
Click Save Changes.
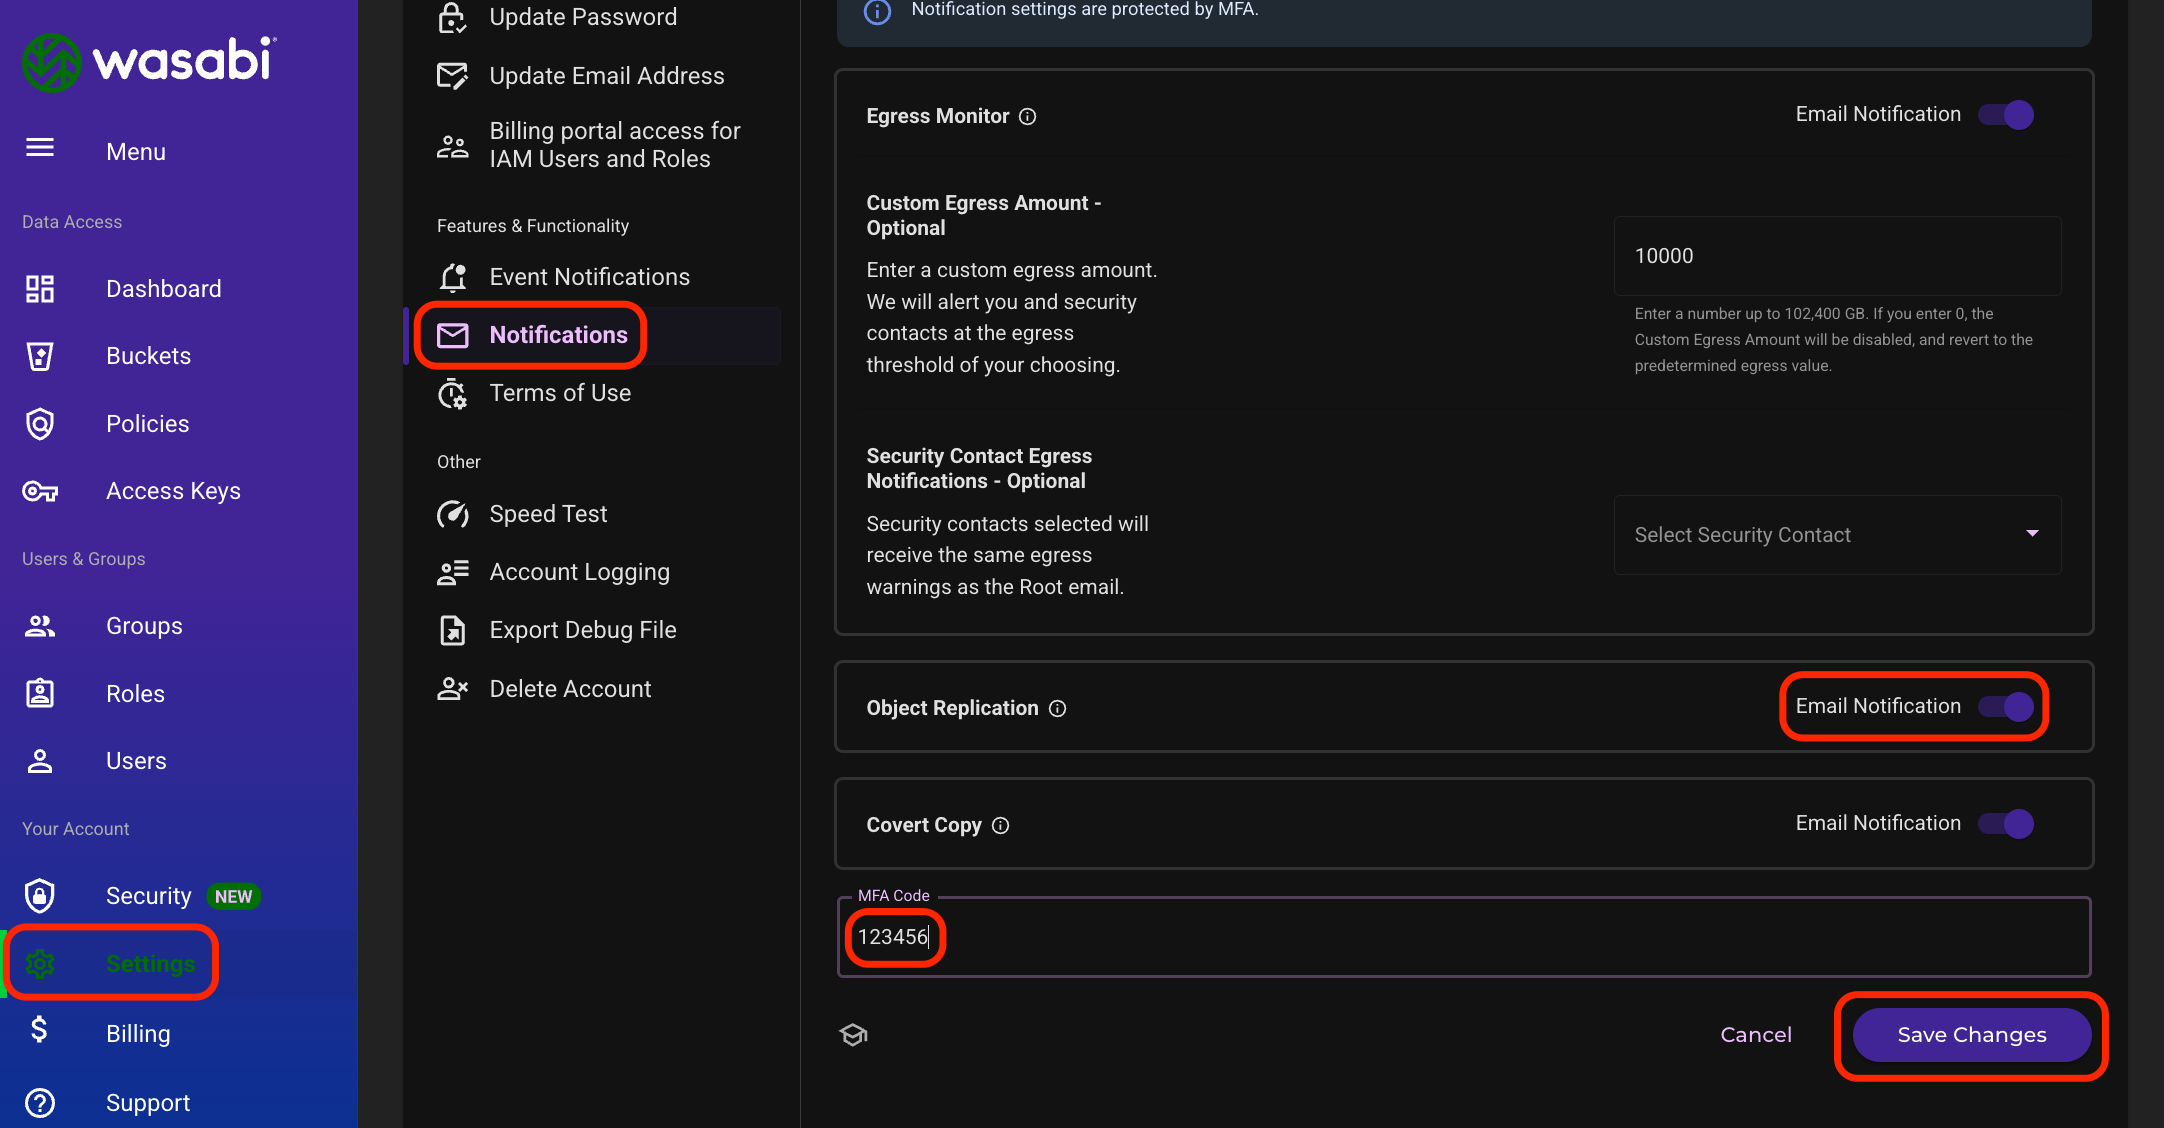
Click Save Changes in the pop-up window.

Creating the Wasabi Destination Bucket
The destination bucket is the bucket that the source bucket will replicate to.
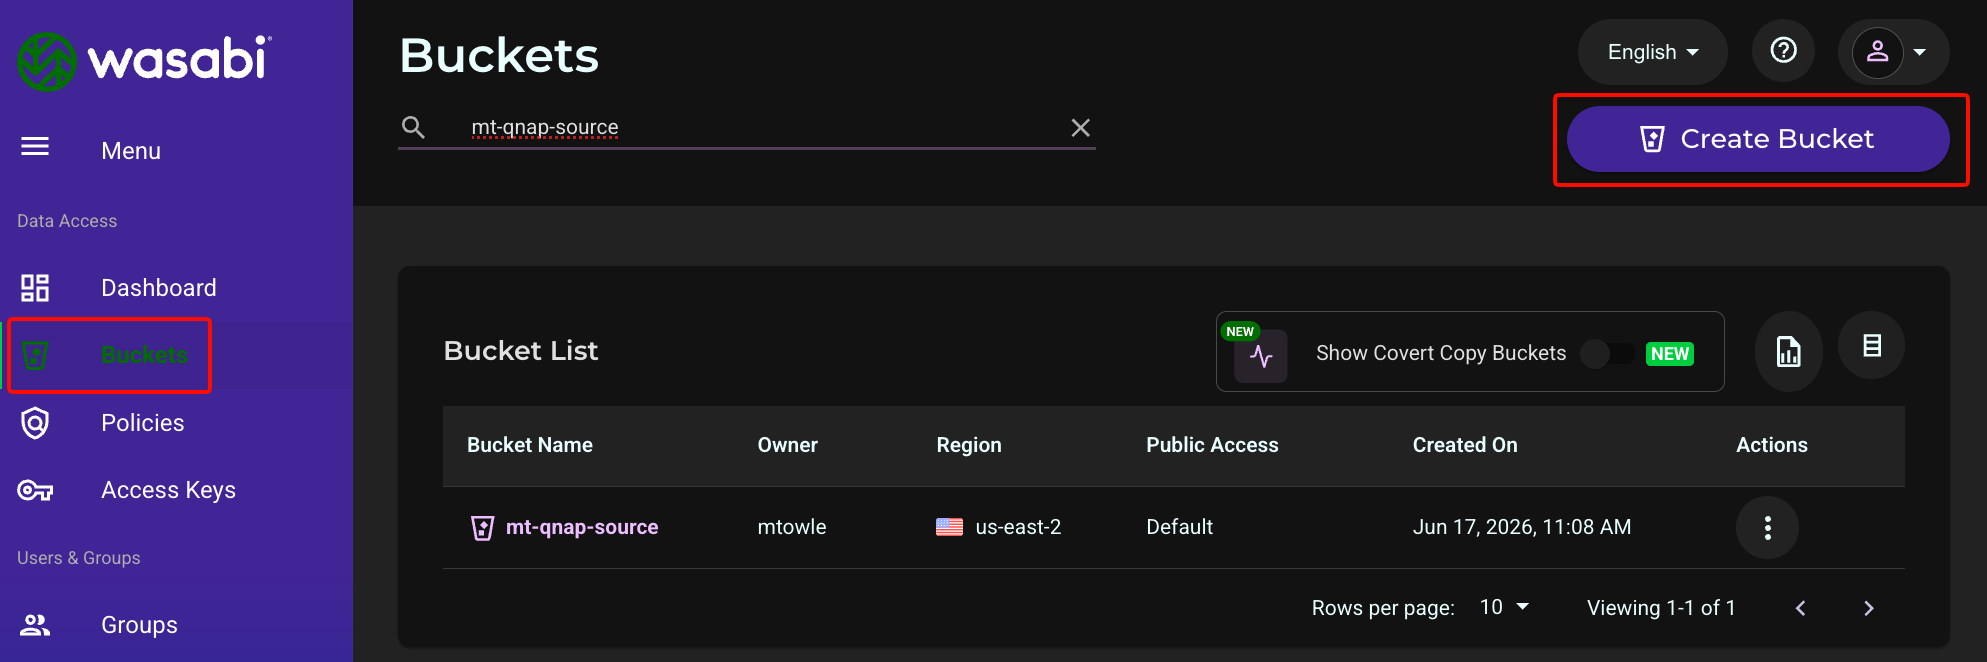
Navigate to Buckets.
Select the name of the source bucket.
source bucket’s name, region, and
Note the name, region, and settings of the source bucket, including the Object Lock settings. In this example, we are using a source bucket in Wasabi’s us-east-2 region without Versioning or Object Lock enabled (Object Lock would appear if it was enabled).
uses
Choose the region within the same continent for the destination bucket.
This configuration example discusses the use of Wasabi's us-east-2 storage region for the source and us-west-2 for the destination. For a list of regions, see Available Storage Regions.
Navigate to Buckets.
Click Create Bucket.
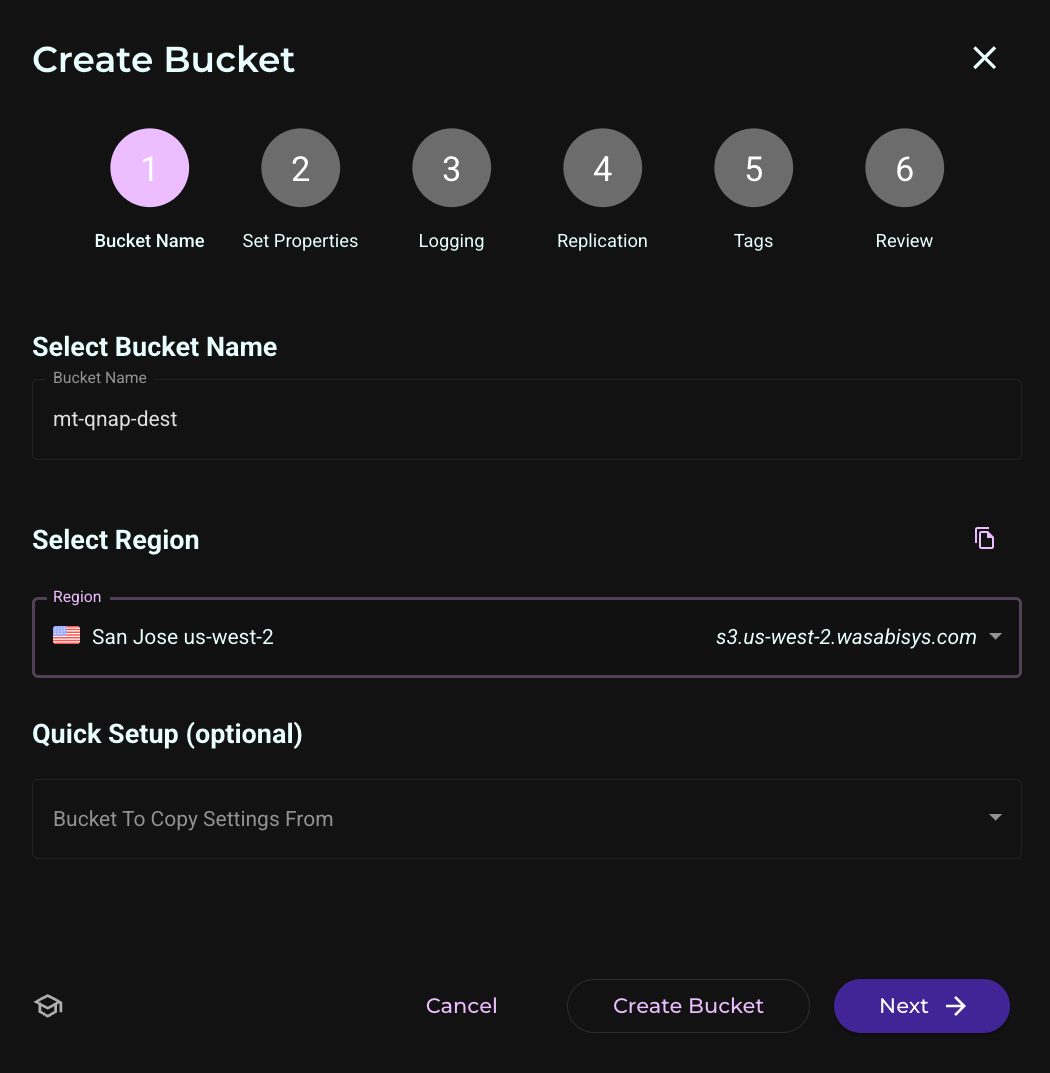
Enter the destination bucket name and select the bucket region.
Click Create Bucket.
Optionally, click Next to enable Object Lock and other settings.
Leave Object Replication disabled (default). The replication will be configured later on the source bucket.
Creating an Object Replication Job
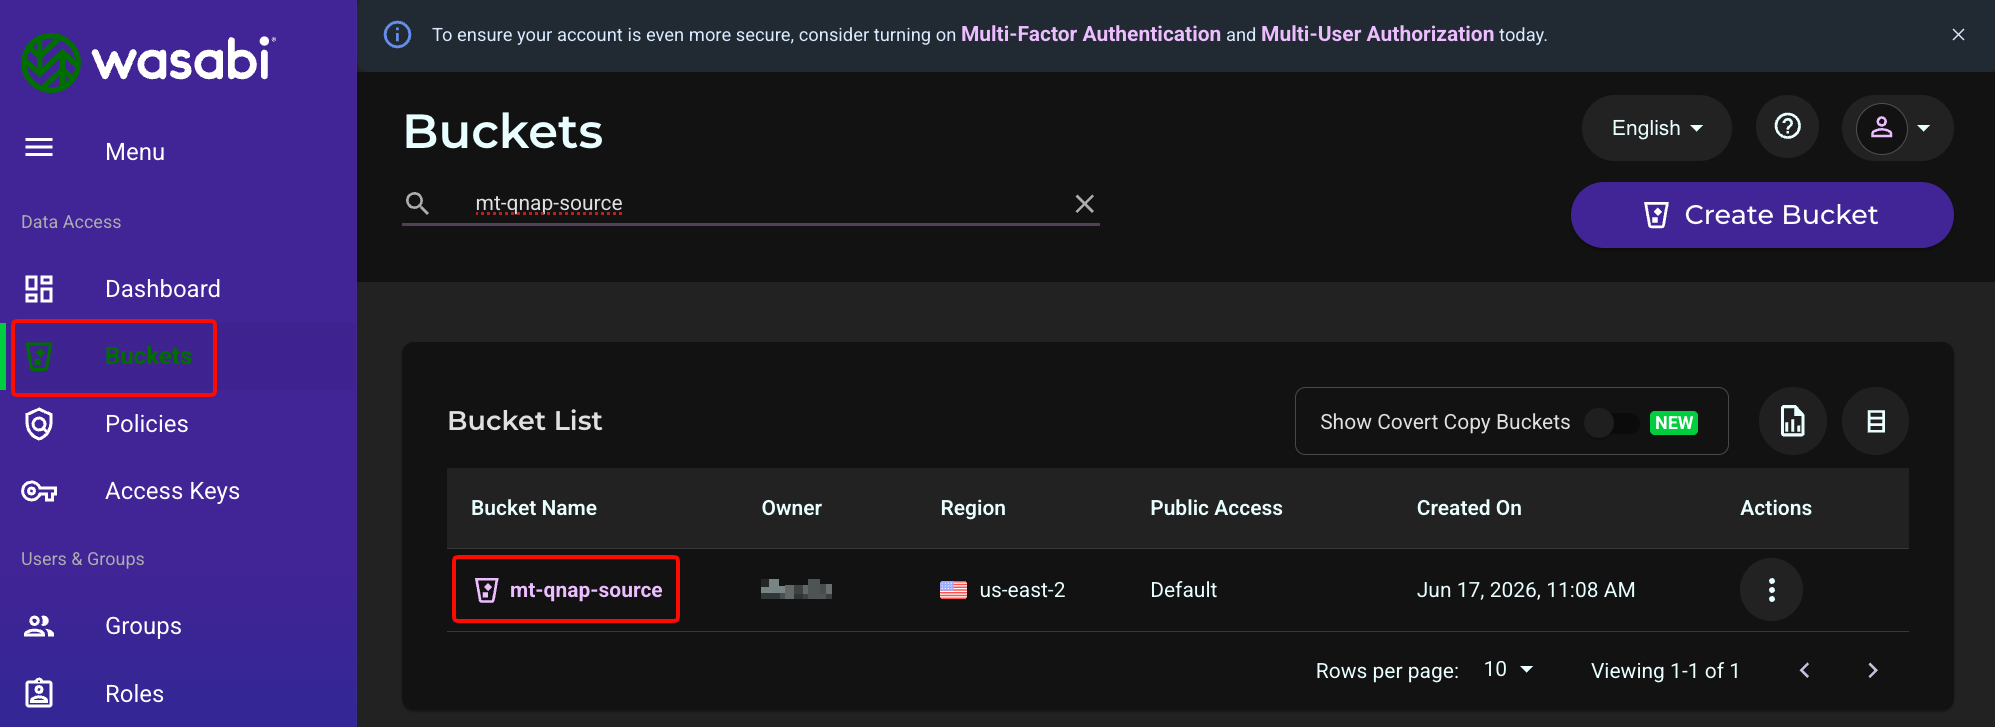
Click Buckets.
Select the name of the source bucket.
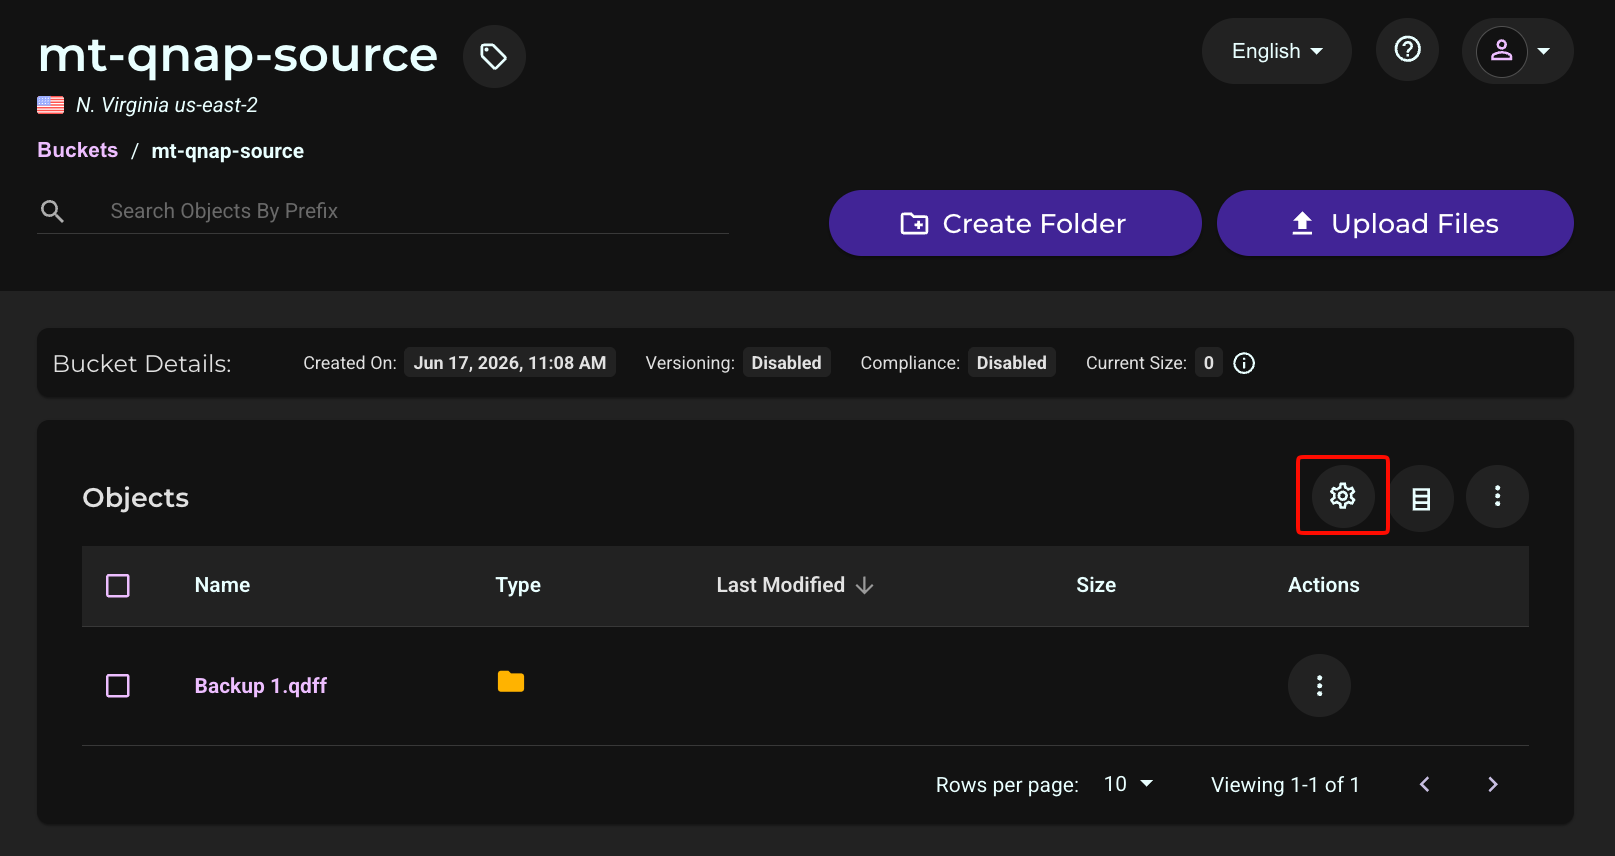
Click Settings (gear icon) on the right side of the screen.
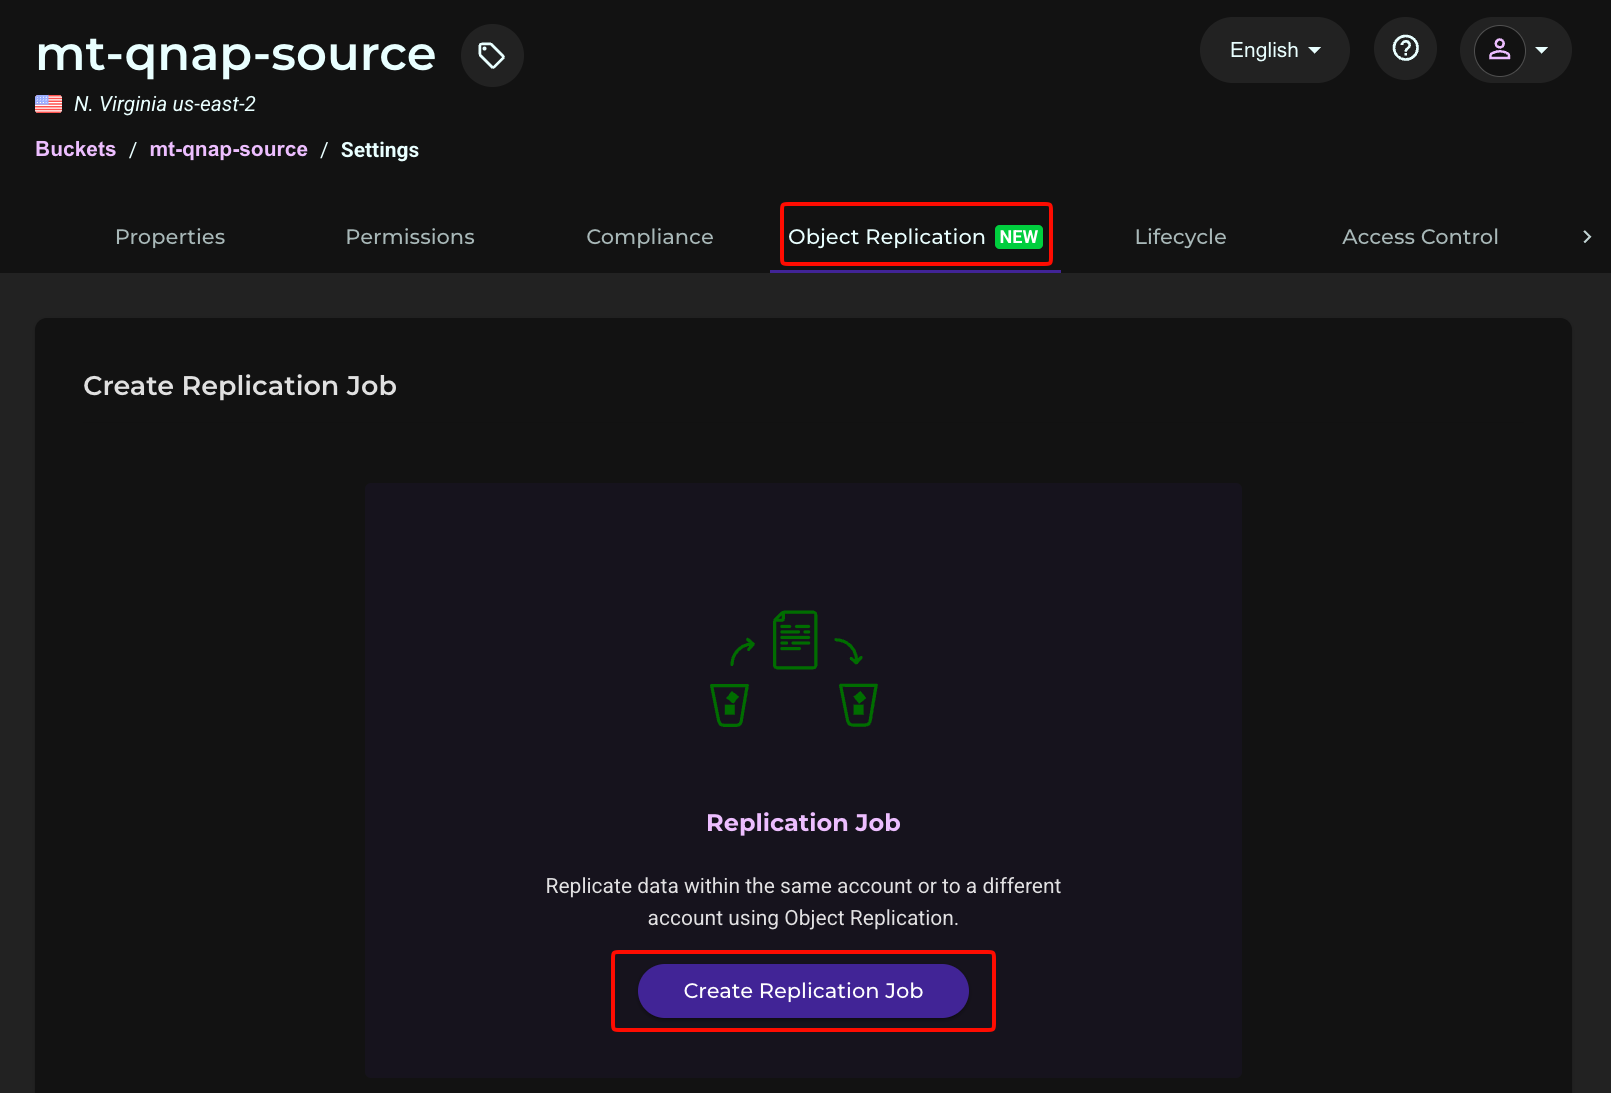
Select the Object Replication tab.
Click Create Replication Job.
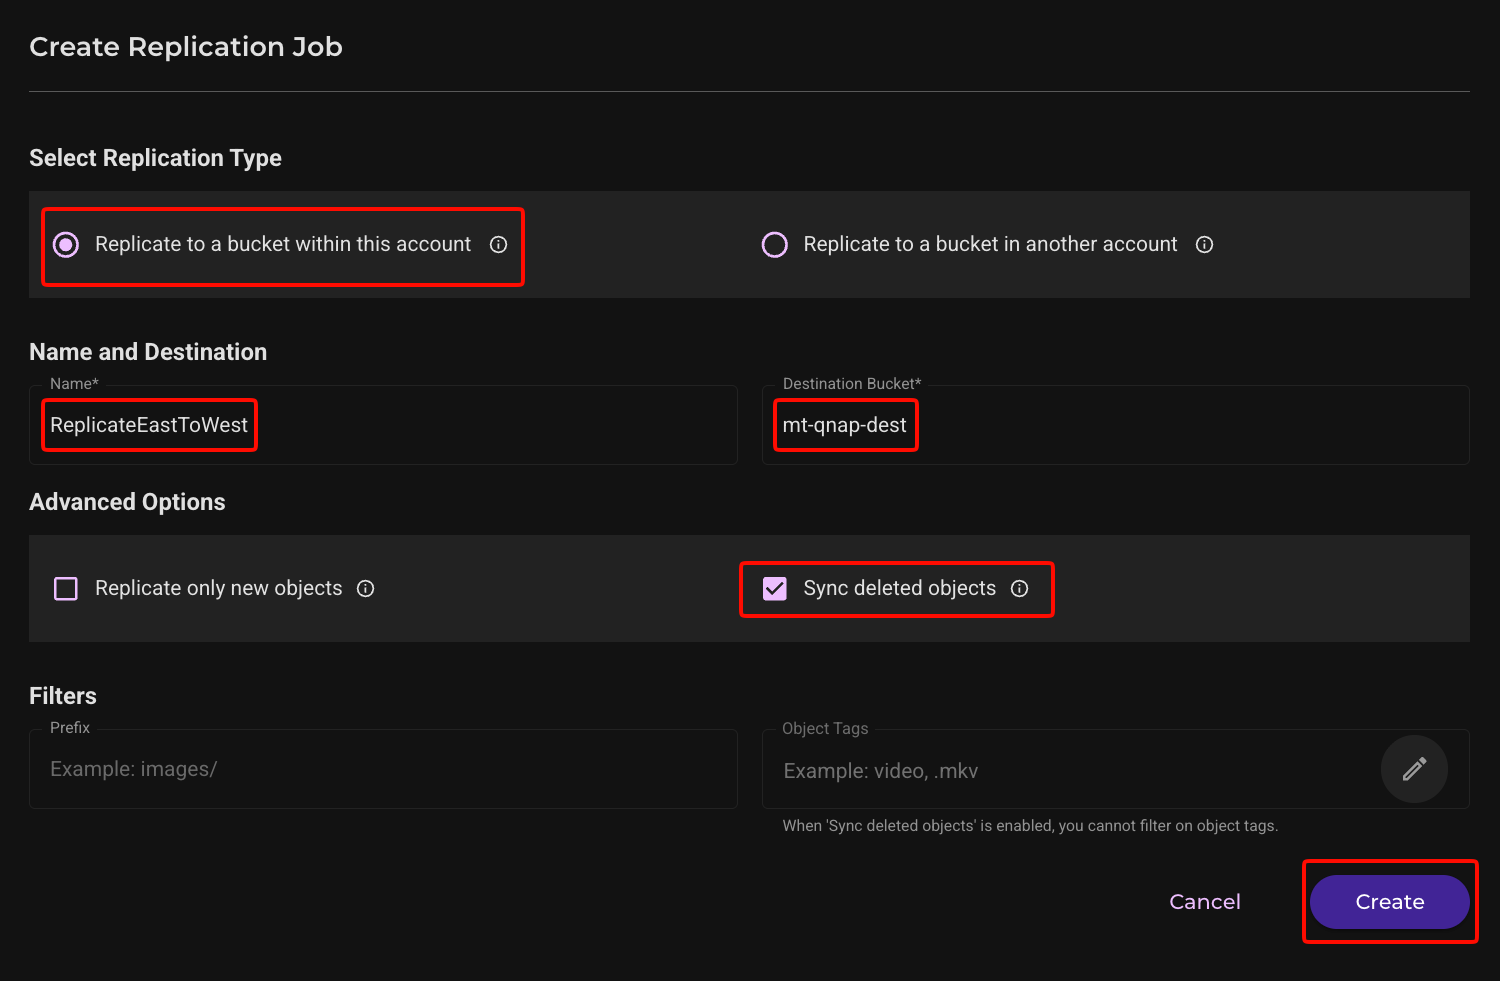
Select the Replication Type. (In this example, we are selecting Replicate to a bucket within this account.)
Provide a job name.
Click in the Destination Bucket text field to select the destination bucket.
Click the checkbox next to enable Sync Deleted Objects. This allows HBS 3 to control the backup lifecycle of the source bucket, and older backups that HBS 3 deletes from the source bucket will also be deleted from the destination bucket.
Click Create.
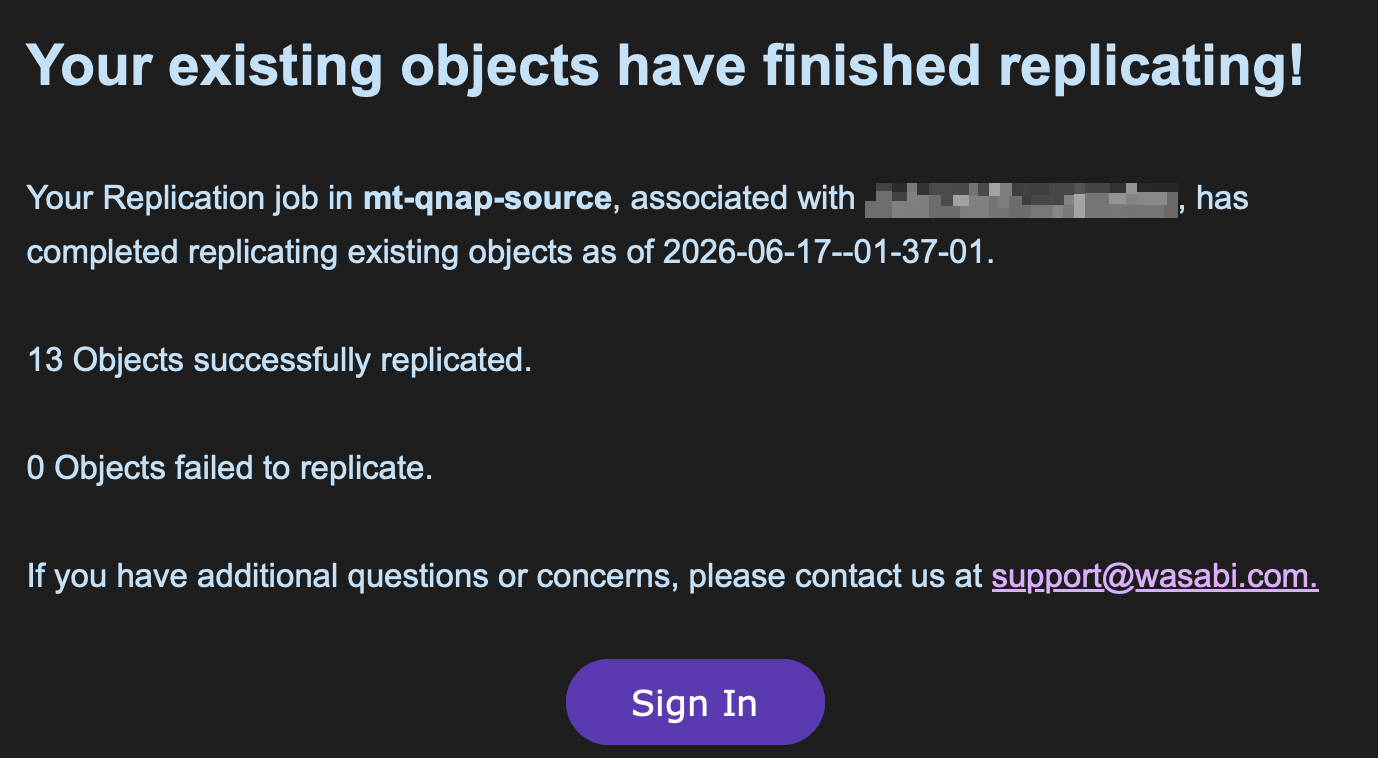
The objects in the source bucket will now begin to replicate to the destination. There is no ETA for completion, as it depends on many factors, such as the number of objects, the frequency of backups, and so on. You will receive an email confirming that replication has begun, and another when all existing objects have been replicated, as shown below.
Appendix A - In Case of a Disaster
In the event of a disaster affecting your source bucket, follow the steps below. This will allow you to recover data from your destination bucket.
Log in to your QNAP NAS.
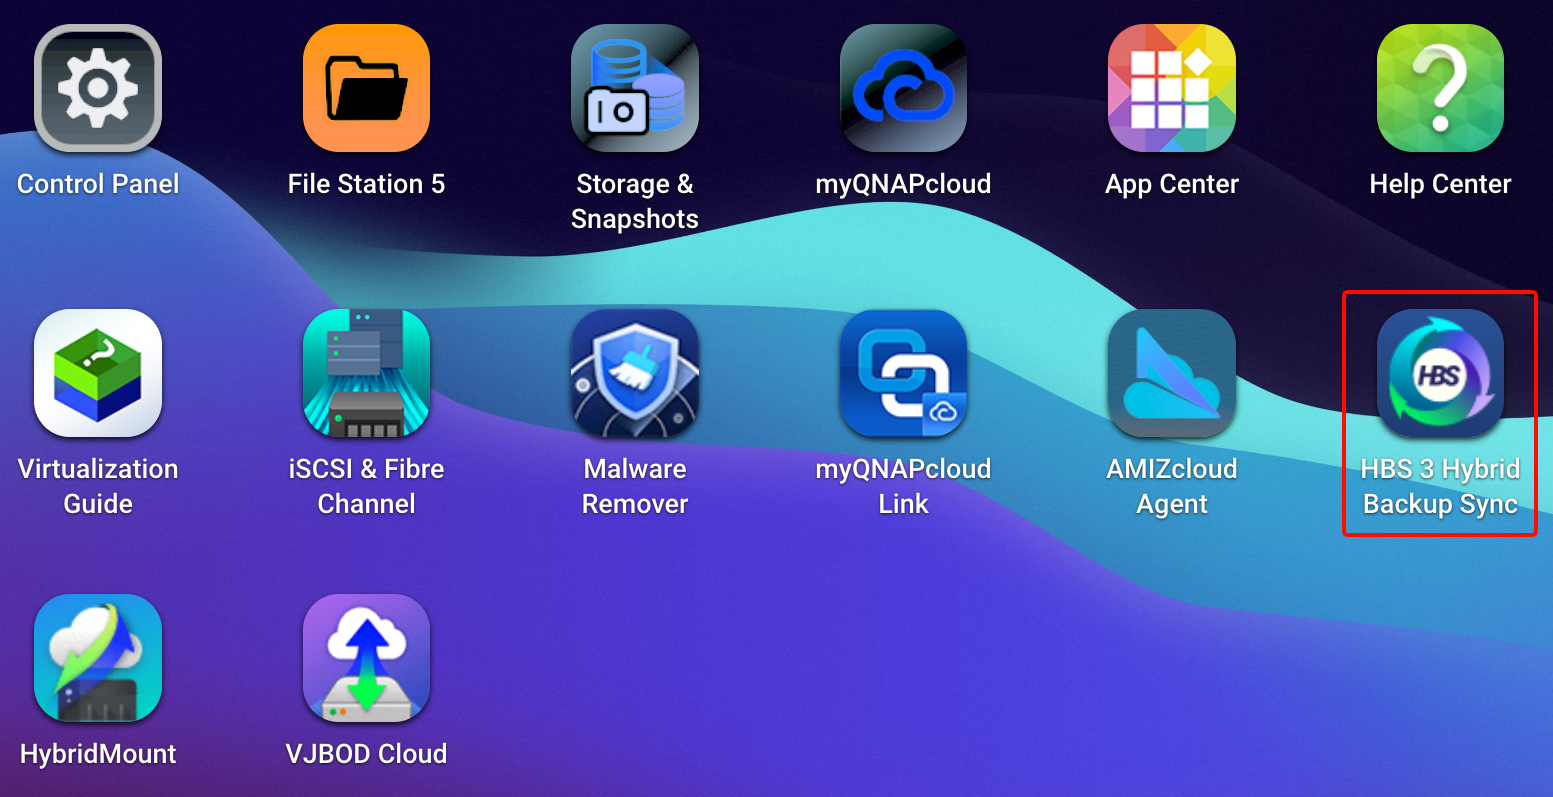
Select the HBS 3 Hybrid Backup Sync icon.
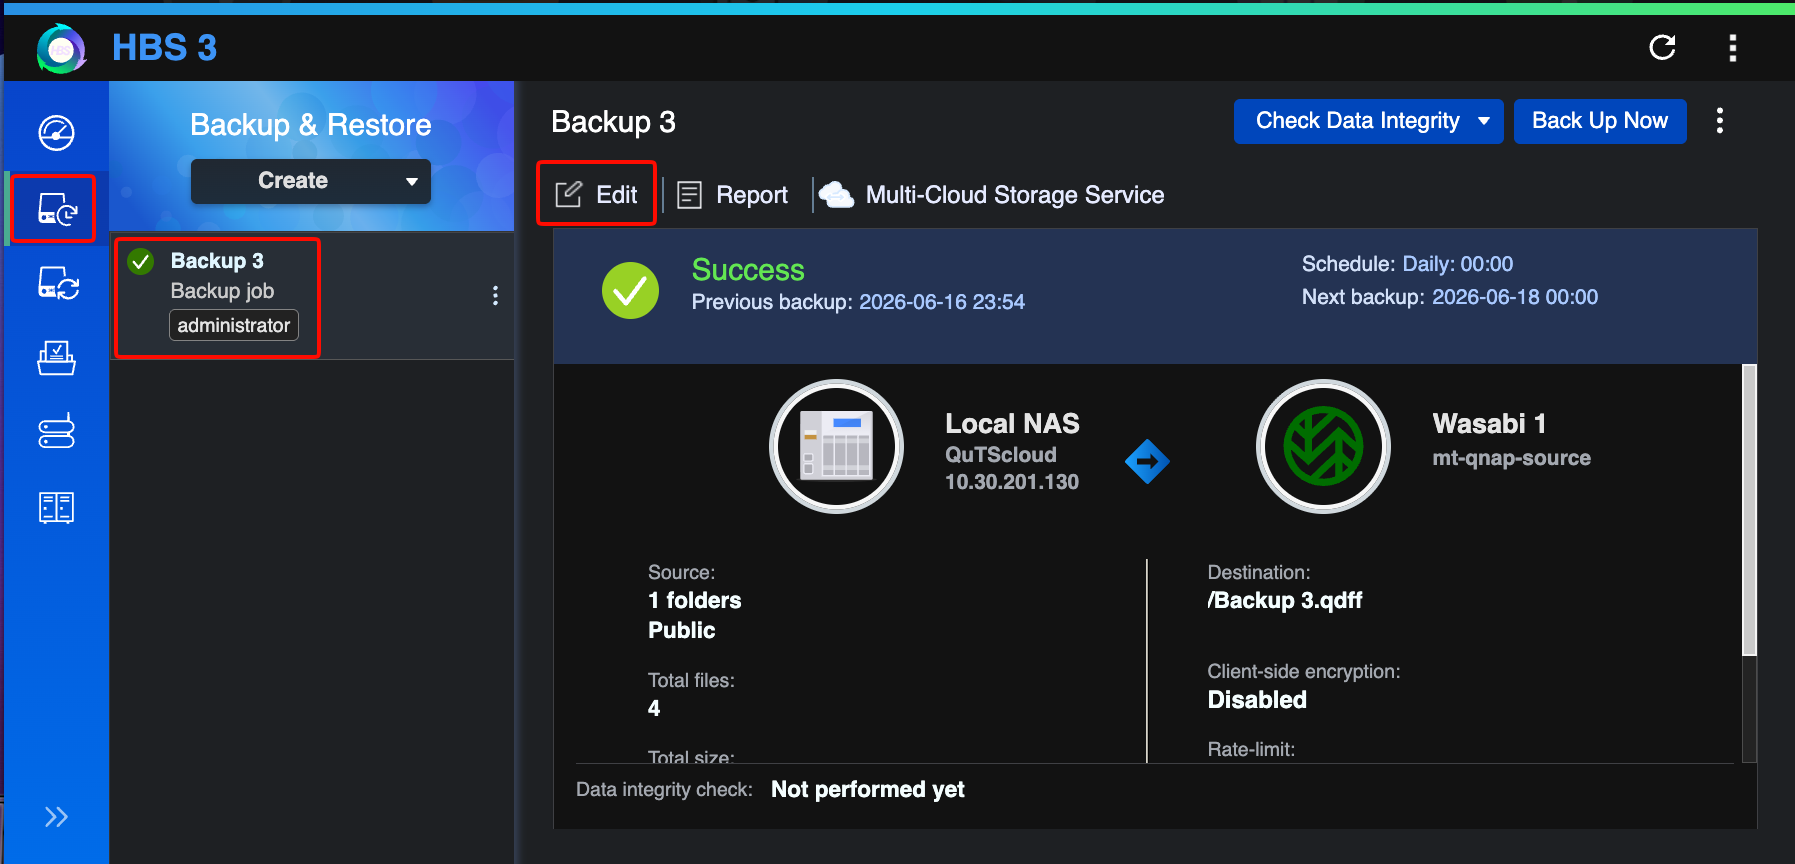
Disable the current backup job pointing to your Wasabi source bucket.
Navigate to the Backup & Restore tab.
Select the backup job.
Click Edit.
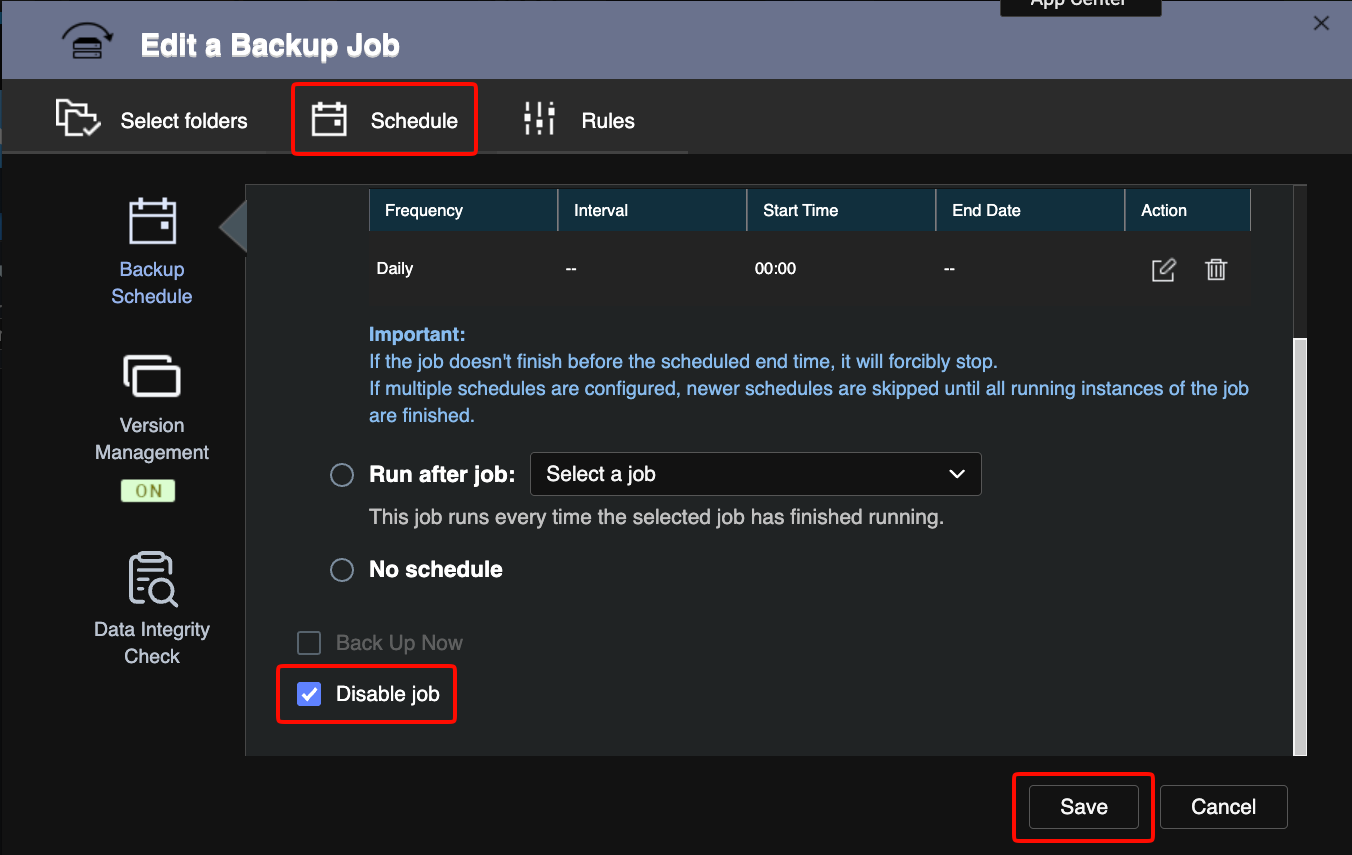
Click Schedule.
Scroll down and click the checkbox to Disable job.
Click Save.
Log in to the Wasabi Console.
Click Buckets.
Select the name of your source bucket.
Click Settings (gear icon).
Select the Object Replication tab.
Click the three vertical dots next to the replication job.
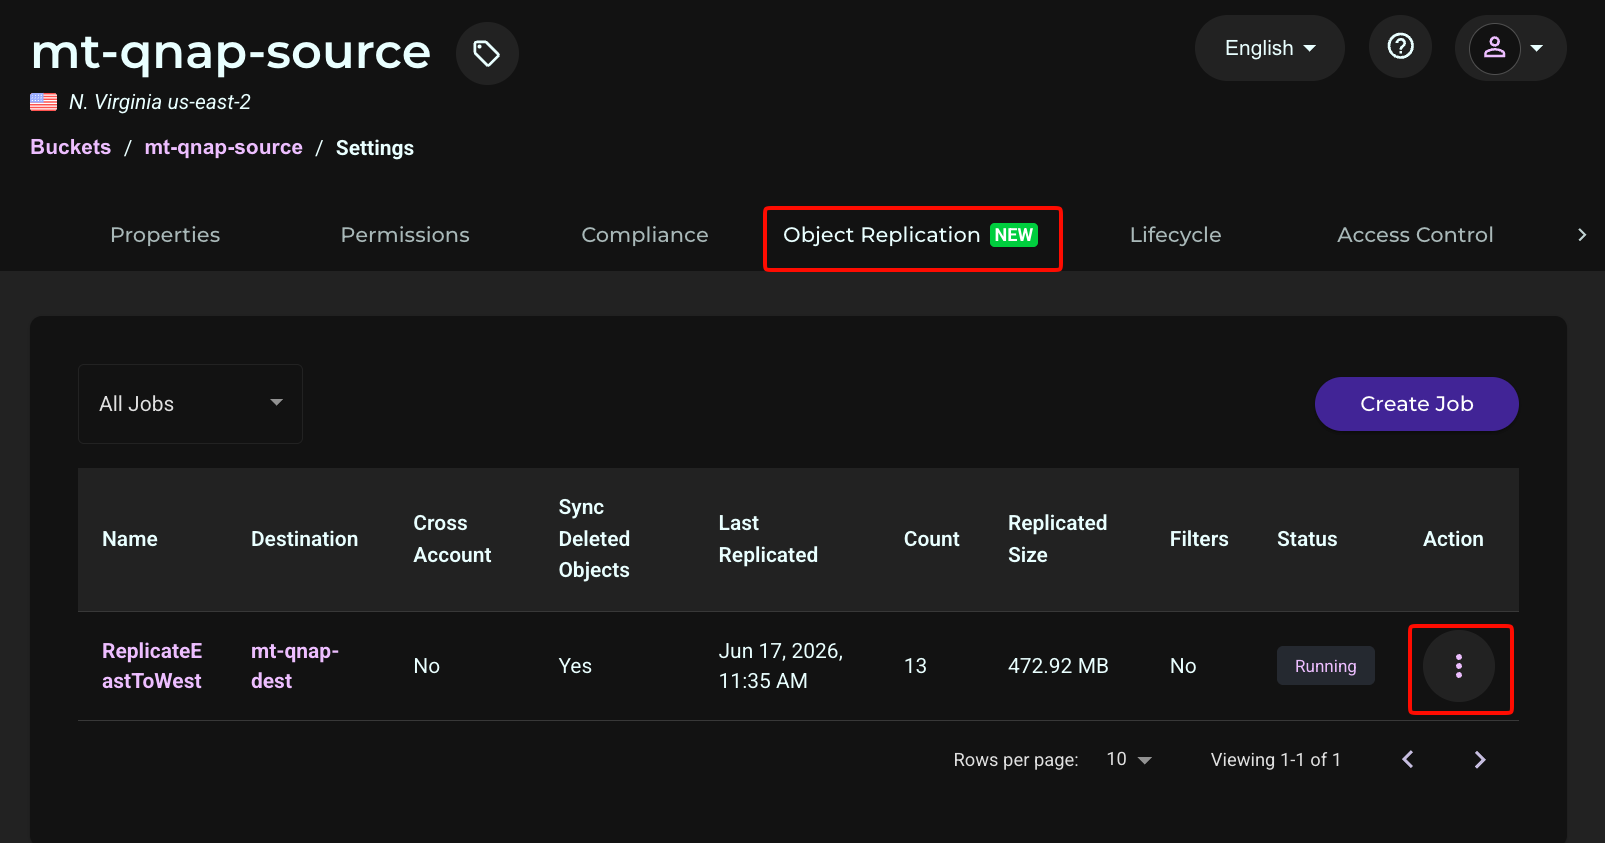
Click Pause.
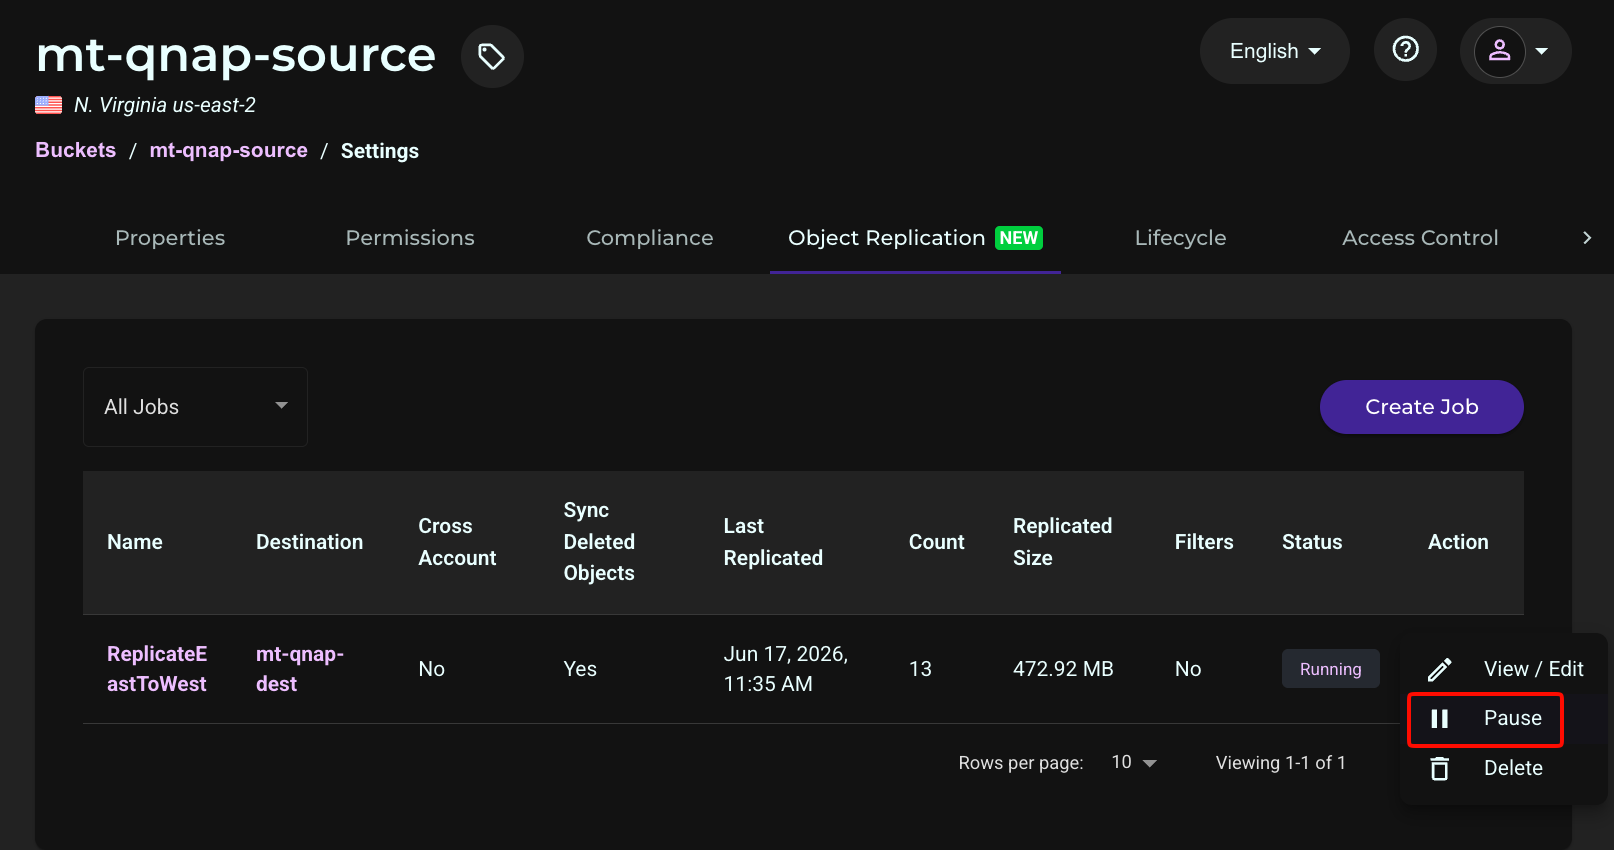
Click Pause on the popup window.

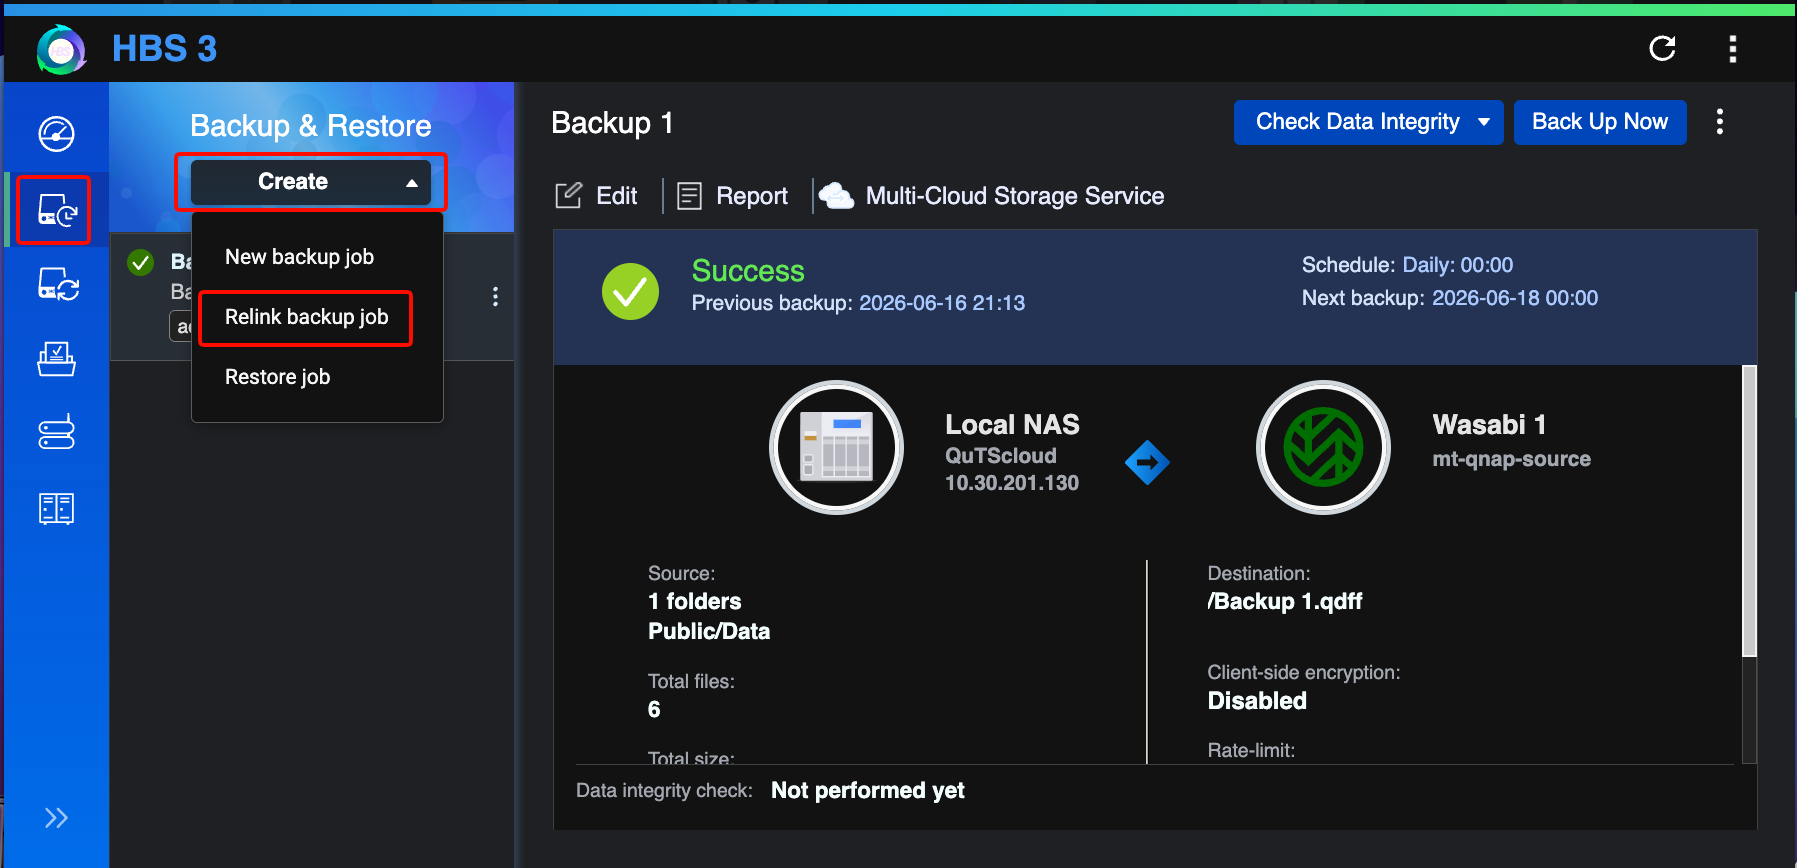
In the HBS 3 application, select the Backup & Restore tab.
Click Create.
Click Relink backup job.
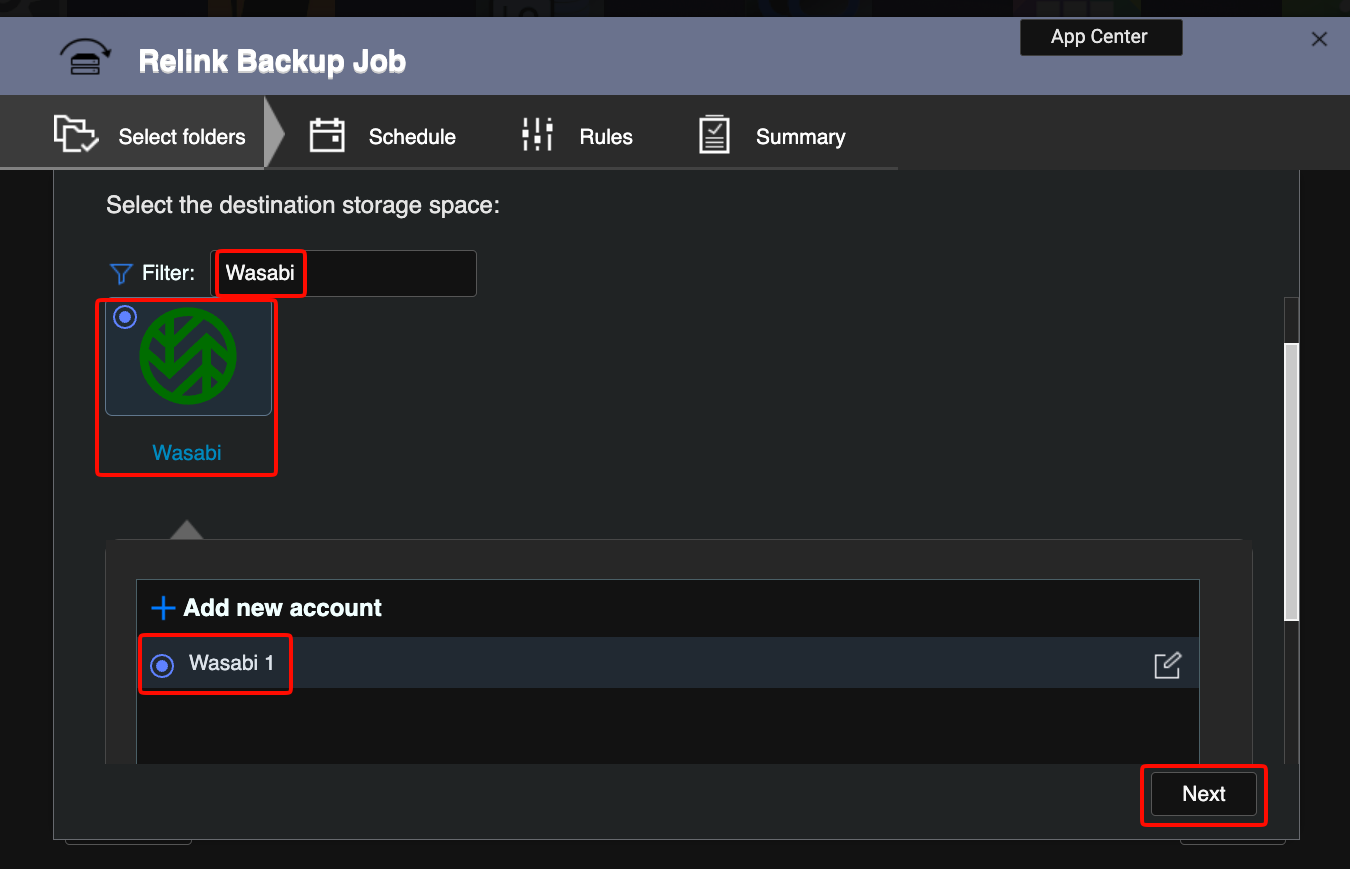
In the Filter field, enter Wasabi.
Select the Wasabi radio button.
Select your Wasabi account.
Click Next.
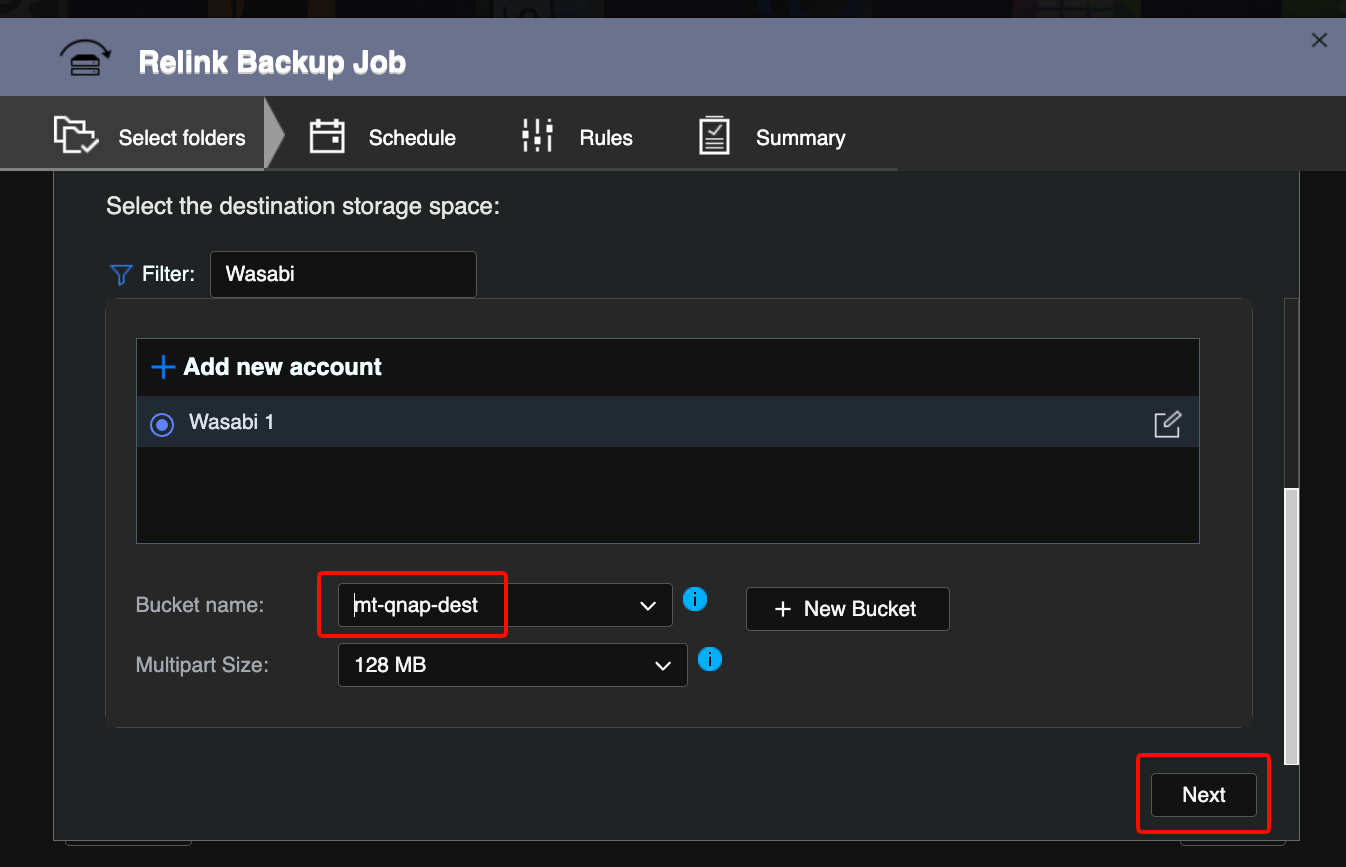
Select your destination bucket name from the list.
Click Next.
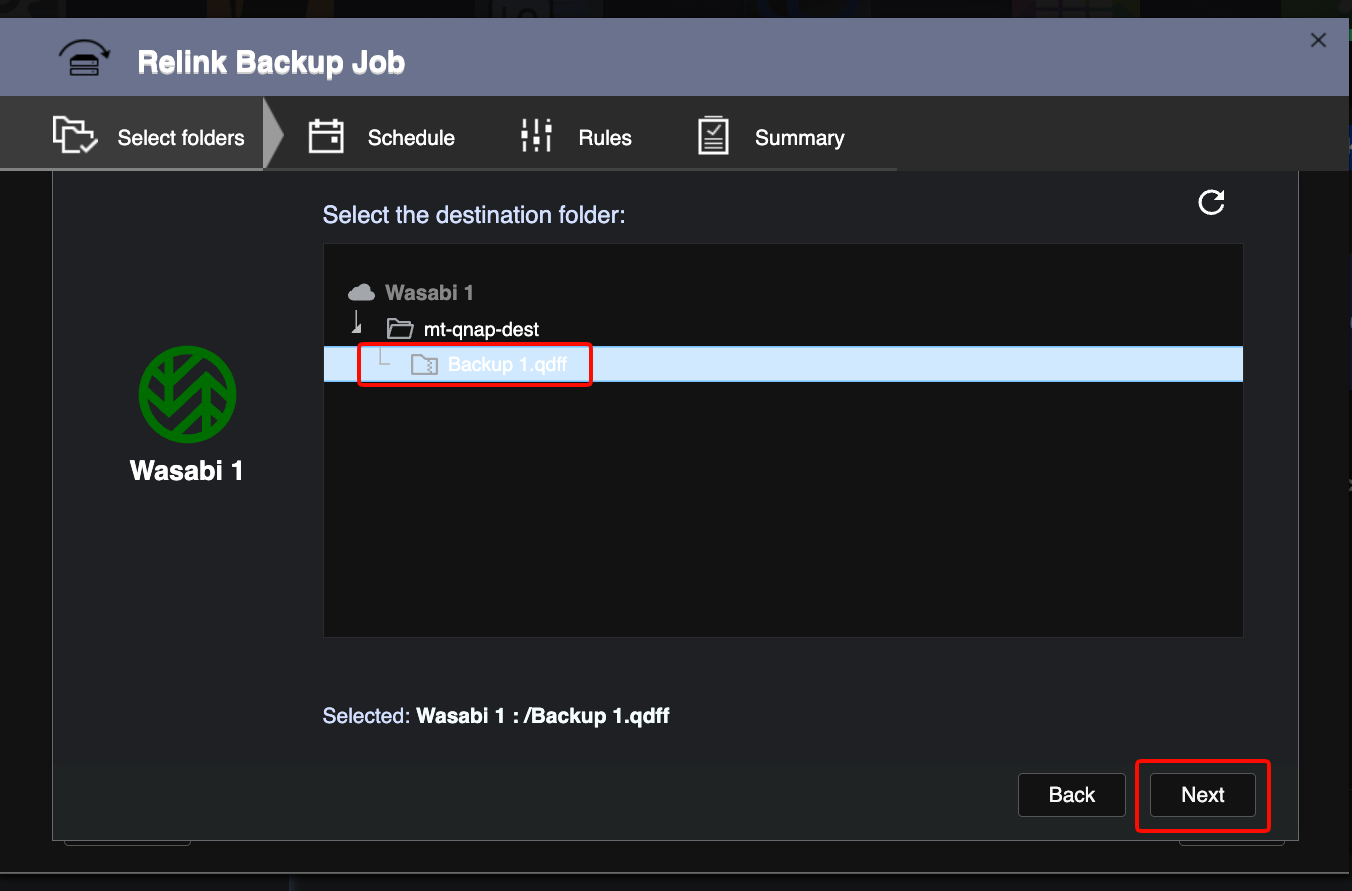
Select the top-level folder in your bucket (for example, Backup 1.qdiff).
Click Next.
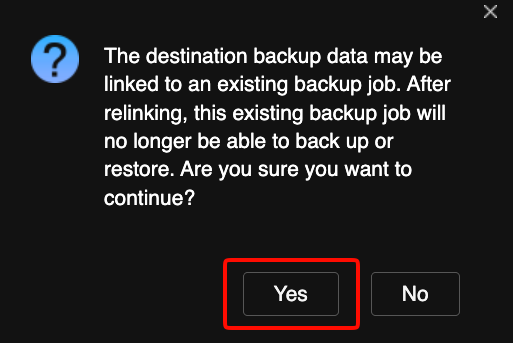
Click Yes on the pop-up window.
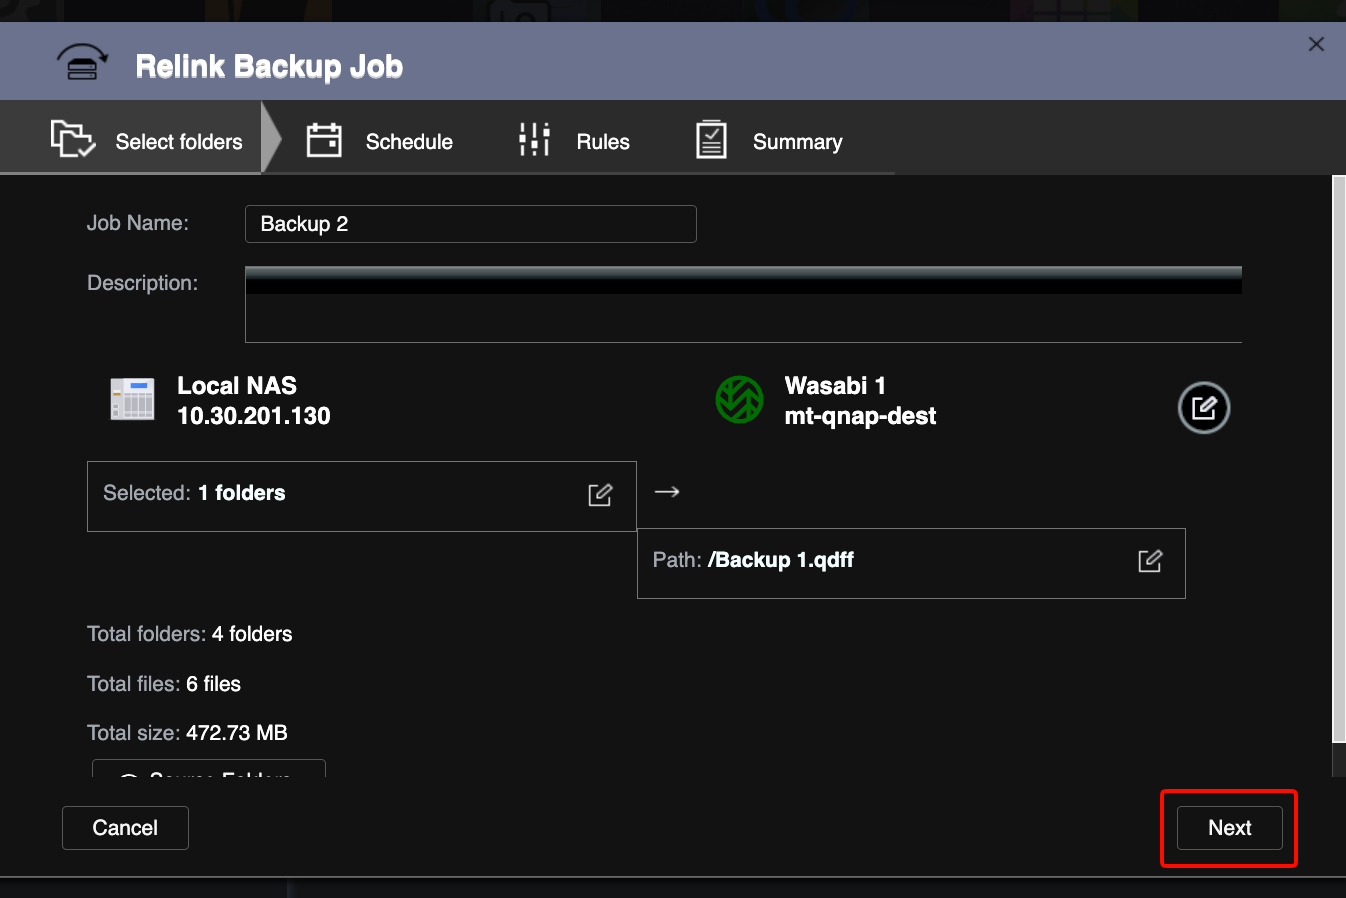
Click Next.
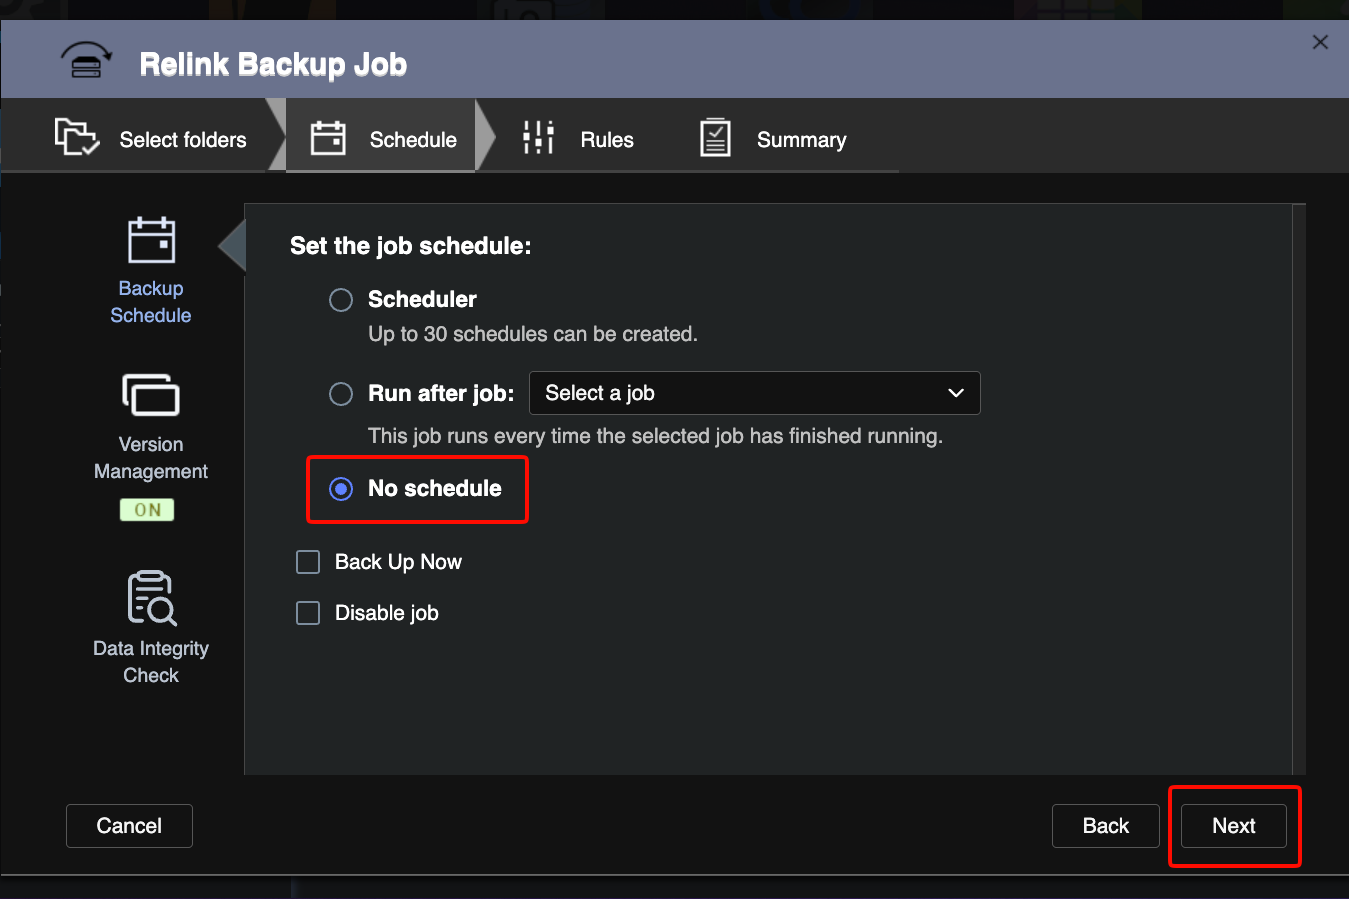
On the Schedule tab, click the radio button next to No schedule.
Click Next.
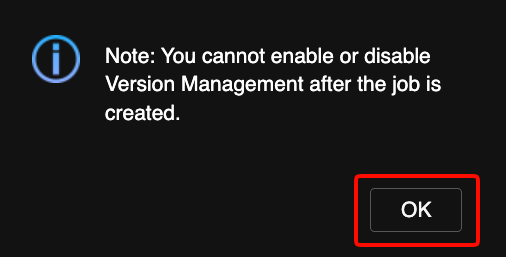
Click OK on the pop-up window.
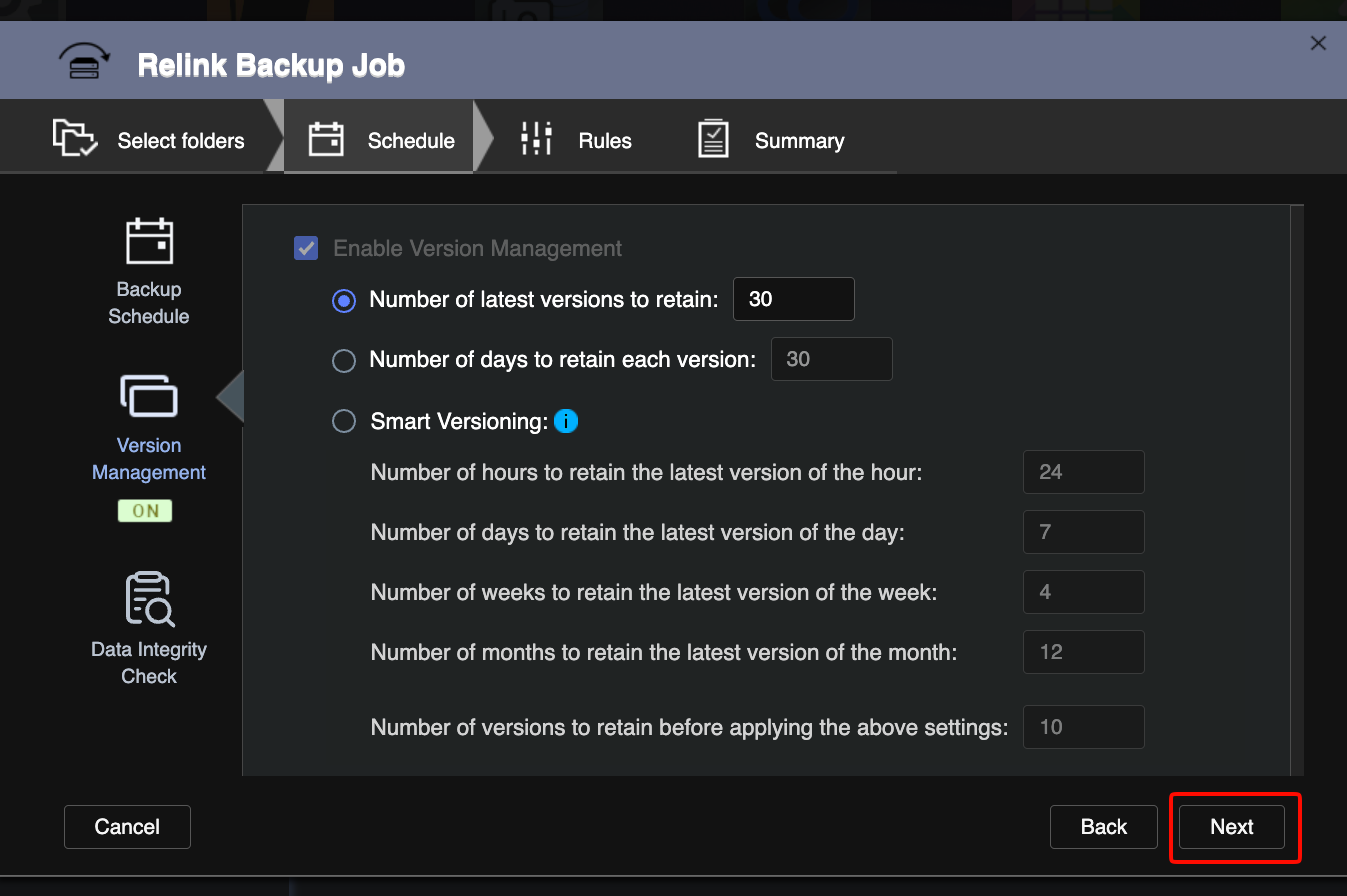
Click Next.
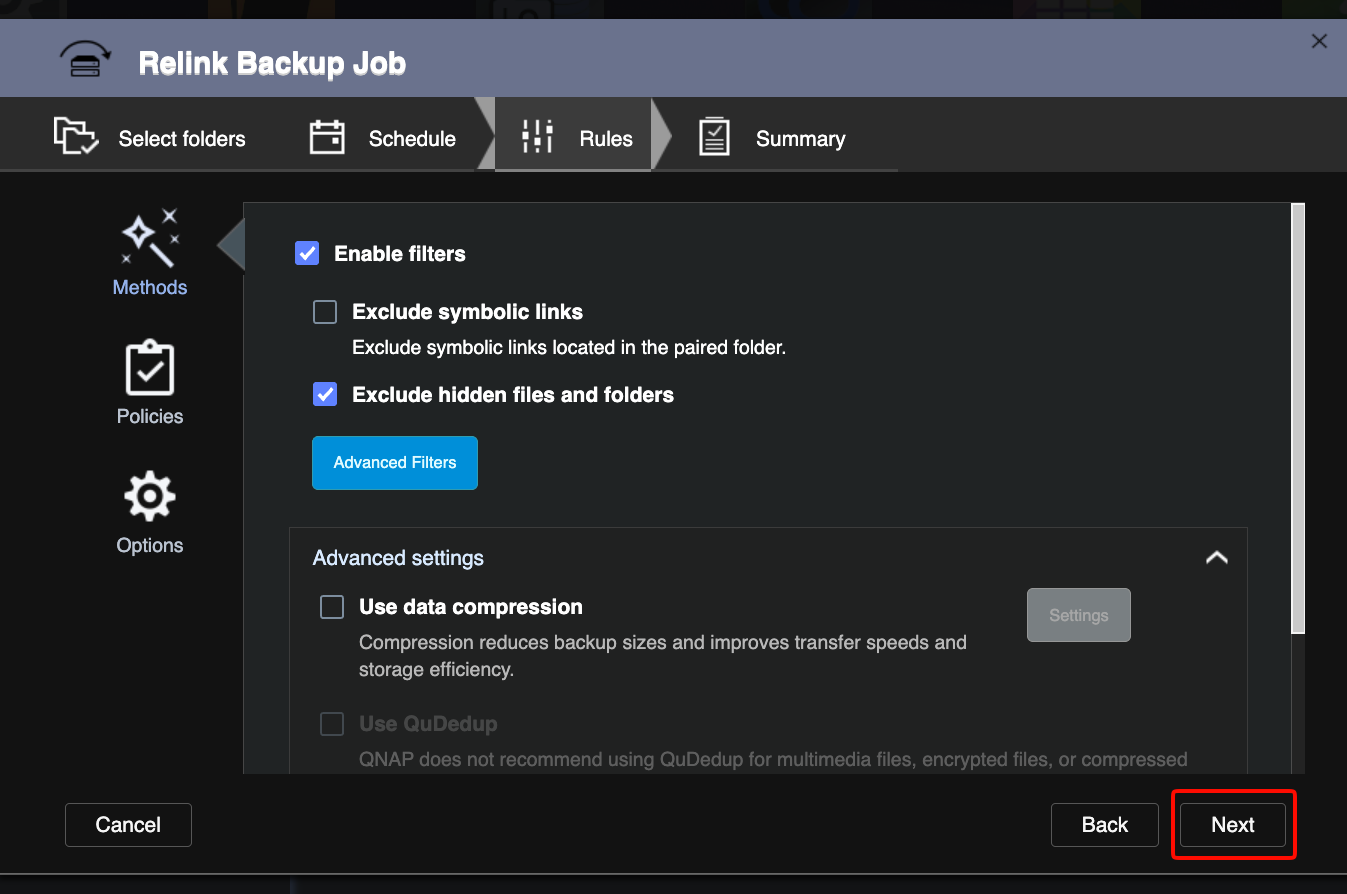
Click Next on the Rules screen.
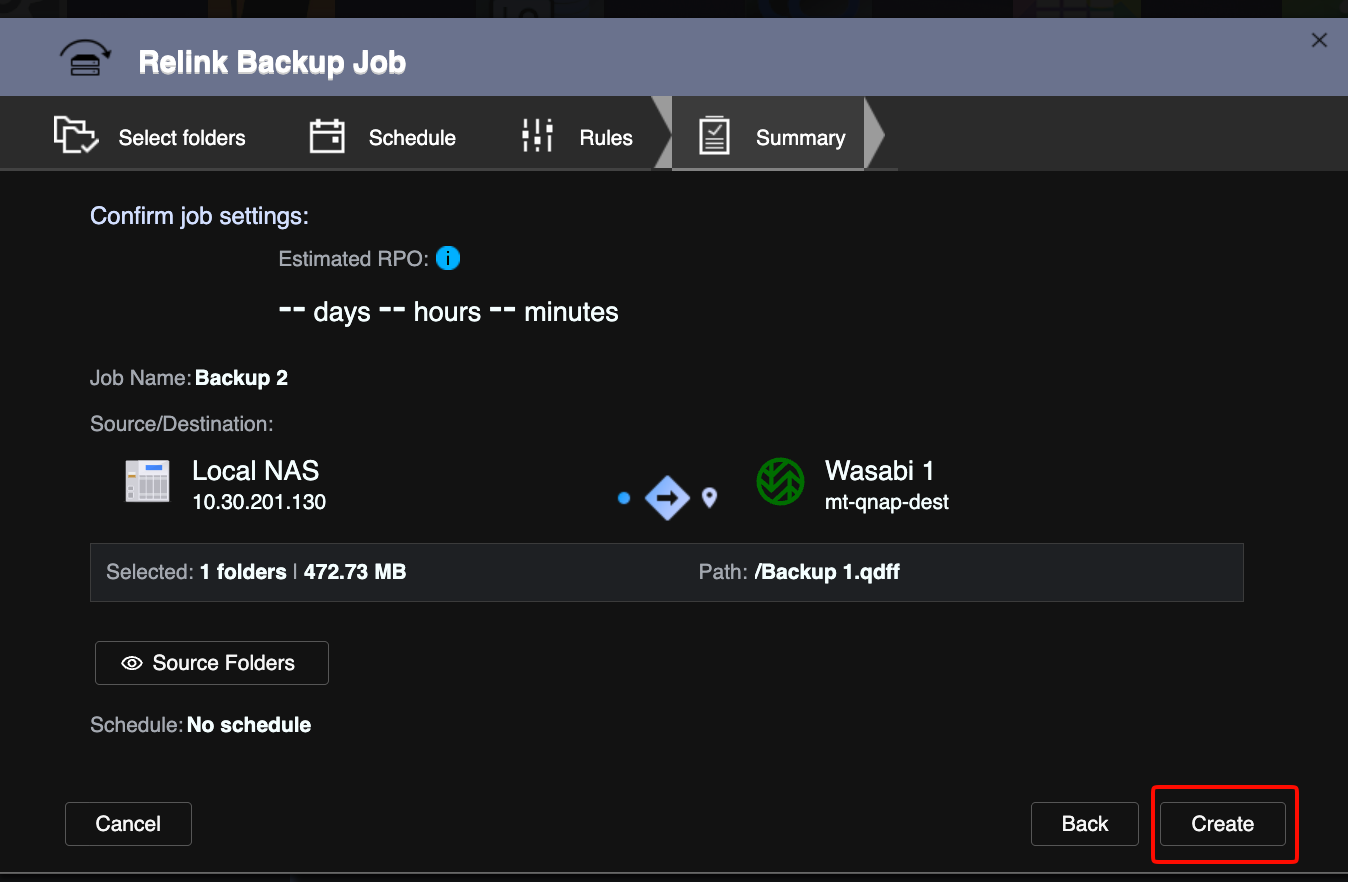
Click Create.
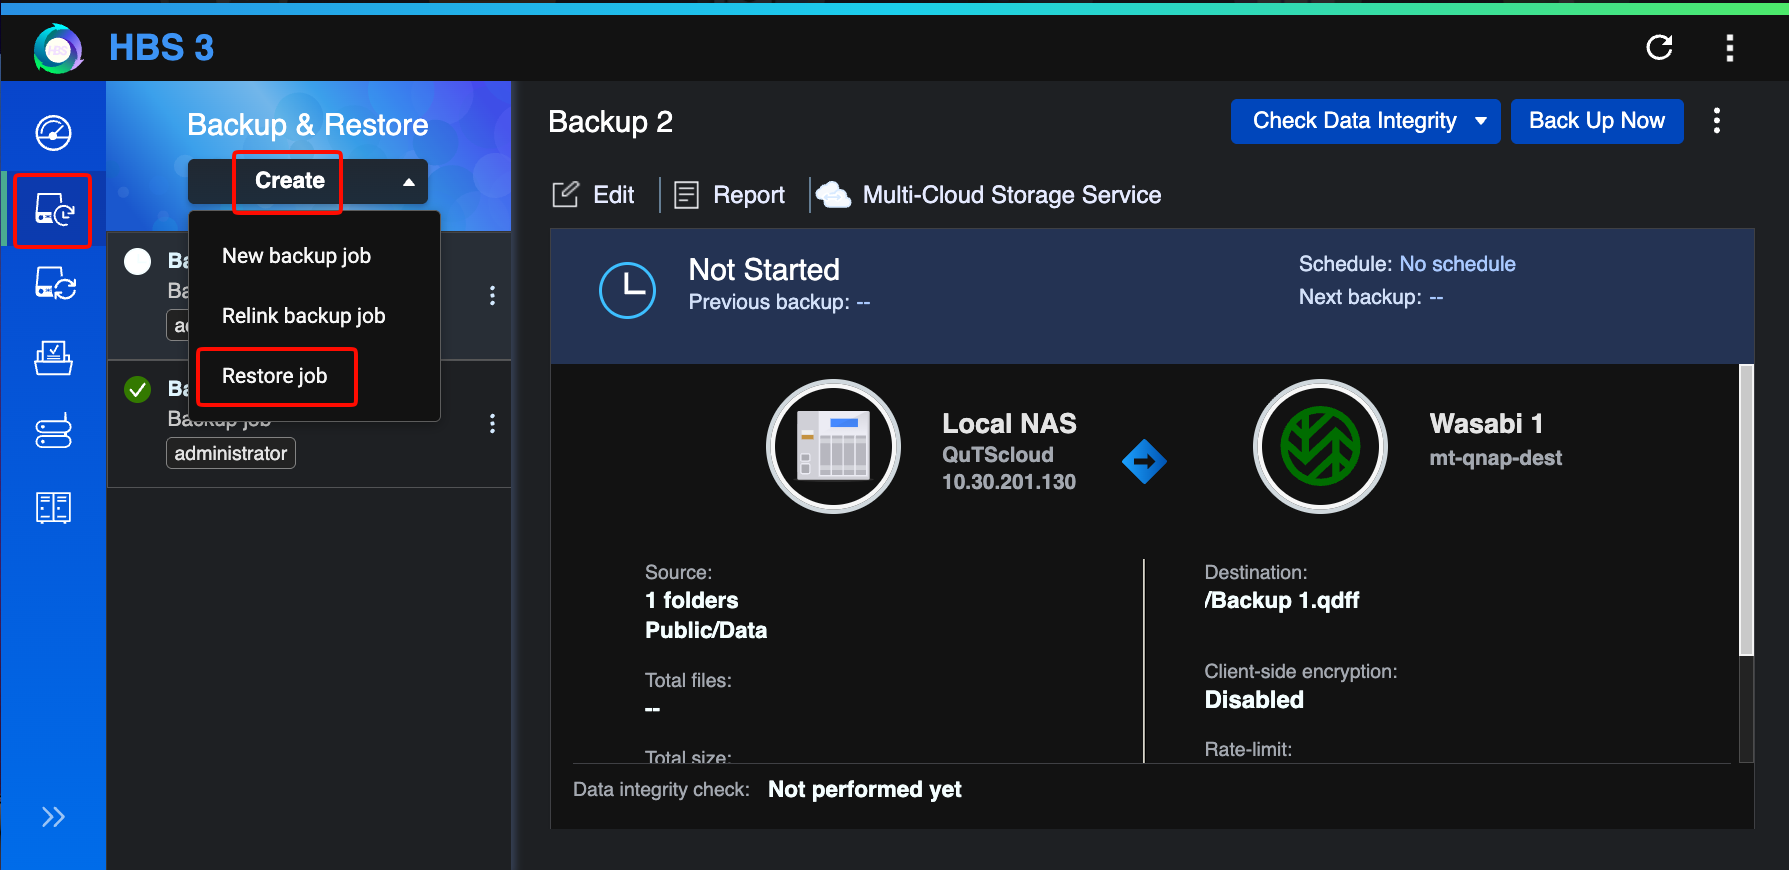
On the Backup & Restore tab, click Create.
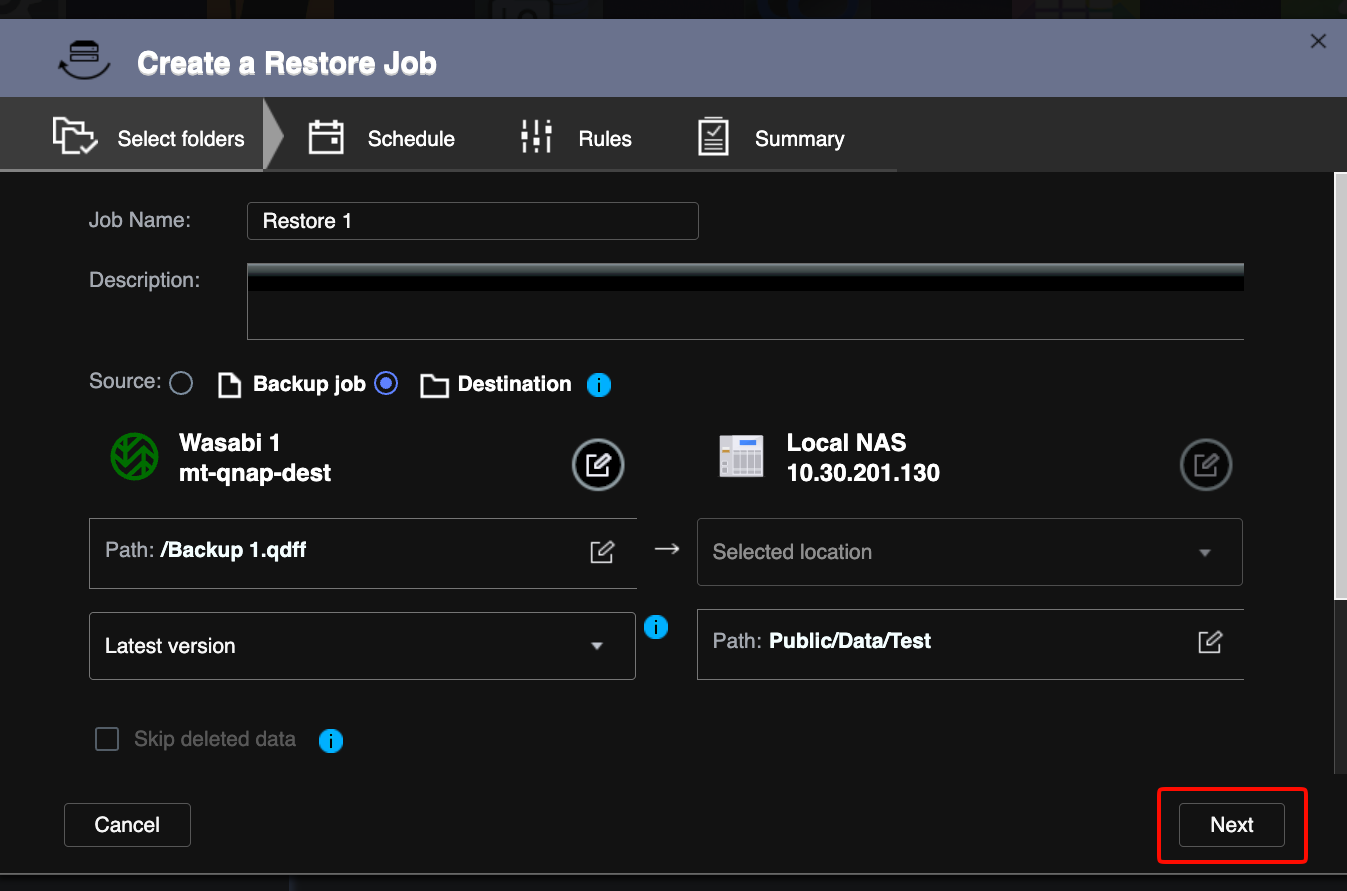
Click Restore job.
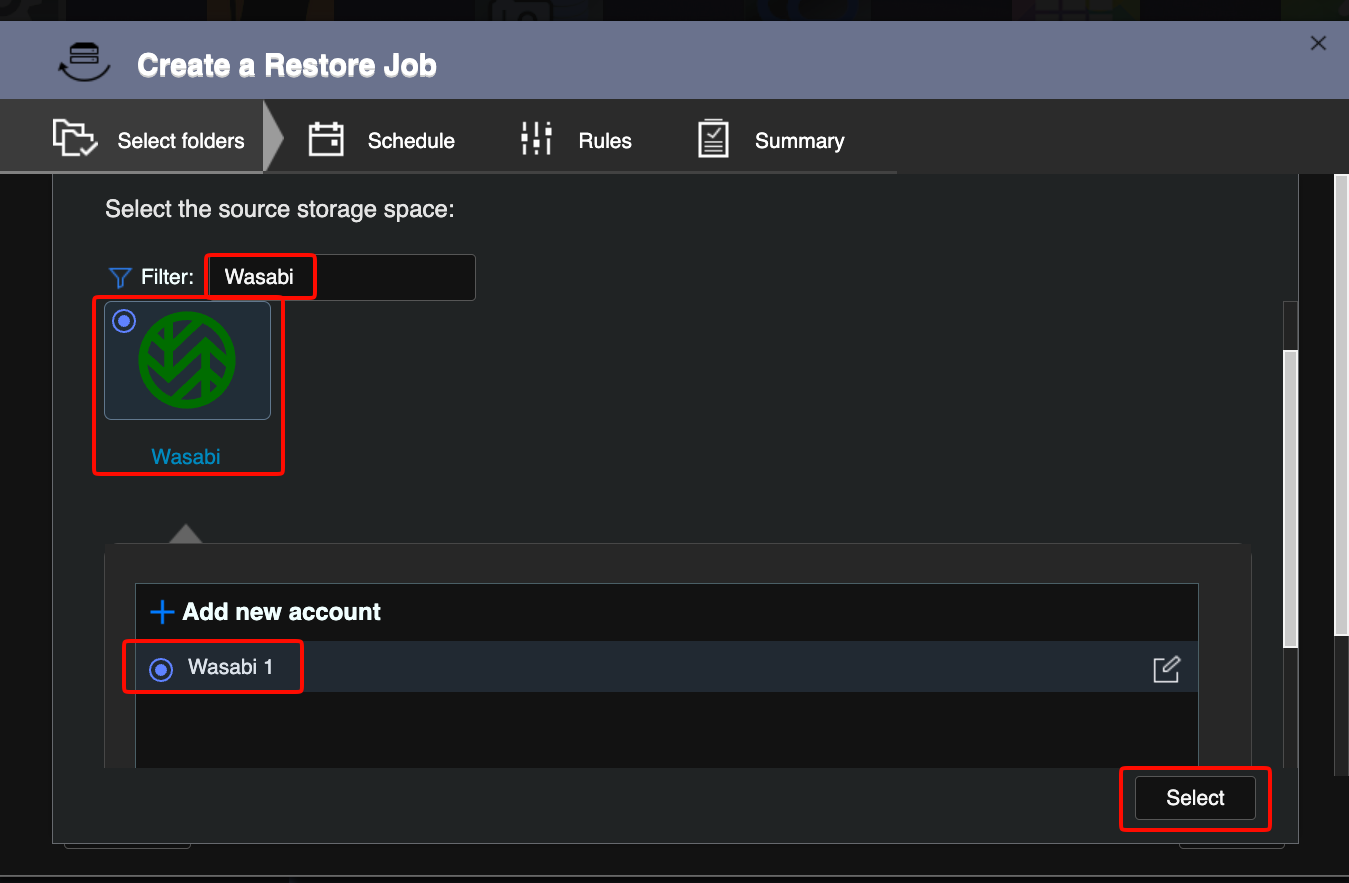
Search for Wasabi and select the radio button next to Wasabi.
Select your Wasabi account and click Select.
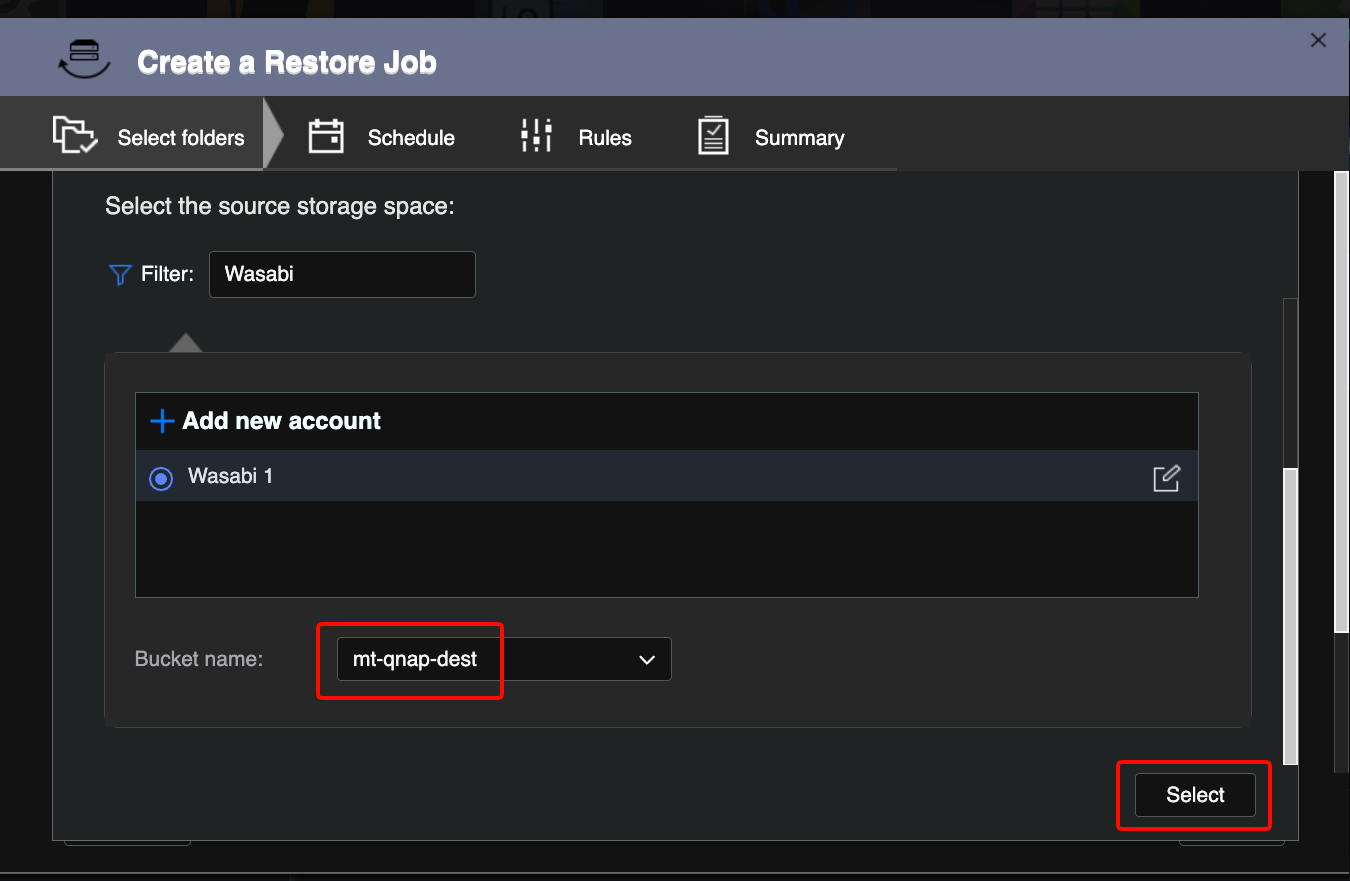
Select your DESTINATION bucket name from the drop-down menu.
Click Select.
Click the radio button next to Destination. Click the + sign below your Wasabi bucket.
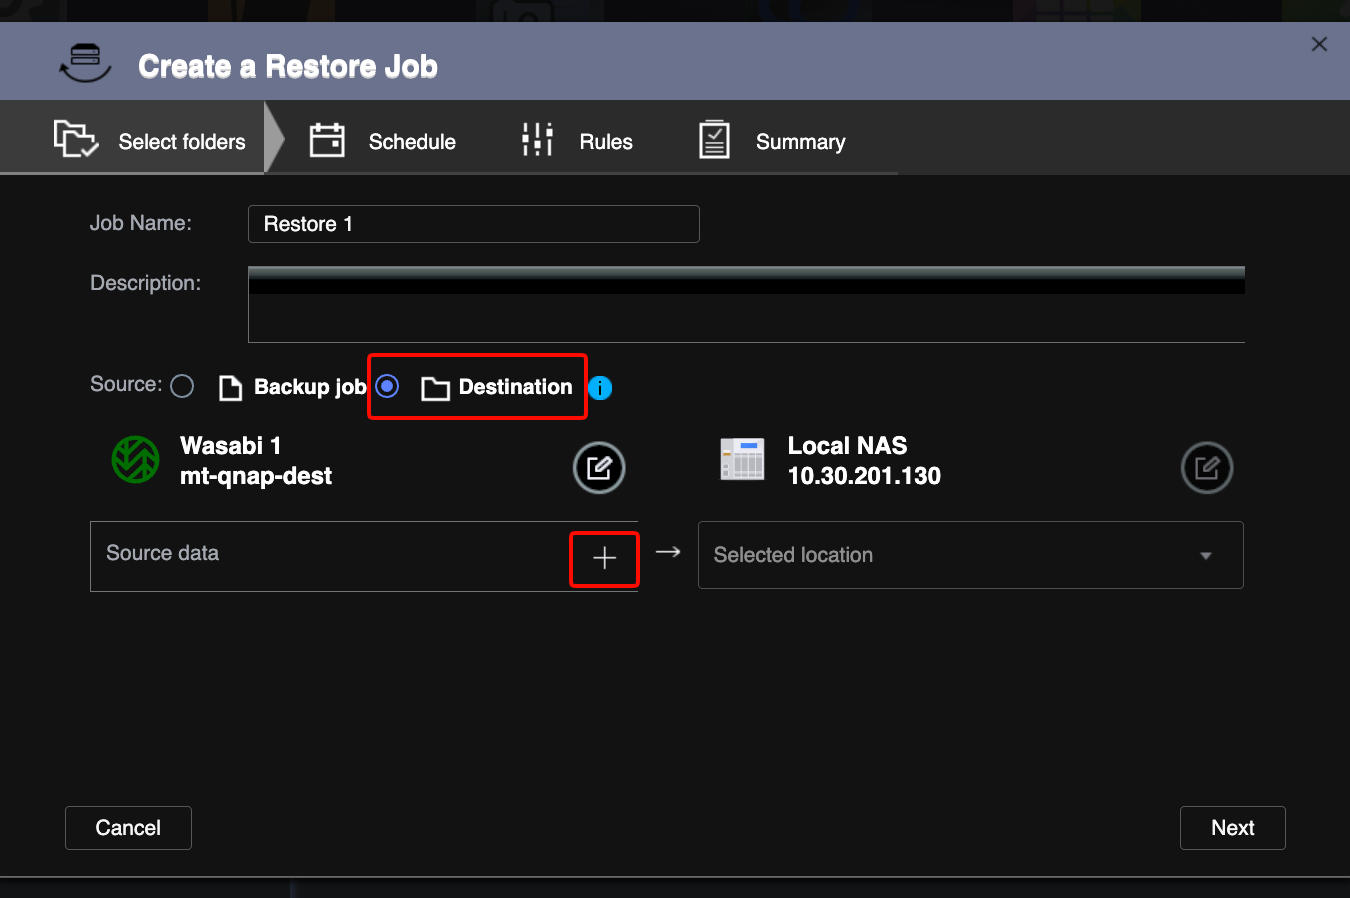
Select the top-level folder in your bucket (for example, Backup 1.qdiff).
Click OK.
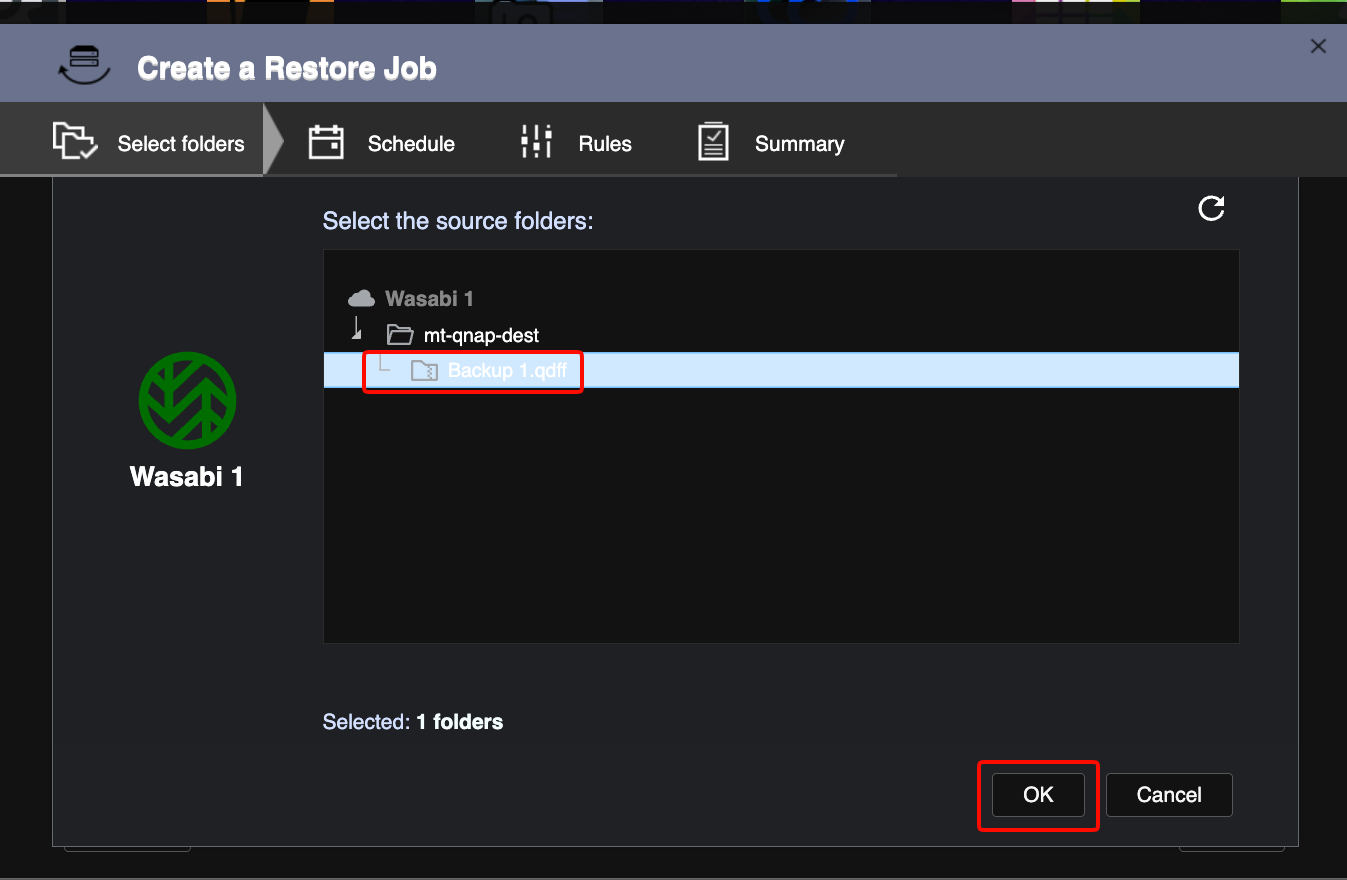
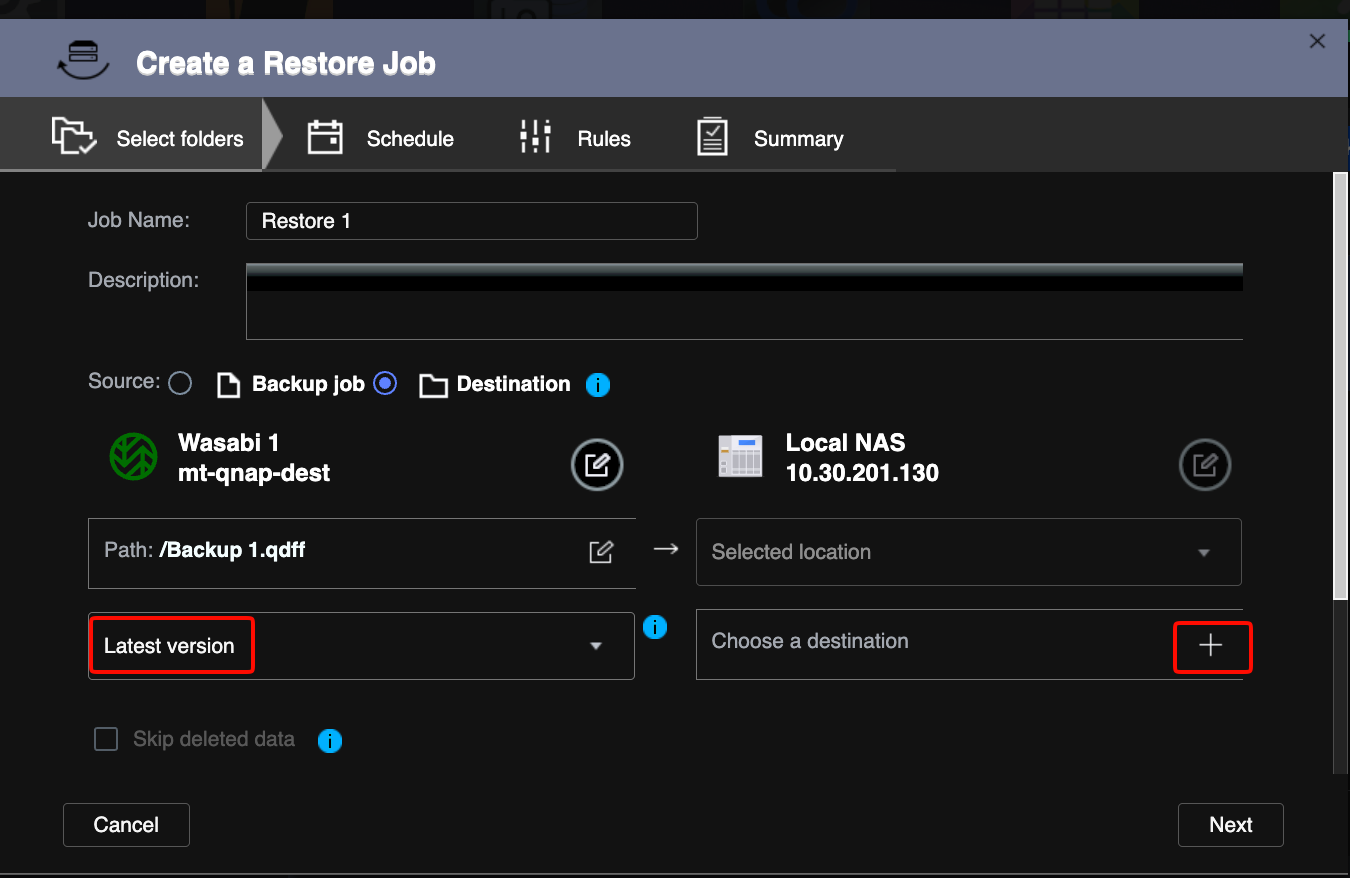
In the drop-down menu under your Wasabi bucket path, select Latest version.
Click the + sign below your local NAS.
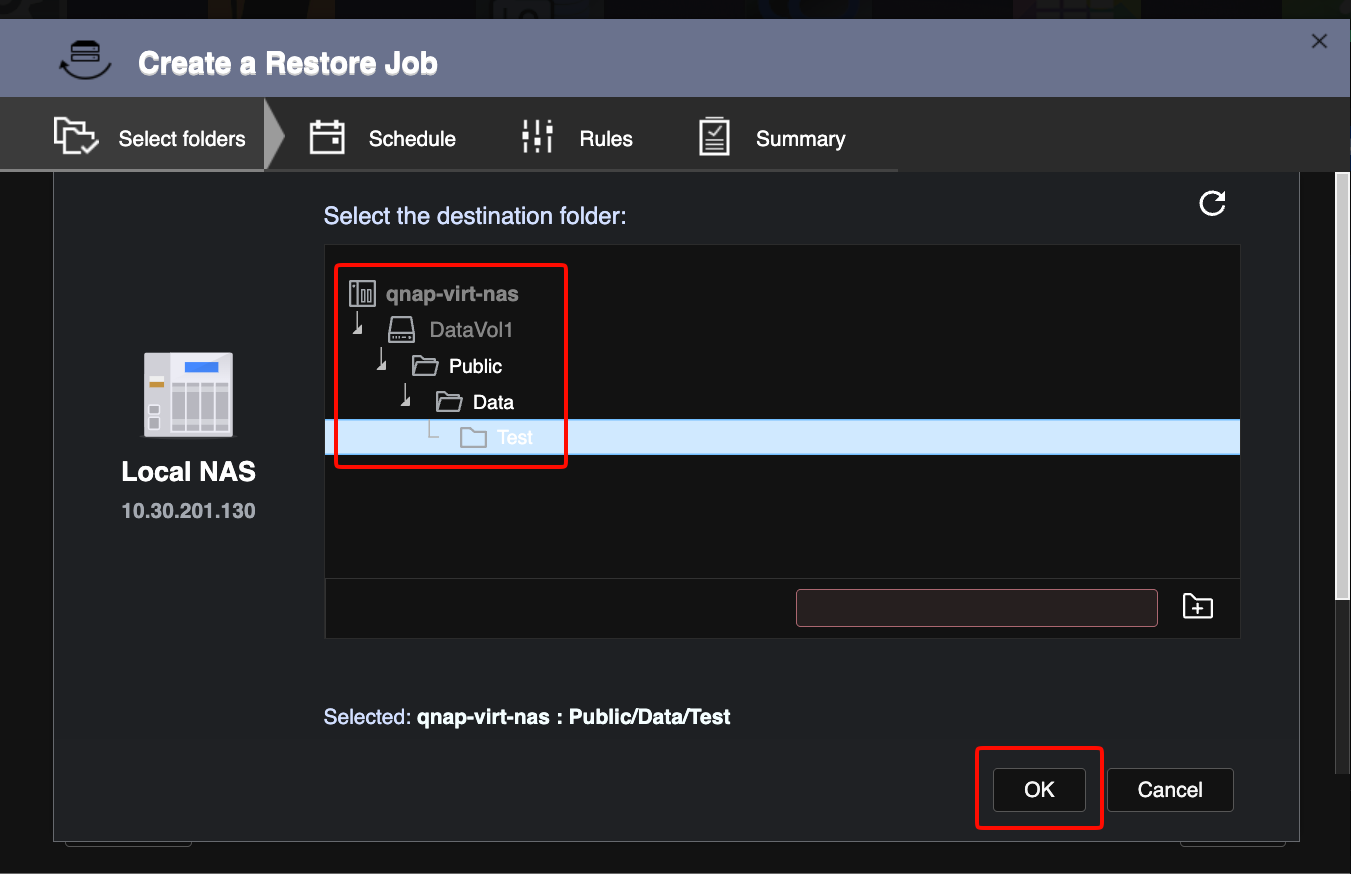
Select the destination folder on your NAS to restore the data and click OK.
Click Next.
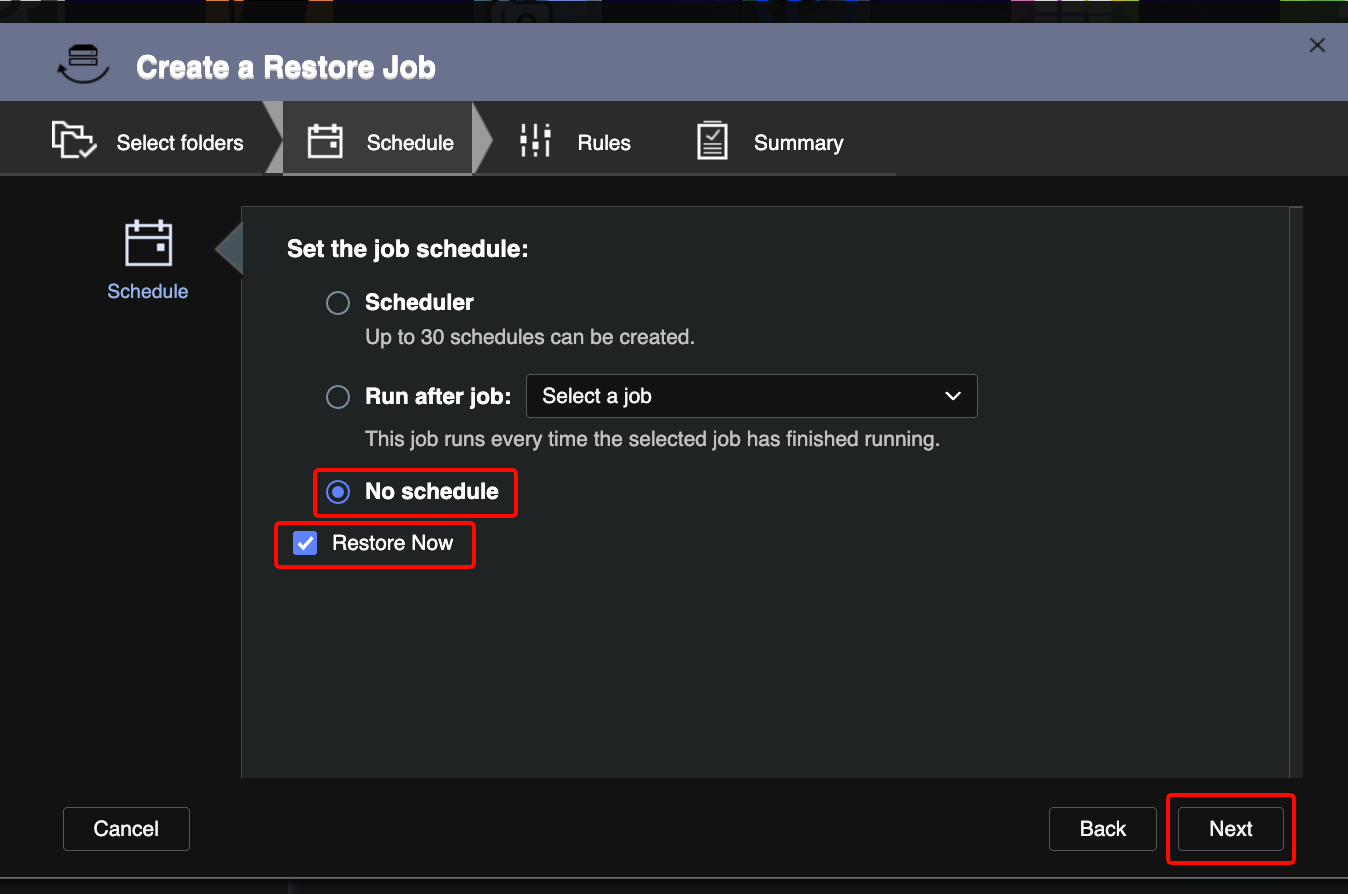
On the Schedule tab, select No schedule.
Click the checkbox to Restore Now.
Click Next.
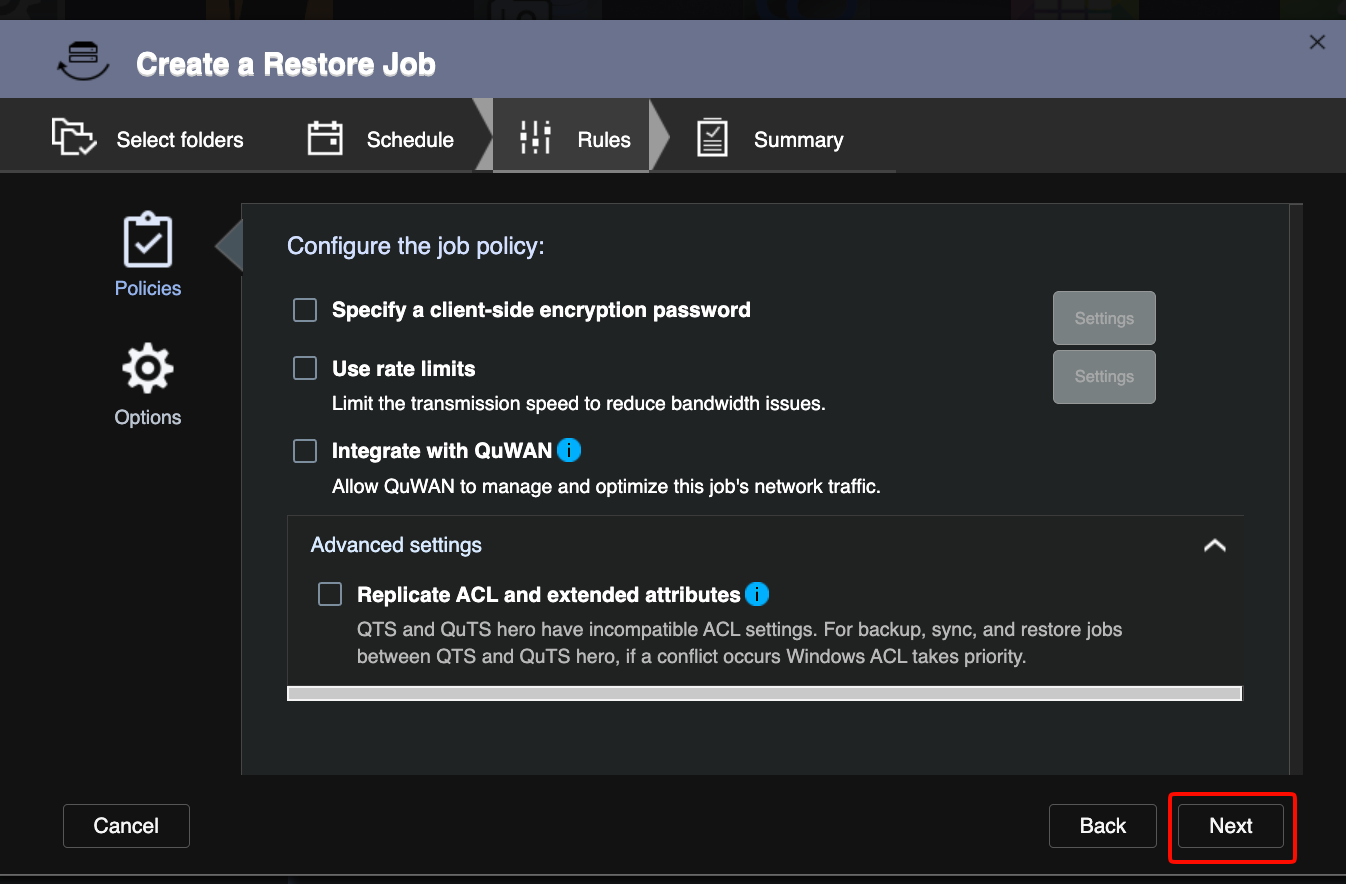
Click Next on the Rules tab.
Click Restore.
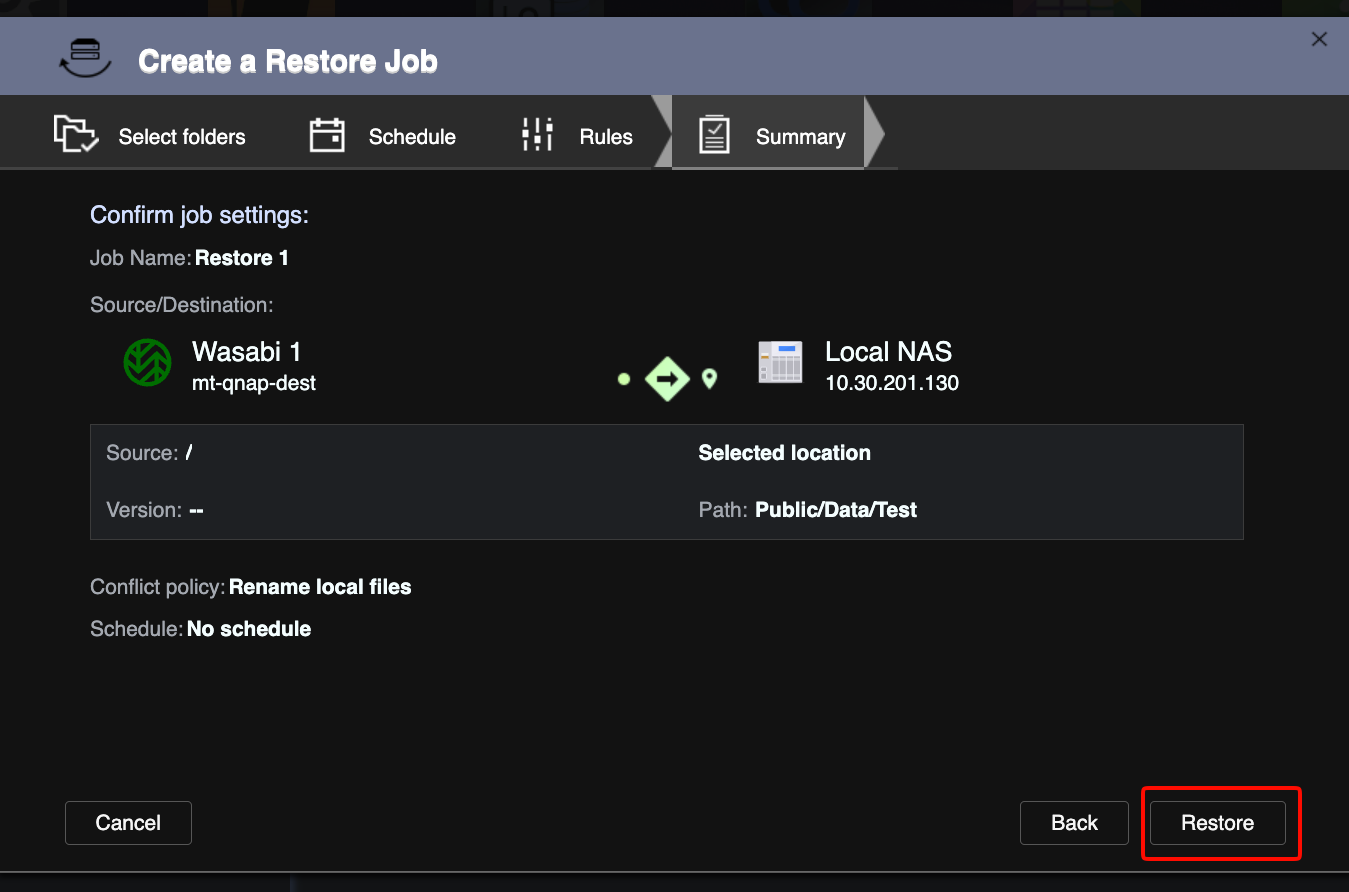
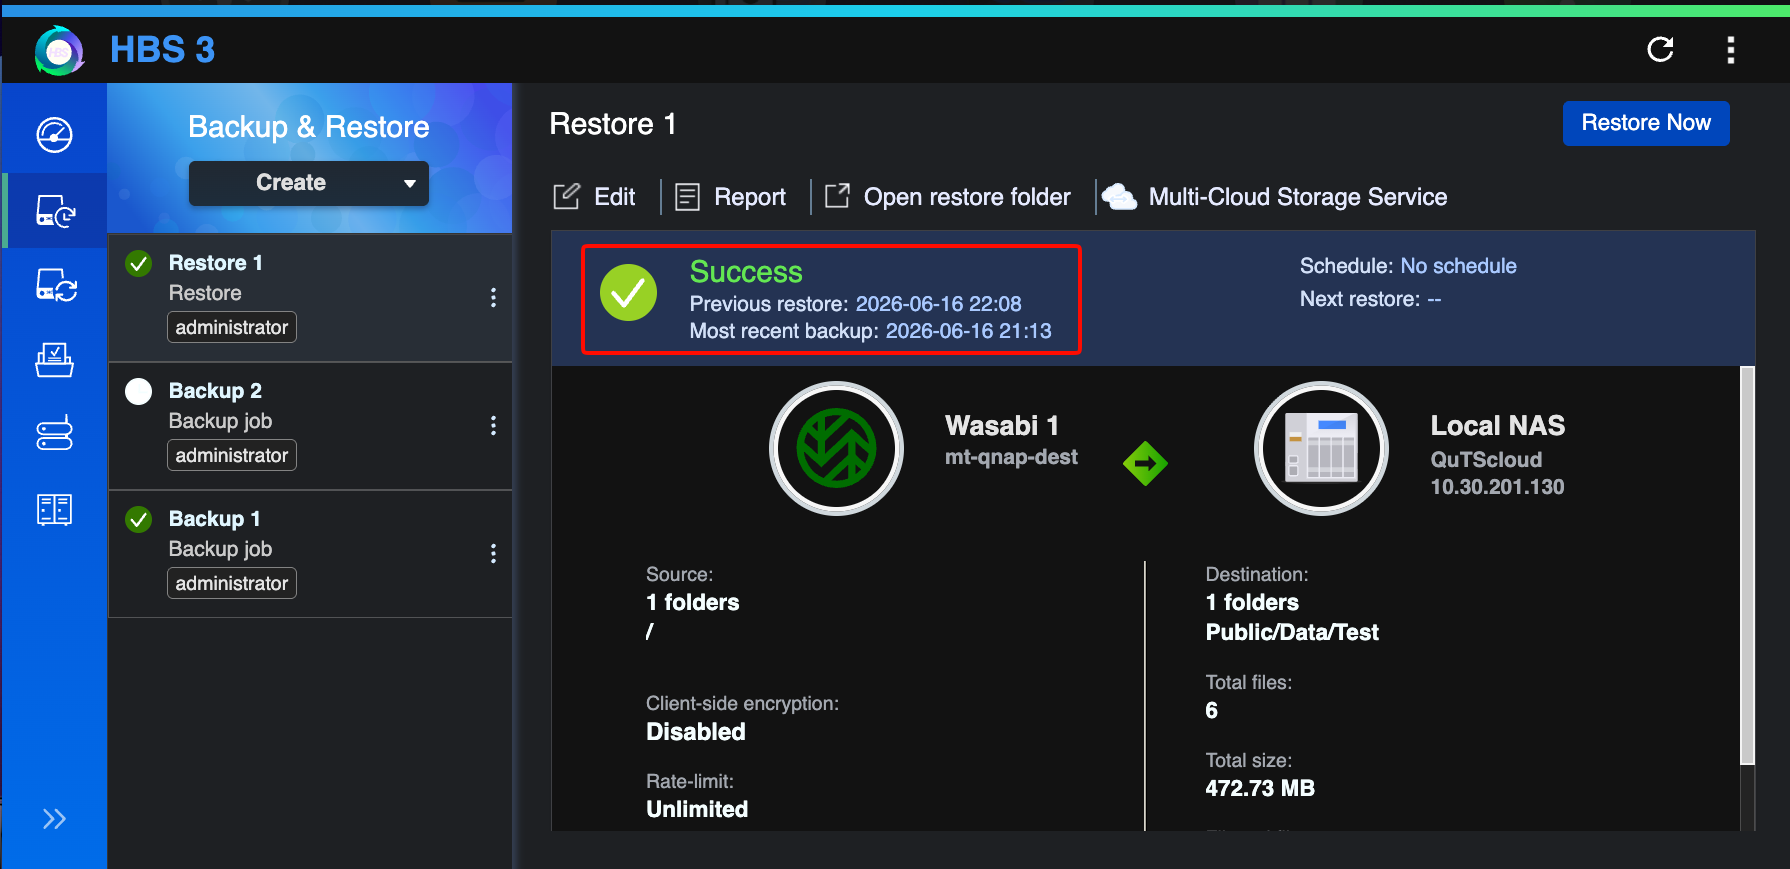
The Restore job status will show Success when the restore completes successfully.