WholesaleBackup is a white-label backup client application validated to work with Wasabi. This application enables organizations and MSPs to self-brand their own backup application in order to backup and protect important files.
For more information, see the following WholesaleBackup documentation.
Requirements
Wasabi Hot Cloud Storage Account
Wasabi Access & Secret Key
Wasabi Service URL
Be sure to note your storage region URL, and Access & Secret Key, as you will need these for later steps.
WholesaleBackup License (see Online Backup Pricing - WholesaleBackup Plans & Costs)
WholesaleBackup Branded Application Installer (see the steps below for building the installer)
Creating a WholesaleBackup Application Build for Wasabi
This configuration example discusses the use of Wasabi's us-east-1 storage region. Use the region your bucket is located in. For a list of regions, see Service URLs for Wasabi's Storage Regions.
Log in to your WholesaleBackup Backup Ops dashboard (https://dash.backupops.com/).
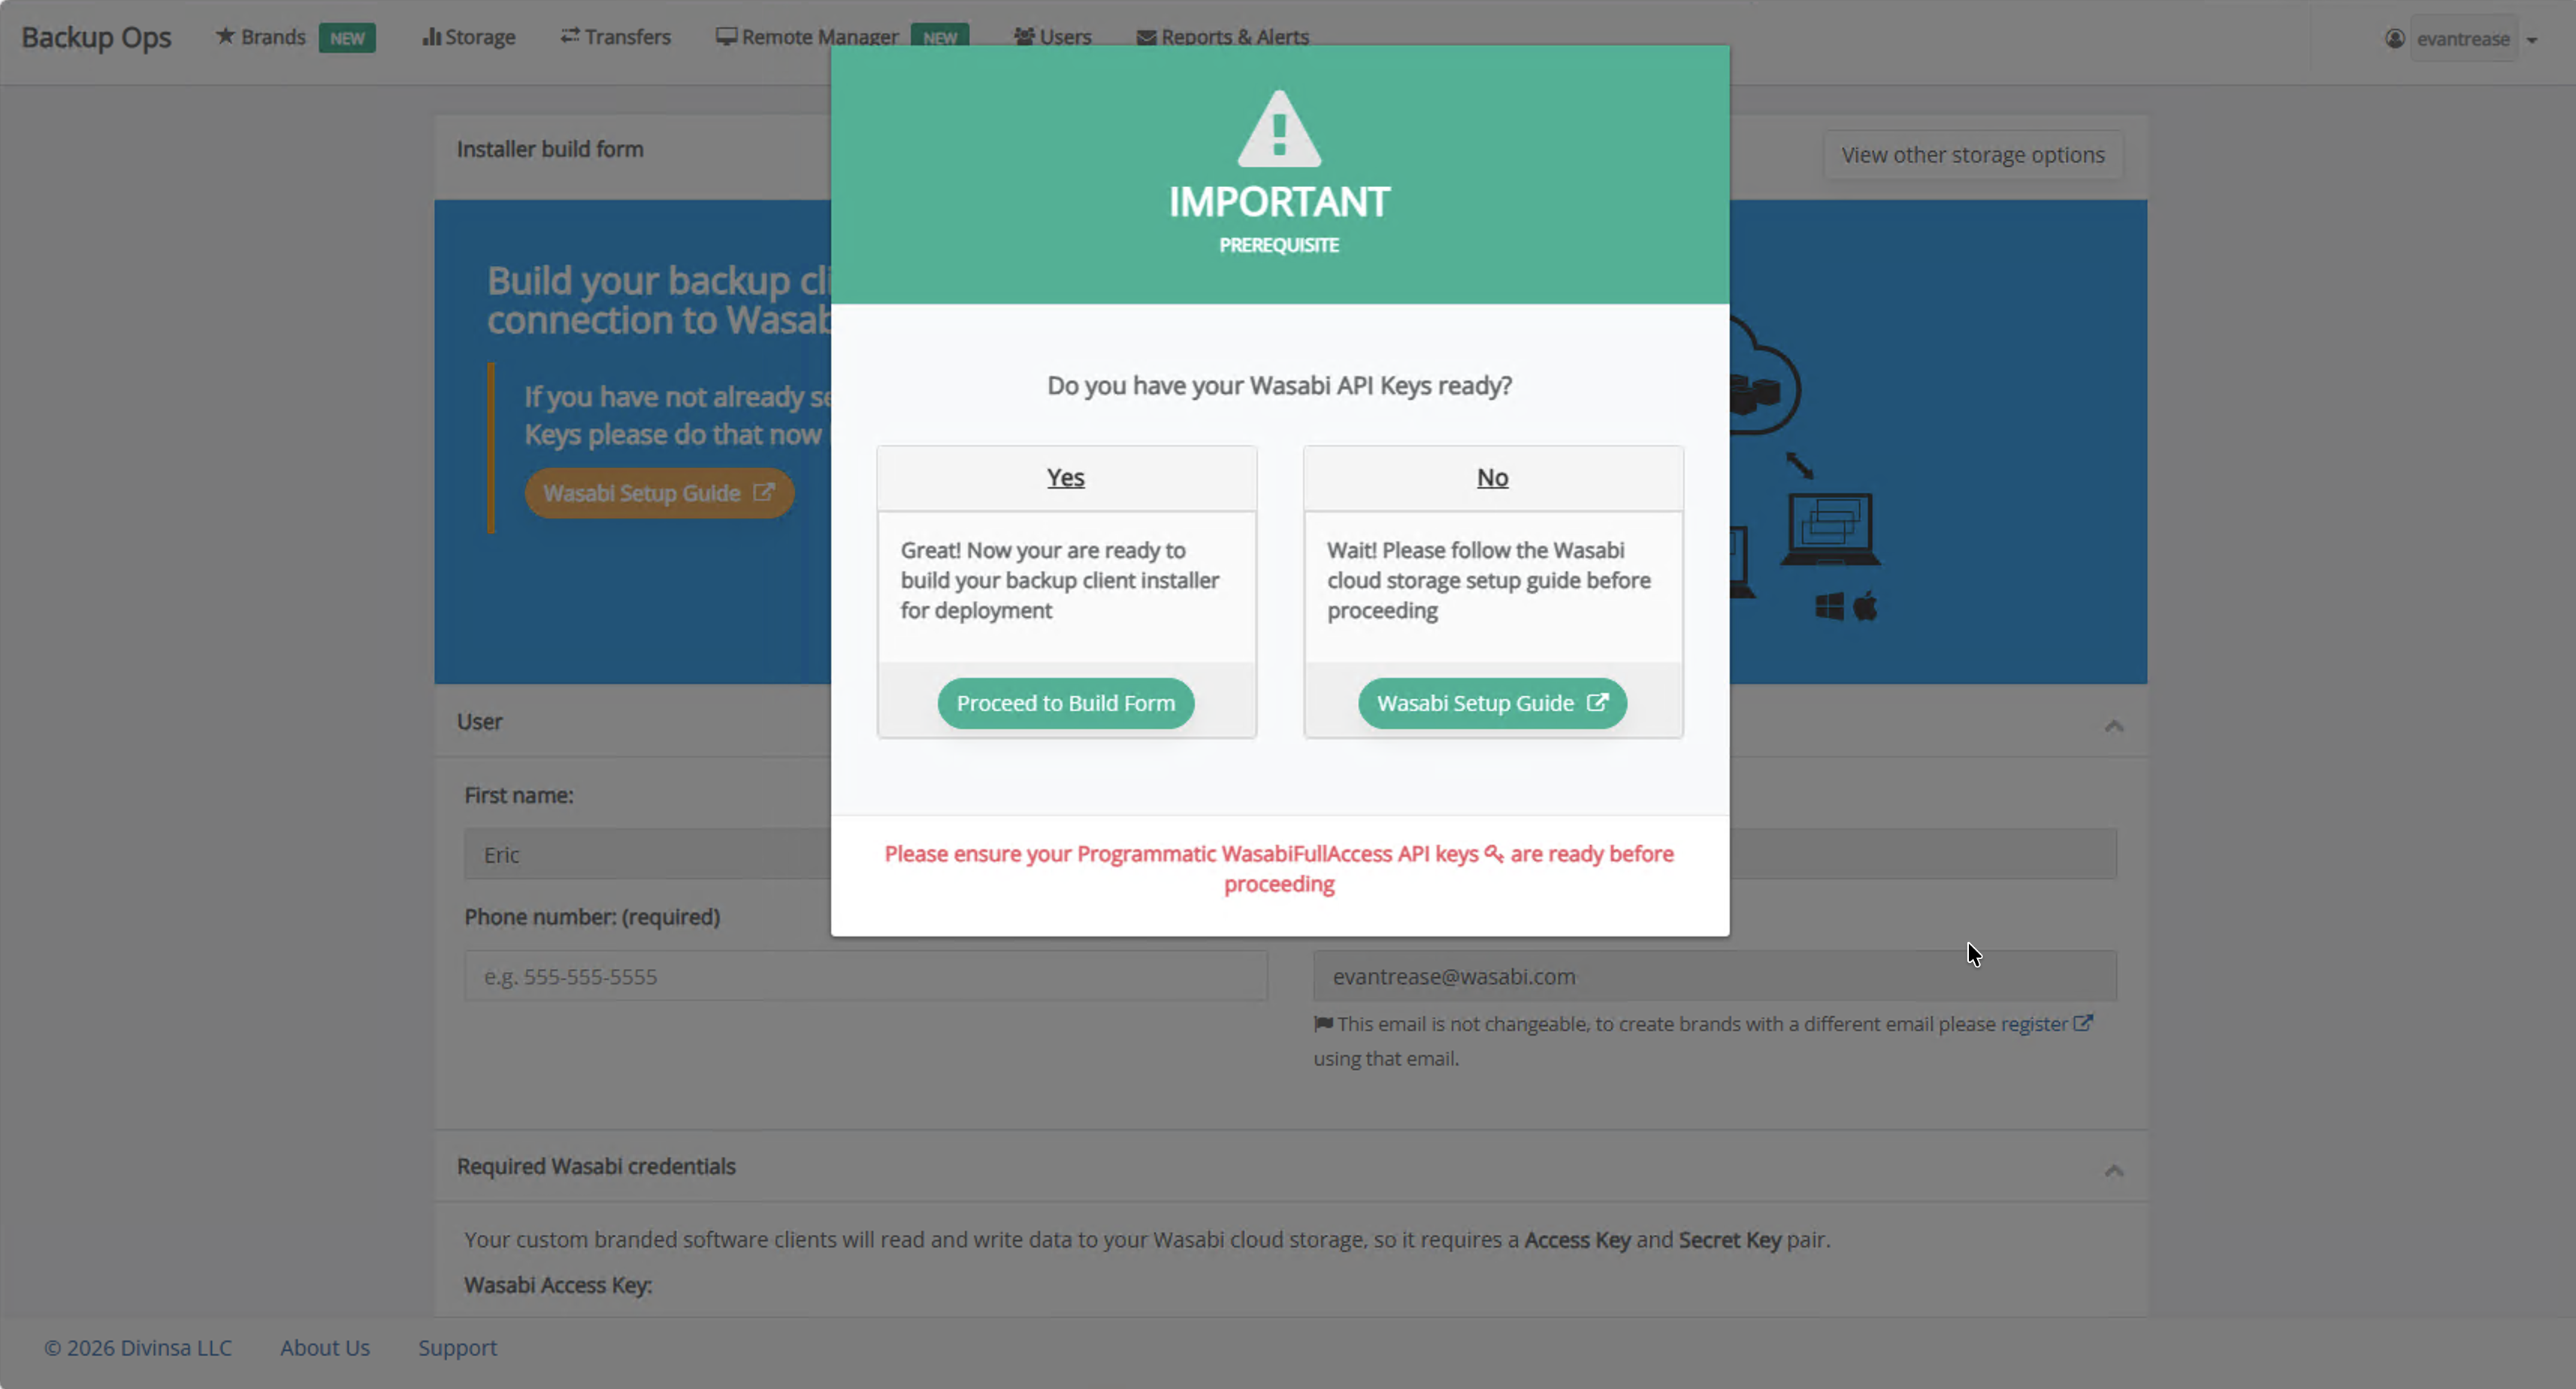
Be sure to have your Access & Secret Keys ready. Click Proceed to Build Form.
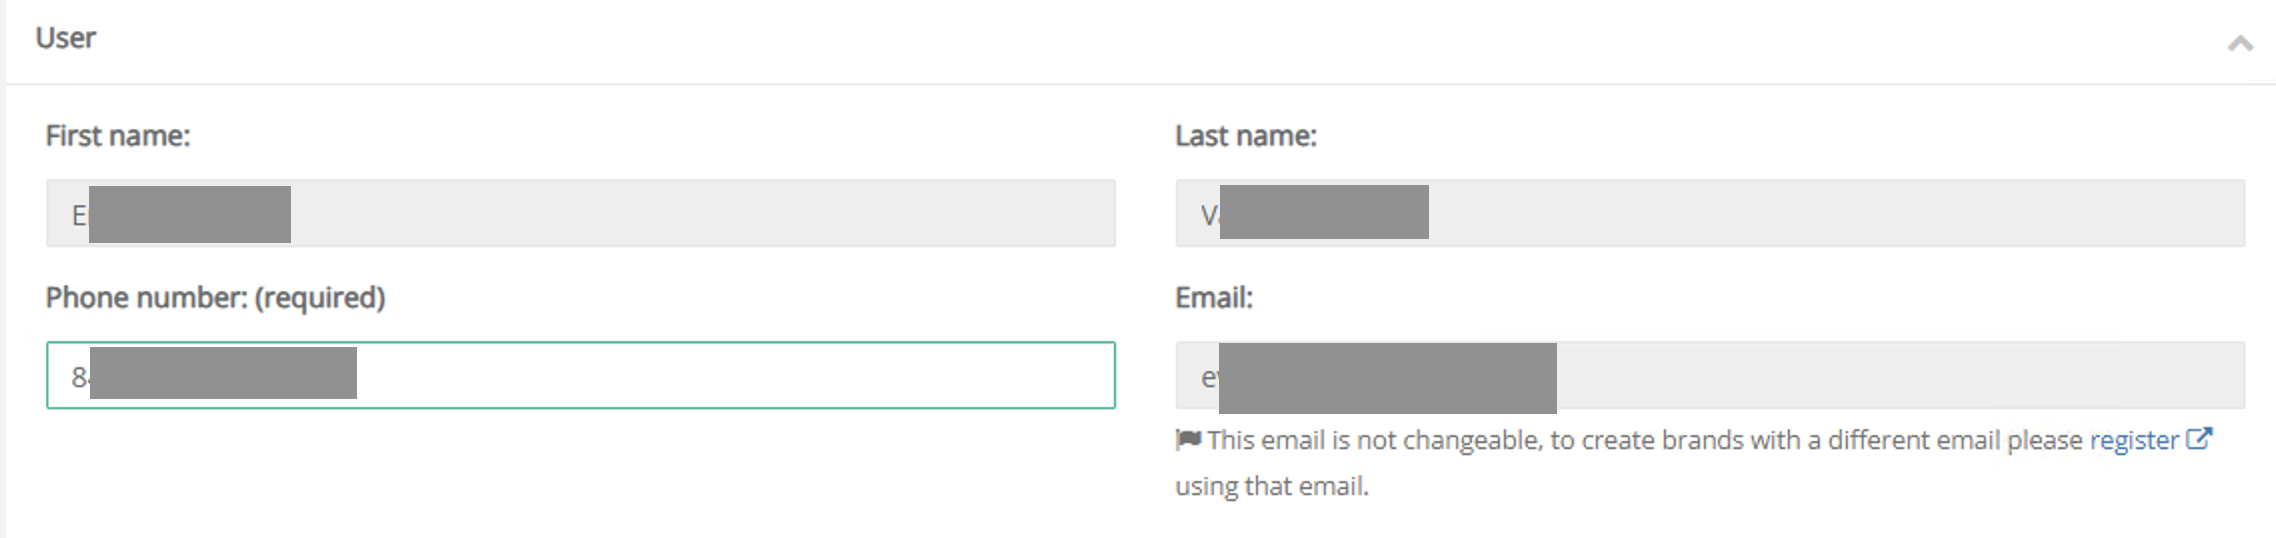
Input your user information (most of this should be pre-filled with your WholesaleBackup Account information).
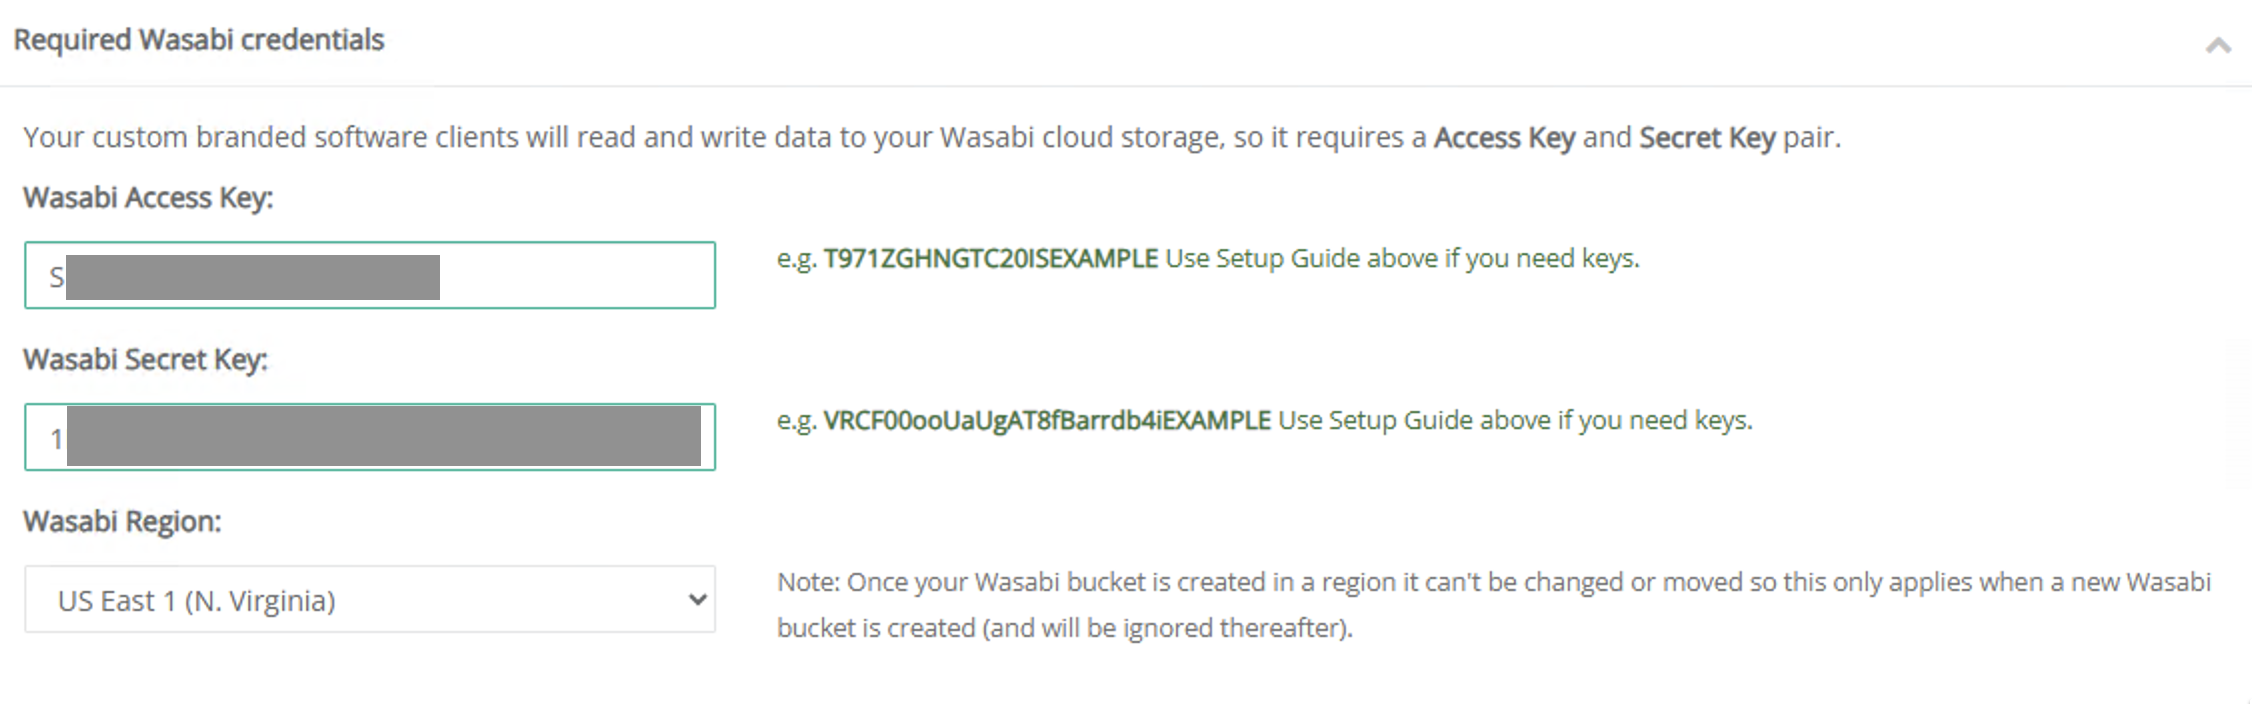
Input your Wasabi access and secret key. Select your region from the drop-down menu.
Input the required brand information including your company name, brand name, title bar, help URL, and build password.

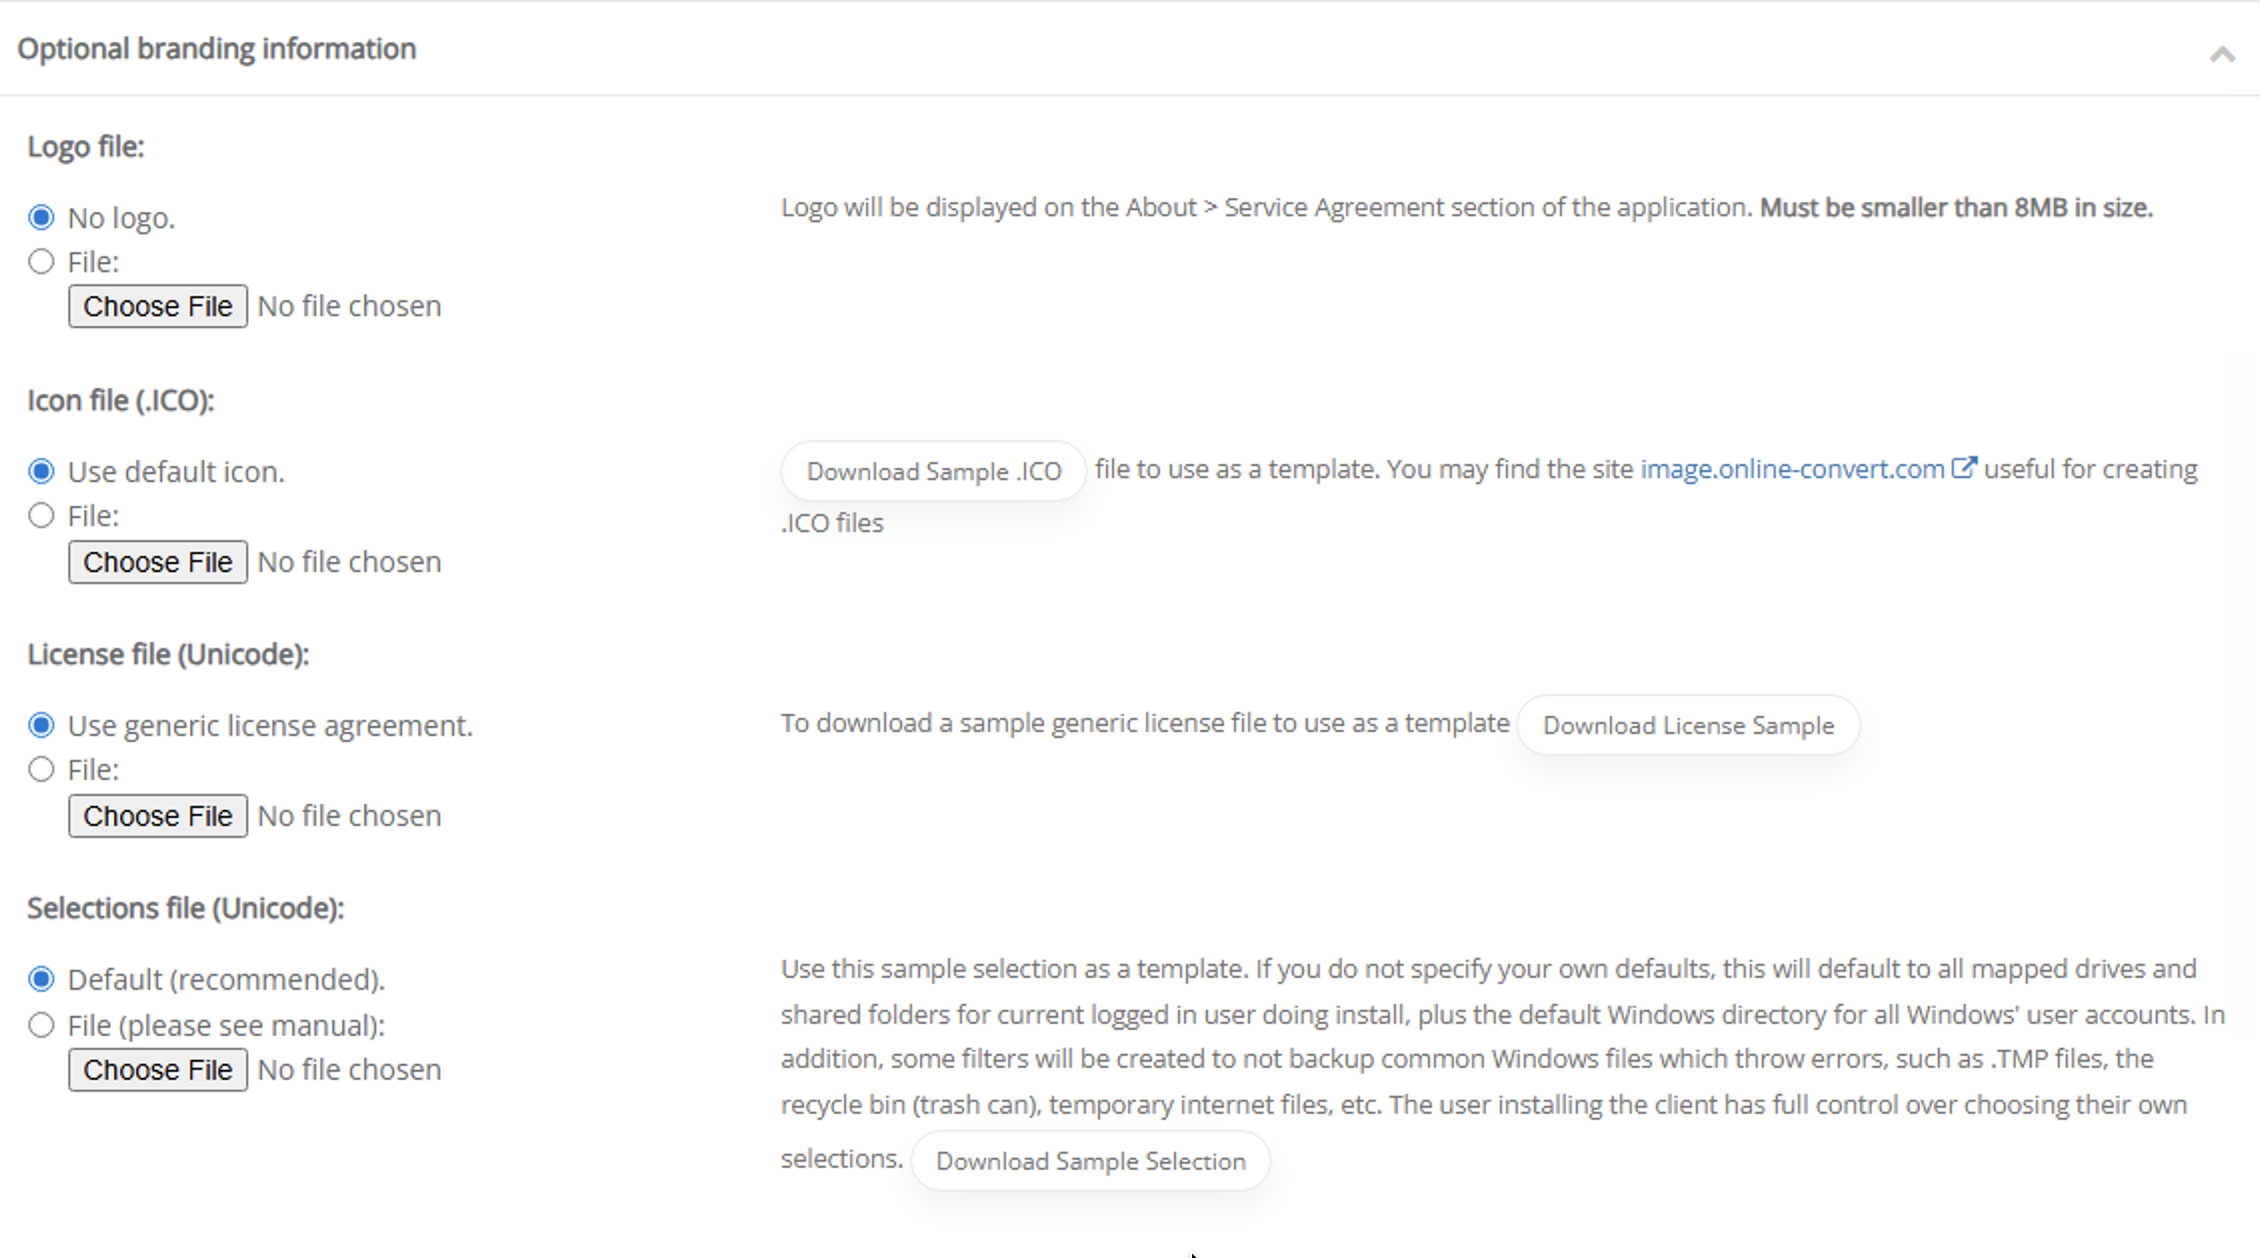
Optionally, upload branding (such as logos, icon, and user agreement).
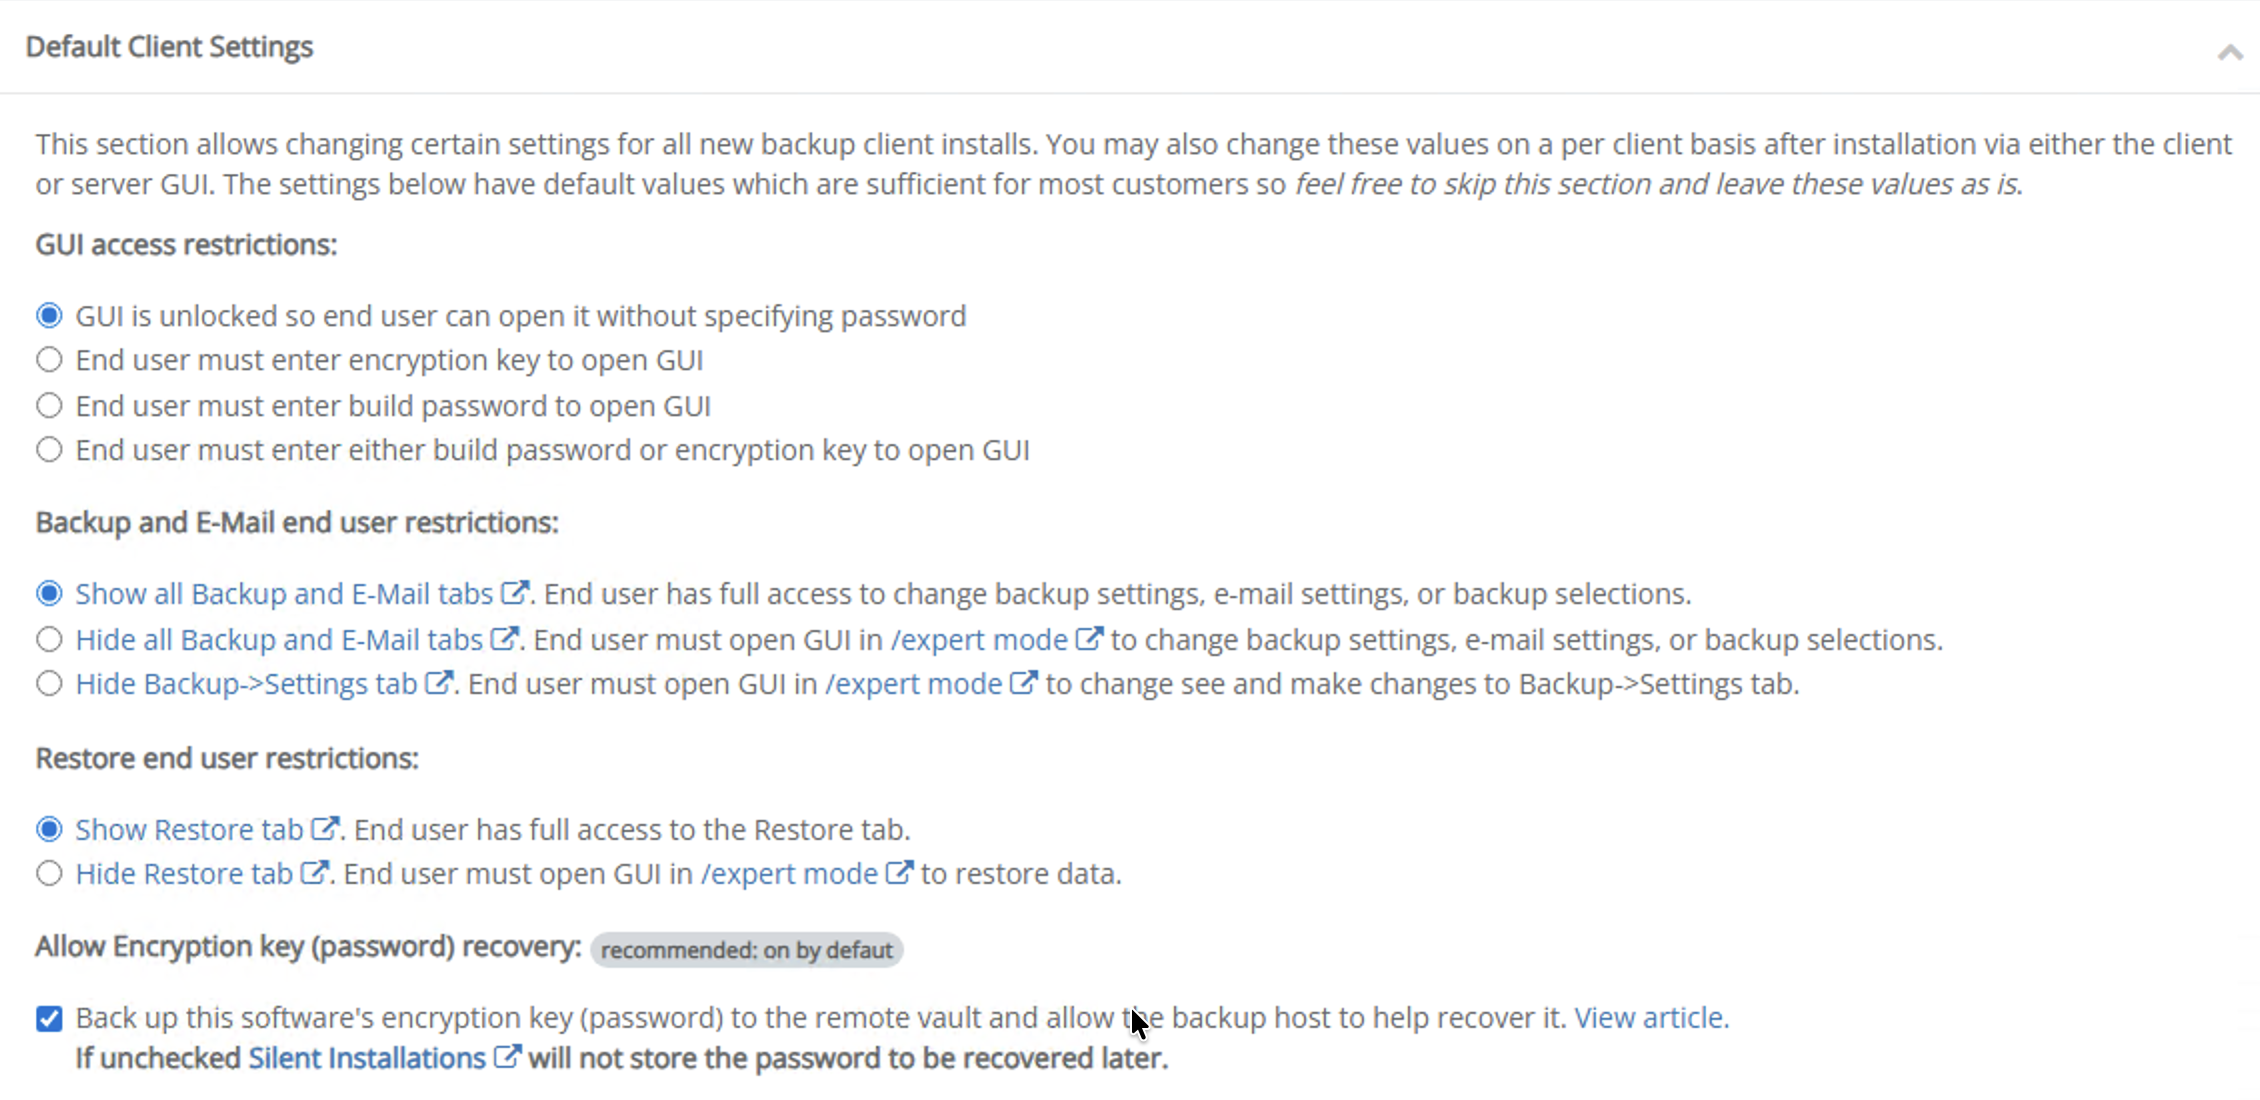
Set the default client settings (depending on which features to expose to the end-user).
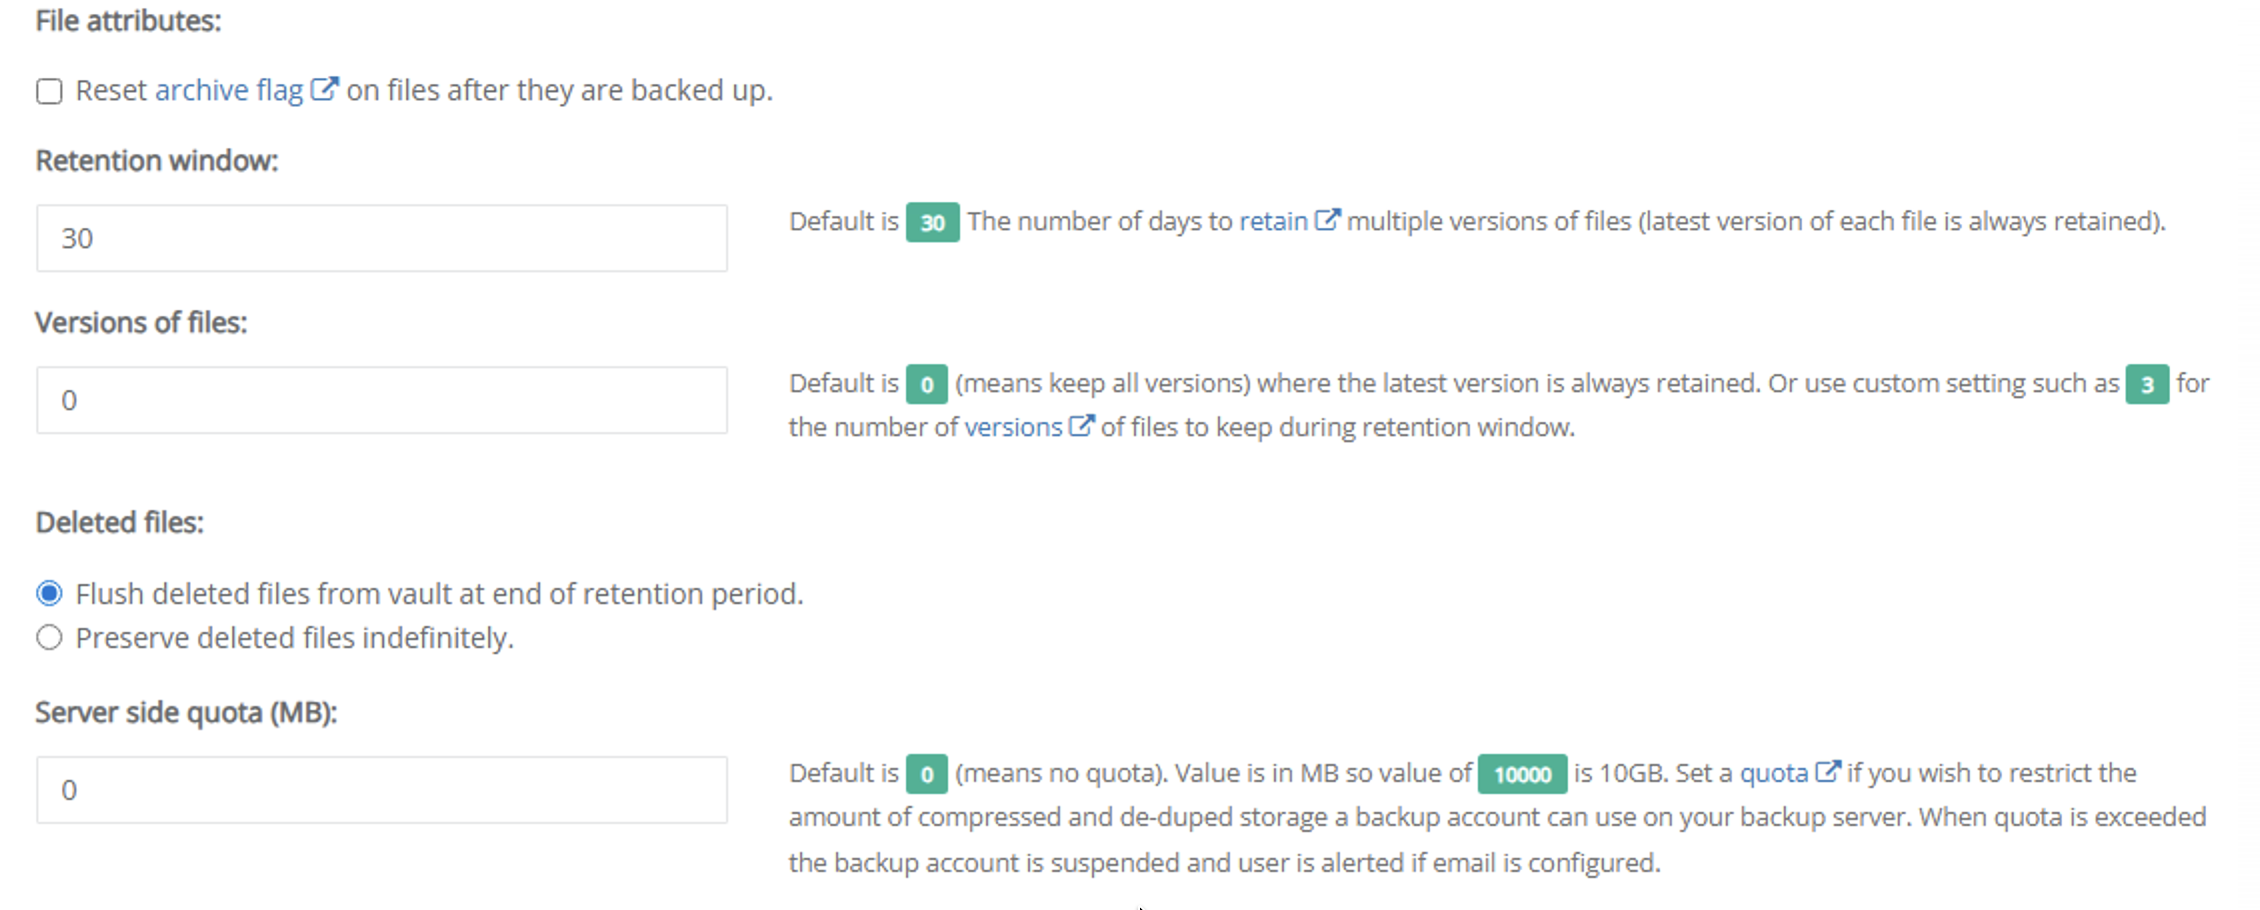
Set the file attributes, retention, versions, and what to do with deleted files.
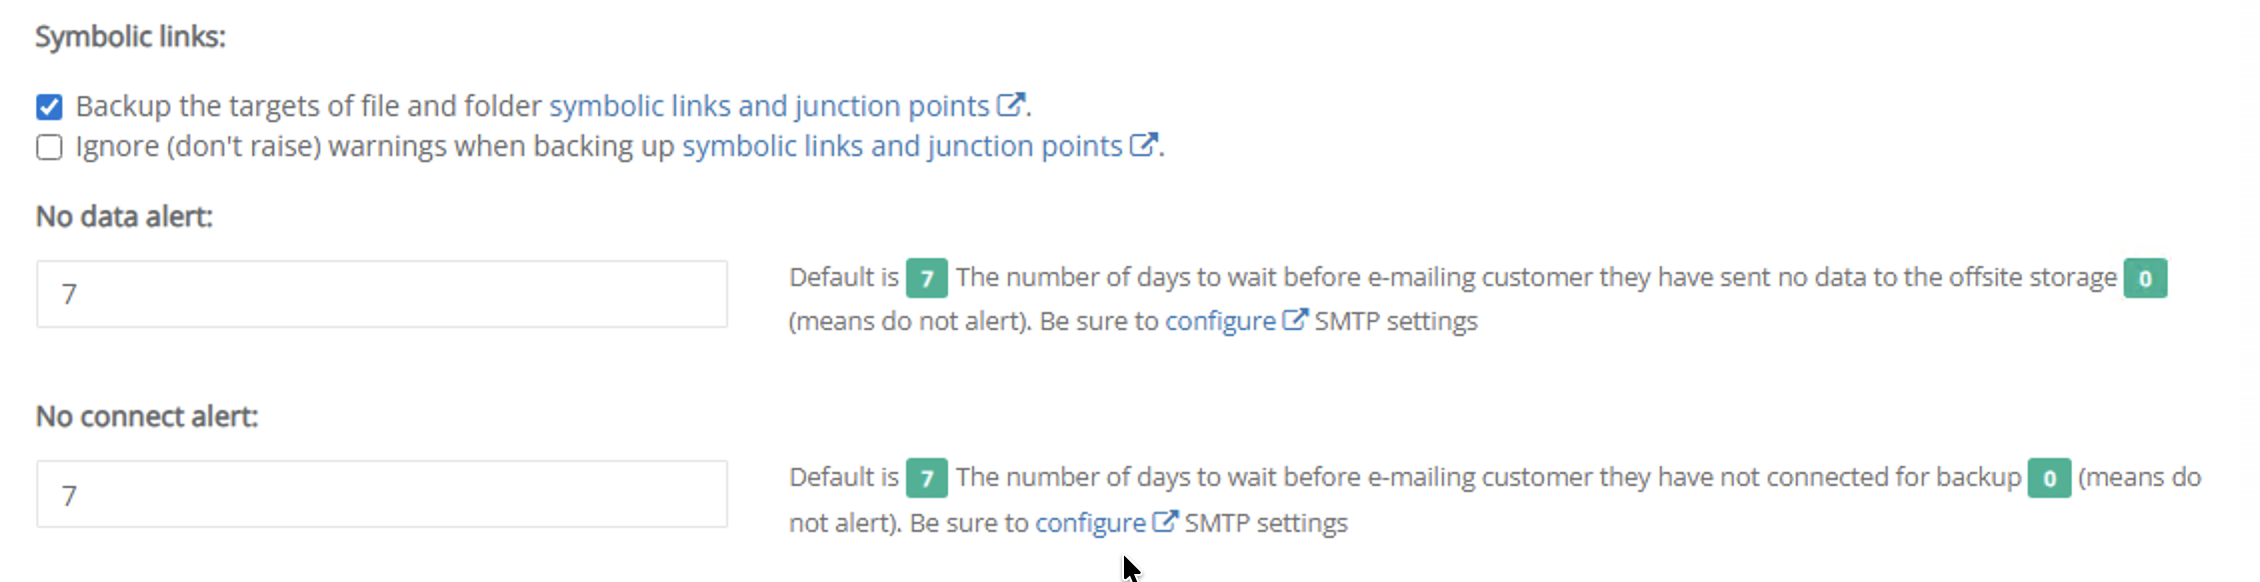
Set the default action to take for symbolic links, as well as how the end-user should be notified regarding no-data or no-connection warnings.
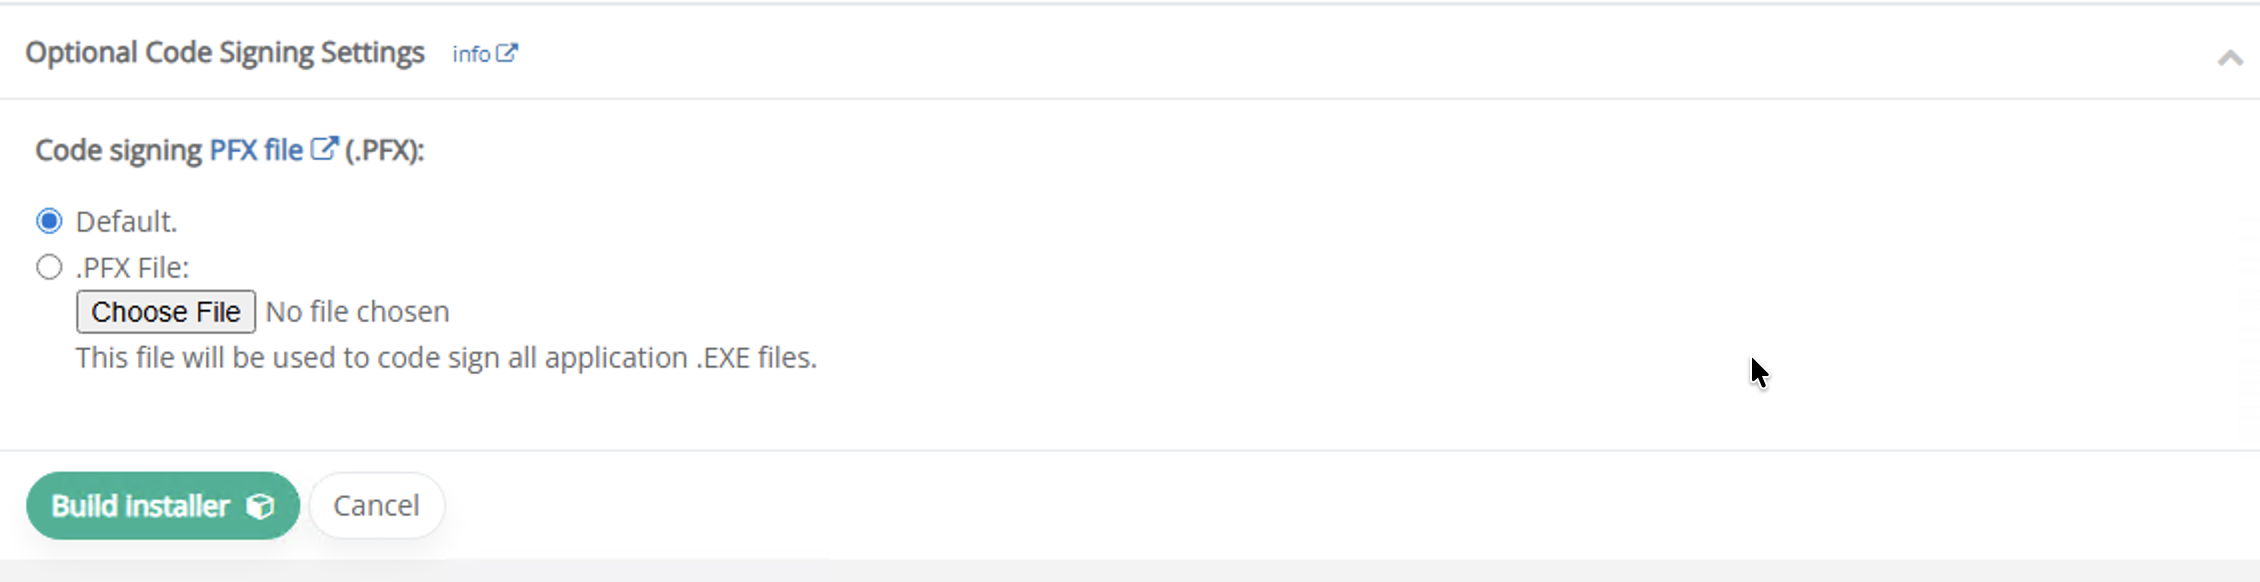
Optionally, upload a .PFX file for code signing. Click Build Installer.
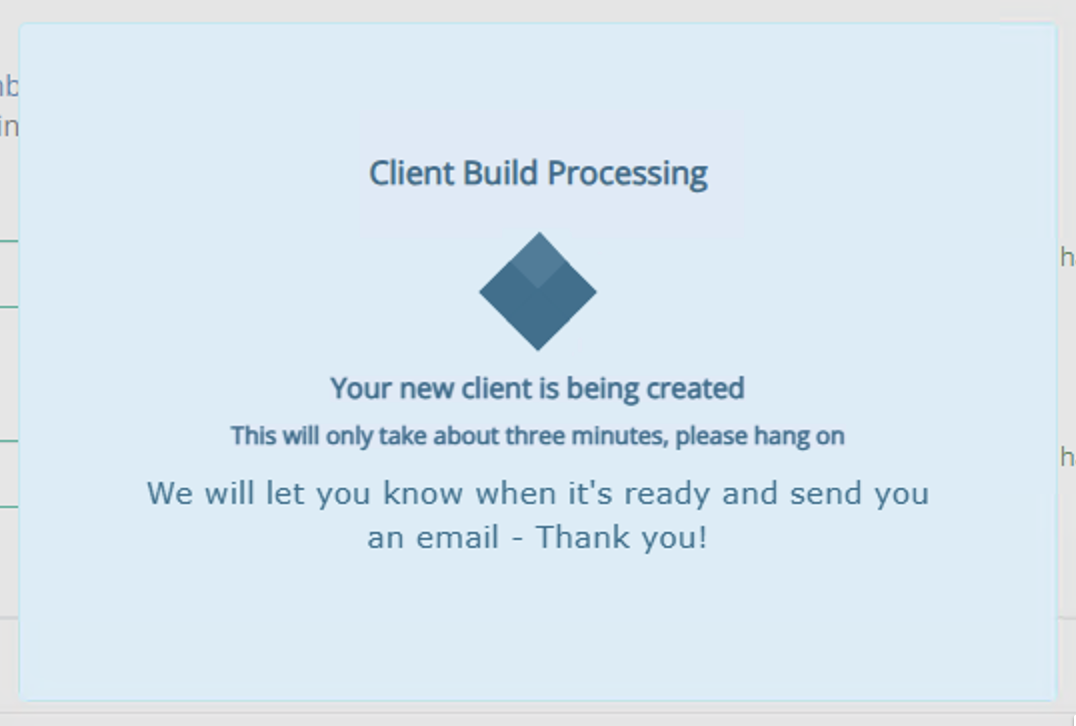
Your custom backup client will take a few minutes to build.
Installing the WholesaleBackup Client
Choose the appropriate installer for your operating system (in this example, Windows).

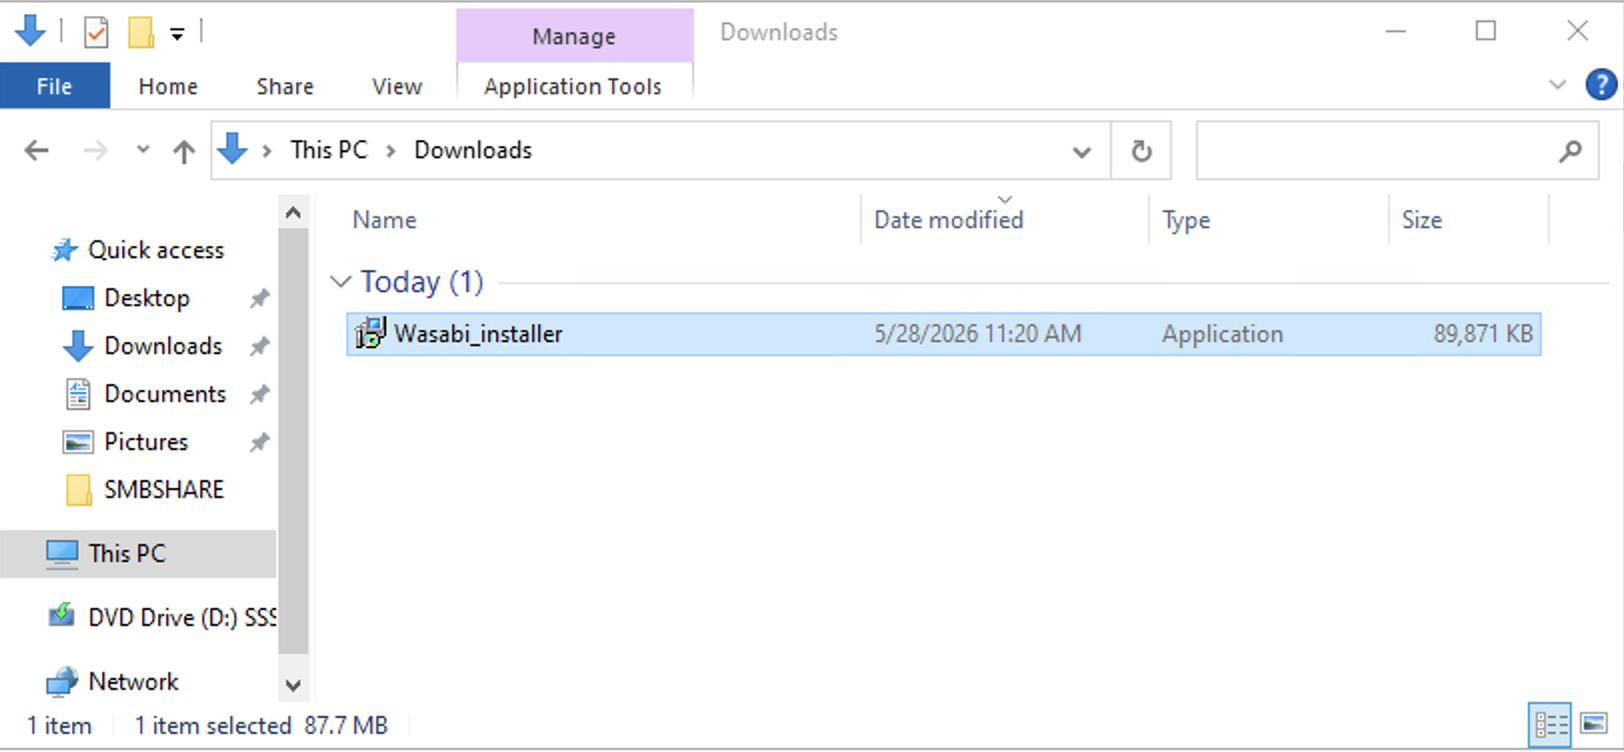
Find the installer in your Downloads directory and double-click the installer to run it.
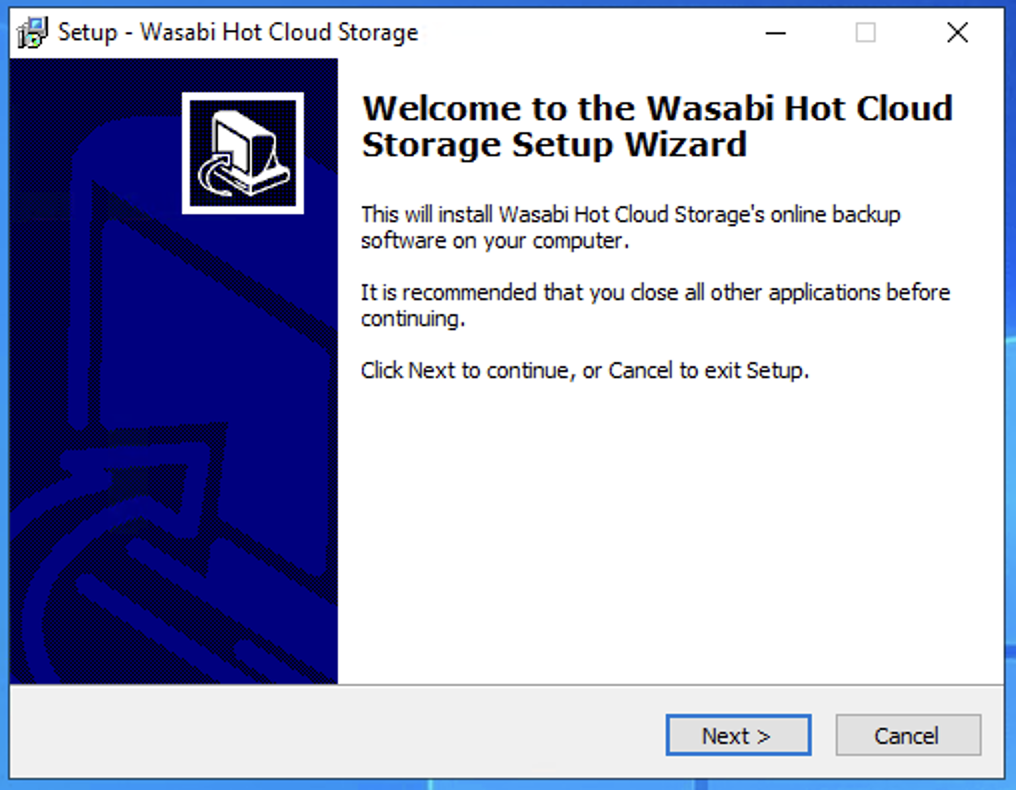
Click Next.
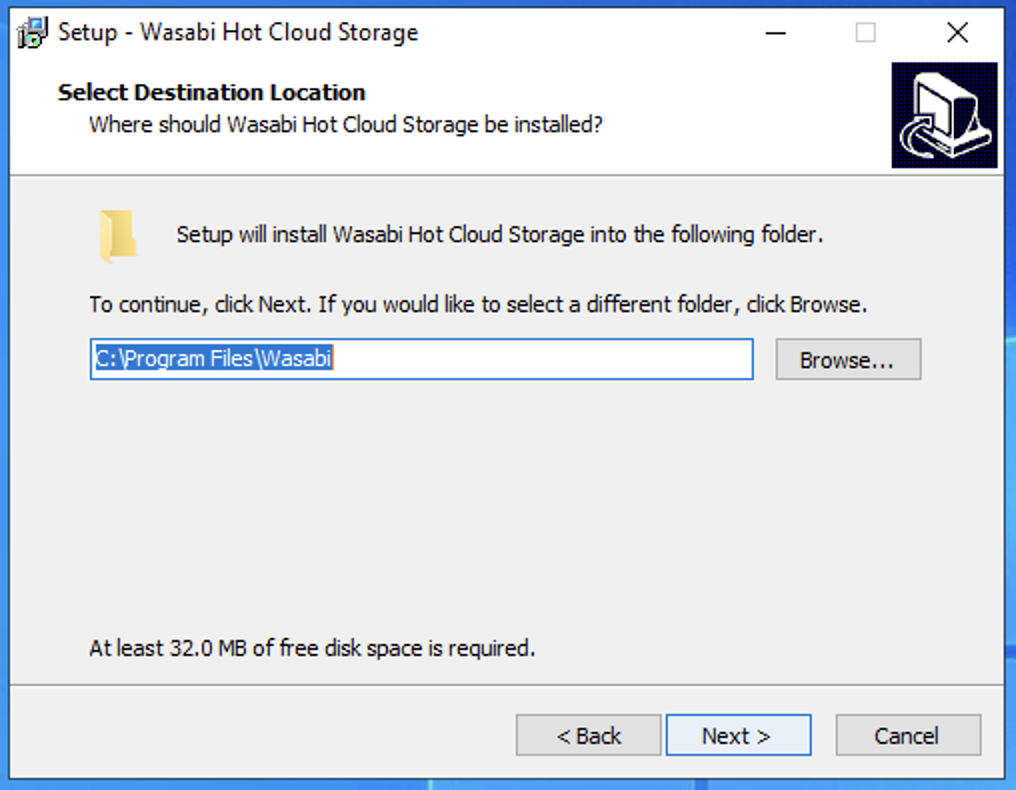
Choose an install location, or use the default. Click Next.
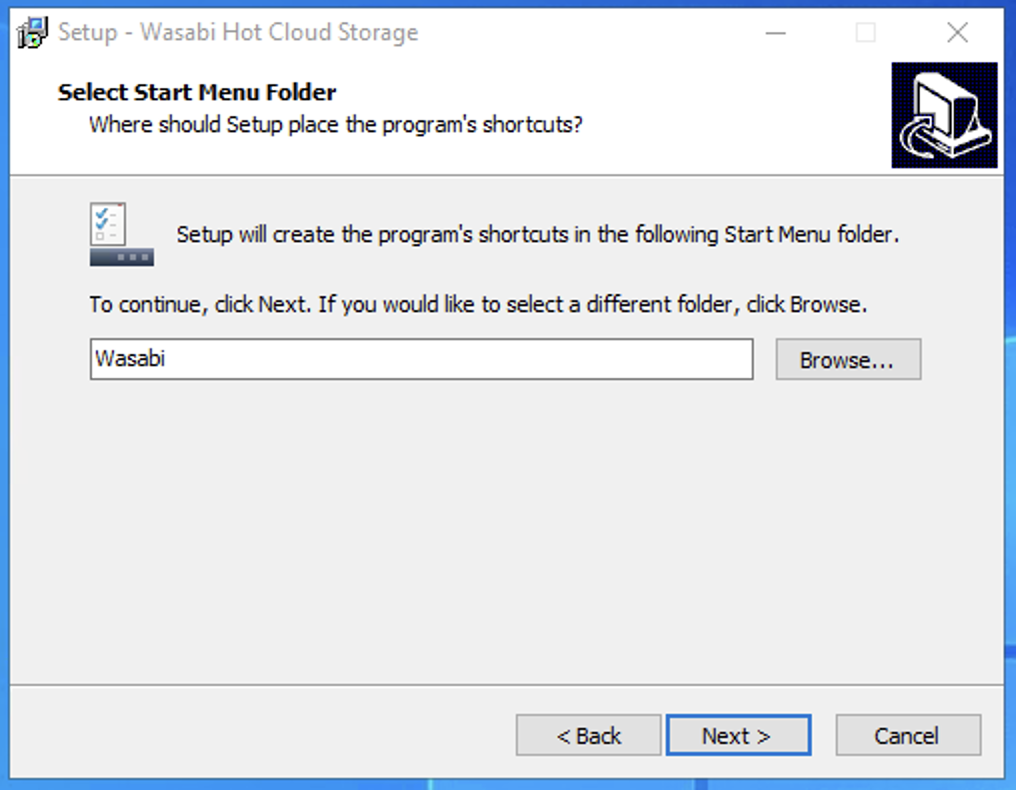
Select a Start Menu Folder. Click Next.
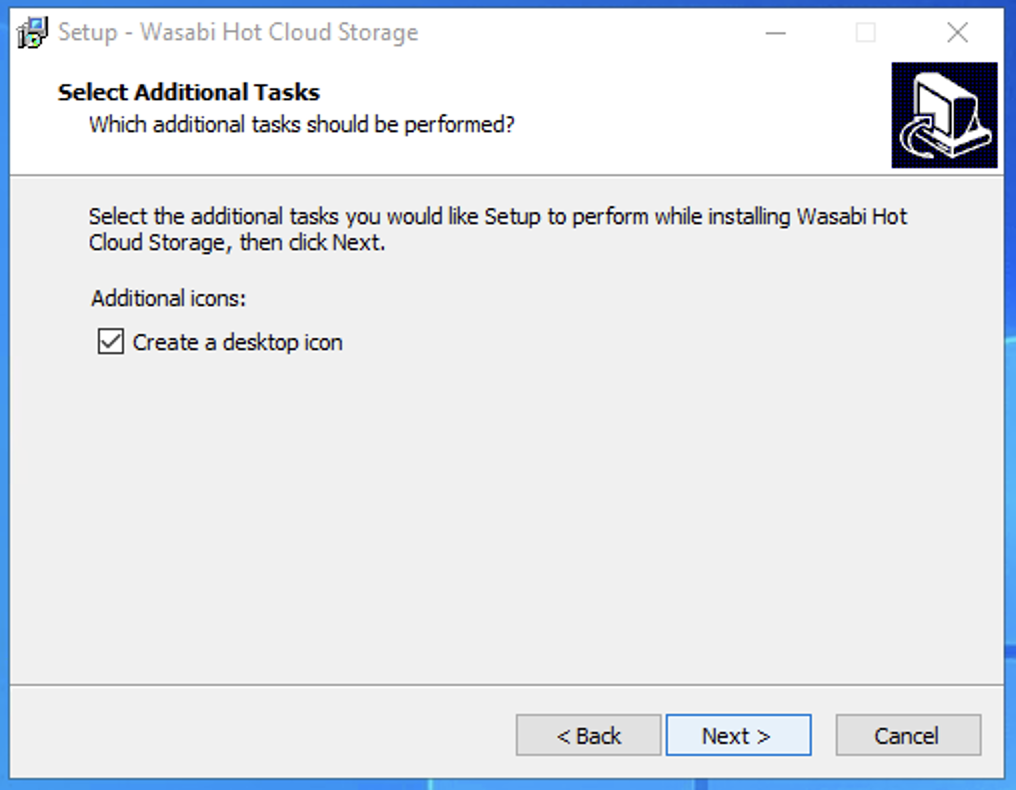
Optionally, create a desktop icon. Click Next.
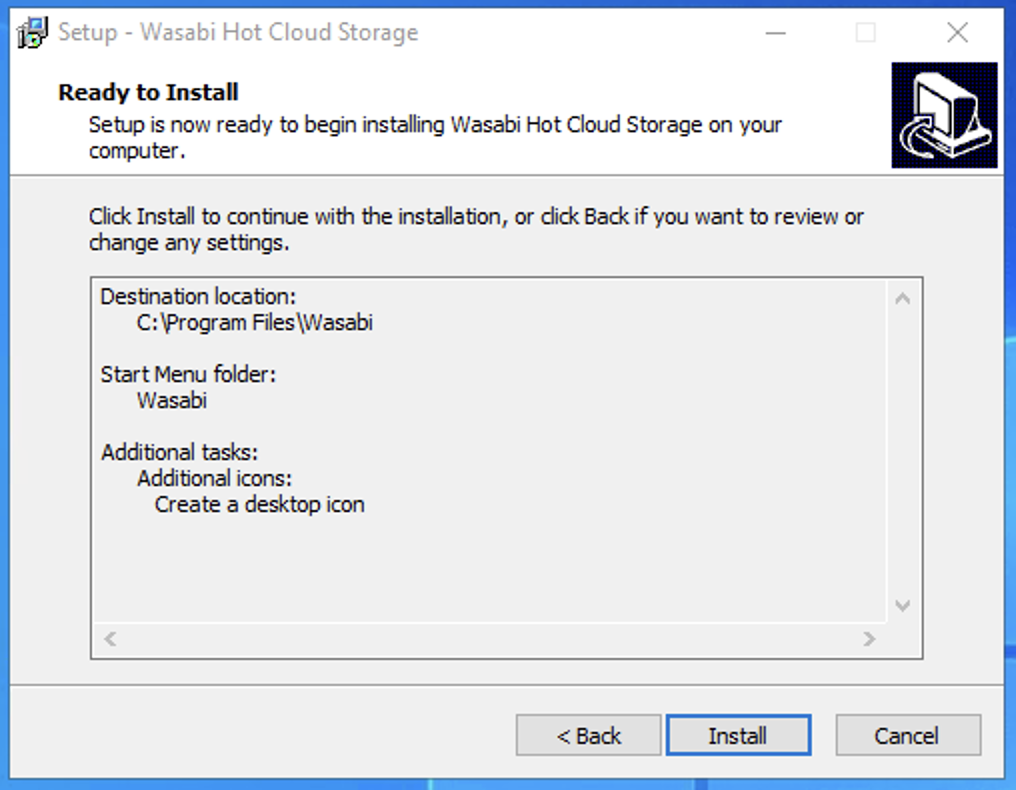
Review settings. Click Install.
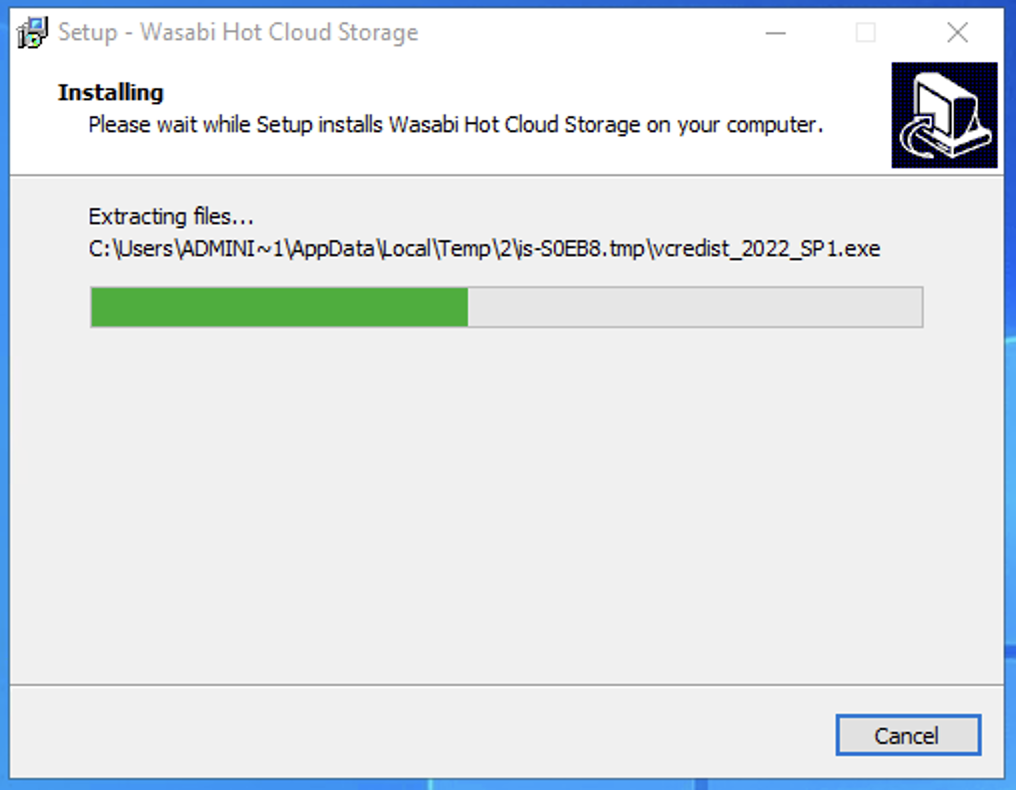
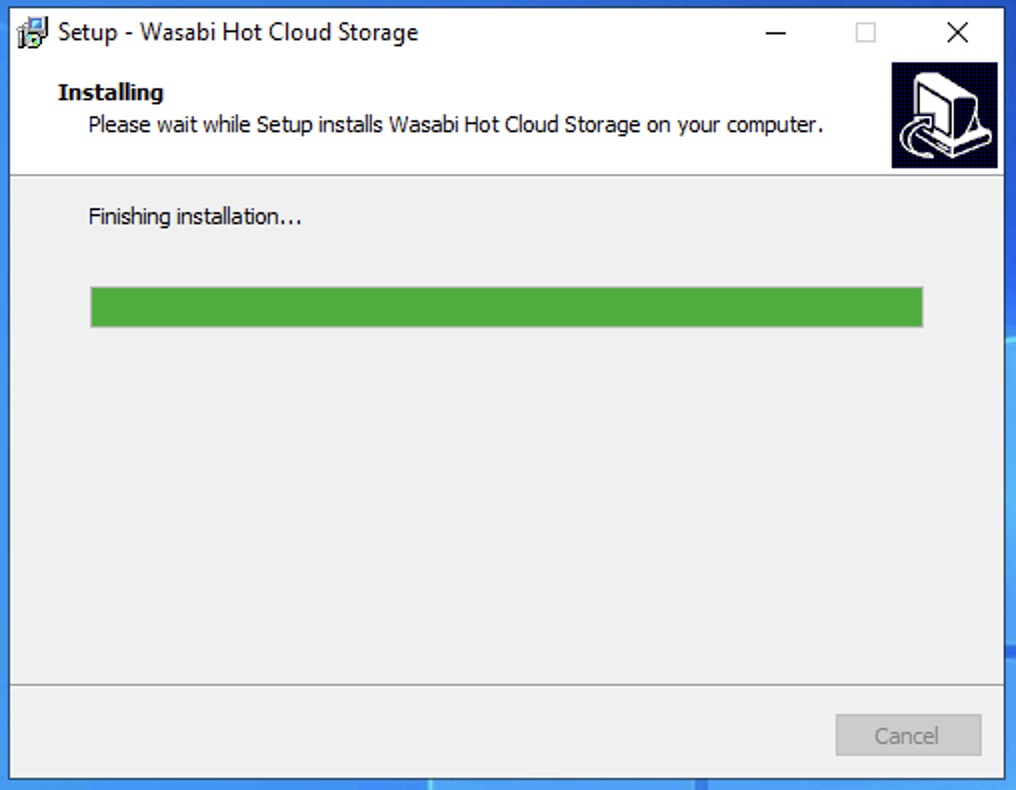
The application will take a few minutes to install.
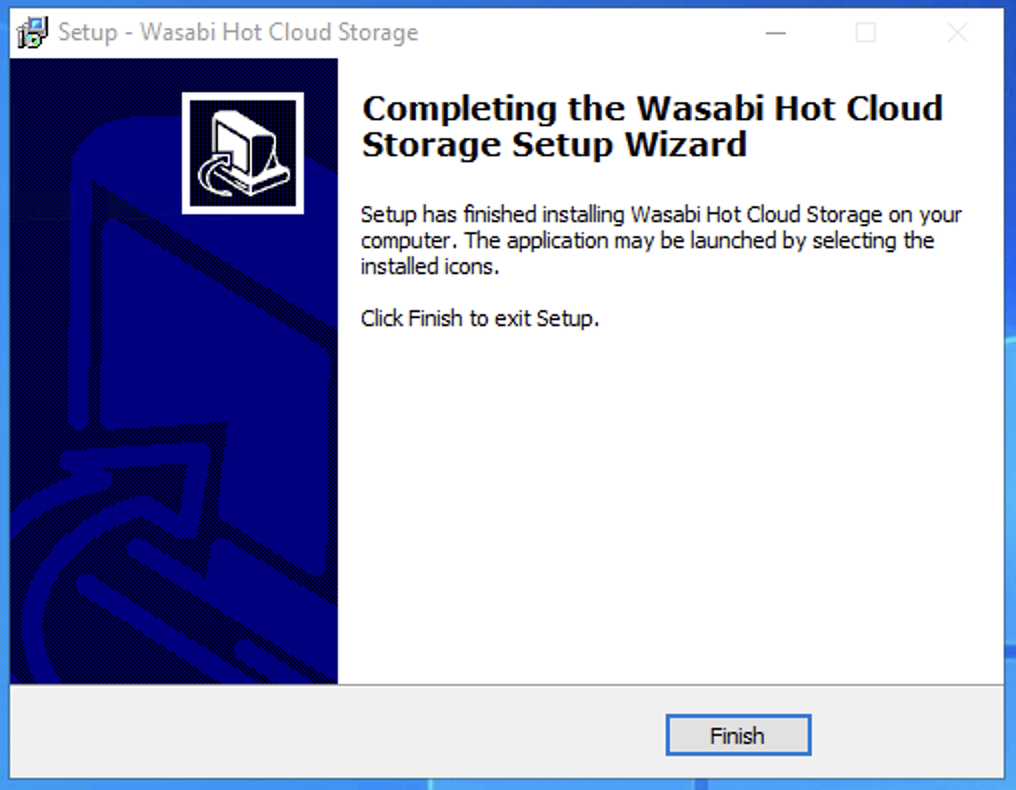
Once the installation completes, click Finish.
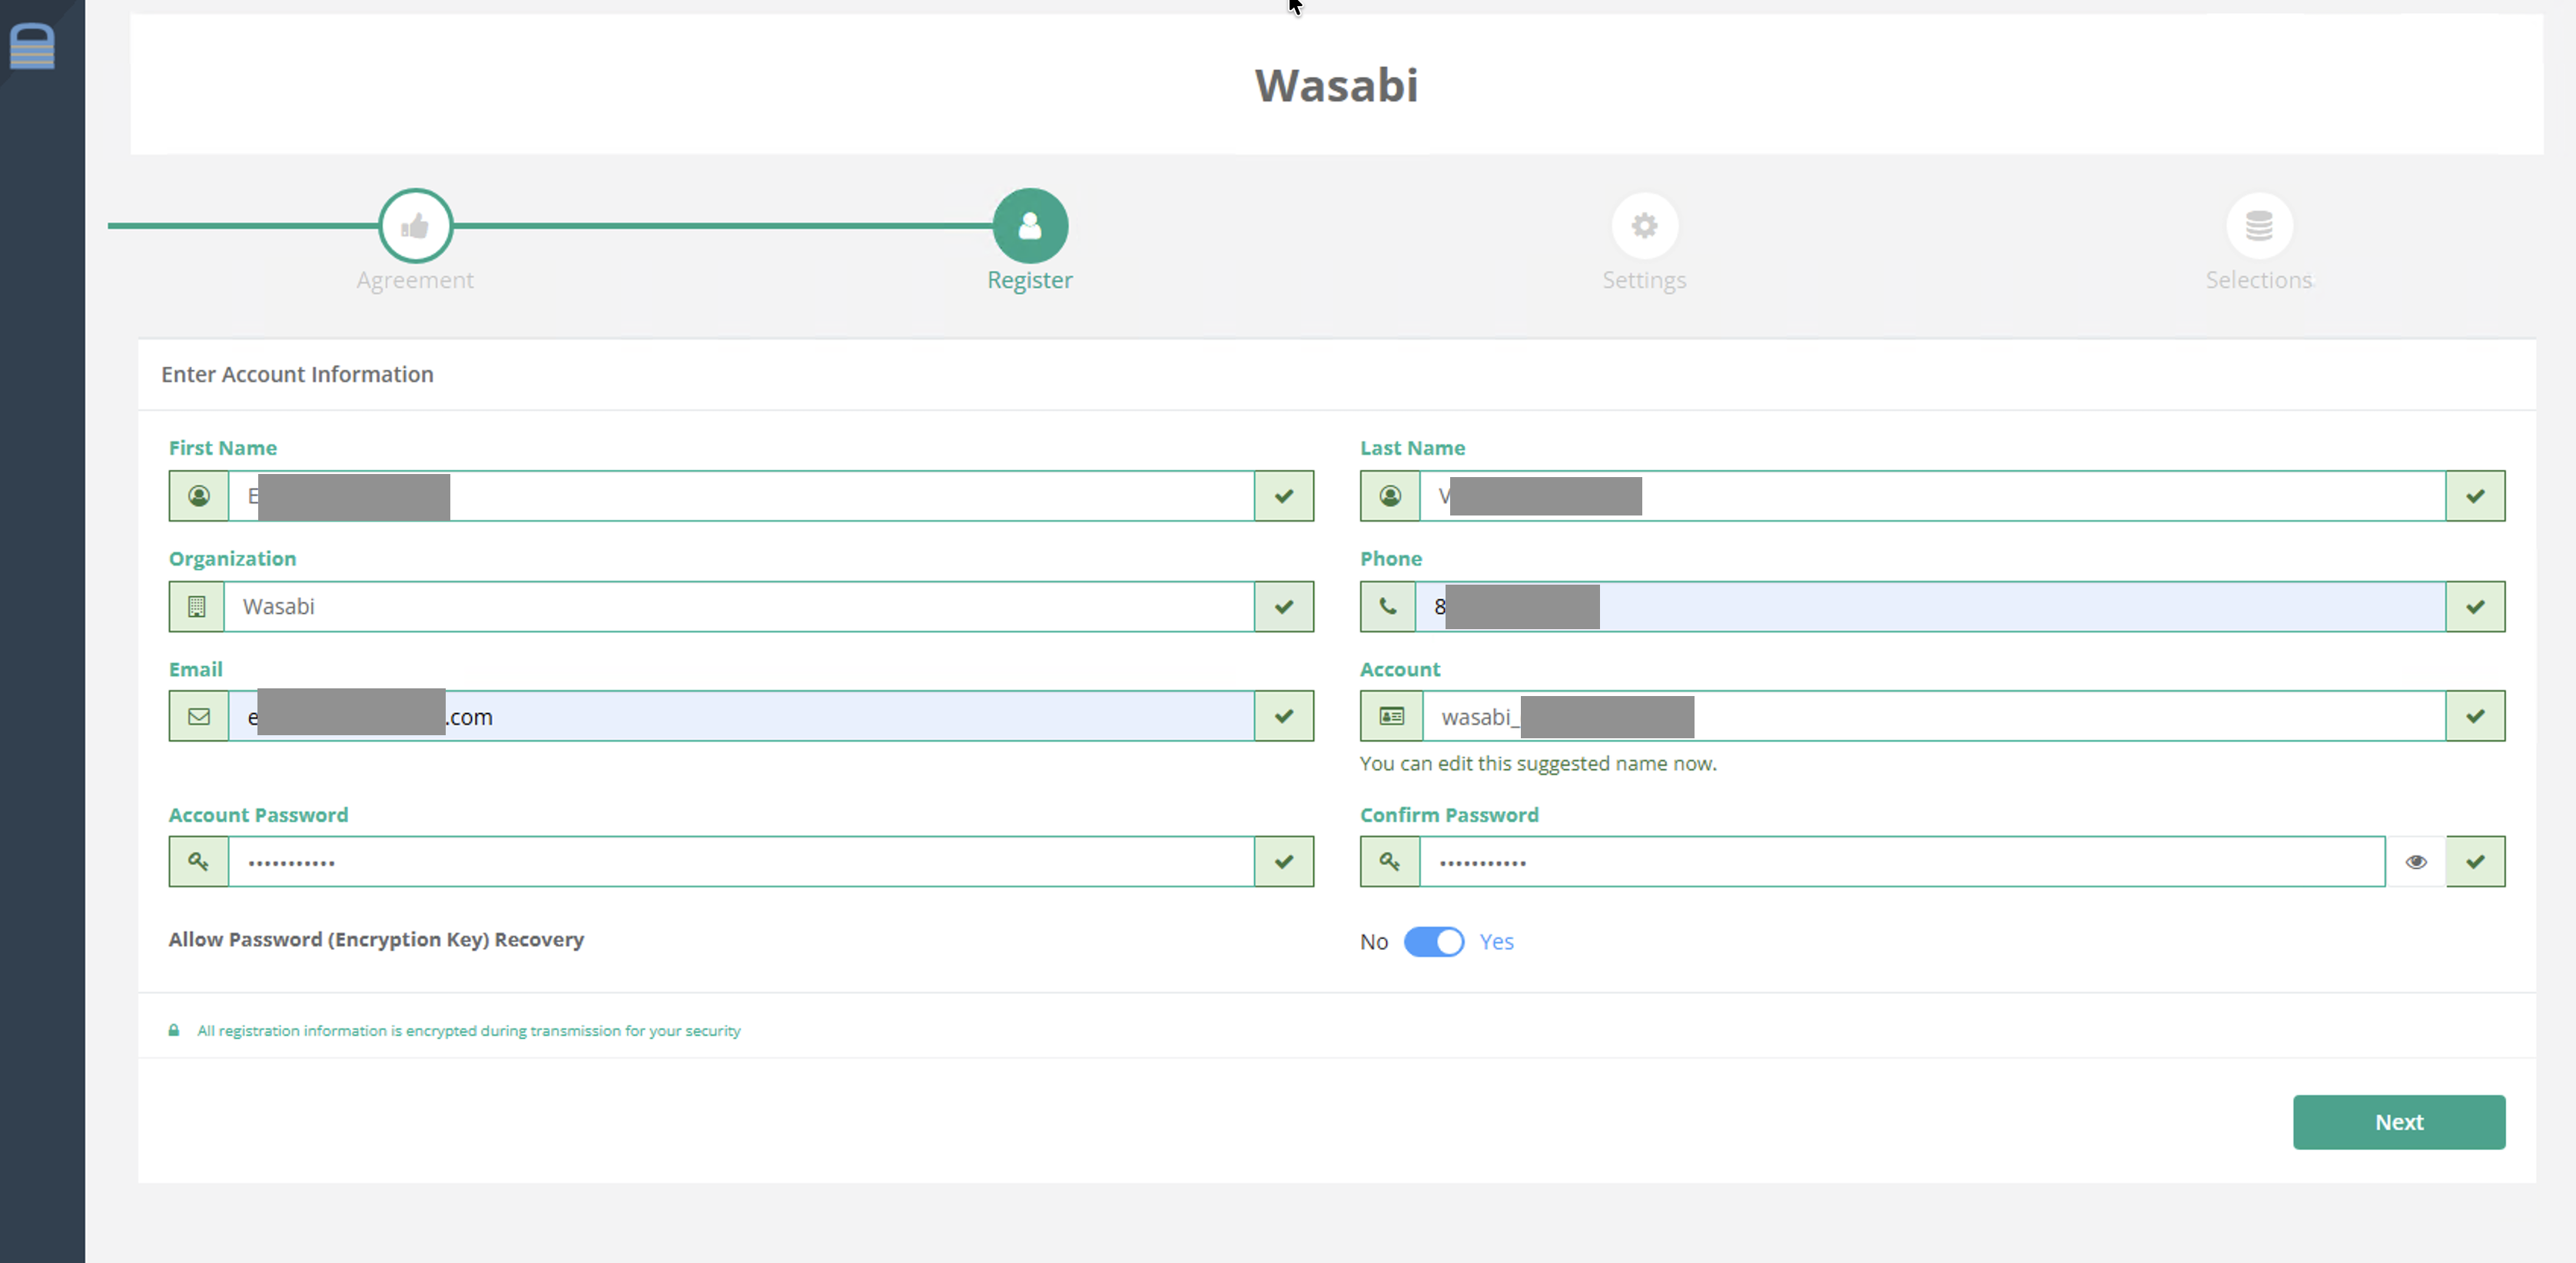
A browser window will open. Accept the license agreement, enter your account information.Click Next.
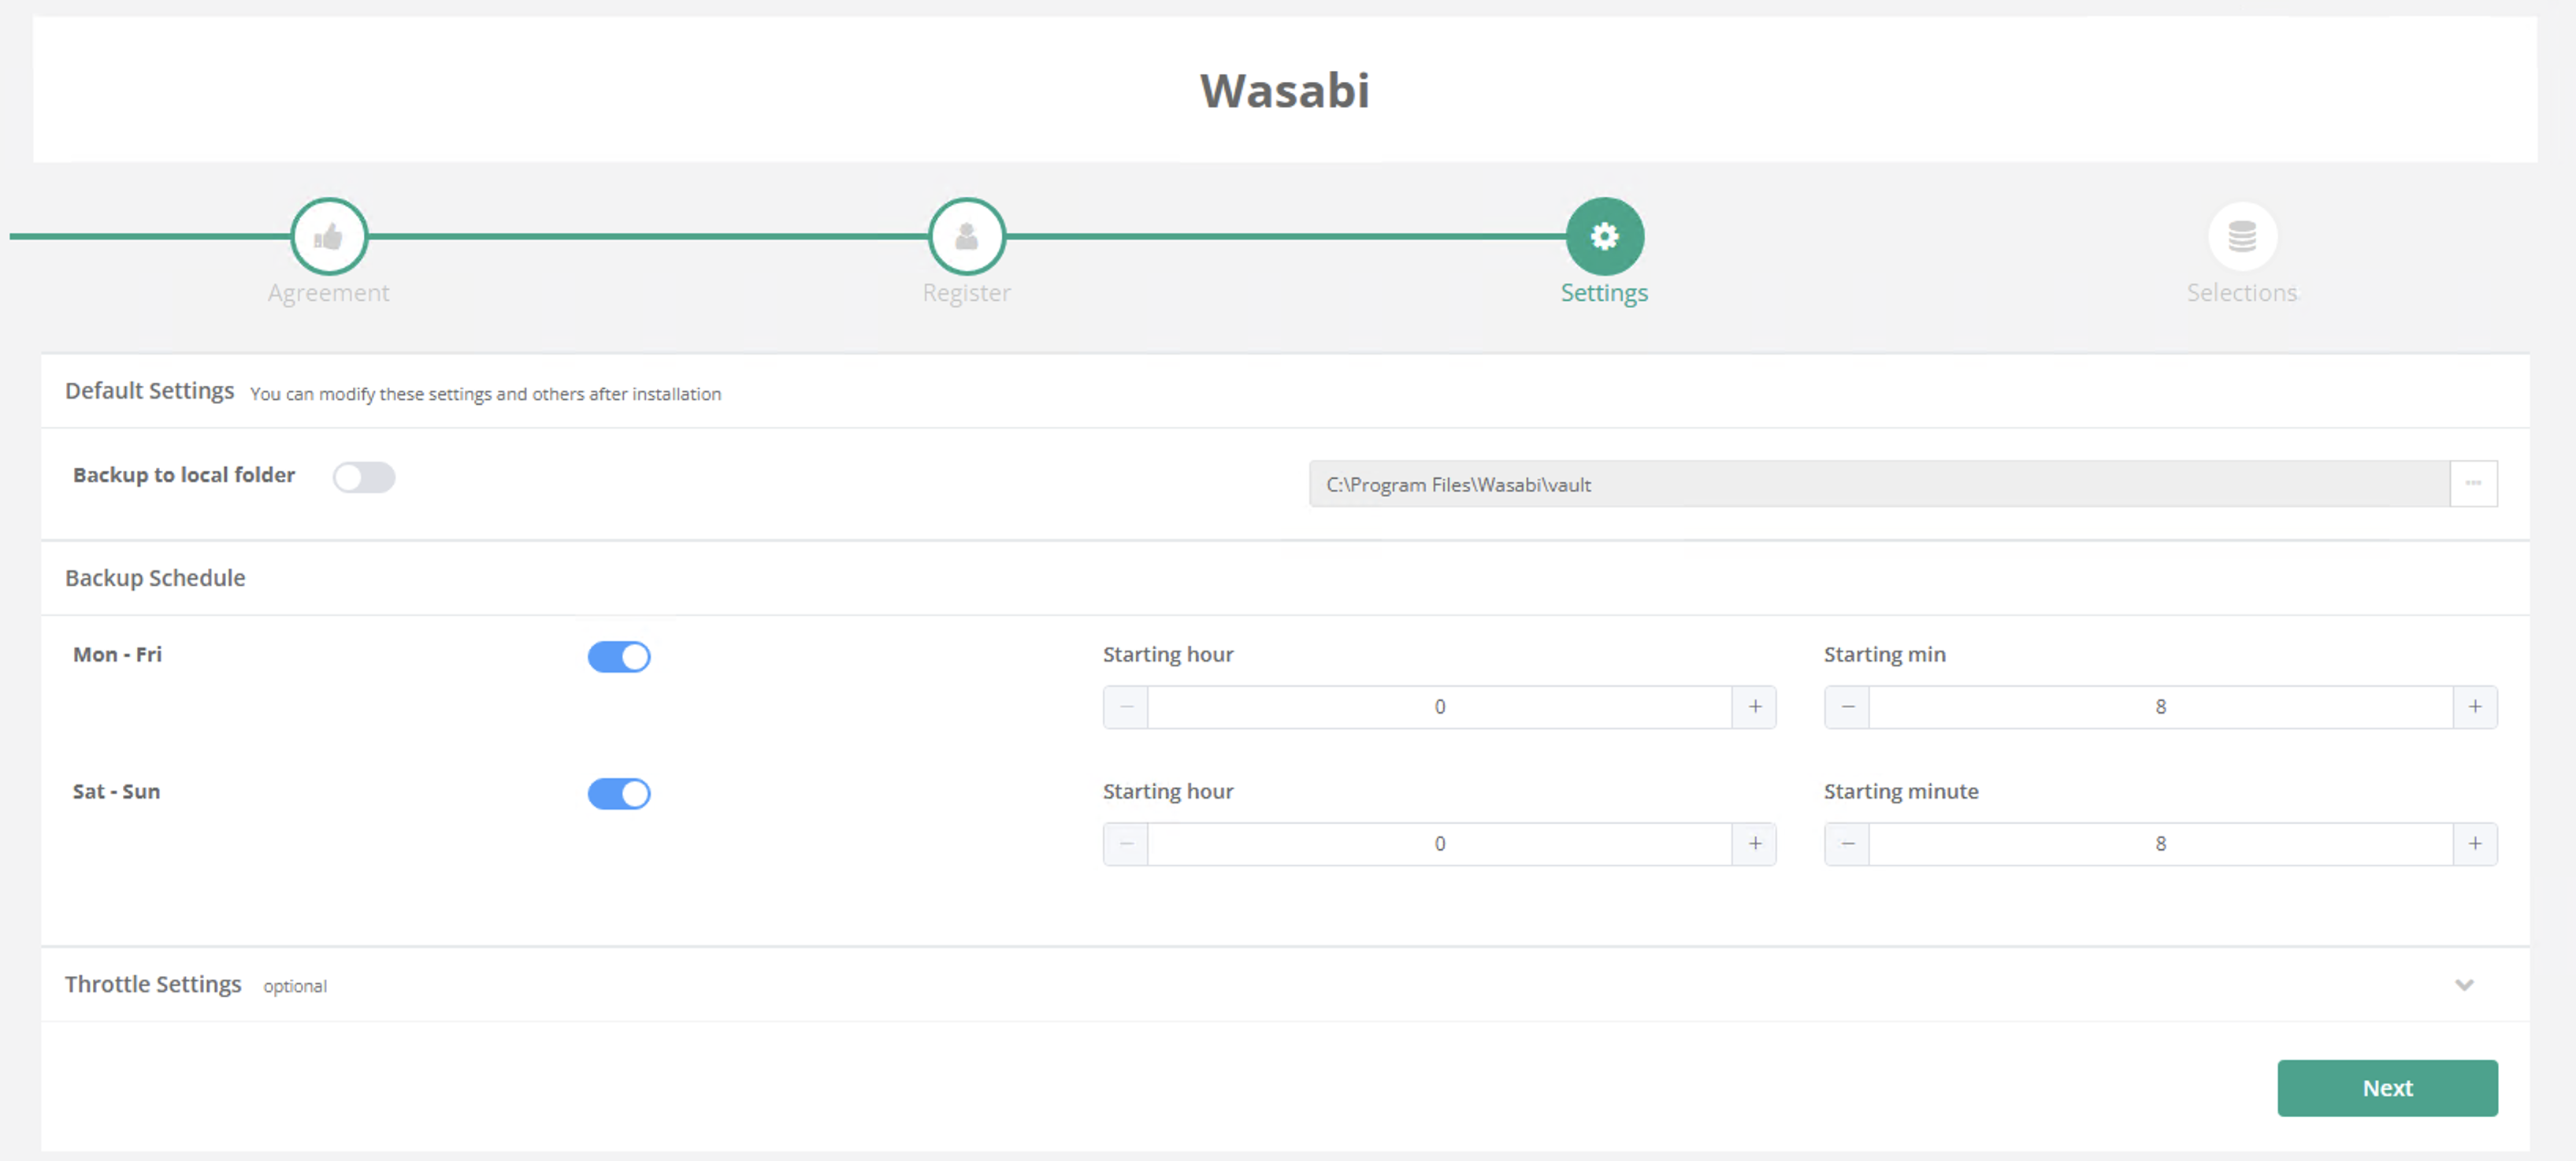
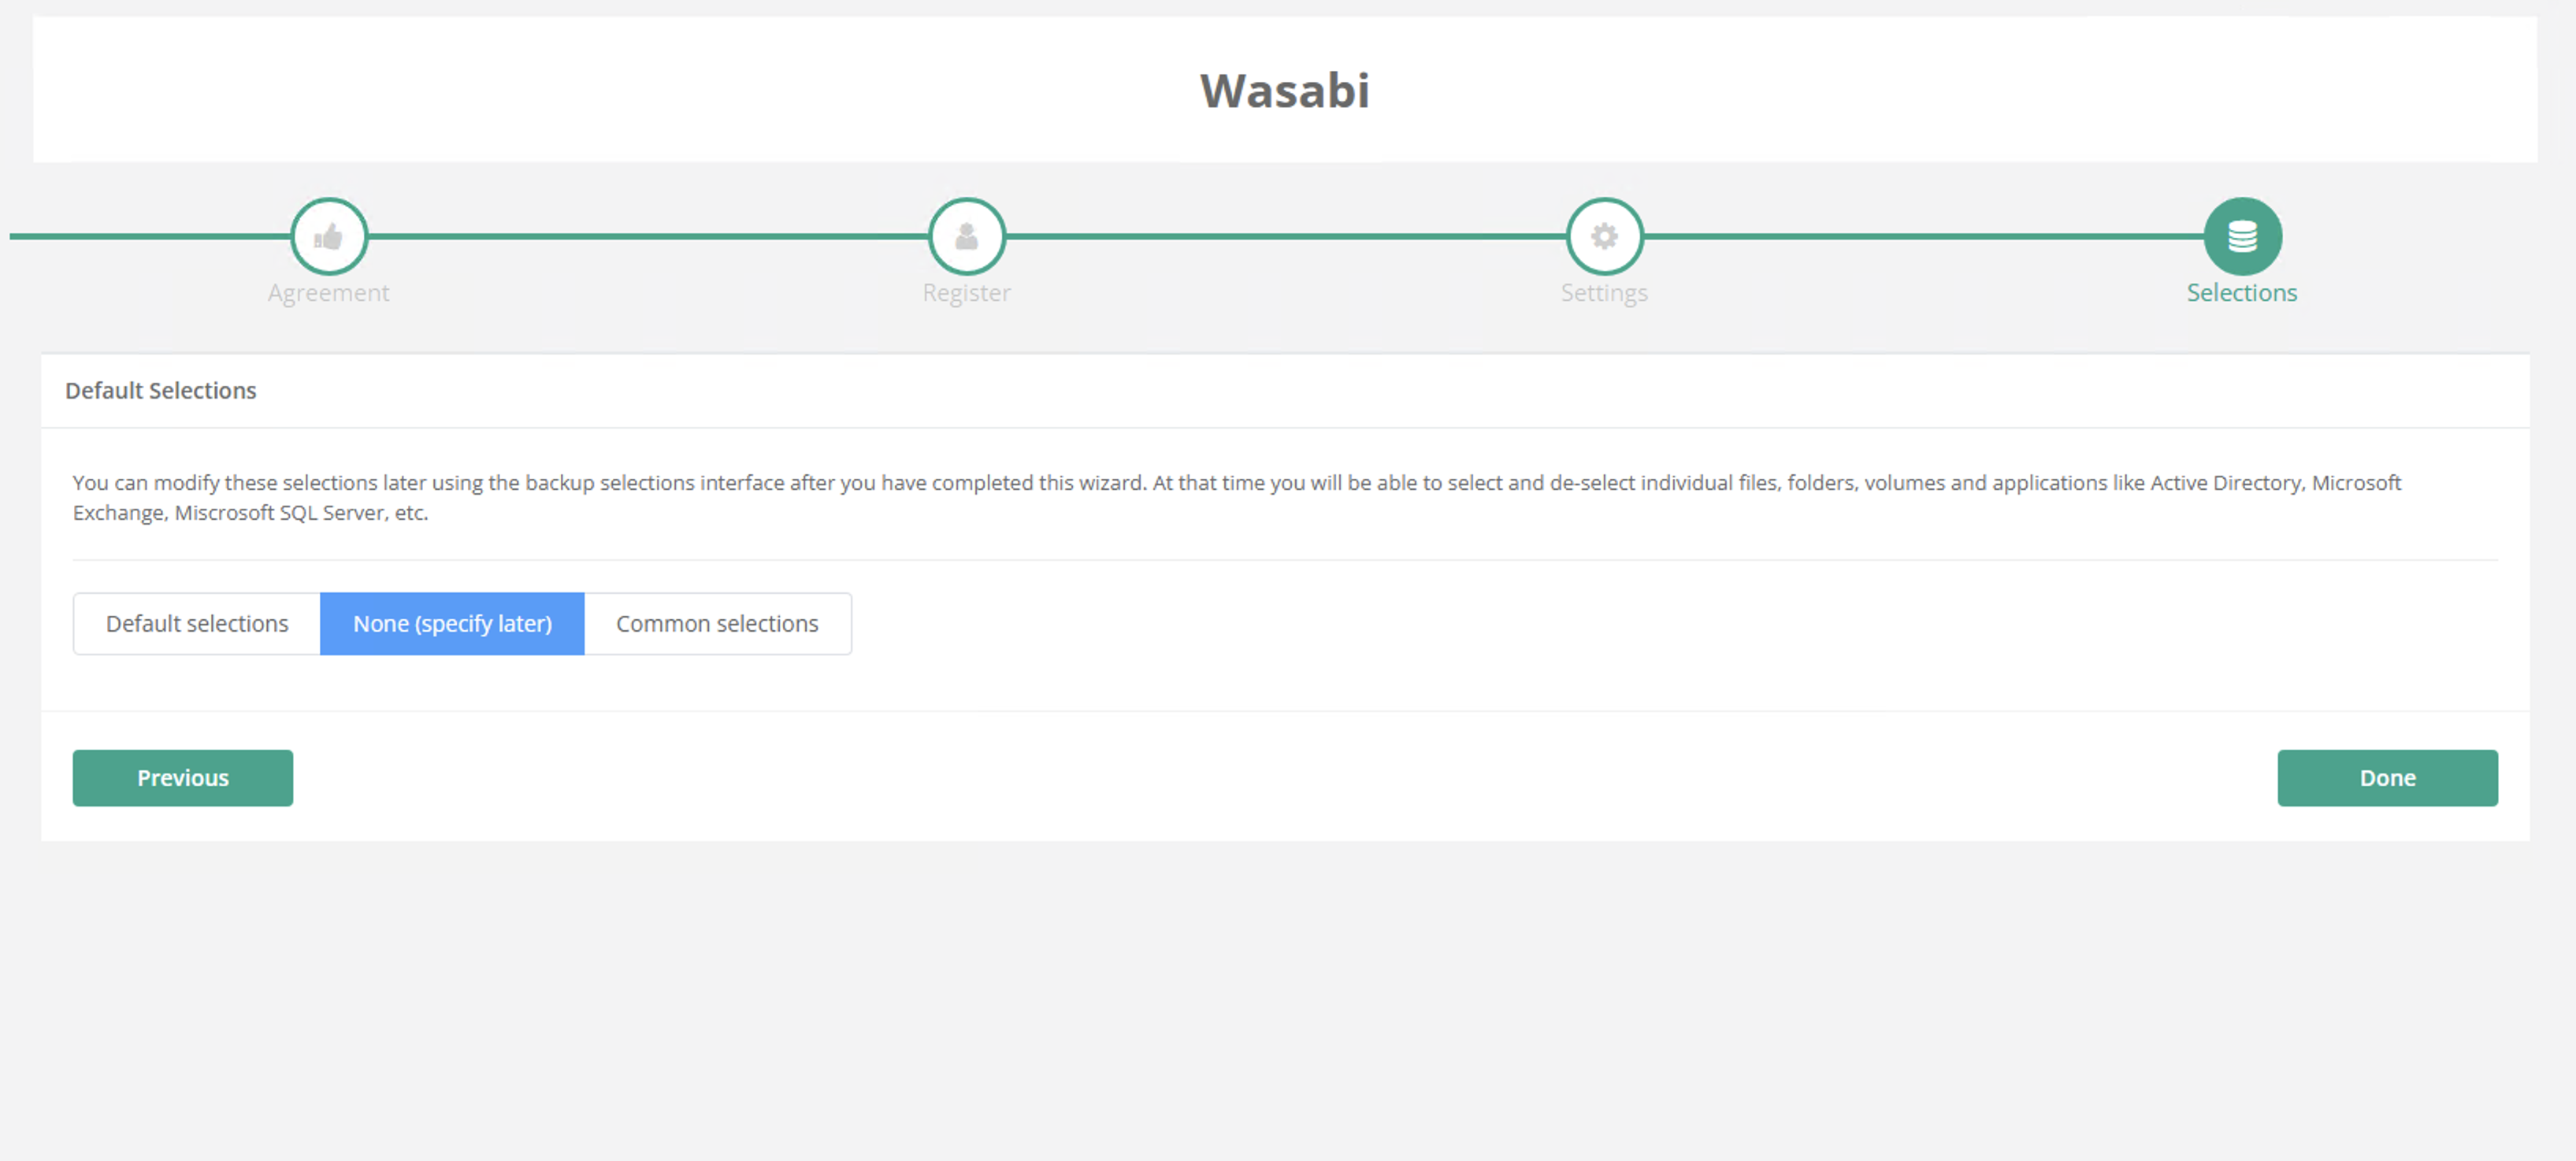
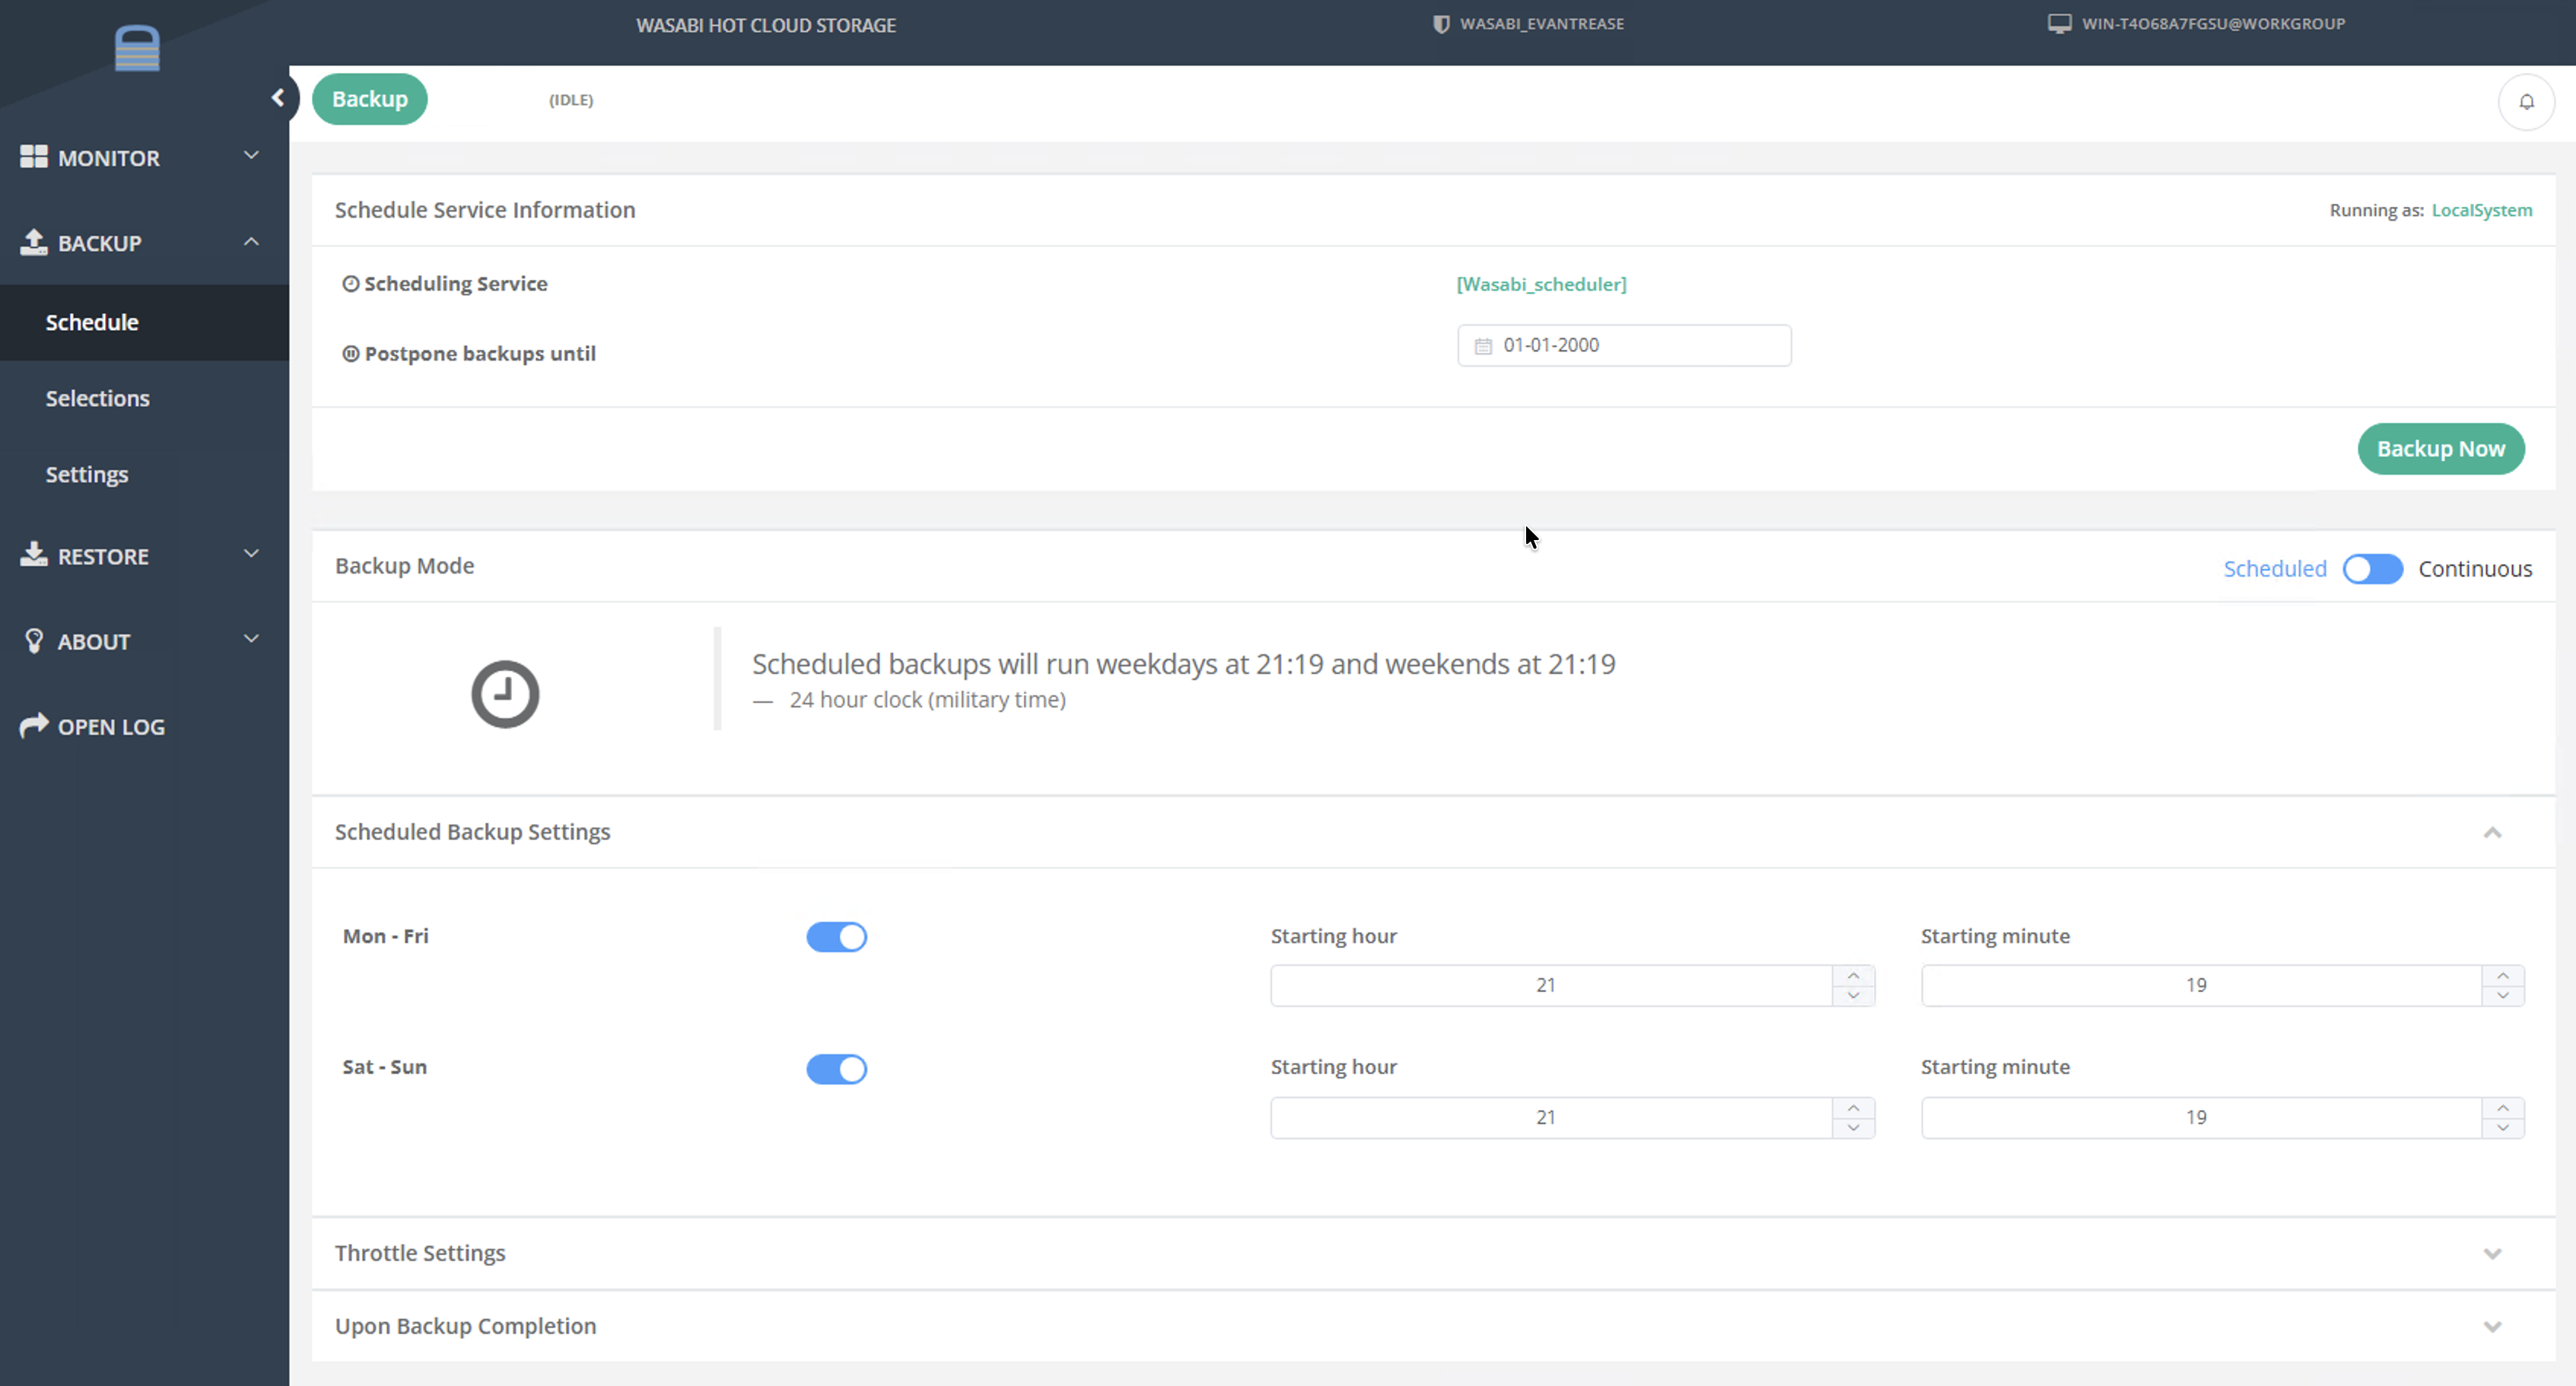
Set a backup schedule. Click Next.
Choose the directory paths you wish to back up. Click Done. You can change these selections later on via the application interface.
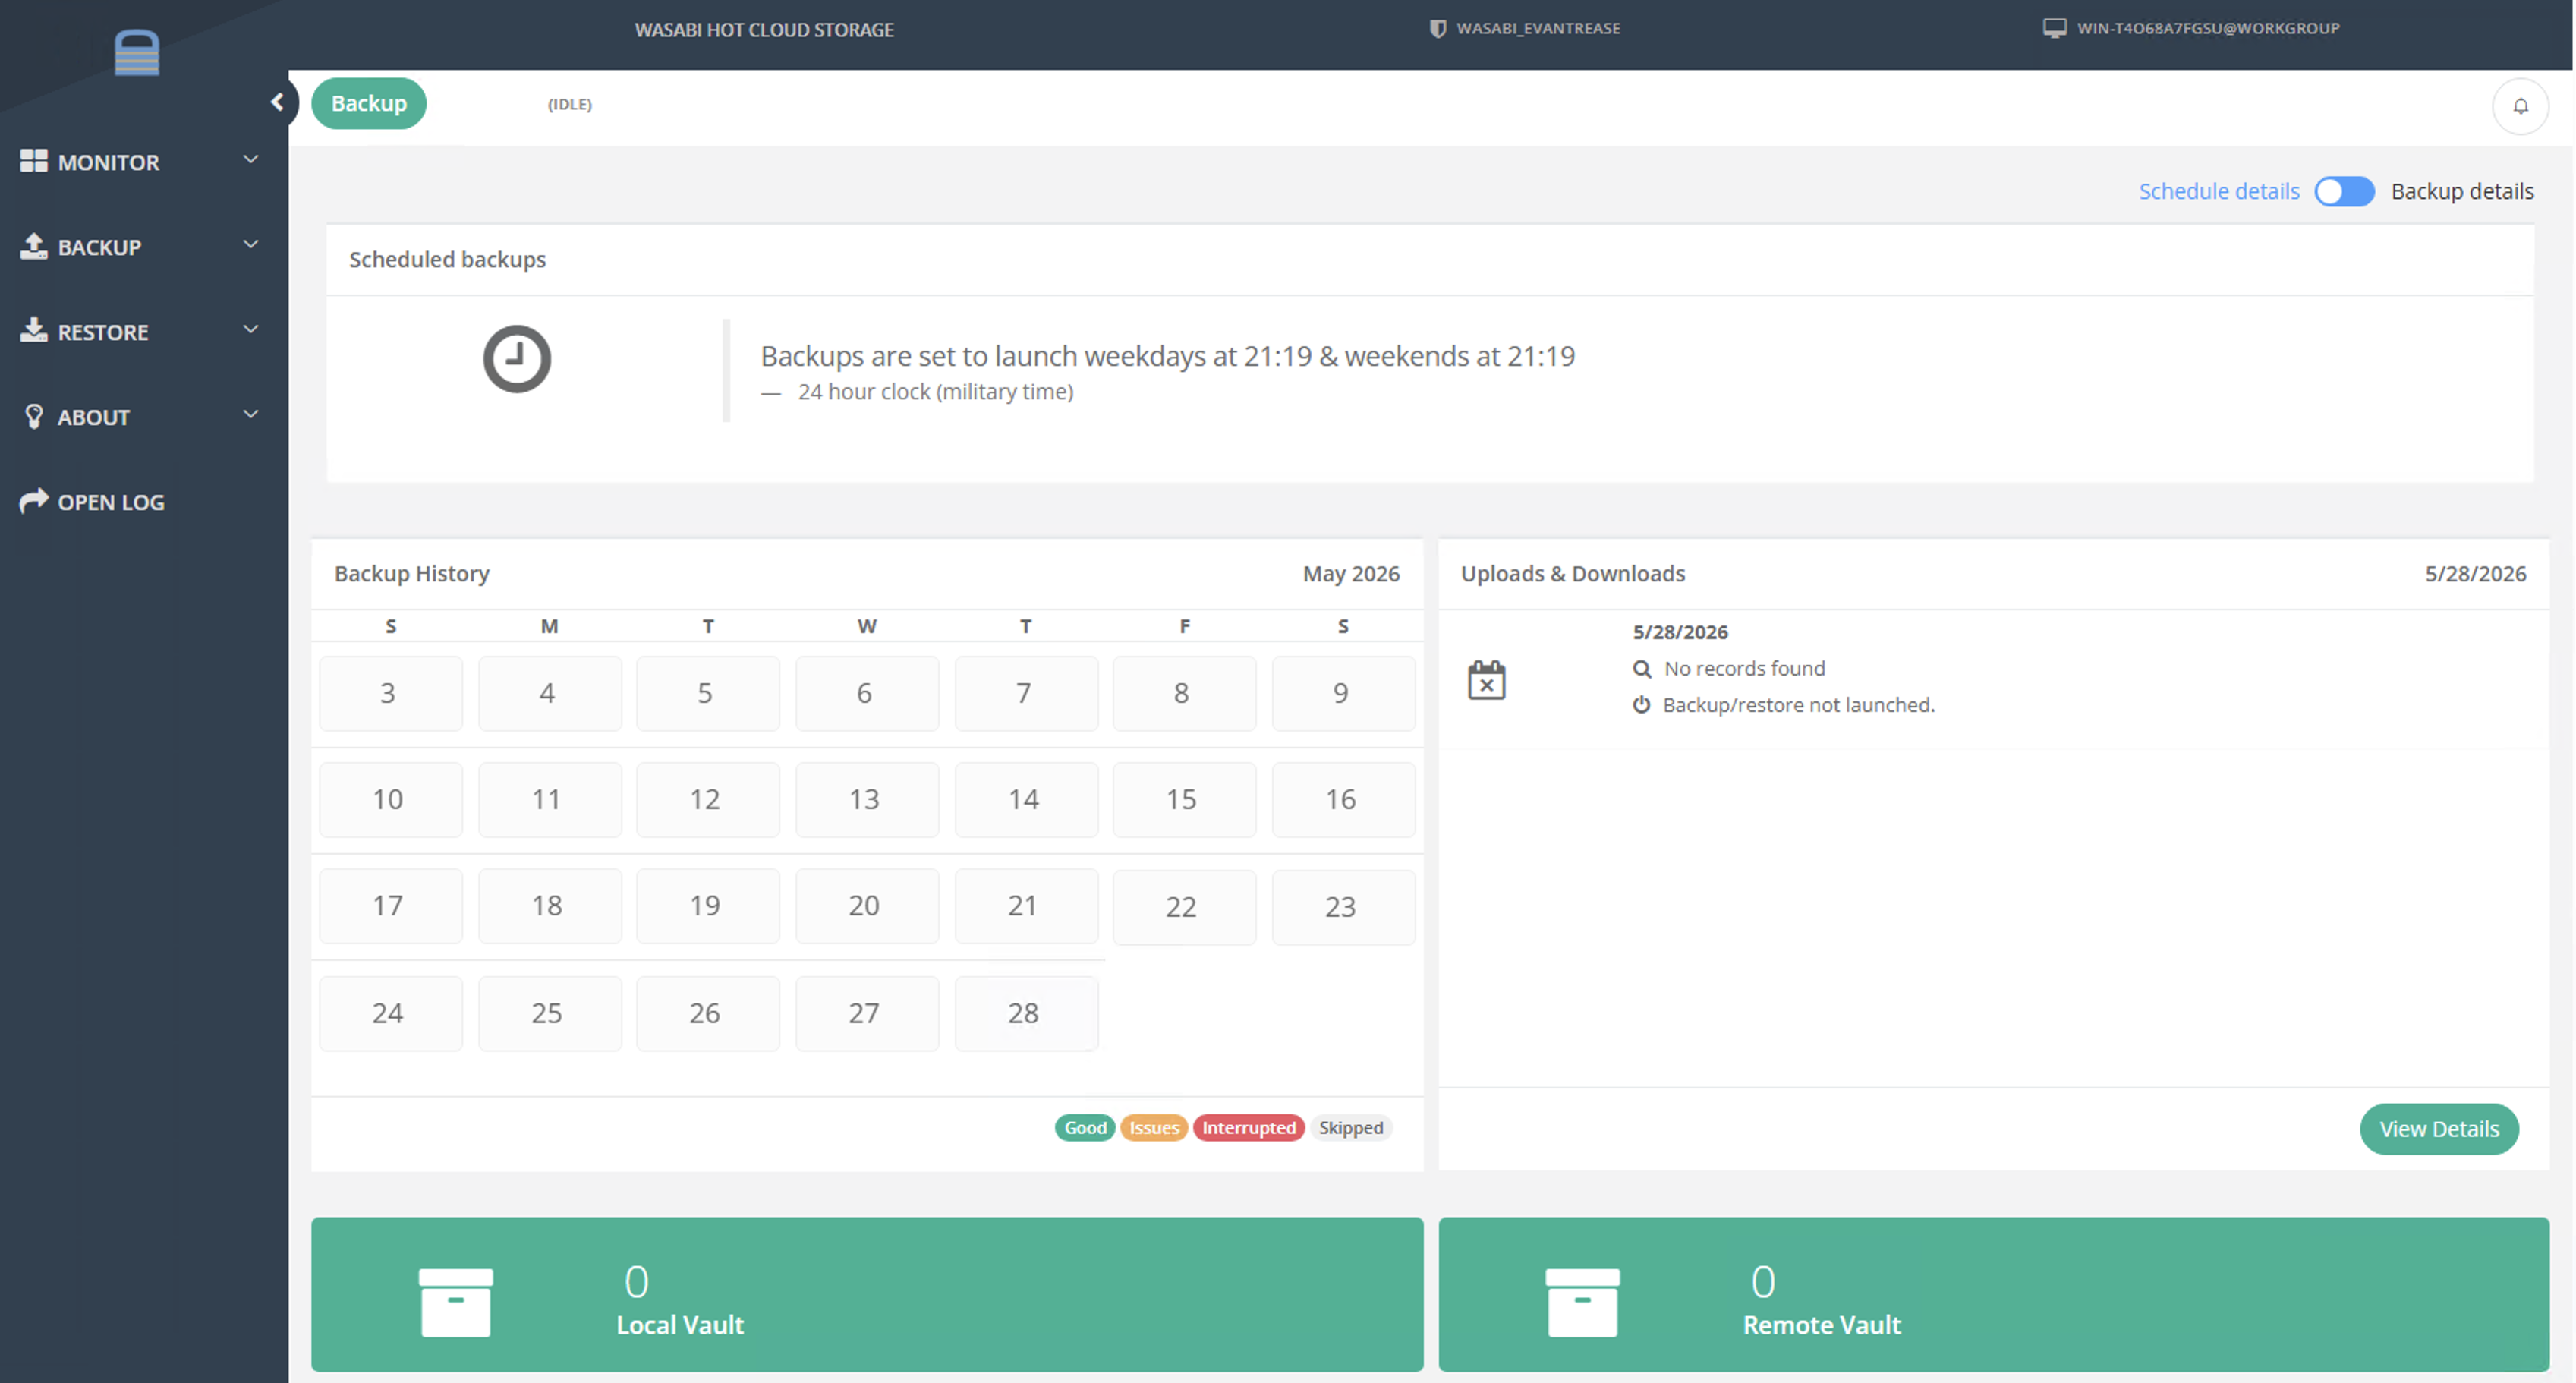
You will now be presented with the WholesaleBackup dashboard.
Backing Up Data With the WholesaleBackup Client
Launch your WholesaleBackup client GUI.

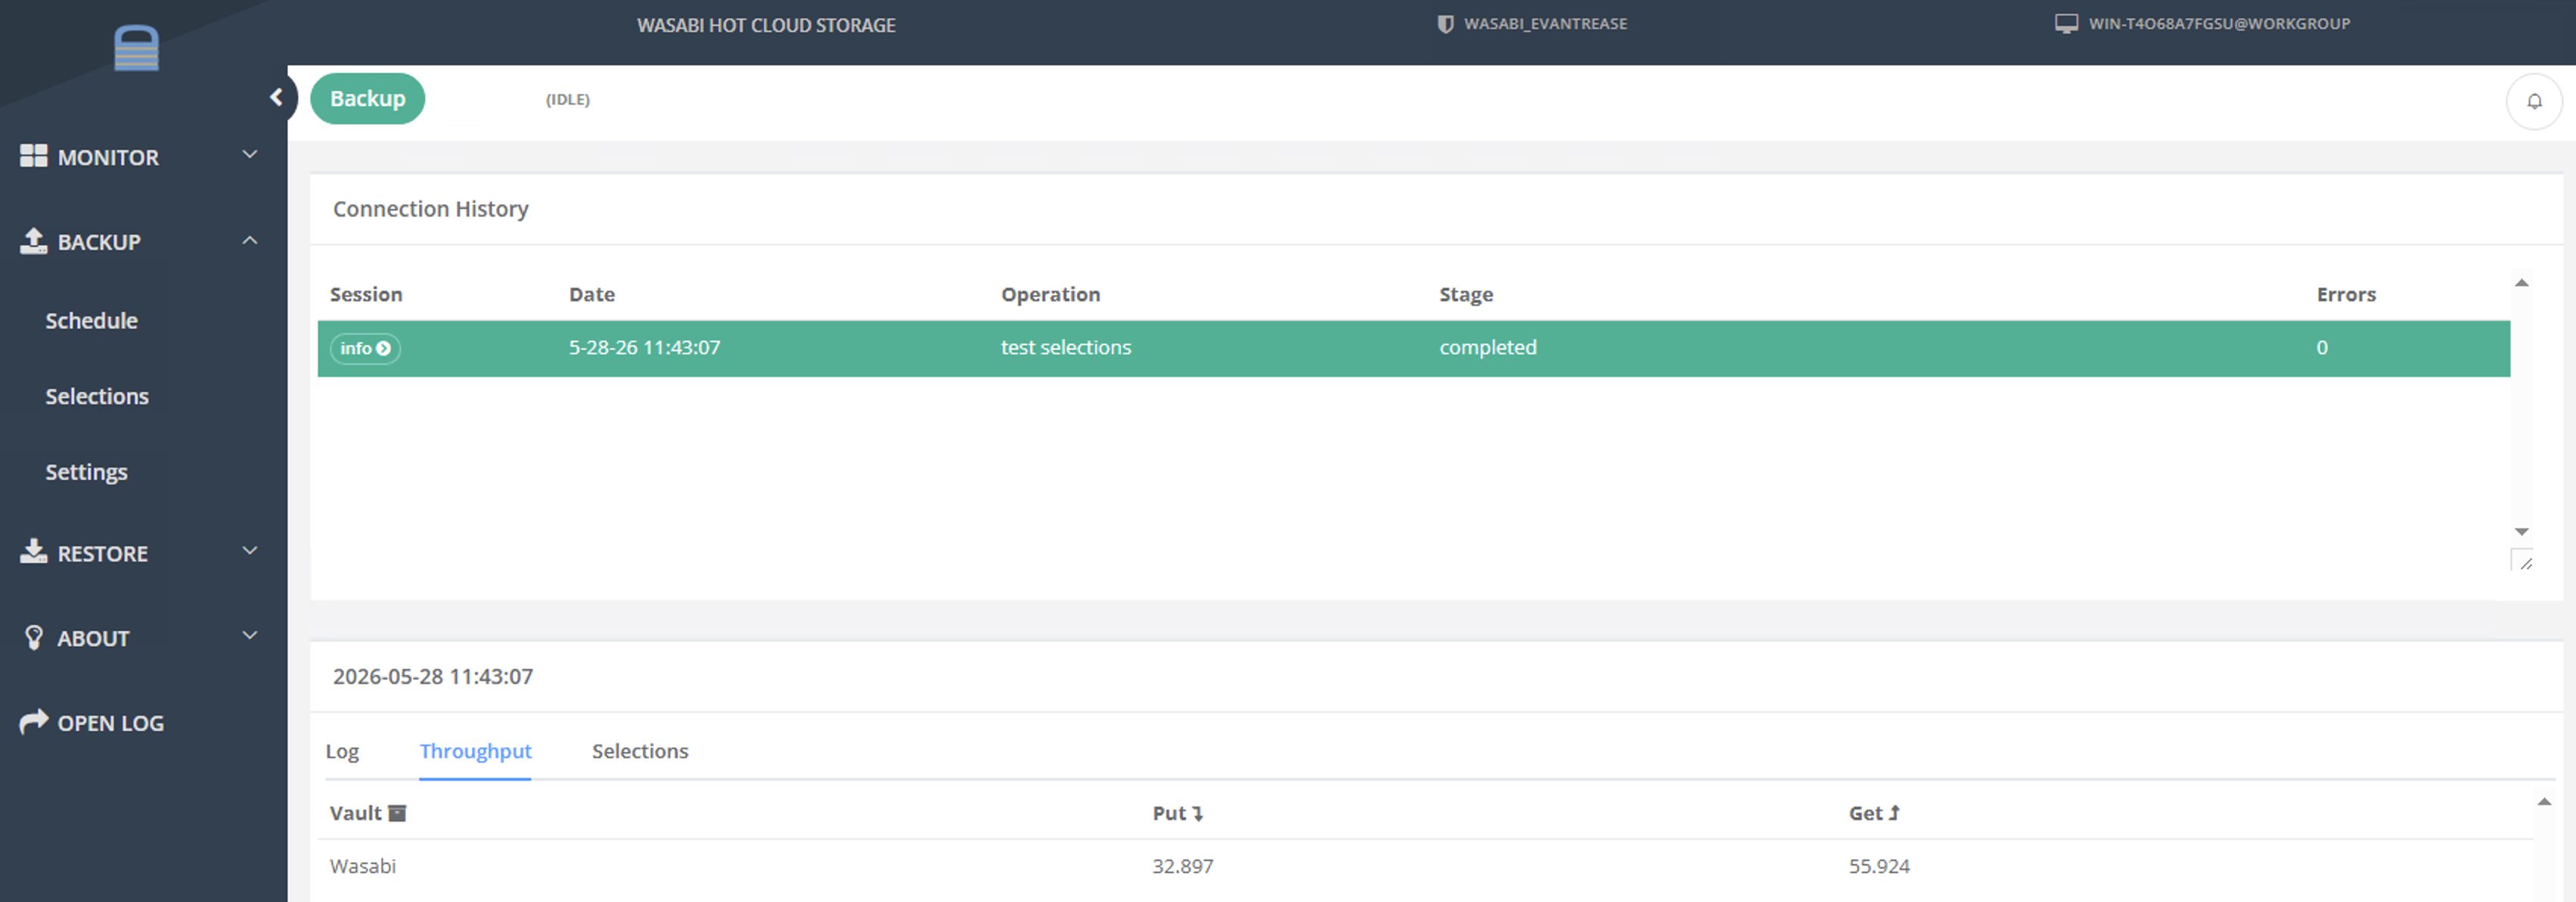
Select the Backup tab on the left-hand panel.
Click Selections.
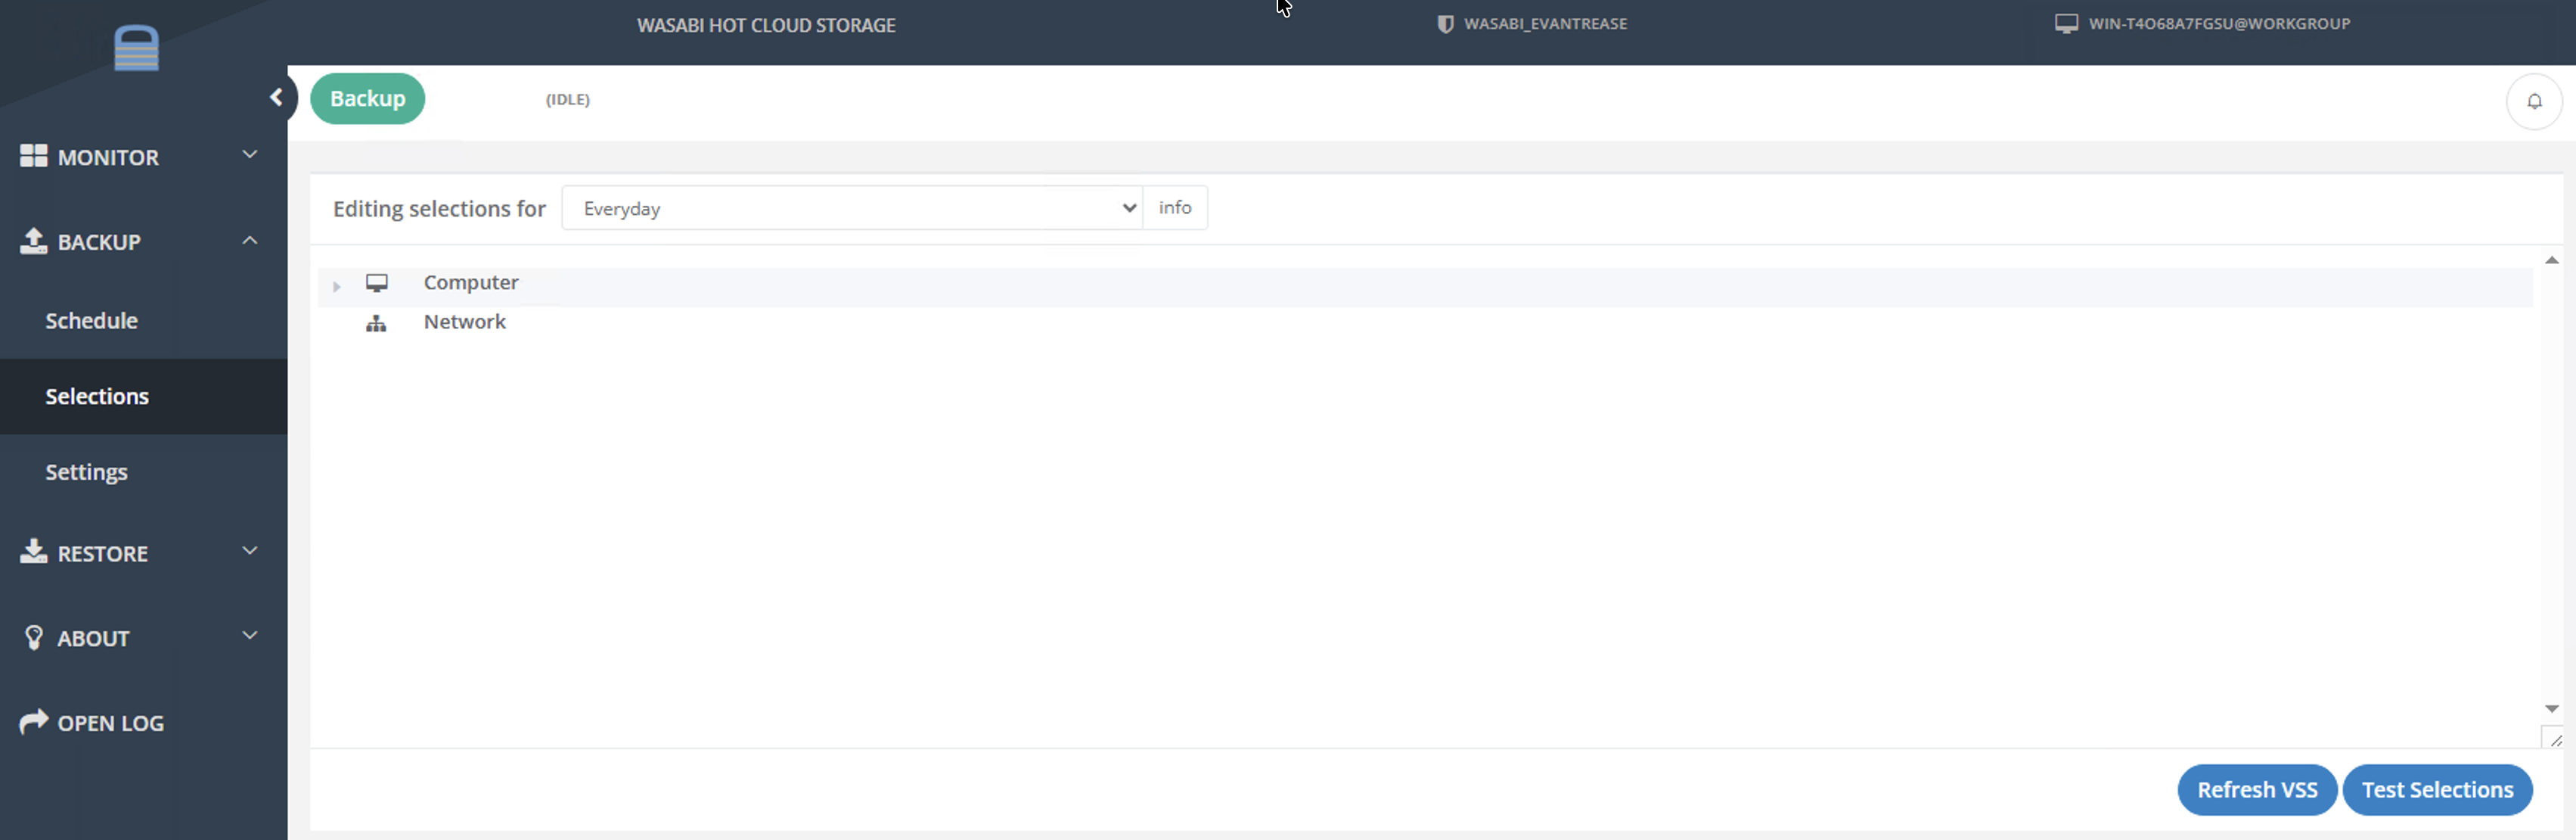
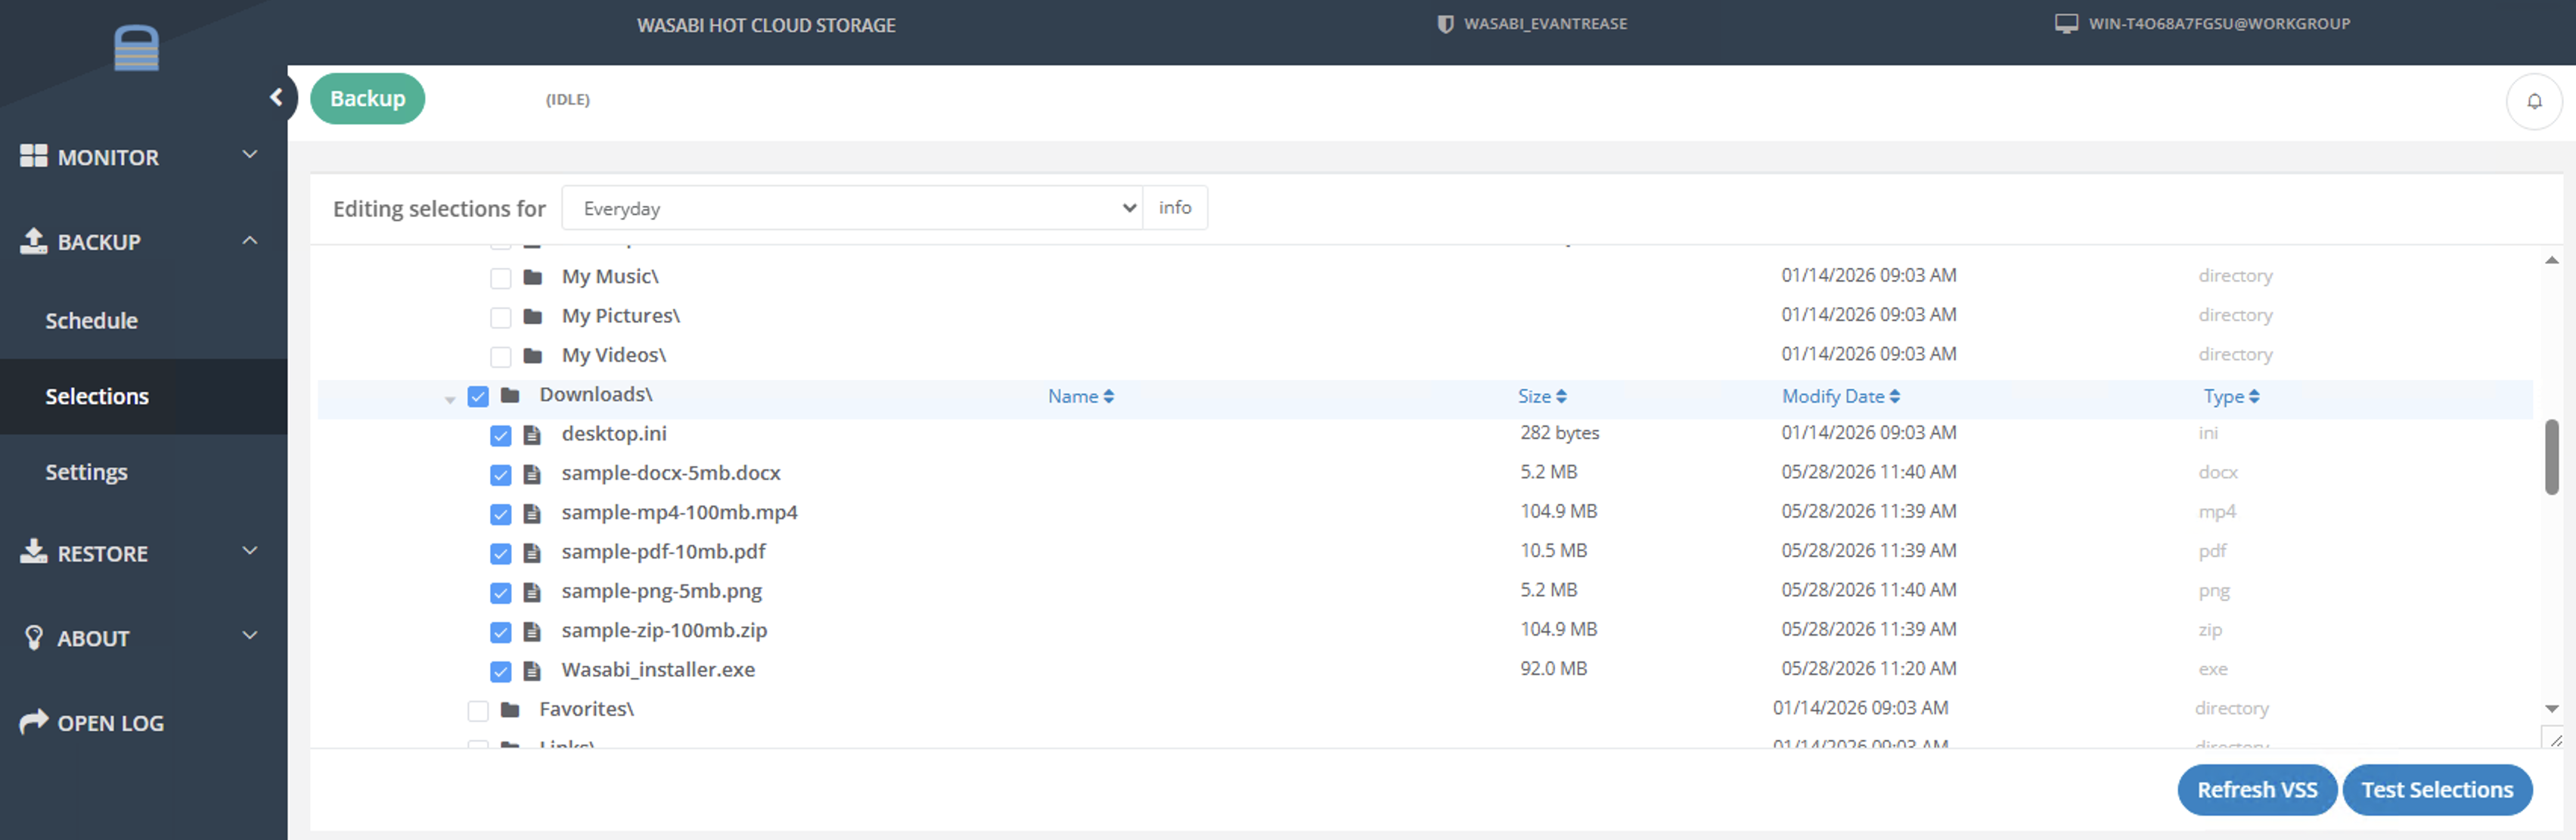
Navigate through the directory tree on the main panel in order to select one or more file paths to back up. Click Test Selections.
The application will test throughput for the selections.
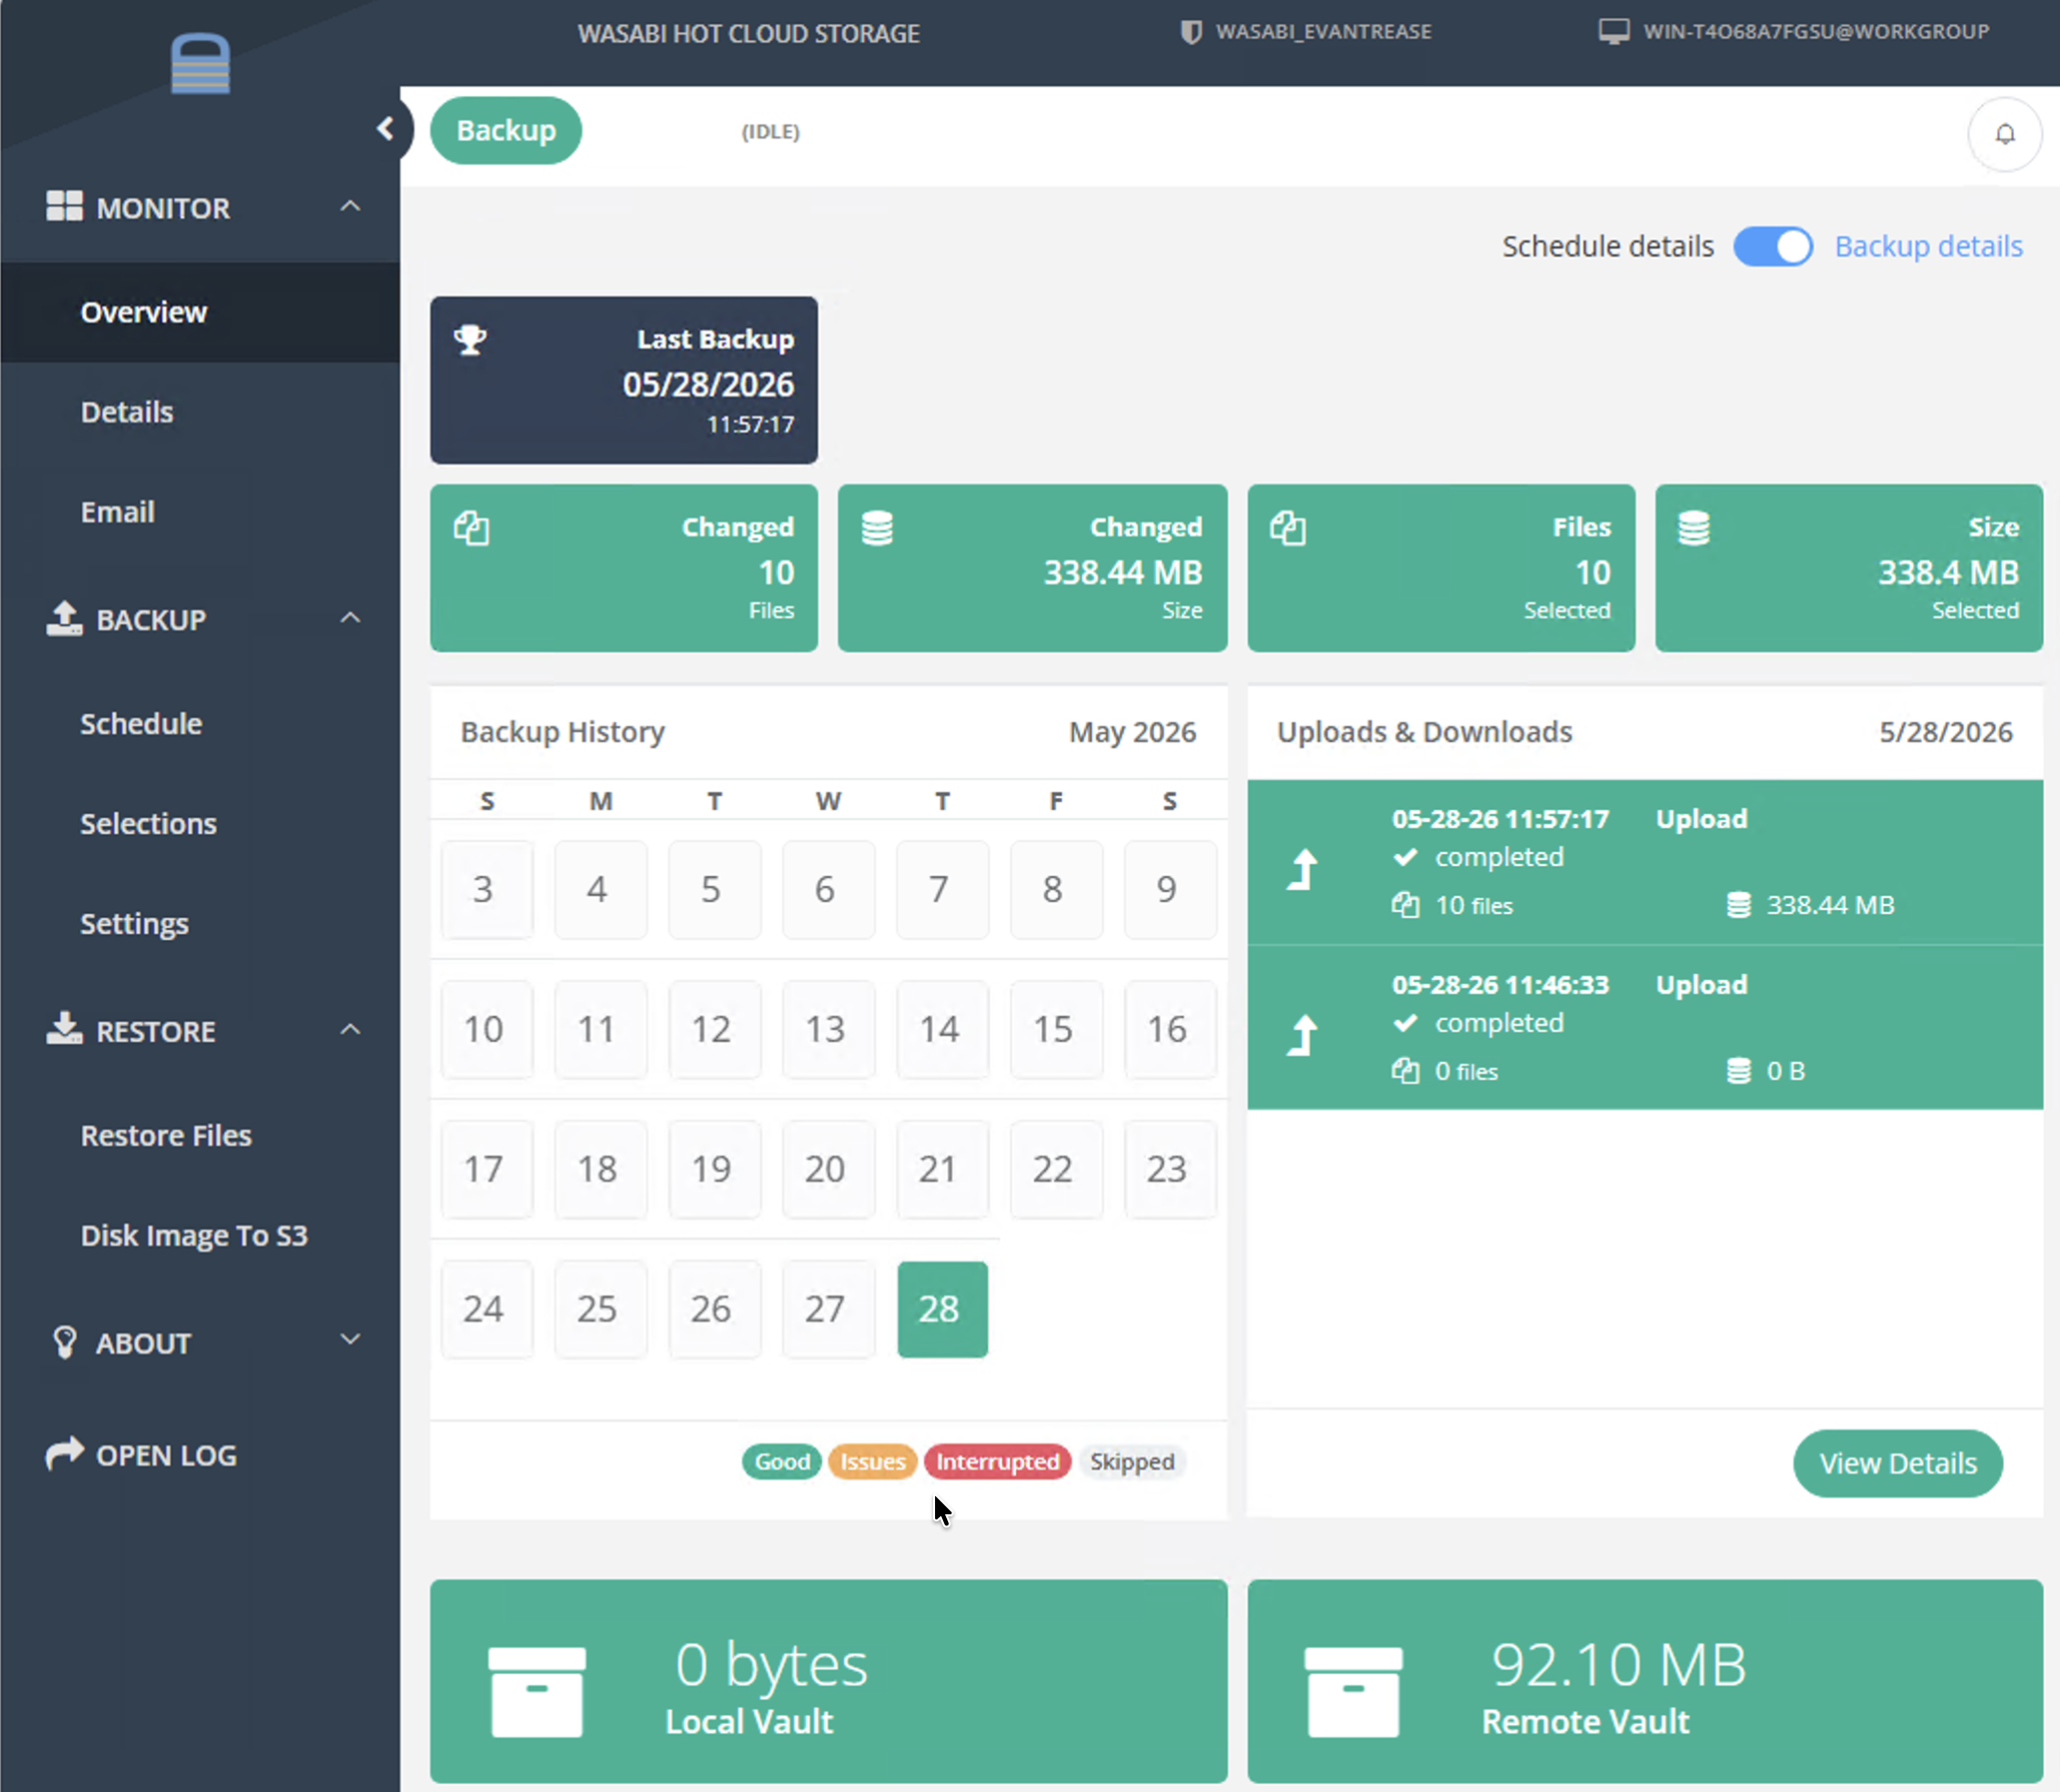
Click Backup on the left-hand panel. Click Schedule. Click Backup Now in the main panel. The WholesaleBackup application will automatically create a bucket on your account when performing the first backup.
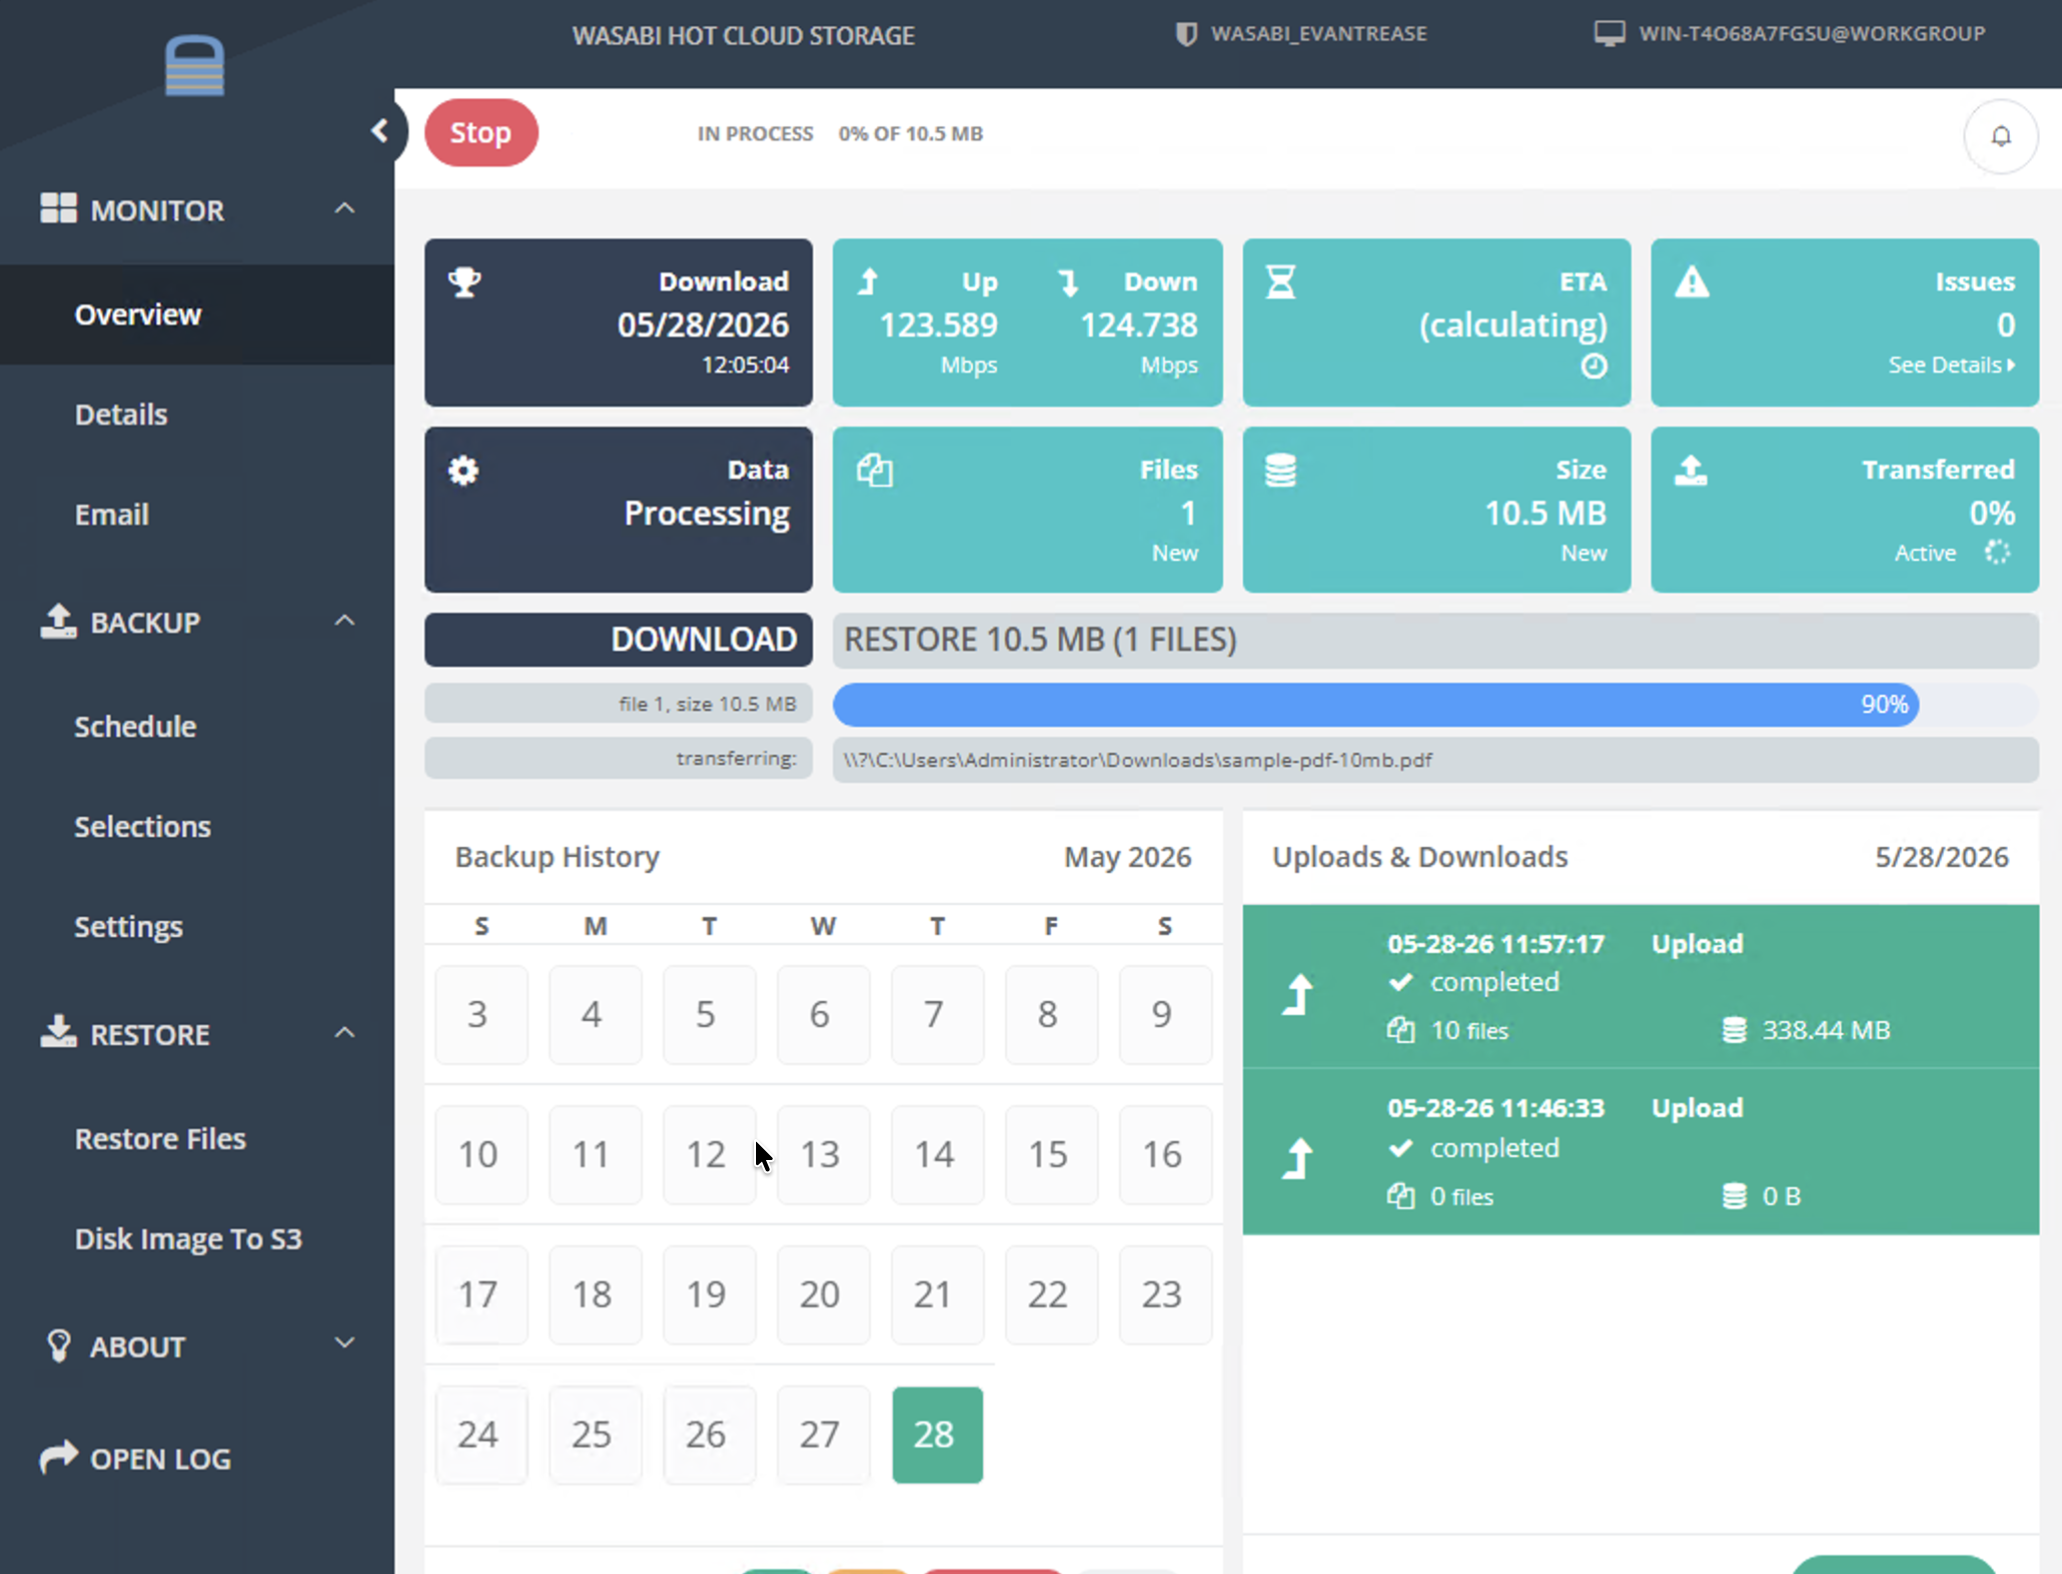
Your backup will begin to process.
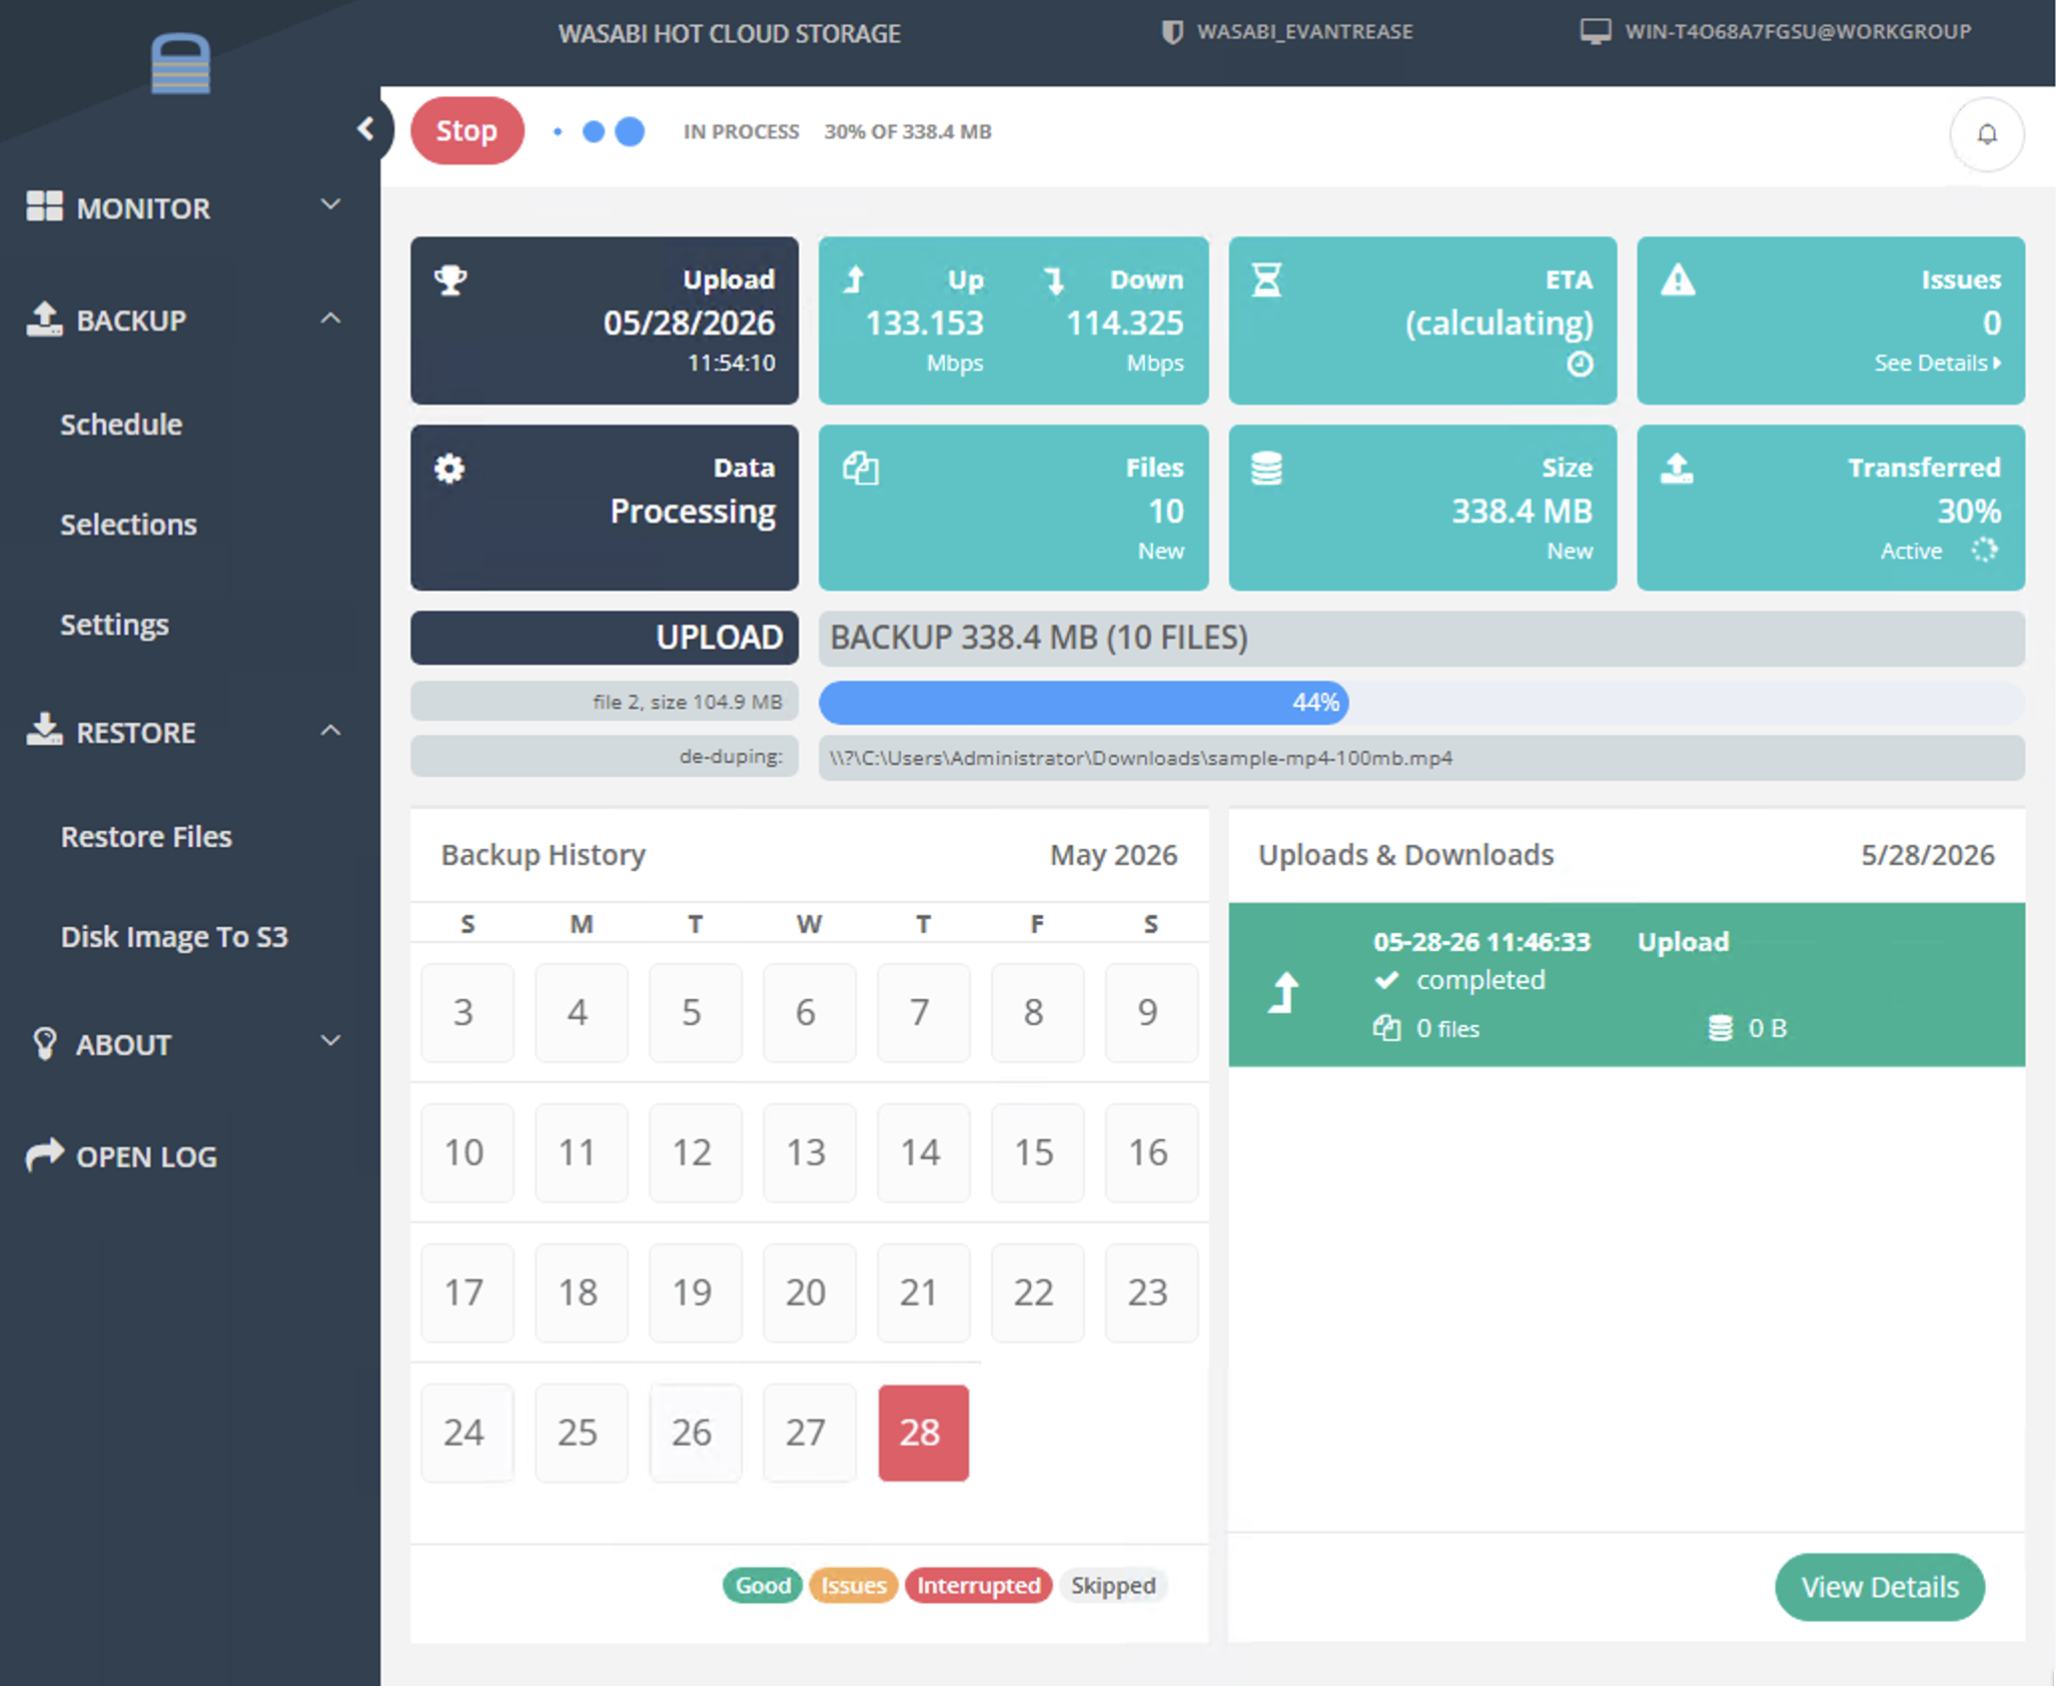
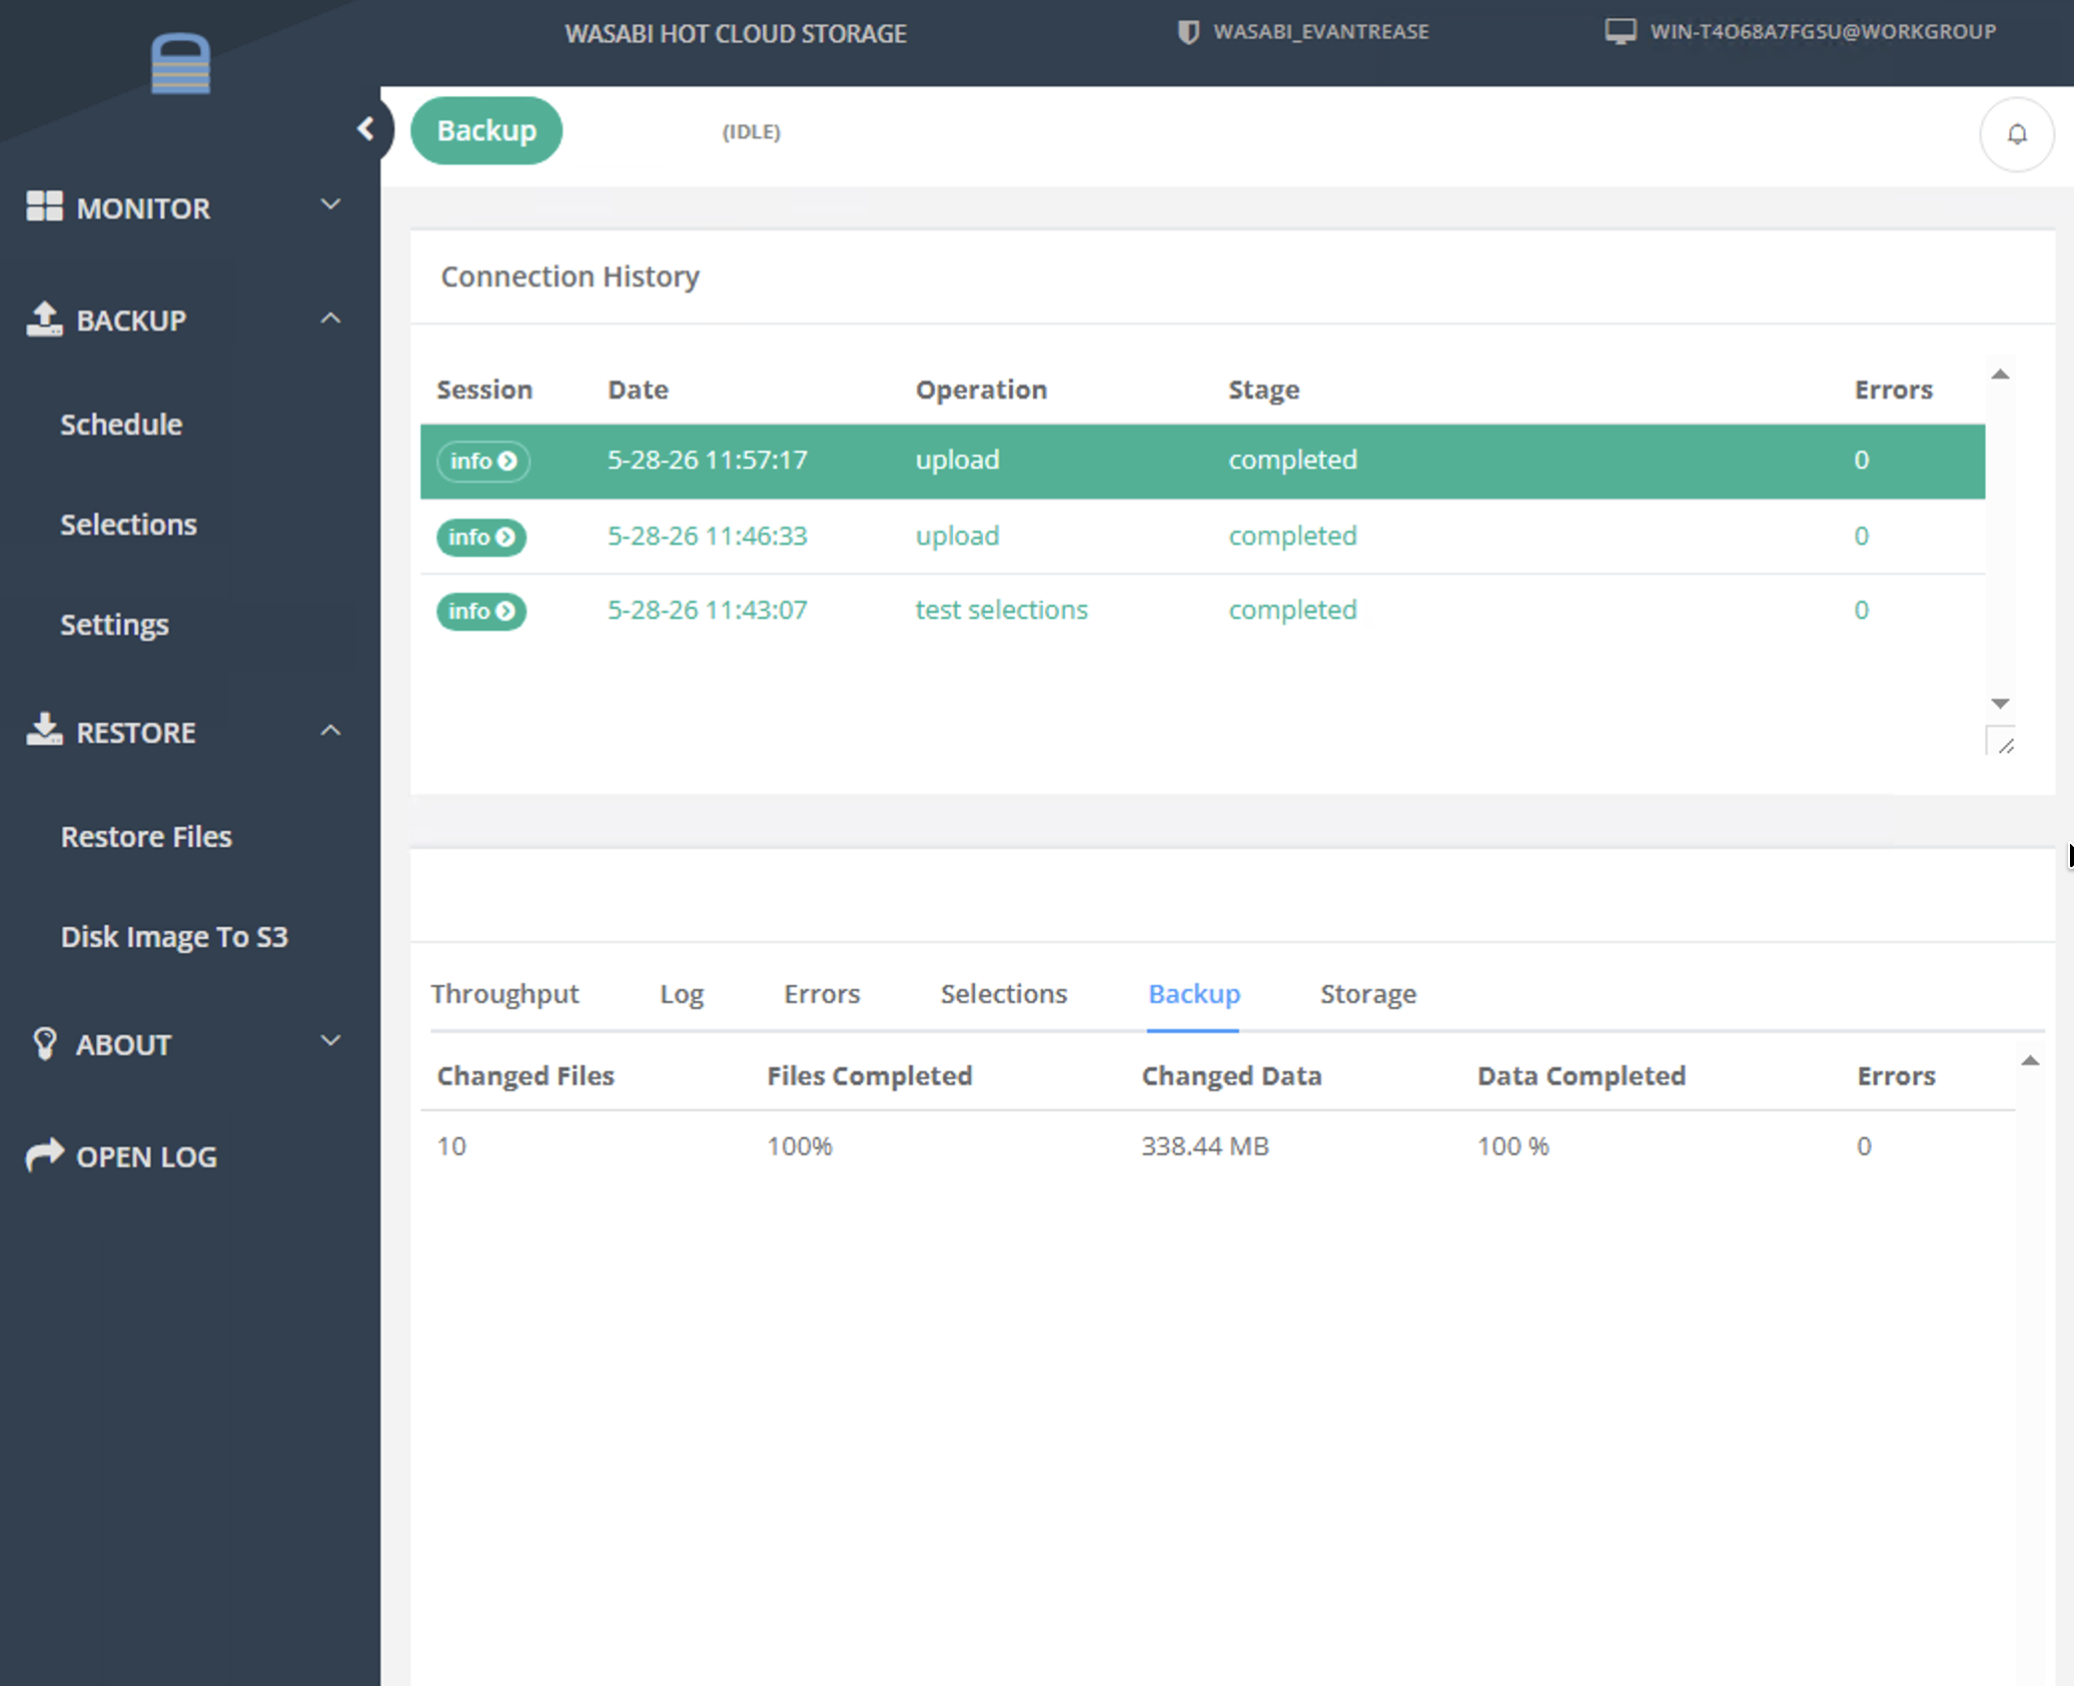
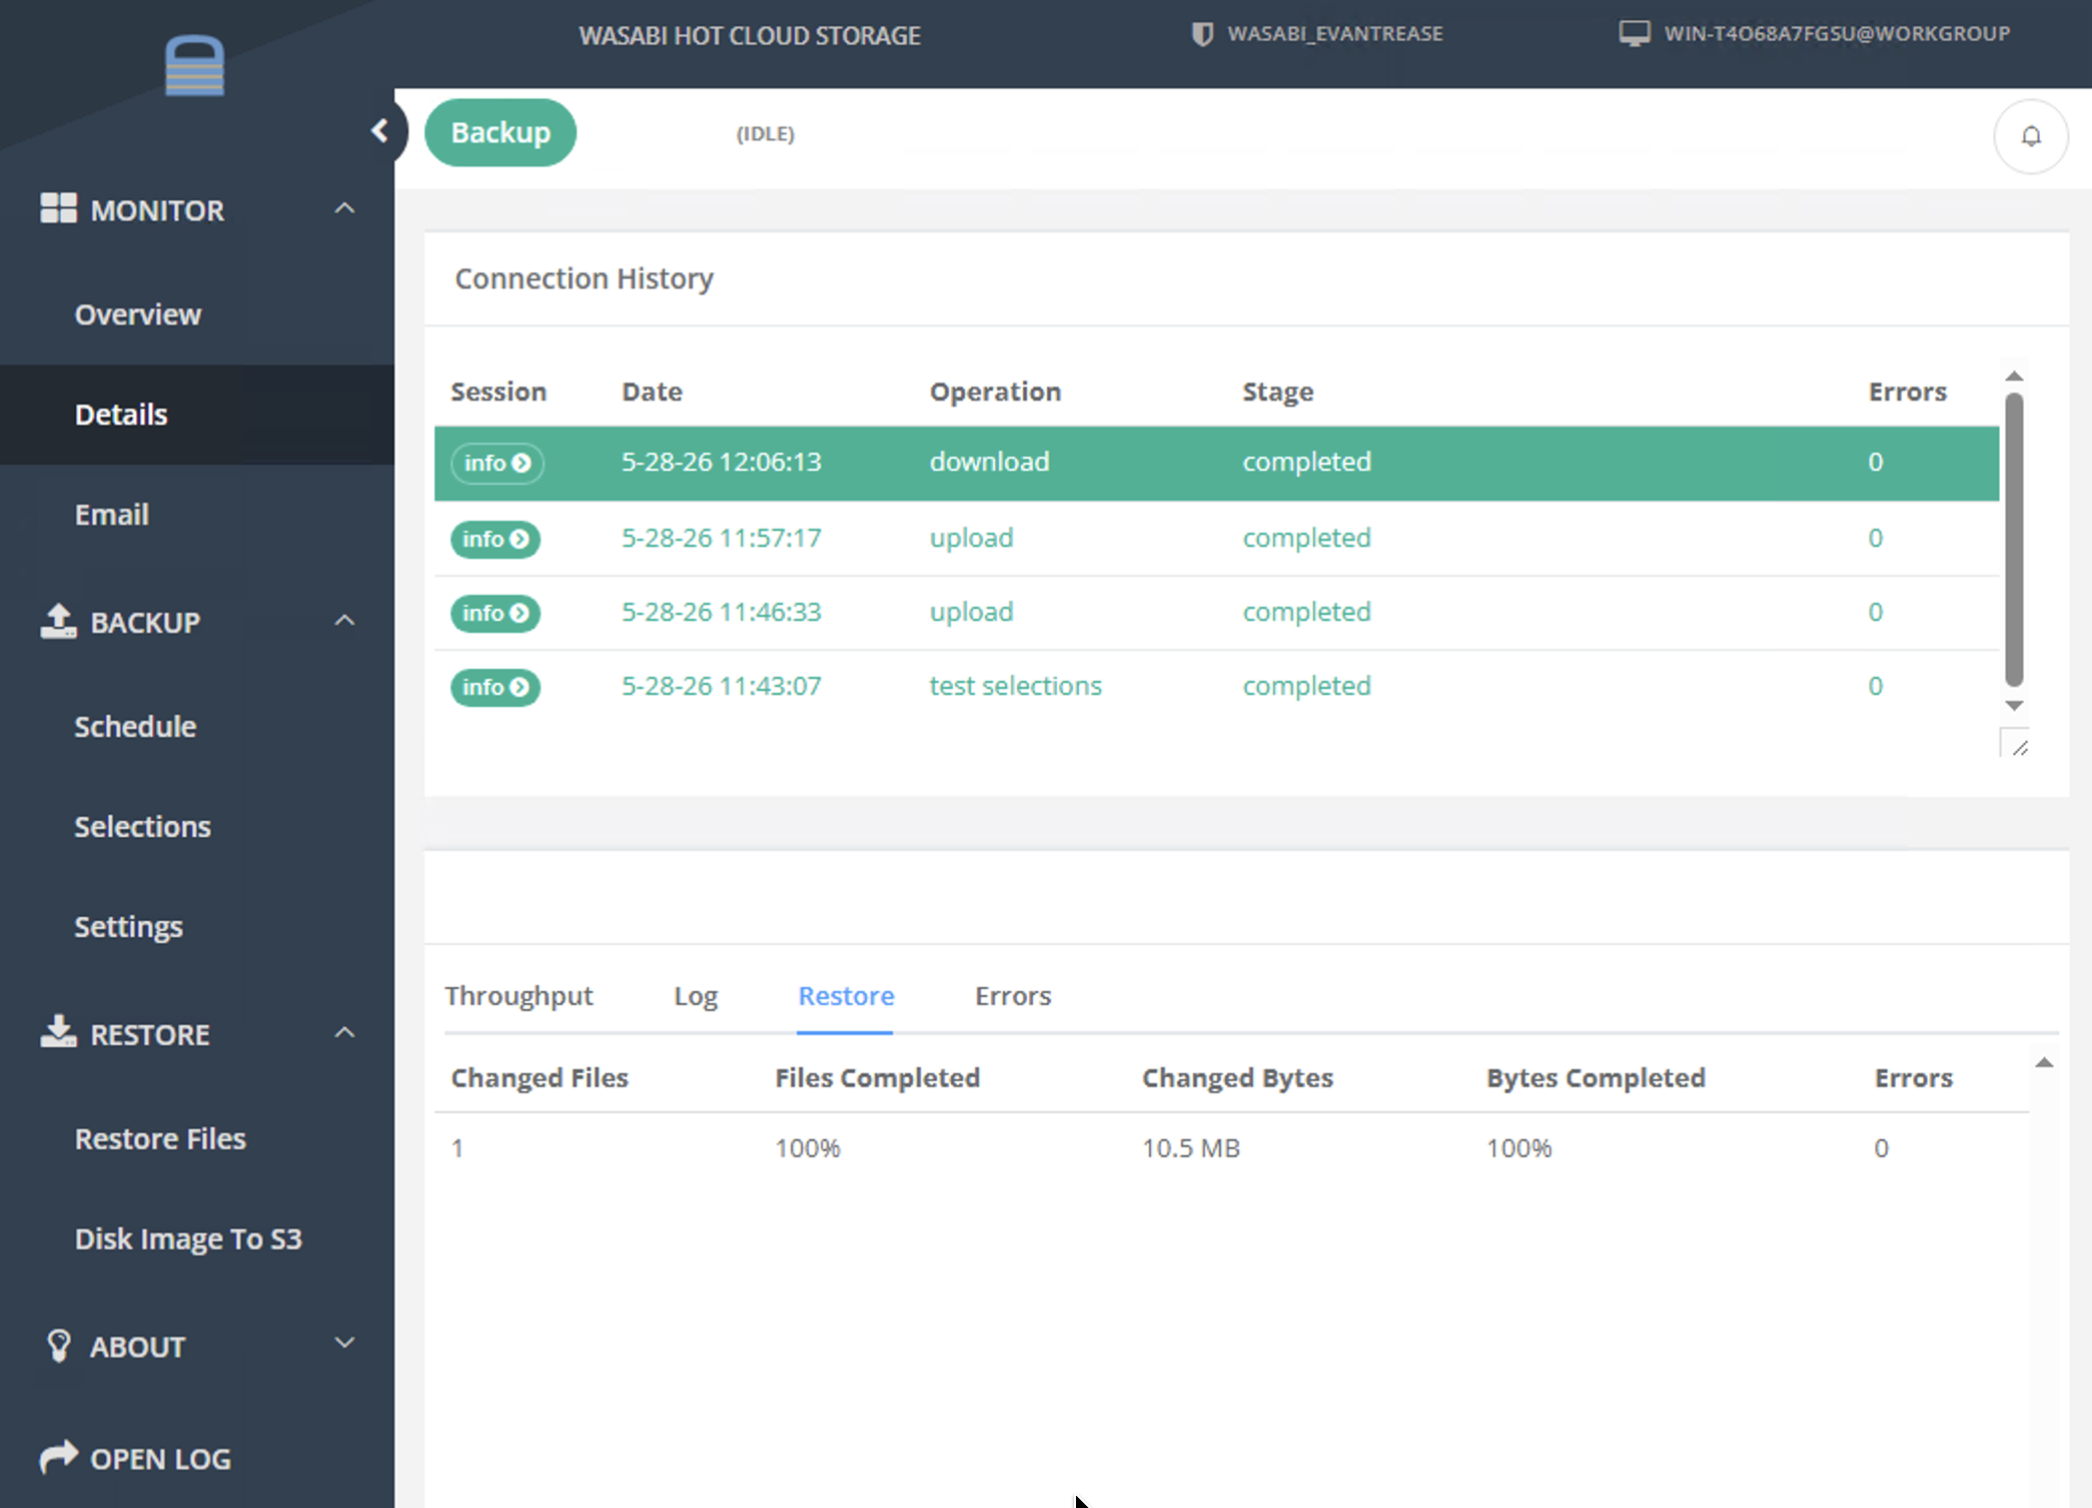
You will be taken to the Details page once the backup completes.
Verifying the Data in Wasabi
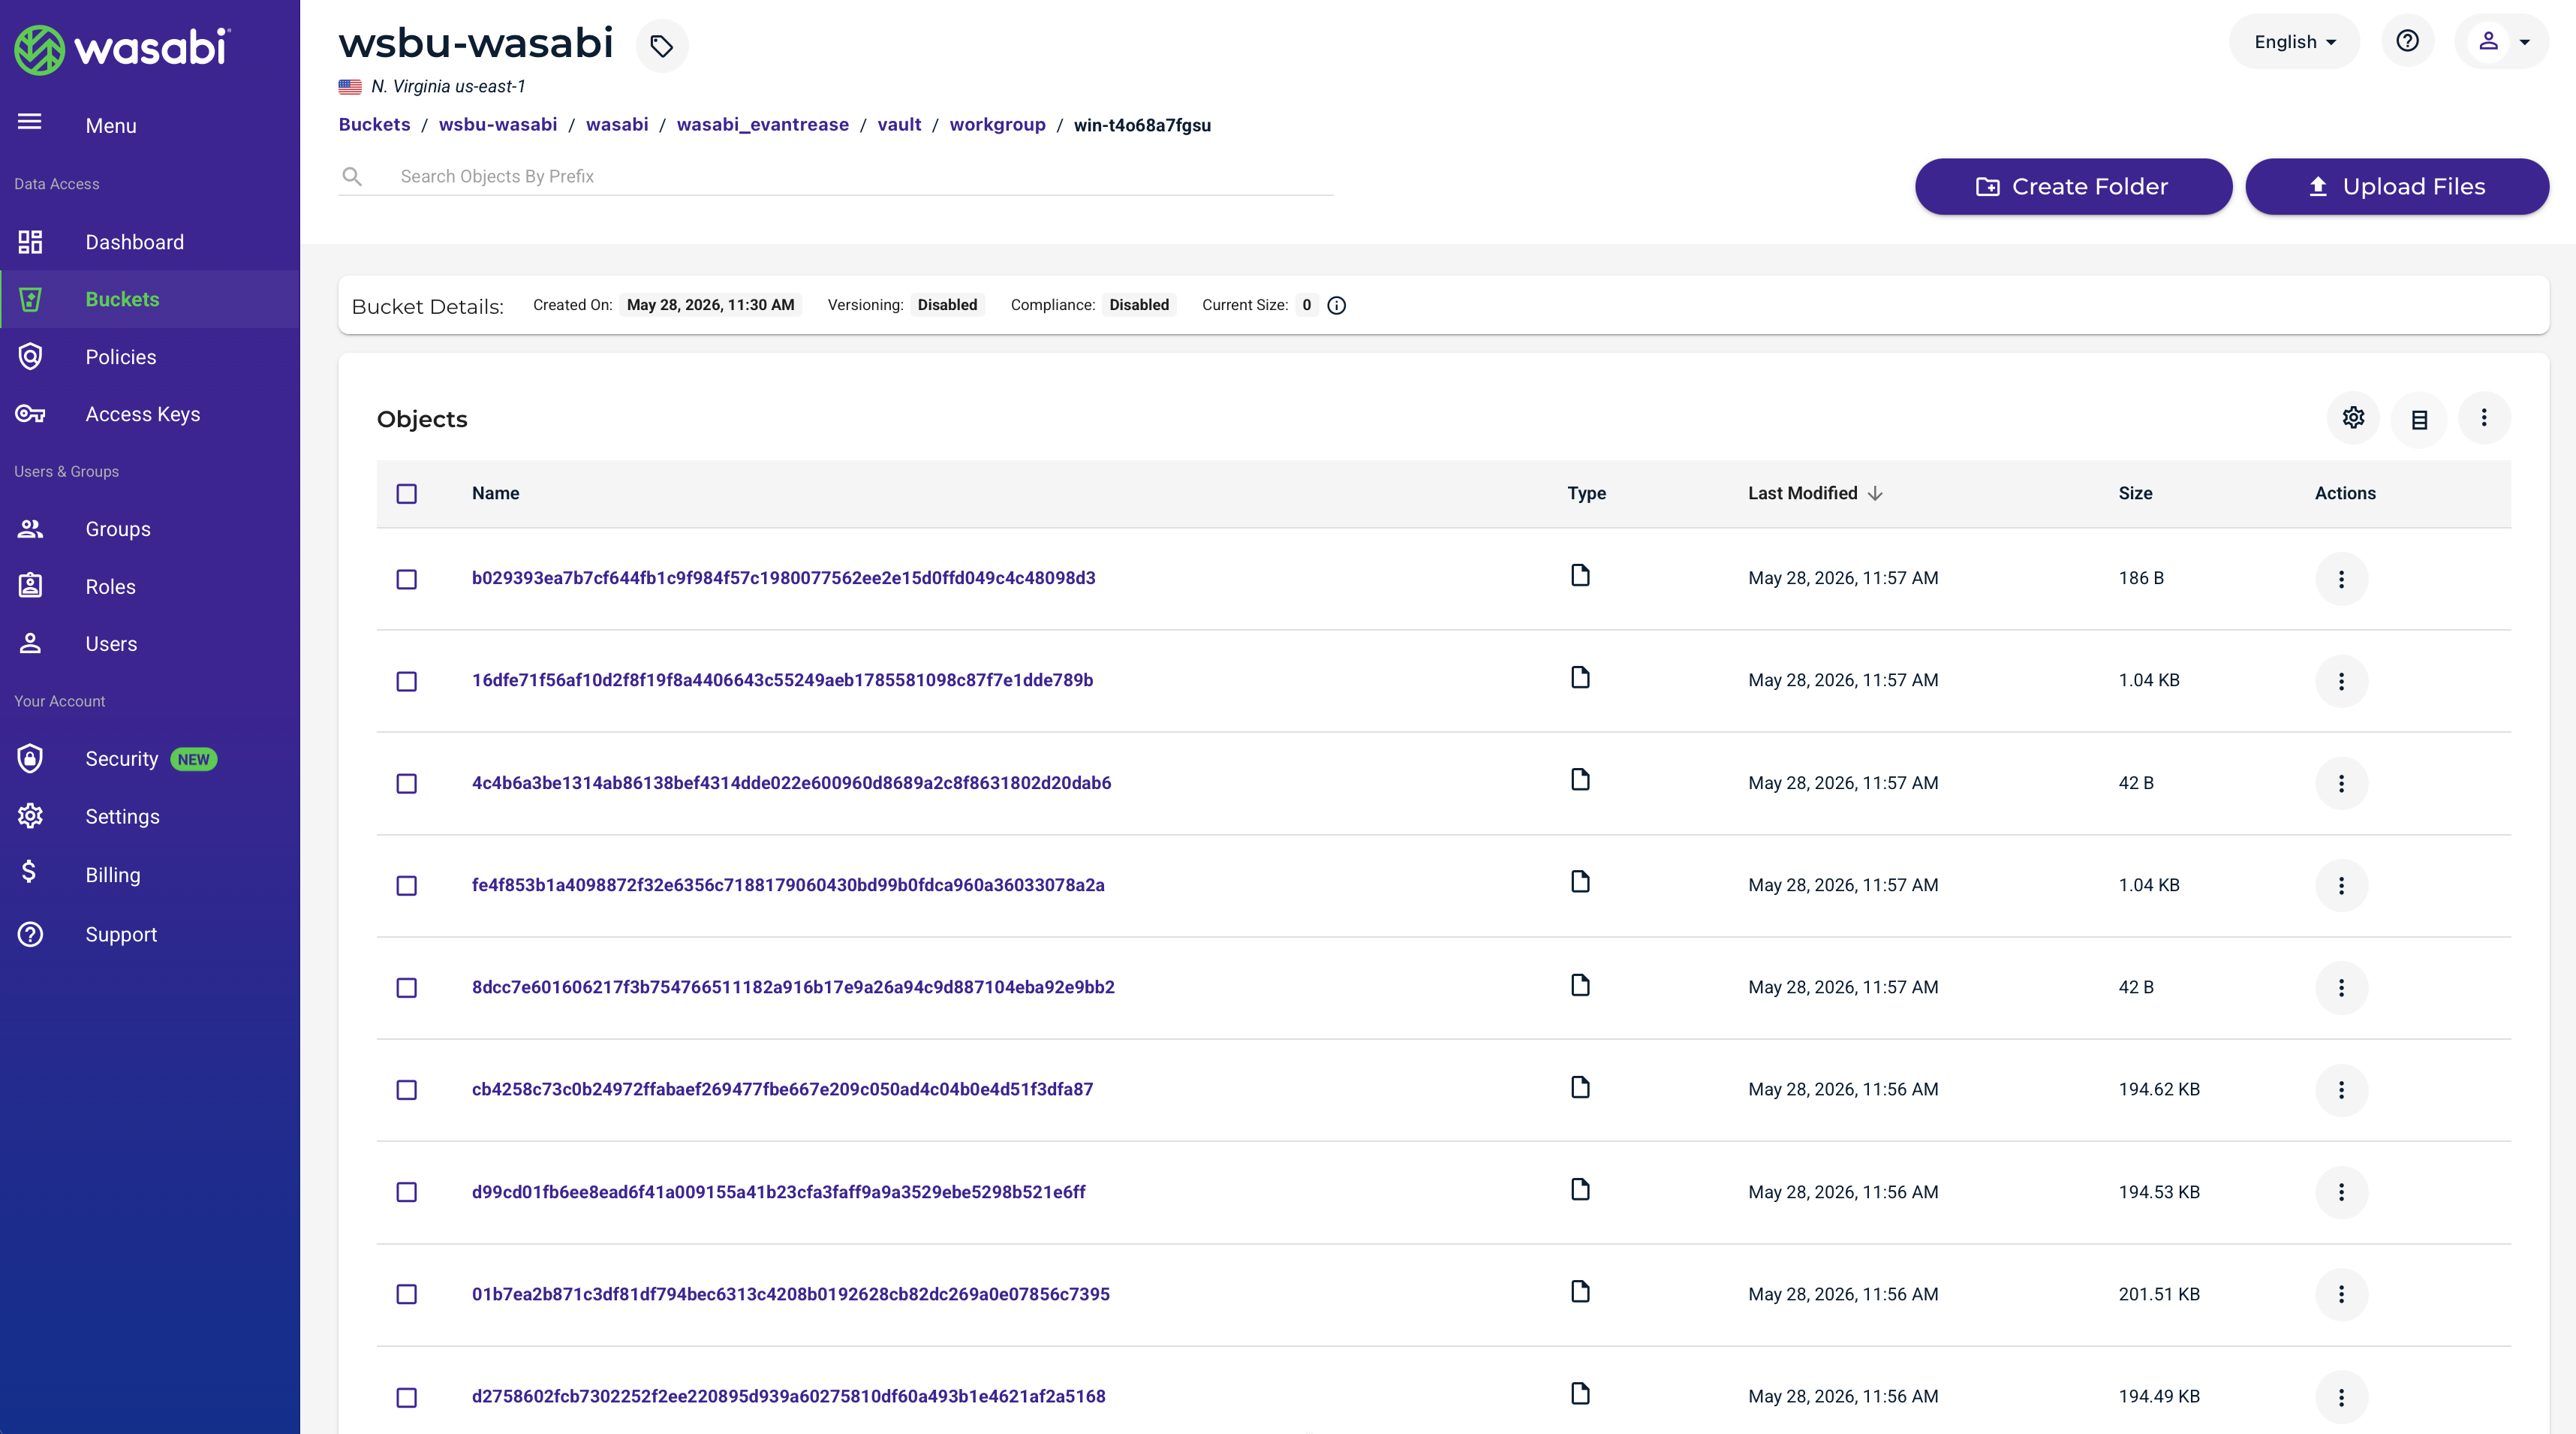
Log in to the Wasabi Storage Console (console.wasabisys.com).
Select the Buckets tab. Search for wsbu.
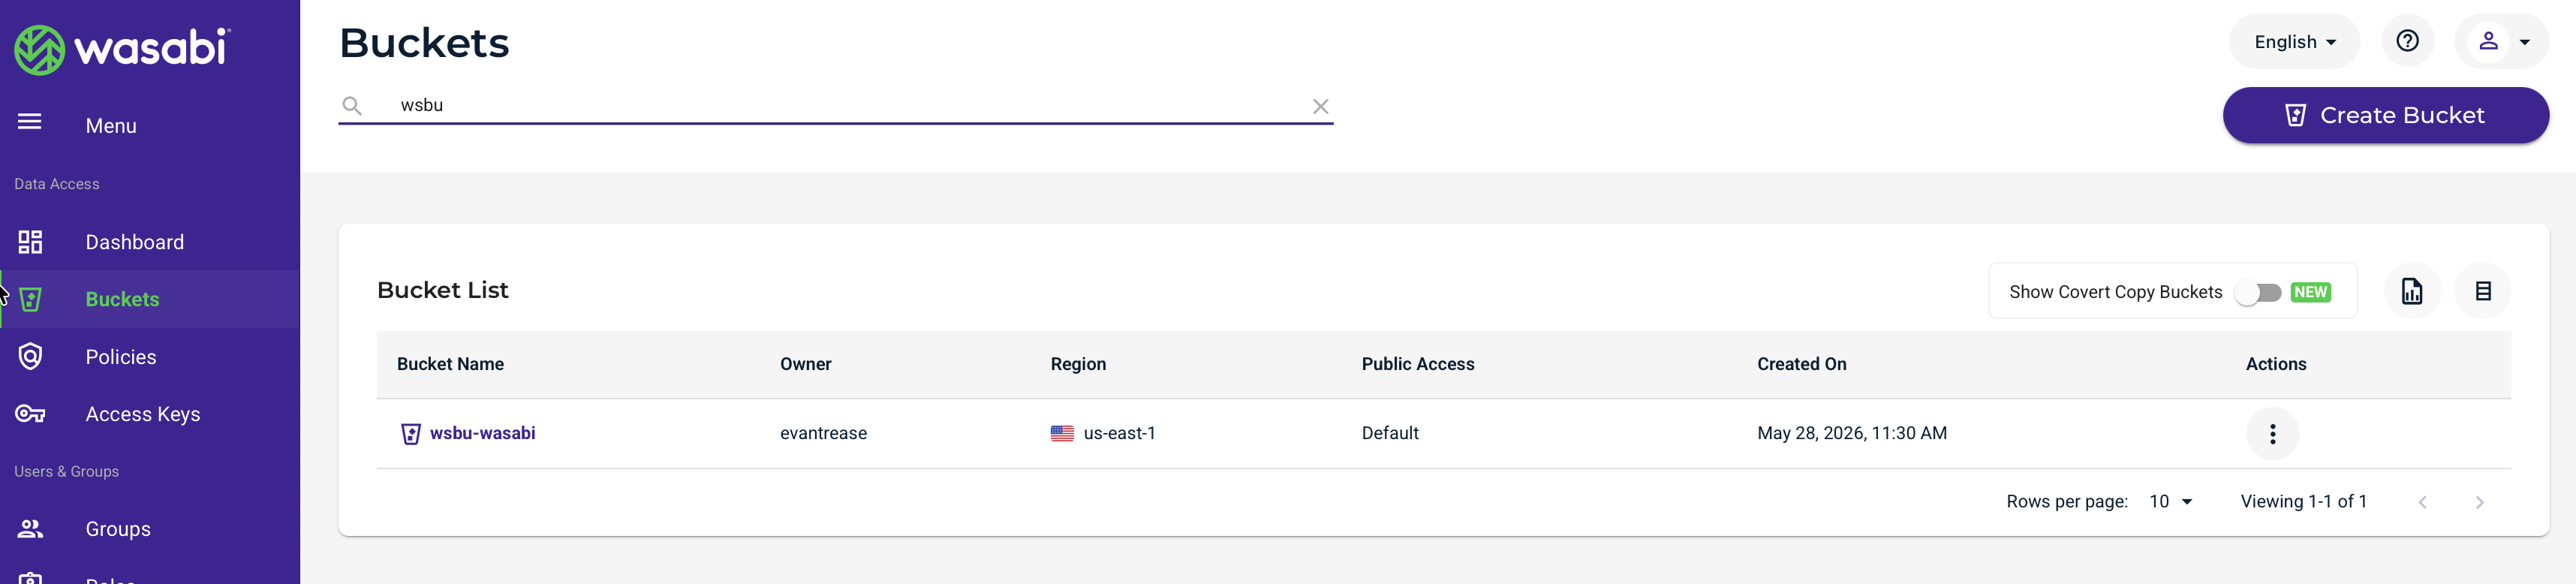
When browsing through the directory, you will notice the data is stored in a proprietary format.
Restoring Data With the WholesaleBackup Client
The data restoration process is handled by your specific backup software application. As there are many, potential variables that will affect your unique environment, Wasabi strongly recommends that you seek the guidance of your backup software's technical support team in the event that you encounter difficulty or have application-specific inquiries.
Launch your WholesaleBackup client GUI.
Click Restore. Click Restore Files.
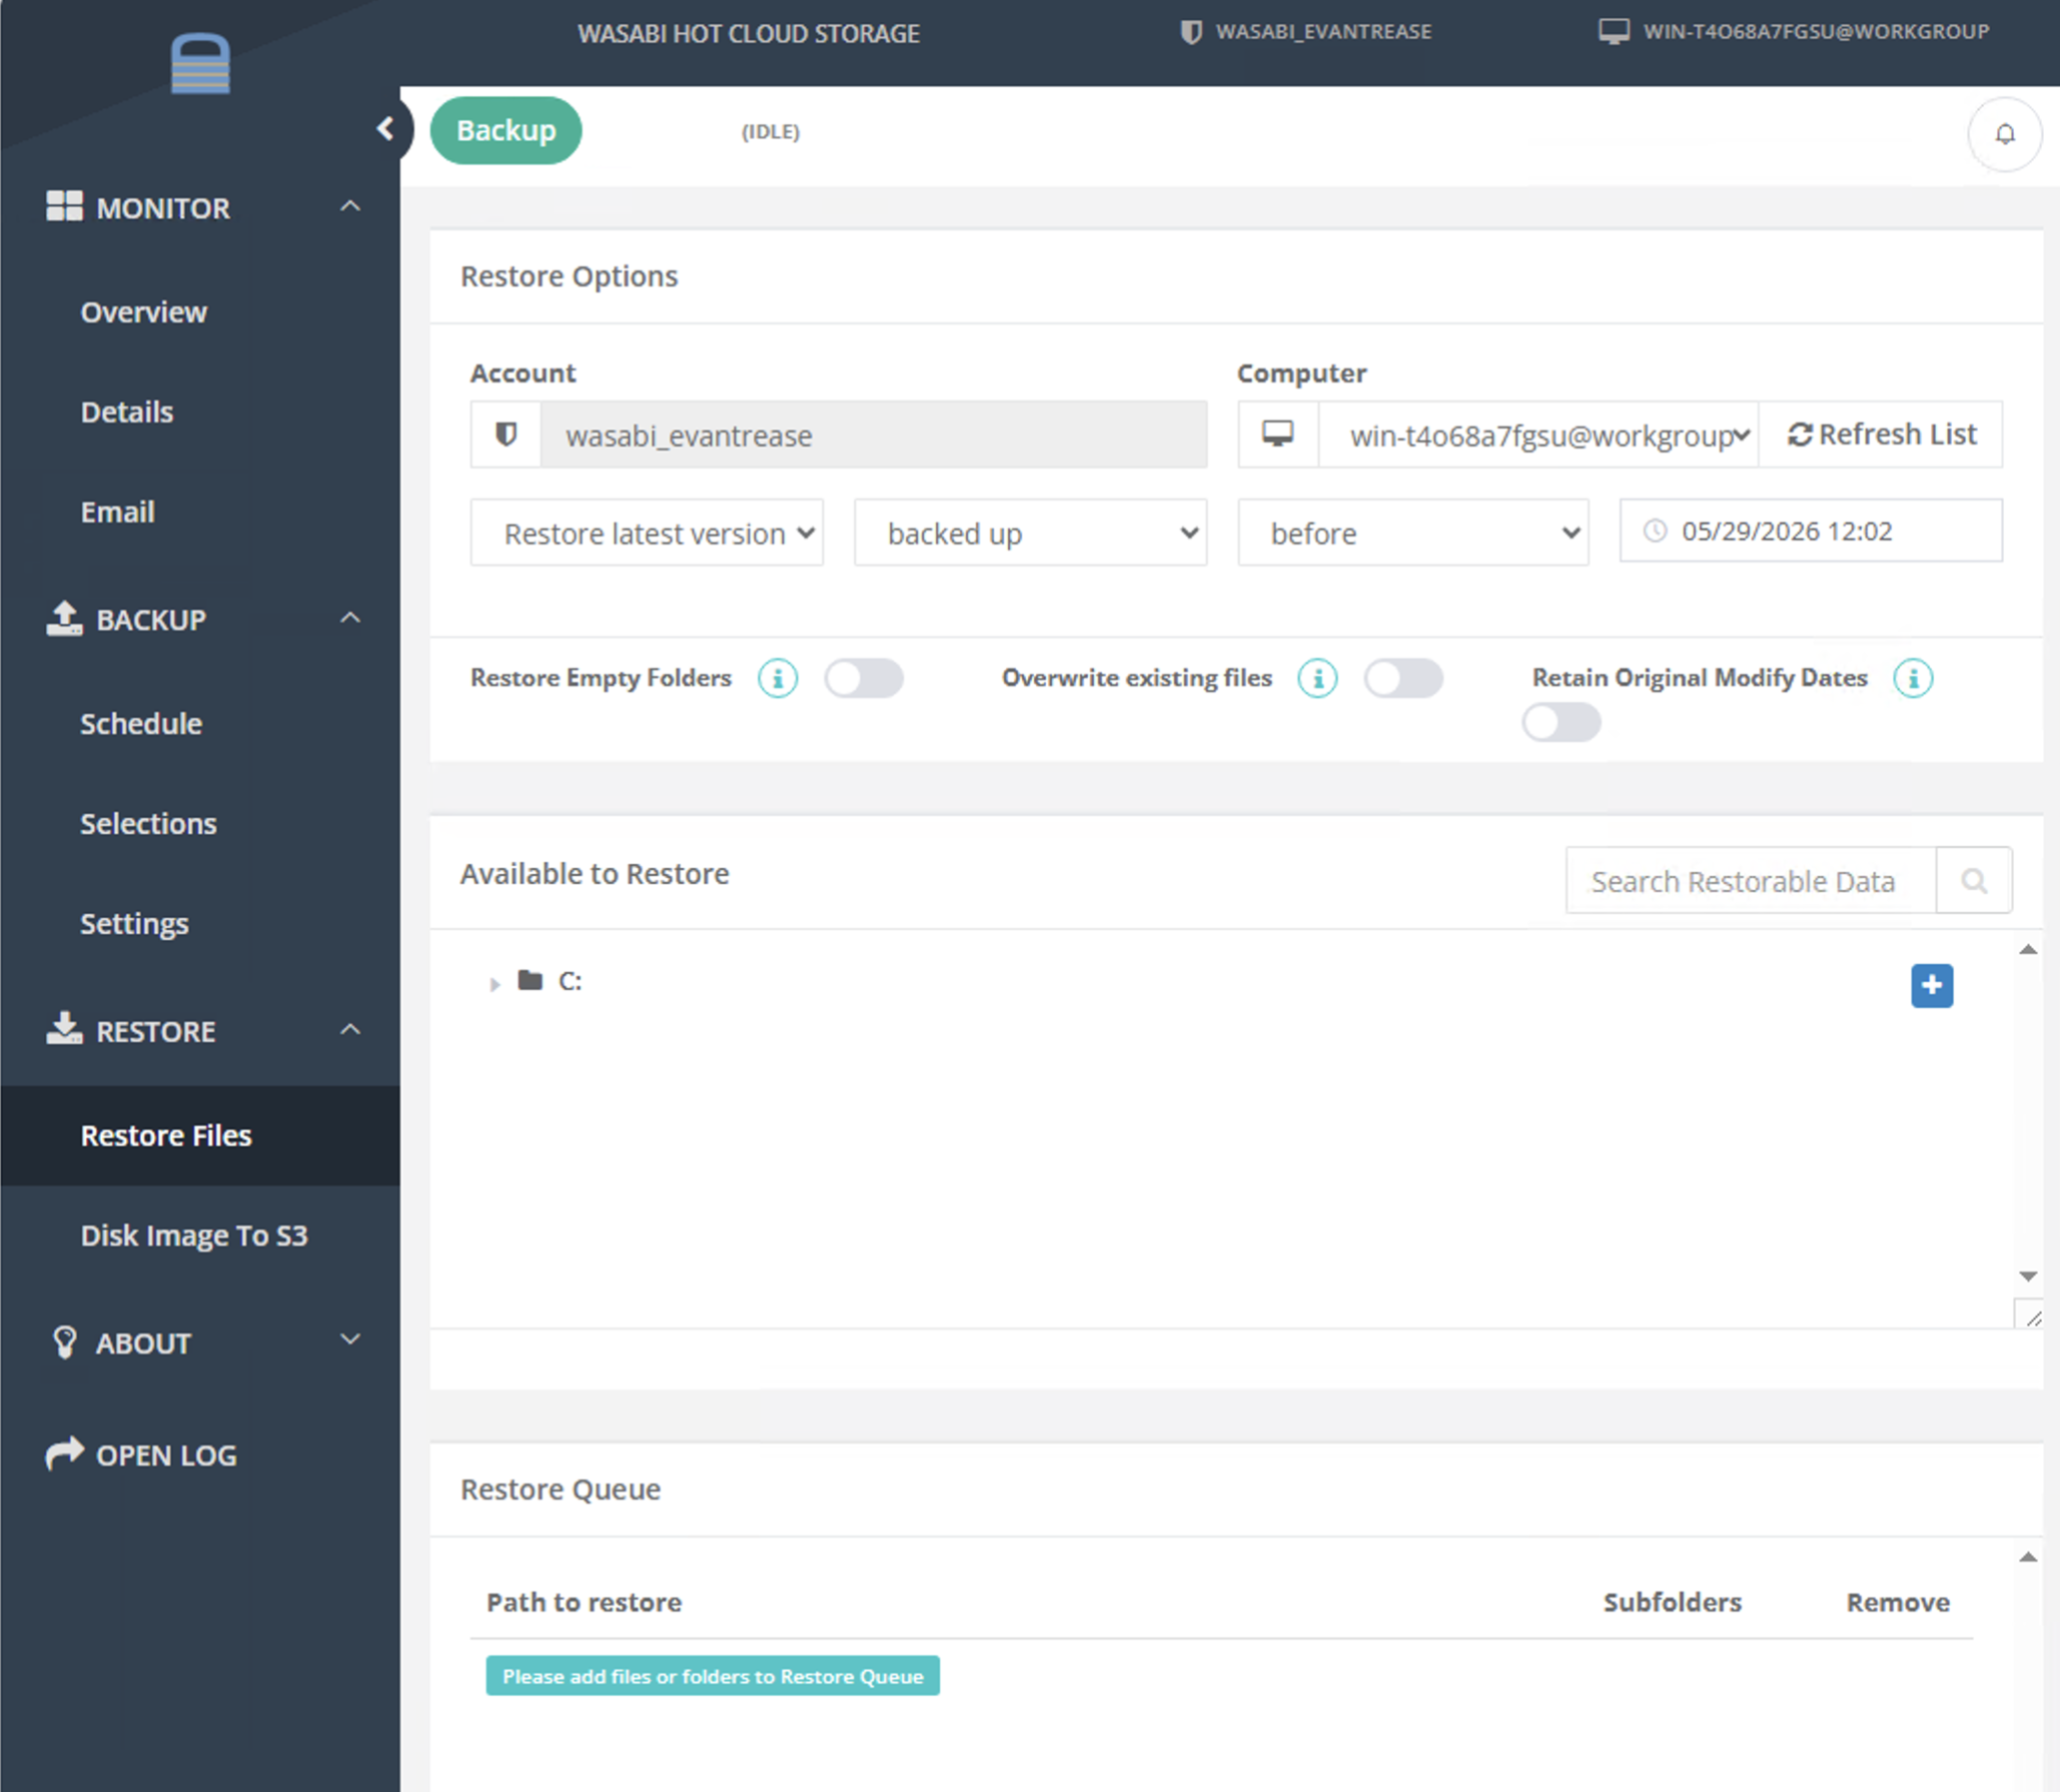
Navigate the directory tree in the main panel in order to select the files you wish to restore by clicking the blue + next to the relevant entry(s) to add them to the restore queue.
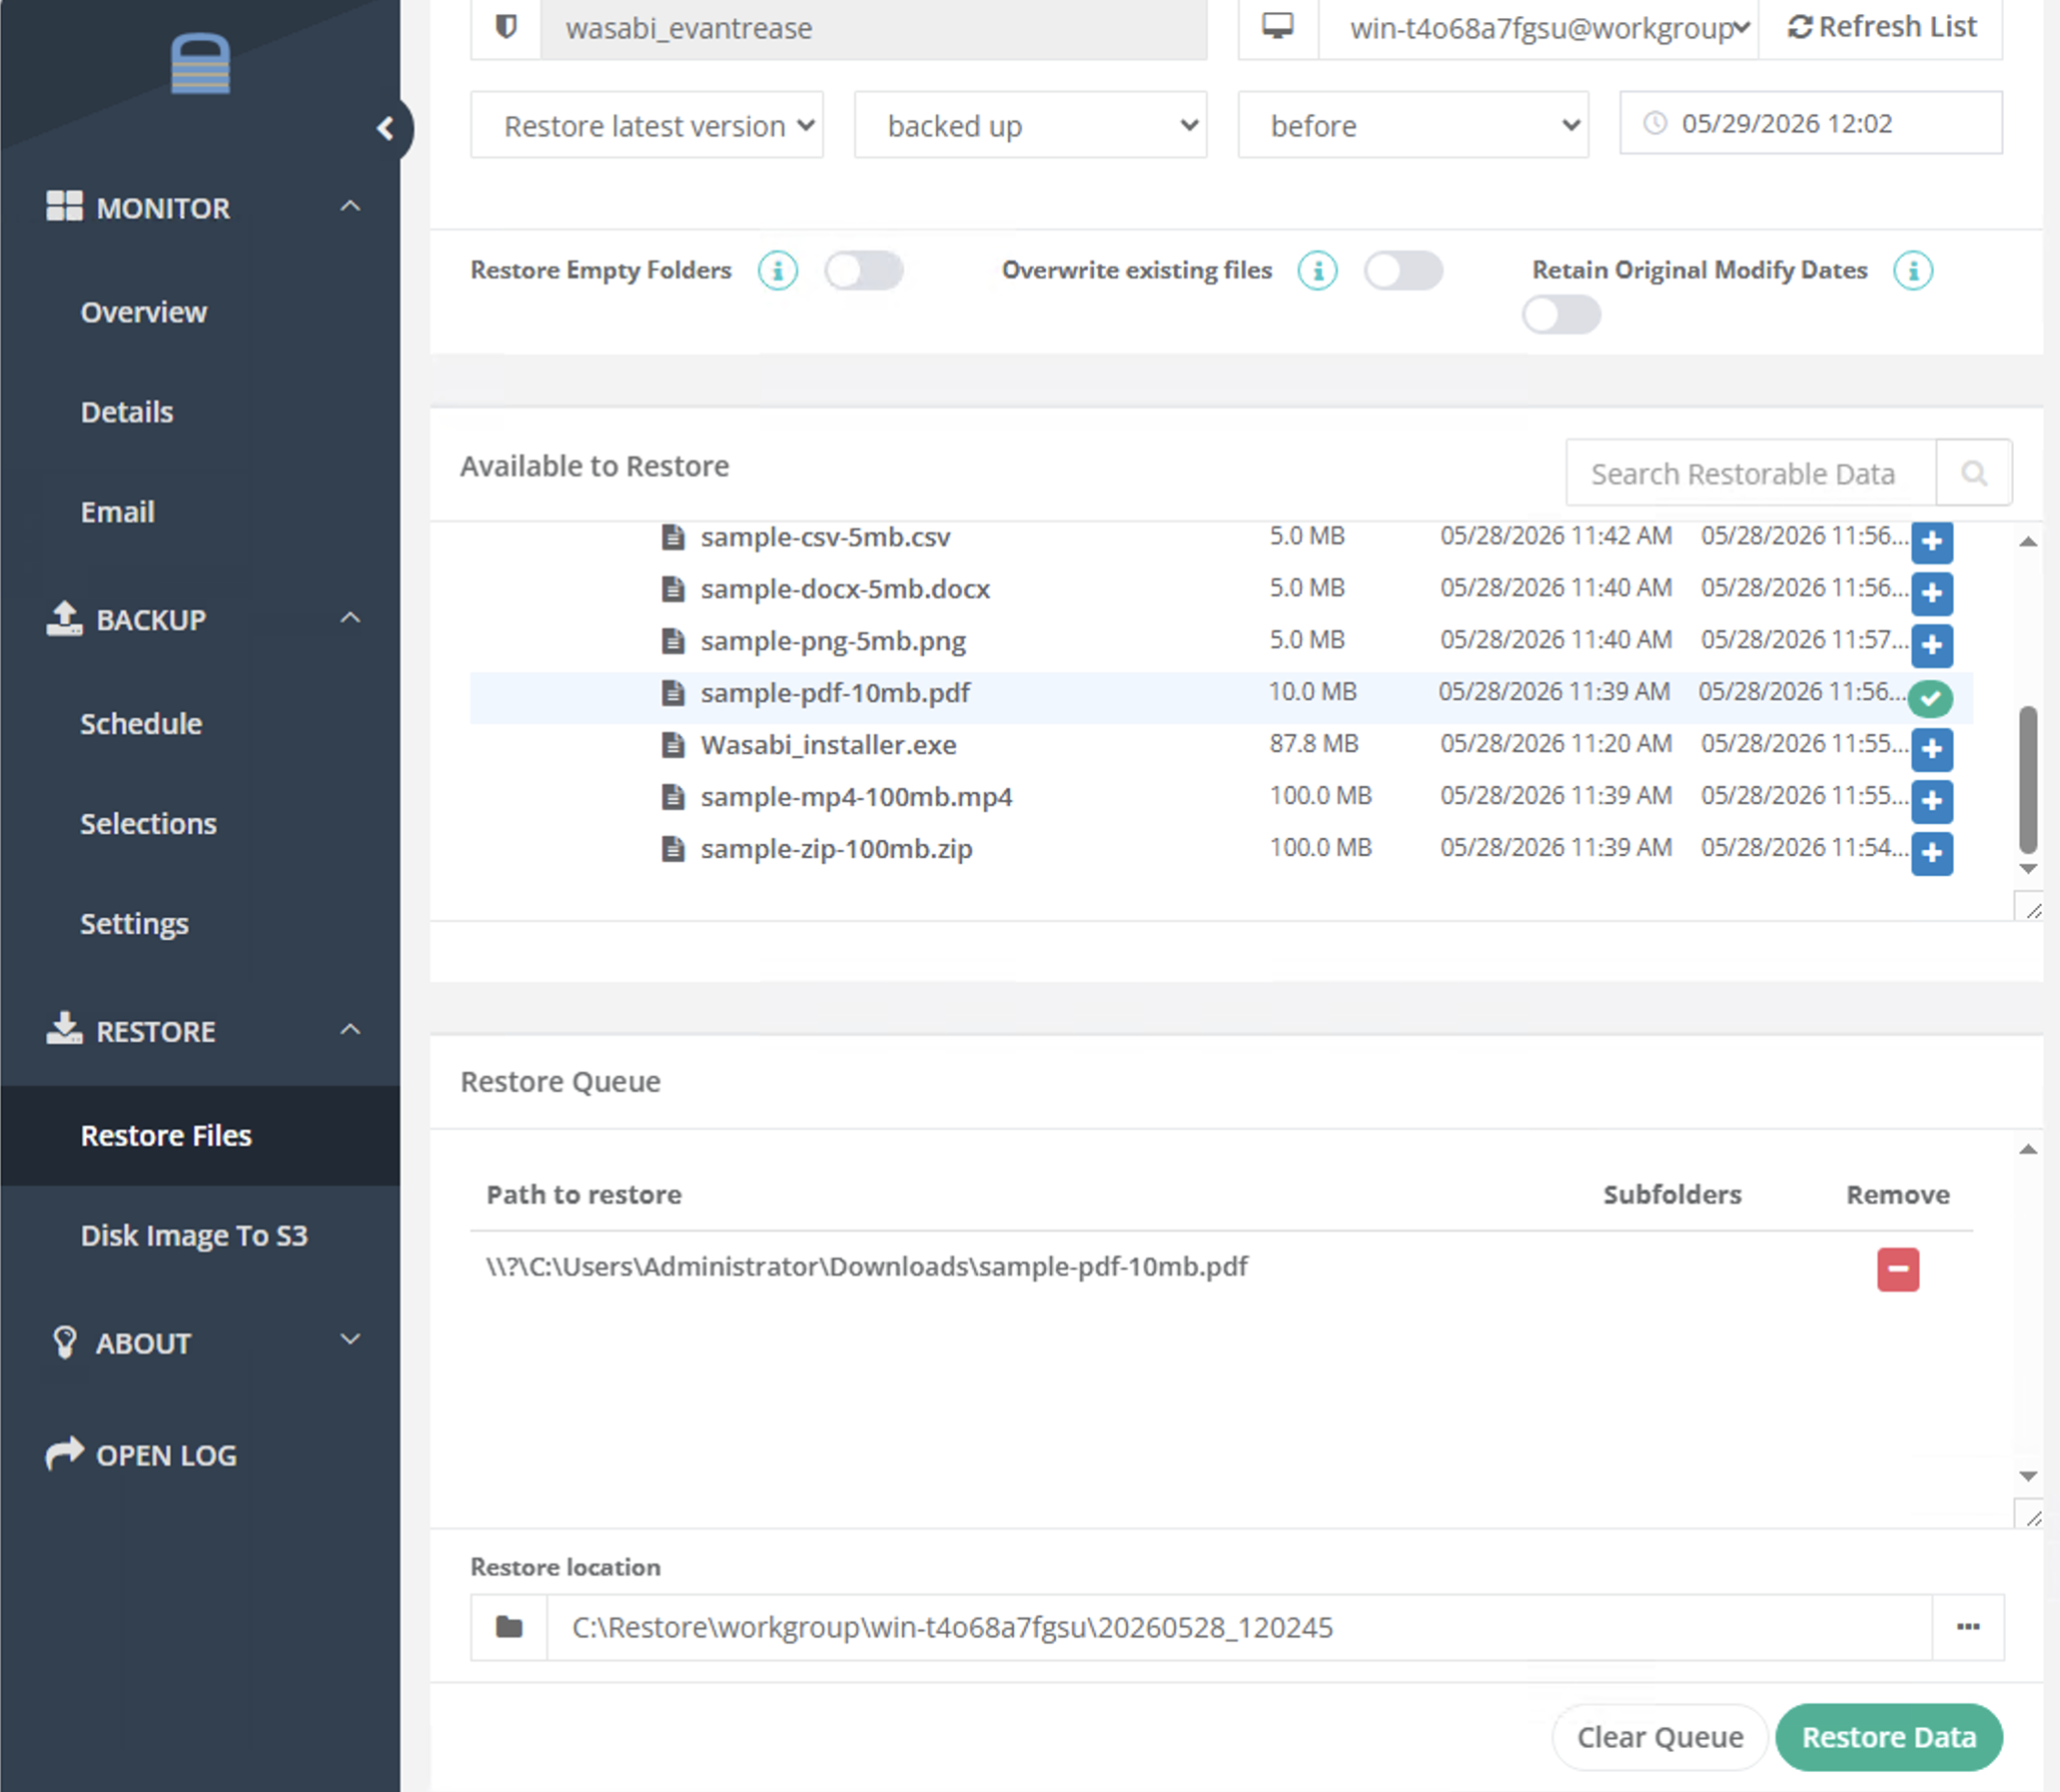
Click Restore Data. The restoration process will begin.
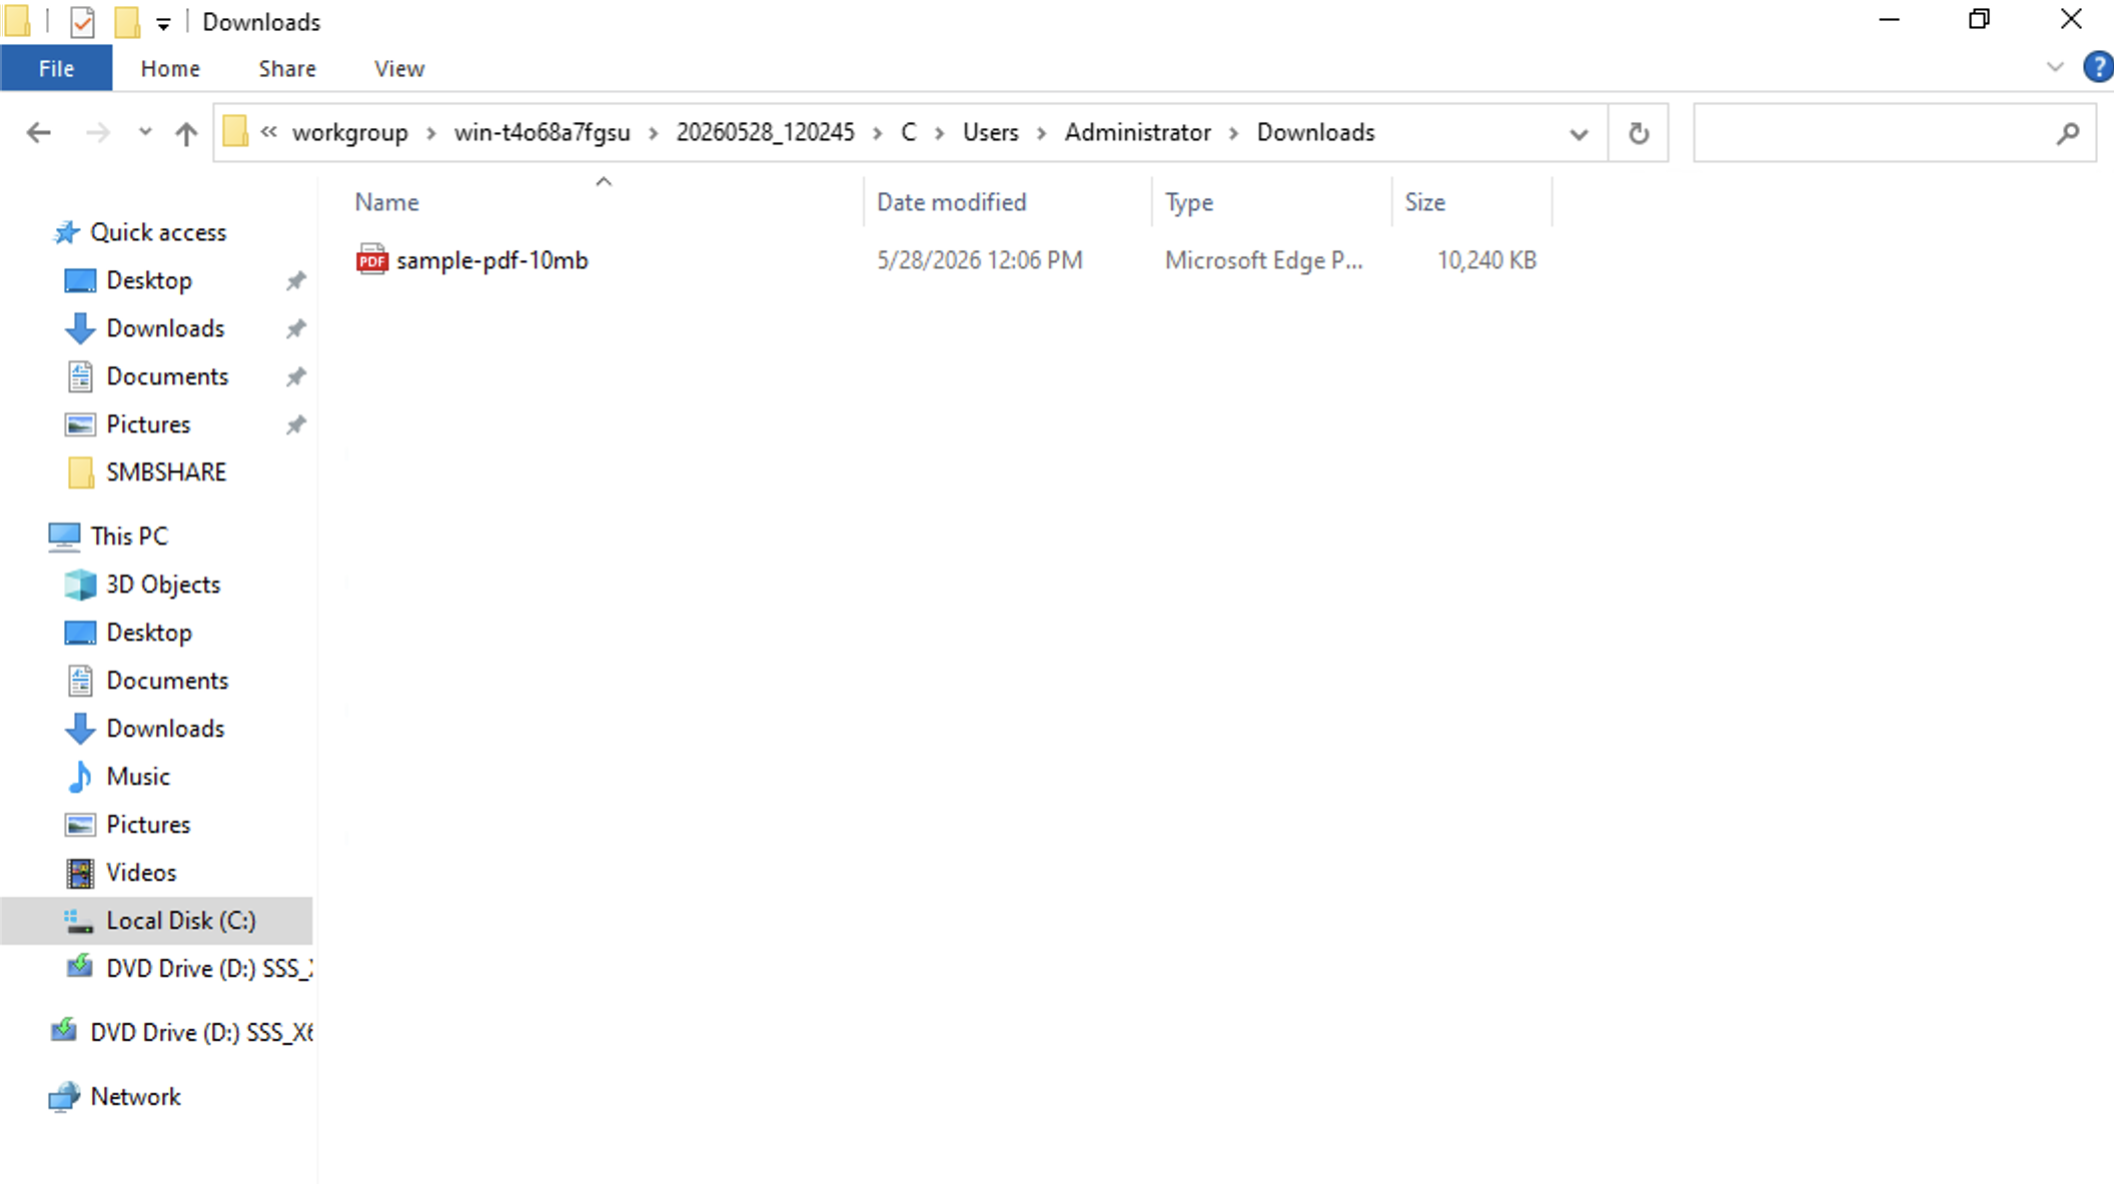
Once the restore completes, the application will switch to the Details page and your file will be restored to a path under the C:\Restore\ directory.
Alternatively, you can restore data from one computer to a different computer. To do so, refer to the WholesaleBackup guide Restoring Data from one Computer to a different Computer.