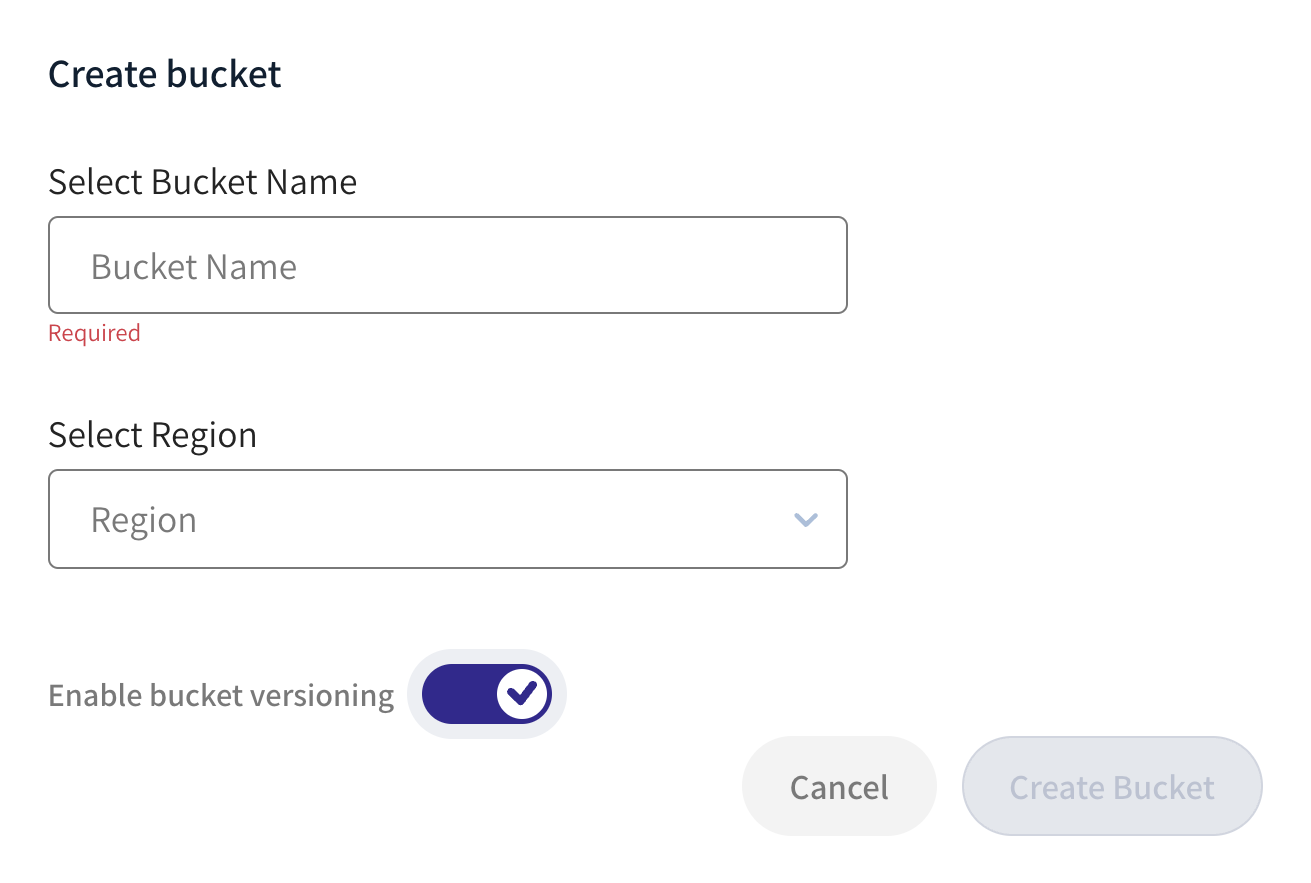
Creating a Bucket
On the Wasabi Buckets window, click
 . The Create Bucket window is displayed.
In the Select Bucket Name box, enter a unique DNS-compliant name for your new bucket. The name must be unique across all existing bucket names in Wasabi. The name must begin with a lowercase letter or number and consist of 3 to 63 lowercase letters, numbers, periods, and/or dashes. The name cannot contain underscores, end with a dash, have consecutive periods, or use dashes adjacent to periods. Additionally, the name cannot be formatted as an IP address (e.g., 123.45.678.90).
Select the region where you want to create this bucket in Wasabi Hot Cloud Storage.
Enable versioning, if required.
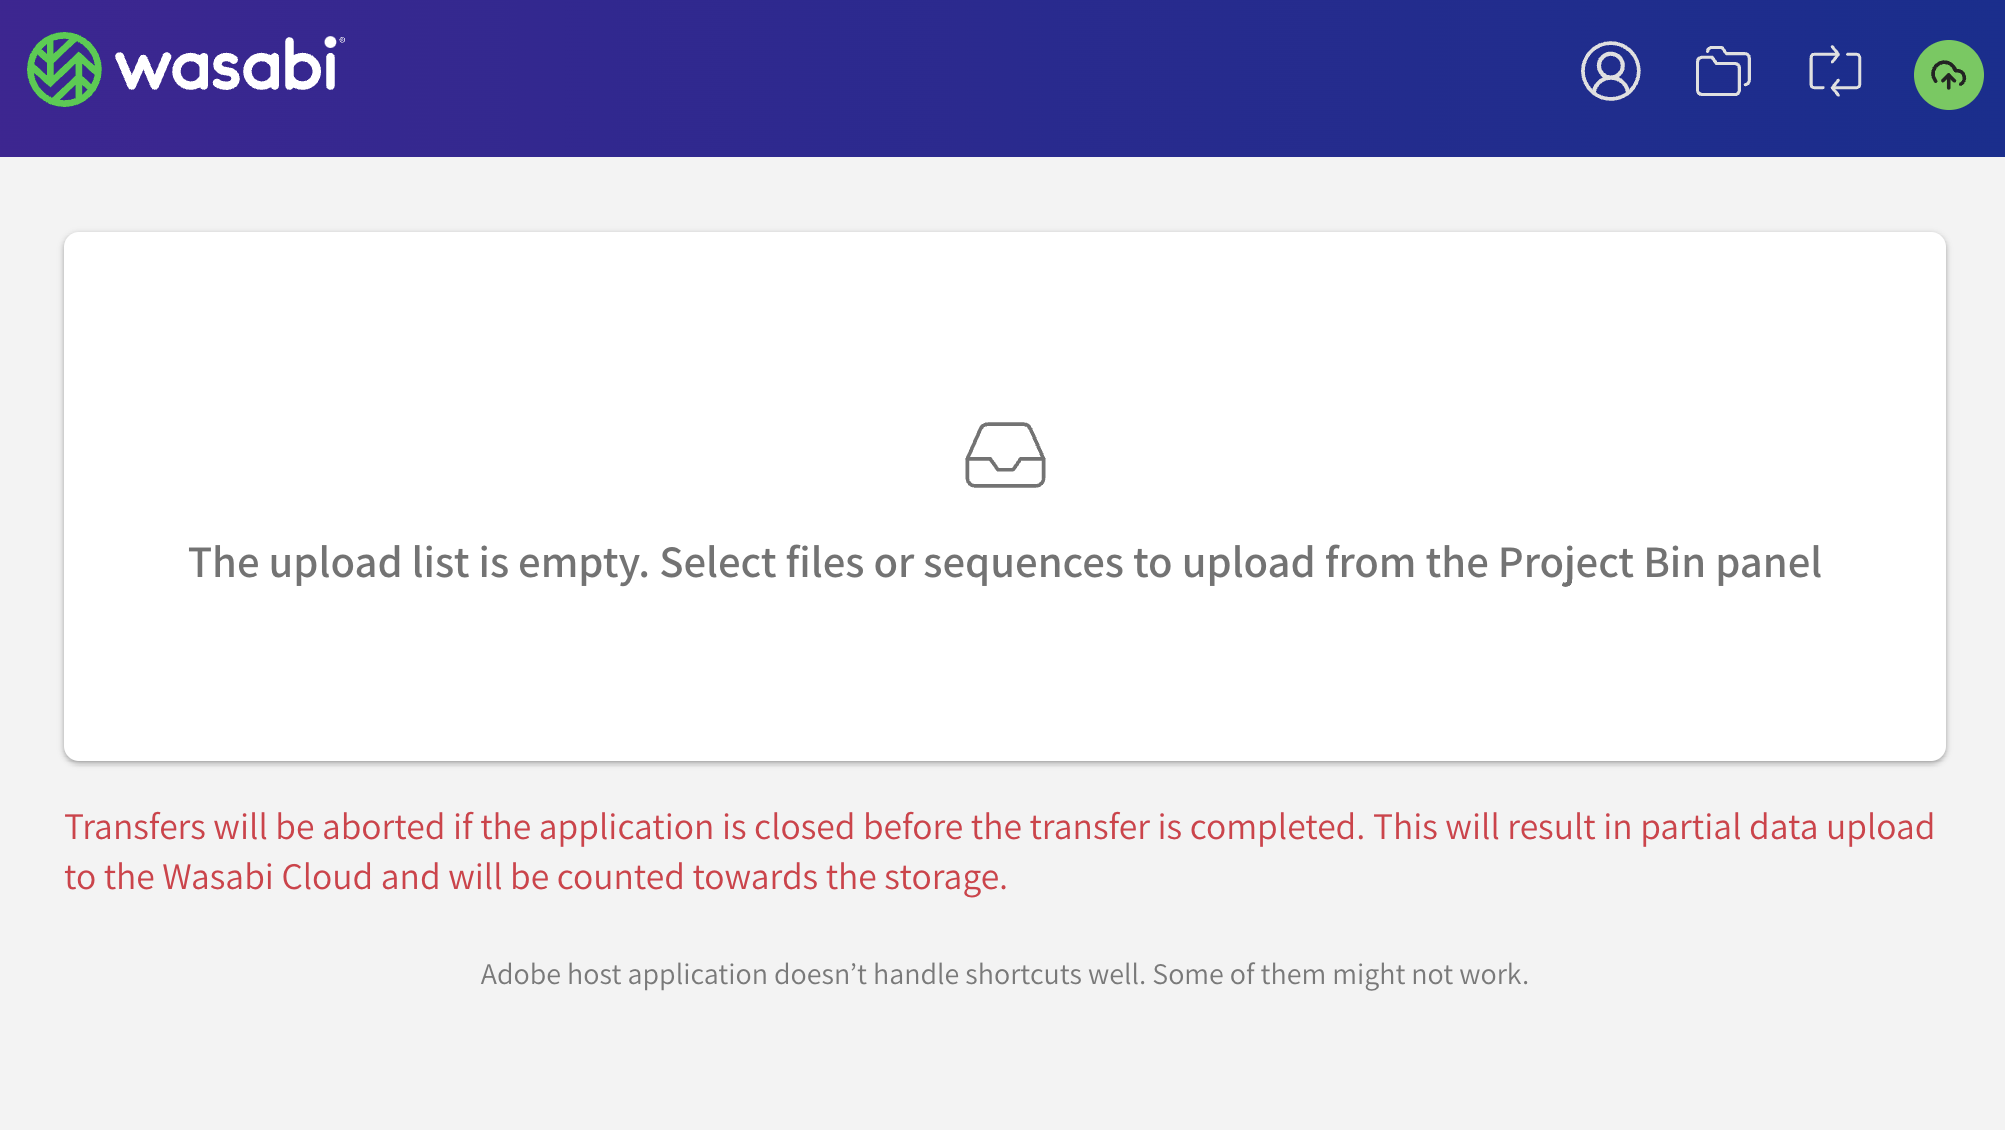
Uploading Objects (Files and Folders)
You can upload files or projects from Adobe applications.
On the Wasabi Buckets window, click
 . The Wasabi Upload List is displayed.
For Adobe After Effects, Illustrator, and Photoshop, you can upload files or sequences from the Adobe Project Bin panel.
For Adobe Premiere Pro, you can upload files/sequences and projects. By default, the window is ready for you to drag and drop files and sequences. To upload projects, click the UPLOAD PROJECT tab; then drag and drop the projects.
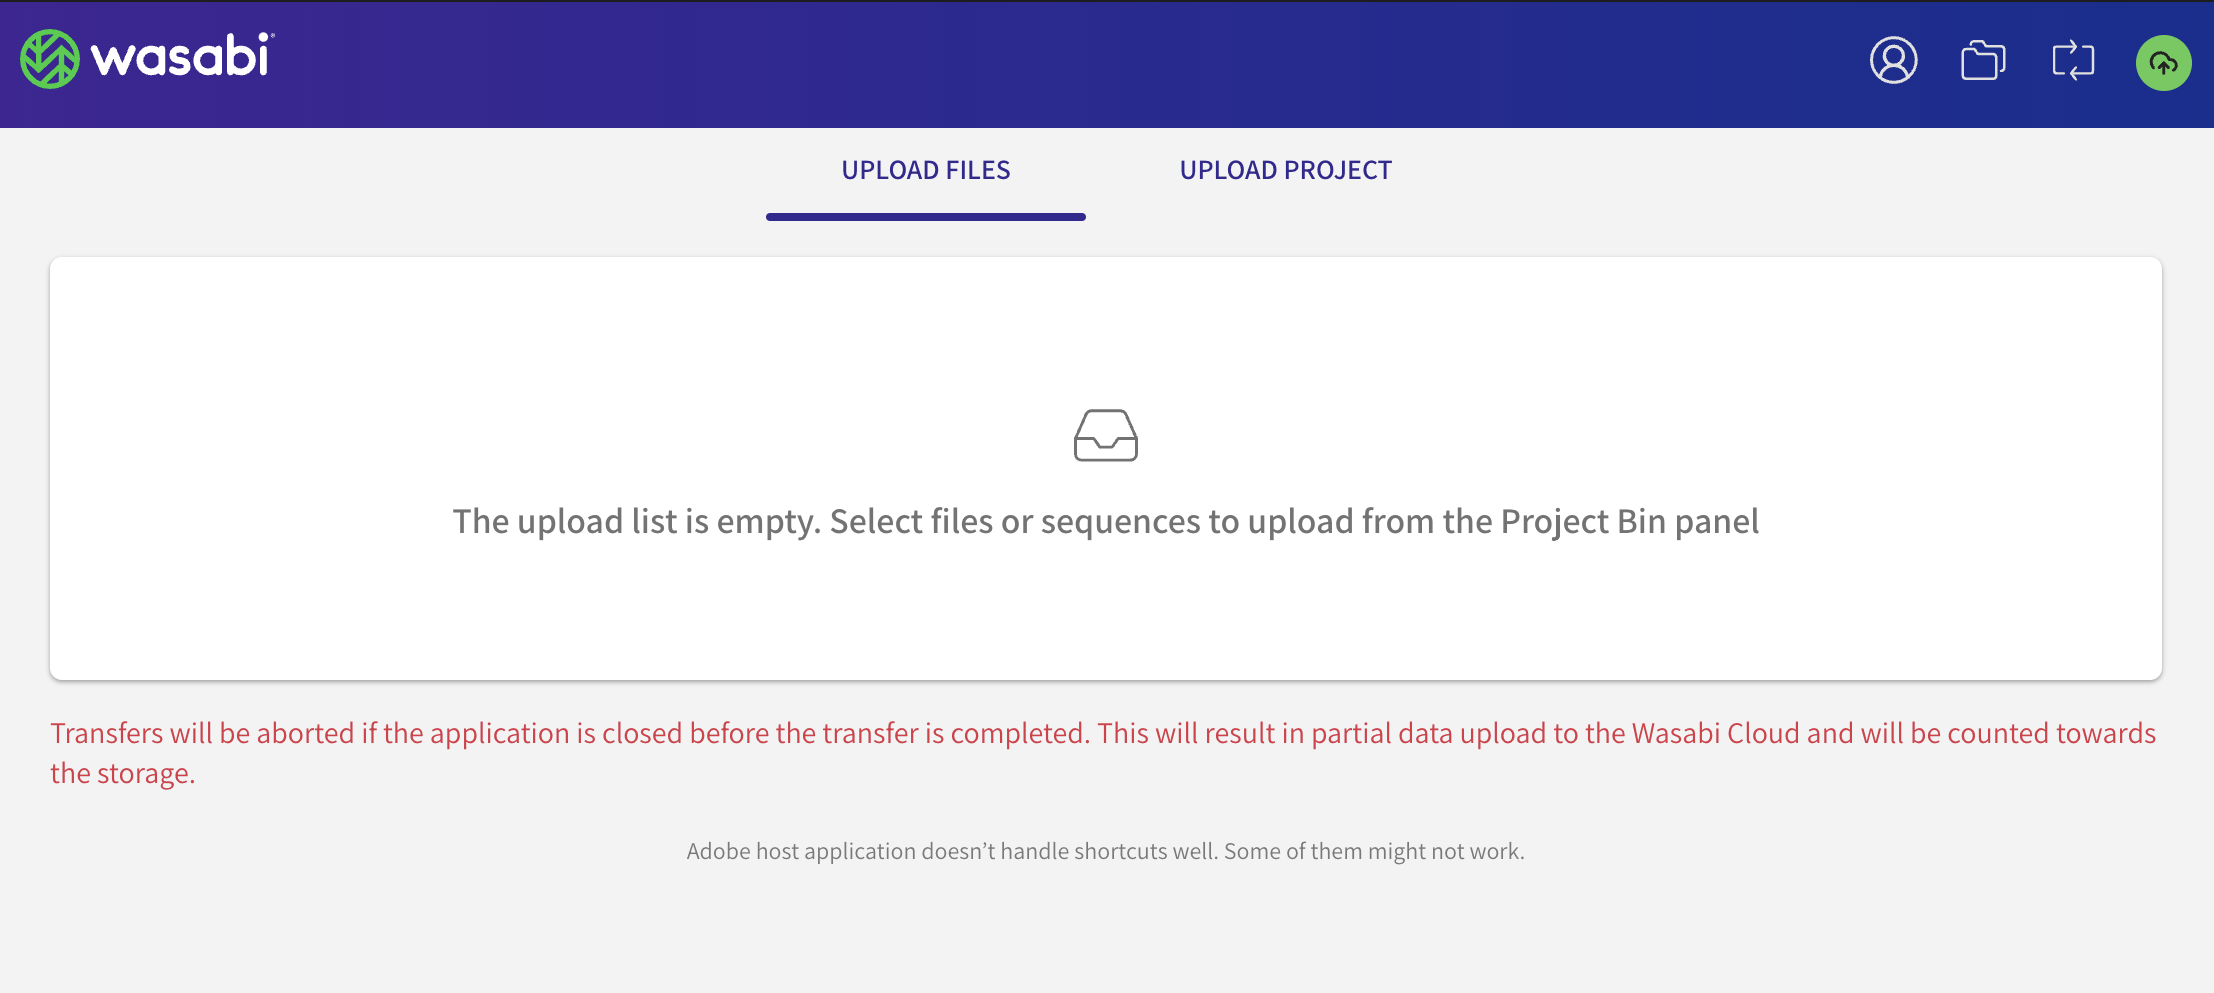
An empty upload list indicates there are no files or no unsaved changes at the source available for upload.
If the Wasabi Panel or an application is closed midway through the upload transaction, the files will be uploaded partially. This will count toward storage in Wasabi Hot Cloud Storage.
If you do not select the files from the project bin, you will be notified to go back and select files or sequences. All files or projects uploaded to Wasabi Hot Cloud Storage will have a green tick displayed in the In Cloud column to the left of the file or project name.
Reviewing Bucket Content and Details
You can list all the objects (folders and files) within a bucket.
On the Wasabi Buckets window, click
 . The Bucket Details window is displayed. For example:
You can click
 to search for a folder or file by providing all or part of the folder or file name.
Optionally, click Name A-Z (or Date Latest) to sort the bucket content list alphabetically or by date.
By default, 10 rows are displayed with an option to navigate to the previous and next windows.
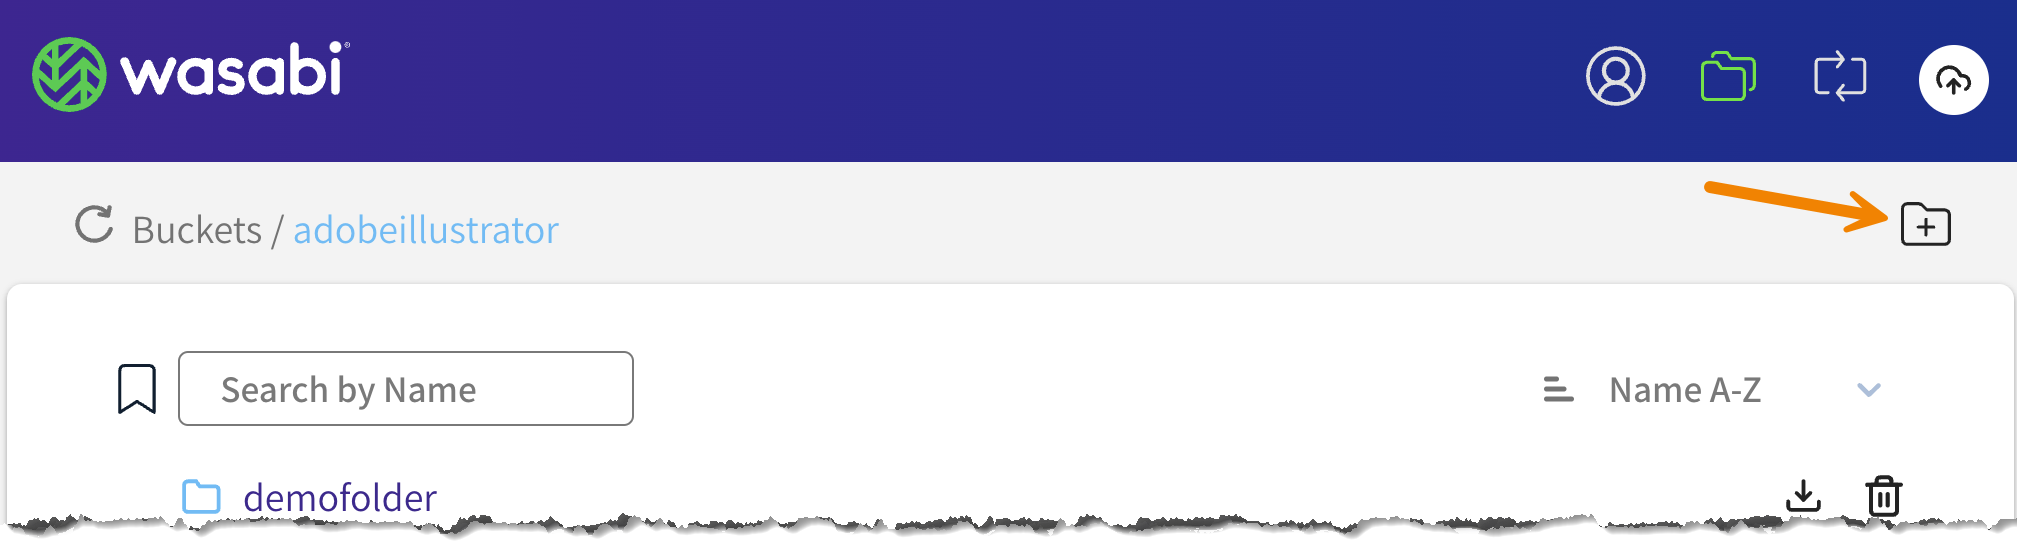
Creating a Folder in a Bucket
On the Bucket Details window, click
 .
.
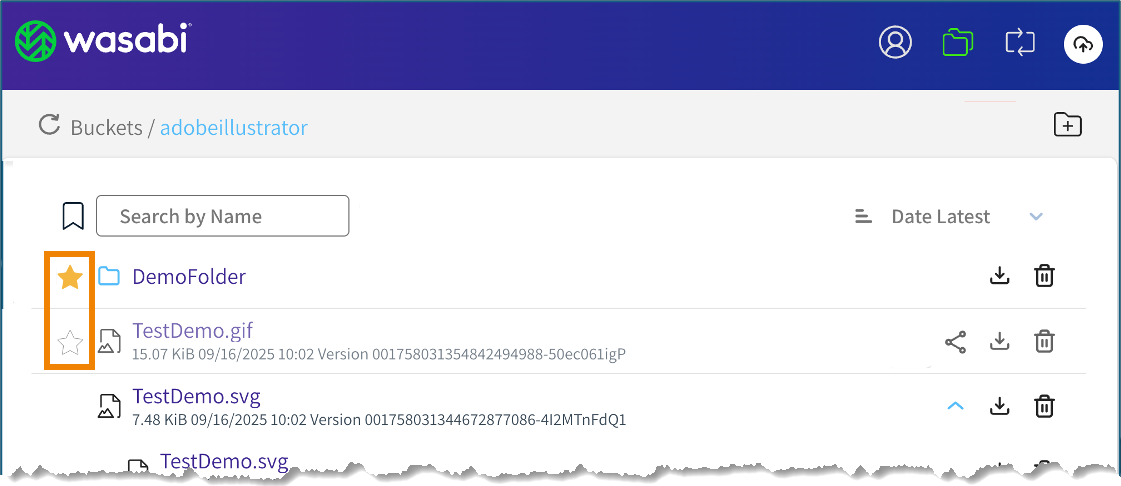
Tagging an Object as a Favorite
Click the star to the left of an object name. When selected as a favorite, the star will appear yellow.
Searching for Favorite Objects
Click  to the left of the search box. Then, search for the object name.
Securely Sharing an Object With a Pre-signed URL
Click  to the right of an object name.
Viewing Versions of an Object
Click  to the right of an object name.
Downloading an Object
Click  to the right of an object name.
Deleting an Object
Click  to the right of an object name.
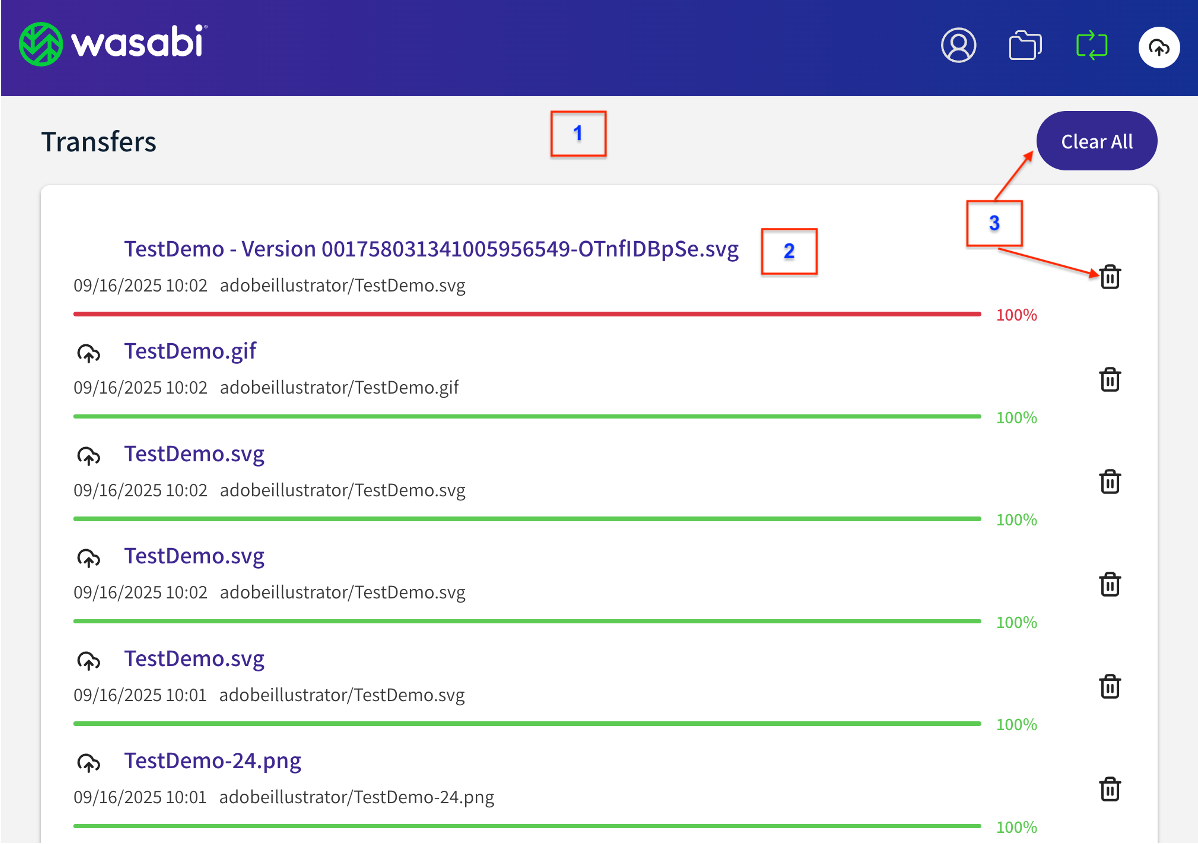
Listing Transfers
On the Wasabi Buckets window, click ![]() . The Transfers window is displayed. For example:
. The Transfers window is displayed. For example:
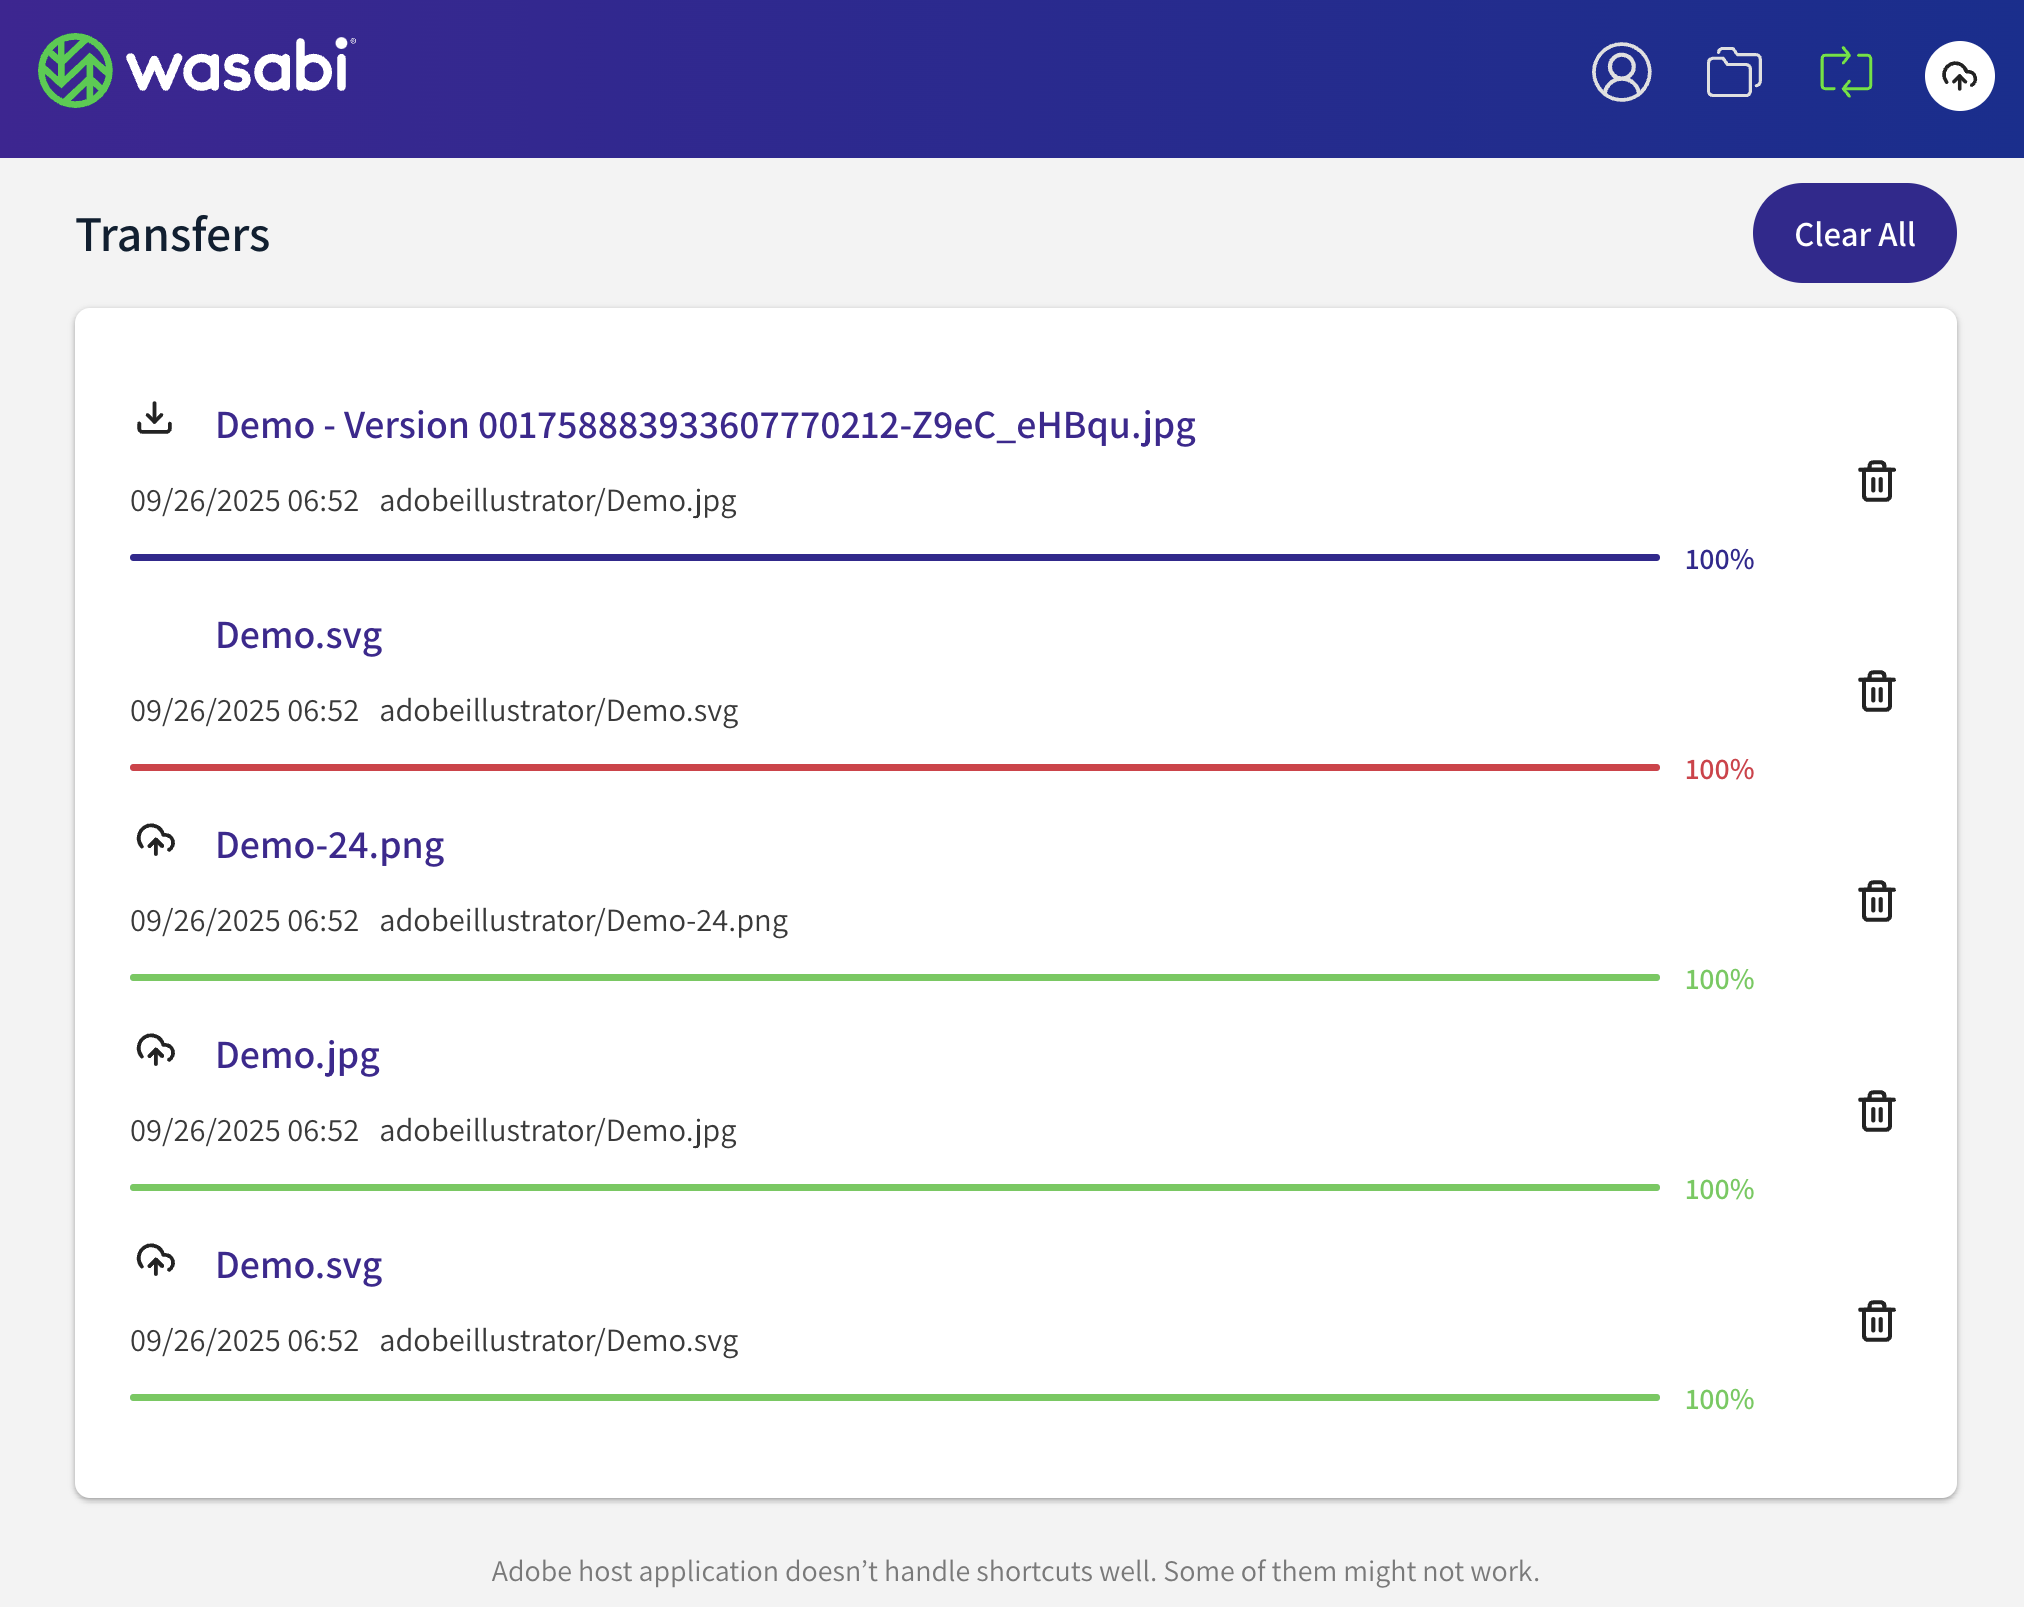
This window lists all the delete, download, and upload transactions.
If versioning is enabled on the bucket, a downloaded or deleted file will also include the file version ID.
Users have the option to clear individual transactions or all.