Setting Up MUA
With this feature, security contacts are responsible for ensuring the security of an organization's information systems and data. For example, if there is an attempt to delete a Root account and a security contact denies the deletion, the Root account user will receive an alert.
As a Root user, you can add up to three security contacts who will be required to sign off on account activities that you specify. There is no limit to the number of activities that these contacts can oversee.
Multi-Factor Authentication (MFA) must be enabled before you can add a security contact.
The Security Contacts feature is available for a Root user only.
Adding a Security Contact
Click Security on the Wasabi menu. Select MUA.
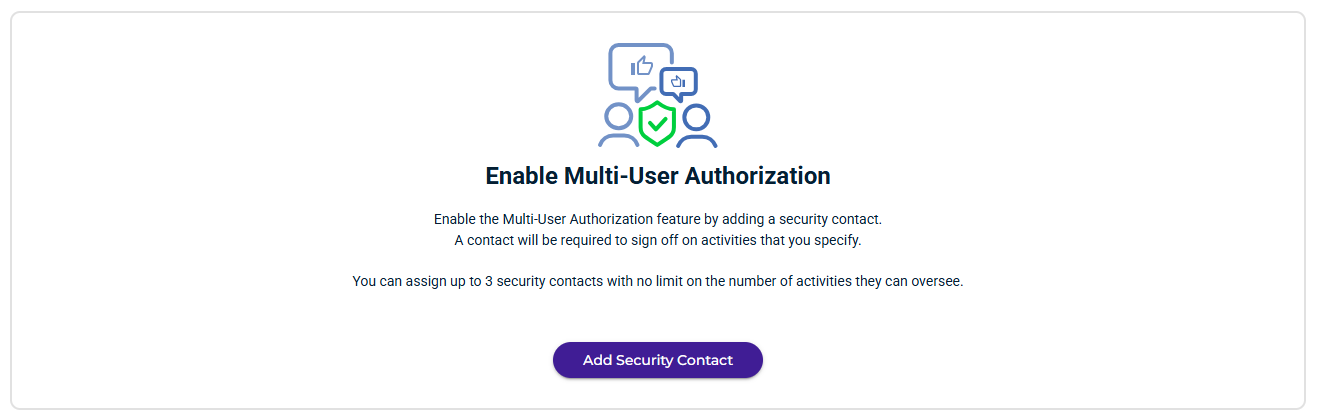
Click Add Security Contact.
If MFA is not enabled, a message will remind you to do so. Refer to Multi-Factor Authentication (MFA) Device.
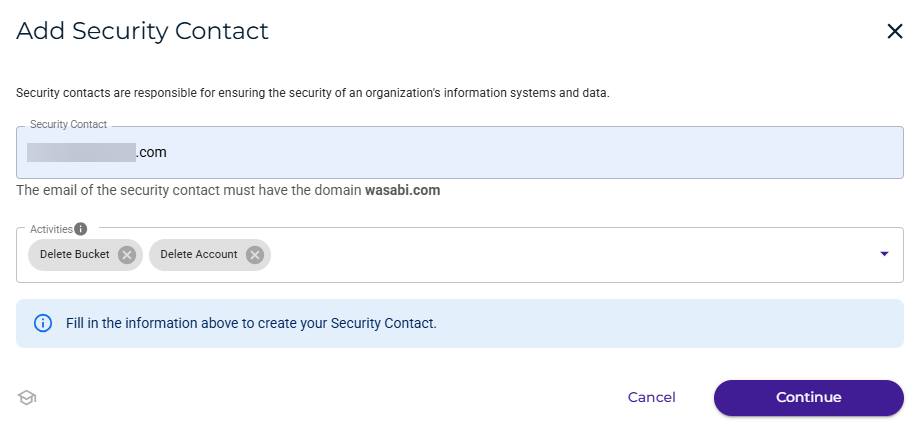
Enter the email of the security contact. Note that the domain must match your Root account domain.
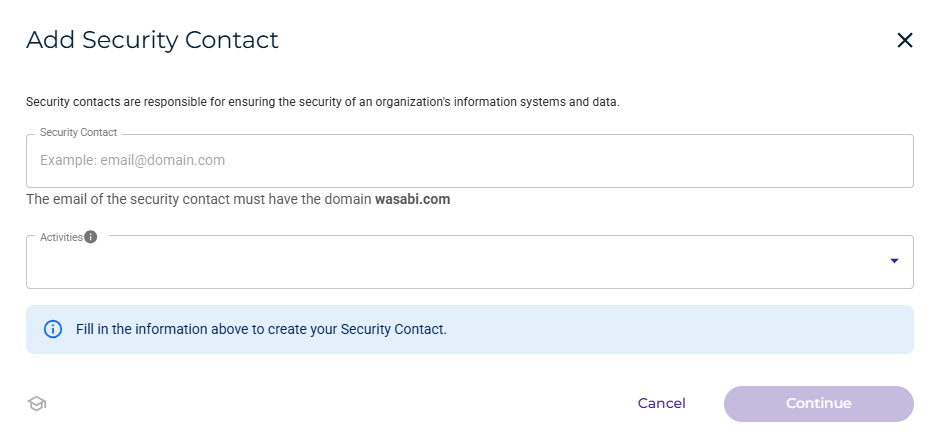
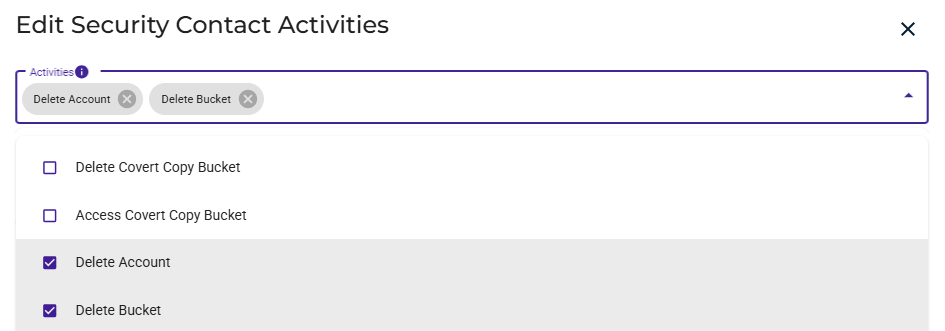
Click in the Activities area to open the drop-down.
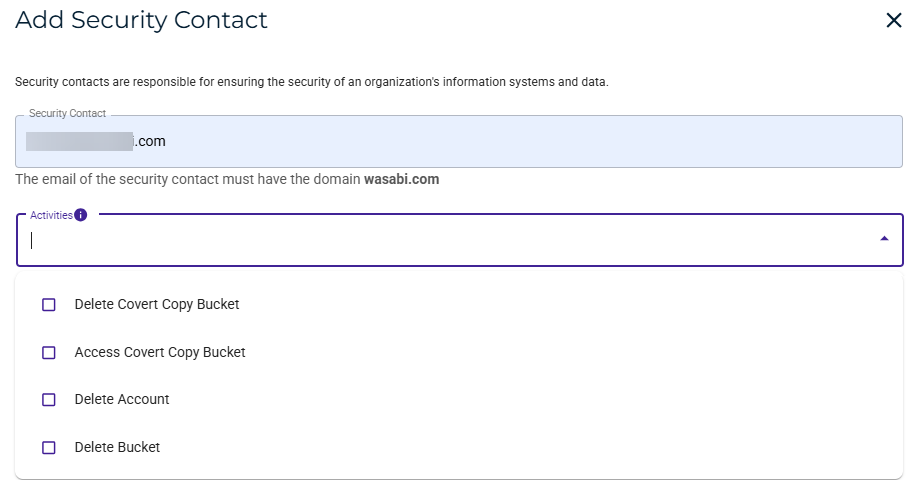
Select the activity(ies) for this contact:
Delete Covert Copy Bucket—The security contact will be required to approve a request to delete a bucket that has the Covert Copy feature enabled.
Access Covert Copy Bucket—The security contact will be required to approve a request to access a bucket that has the Covert Copy feature enabled.
Delete Account—The security contact will be required to approve a request to delete the account.
Delete Bucket—The security contact will be required to approve a request to delete the bucket.
For more details about what happens when a user requests an account or bucket deletion, refer to MUA Security Activities.
In this example, two activities are selected (Delete Bucket and Delete Account). After selecting the activity(ies), click Continue.
Enter an authorization code from your MFA device.
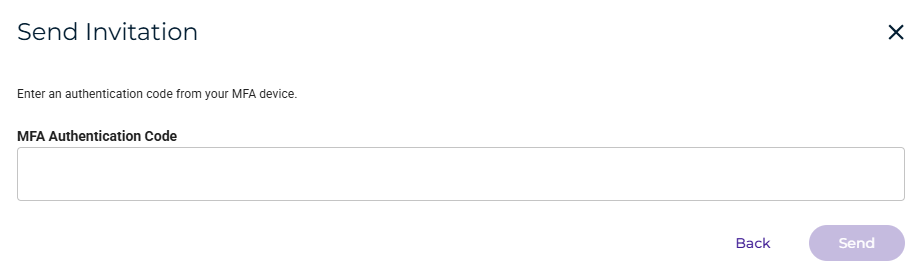
Click Send. The contact is displayed with the activity you defined. For example:
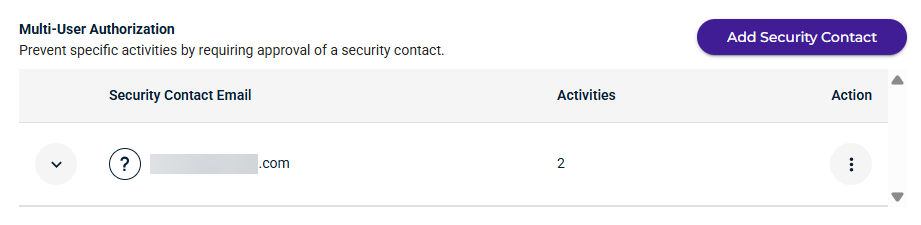
You can click
 to the left of the contact email to see the activities that are assigned to the contact. For example:
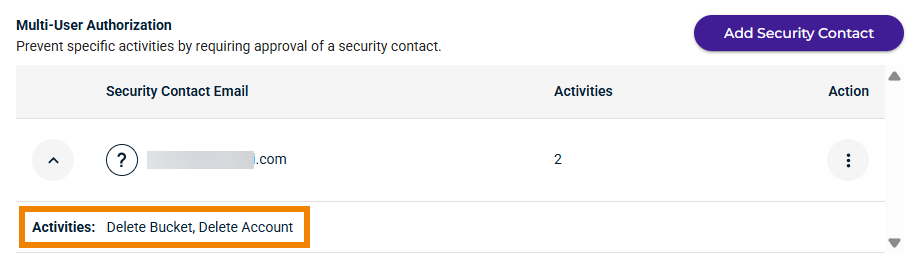
After you click Send, Wasabi Support will email an invitation to the contact, and the person can accept or decline your request. An example of this email is:
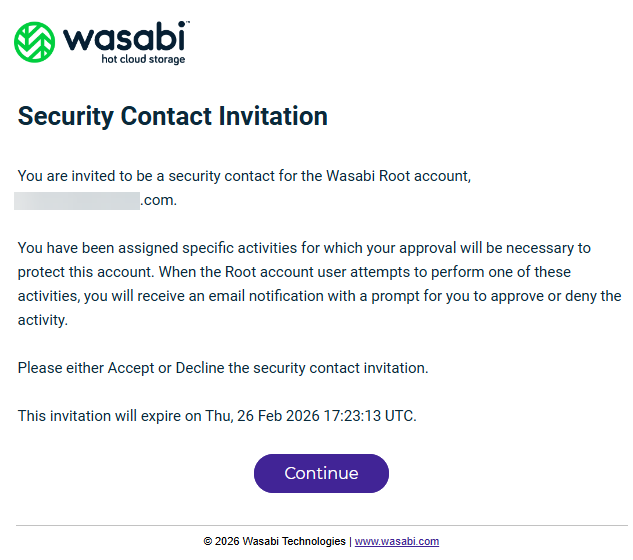
The invitation email sent to a contact is valid for 24 hours.
After the recipient clicks Continue, an invitation is displayed:
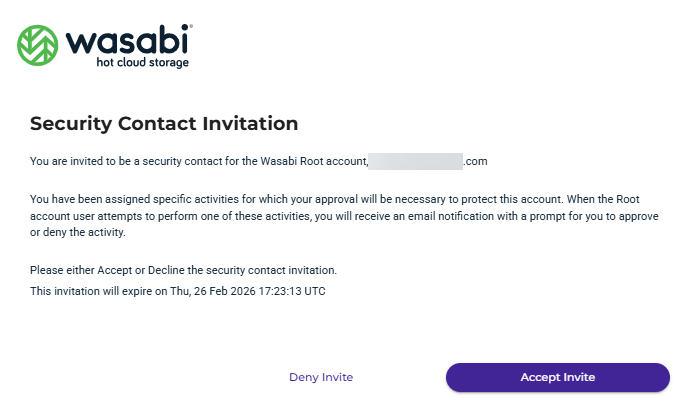
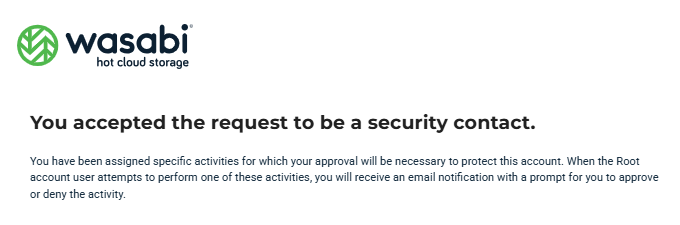
The recipient needs to click Accept Invite to become a security contact. After doing so, this message is displayed for the security contact:
You can repeat this procedure, starting with Step 2, if you want to add up to three security contacts.
Resending an Invitation
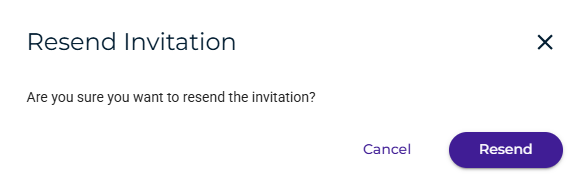
You may want to resend the invitation to a potential security contact if the person has not responded.
Click
 to open the Action menu to the right of the contact information.
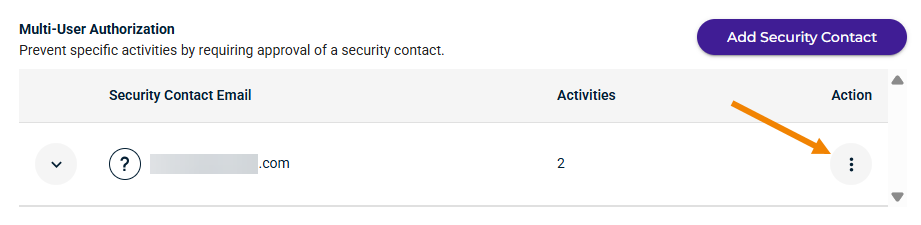
Select Resend.
When asked to confirm, click Resend.
Canceling an Invitation
You can cancel an invitation before the potential security contact responds (accepts or declines).
Click
to open the Action menu to the right of the contact information.Select Cancel.
When asked to confirm, enter an authorization code from your MFA device.
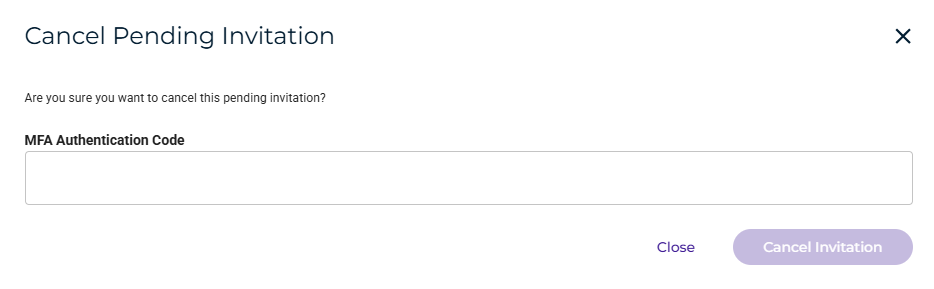
Click Cancel Invitation.
Changing the Activities for a Security Contact
You can remove a person as a security contact after the person has accepted the invitation.
Click
to open the Action menu to the right of the contact information.Select Edit Activities. The Edit Security Contact Activities screen is displayed. For example:
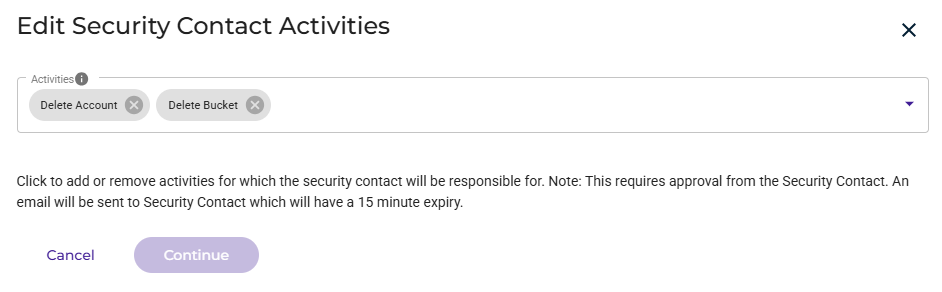
Click in the Activities area to add or remove an activity. At least one activity is required.
Click Continue.
Removing a Security Contact
You can remove a person as a security contact after the person has accepted the invitation.
Click
to open the Action menu to the right of the contact information.Select Remove.
When asked to confirm, enter an authorization code from your MFA device.
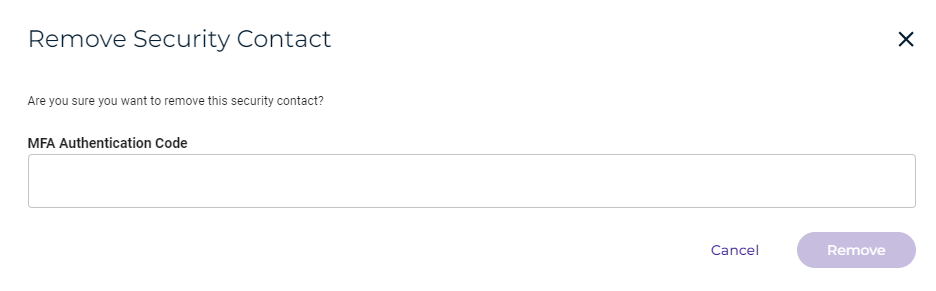
Click Remove.
Removal is subject to approval from the security contact, who will receive an email requesting confirmation of the removal. The security contact is required to accept the request before removal takes place.
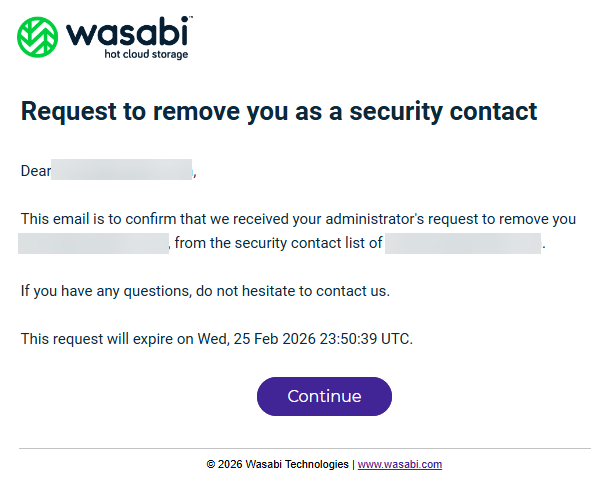
After the recipient clicks Continue, an confirmation request is displayed:
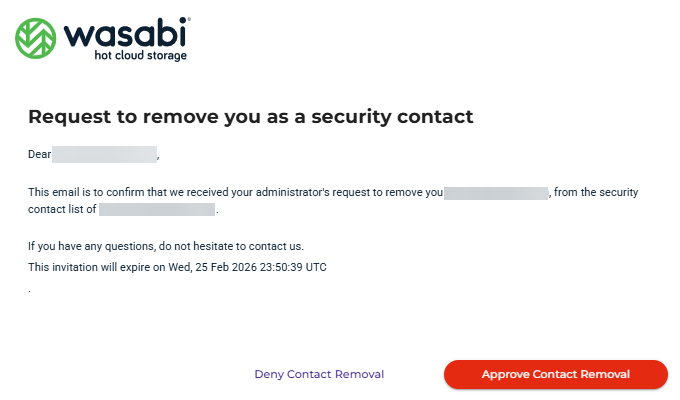
The recipient needs to click Accept Contact Removal to confirm. Then, the recipient will receive this message: