You can permanently enable access to the Compliance Bucket Logging confirmation option, which creates comprehensive text logs in a format that meets compliance needs.
Setting Up Compliance Logging
Click Security on the Wasabi menu.
Select Compliance Logging.
Click the toggle to enable compliance logging. When you do so, an option will appear with the Bucket Logging feature (as described below) for users across the account.
A message asks if you are sure you want to permanently enable this option. Once Compliance Bucket Logging is enabled, it cannot be disabled. Type "permanently enable" in the response box if you are sure you want to enable.
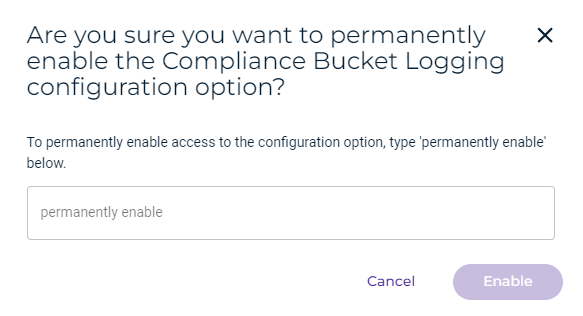
Click Enable.
Setting Compliance Logging for a Bucket
When compliance bucket logging is enabled, you can set it for a bucket. In the Logging option for bucket Settings, you will see an option to create a comprehensive text log in a format designed to meet compliance needs.
Log files generated in a target bucket will automatically have a default retention period of one year from the time they are generated, regardless of the target bucket’s configured retention period.
On the Buckets list, click
 for the desired bucket.
Select Settings.
On the Properties panel, open the Logging drop-down (if it is not already open).
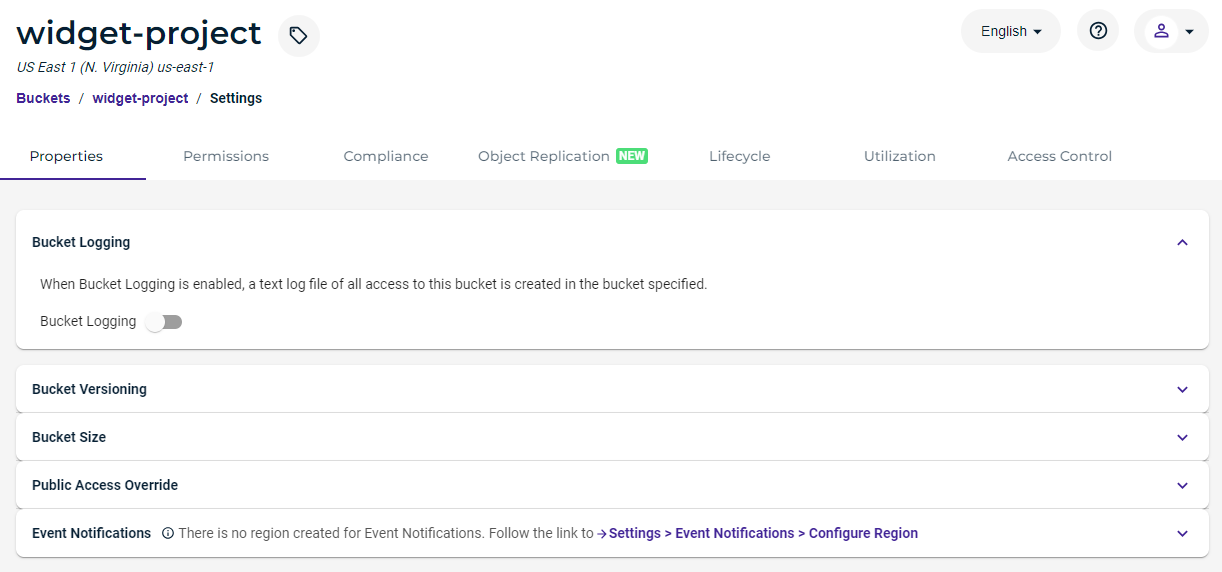
Slide to enable the Enable Bucket Logging option:
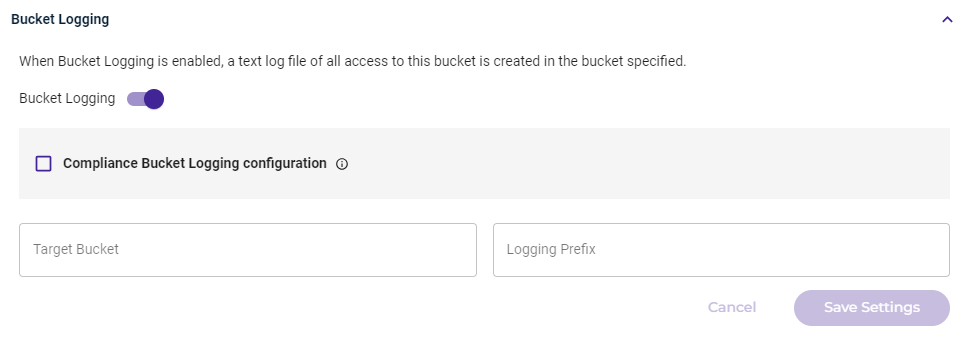
Click to enable Compliance Bucket Logging.
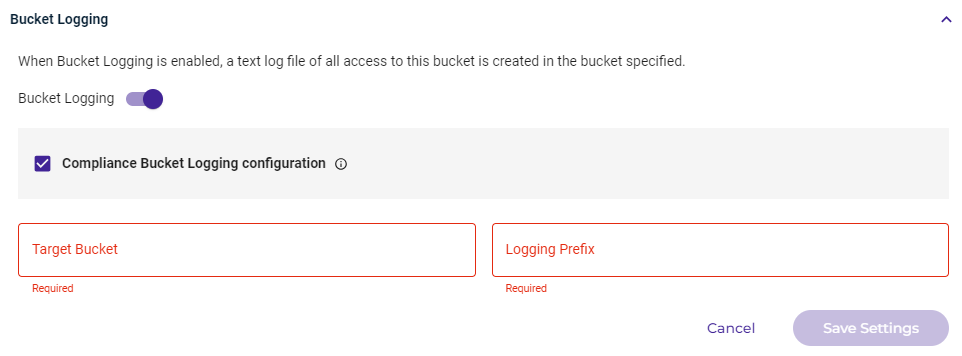
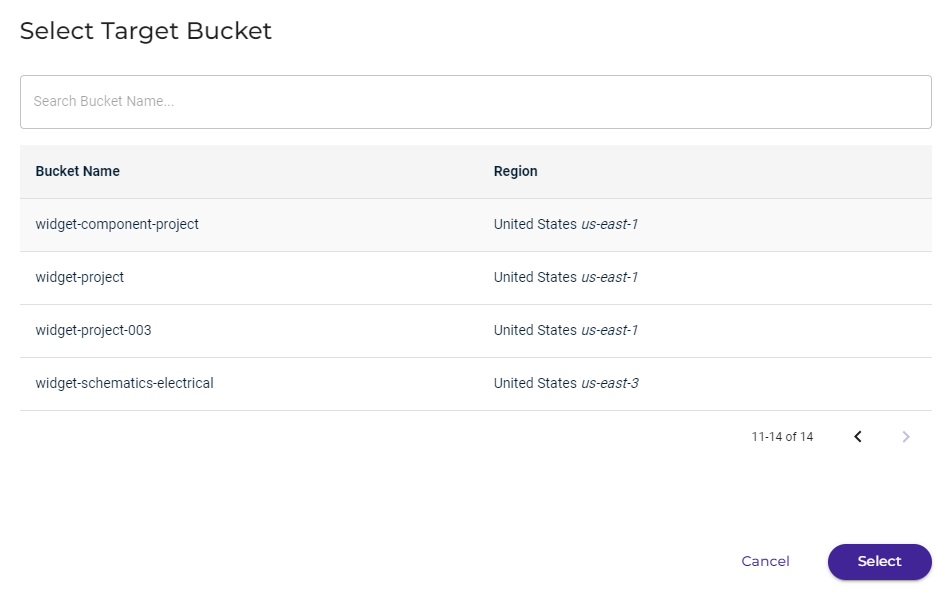
Click in the Target Bucket area and select the bucket in which to store log files. Only buckets that have Object Lock enabled and Compliance Mode configured (in Bucket Settings) are available as target buckets. After you select a target bucket, click Select.
Enter a Logging Prefix to include in the log file name. Each log file will start with the characters you enter.
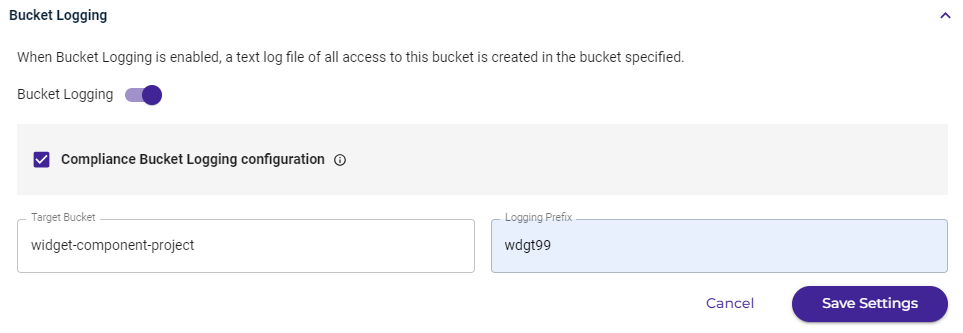
Click Save Settings to confirm your settings.