Wasabi App for Acronis is built using the Wasabi Account Control Manager Connect API. It enables the management of multiple Wasabi storage accounts using built-in API methods.
To use the Wasabi App, you must have a paid Wasabi Storage account that has Wasabi Account Control Manager (WACM) enabled. There is no additional cost associated with WACM activation.
- If you do not have a Wasabi storage account, click here to sign up for a Wasabi trial account or procure one from a Wasabi channel partner. After signing up for your Wasabi account, you can request WACM to be enabled on your account (if it is not already).
- If you already have a Wasabi storage account, contact your Wasabi representative to activate WACM access.
Follow the instructions below to enable the Wasabi App.
Prerequisites
- An active Acronis Cyber Protect Cloud account with a tenant type of partner.
- An established Wasabi account that is tied to a payment method.
- Wasabi Account Control Manager (WACM) account
Generating API credentials from WACM
Follow the instructions in this link to self-activate your WACM account. Once you have access to WACM, follow the steps below to generate the credentials required to activate the Wasabi App.
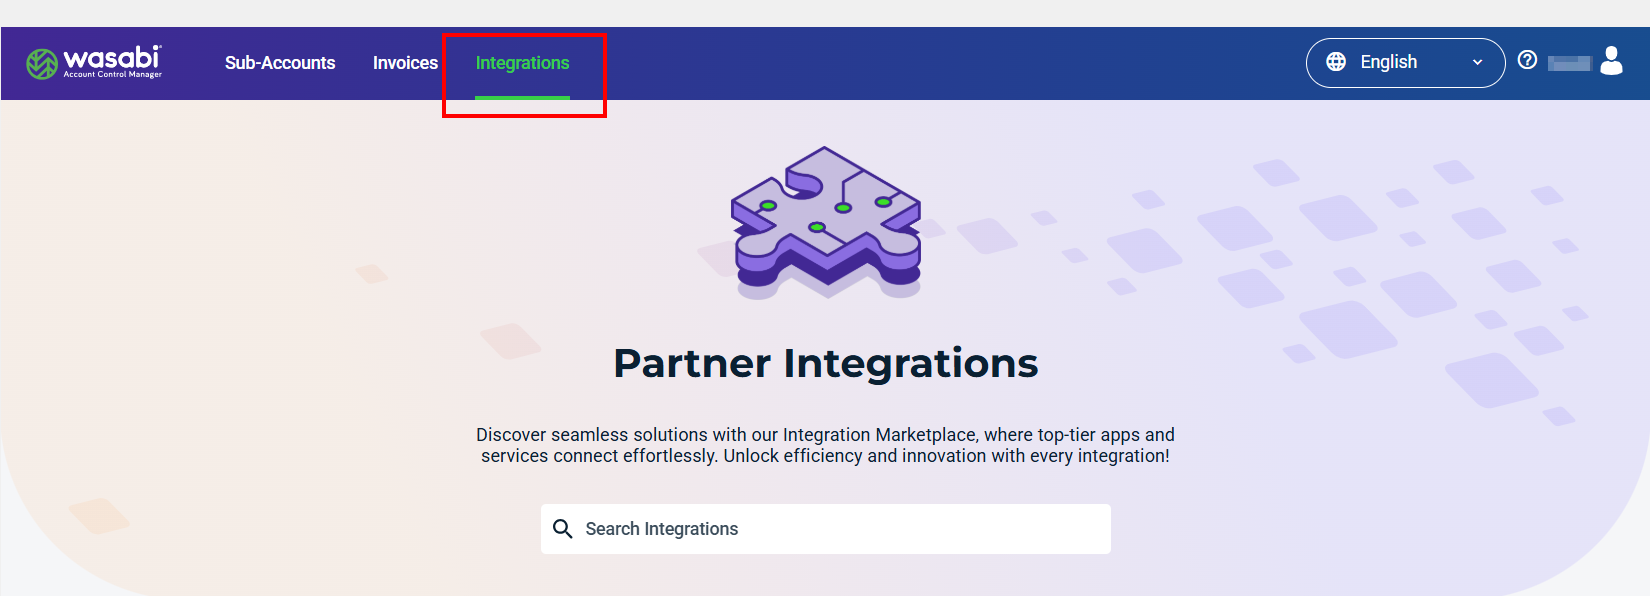
- Log in to WACM portal at https://wacm.wasabisys.com.
- Click the Integrationstab.
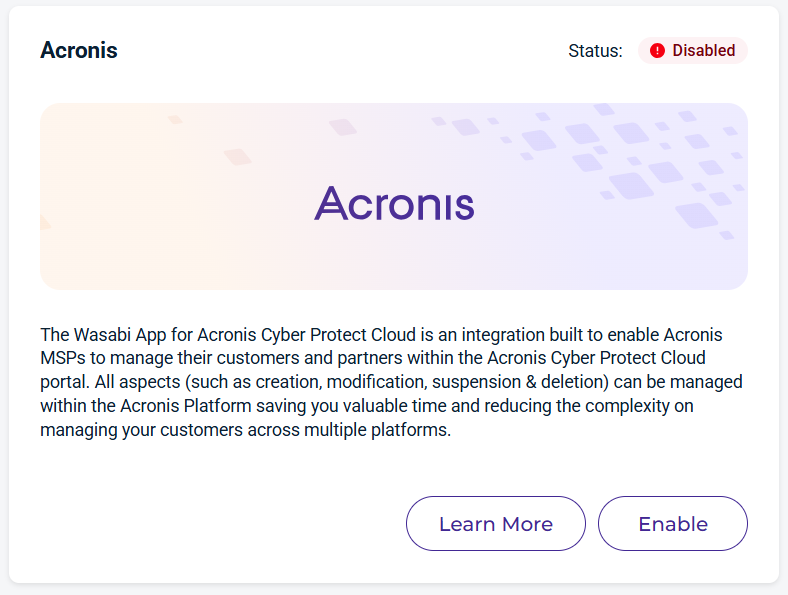
- Search for "Acronis" in the search bar. You should see a tile for Acronis. Click on the Enable button shown below.
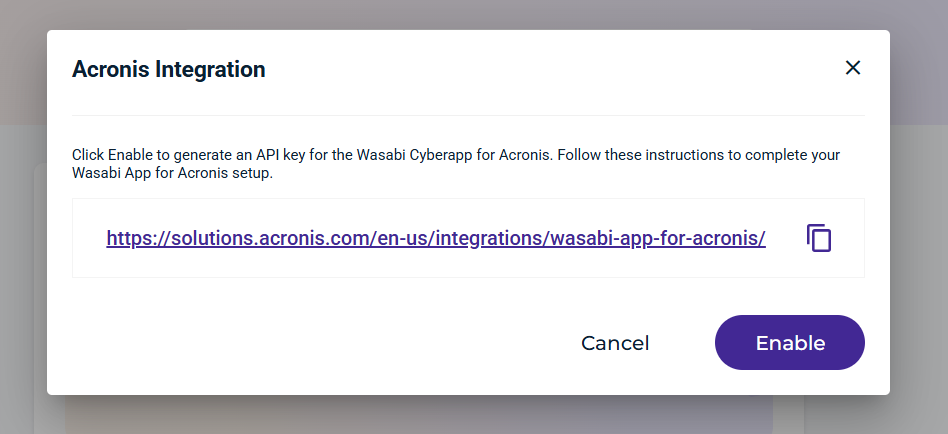
- Now, click Enable here to generate the credentials (Key Name and API key) required to activate the Wasabi app on Acronis.
- You can download or copy the credentials using the options below and store them in a secure location.
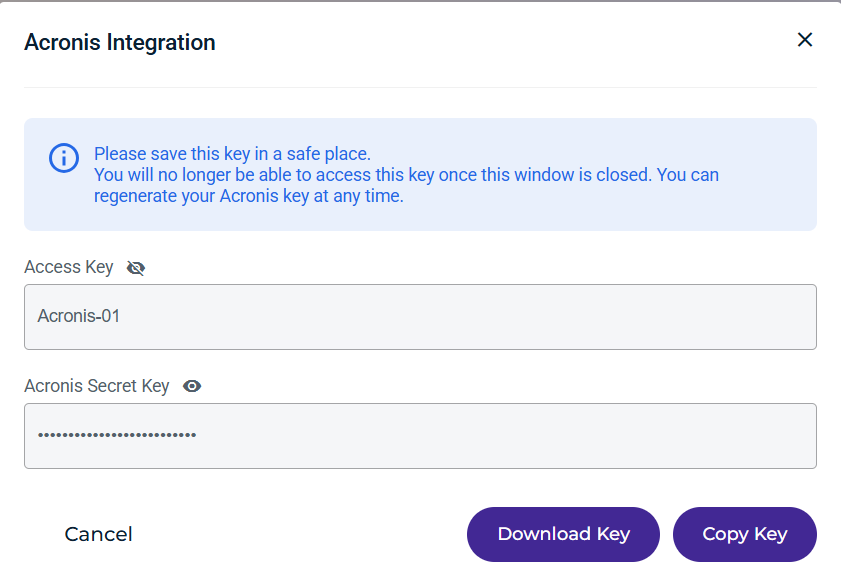
- You can now log out of WACM.
Configuring Wasabi App
- Log in to the Acronis Cyber Protect platform using the partner-level credentials.
.png)
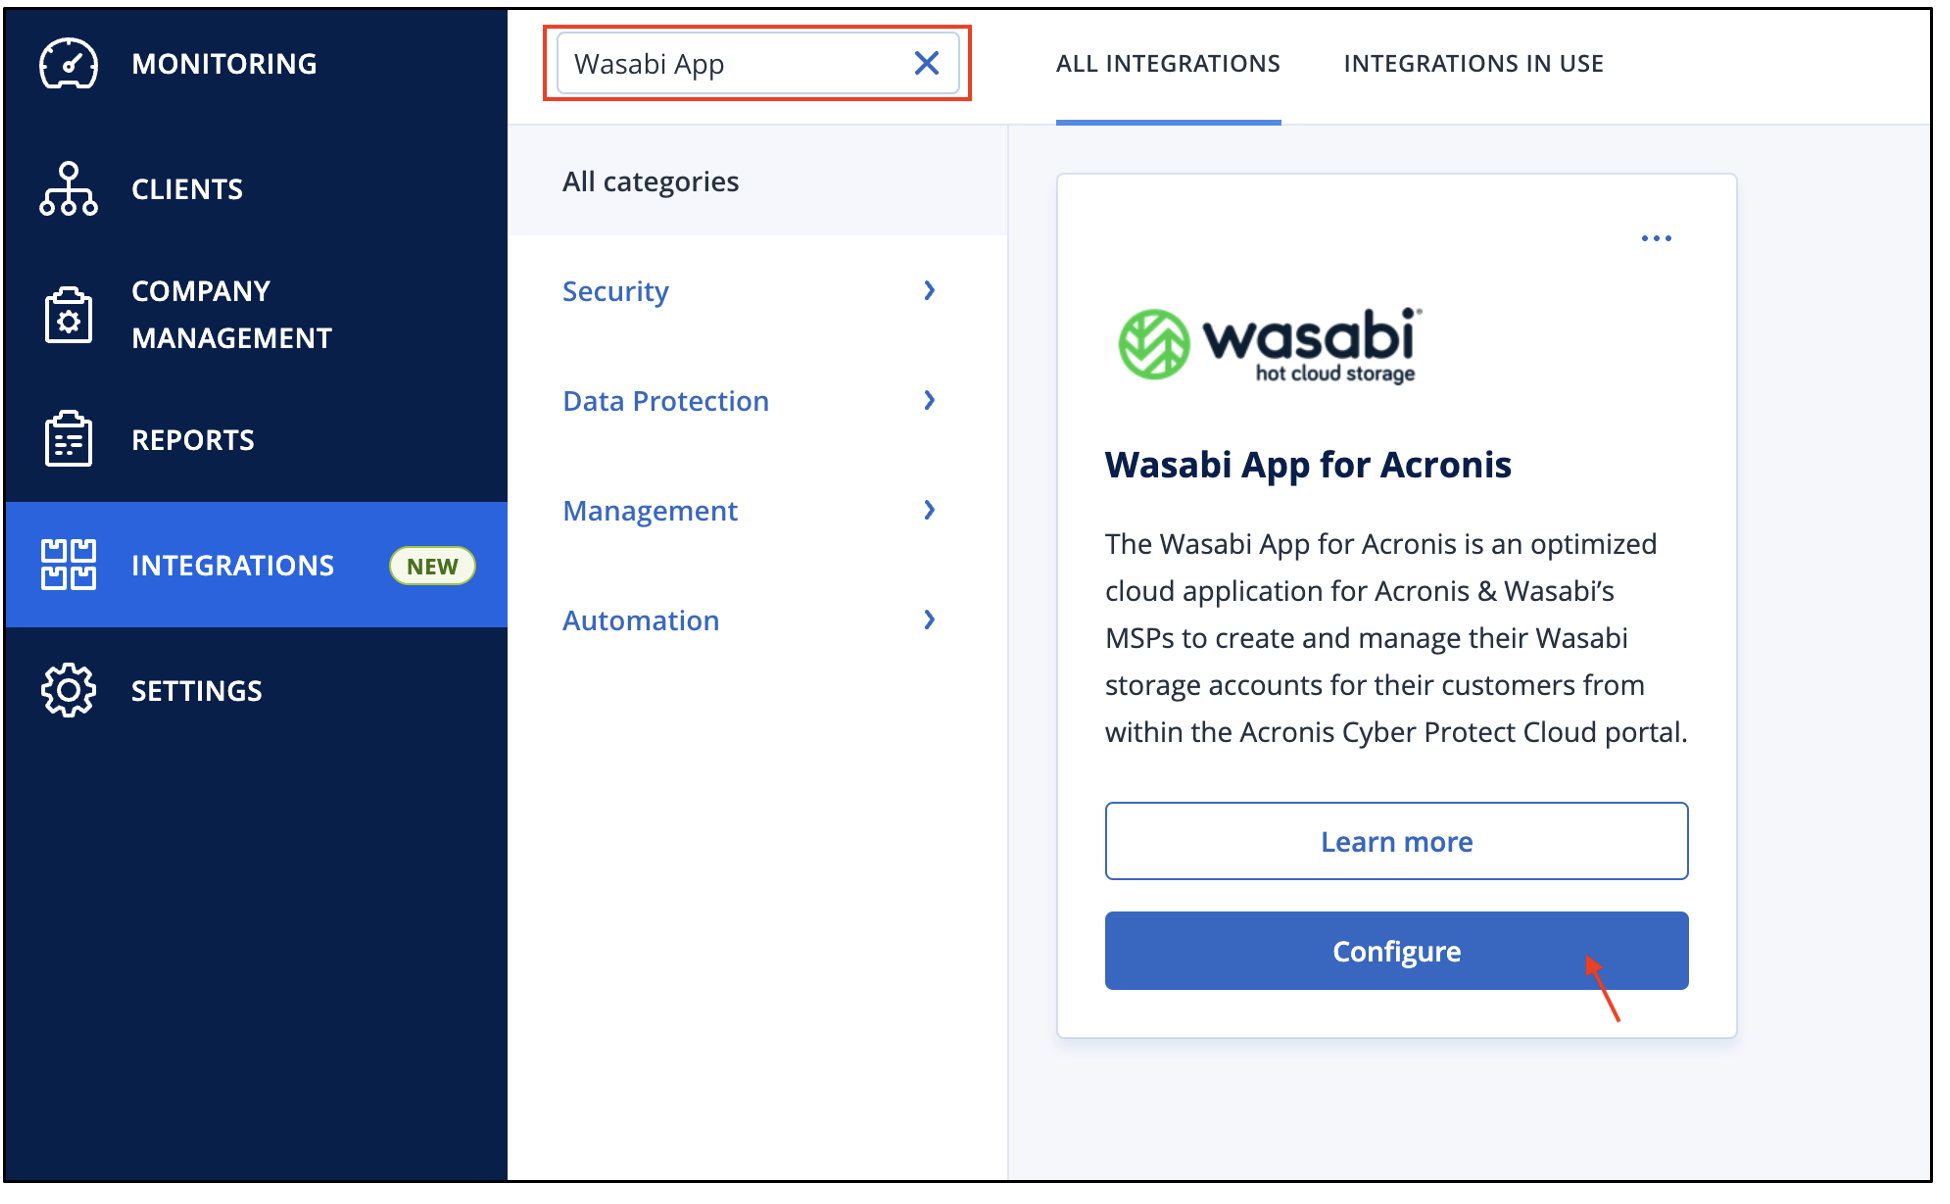
- On the left-hand menu, click Integrations.

- Enter "Wasabi App" in the Search for Integrations box. On the "Wasabi App for Acronis" tile, click Configure.
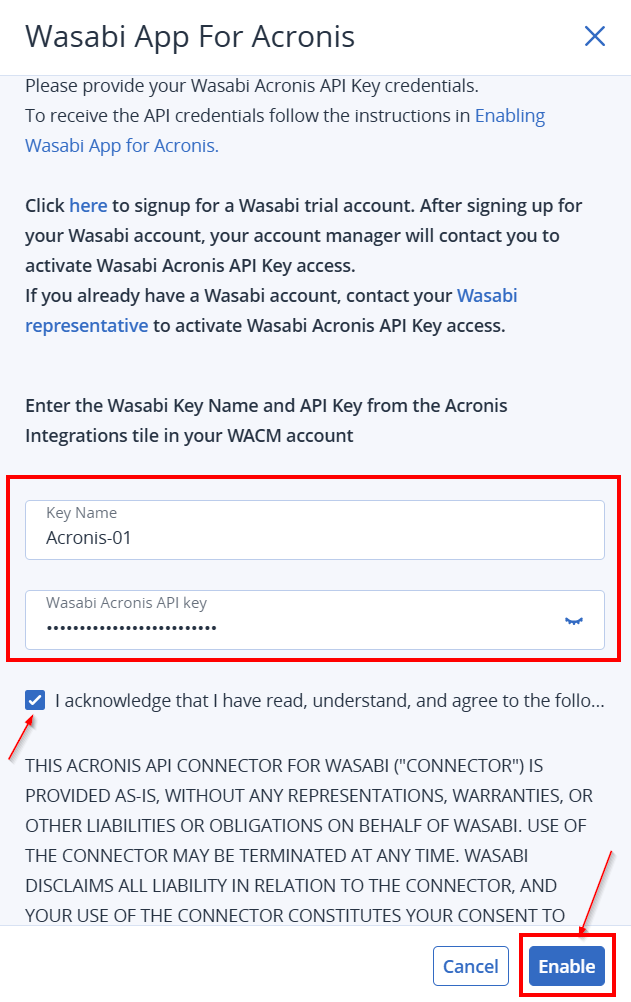
- Enter the Key Name and API key from step 5 in the previous section. Click the checkbox to accept the terms and then click Enable.
- When the account is successfully validated, you will be able to see several tabs as shown below.
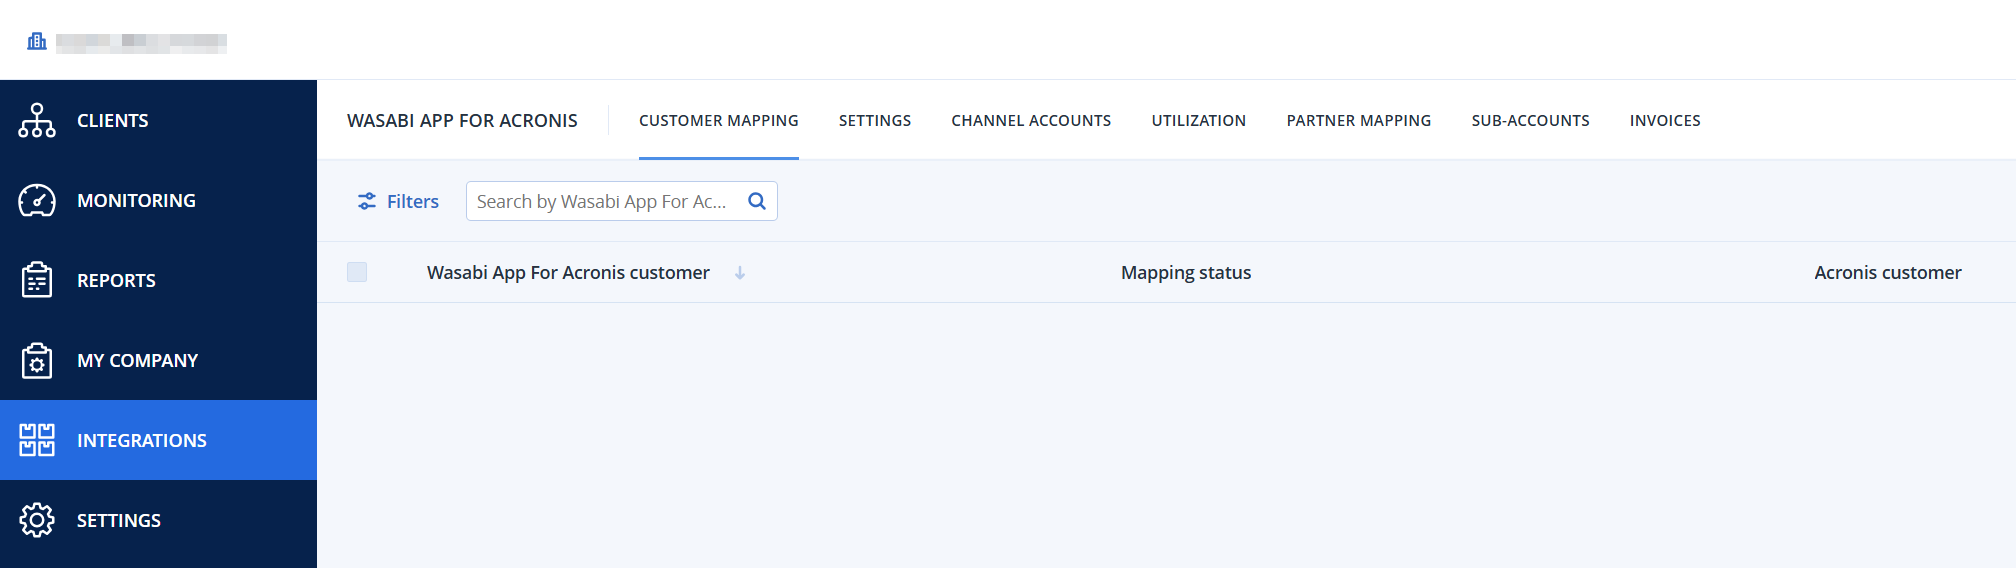
To start creating sub-accounts, refer to Creating Sub-Accounts in the Wasabi App.