CloudBerry Drive is a Windows application that enables you to mount cloud storage services, such as Wasabi, as a network letter drive in your Windows environment. To use this product with Wasabi, follow the instructions below.
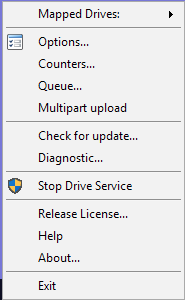
Once the application has been installed, navigate to the Windows System Tray and select the application’s red Z icon to access the configuration menu.

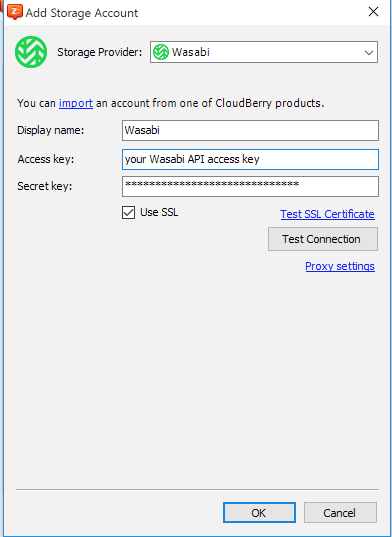
From the configuration menu, select the Storage Account tab and select Account Type = Wasabi.
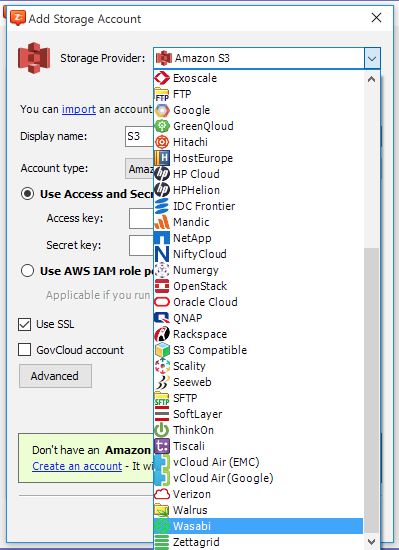
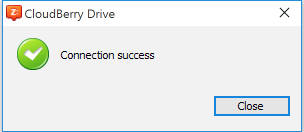
In the Add Storage Account screen, enter a Display Name, Wasabi API Access Key, and Wasabi API Secret Key. Select Test Connection to verify the connection and the API key set. A Connection success message will appear if the connectivity and the API key set are validated against the Wasabi service.
The application uses s3.wasabisys.com as the default service URL for Wasabi. If your buckets are located in a region other than US-East-1, use S3 Compatible as the Storage Provider selection above and the appropriate Wasabi service URL as the Service point. For example, refer to the screenshot below for US-East-2 region. For other Wasabi service URLs, review Service URLs for Wasabi's Storage Regions.

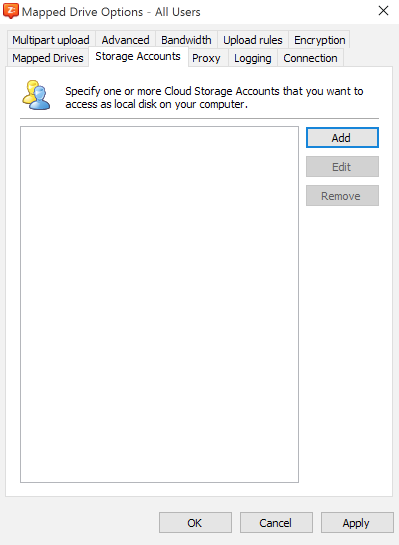
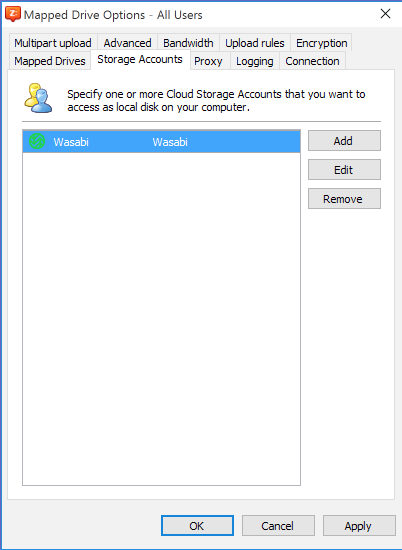
Once the Wasabi Storage Account is set up, you will see it as a valid storage account, as shown below.
Select the Mapped Drives tab to set up a mapping between the Wasabi storage account and your preferred Windows letter drive.
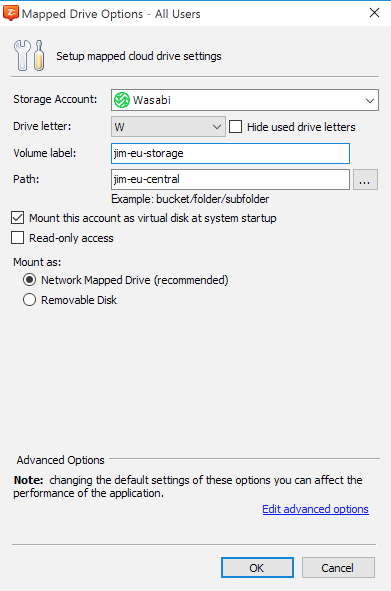
Select Add and select the following:
Storage Account — Wasabi
Drive letter
Volume label — This is the name the volume appears as in Windows File Explorer.
Path —This is the target Wasabi storage bucket. Click … to see the list of available buckets.
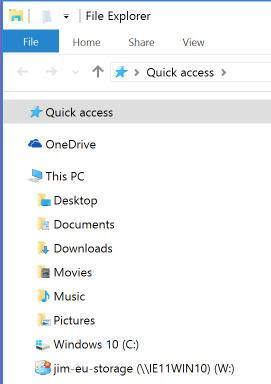
Once you have completed the drive mapping, Windows will indicate that the mapping is complete, and the chosen drive should be visible in Windows File Explorer (in this example, the W: drive was selected, and the volume label is 'jim-eu-storage').