Wasabi offers Single Sign-On (SSO) functionality for Wasabi accounts using the Okta IdP identity provider, based on OpenID Connect integration.
This article provides configuration instructions for both the IdP administrator and the SSO user to properly configure and complete a Wasabi Console login using the organization's Okta SSO service.
Configuring the OIDC App in Okta (IdP Side)
Log in to your Okta account (https://login.okta.com/) as Administrator.
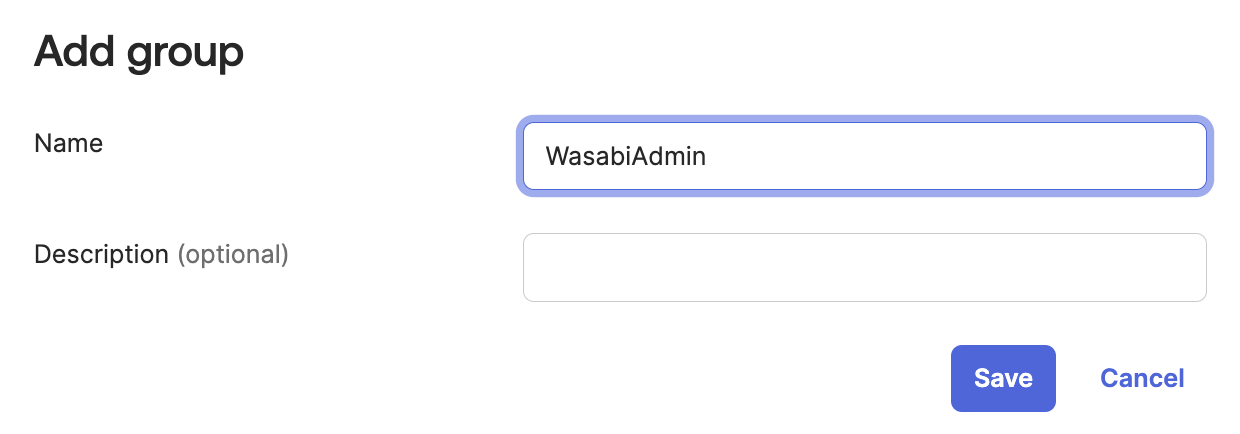
Navigate to the Directory tab on the left and select Groups. Click Add group. In this example, we create a group called "WasabiAdmin." If you already have a group you wish to use for the Wasabi console, skip this step. Note the group name as it will be used in future steps.
Click Save.
Be sure to add the necessary users for access to the Wasabi Console in the new group just created.
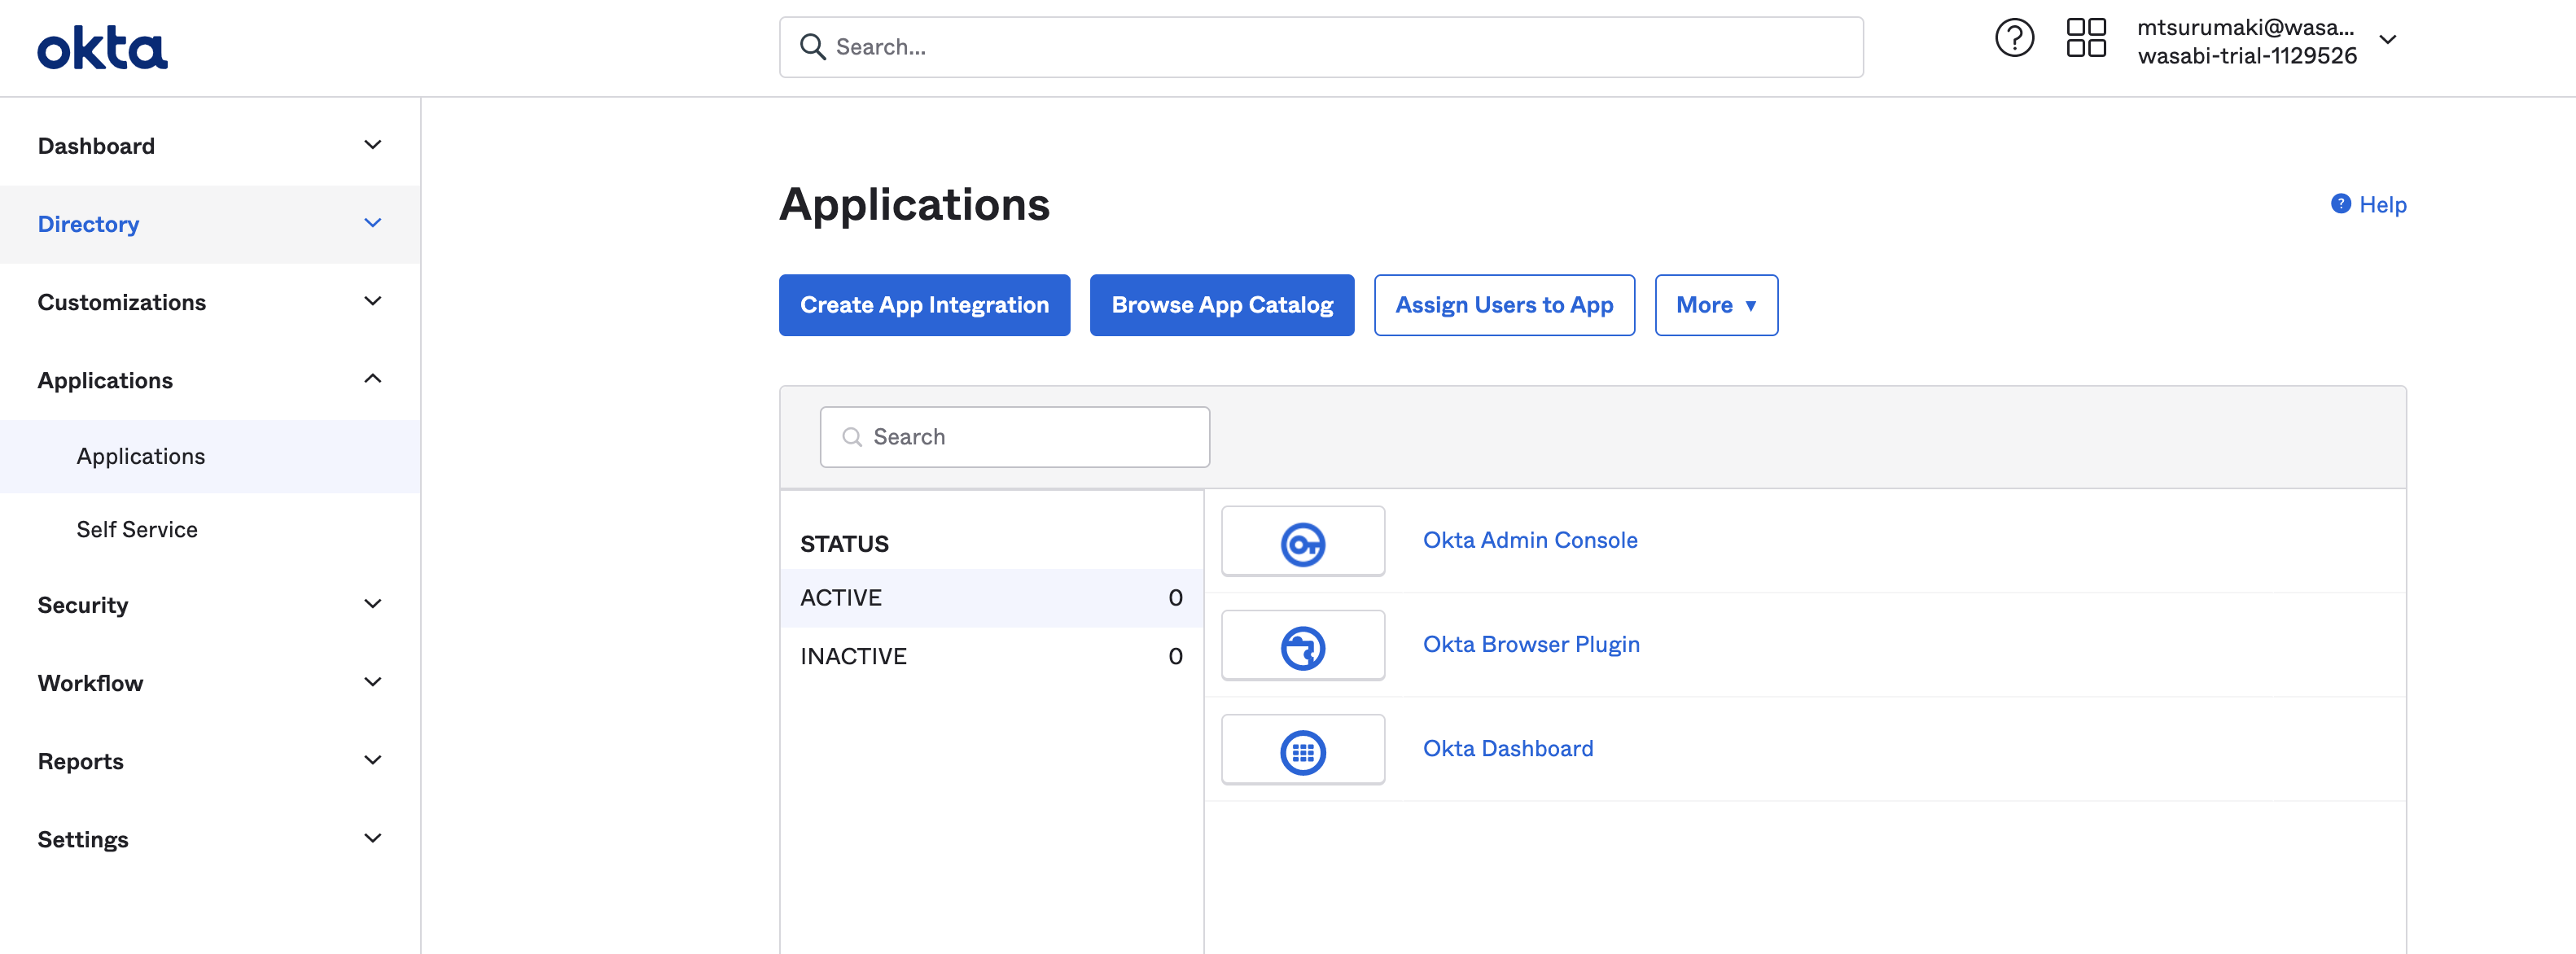
Navigate to the Applications tab and click Applications.
Click Create App Integration. The Create a New App Integration page is displayed.
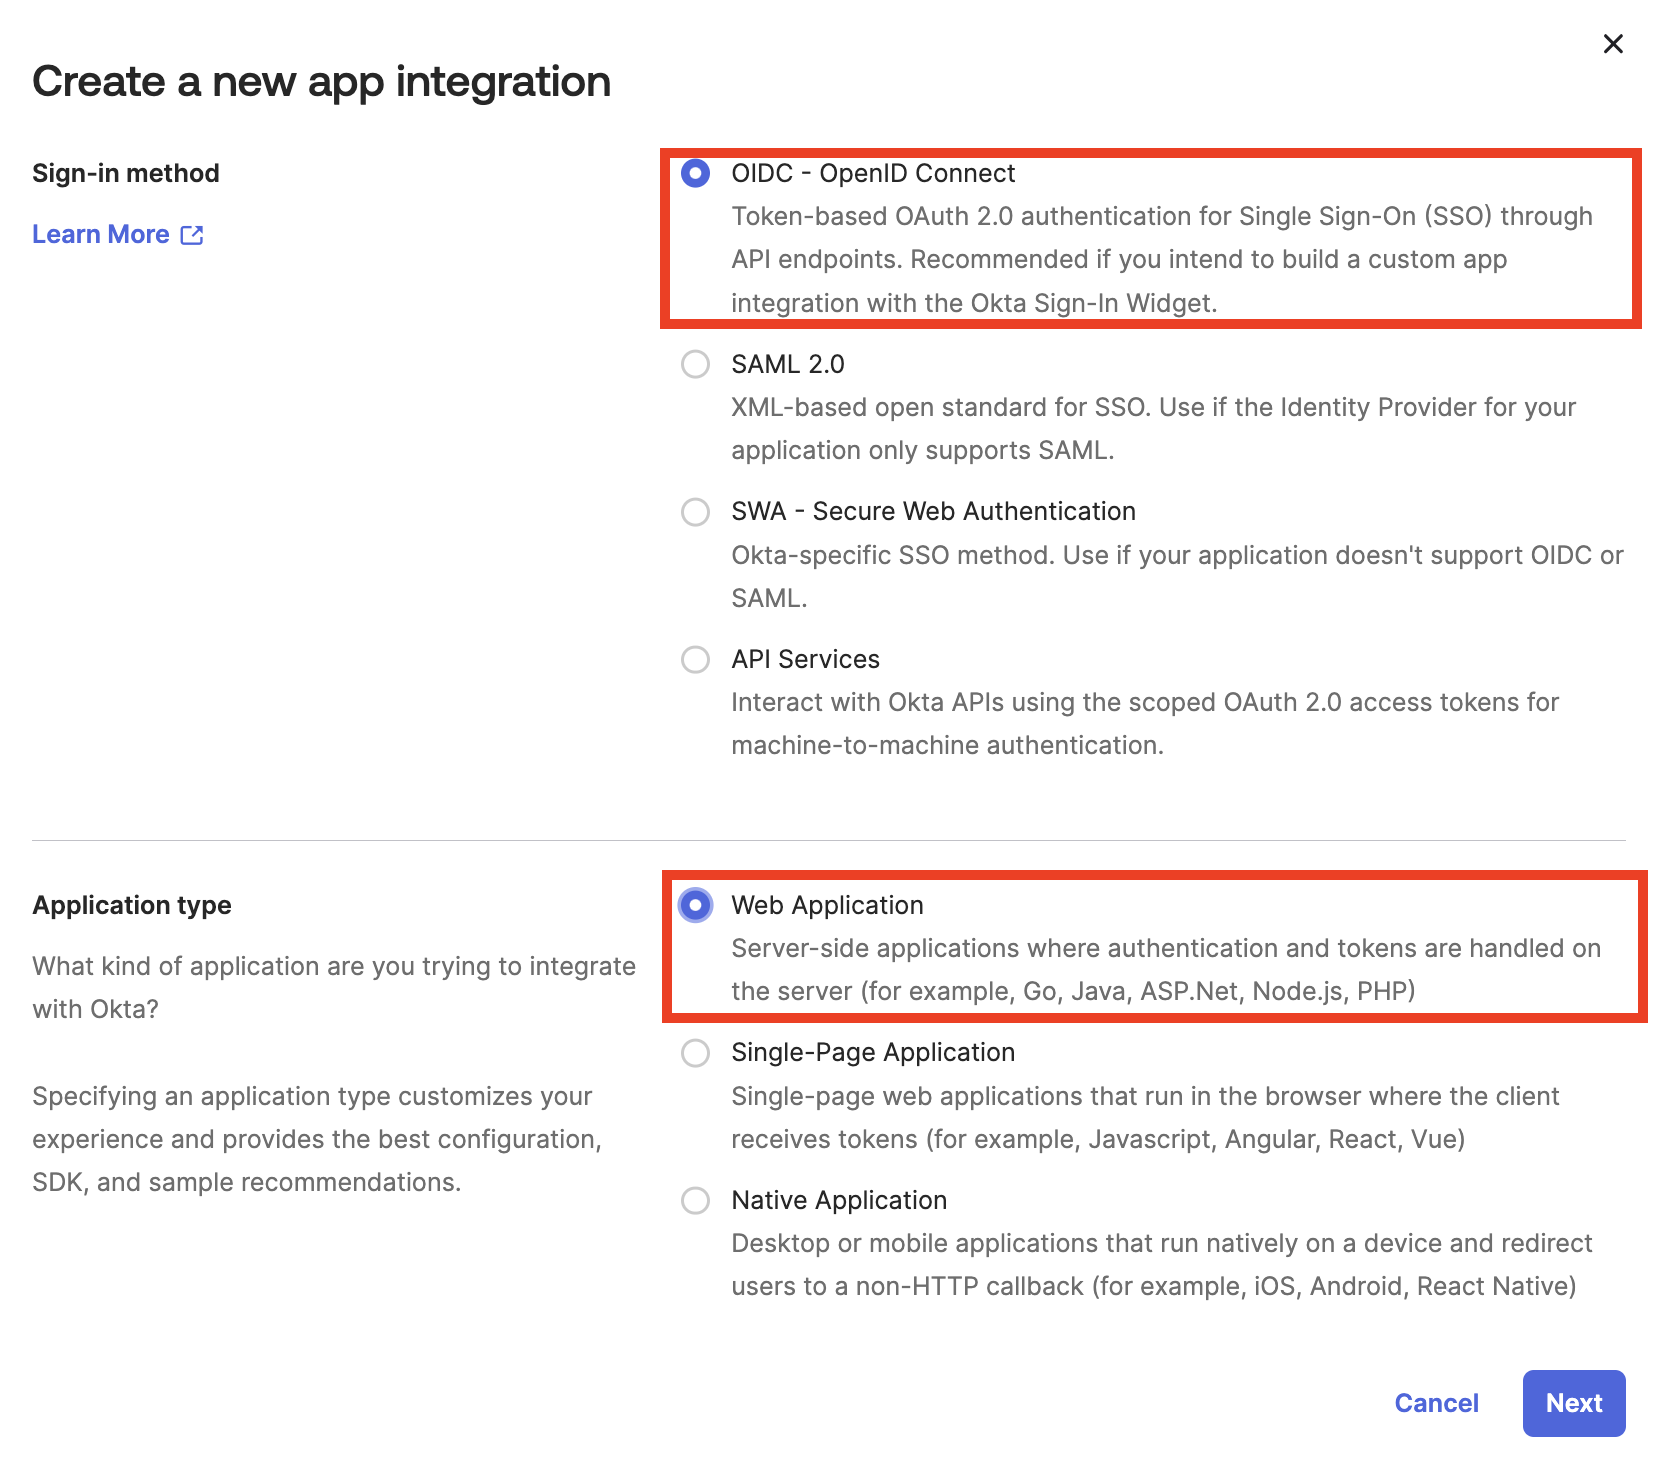
In the Sign-in method section, click OIDC - OpenID Connect. In the Application type section, click Web Application. Click Next.
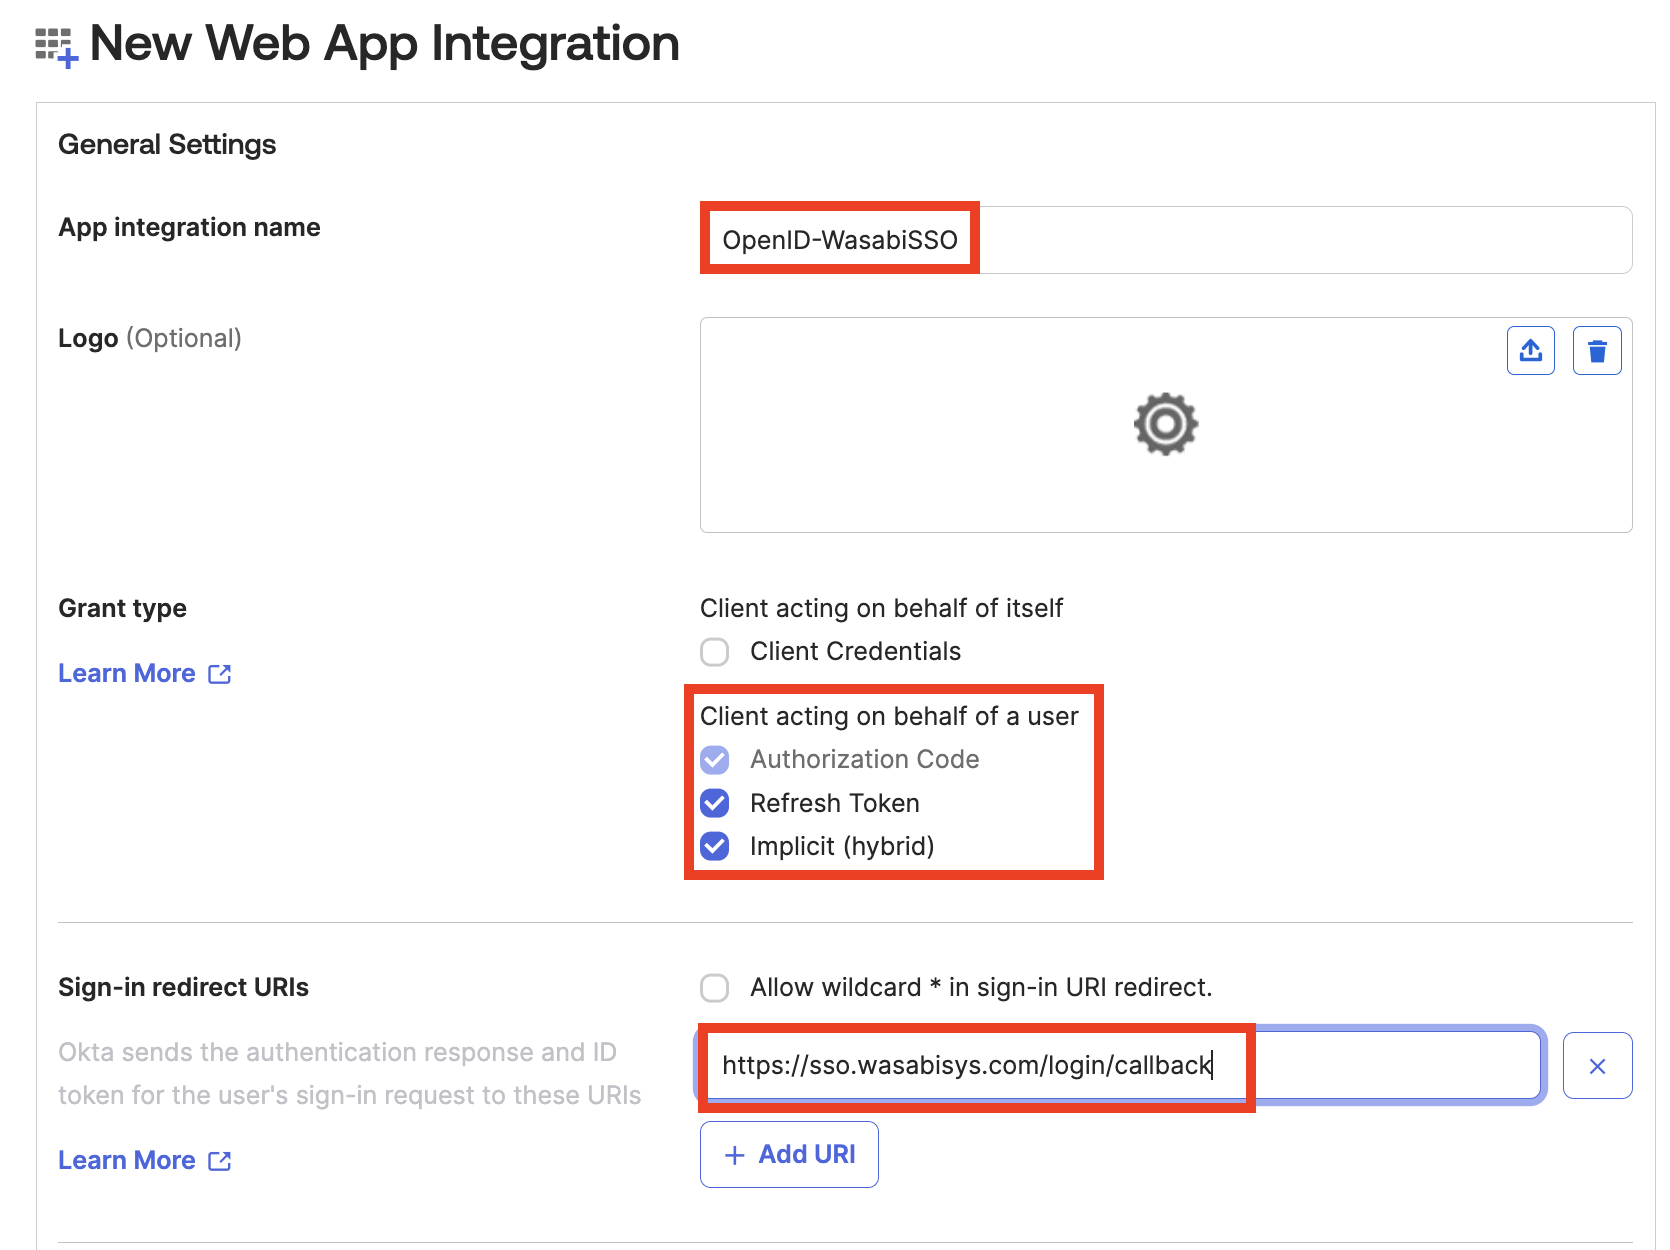
On the New Web App Integration page, enter a name for the application integration, such as “OpenID-WasabiSSO.”
In the Grant type section, check Refresh Token and Implicit (hybrid).
In the Sign-in redirect URIs section, enter: https://sso.wasabisys.com/login/callback.
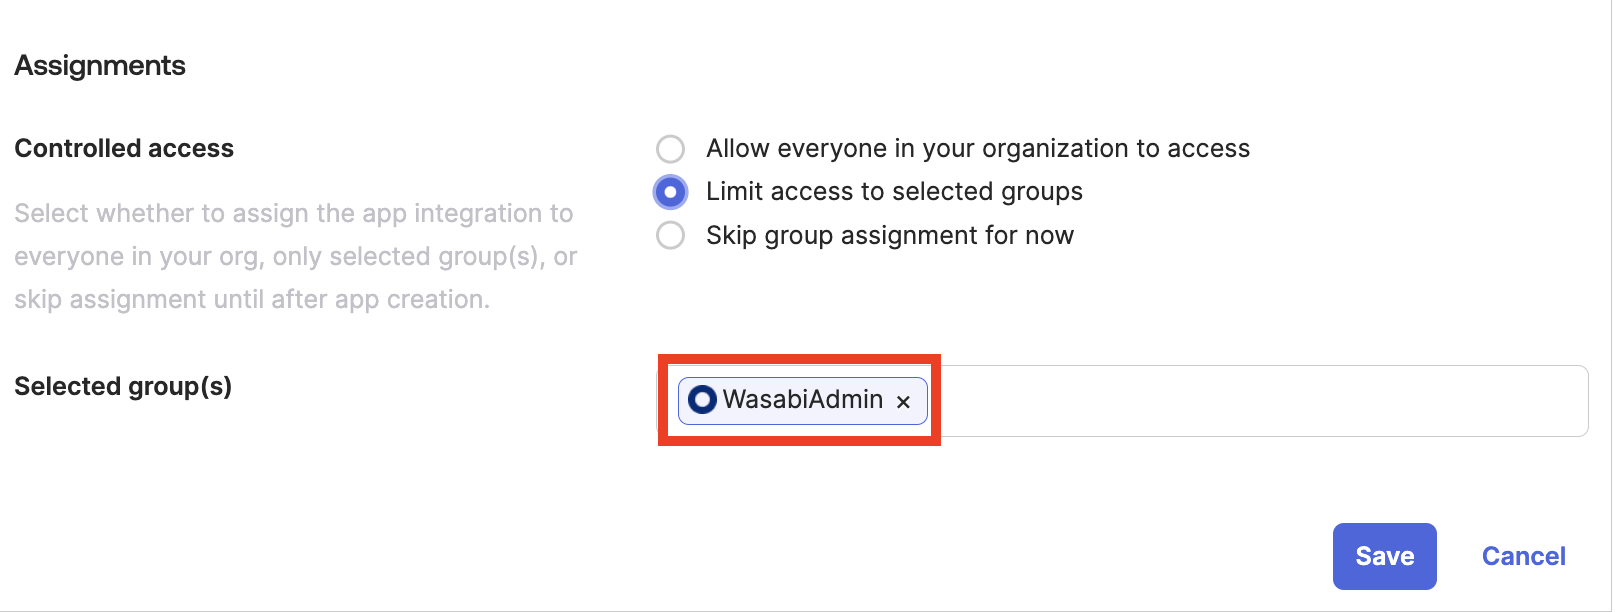
Scroll down to the Selected group(s) section and click “WasabiAdmin,” previously created in Step 2. Click Save.
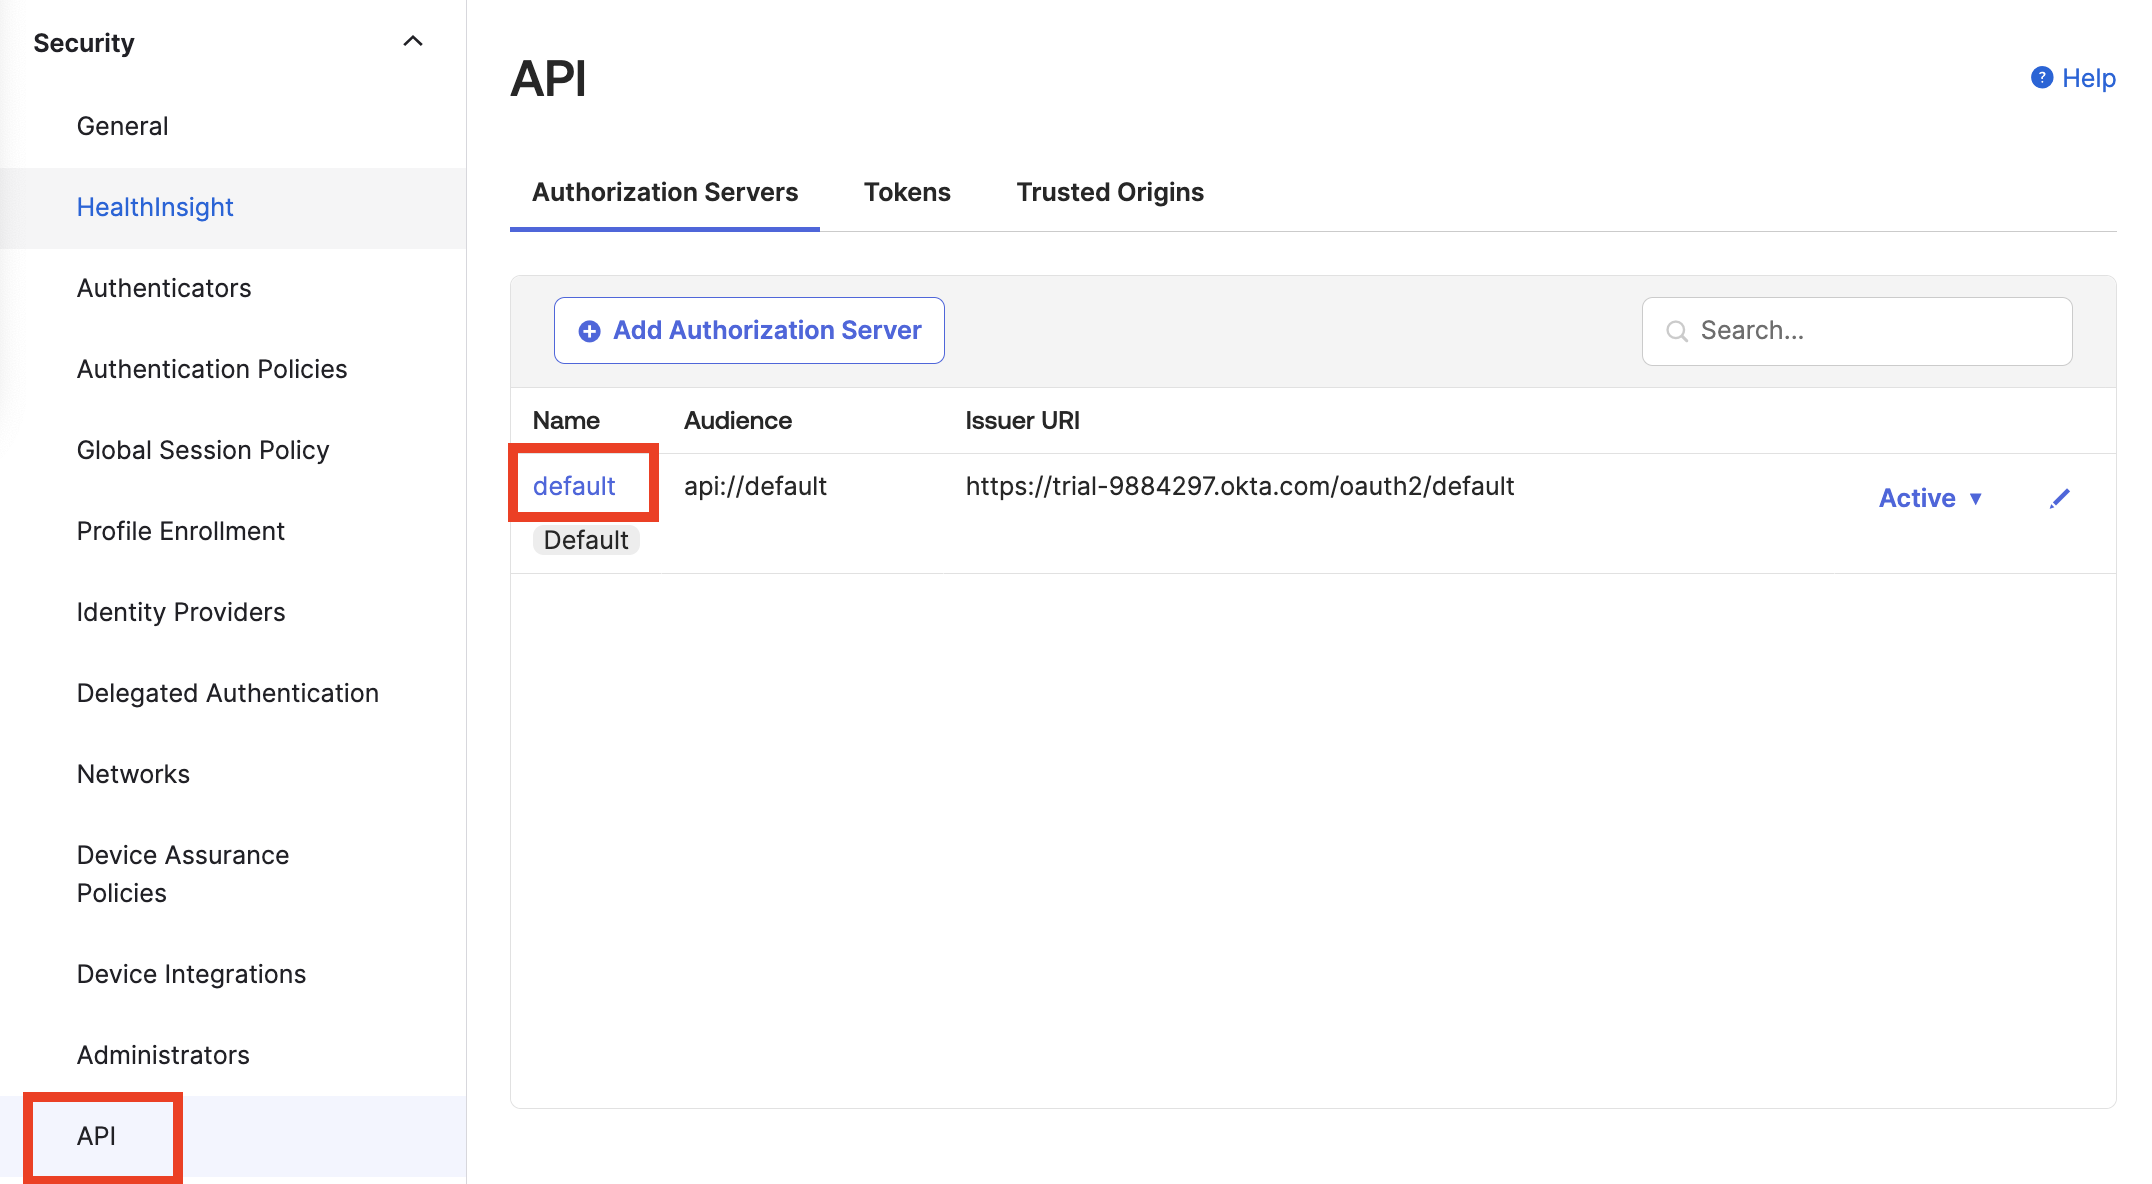
Create the claim for the Authorization server. Navigate to Security, and then select the HealthInsight tab to display the API section.
In the Add Authorization Server section under Name, click default to configure a group claim as part of the user info, post-authentication. The name used must match the role name used in the Wasabi Console.
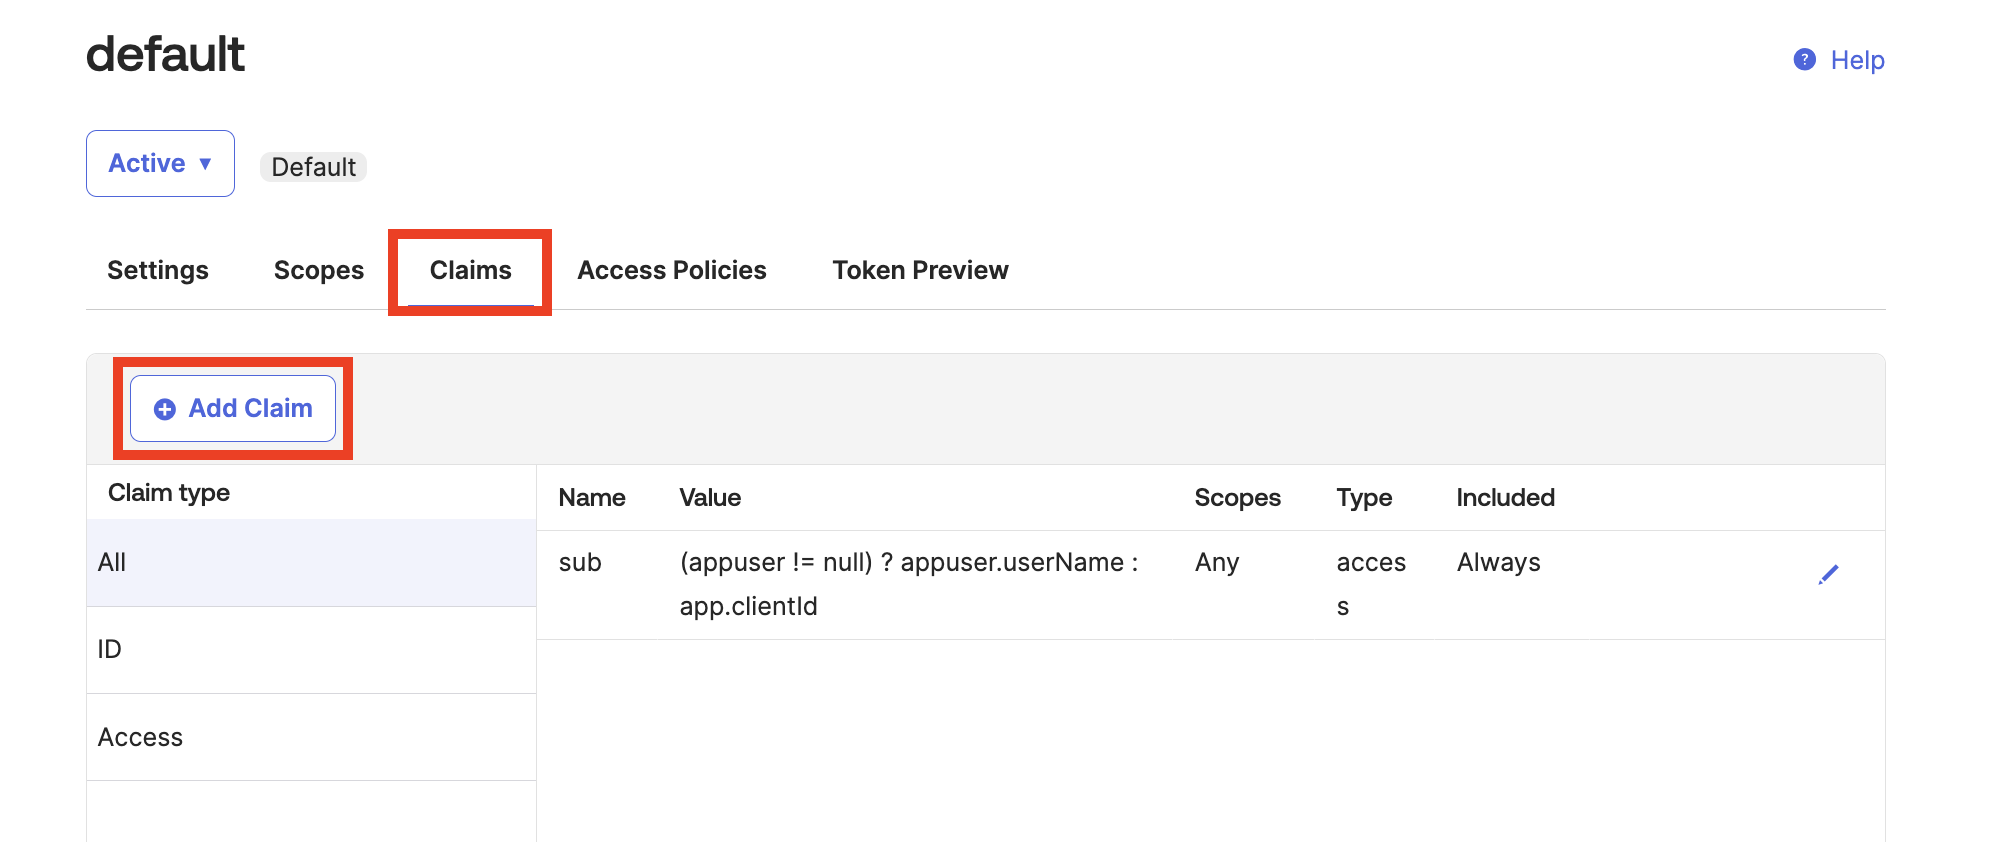
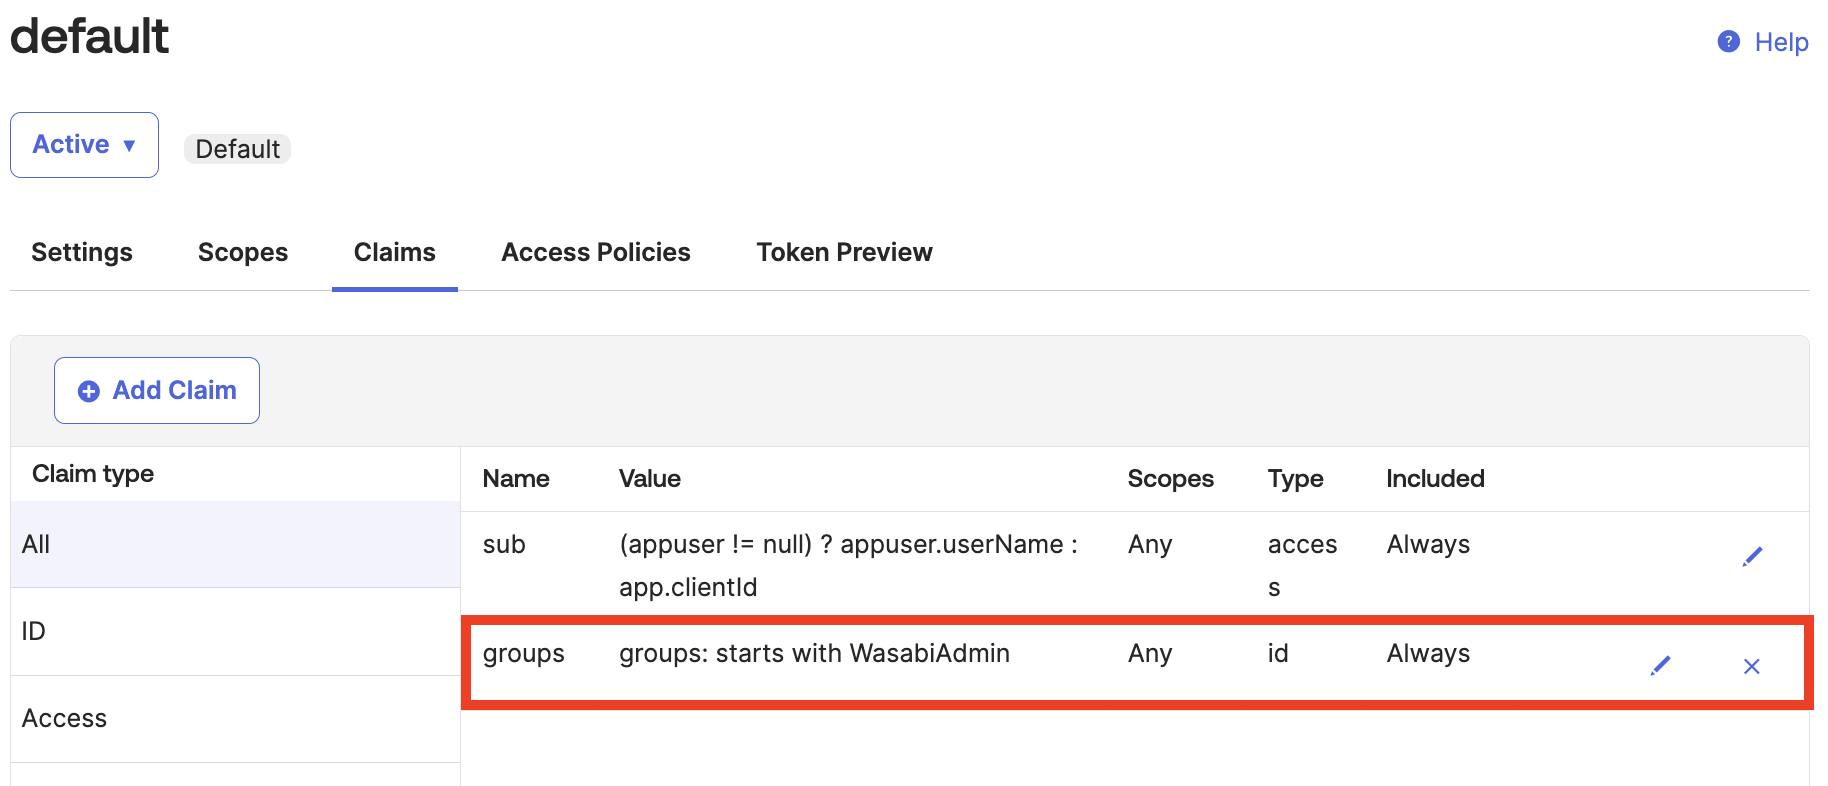
In the default dialog, select Claims and then click Add Claim. The Add Claim dialog is displayed.
Enter the information as shown below.
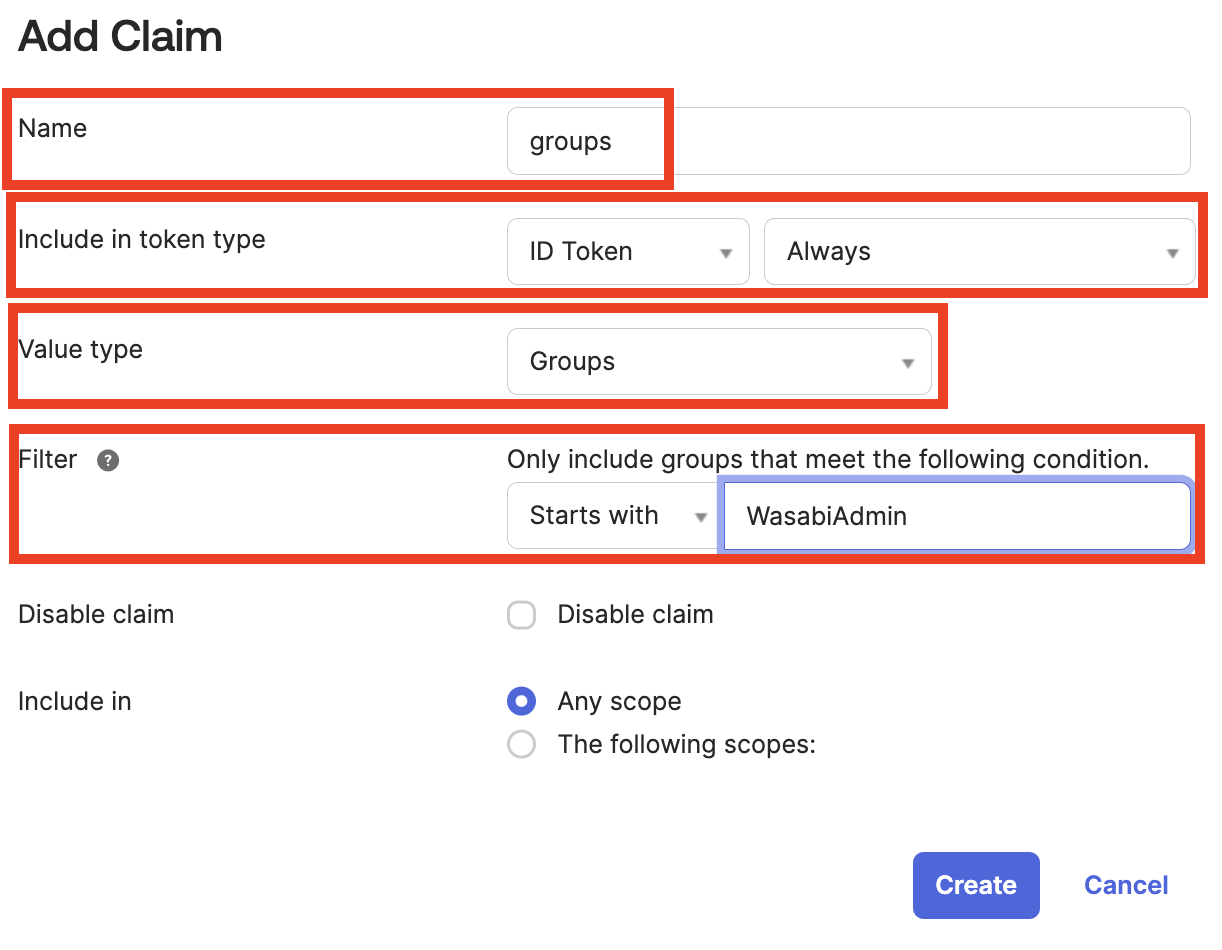
Click Create. The new groups claim is created, as shown below.
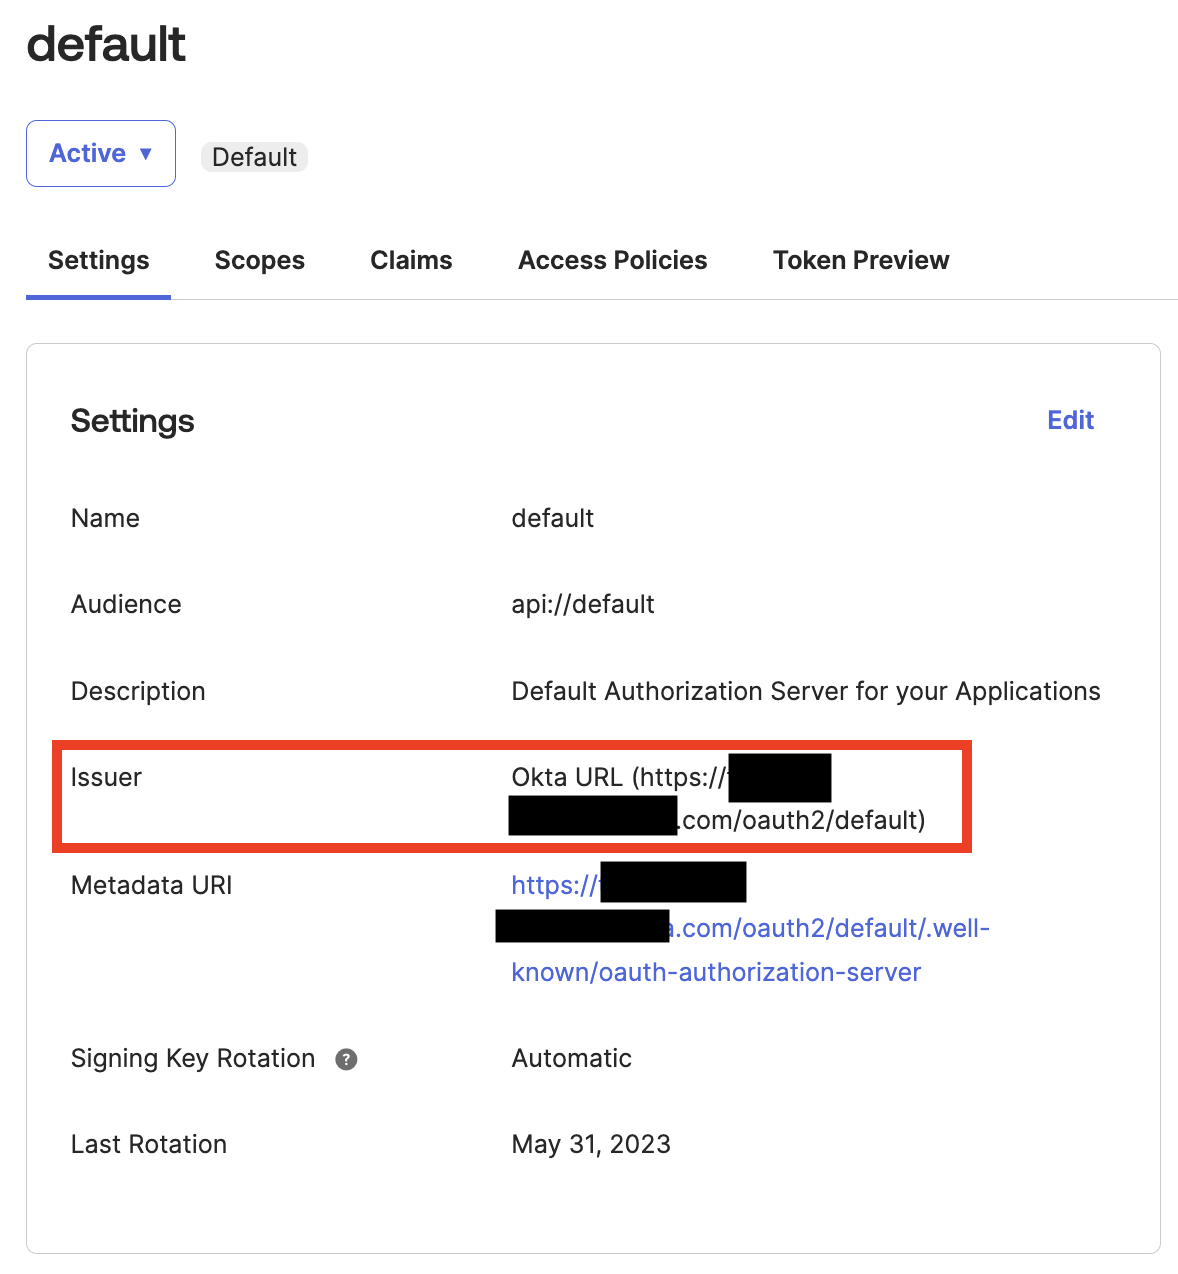
In the default dialog, click Settings, then copy the Issuer URL to use in the Wasabi Console. In the example below, the URL is https:///oauth2/default. You must append /.well-known/openid-configuration to the Issuer URL, for example: https:///oauth2/default/.well-known/openid-configuration.
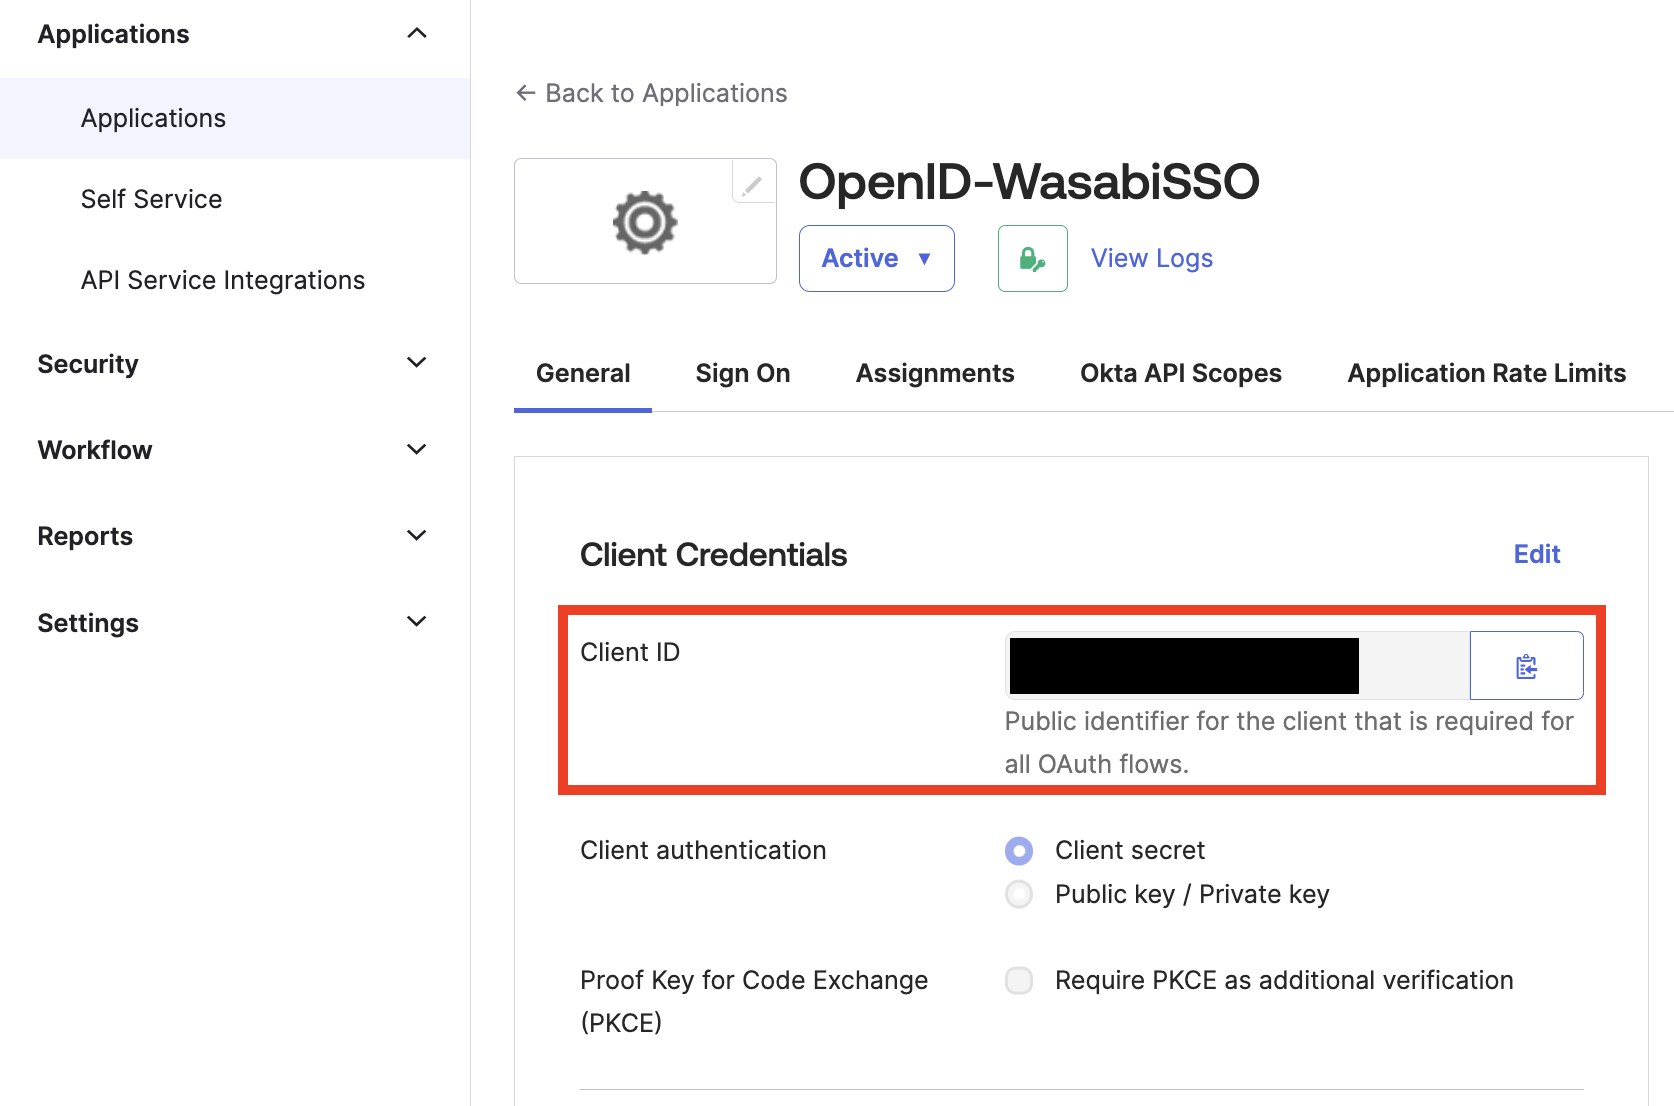
You will need the Client ID. To get the Client ID, navigate back to Applications, click Applications, and copy the Client ID.
Configuring OIDC Settings in Wasabi Console (SP / Client Side)
Sign in to the Wasabi Console (https://console.wasabisys.com/login) using a Root account email.
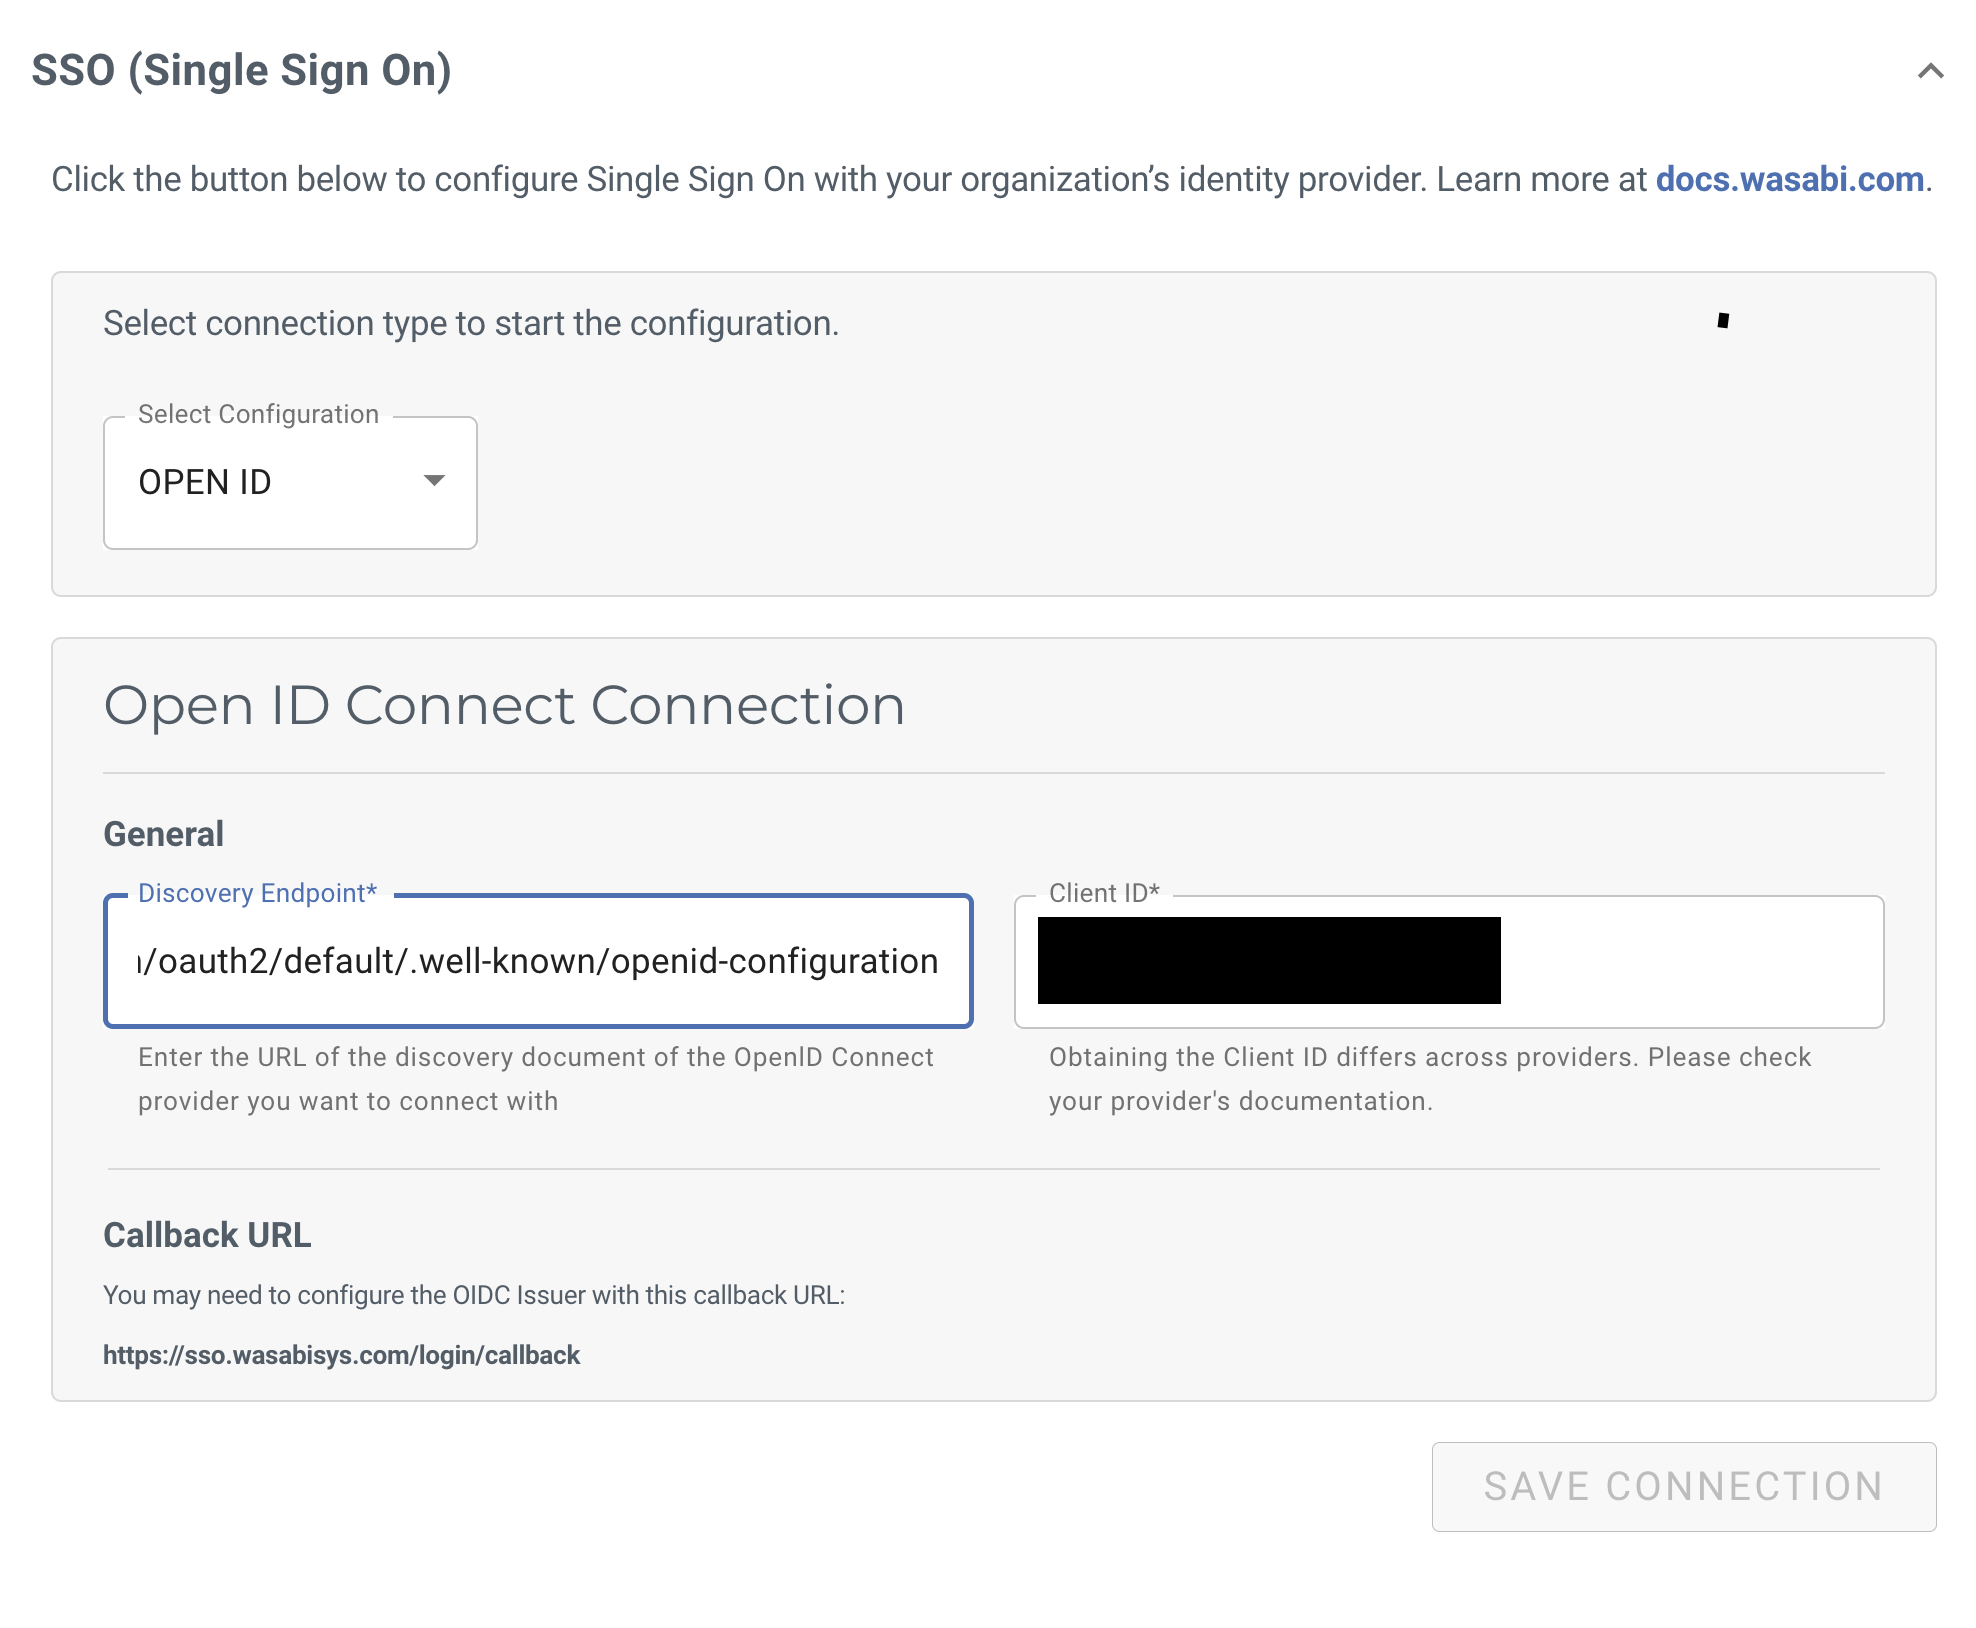
Click Settings in the left menu and select SSO (Single Sign On).
In the Select Configuration drop-down, select OPEN ID.
Paste the Issuer URL (from the previous section, Step 16) into the Open ID Connect Connection section, in the General Discover Endpoint box, for example, https:///oauth2/default/well-known/openid-configuration.
Paste the Client ID (copied from the previous section, Step 17) into the Client ID box.
If you do not see the SSO (Single Sign On) feature, you are using a Wasabi trial account. This feature requires a paid account.
Click Save Connection.
A Wasabi role is required for SSO roles in the Wasabi Console. Roles must be assigned to users within your organization's Identity Provider and be returned to Wasabi in SSO claims. Without this, you cannot match a user with a role. Do not create a role through the Role tab on the left. SSO roles must be created in the SSO (Single Sign On) section of Settings.
Click Roles in the left menu and then click Create Role. The Create Role dialog is displayed.
In the Name box, enter the Okta group name you created earlier, for example: “WasabiAdmin.”
For the Wasabi role name, use the same name as the Okta Group name previously created, or use the same group name if you are using an existing group.
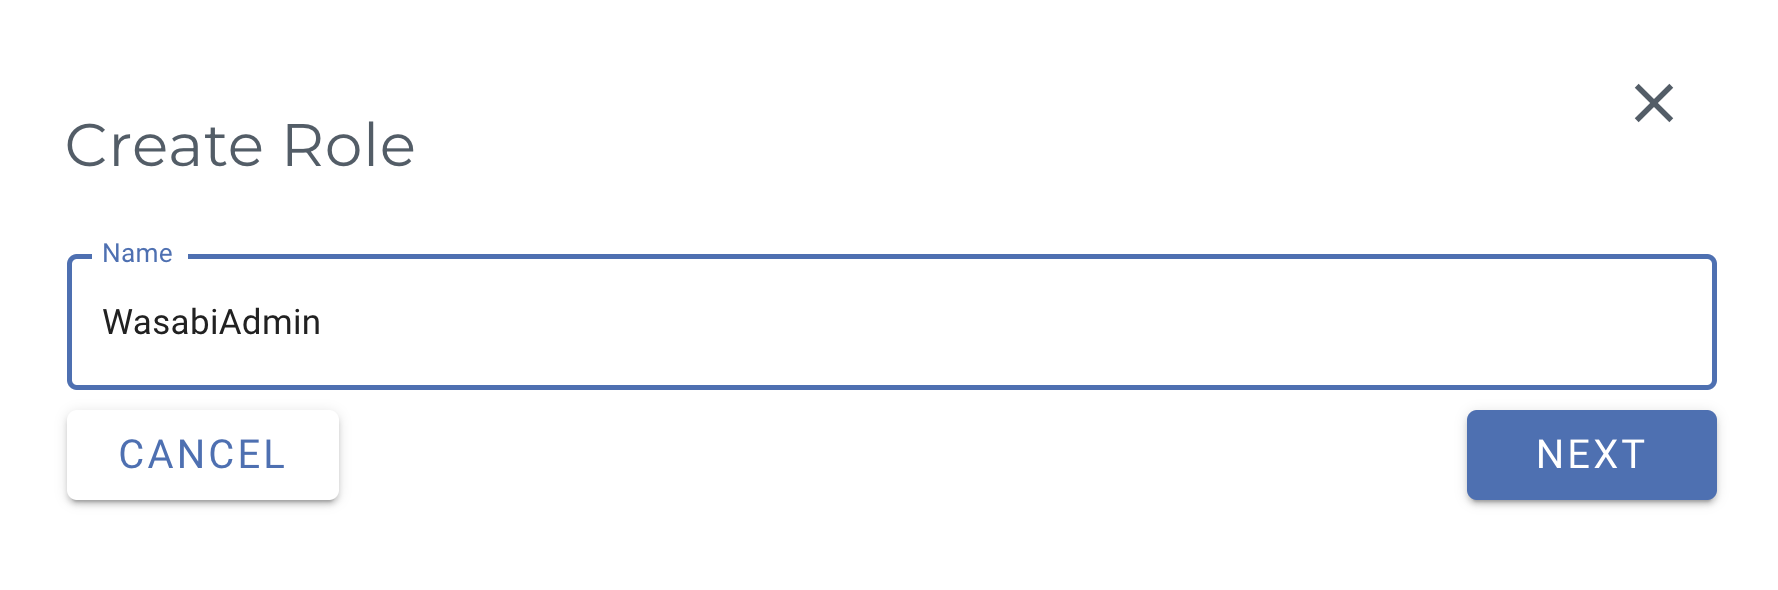
Click Next.
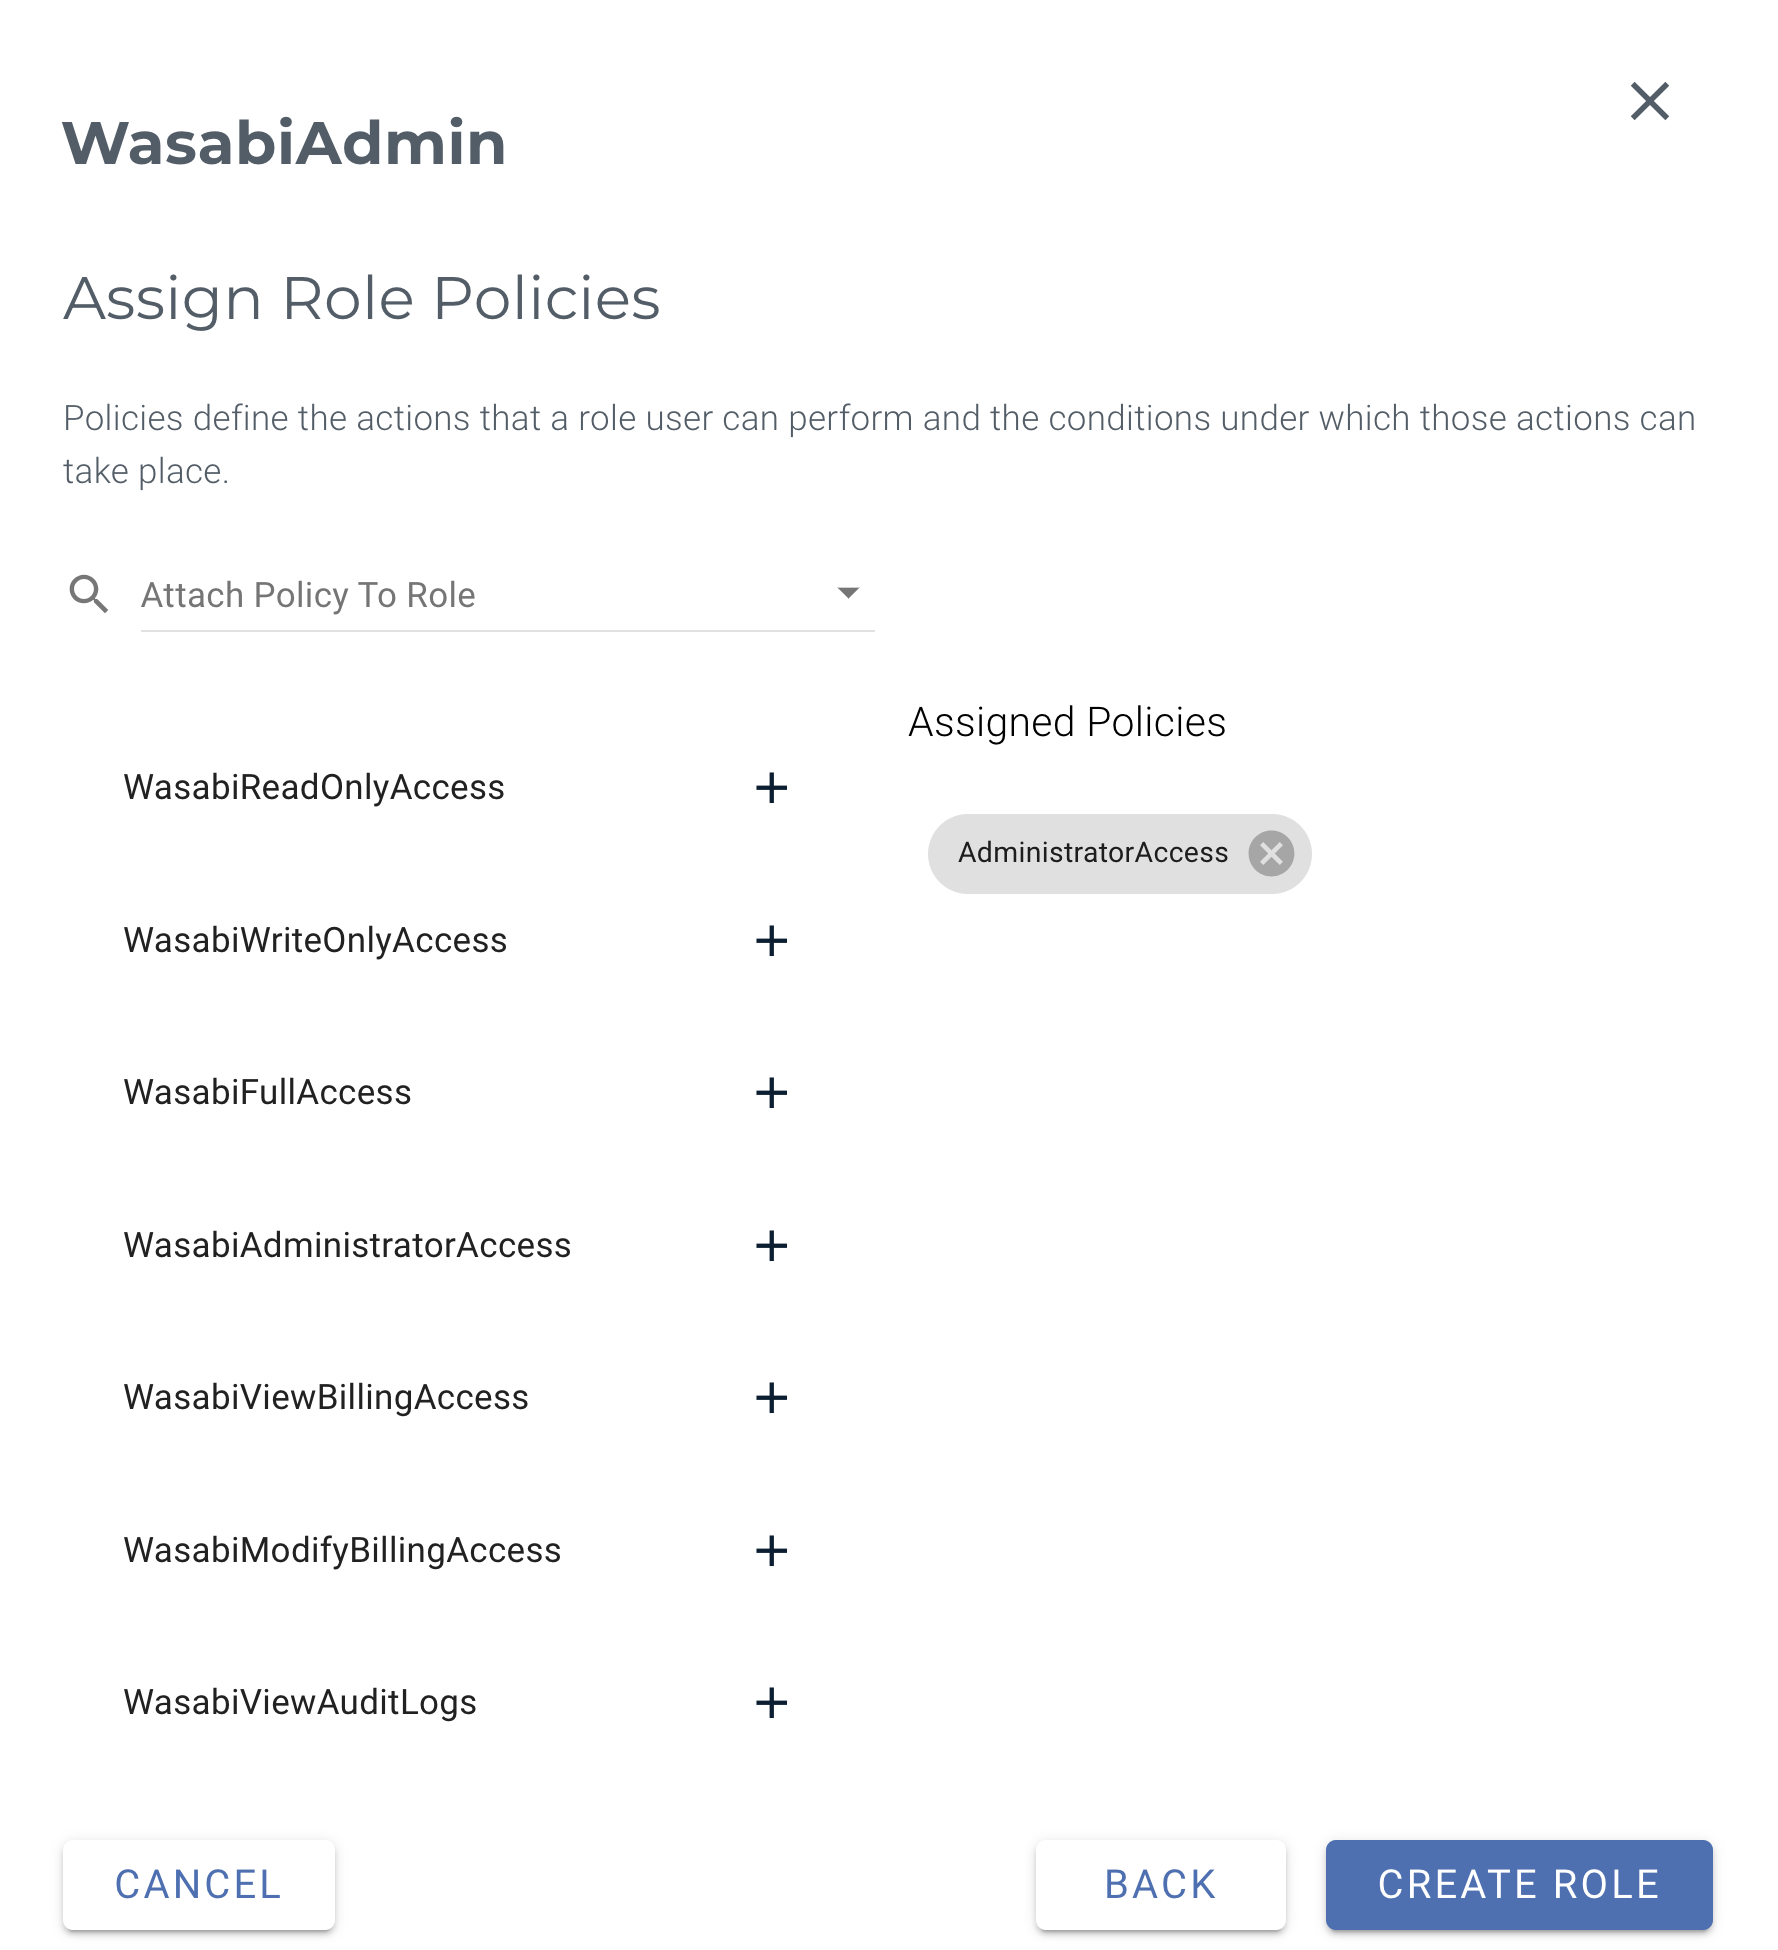
Assign one or more policies to this role to enable user-specific access. When finished, click Create Role. For more information on the default policies available in the Wasabi Console, see Policies in Wasabi Hot Cloud Storage or create your own IAM policies through the Policies tab in the Wasabi Console.
The following example uses the AdministratorAccess policy. You may attach any Wasabi-managed policy/user-managed policy based on your requirements.
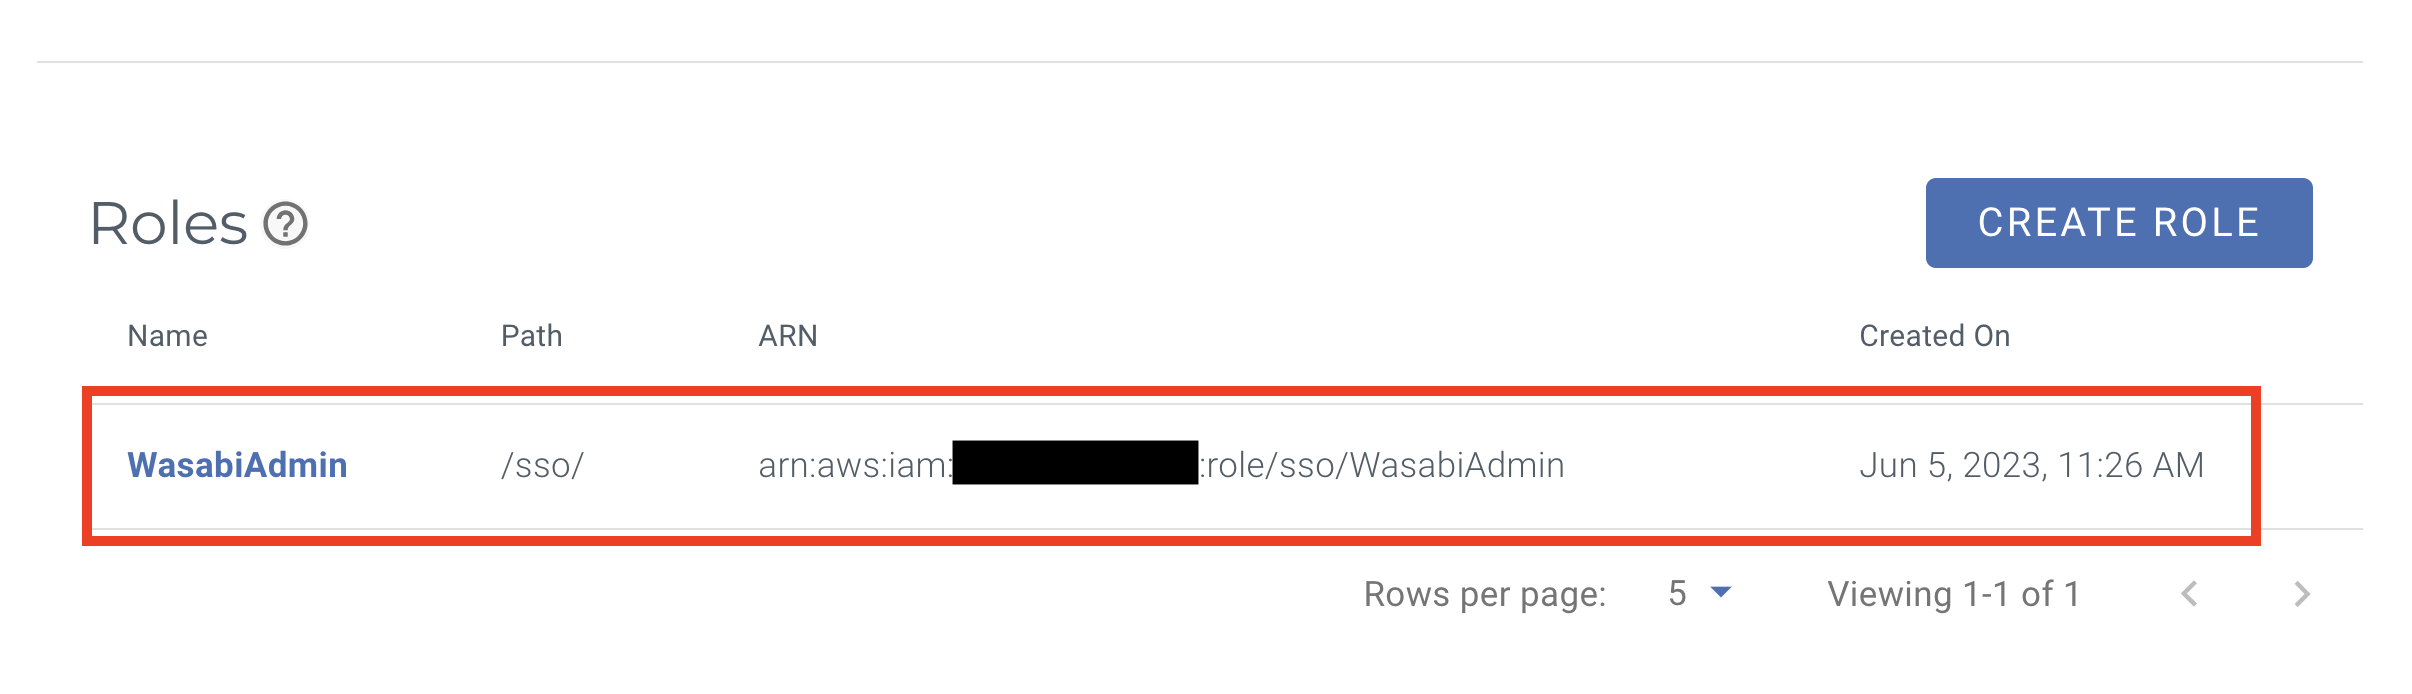
You should see the Wasabi Role you created in the SSO tab in Settings.
Testing the Integration
Sign in to the Wasabi Console (https://console.wasabisys.com) to test the SSO configuration.

When prompted, enter your Wasabi Root user email address. Click Continue.
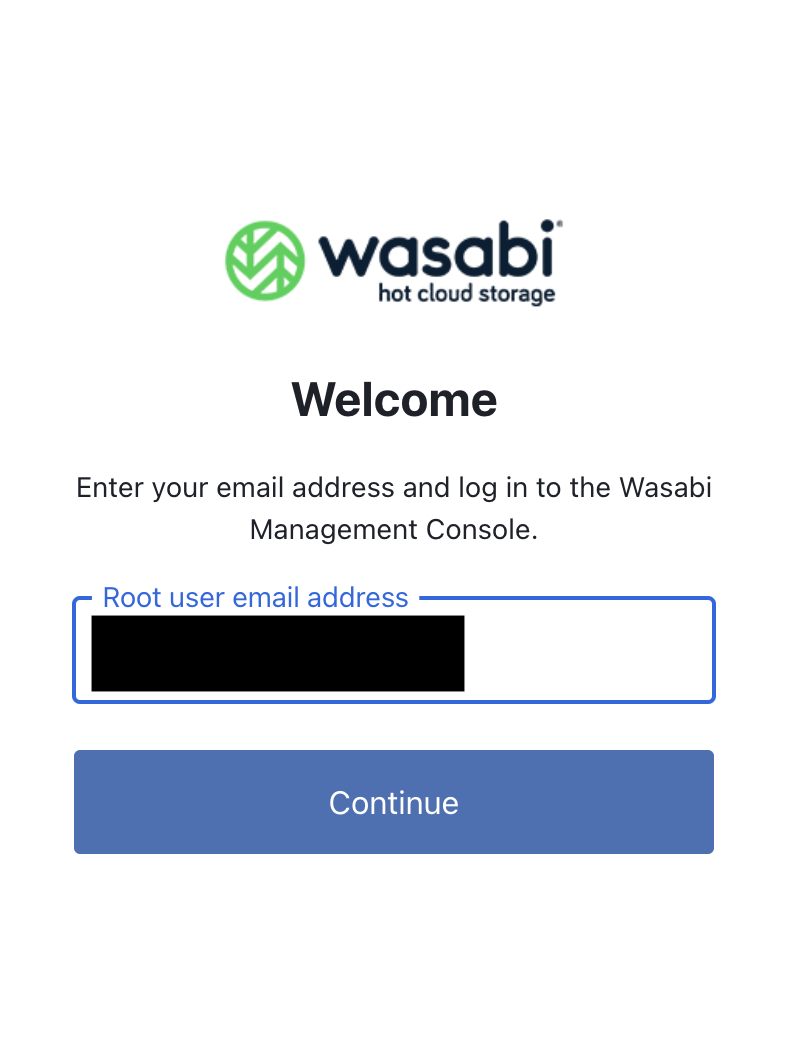
You will be redirected to your IdP’s Okta login page, where you will enter your IdP username/password, then click Next.
Once you have successfully logged in with your company's Okta username/password, you will then be redirected back to the Wasabi Console.
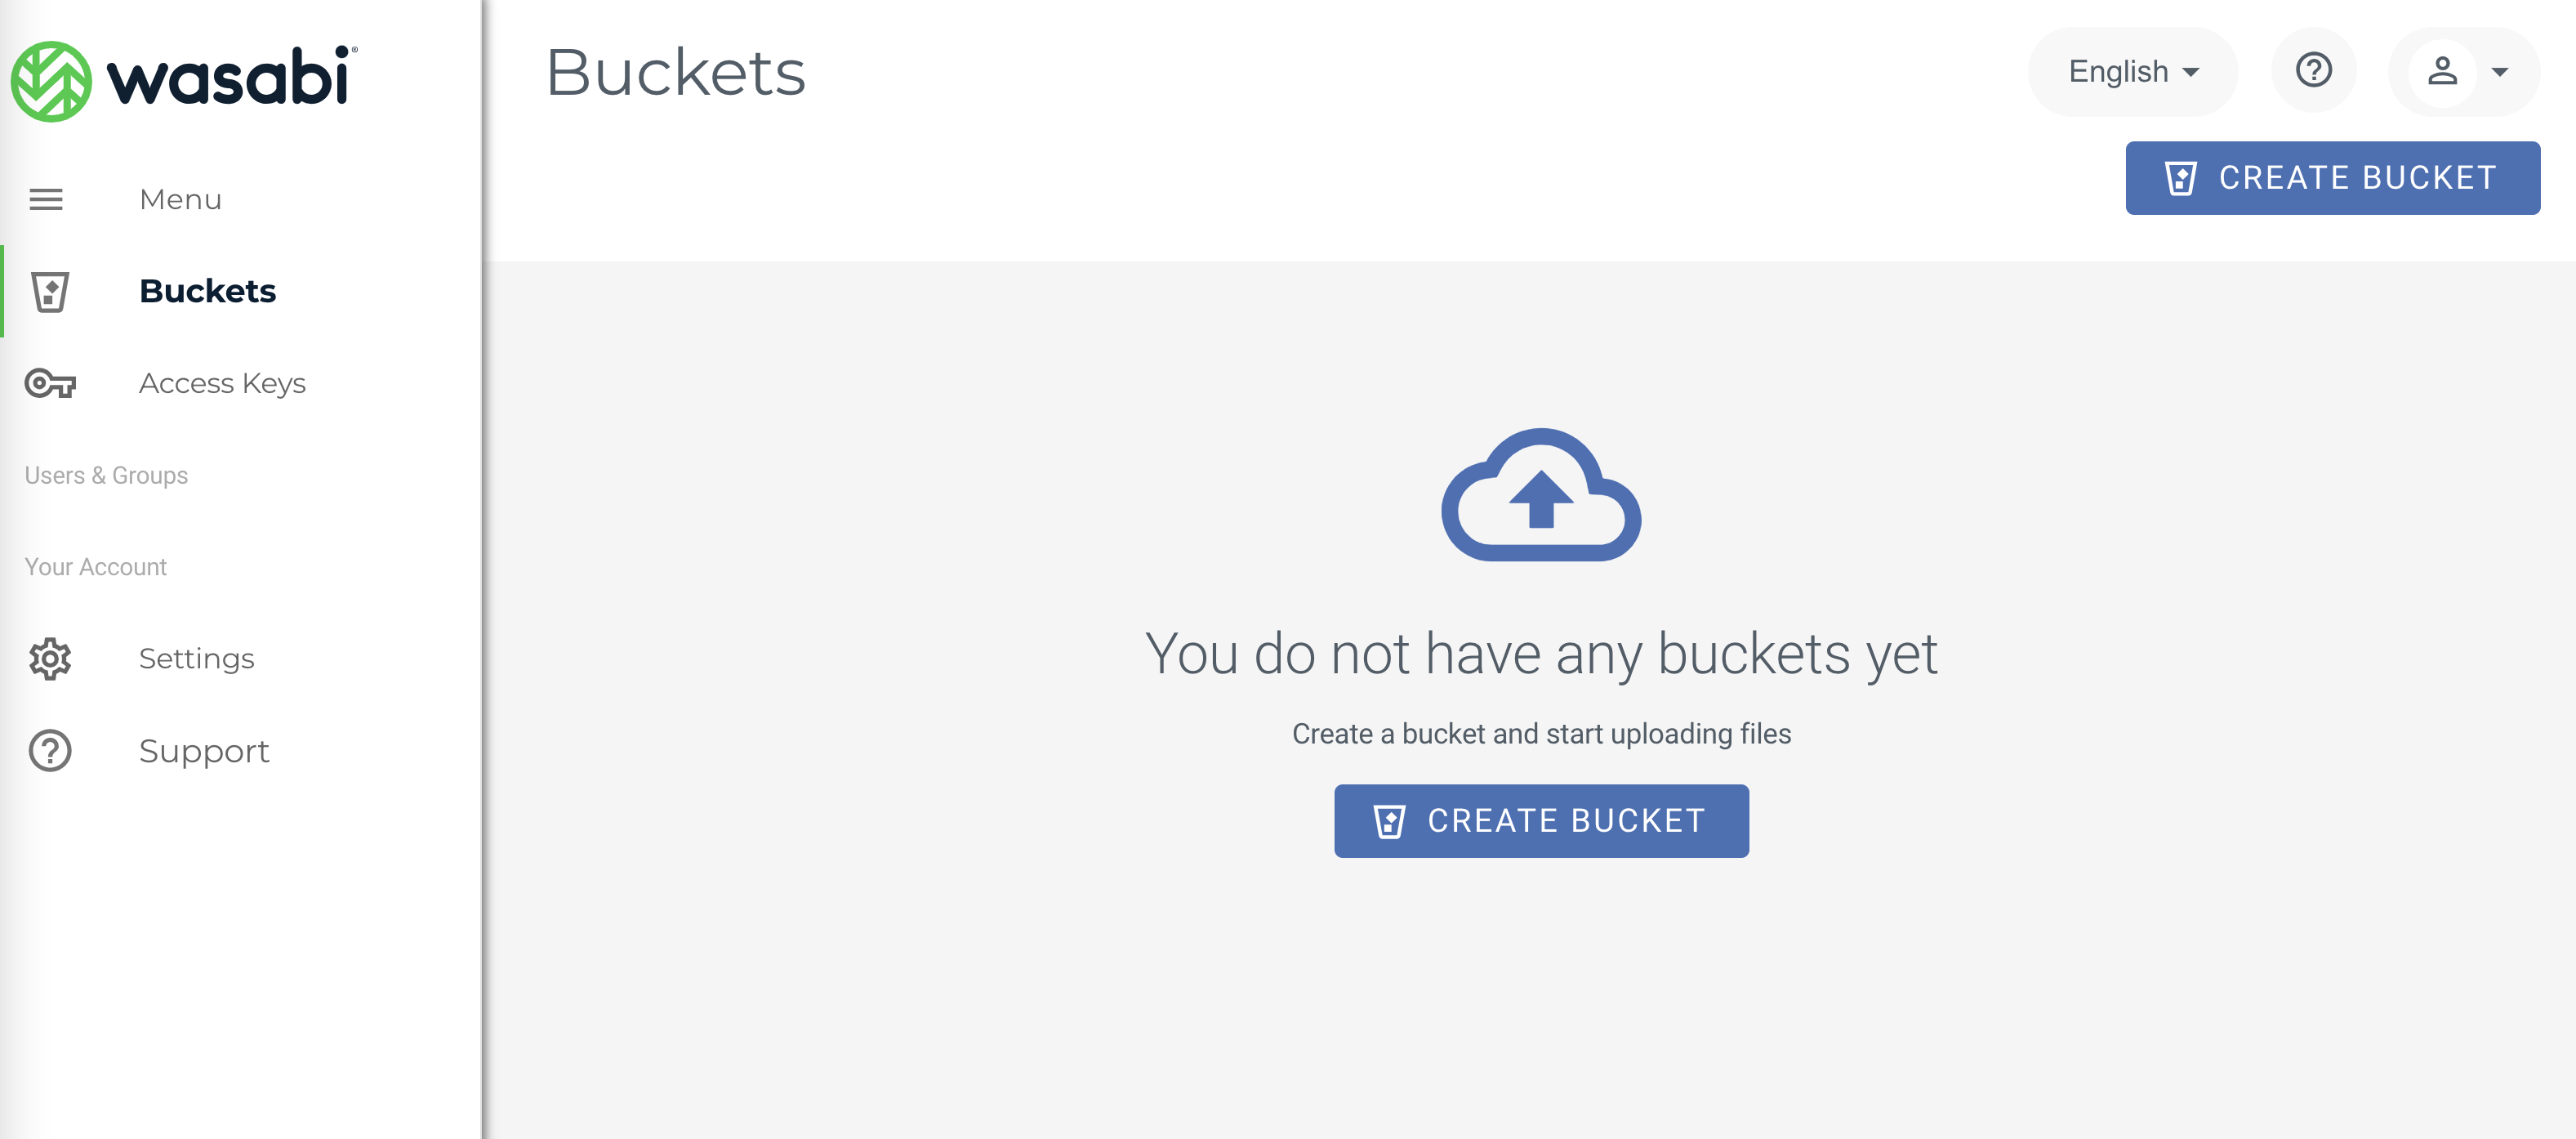
Your view of the Wasabi console may look different due to the IAM policy set under the SSO role you created.