How do I use Veritas Backup Exec 20. X with Wasabi?
Wasabi has been certified for use with Veritas Backup Exec. Veritas Backup Exec is a fast, cost-effective, unified backup and recovery solution for cloud-ready organizations.
For more information regarding Backup Exec-Wasabi support, please refer to Backup Exec HCL.
To use this product with Wasabi, please follow the instructions below.
Please Note: The data restoration process is handled by your specific backup software application. As there are many potential variables that will affect your unique environment, it is strongly recommended that you seek the guidance of your backup software's technical support team in the event that you encounter difficulty, or have application-specific inquiries.
Prerequisites
Operational Veritas Backup Exec release v 20.4 and above
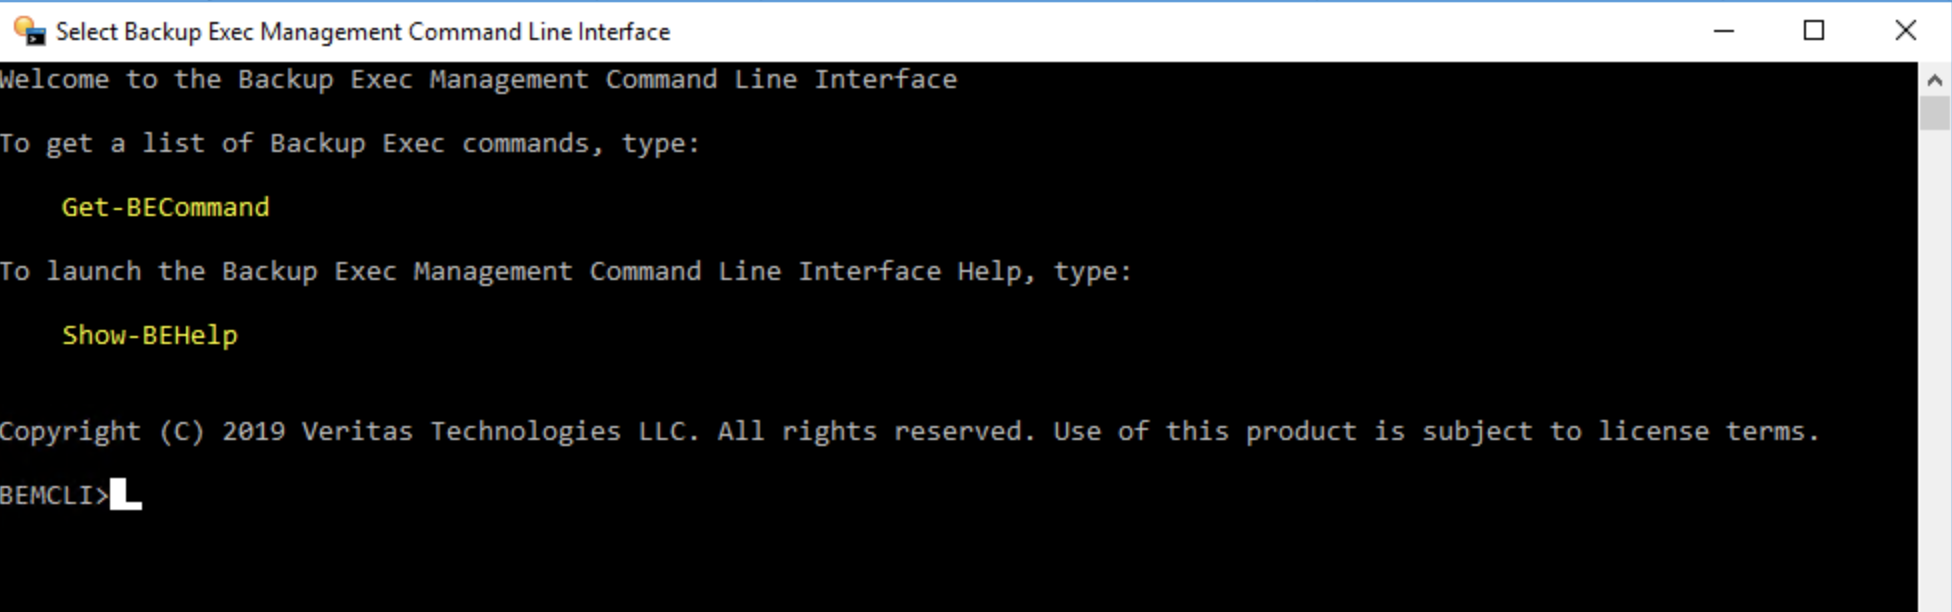
Operational Backup Exec Management Command Line Interface
An active Wasabi account
A bucket created in the Wasabi account
Note: To configure Wasabi for previous Backup Exec 22 please click here.
Configure Wasabi in Veritas Backup Exec
Launch Backup Exec Management Command Line Interface
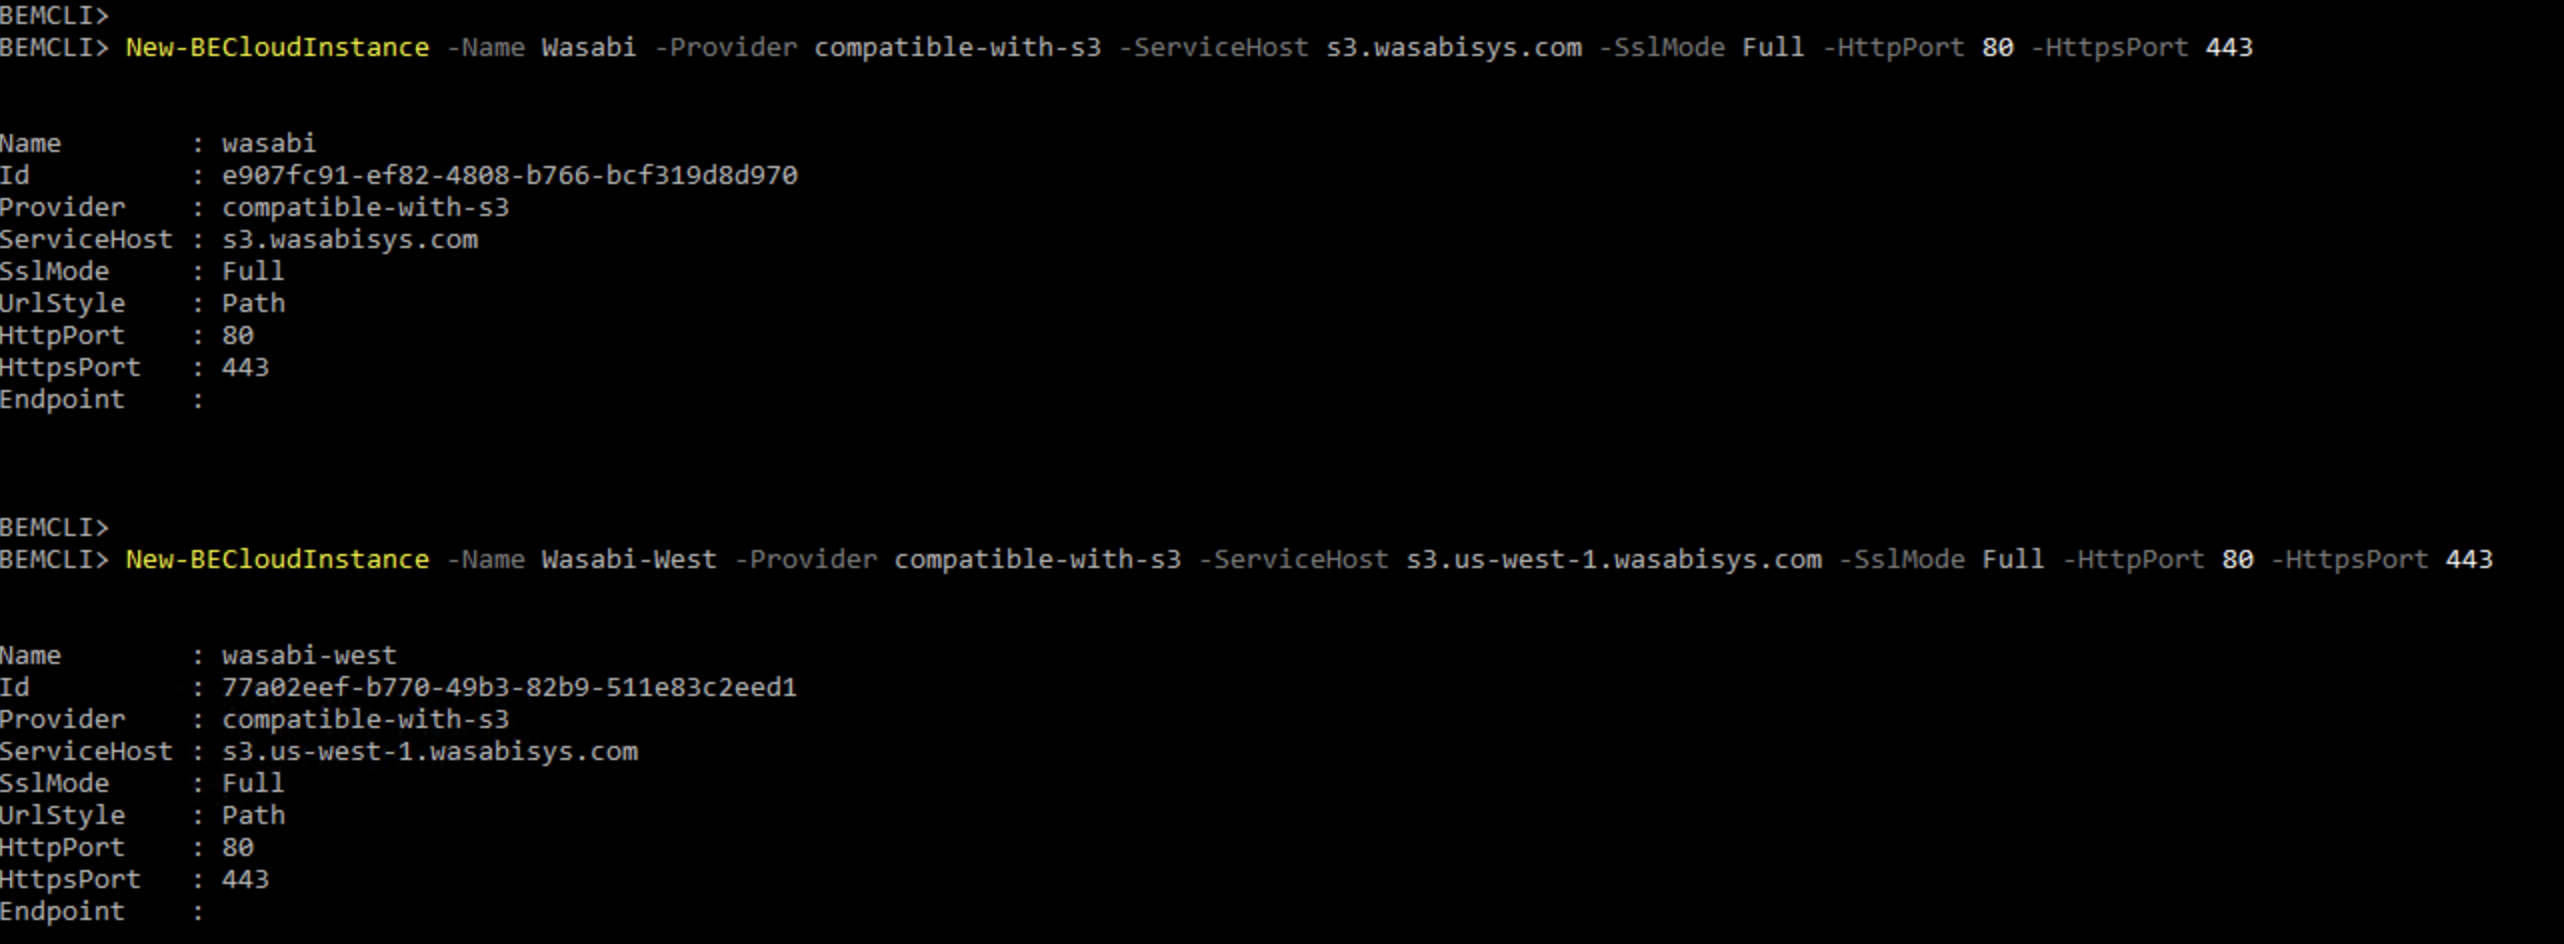
Add Wasabi as the cloud storage destination as follows:
Wasabi - us-east-1: New-BECloudInstance -Name Wasabi -Provider compatible-with-s3 -ServiceHost s3.wasabisys.com -SslMode Full -HttpPort 80 -HttpsPort 443
Wasabi - us-east-2: New-BECloudInstance -Name Wasabi-East-2 -Provider compatible-with-s3 -ServiceHost s3.us-east-2.wasabisys.com -SslMode Full -HttpPort 80 -HttpsPort 443
Wasabi - us-west-1: New-BECloudInstance -Name Wasabi-West -Provider compatible-with-s3 -ServiceHost s3.us-west-1.wasabisys.com -SslMode Full -HttpPort 80 -HttpsPort 443
Wasabi - us-central-1: New-BECloudInstance -Name Wasabi-Central -Provider compatible-with-s3 -ServiceHost s3.us-central-1.wasabisys.com -SslMode Full -HttpPort 80 -HttpsPort 443
Wasabi - eu-central-1: New-BECloudInstance -Name Wasabi-EU -Provider compatible-with-s3 -ServiceHost s3.eu-central-1.wasabisys.com -SslMode Full -HttpPort 80 -HttpsPort 443
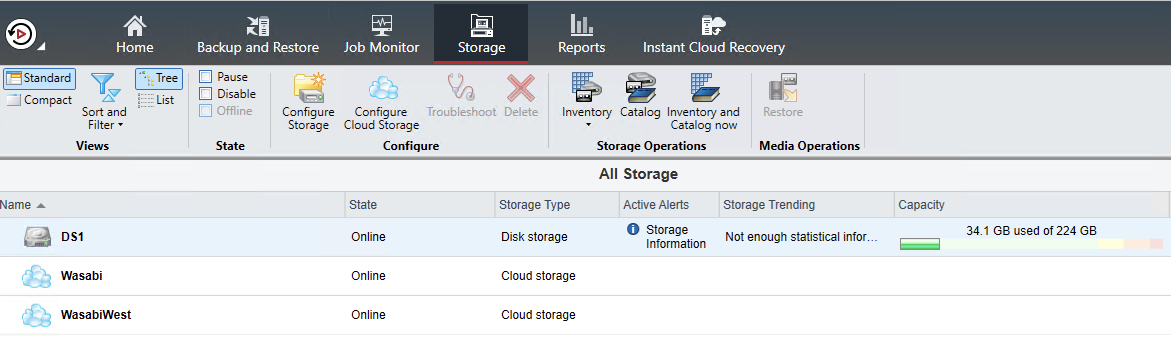
Once the above regions have been added, add them as storage repositories
Click on "Storage" tab
Click "Configure Cloud Storage"
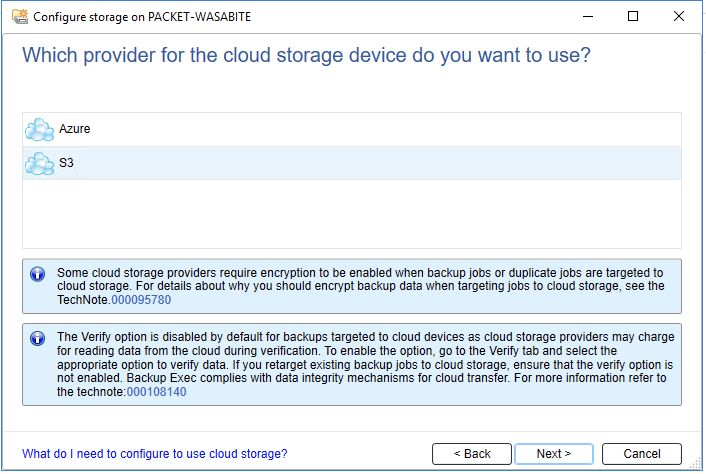
Choose "S3" and click "Next"
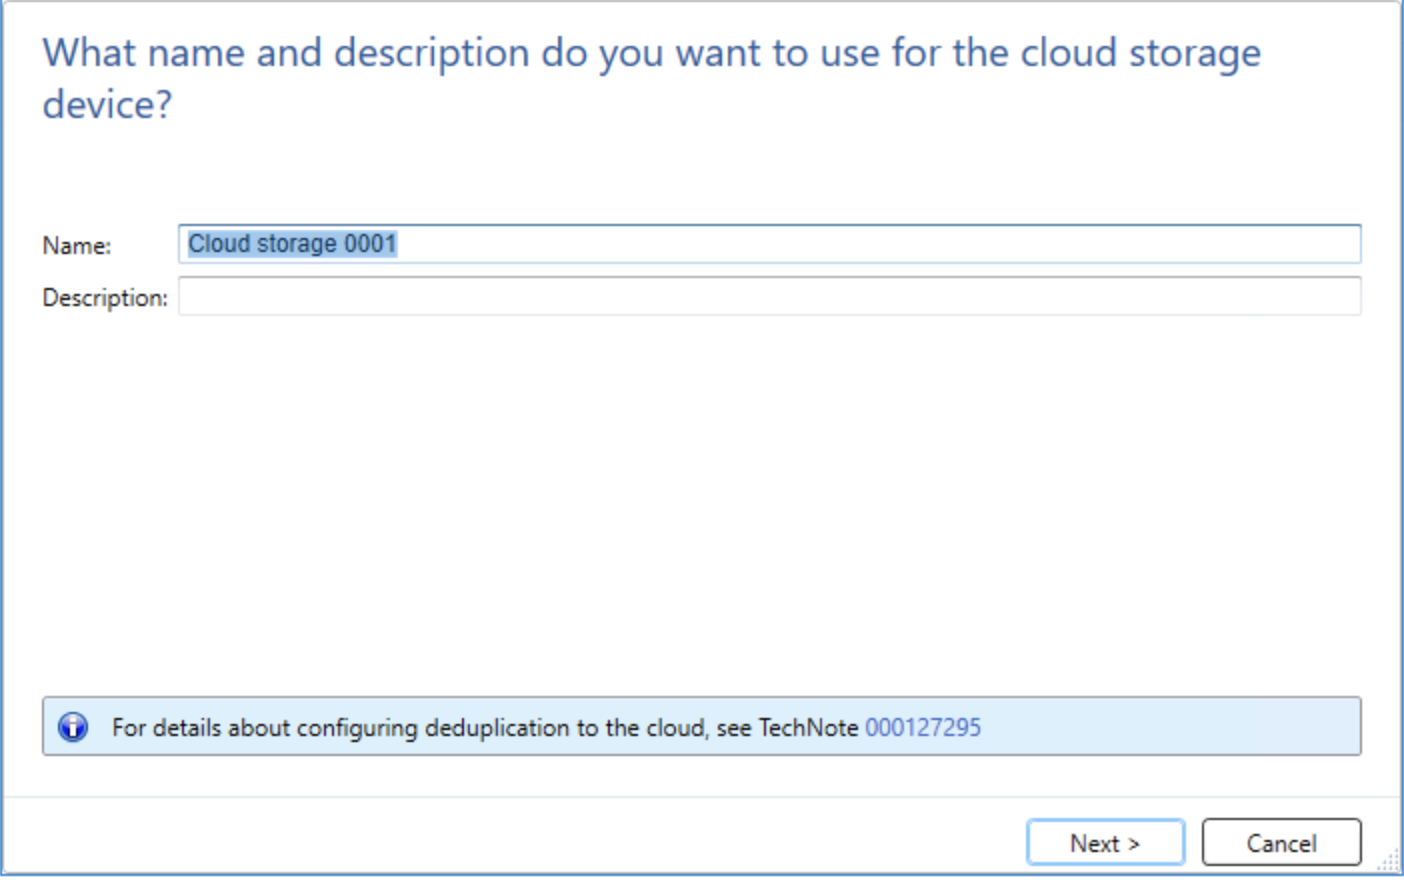
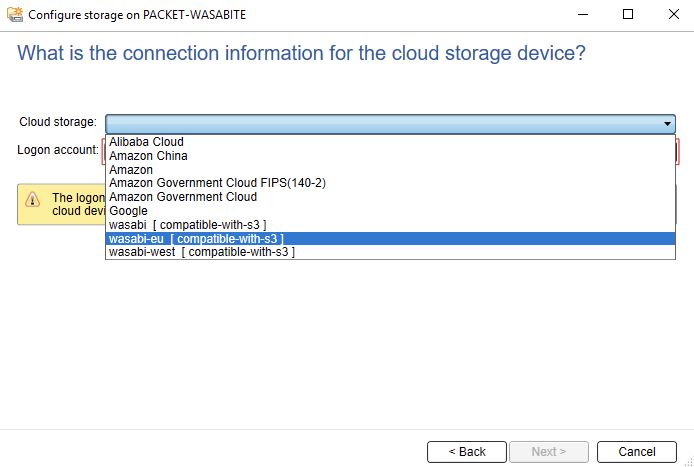
Choose "Wasabi-EU" from the drop-down list:
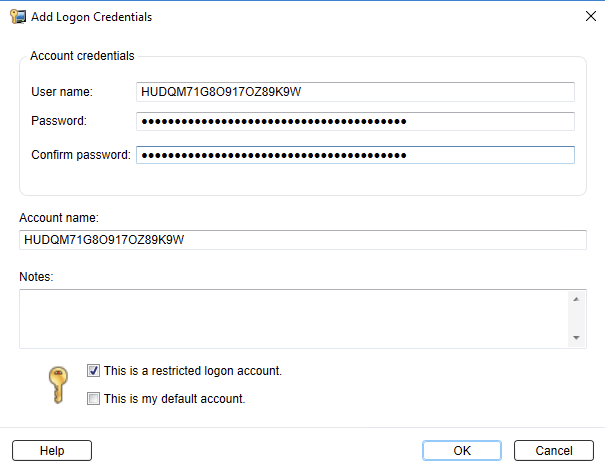
Click "Add/Edit" to add Wasabi's S3 access & secret keys
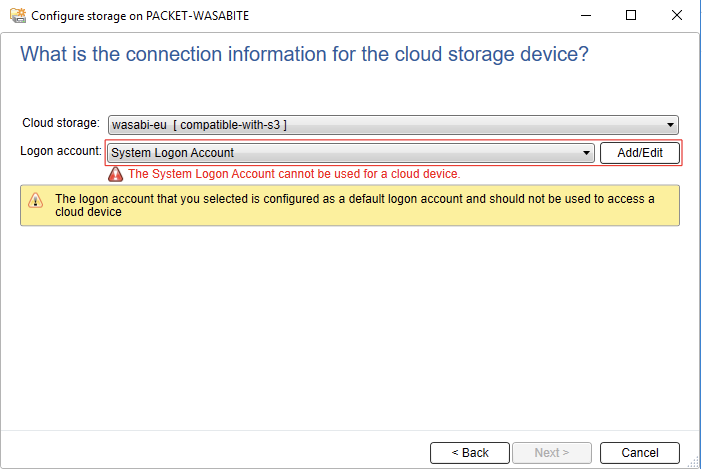
Configure access/secret keys and click "OK" and click "Next"
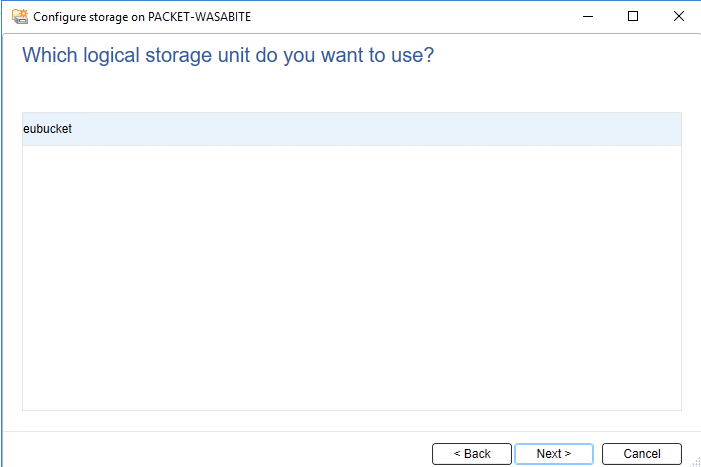
Choose bucket and click "Next"
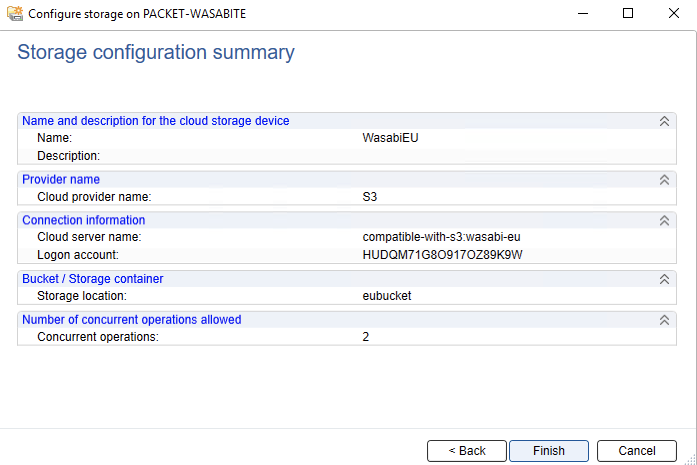
Review configuration and click "Finish"
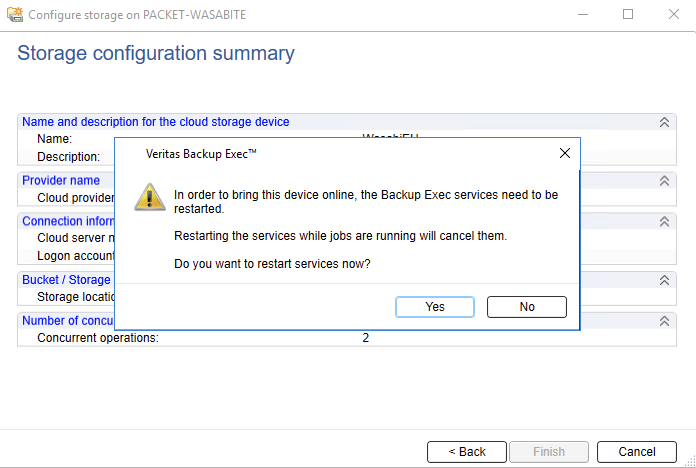
Once operation completes, restart Veritas Backup services
Install Veritas backup exec agent and add server
Click on "Backup & Restore"
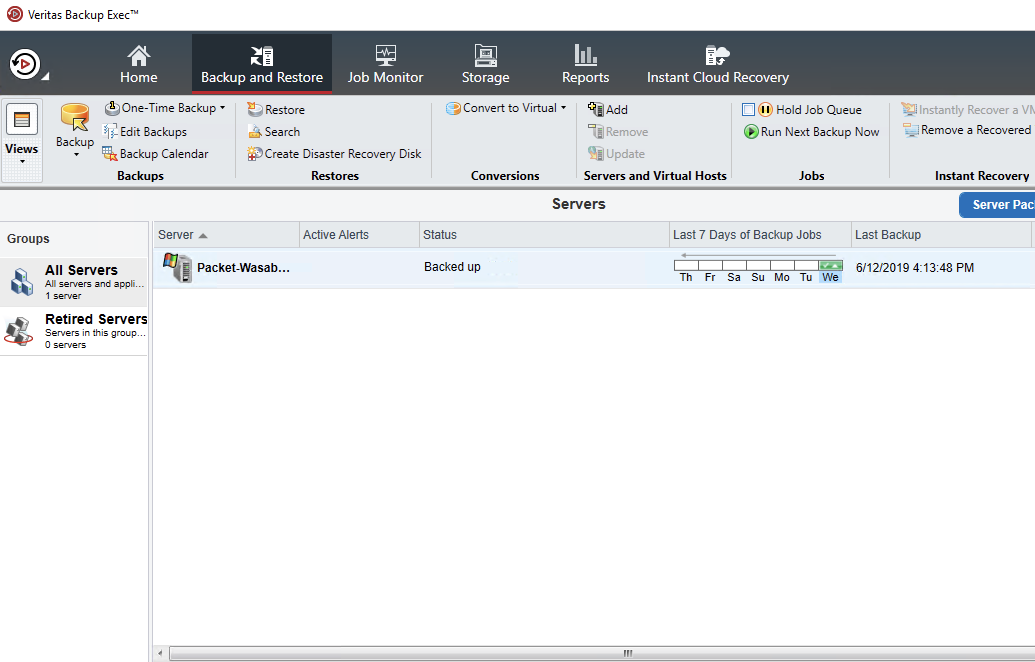
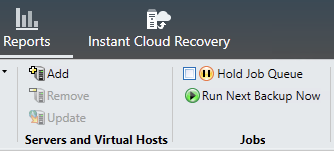
Under Servers and Virtual Hosts, click on "Add"
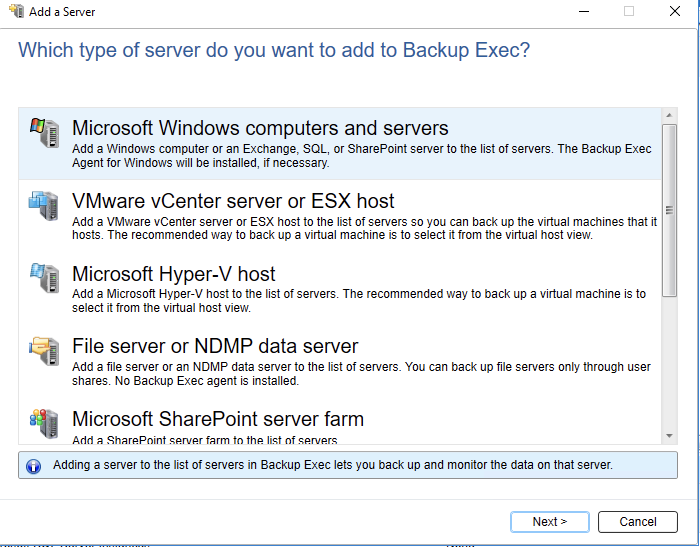
Choose the type of server infrastructure that needs to be backed up:
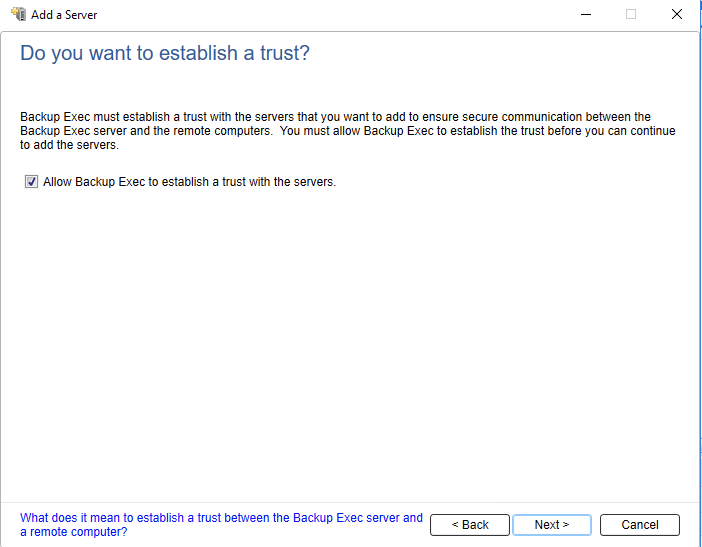
Be sure to check "Allow Backup Exec to establish a trust with the servers" check box and click "Next"
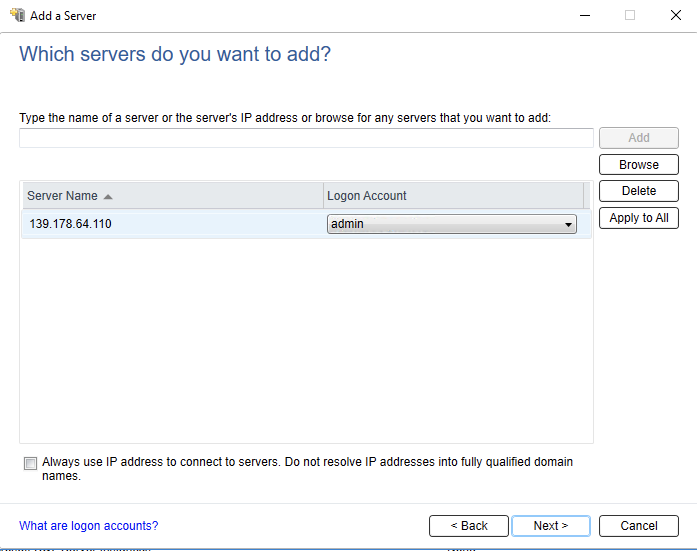
Add servers with an associated "Logon Account" and Click "Next"
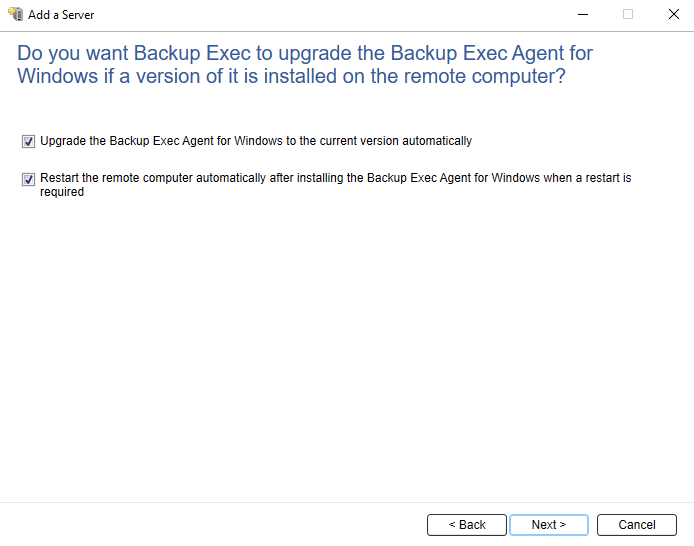
Check both boxes to ensure that updated backup agent software has been installed and available to create backup and click "Next"
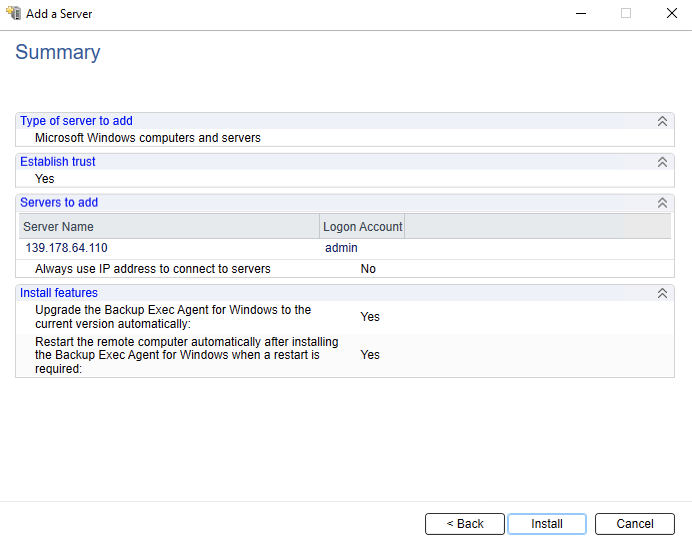
Review the configurations and click "Install"
Veritas Backup Exec will verify appropriate packages have been configured and installed on your remote server and complete successfully.
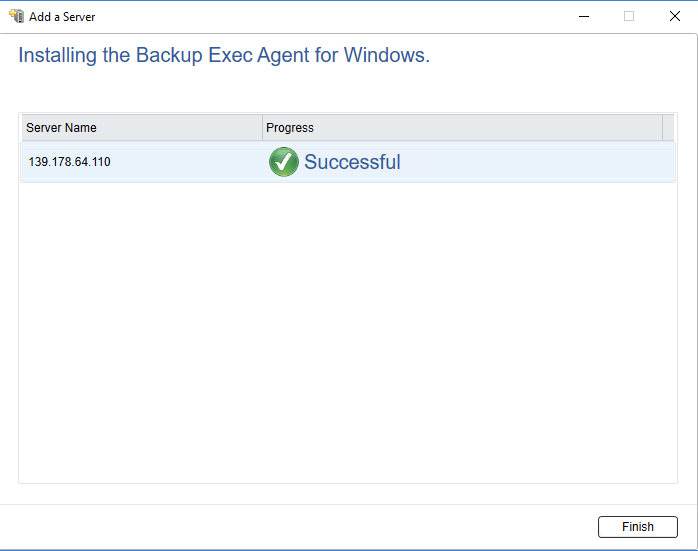
Once the agent software is successfully installed - the server will be available to be backed up.

Create a backup job
Right click on the server that needs to be backed up and choose "Back Up to Cloud"

Click "Edit" and choose the type of backup, backup certain folders, application data or entire VM

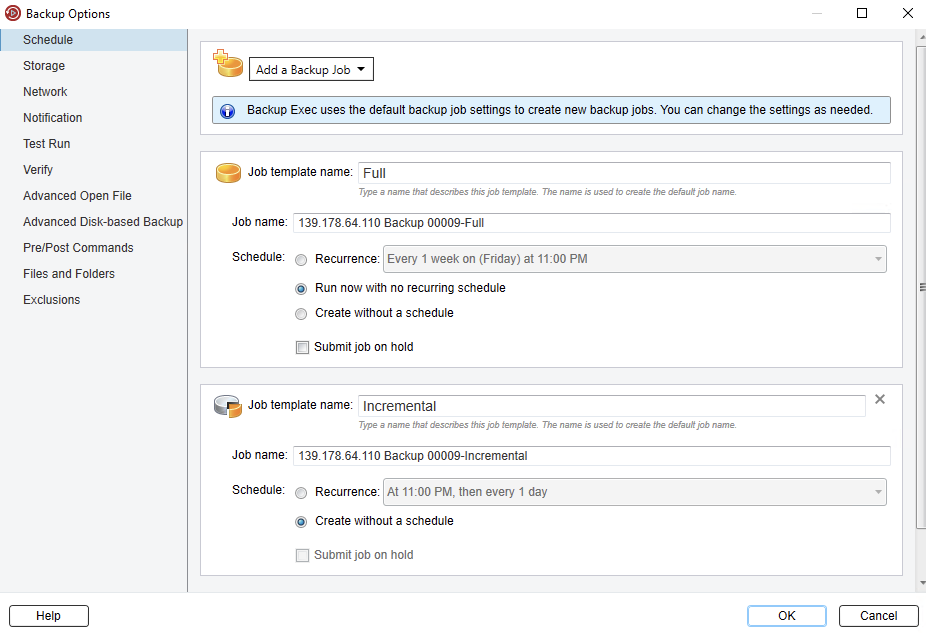
Click "Edit" under the "Backup" section and choose when the backup needs to run, either run it once or create a schedule based the requirement
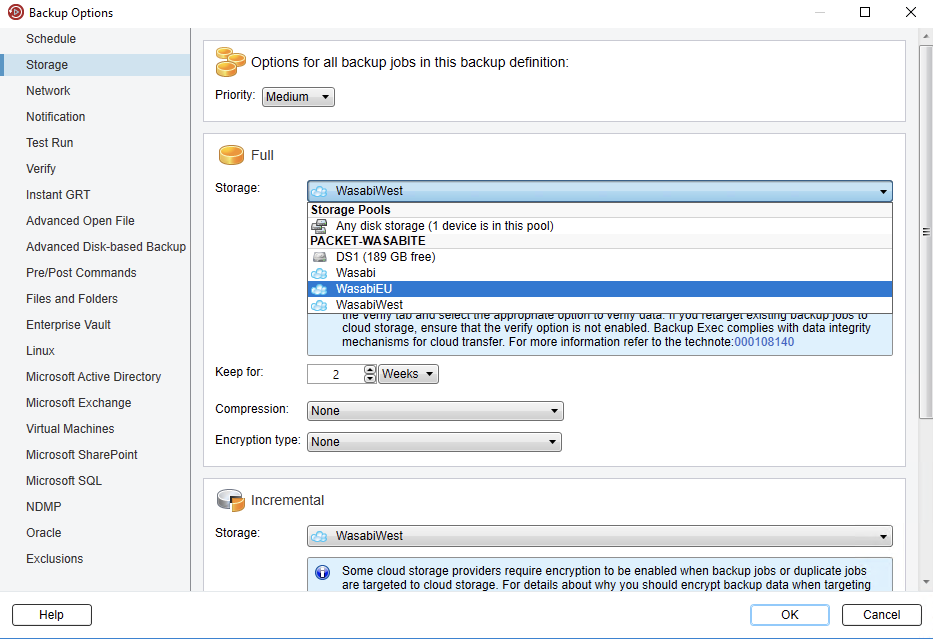
Click on "Storage" and choose Wasabi's region to store your backup and click "OK"
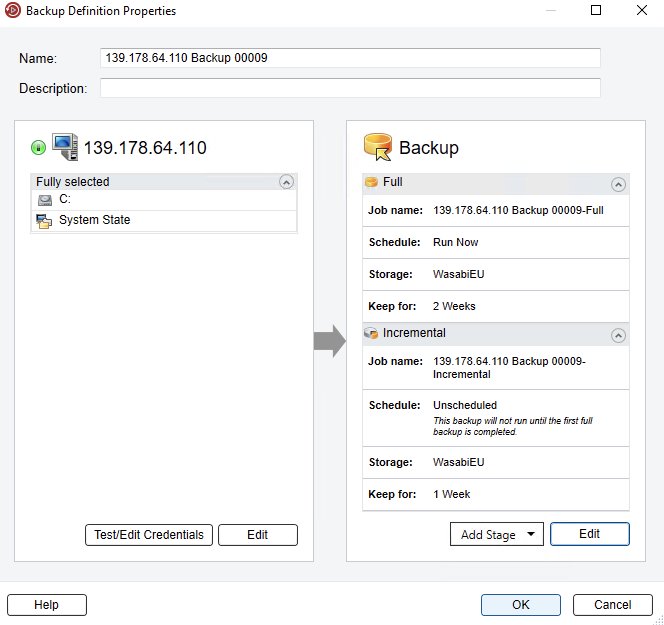
Click "OK" in the Backup Definition Properties
The Backup process commences after

Once complete status will change to "Backed up"

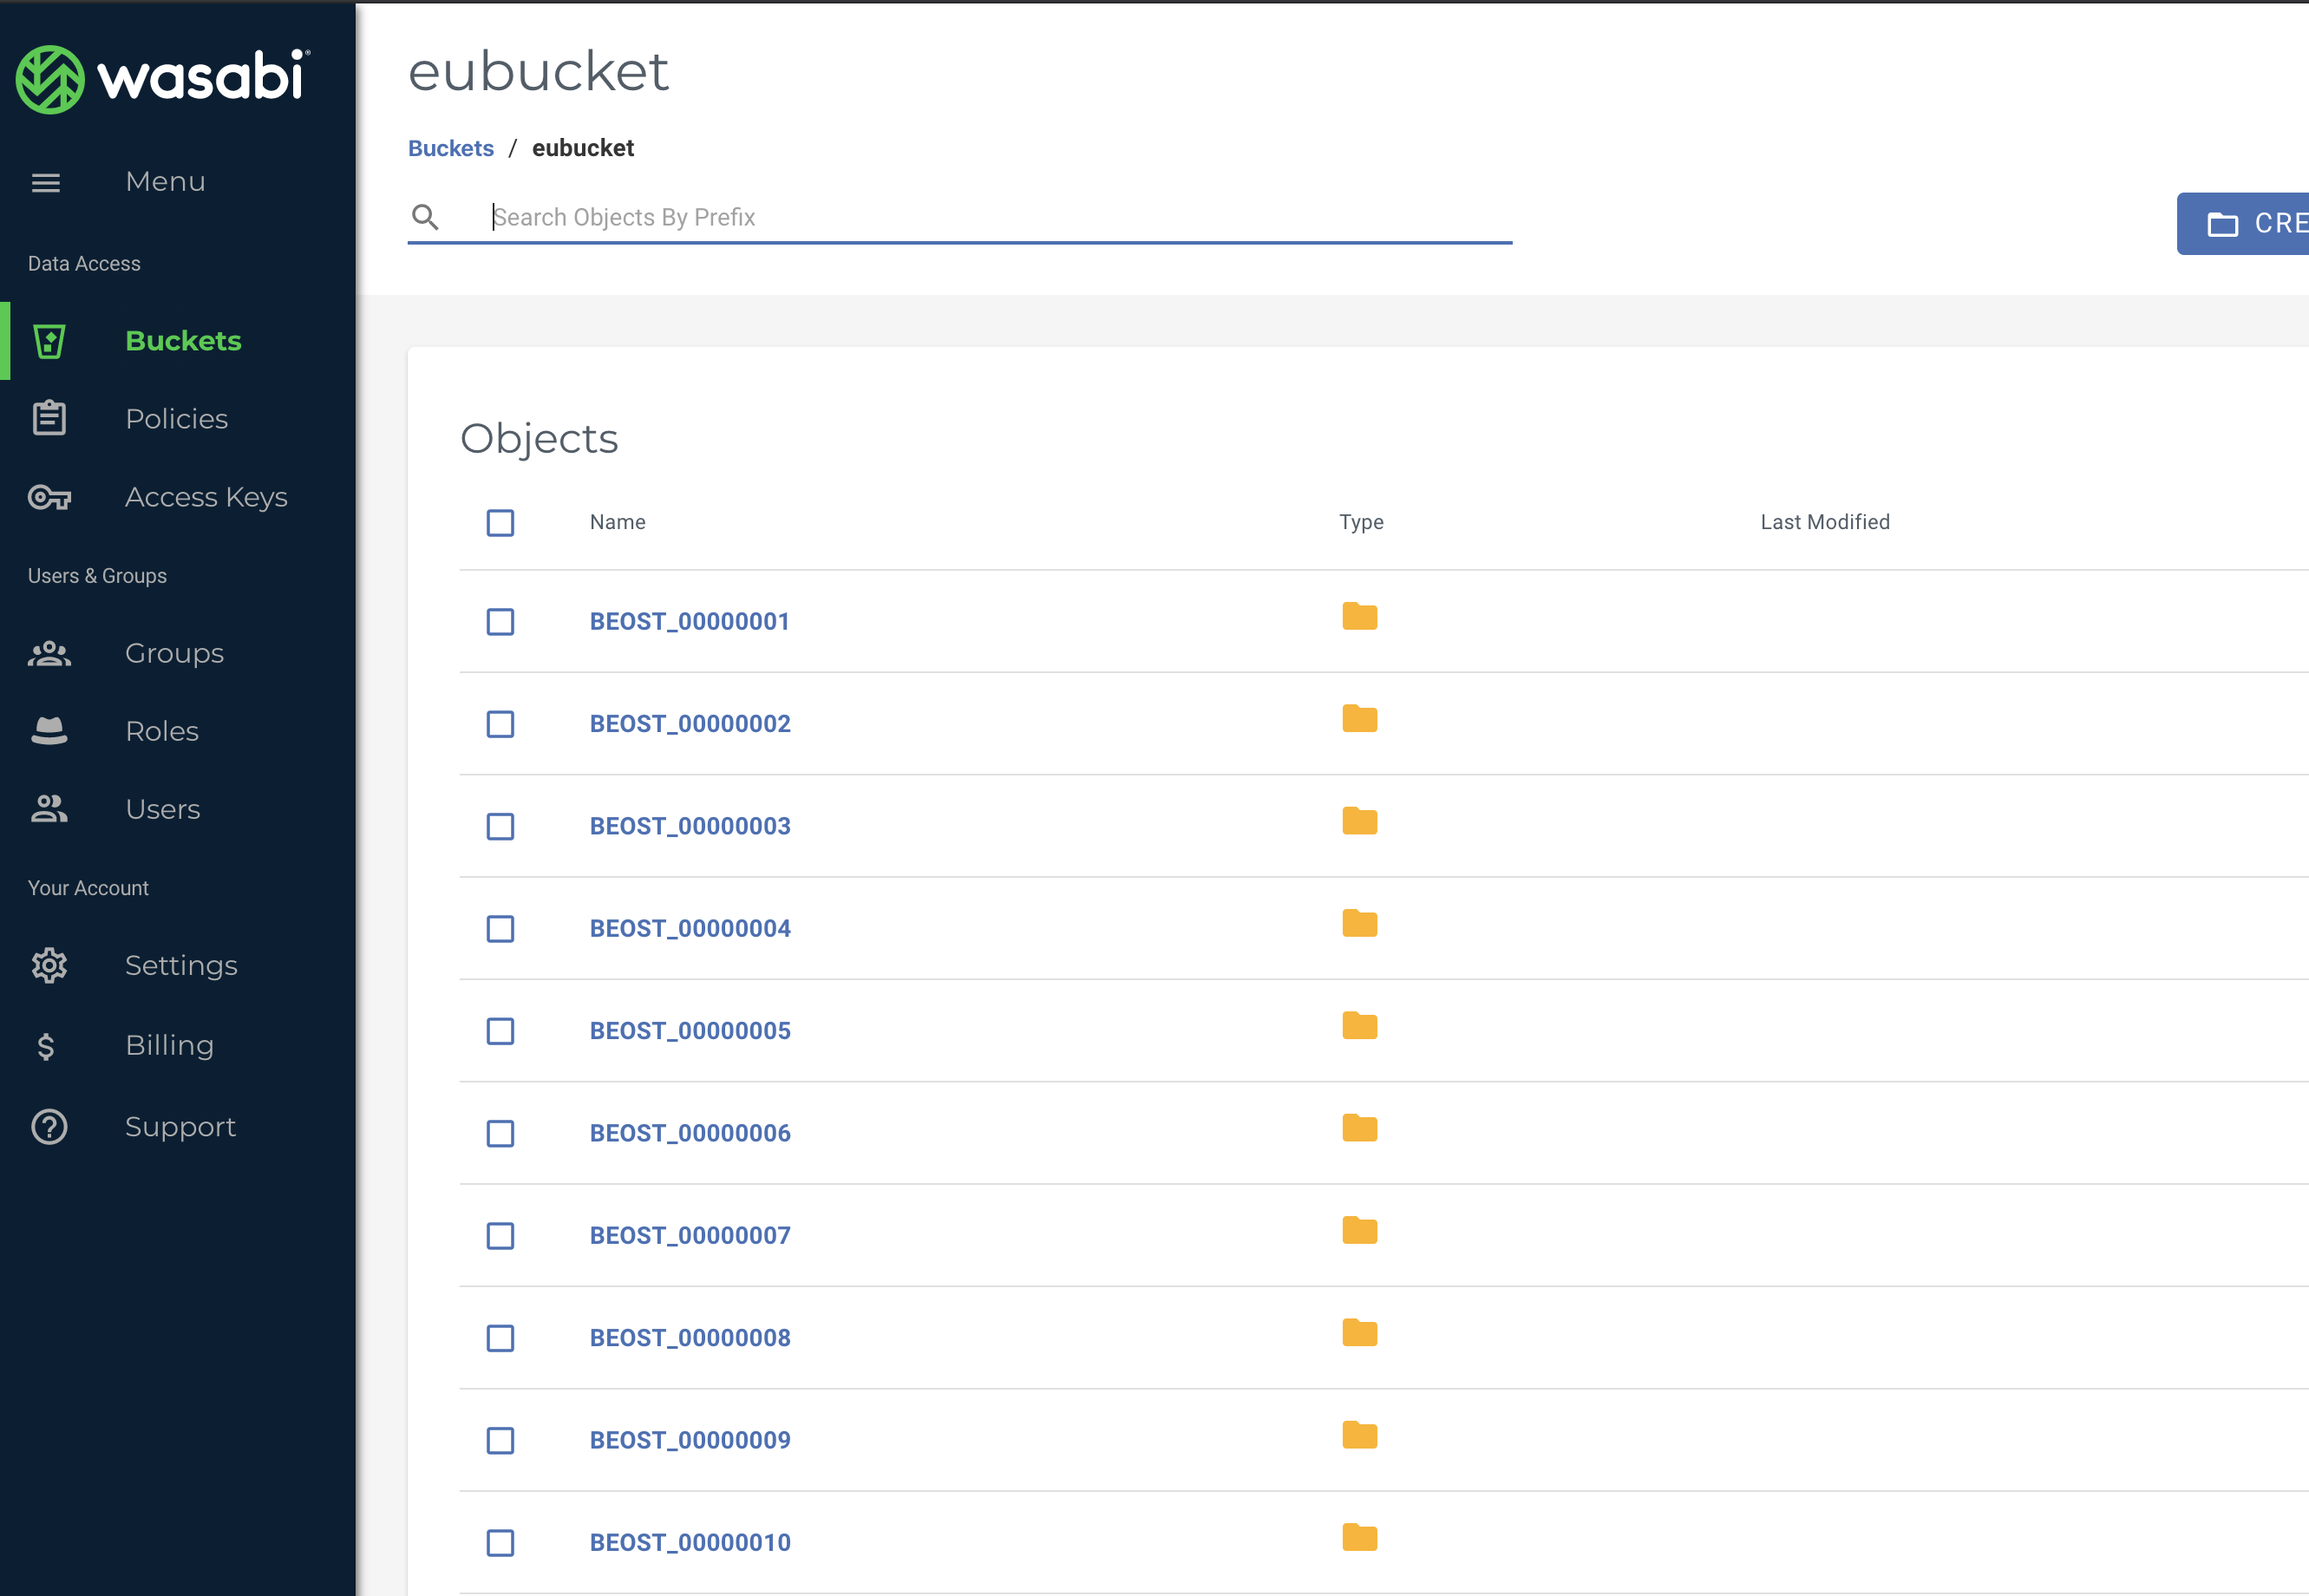
The backup job will create a number of folders in your bucket on Wasabi, For example, you might see a structure that looks like this: