In the event of a server or hard drive failure, Wasabi Surveillance Cloud (WSC) enables you to restore your metadata and archived footage to your on-premise hardware.
If your hard drive that was storing your archived footage fails, be sure to replace the bad hard drive before setting up a new source for the disaster recovery (DR). To perform a DR restoral for standard VMS profiles, follow the steps below.
- Click Wasabi Surveillance Cloud.
- Click Add Source.
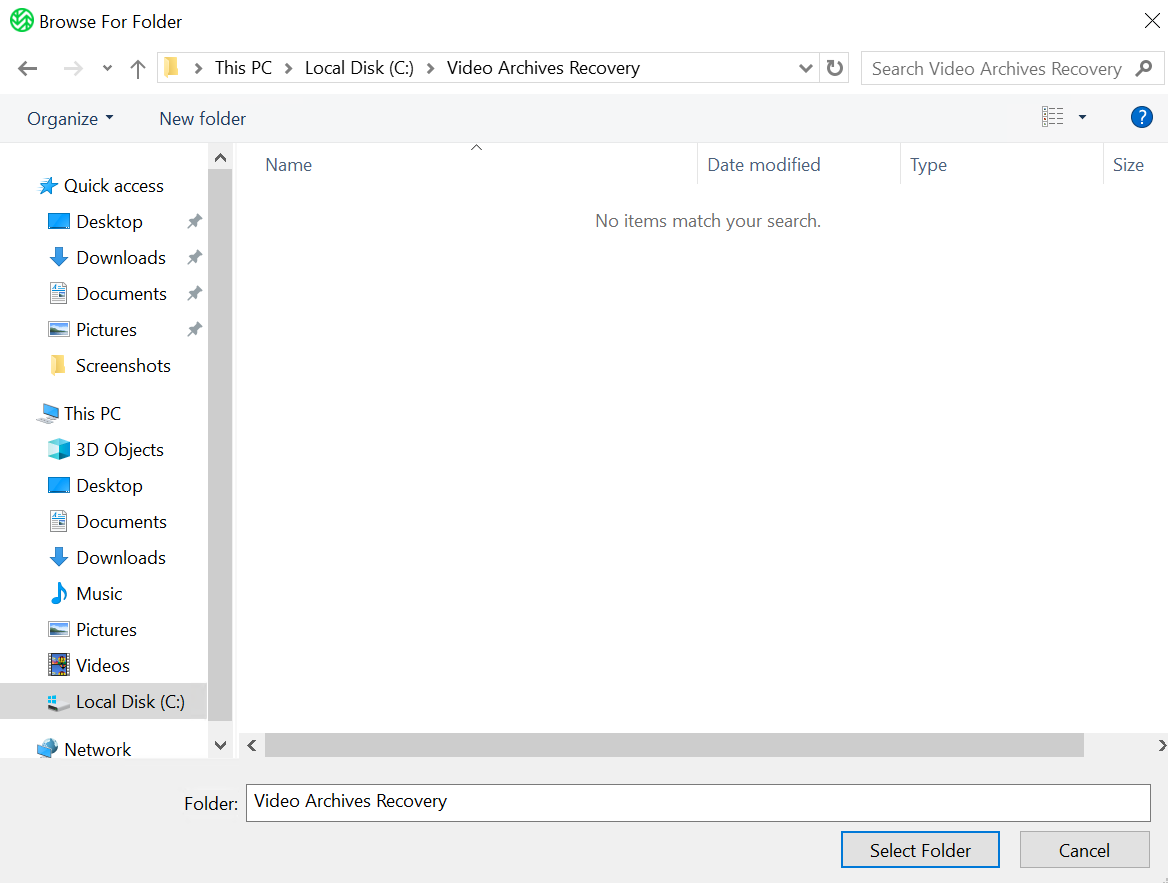
- Select the new drive and folder in which to restore your metadata or footage.
- Enter the following Wasabi credentials:
- Source path
- Target name
- Region
- Server URL — Auto-populates based on selected region.
- Access key
- Secret key
- Bucket — Select the bucket where your recordings were stored.
- Click Apply.
- When performing a DR restoral, you will be presented with the following options to perform on any existing data in the target. Select an action.
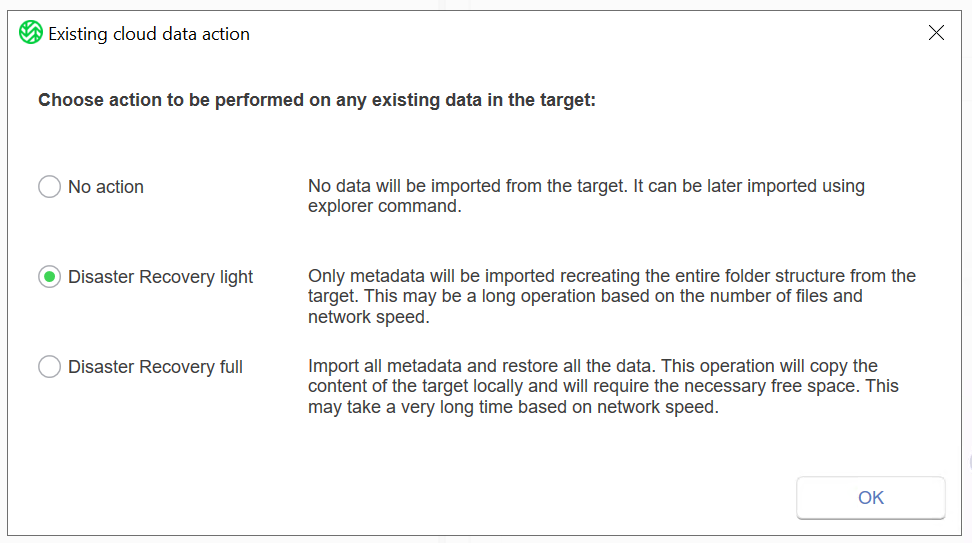
- Click OK.
- A message will confirm that the changes were successfully applied. The disaster recovery procedure has begun. Click OK.
- To resume WSC operations, click Wasabi Surveillance Cloud.Depending on the number of cameras, folders, and recordings stored, the time to reindex all of your metadata or footage may vary depending on the size/amount of files and/or the speed of your ISP.
- Click Resume.
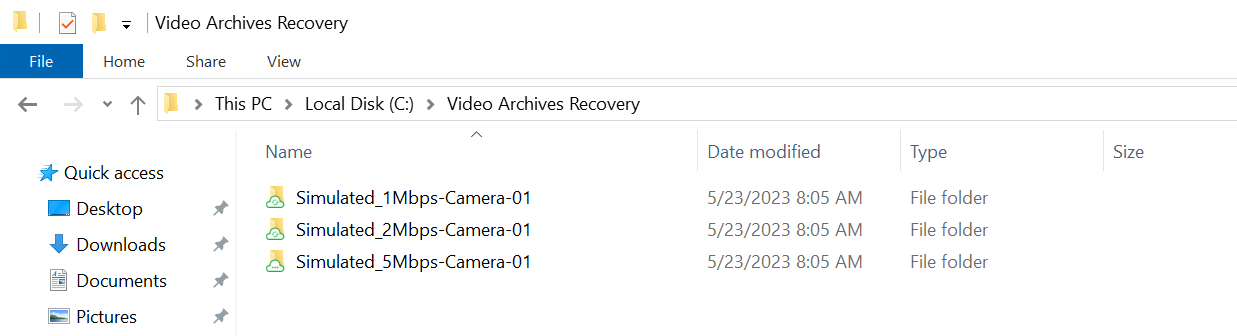
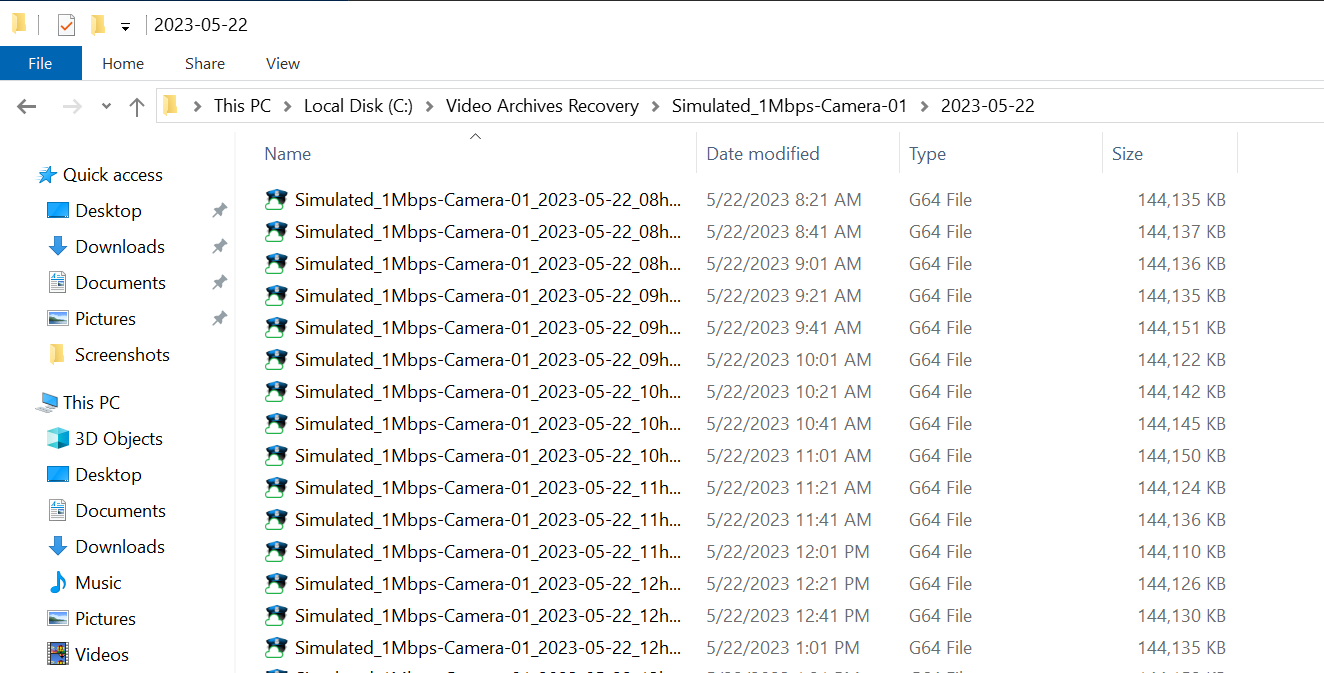
You will see your existing folder structure created.
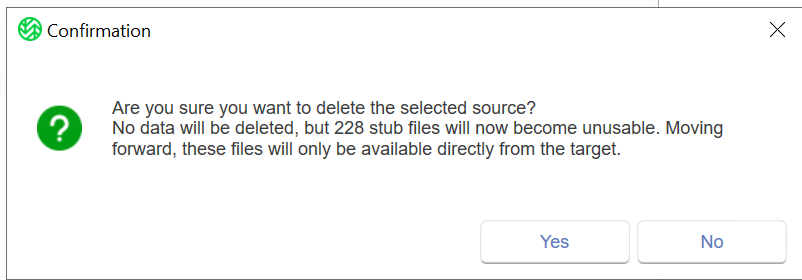
All existing stub files will be reindexed to your file system.
Depending on your VMS, upon restoring your metadata and/or archived footage, you may be required to reindex the video files to the VMS database either directly through your VMS software or by using the SQL database.
Additional Notes: