Wasabi Surveillance Cloud (WSC) enables you to leverage the Windows Task Scheduler to schedule replication and offload video data when the network bandwidth limit is reached. To configure the task scheduler, follow the steps below.
Pause the Replication Task Scheduler
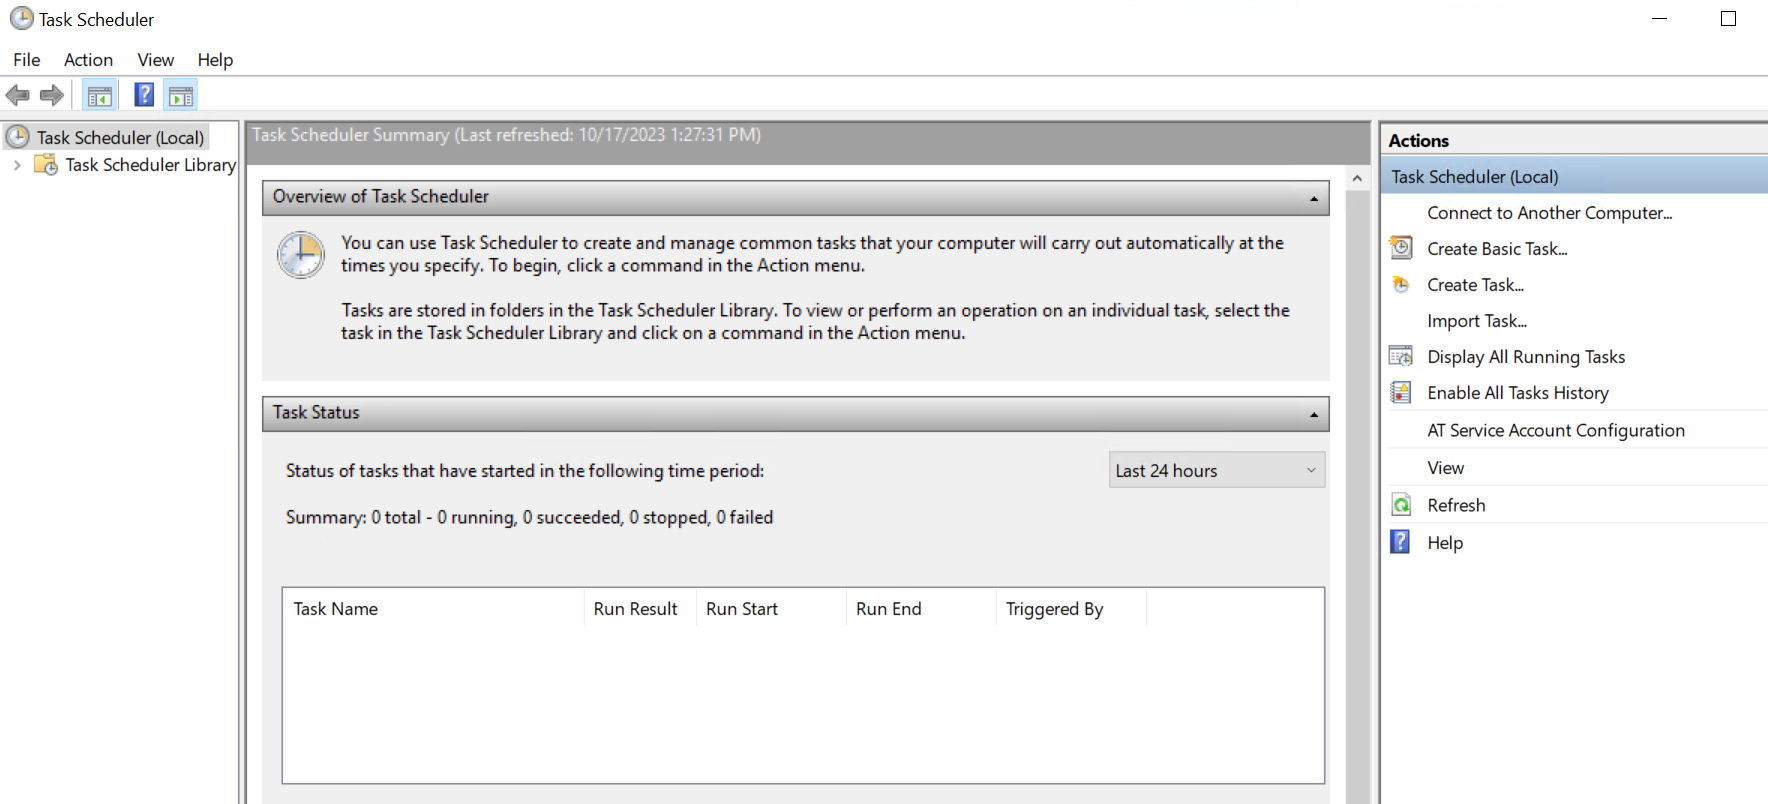
- Navigate to the Windows Task Scheduler.
- Select the Action tab.
- Select Create Task from the drop-down.
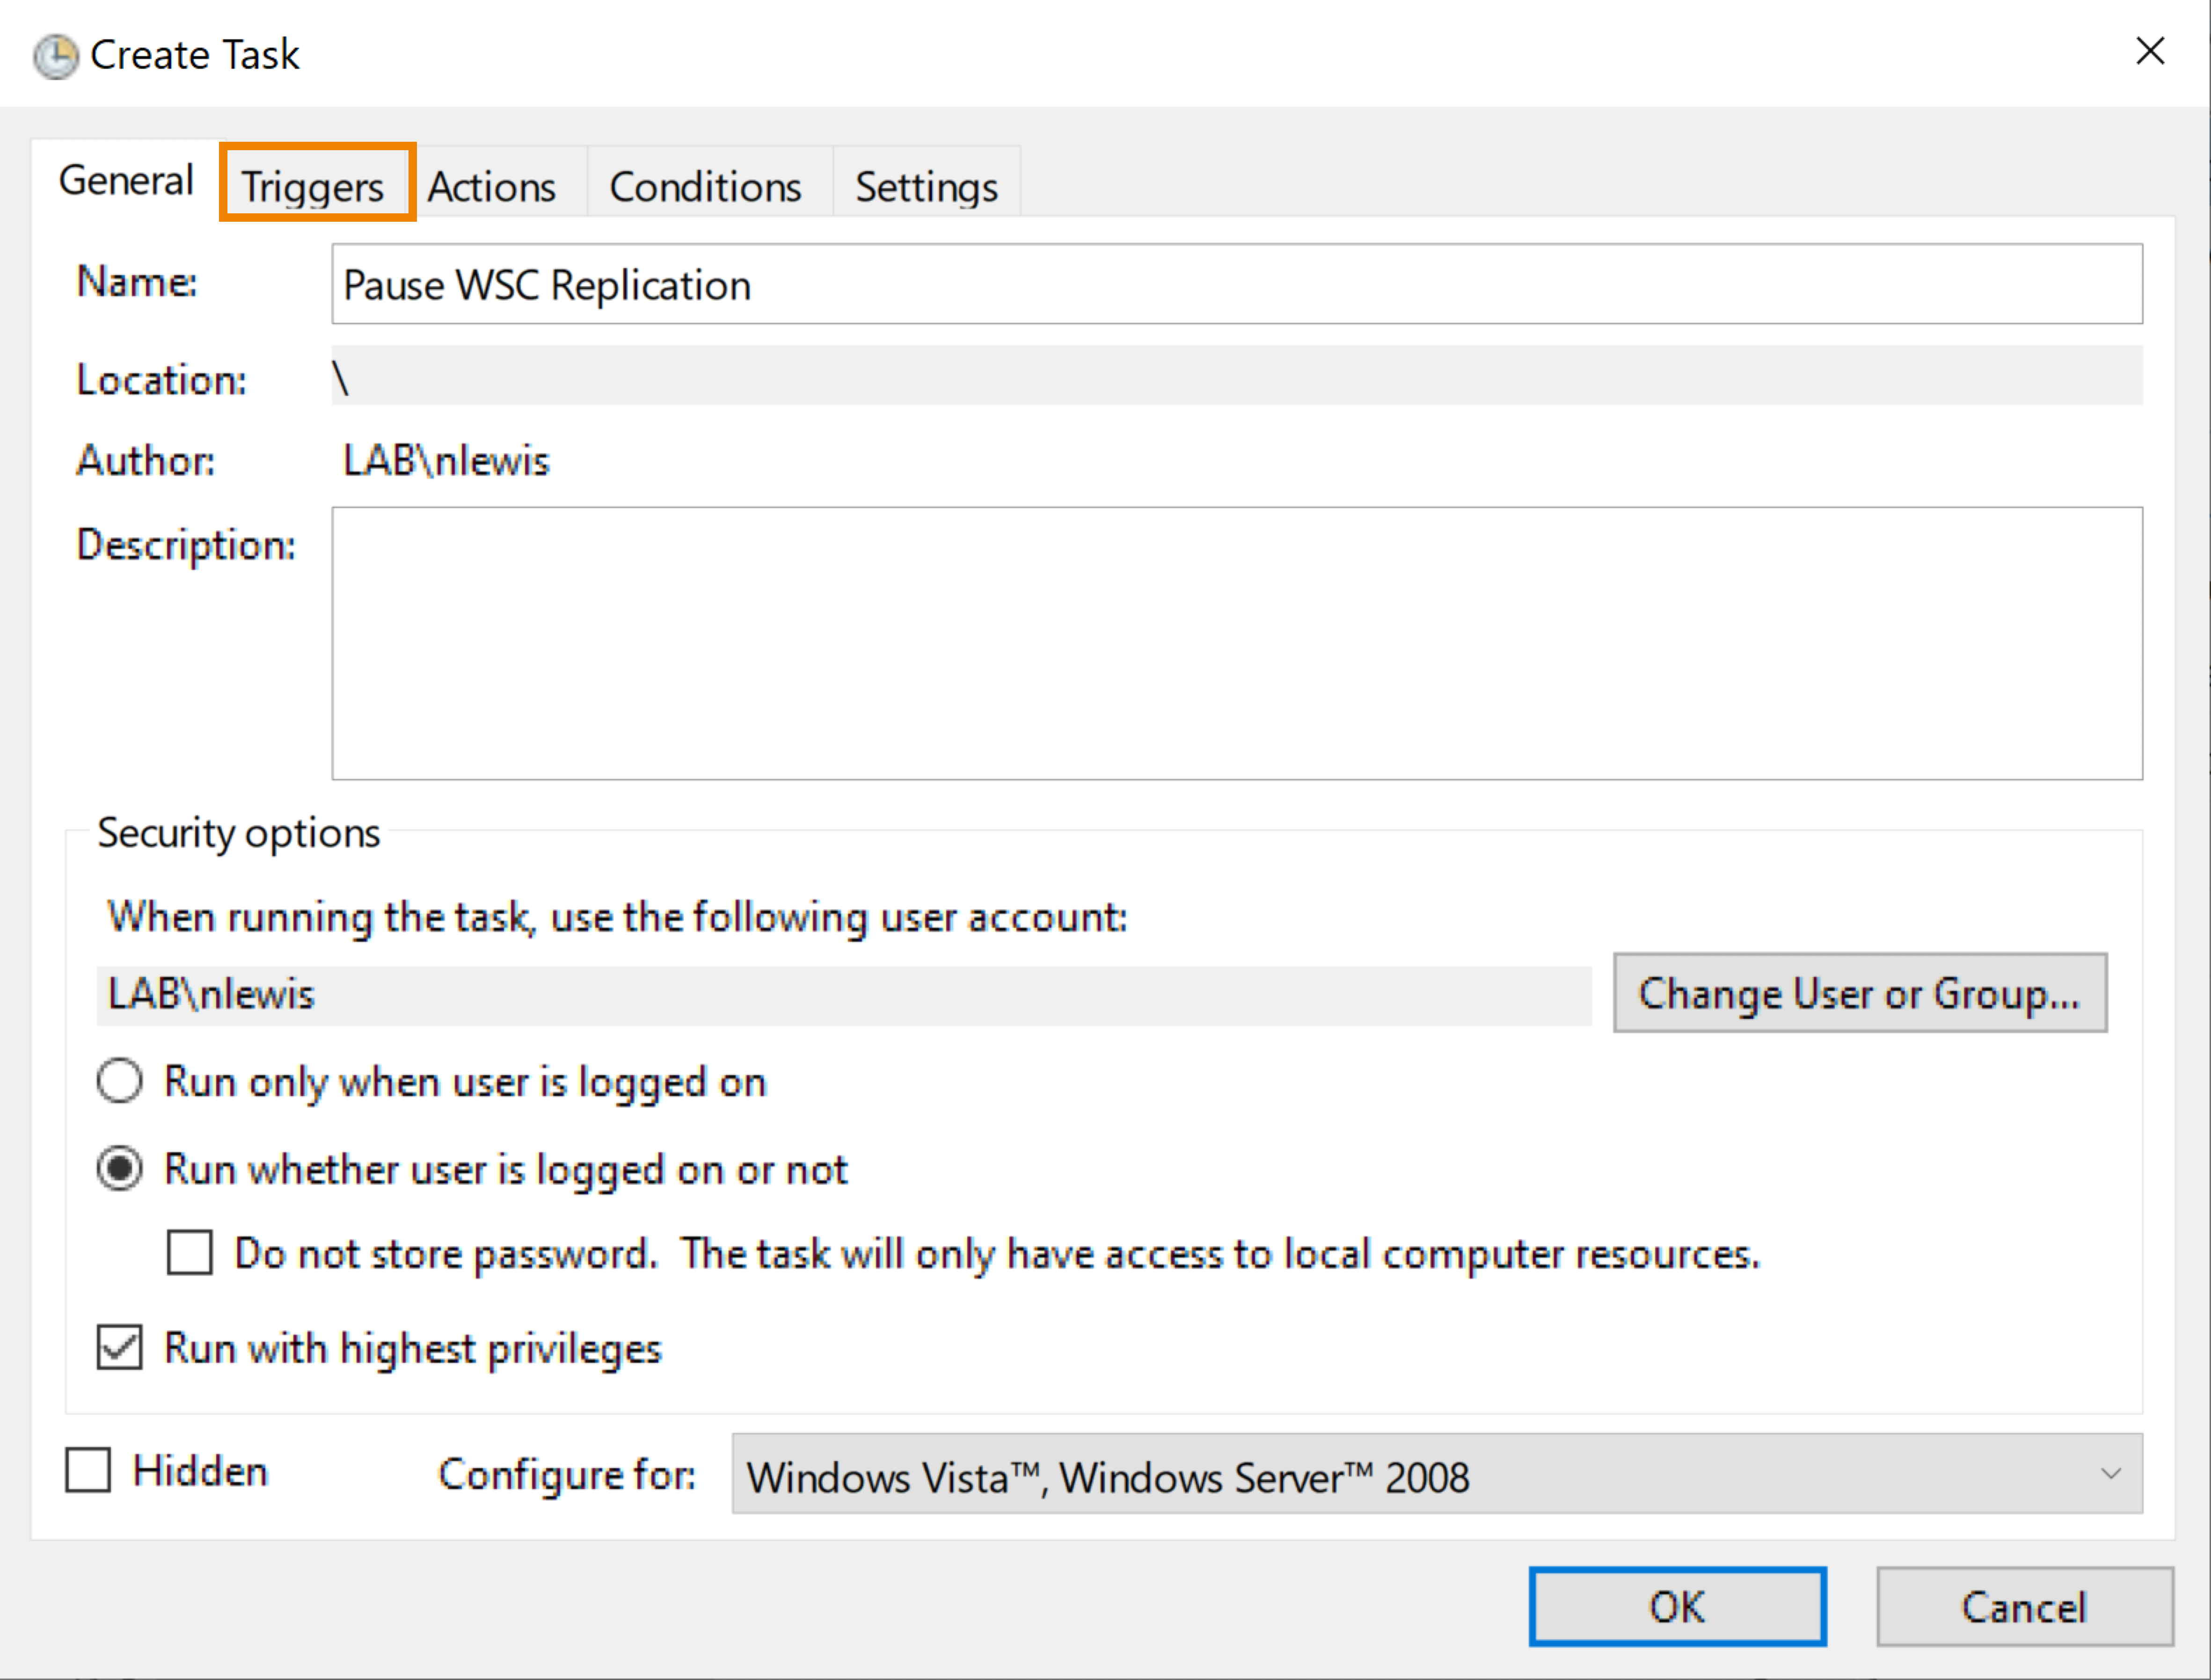
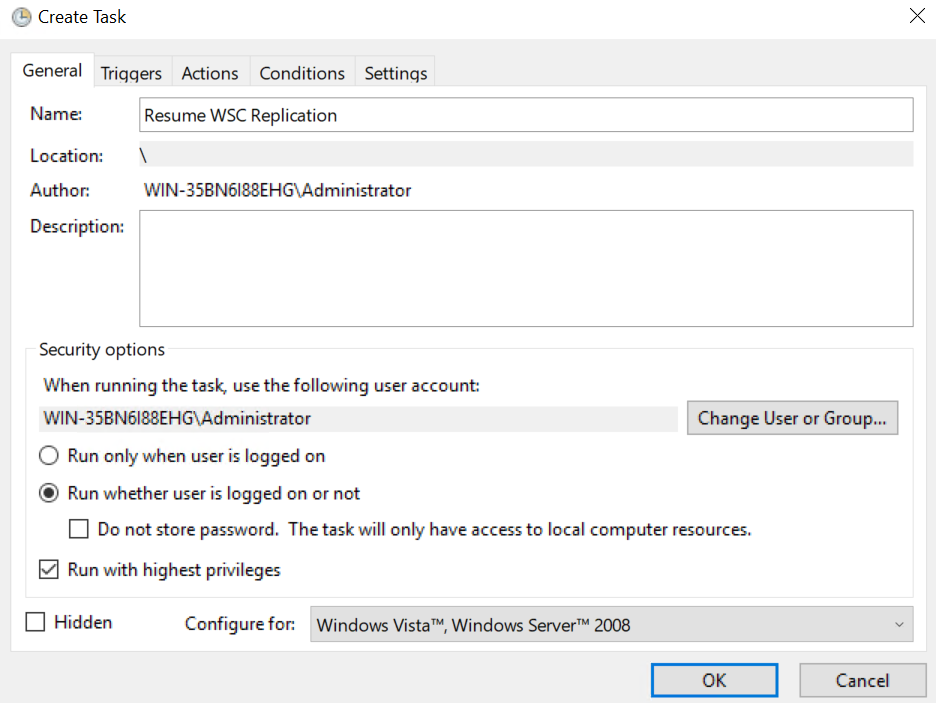
- Under the General tab, enter "Pause WSC Replication" into the Name field.
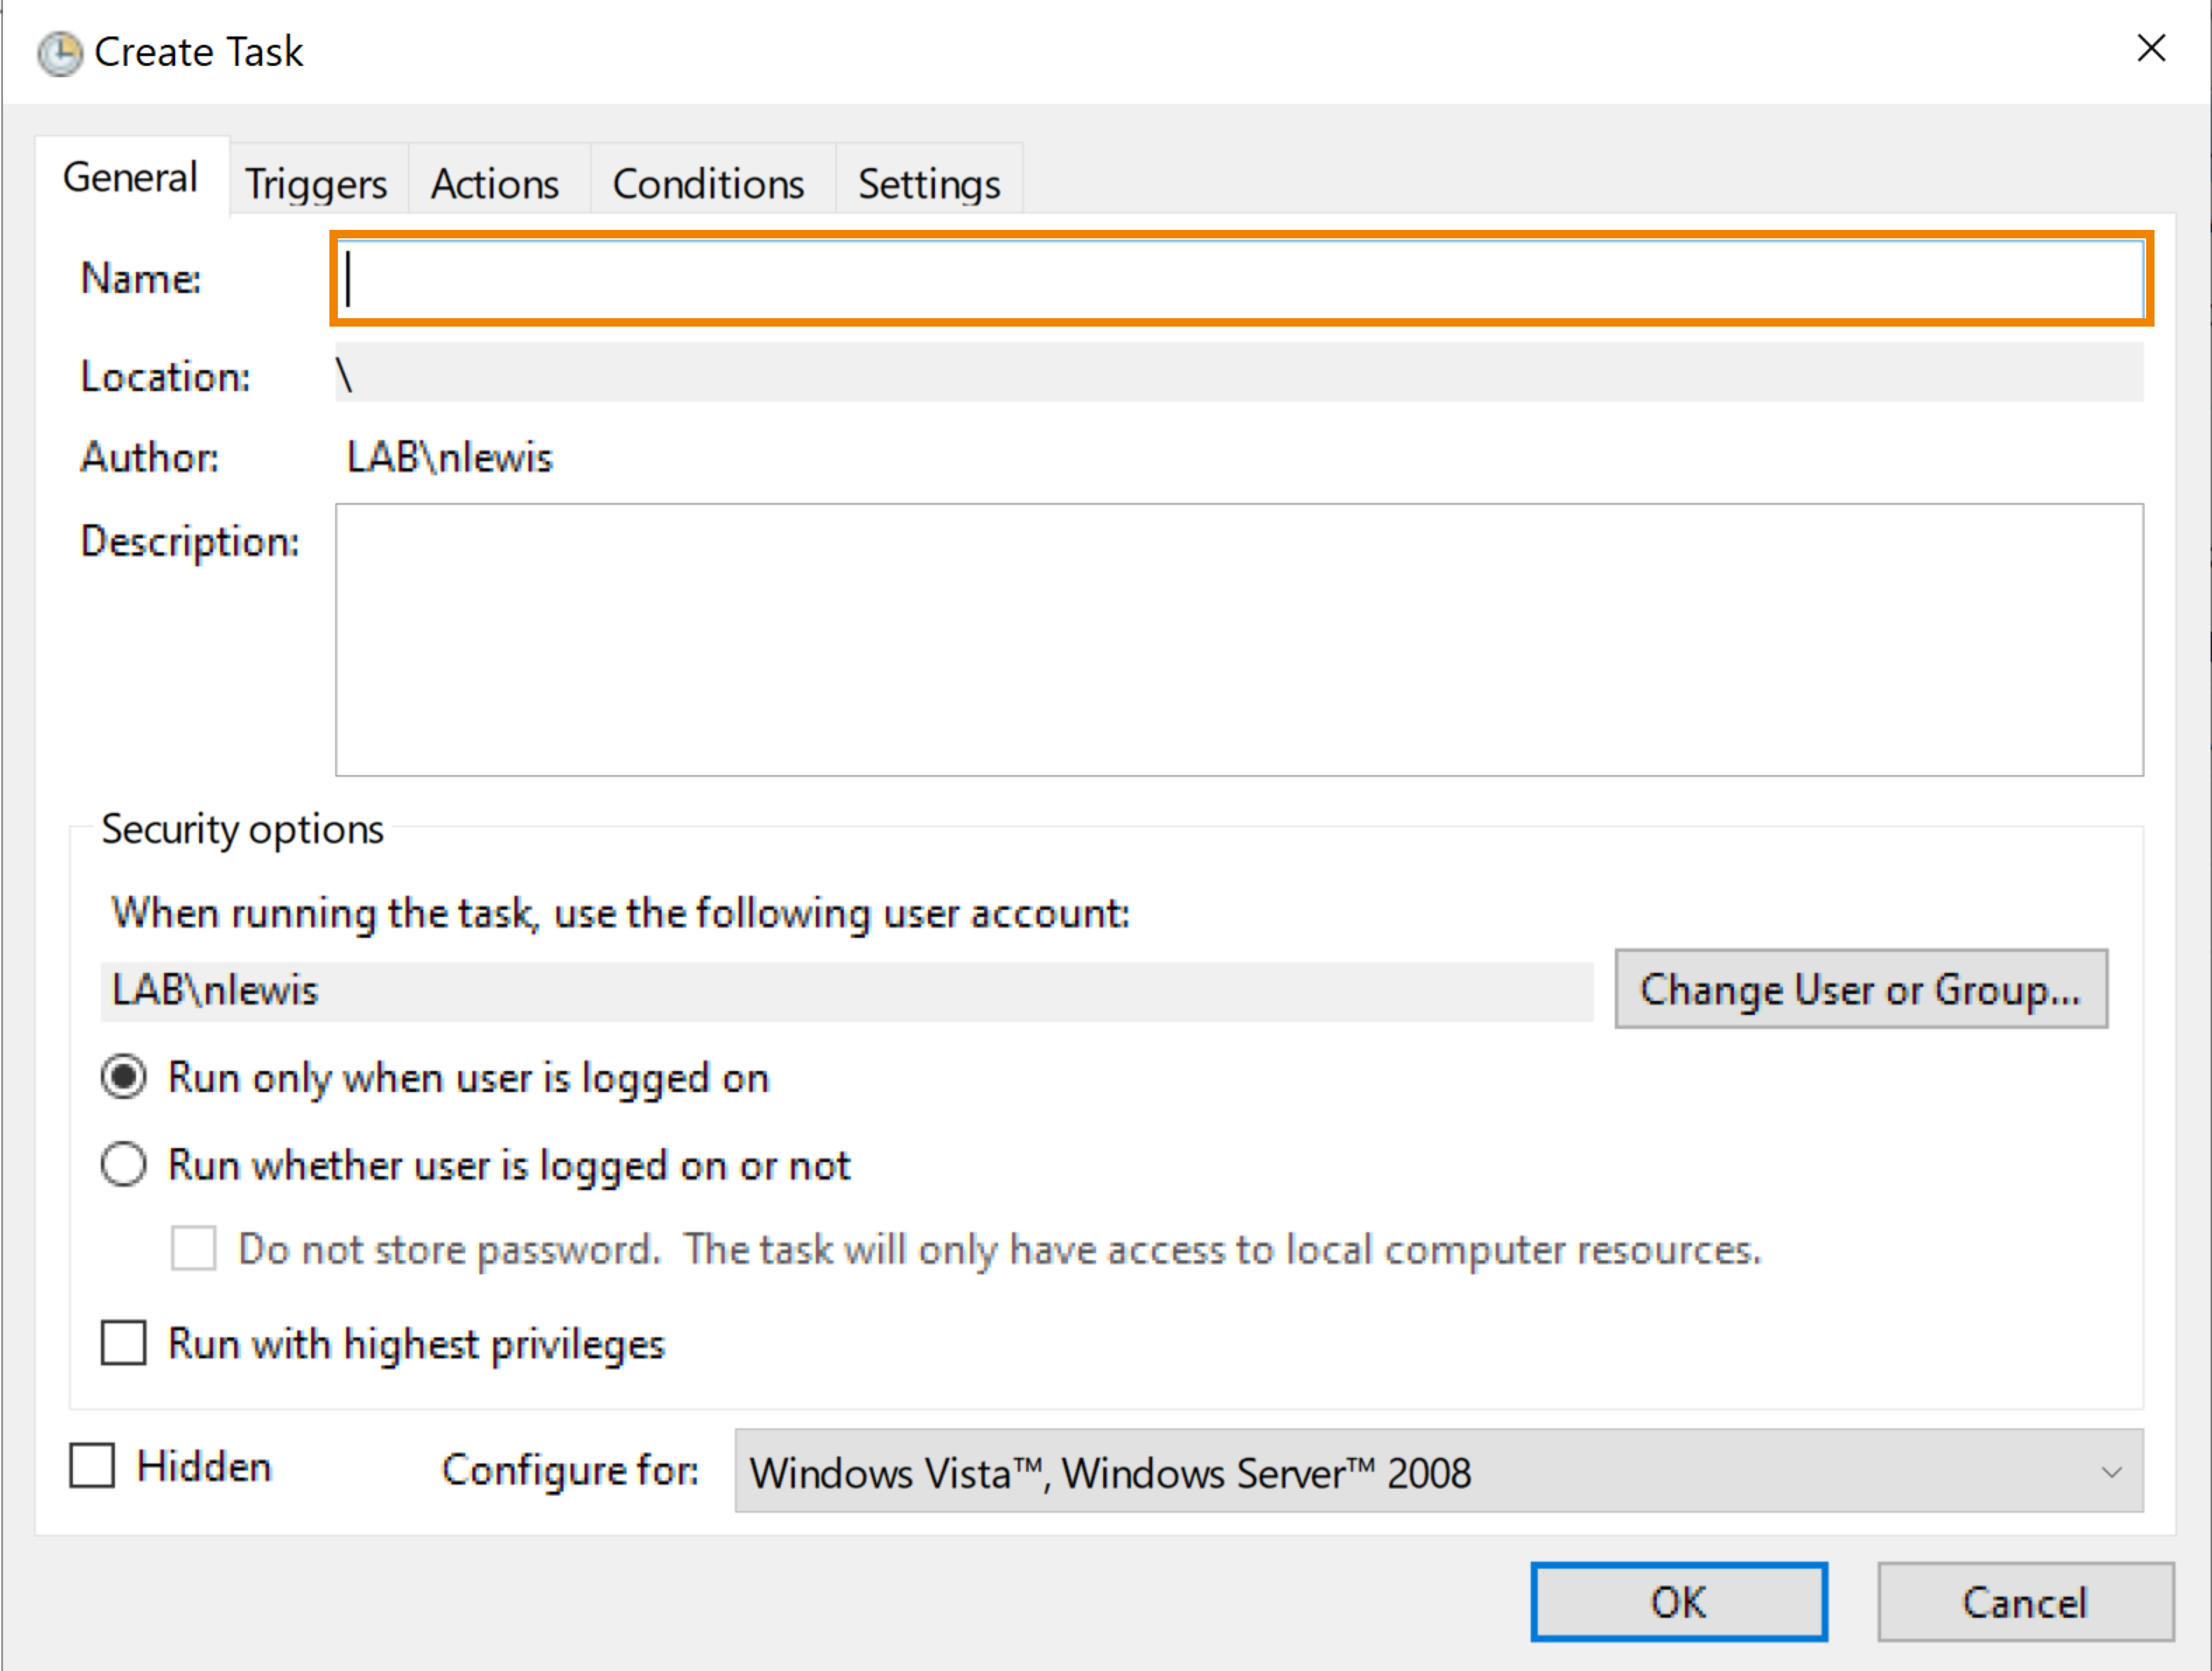
- Select Run whether user is logged on or not.
- Select Run with highest privileges.
- Click OK.
- Select the Triggers tab.
- Click New...
- Specify when WSC should pause/stop replicating data to your Wasabi bucket. In the Start field, click
 to select a calendar date. Optionally, click in the type field to manually enter a date.
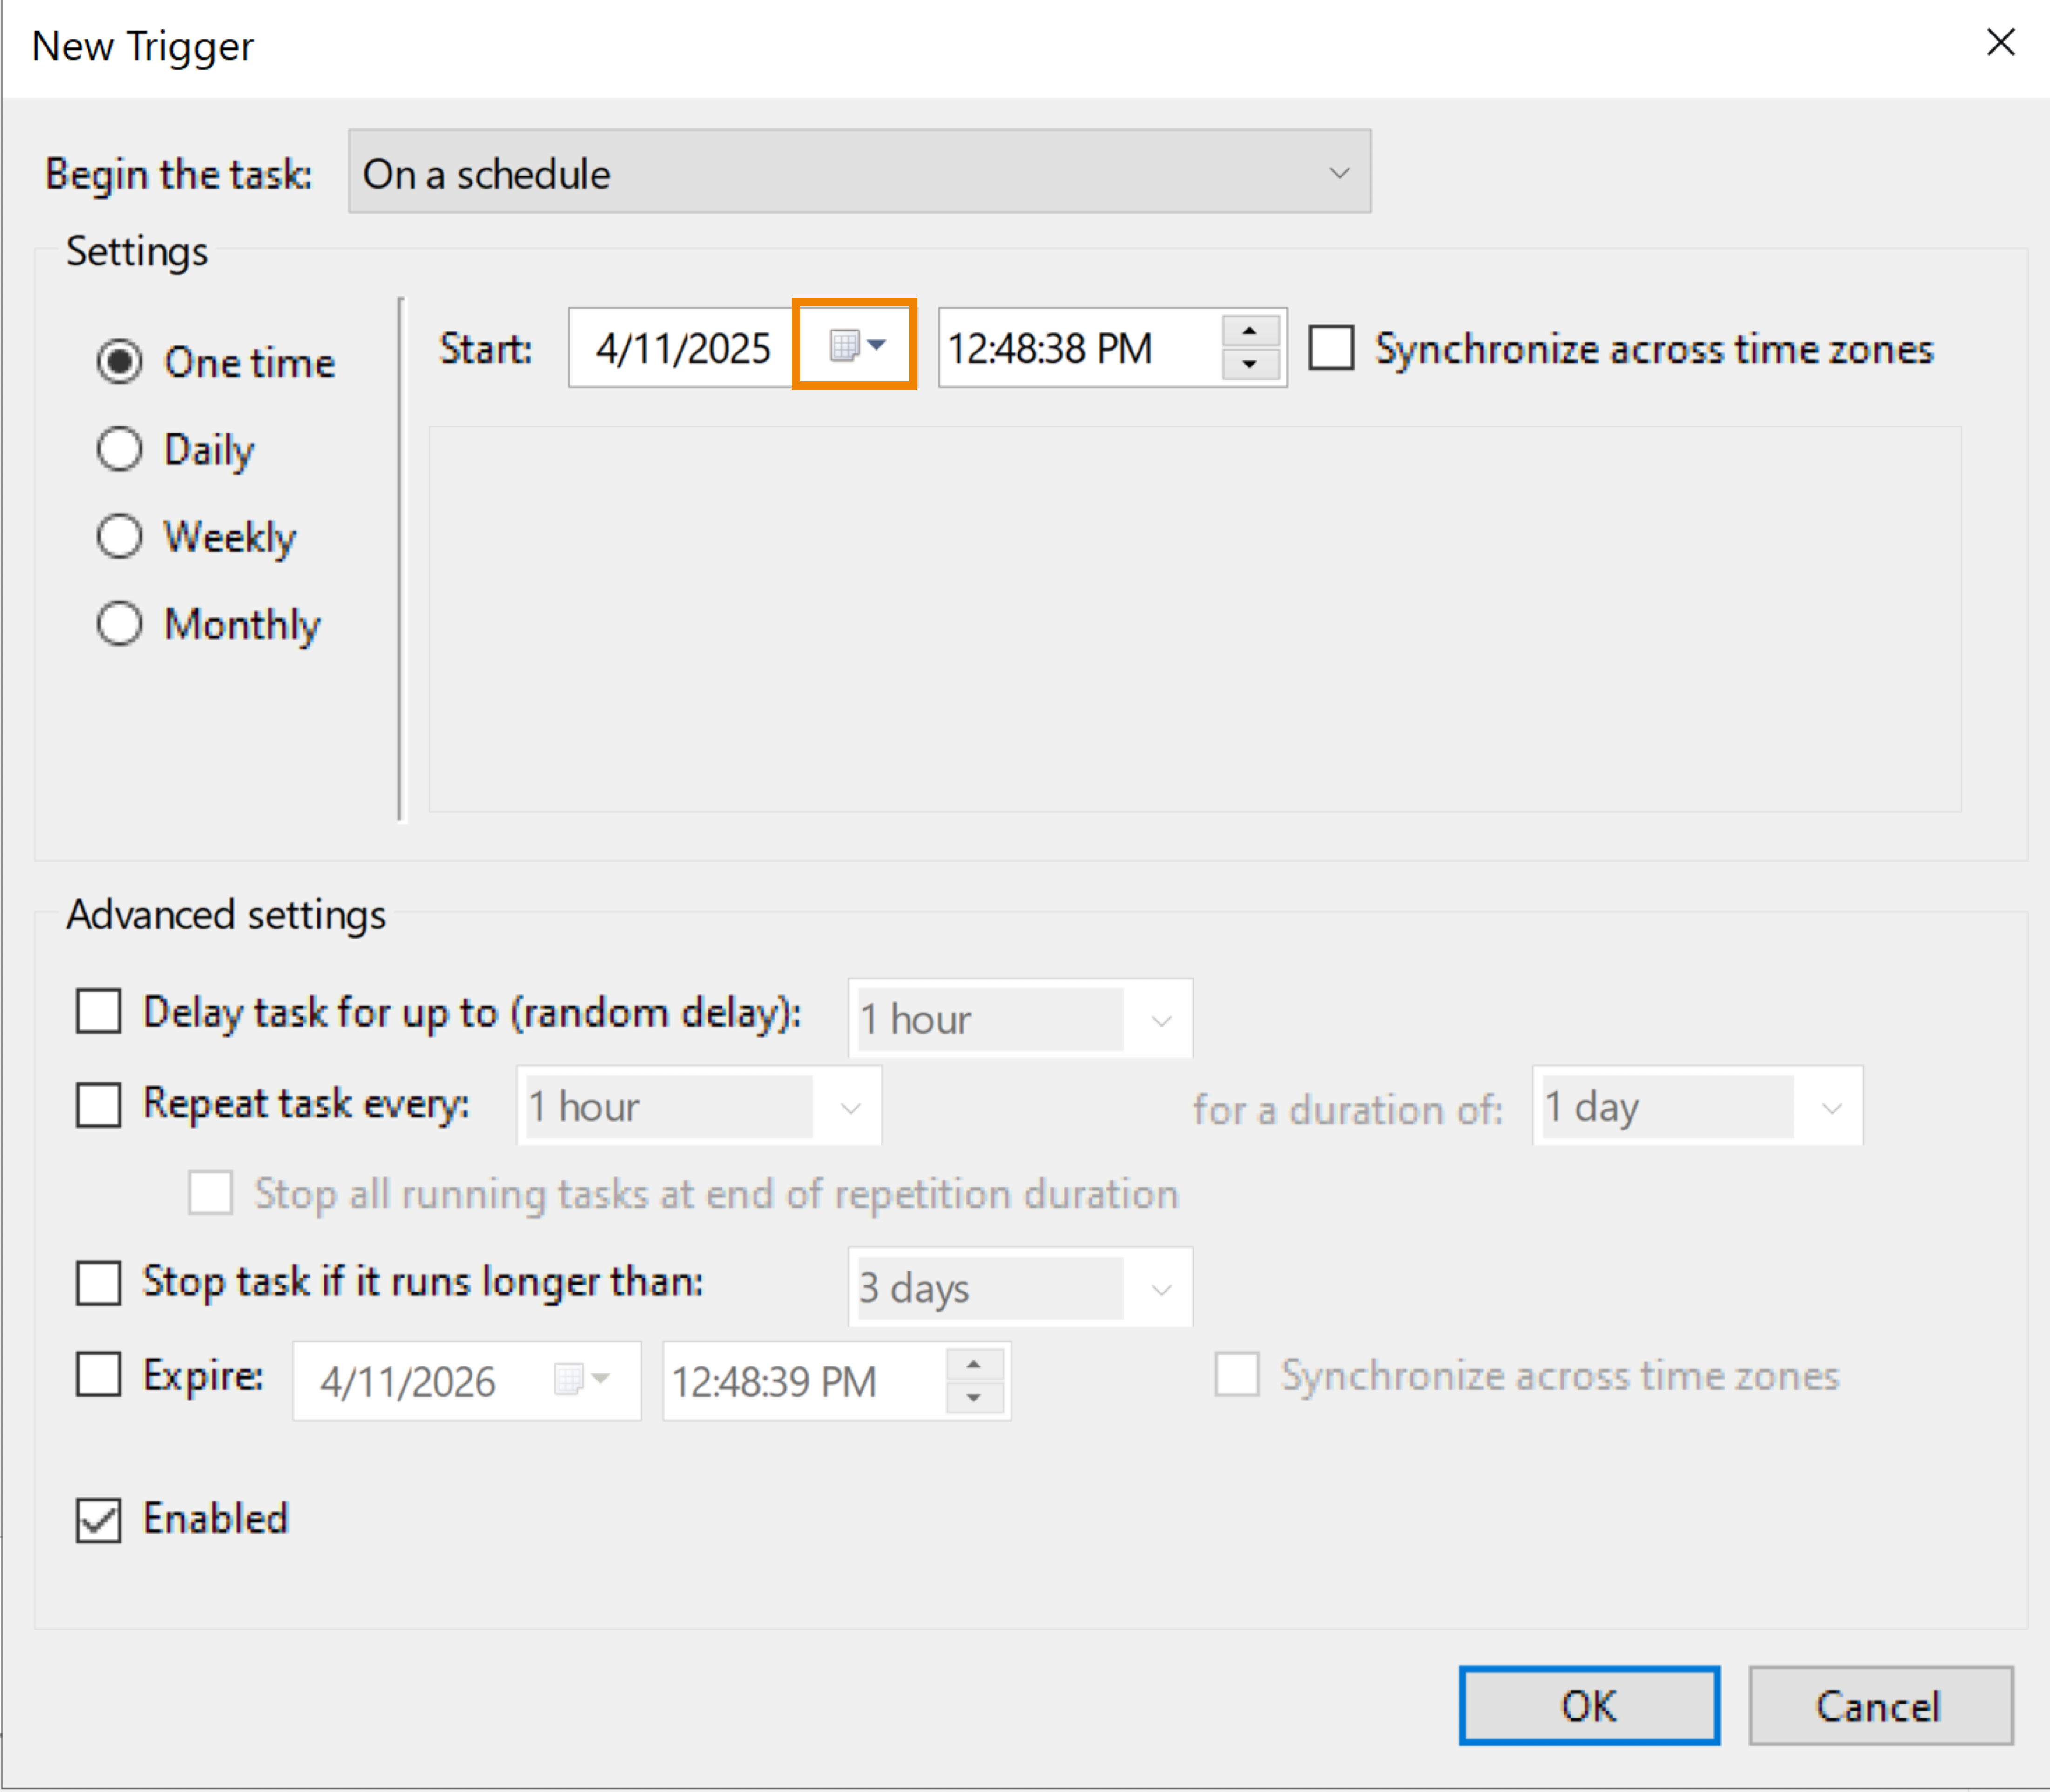
- Optionally, select the appropriate advanced settings.
- Click the checkbox to select Expire.
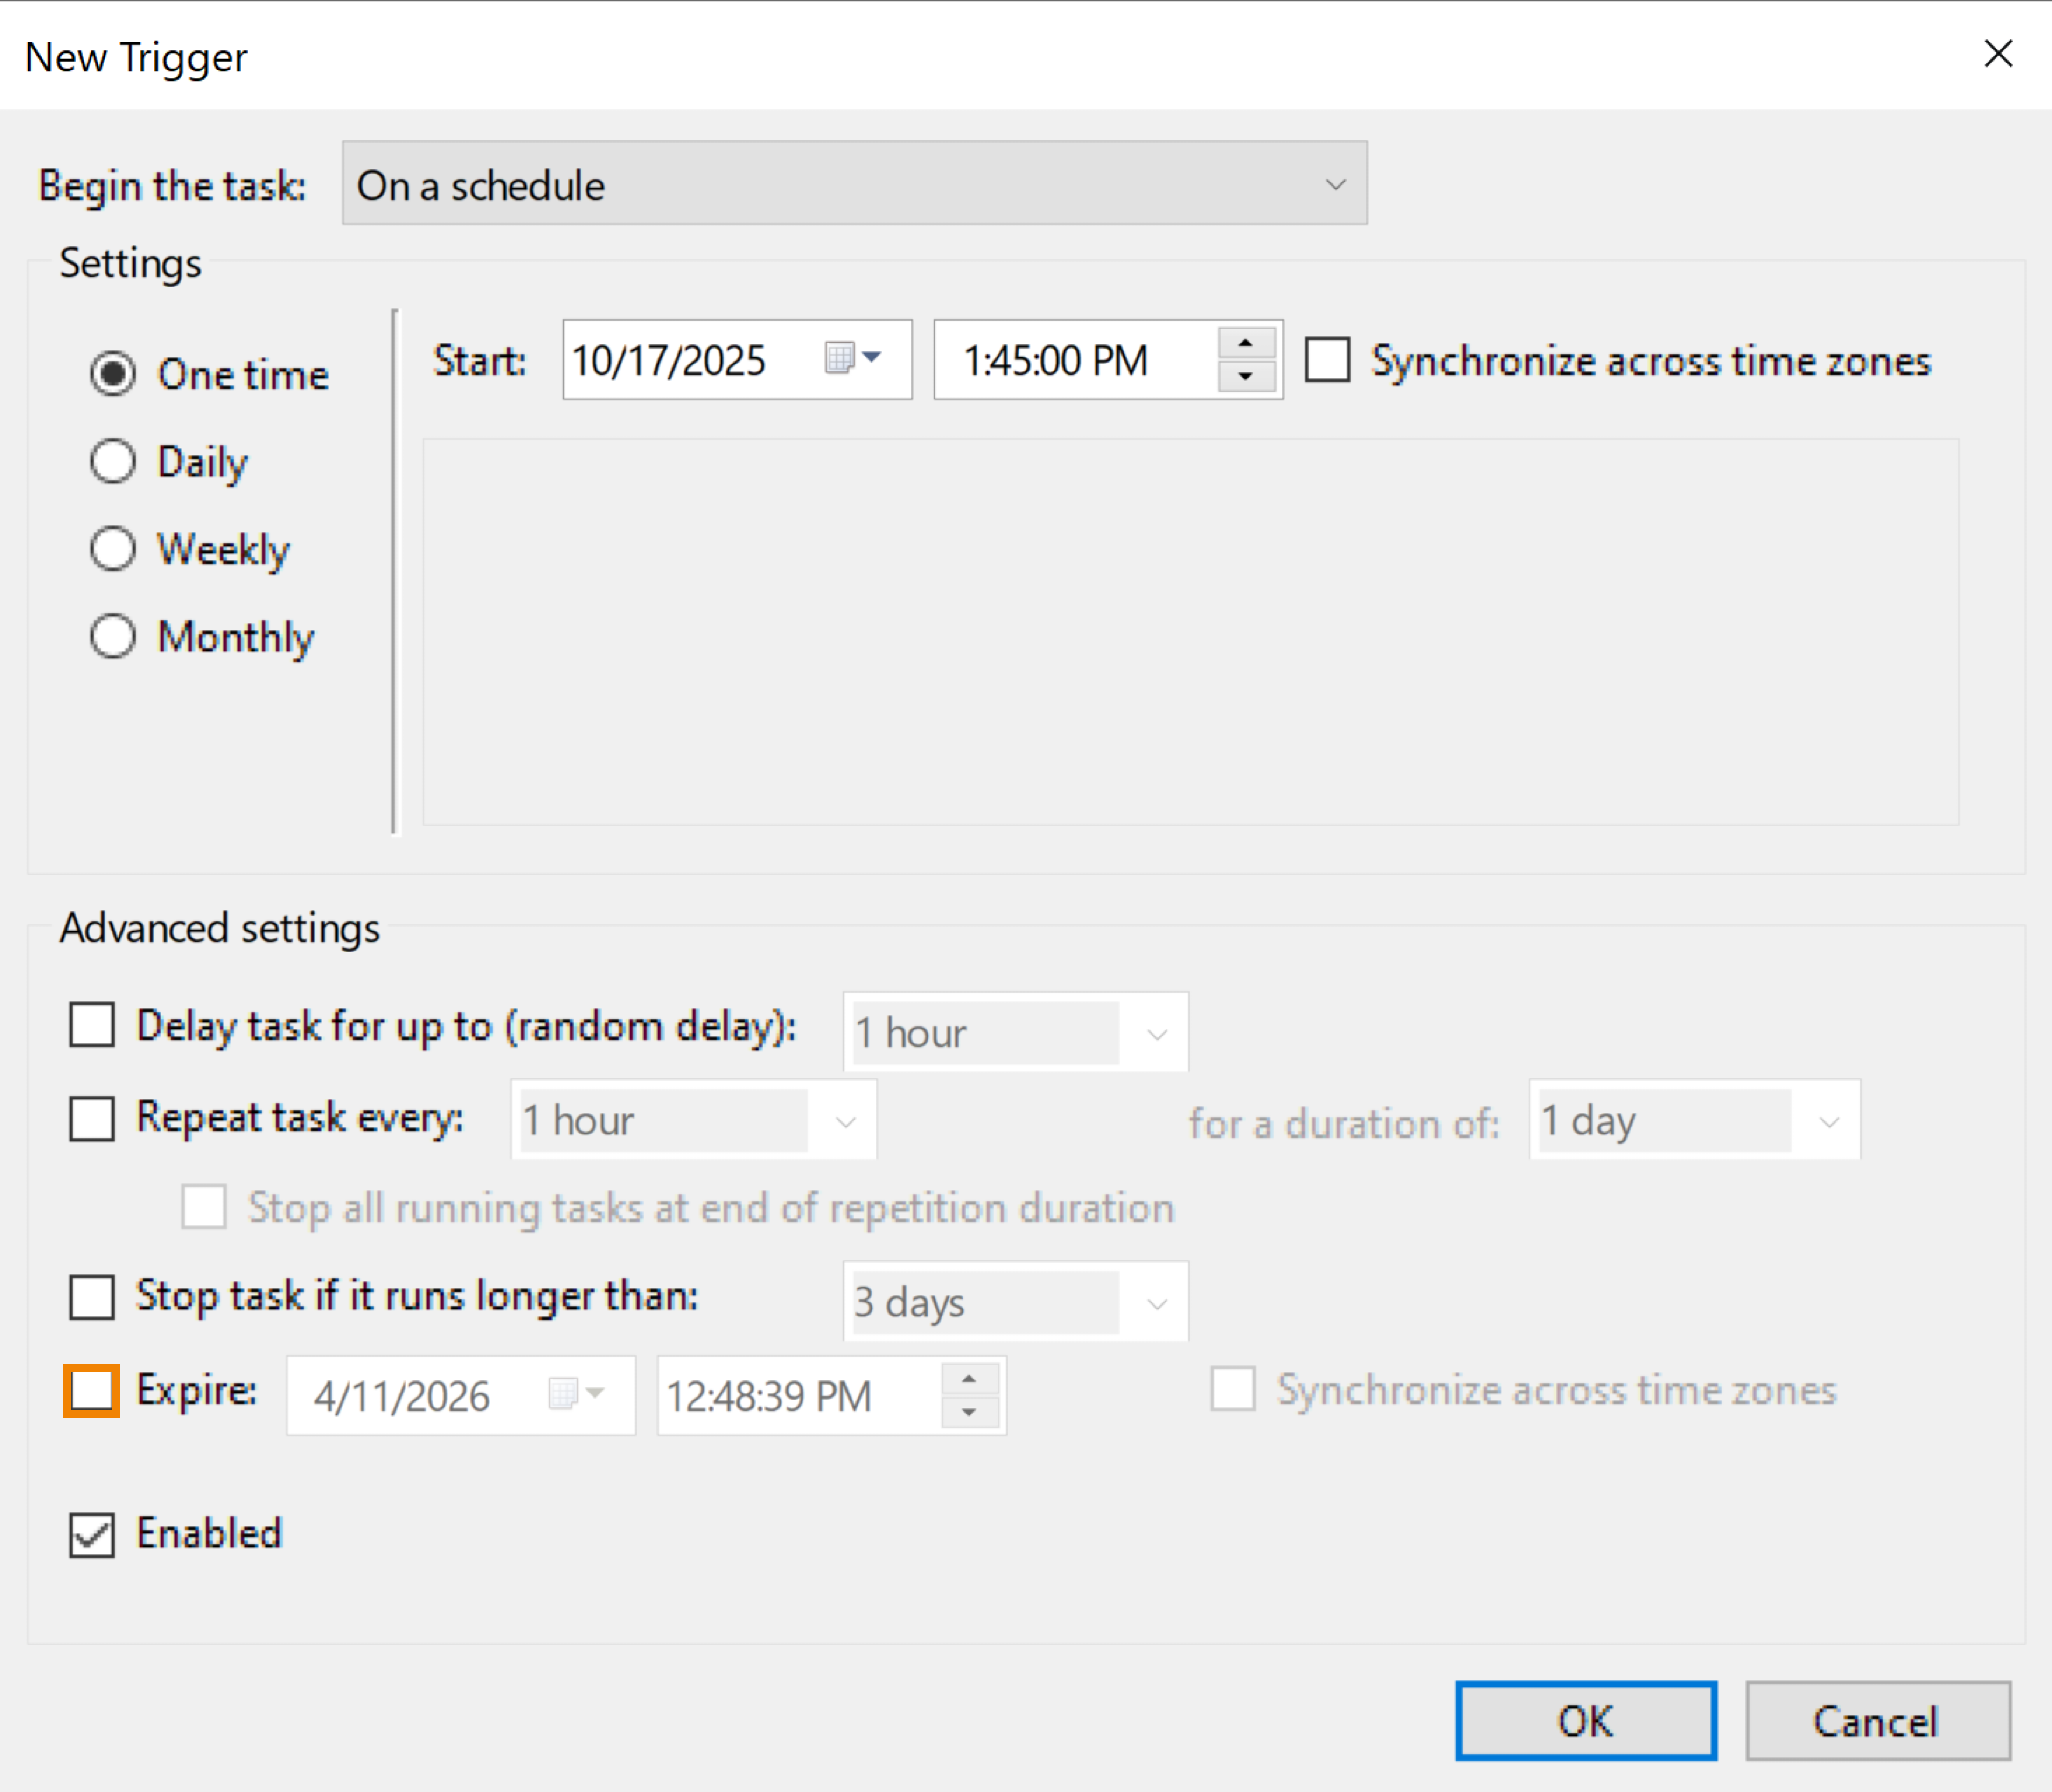
- In the Expire field, click to select a calendar date. Optionally, click in the type field to manually enter a date.
- Click OK.
- Select the Actions tab.
- Click New...
- Click the Action drop-down.
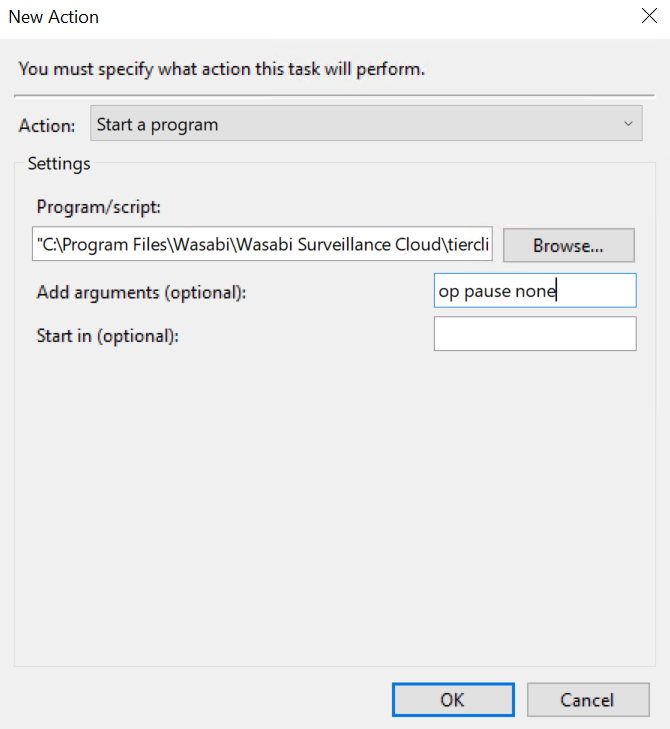
- Select Start a program.
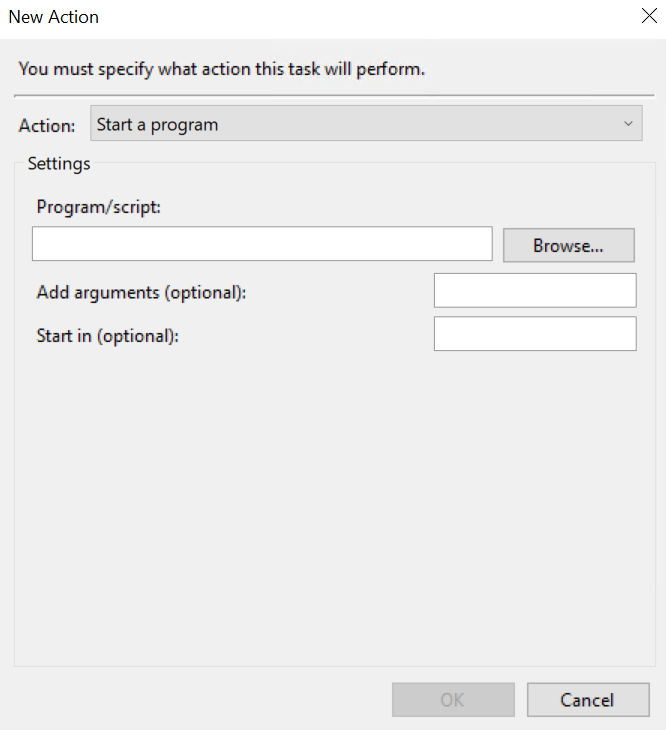
- Click Browse.
- Select "C:\Program Files\Wasabi\Wasabi Surveillance Cloud\tiercli.exe" as the location.
- In the Add arguments (optional) field, enter "op pause s".

- Click OK.
- Click OK again.
- Enter the local administrator password.
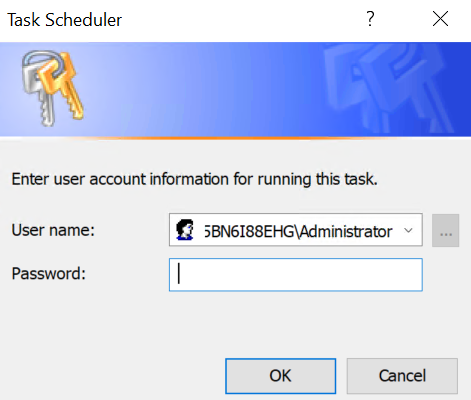
- Click OK.
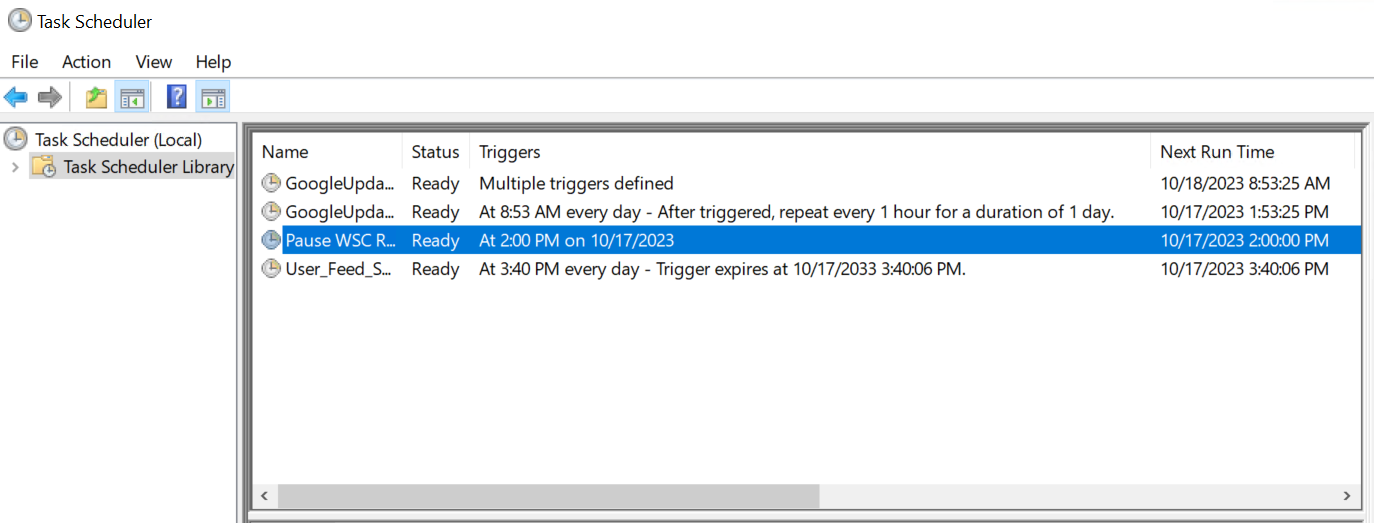
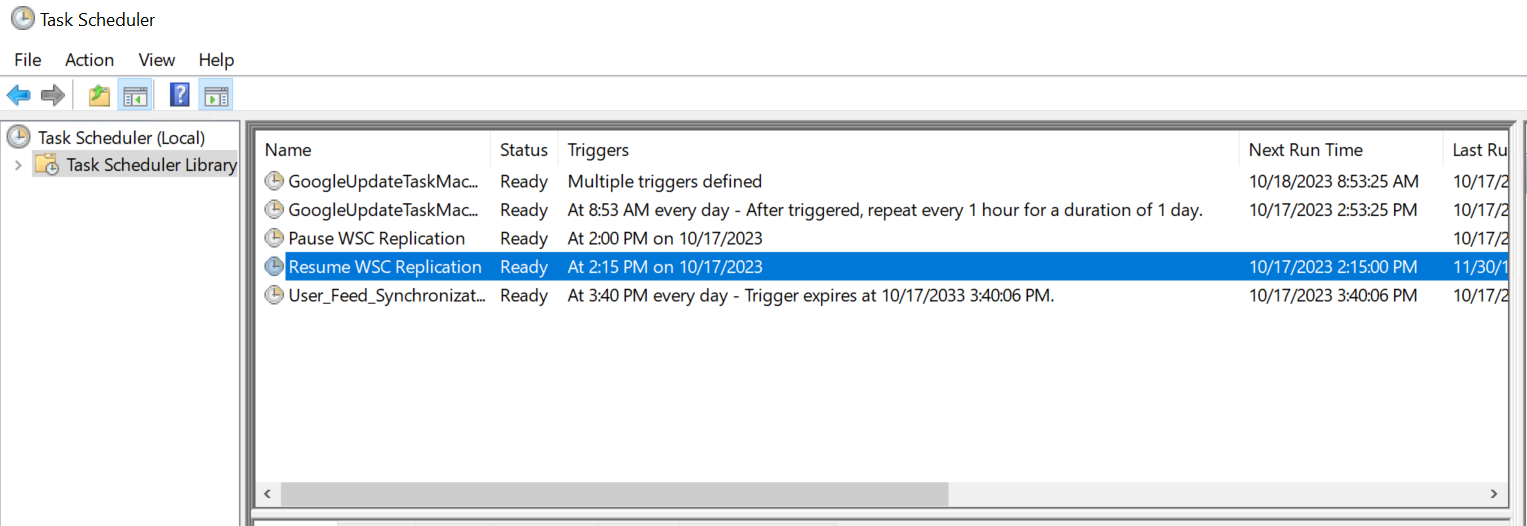
- To verify the newly created task, click Task Scheduler Library. You will see your task listed.
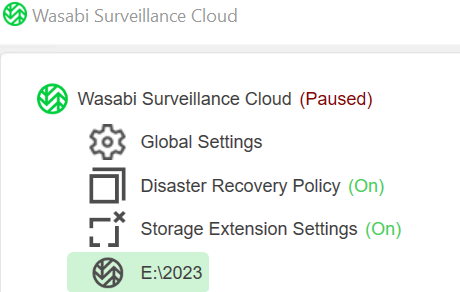
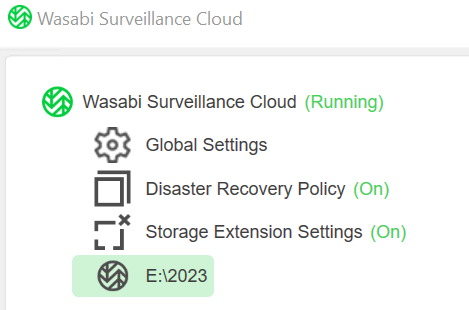
- Verify that Wasabi Surveillance Cloud switches from a Running state to a Paused state as the schedule is met.
Resume Replication Task Creation
- Navigate to the Task Scheduler.
- Select the Action tab.
- Click Create Task.
- Under the General tab, enter "Resume WSC Replication" in the Name field.
- Select Run whether the user is logged on or not.
- Select Run with highest privileges.
- Select the Triggers tab.
- Click New...
- Specify the date and time you need WSC to replicate the data to your Wasabi Bucket.
- Optionally, select the appropriate advanced settings.
- Click OK.
- Select the Actions tab.
- Click New...
- From the Action drop-down list, select Start a program.
- Click Browse.
- Select "C:\Program Files\Wasabi\Wasabi Surveillance Cloud\tiercli.exe" as the location.
- In the Add arguments field, enter "op pause none".
- Click OK.
- Click OK, again.
- Enter the local administrator password.
- Click OK.
- To view all created tasks, click Task Scheduler Library in the left pane.
- As the schedule for Resuming the replication is met, you will see that the WSC application switches from Paused to Running.