Objectives
1—Download and install Wasabi Cloud NAS.
2—Activate Wasabi Cloud NAS.
3—Configure Wasabi Cloud NAS.
As a new or existing Wasabi customer, you must create a free trial account to sign up for Wasabi Cloud NAS (WCN). Once complete, continue to download and install the WCN software.
Signing Up
Navigate to Create Wasabi Account.

Follow the steps in Signing Up to create a trial account. Once complete, return to this page.
If you are an existing Wasabi Console user, be sure to create a password that is different from the password you use to sign in to Wasabi Console.
Continue to Downloading the WCN software, below.
Downloading the WCN Software
Once you have created your WCN storage account, you will complete your WCN instance set up in three steps, as shown below. Begin by downloading the WCN software. Be sure to download the software on the Windows machine where you intend to deploy the program.
Click Cloud NAS Software. The download will begin immediately.
.png)
Navigate to the Downloads folder on your machine.
Right-click Wasabi Cloud NAS.
Click Run as administrator to launch the executable.
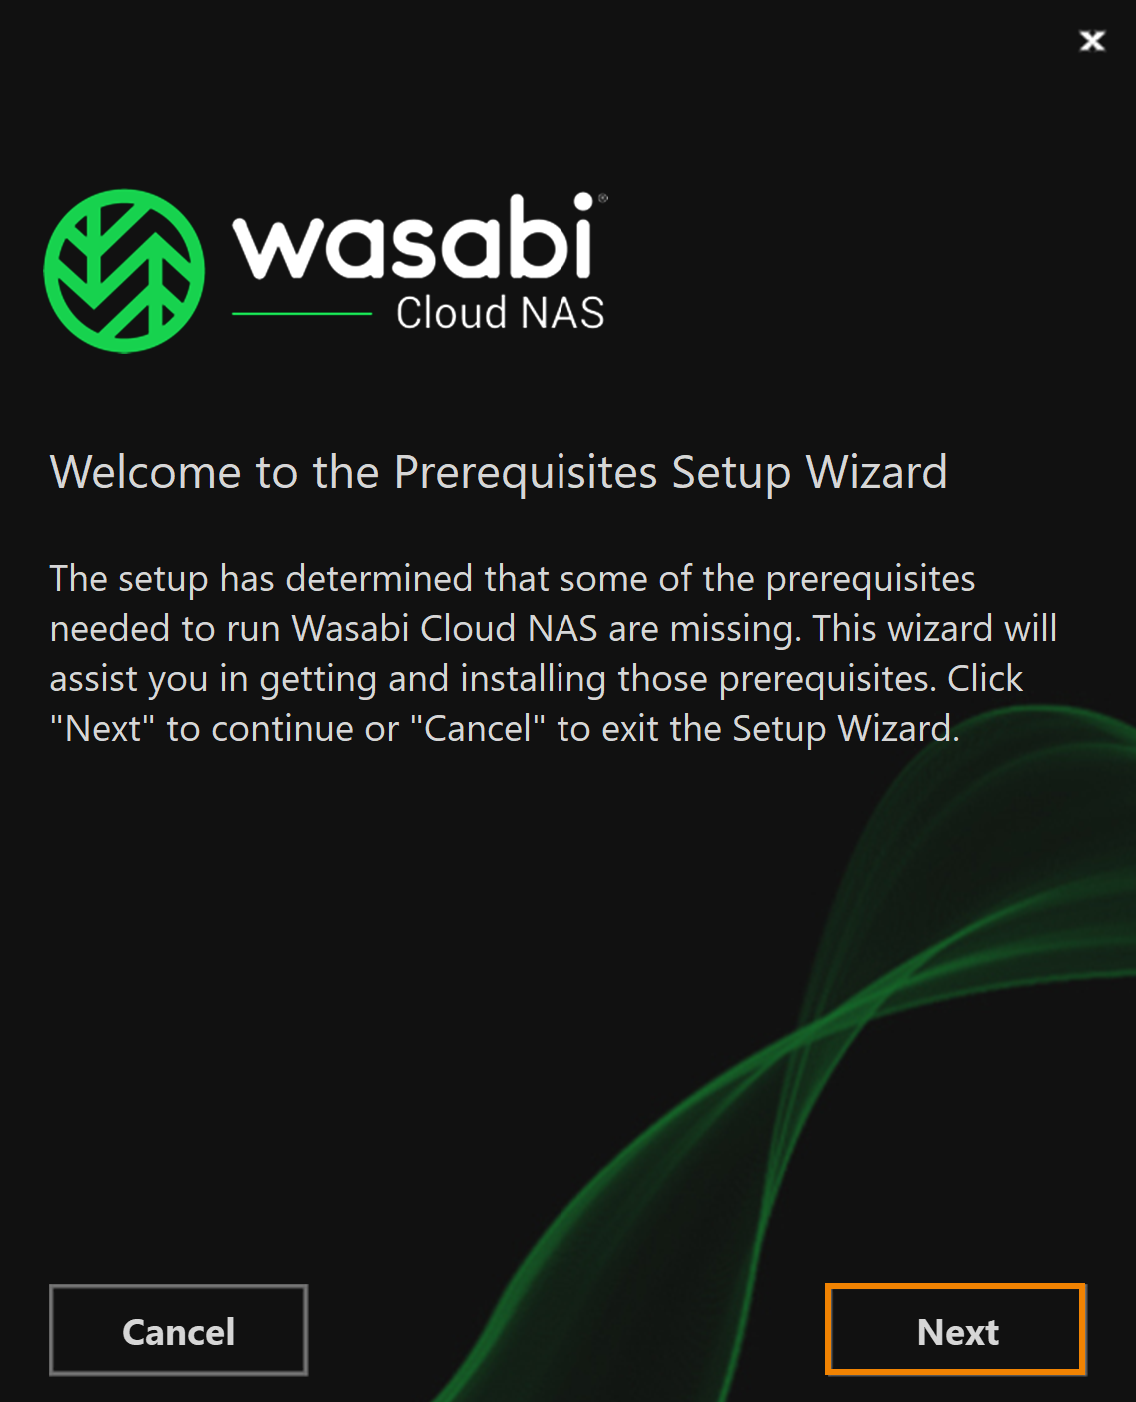
If your computer is missing any prerequisites needed to run the software, you will be presented with the Prerequisites Setup Wizard. The Prerequisites Setup Wizard will detect any prerequisites missing from the computer and prompt you to install them. Click Next.
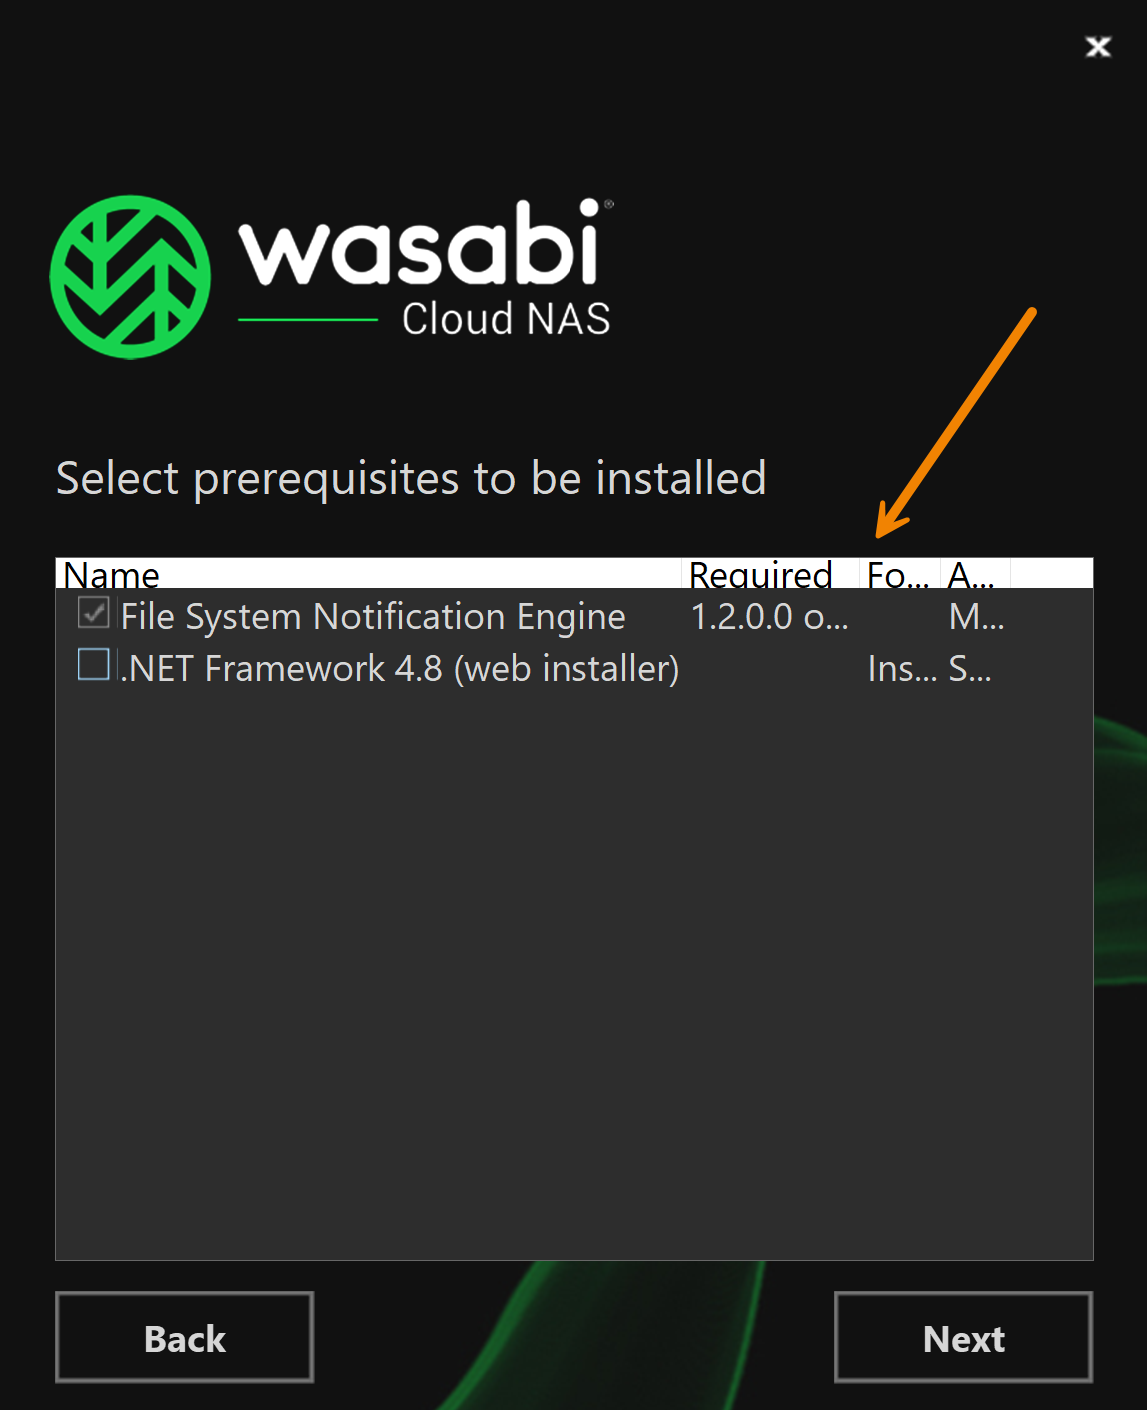
Notice the columns above each prerequisite. Click and drag the tabs to expand the columns and view the title information.
Check any and all prerequisites.
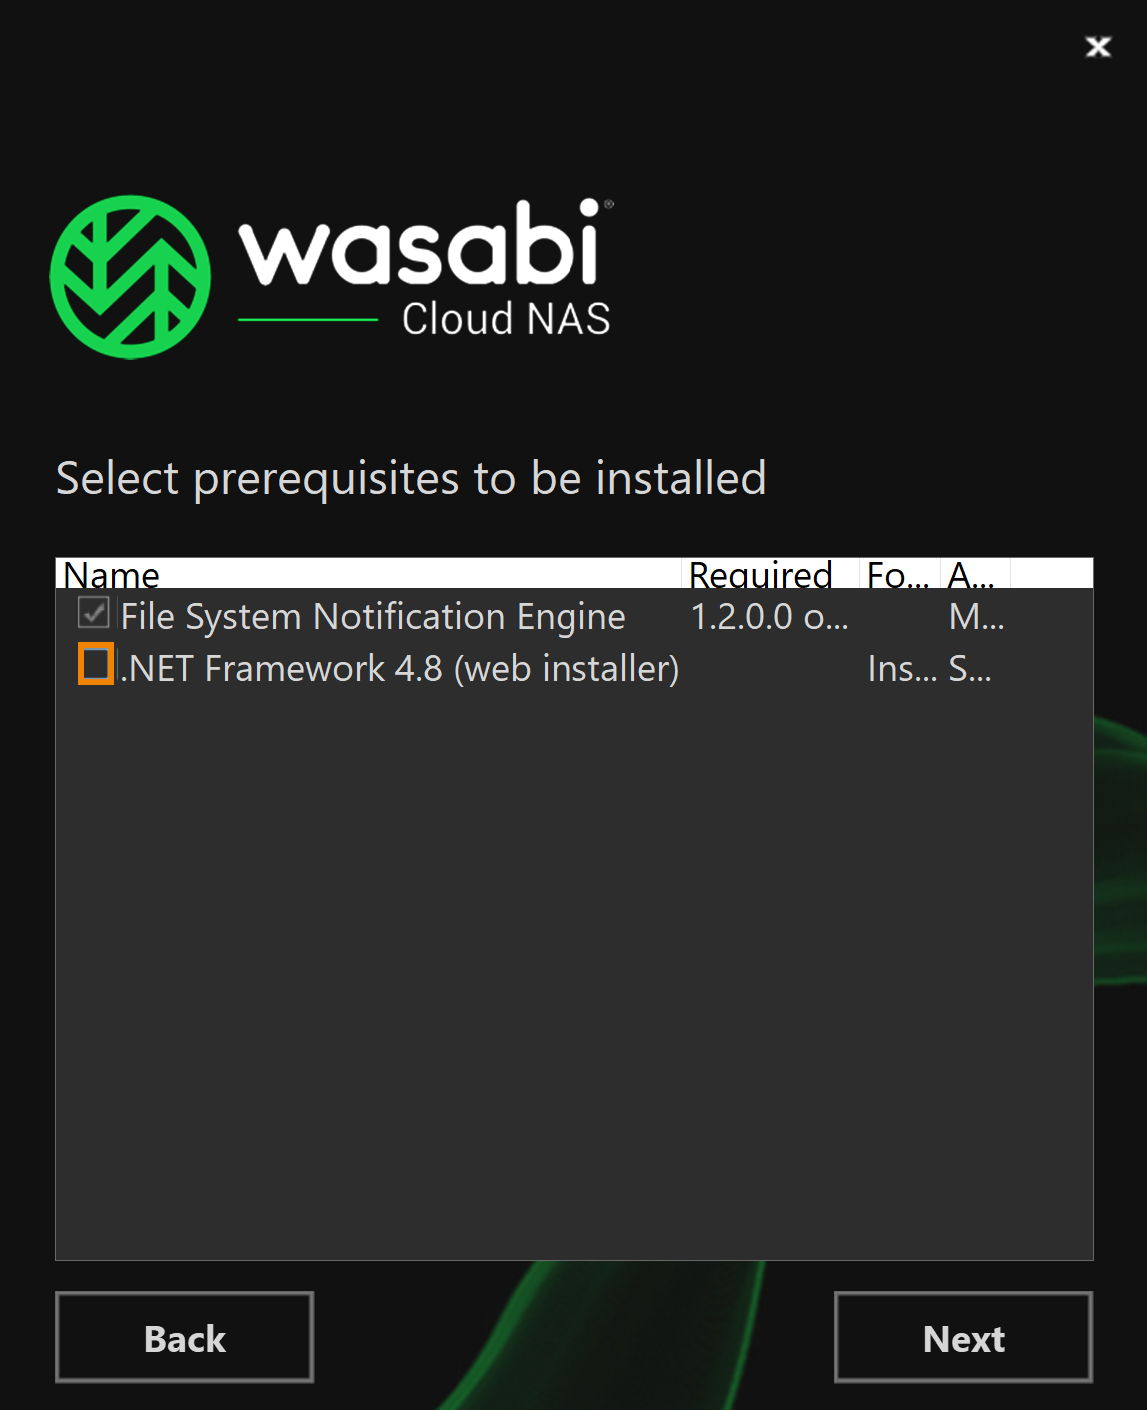
Click Next.
WCN automatically assigns a folder location to install the software. To modify the location, click
 .
.
Check the box to agree to the Software License terms and conditions.
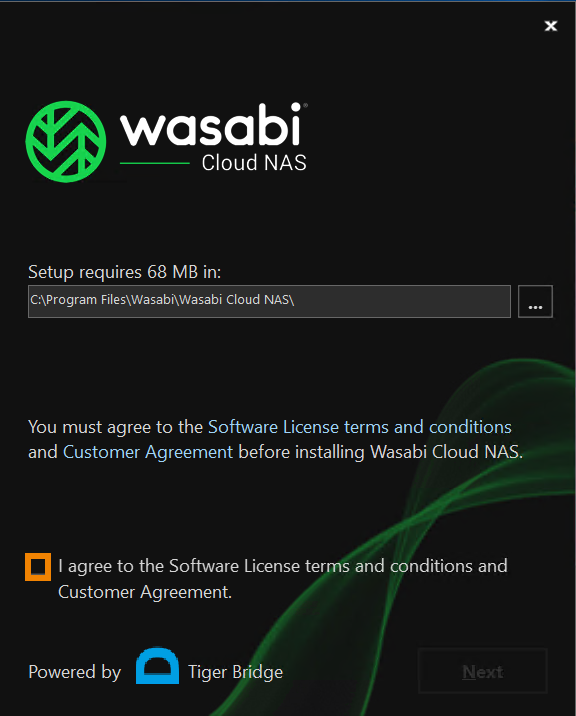
Click Next.
By default, both Wasabi Cloud NAS and the shell extension will be installed. The WCN shell extension is a software component that integrates with Windows Explorer, enabling you to perform manual data management operations from a context menu. The context menu provides a list of data management operations and enables you to monitor the status of files and folders (replicated or nearline) on your source. To install both components, keep the defaults. If you did not install the shell extension during the initial WCN software installation, you can download the shell extension at any time. For details, refer to Reinstalling Wasabi Cloud NAS.
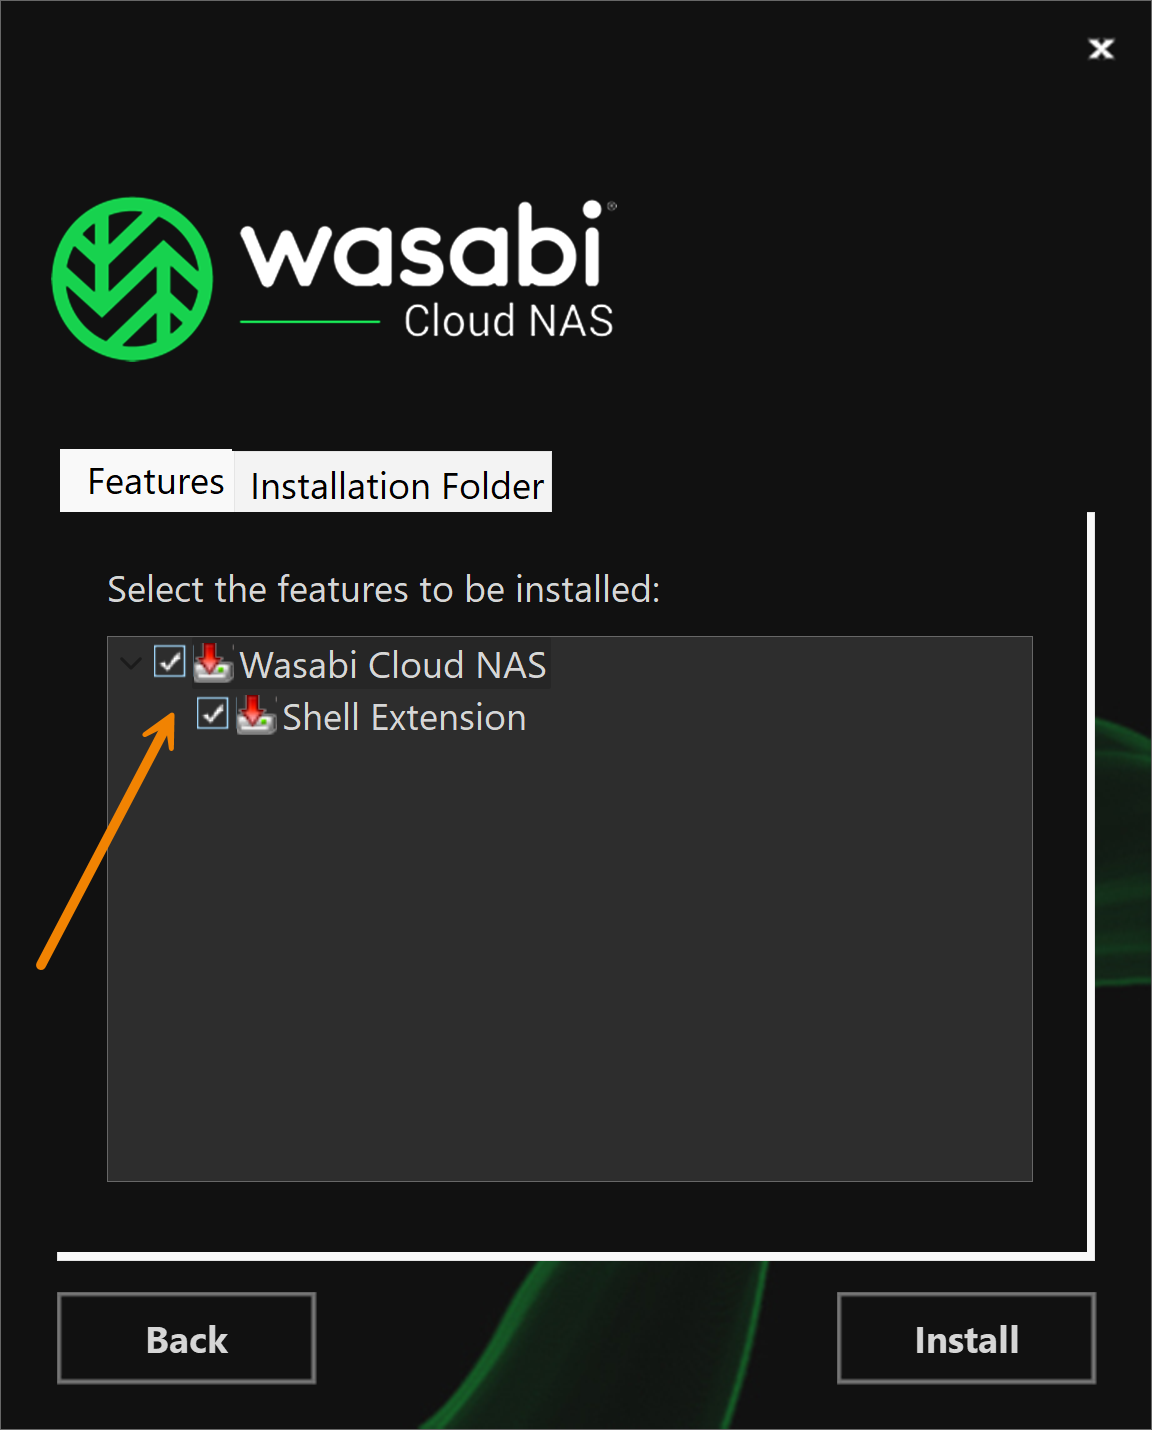
Optionally, if you do not want to install the shell extension, uncheck Shell Extension.
Select the Installation Folder tab.
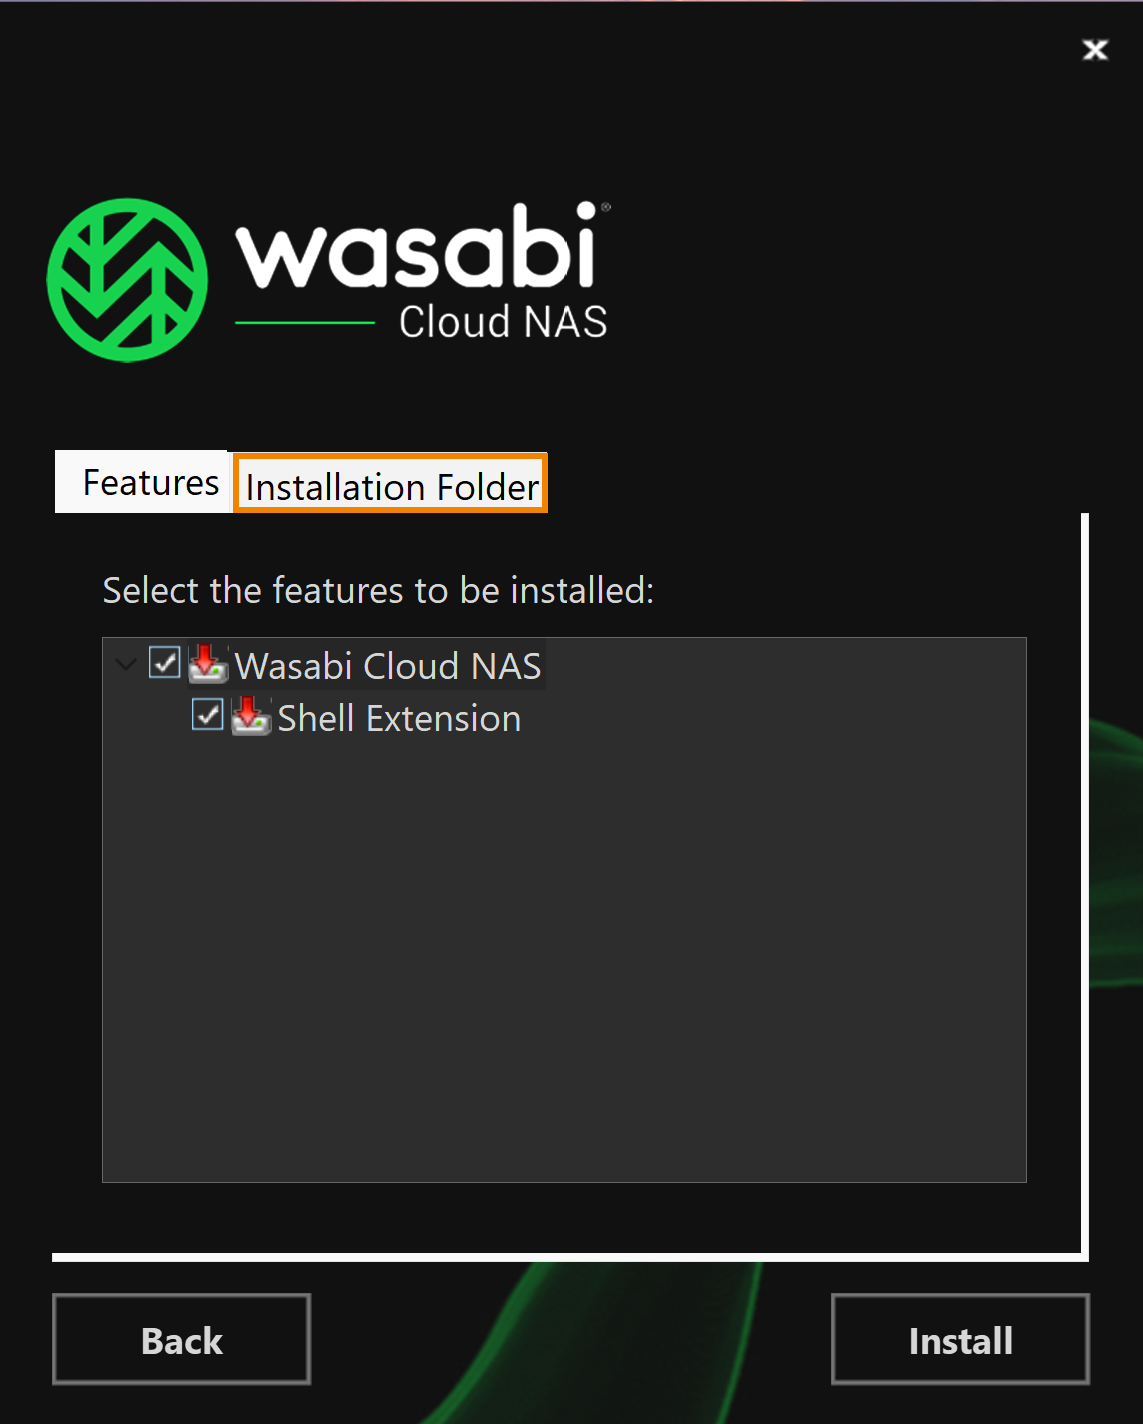
The Installation Folder tab provides detail on the space requirements for the folder location (selected in Step 7). Review the details. To modify the folder location, click
.Click Install.
The installation should take approximately five minutes and does not require a system reboot.
When the installation is complete, click Finish.
Objectives Met!
1—Download and install Wasabi Cloud NAS.
3—Configure Wasabi Cloud NAS.
Before proceeding to Step 2, you may way to learn more about: