Arcserve UDP is validated for use with Wasabi. Arcserve® Cloud Console provides a unified, cloud-based management interface with access to robust technologies that allow businesses to backup and immediately restore access to critical data.
To configure Arcserve UDP on-prem version with Wasabi, follow the instructions below.
Requirements
Active Wasabi Cloud Storage Account
Wasabi Bucket - See our Bucket Creation Guide
Access & Secret Key Pair - See our Access Keys Guide
Active Arcserve Account
Arcserve UDP 9
2. UDP Data Store Setup
2.1 Log in to the Arcserve Portal here with your already created account.
2.2 In the Protected Data section, click Start a Trial under UDP Data Stores.
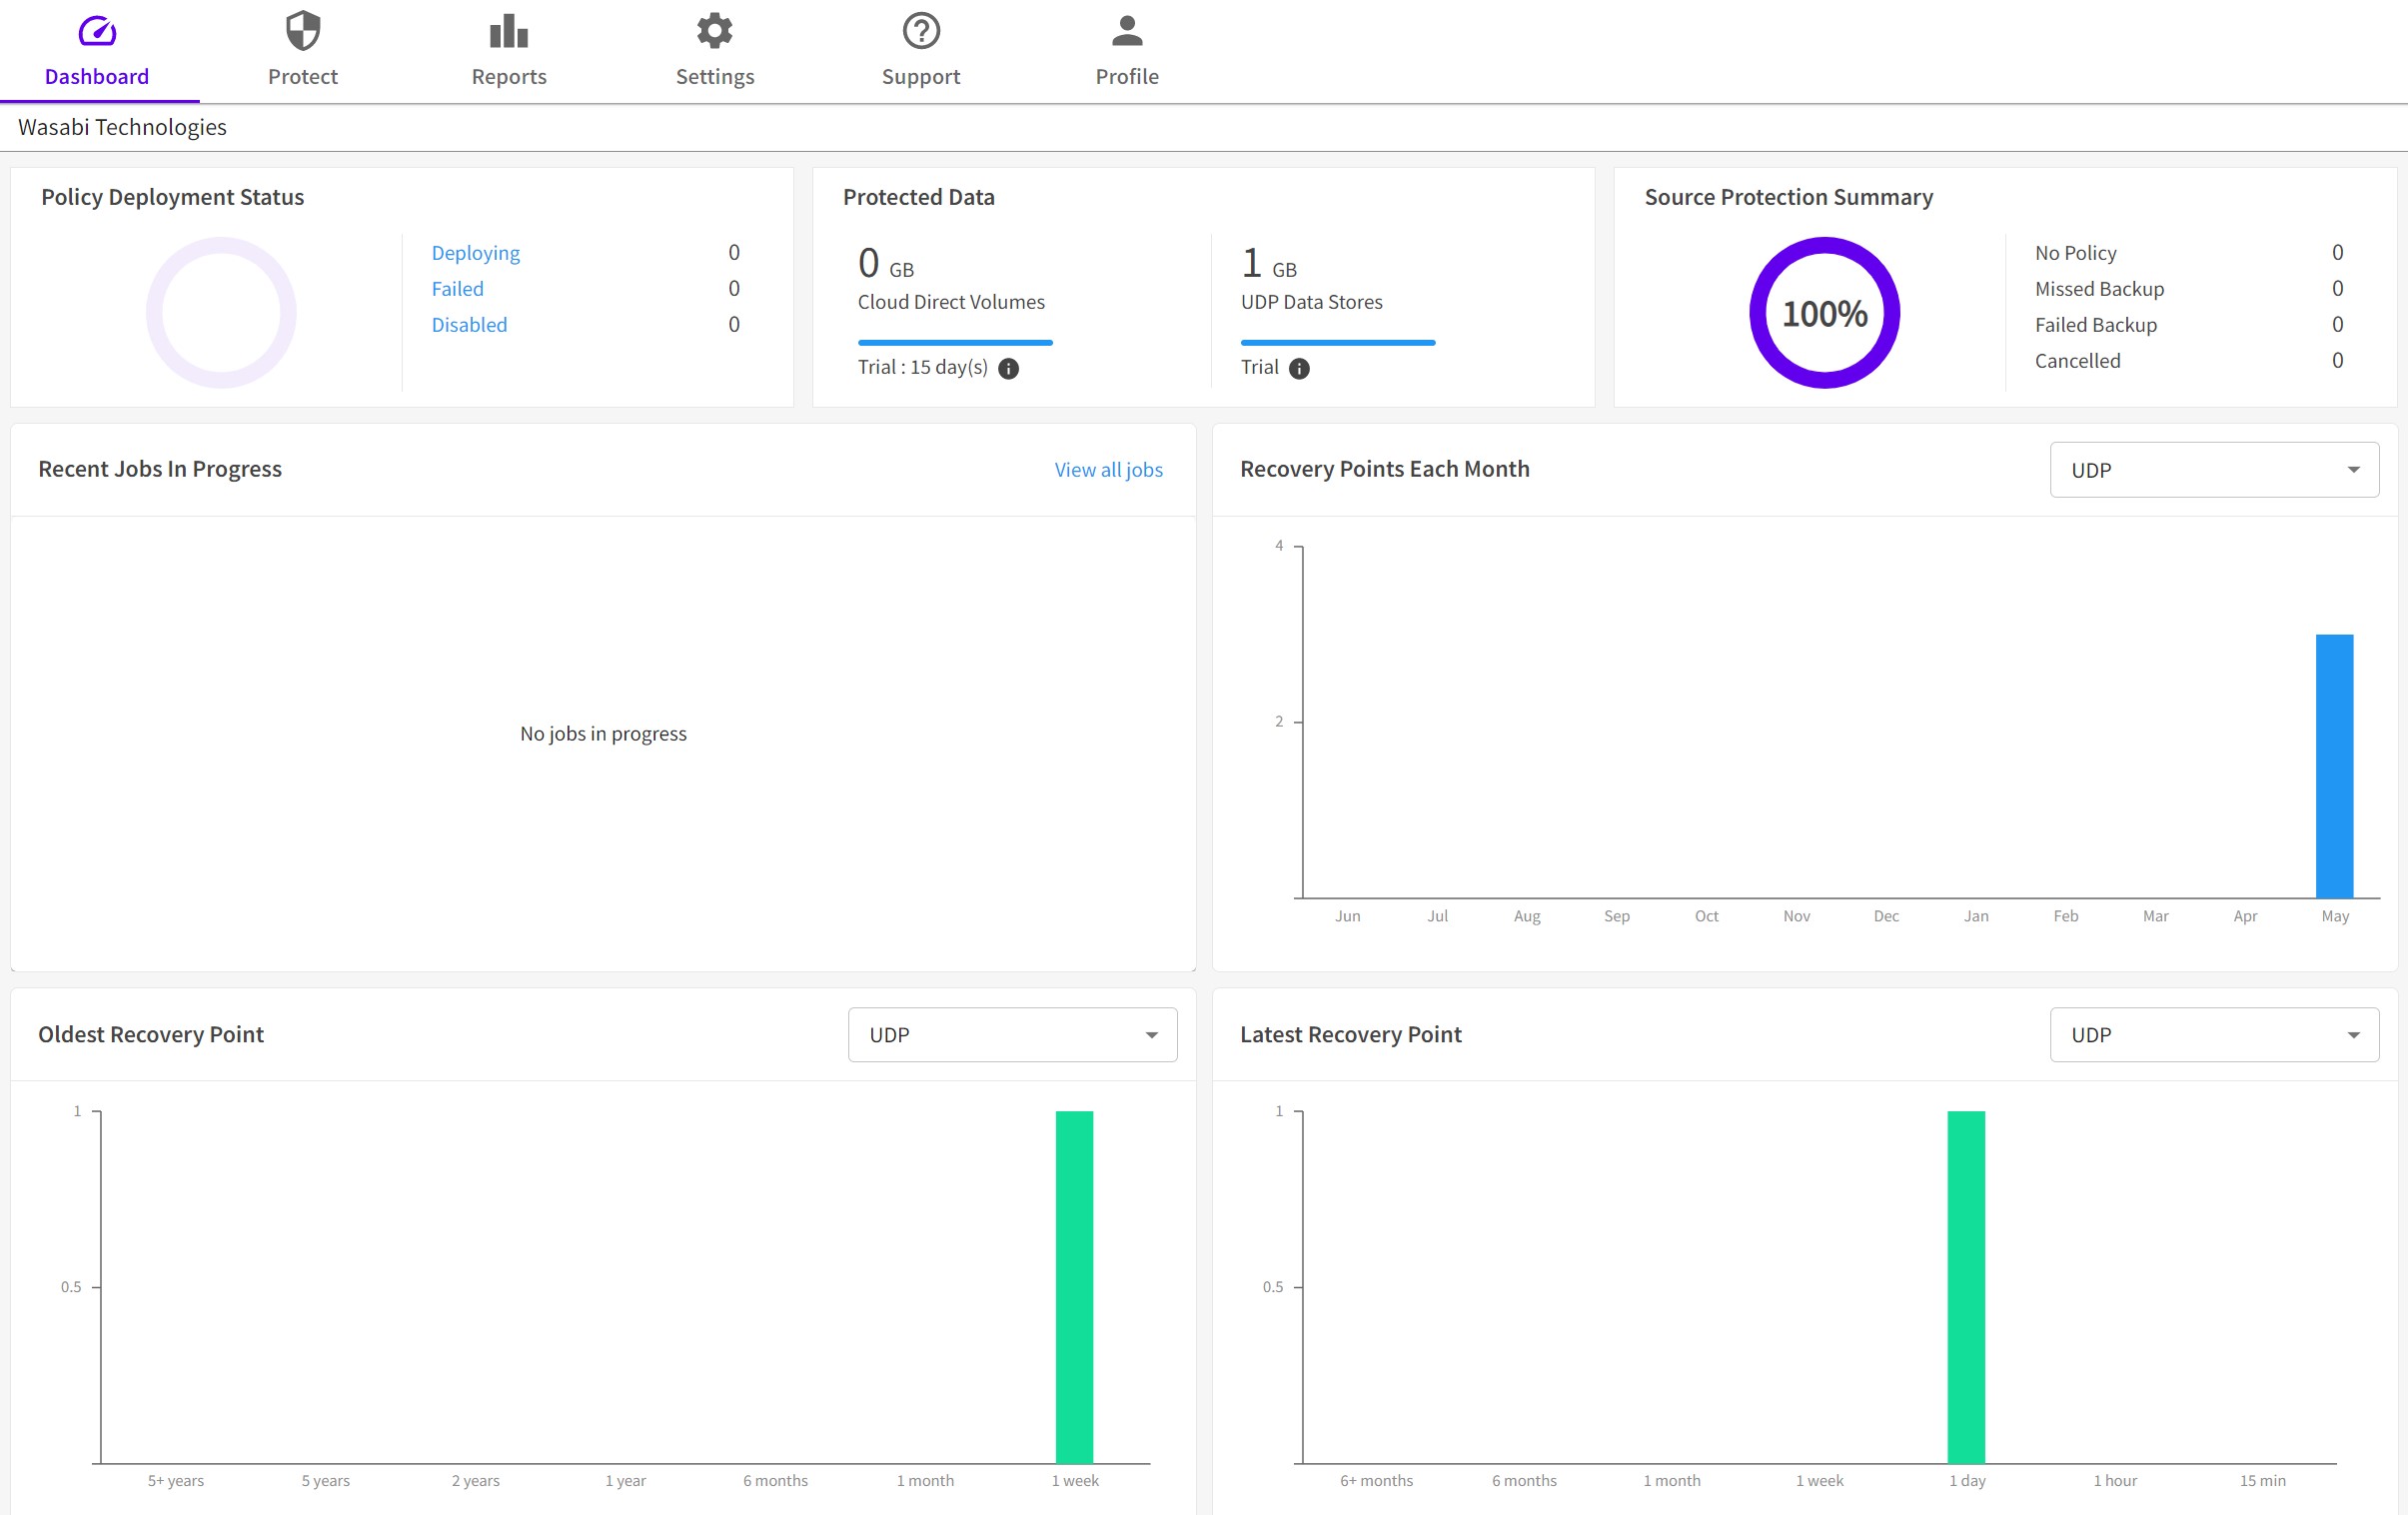
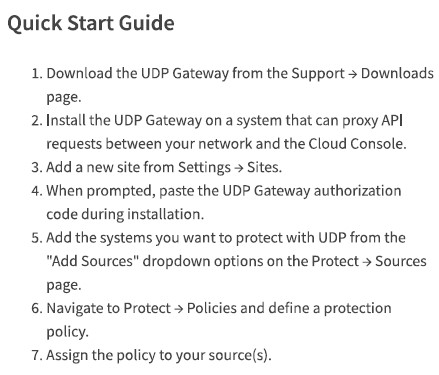
2.3 Once enabled, hover over the information icon to access the quick start guide for the next steps.
2.4 Click Support, then click Downloads.
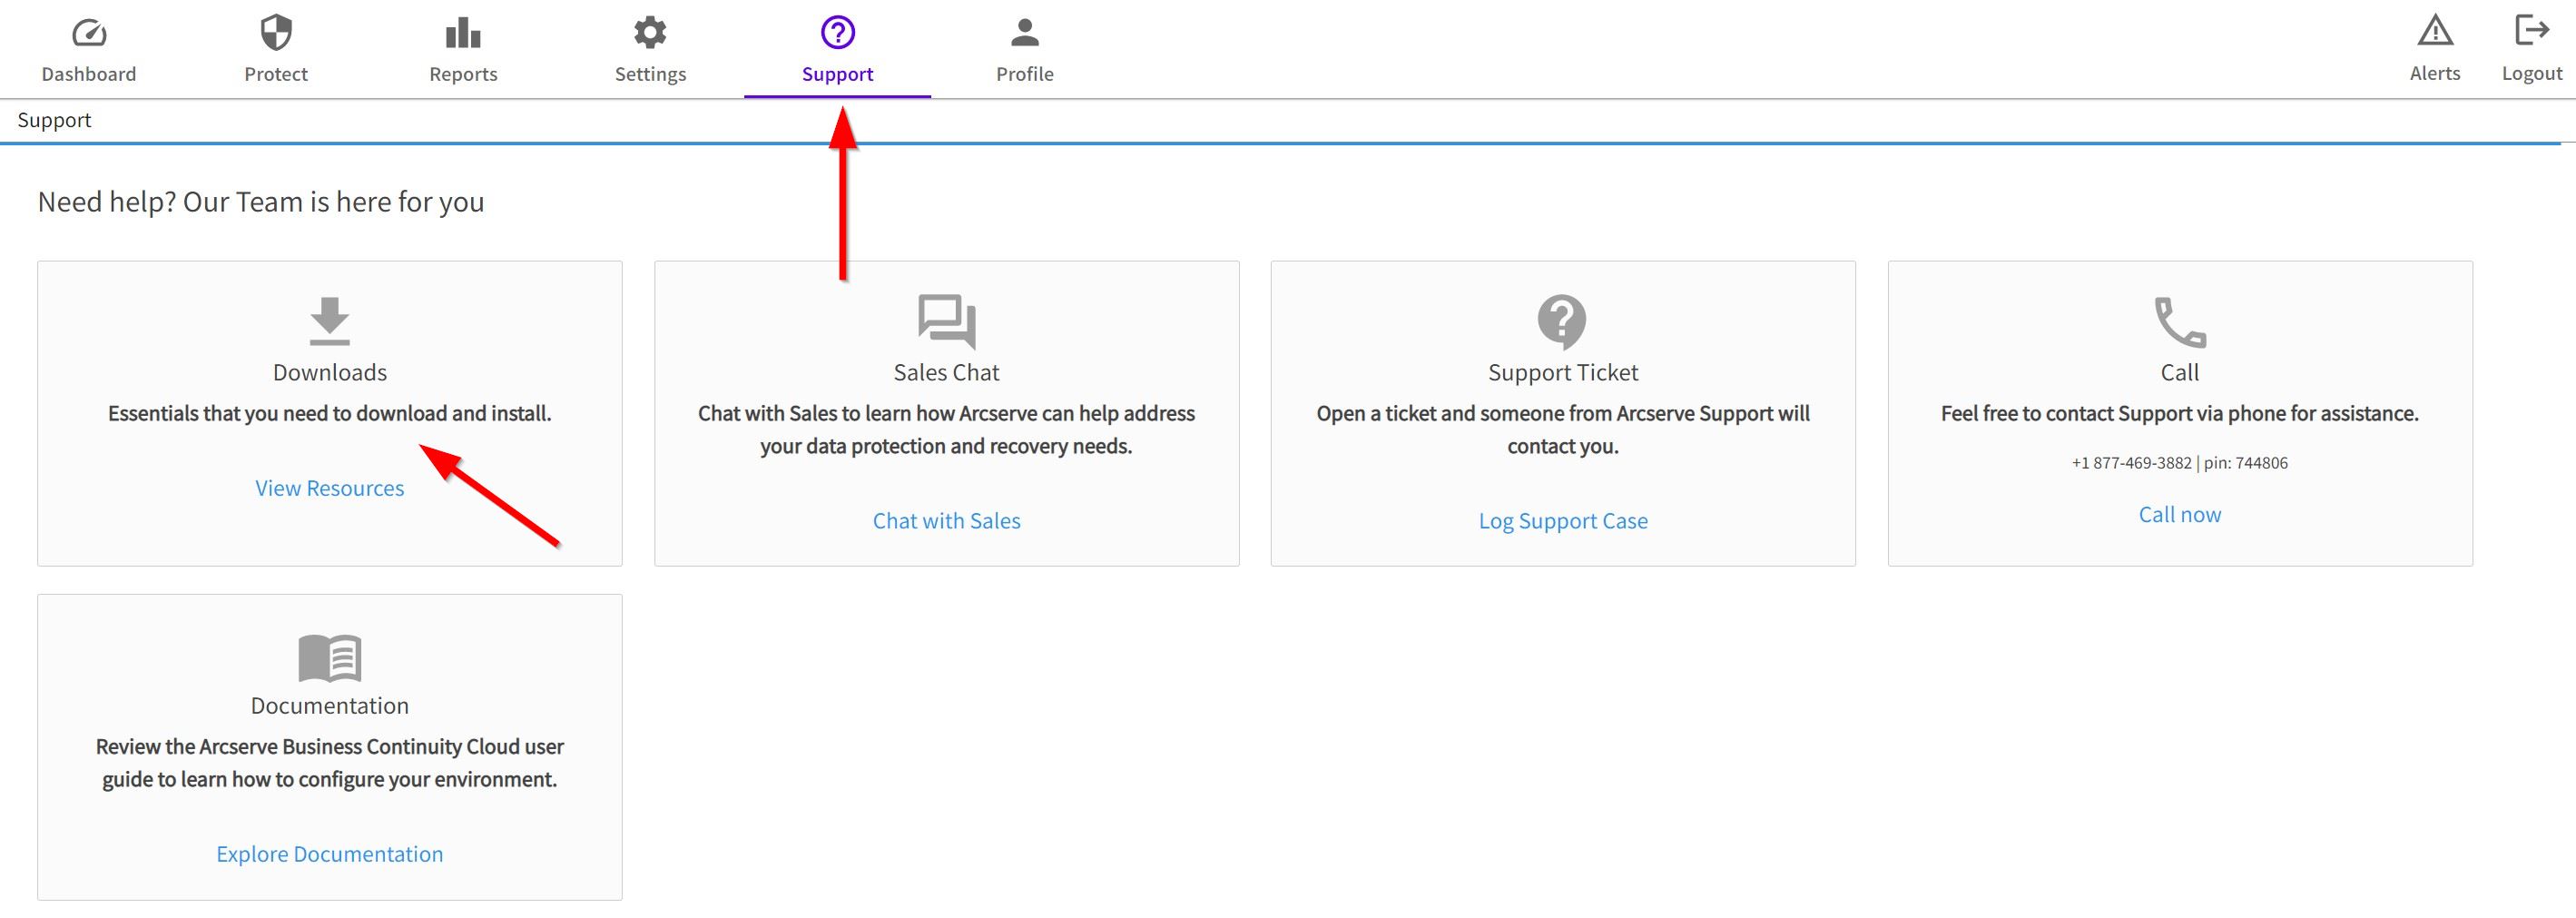
2.5 In the Agent section, click Downloads to download the agent for local installation on your system.

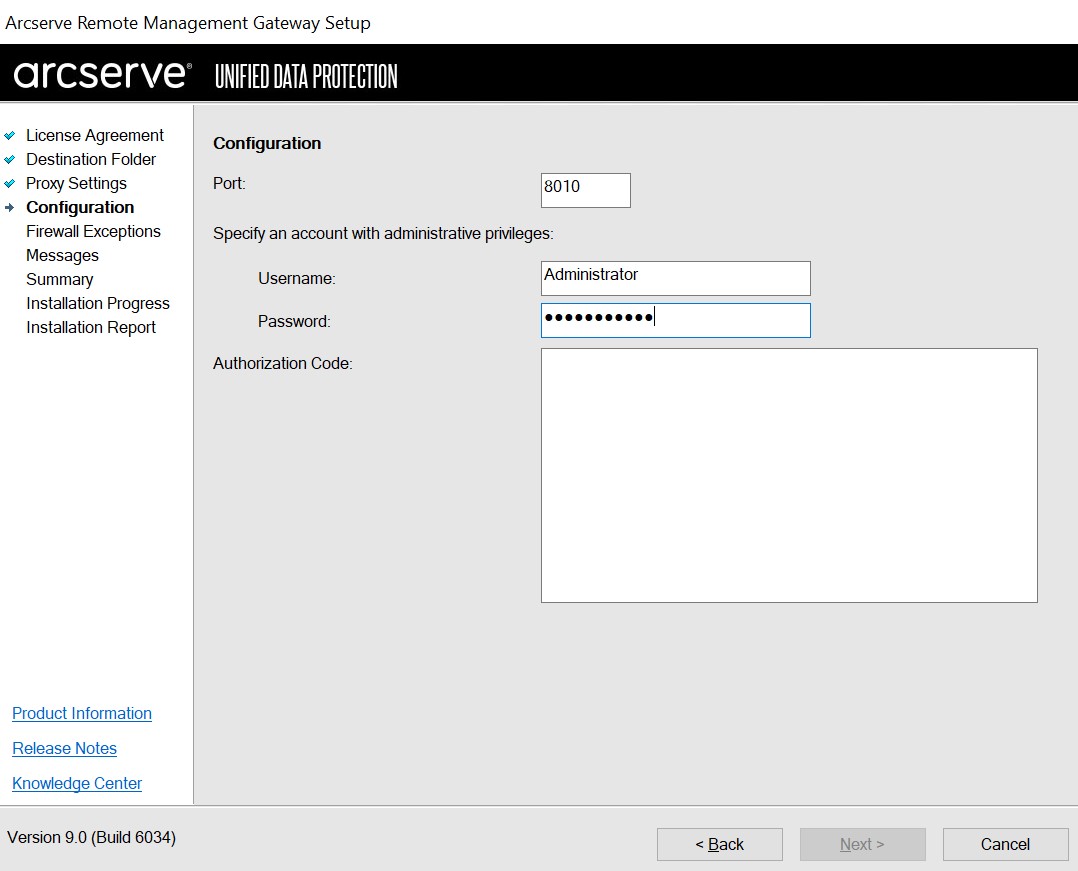
2.6 Install the Gateway Agent software and run through the installation. On the Configuration page, provide the UDP Gateway Authorization Code.
Username - Account with Admin Privileges to the local machine you are installing the Gateway on
Password - Password associated with the username
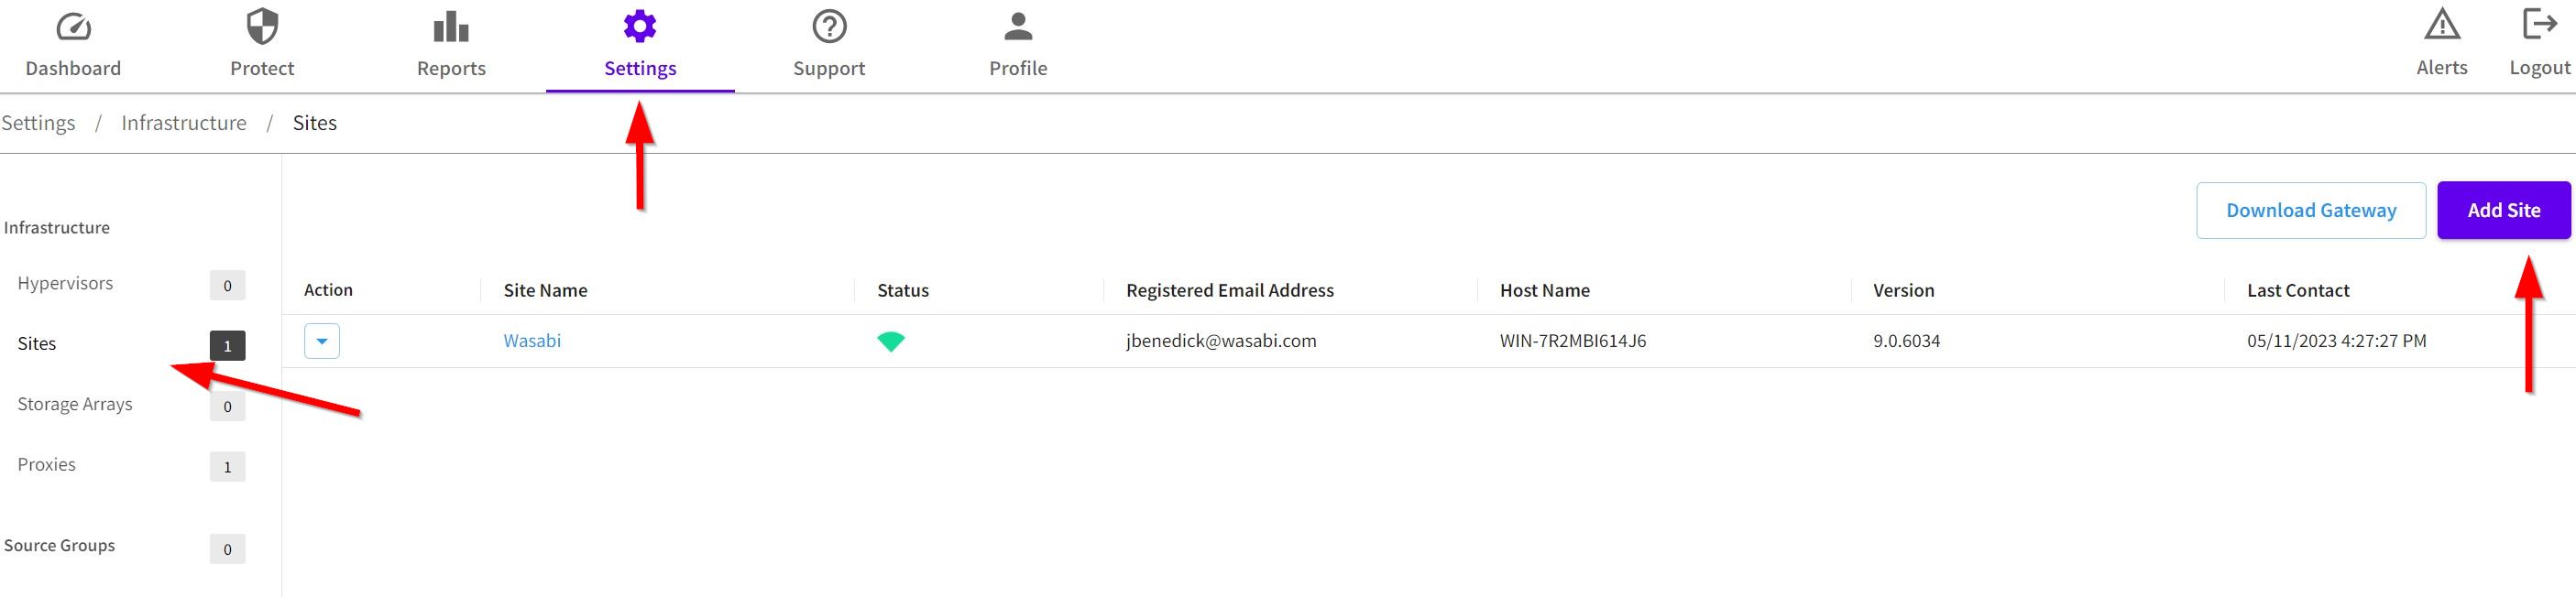
2.7 On the Cloud Console, click Settings and then click Sites. Click Add Site.
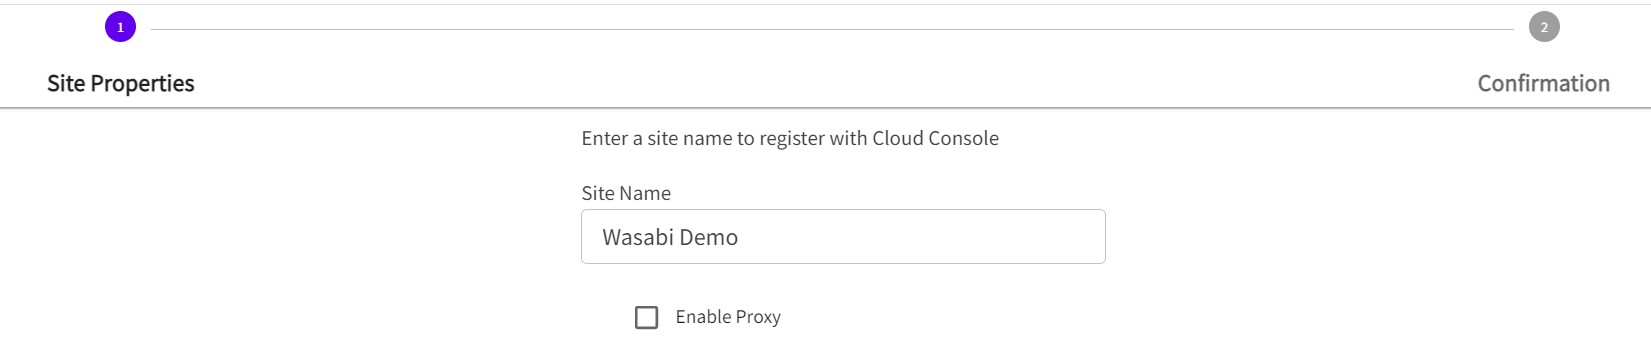
2.8 Name the site accordingly and click Next at the bottom of the screen.
2.9 Copy the Gateway Authorization Code to the clipboard and then save it to the local files.
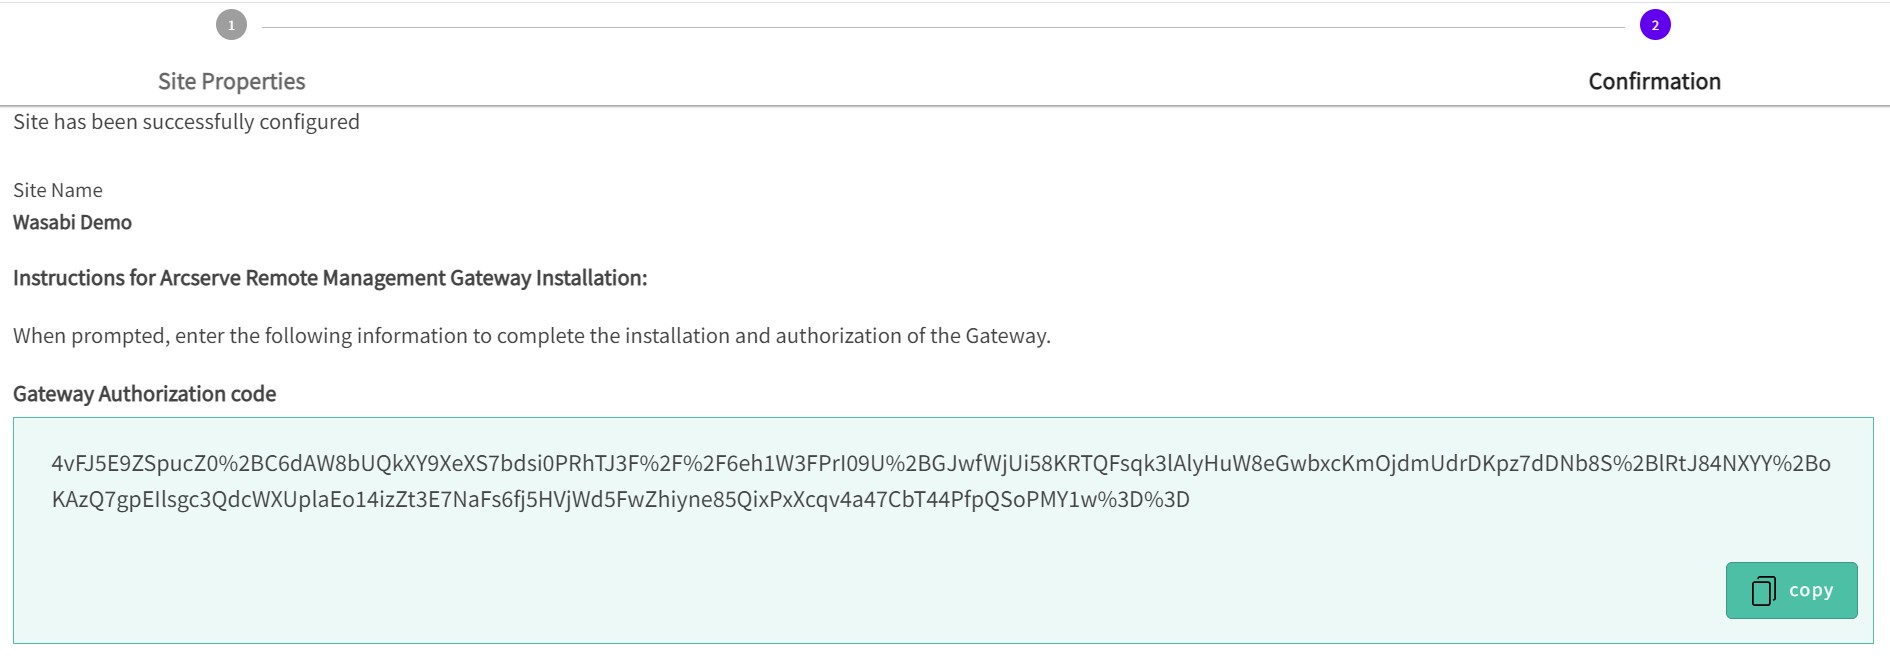
2.10 Go back to the installation of the Gateway Agent as shown above in step 2.6. Copy the authorization code, and then click Next until the installation is finished.
3. Source Creation
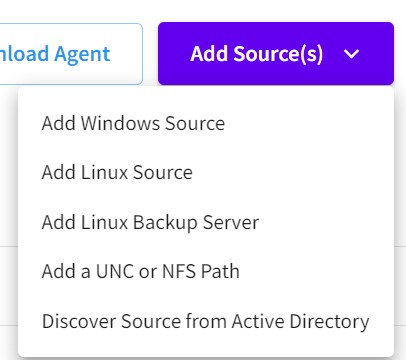
3.1 Next, go back to the Cloud Console and click Protect, select Machines. Click Add Sources.

3.2 Select Add Windows Source.
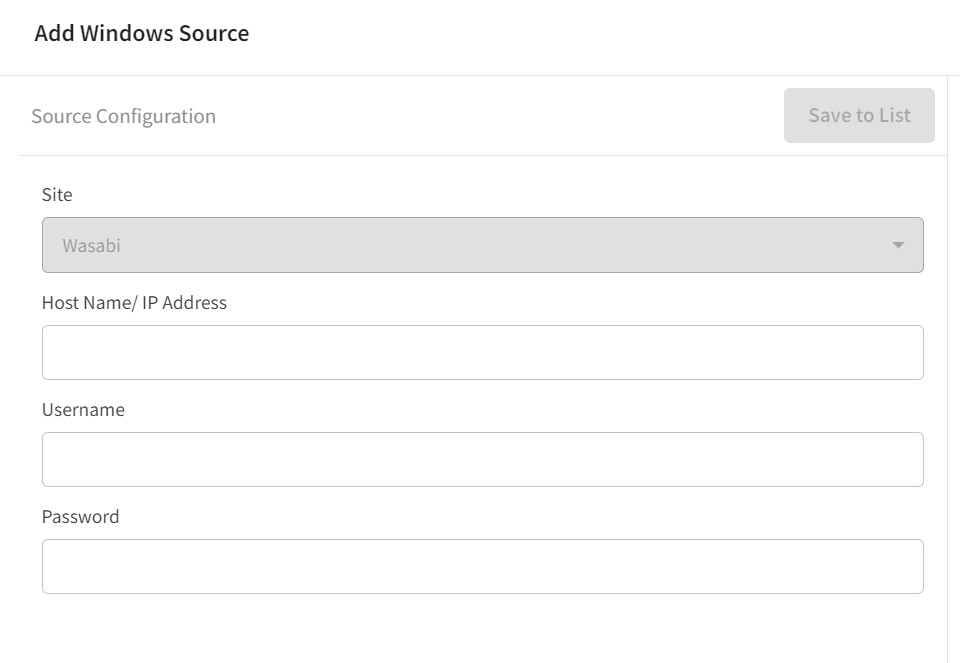
3.3 Input the following data, then click Save to List.
IP Address of the Machine
Username - Account with Admin privileges on the Windows Machine
Password
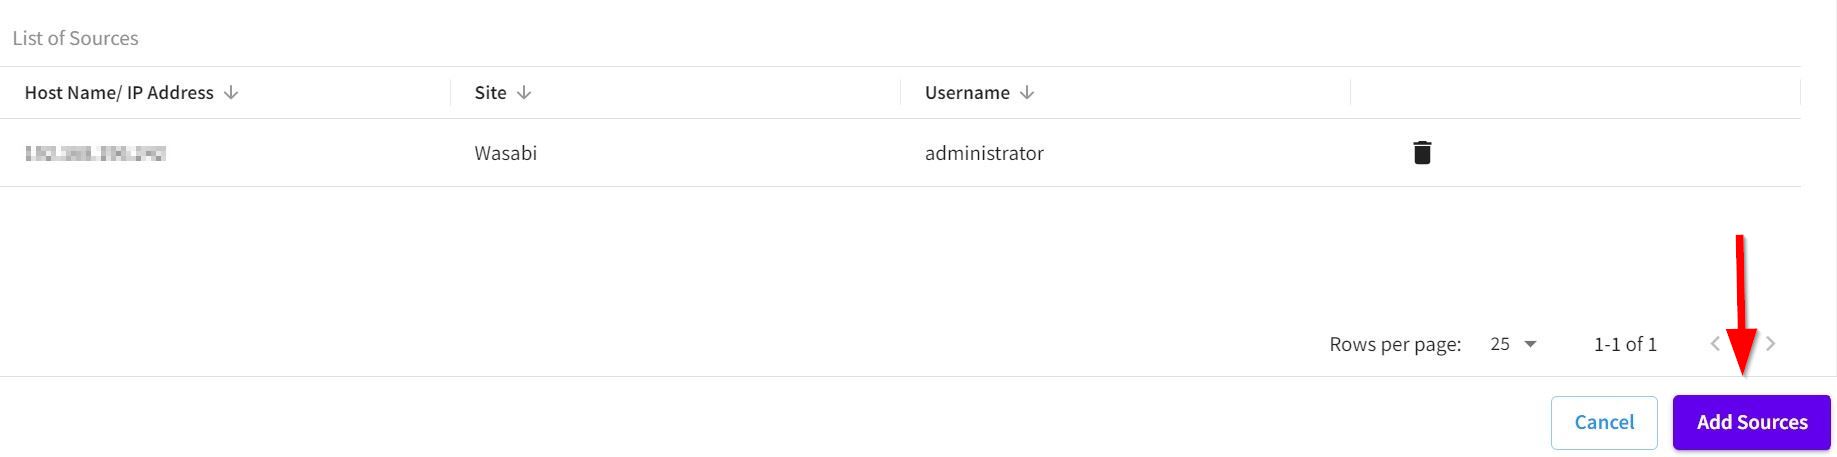
3.4 Click Add Sources, and your source will now appear in your list.

4. Recovery Point Server Creation
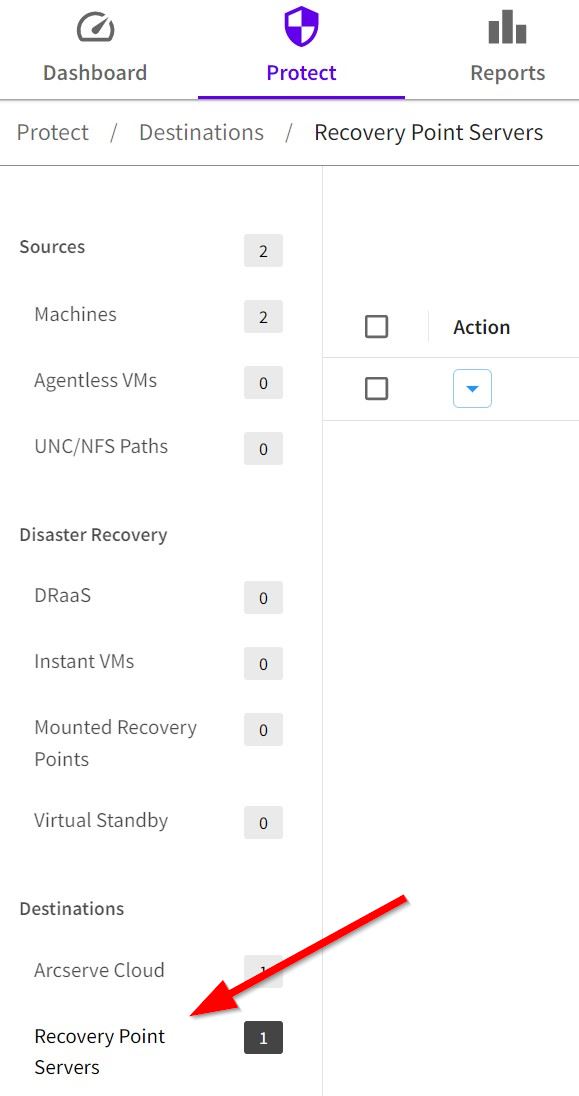
4.1 Create a Recovery Point Server (RPS) to offload resource-intensive tasks from the Arcserve UDP agent and enable features such as Global Deduplication and catalog generation. Click Recovery Point Servers.
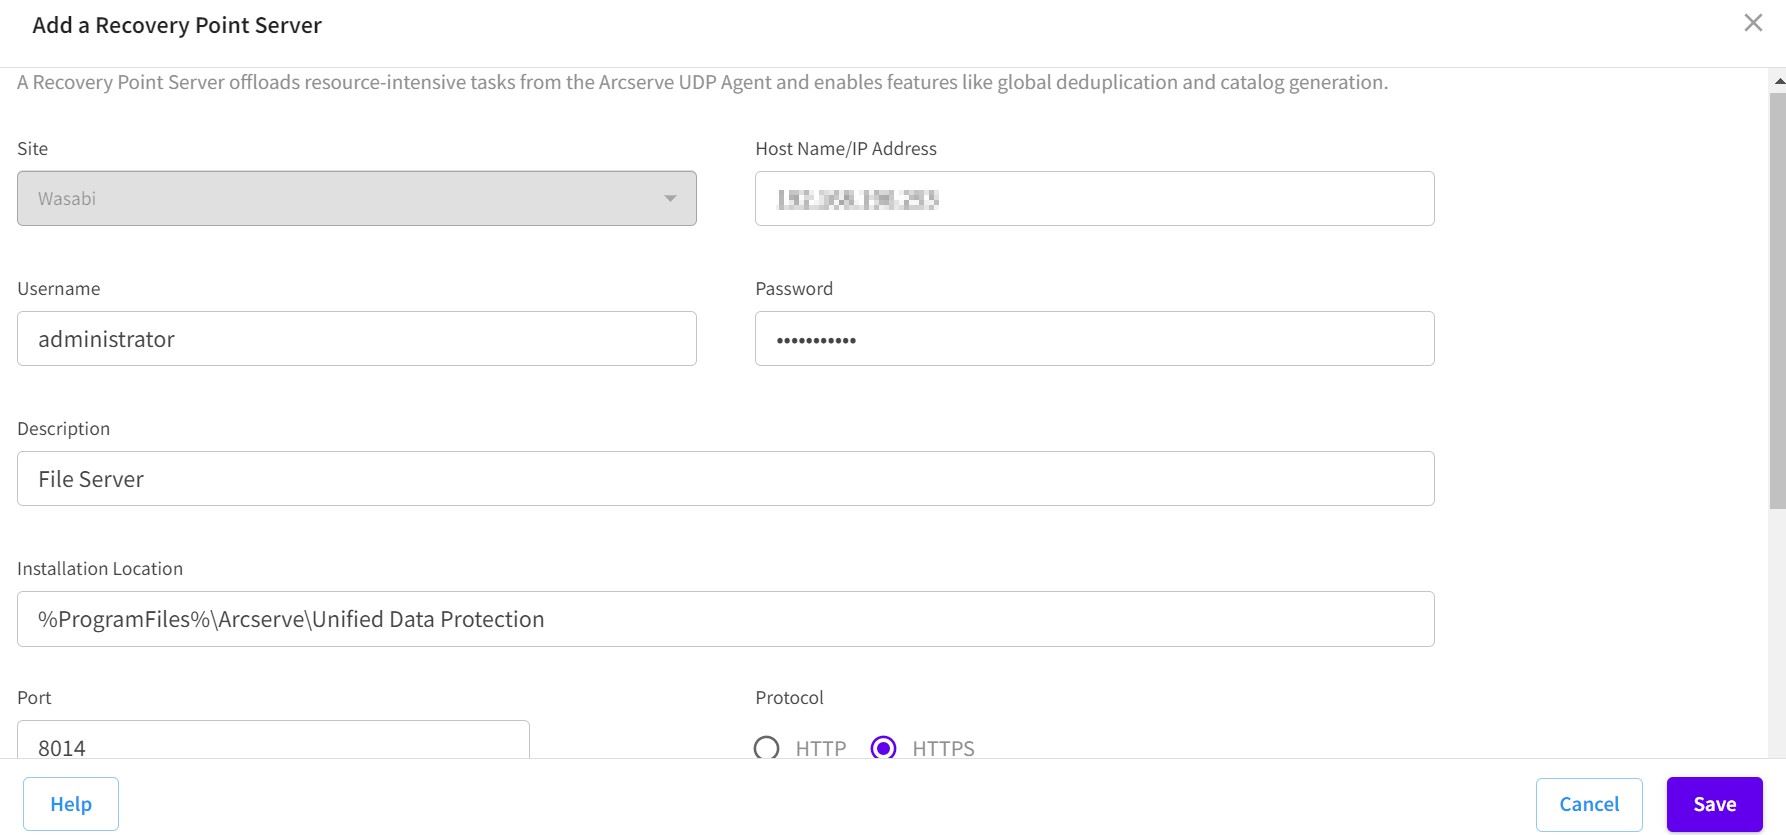
4.2 Click Add a Recovery Point Server, enter the following information. Click Save.
Host Name/IP Address
Username - Account with Admin privileges on the Server
Password
Description - Name of the Server
Note: Creating the RPS will take a few minutes to become active, as it sets up the necessary configurations.
5. Cloud Account Creation
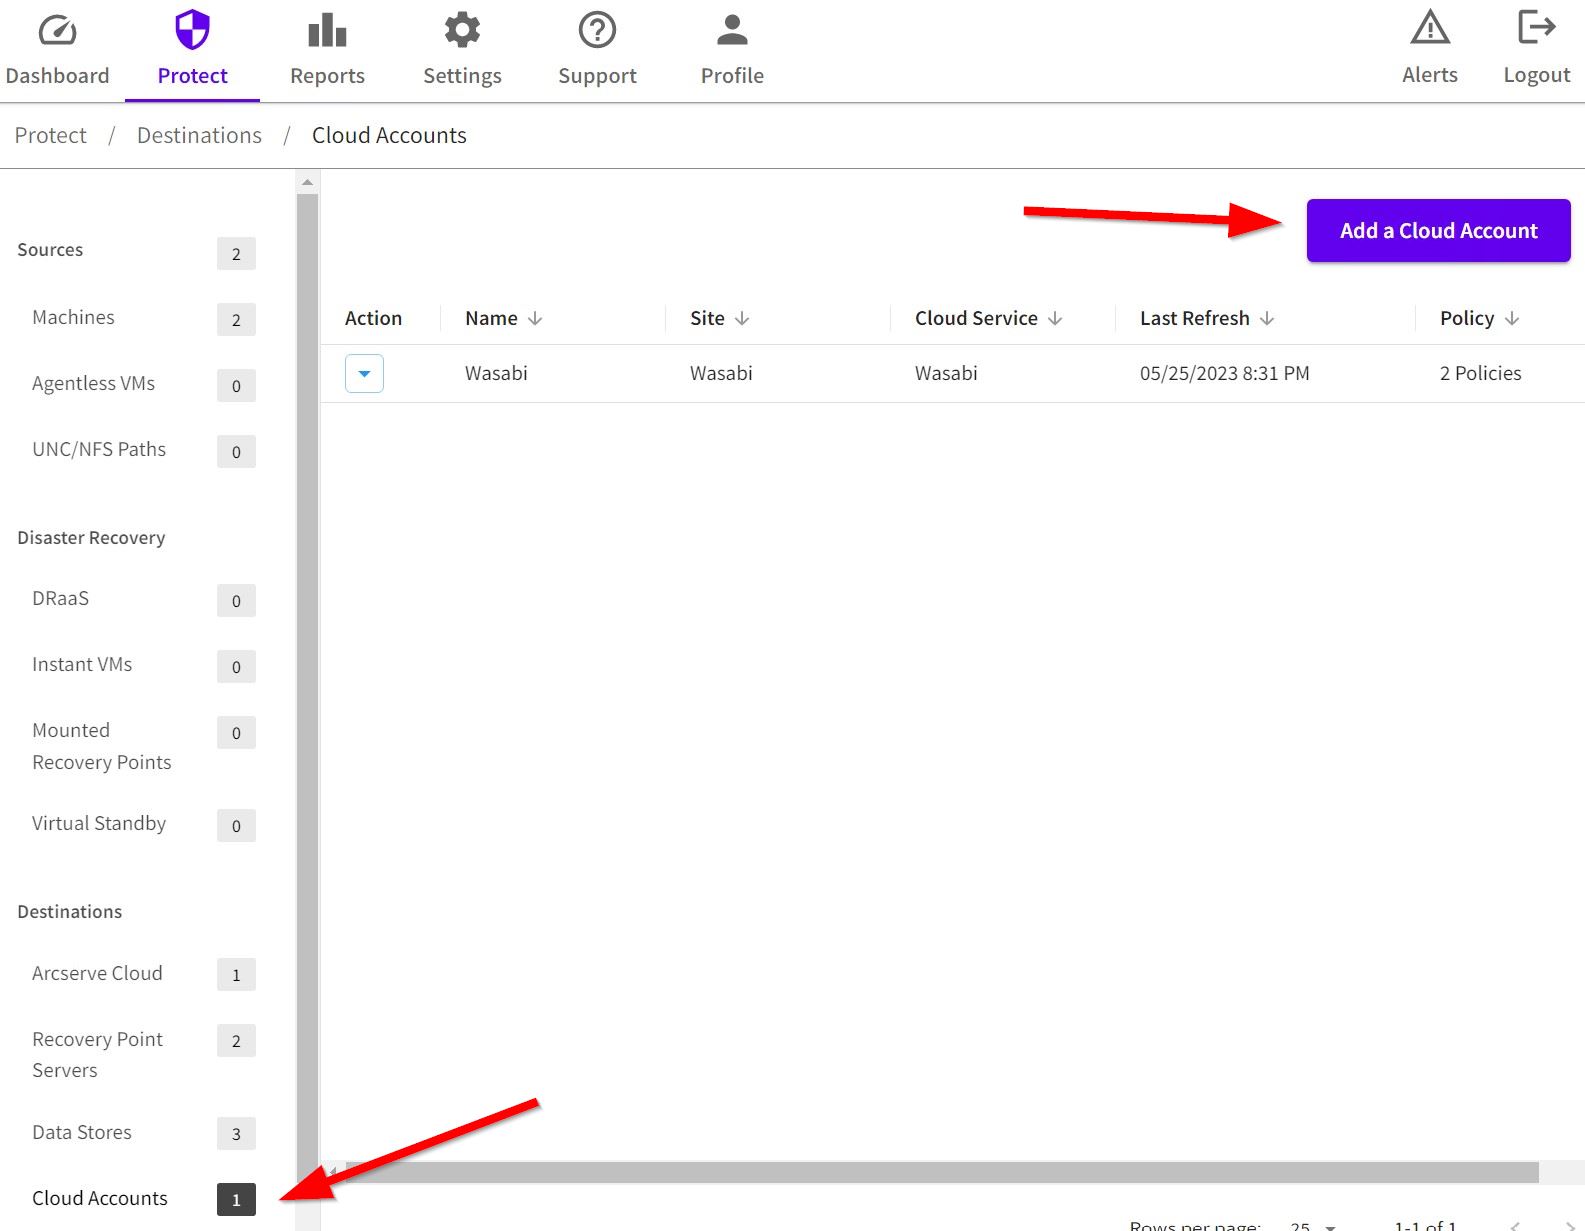
5.1 Add the cloud account. Click Cloud Accounts. Click Add a Cloud Account.
Enter the following information.
Display Name - Description of Cloud Account
Cloud Service - Select Wasabi from the Dropdown list
Access Key ID - Wasabi Access Key
Secret Access Key - Wasabi Secret Key
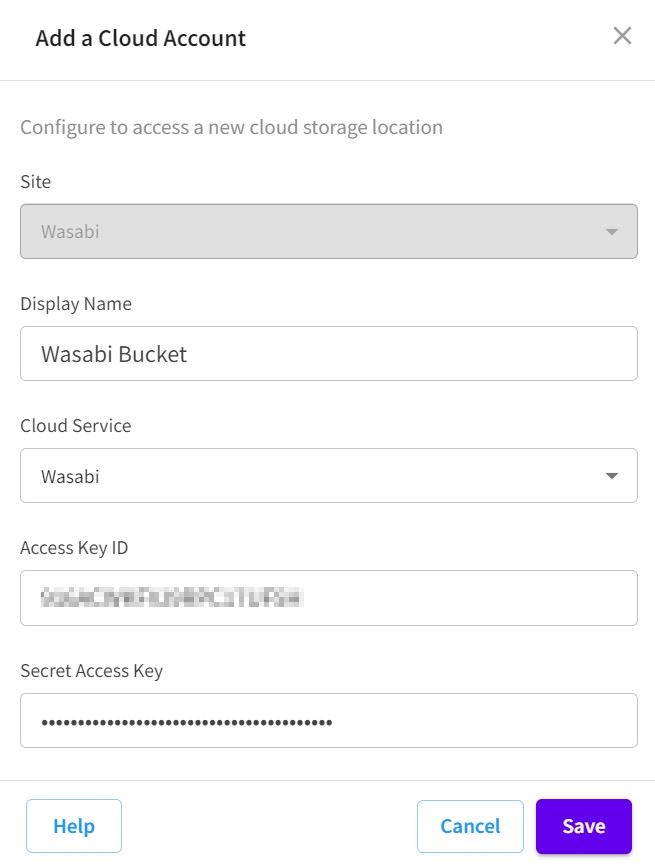
5.2 Click Save.
6. Cloud Data Store Creation
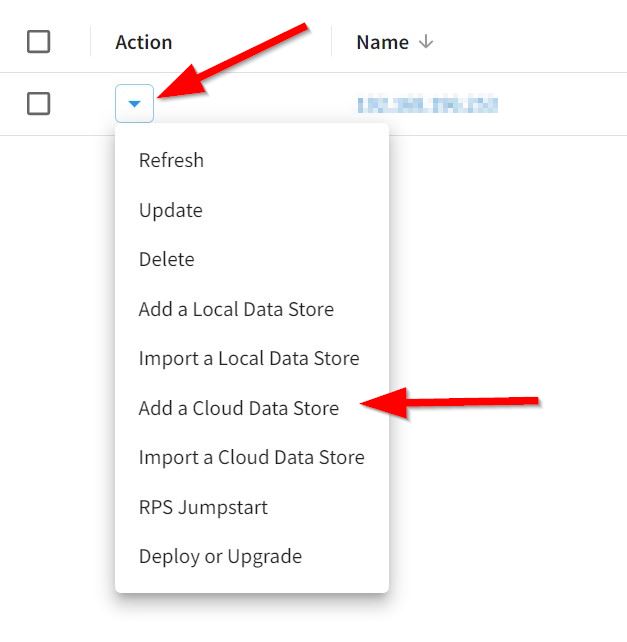
6.1 Create our Cloud Data Store and add it to our Recovery Point Server. Click Recovery Point Servers, click the drop-down arrow under Action, and then select Add a Cloud Data Store.
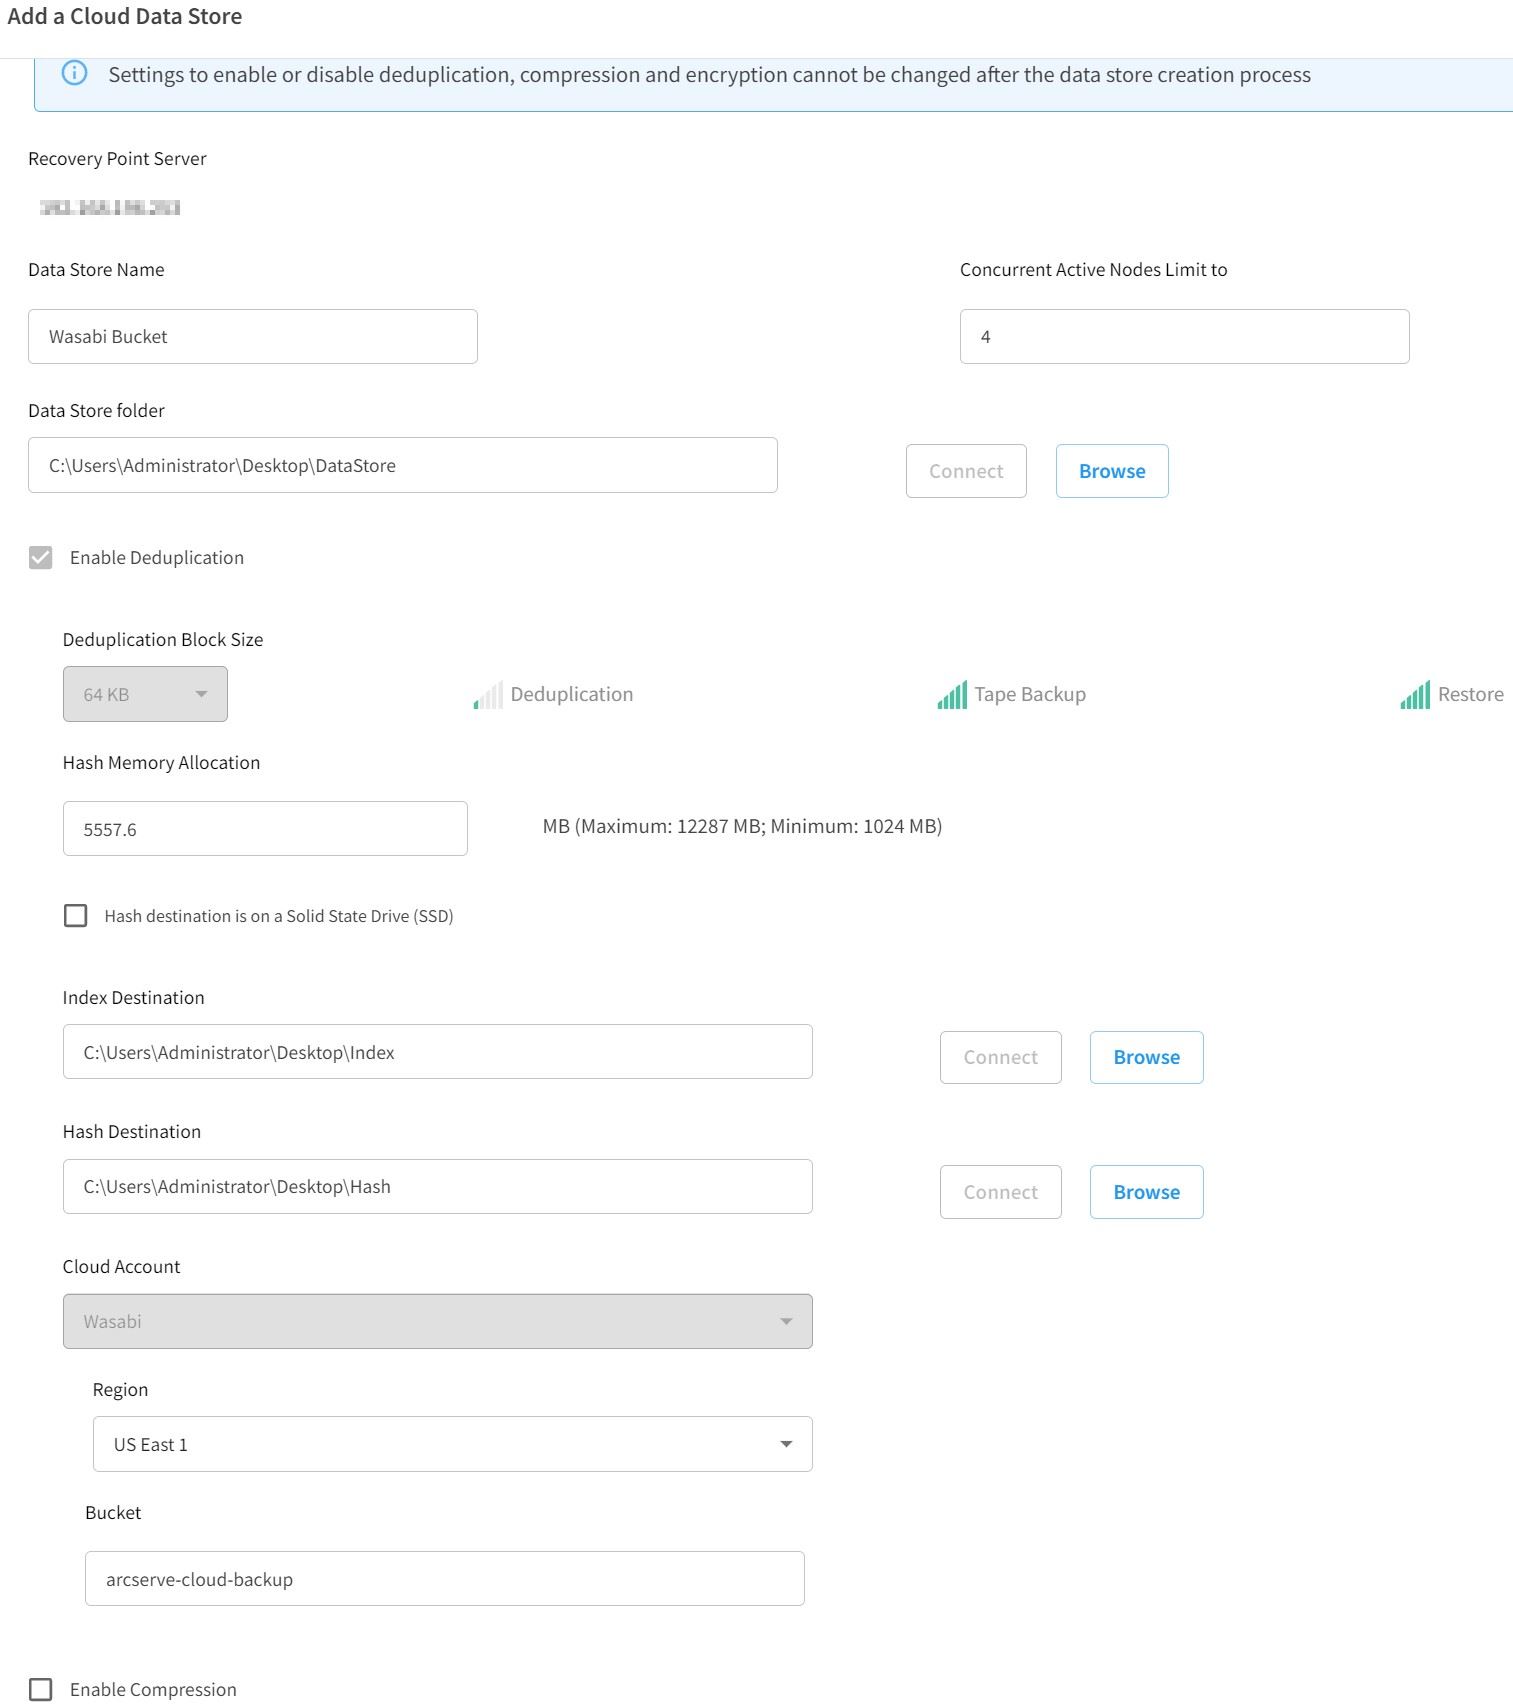
6.2 Fill out the following information.
Data Store Name - Specify a name to differentiate between Data Stores
Arcserve Cloud Console supports both types of deduplication: source-side and global deduplication. Source-side prevents duplicate data blocks from being transferred across the network by a specific agent. Global removes duplicate data across all client machines at the volume cluster level.
The folder and locations specified below leverage the Recovery Point Servers’ resources to perform the data deduplication before the data is moved to the Destination Wasabi Cloud Bucket.
Data Store Folder - Specifies the location where the Data Store is created. Select where you want to point the Data Store Configuration information, which can be saved locally or on a network share.
Index Location - Select or create a local folder to store the Index files. Select a different disk/volume from which it is being backed up to improve deduplication processing.
Note: The Index Destination Path must be an empty folder.
Hash Location - Select or create a local folder to define the path where the Hash database will reside. The hash database manages the hash values. Arcserve Cloud Console uses the SHA1 algorithm to generate the hash for the source data. Selecting a high-speed SSD Drive is recommended.
Note: The Hash Destination Path must be an empty folder.
Note: You cannot specify the same path for the following folders: Data Store Folder, Index Destination, and Hash Destination.
Region - Choose which region your Wasabi bucket is located in
Bucket - Specify the name of the bucket you created for your backups
Enable Compression - Check this box if you wish for your data to be compressed, choosing either Standard or Maximum
Note: Enabling compression reduces disk space usage but also slows backup speed due to increased CPU usage.
Enable Encryption - Check this box if you wish for your backups to be encrypted
6.2 Click Save.

7. Policy Creation and Assignment
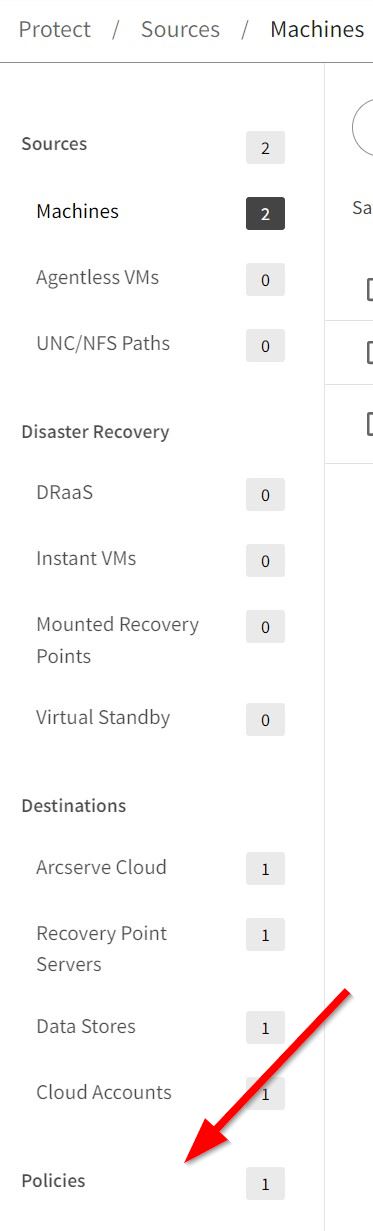
7.1 Next, create your policy to assign to your source. Click Policy.
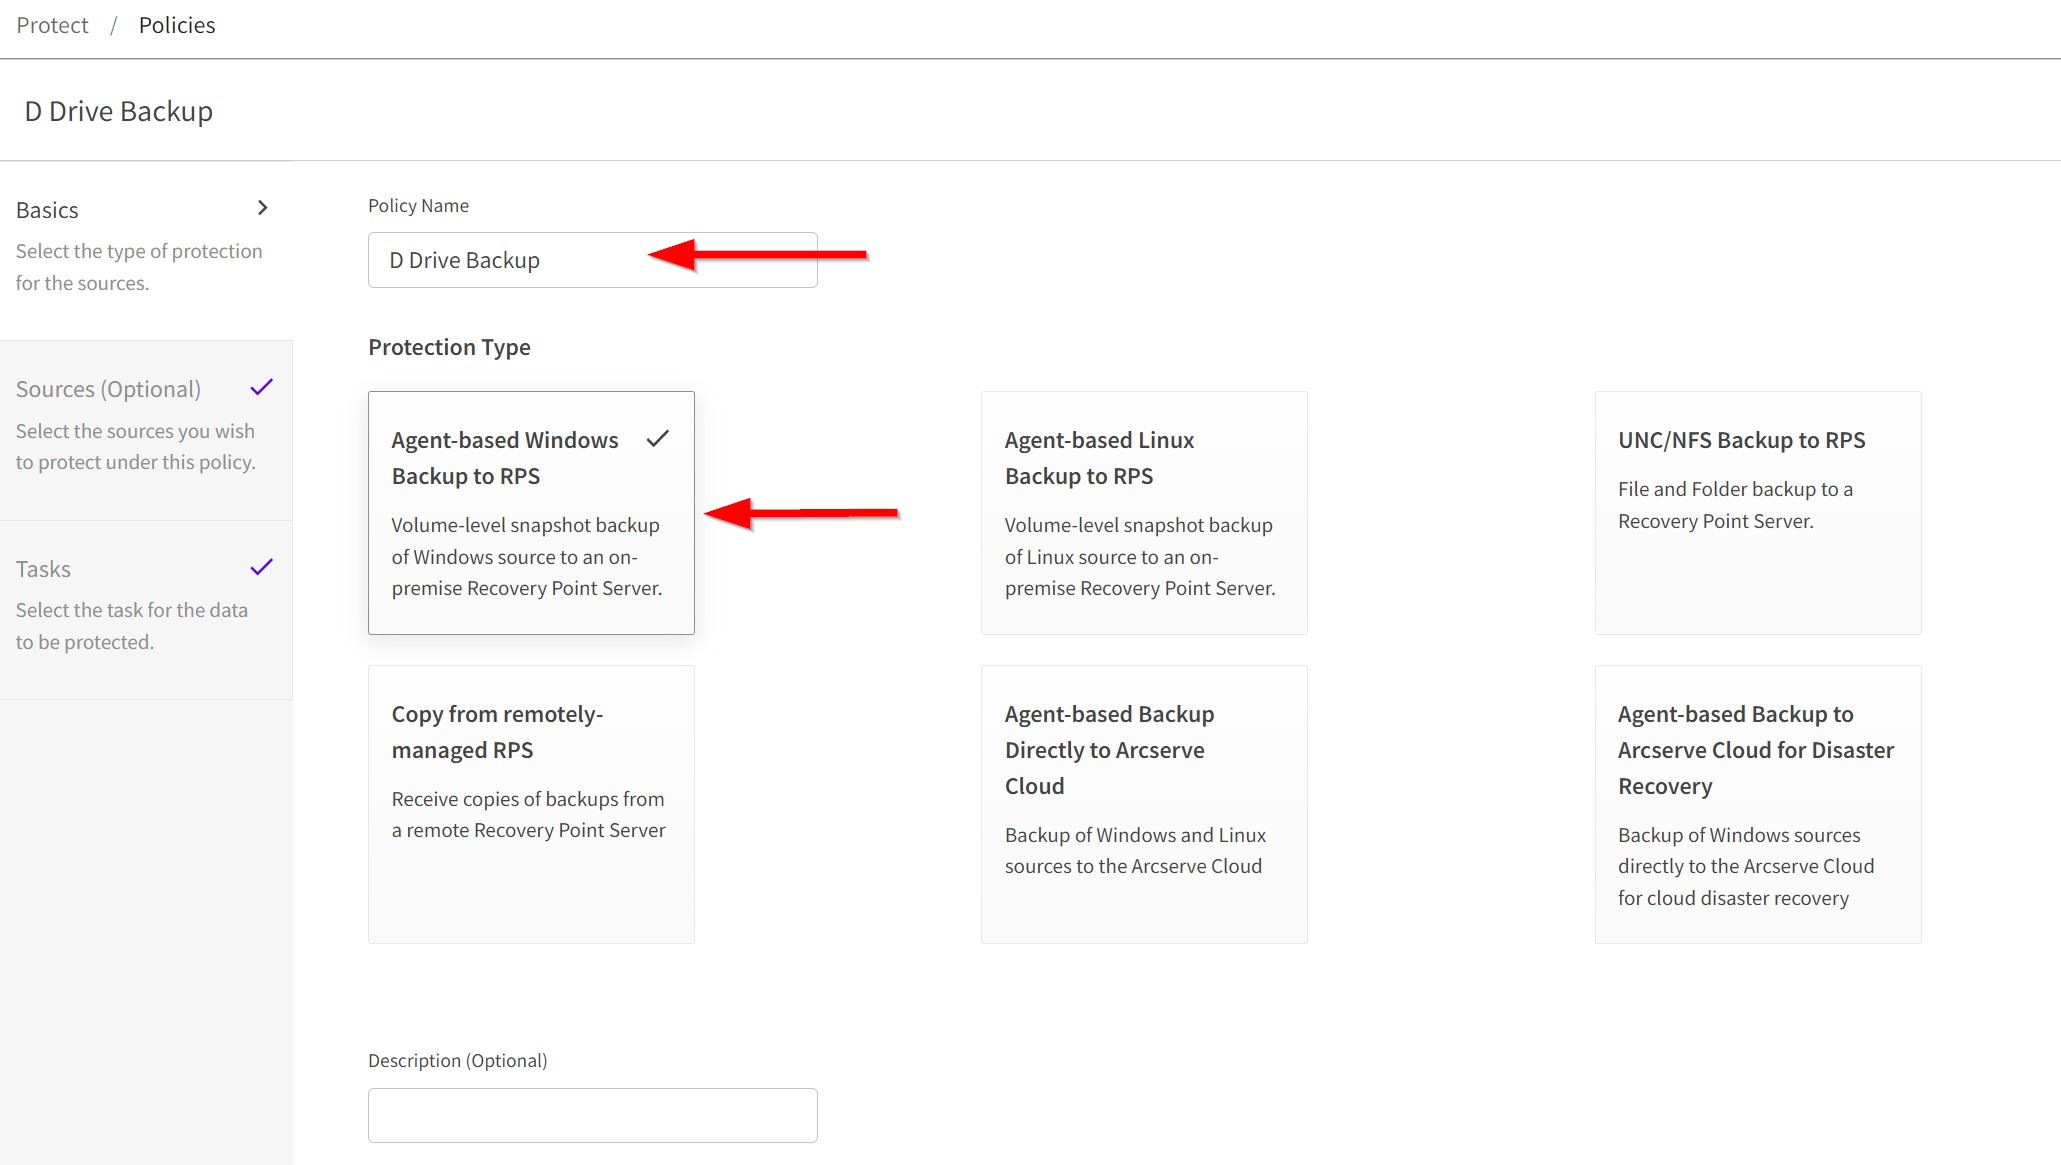
7.2 Name your policy accordingly and then click Agent-based Windows Backup to RPS.
7.3 Click Sources (Optional) and choose your source to apply the policy to.

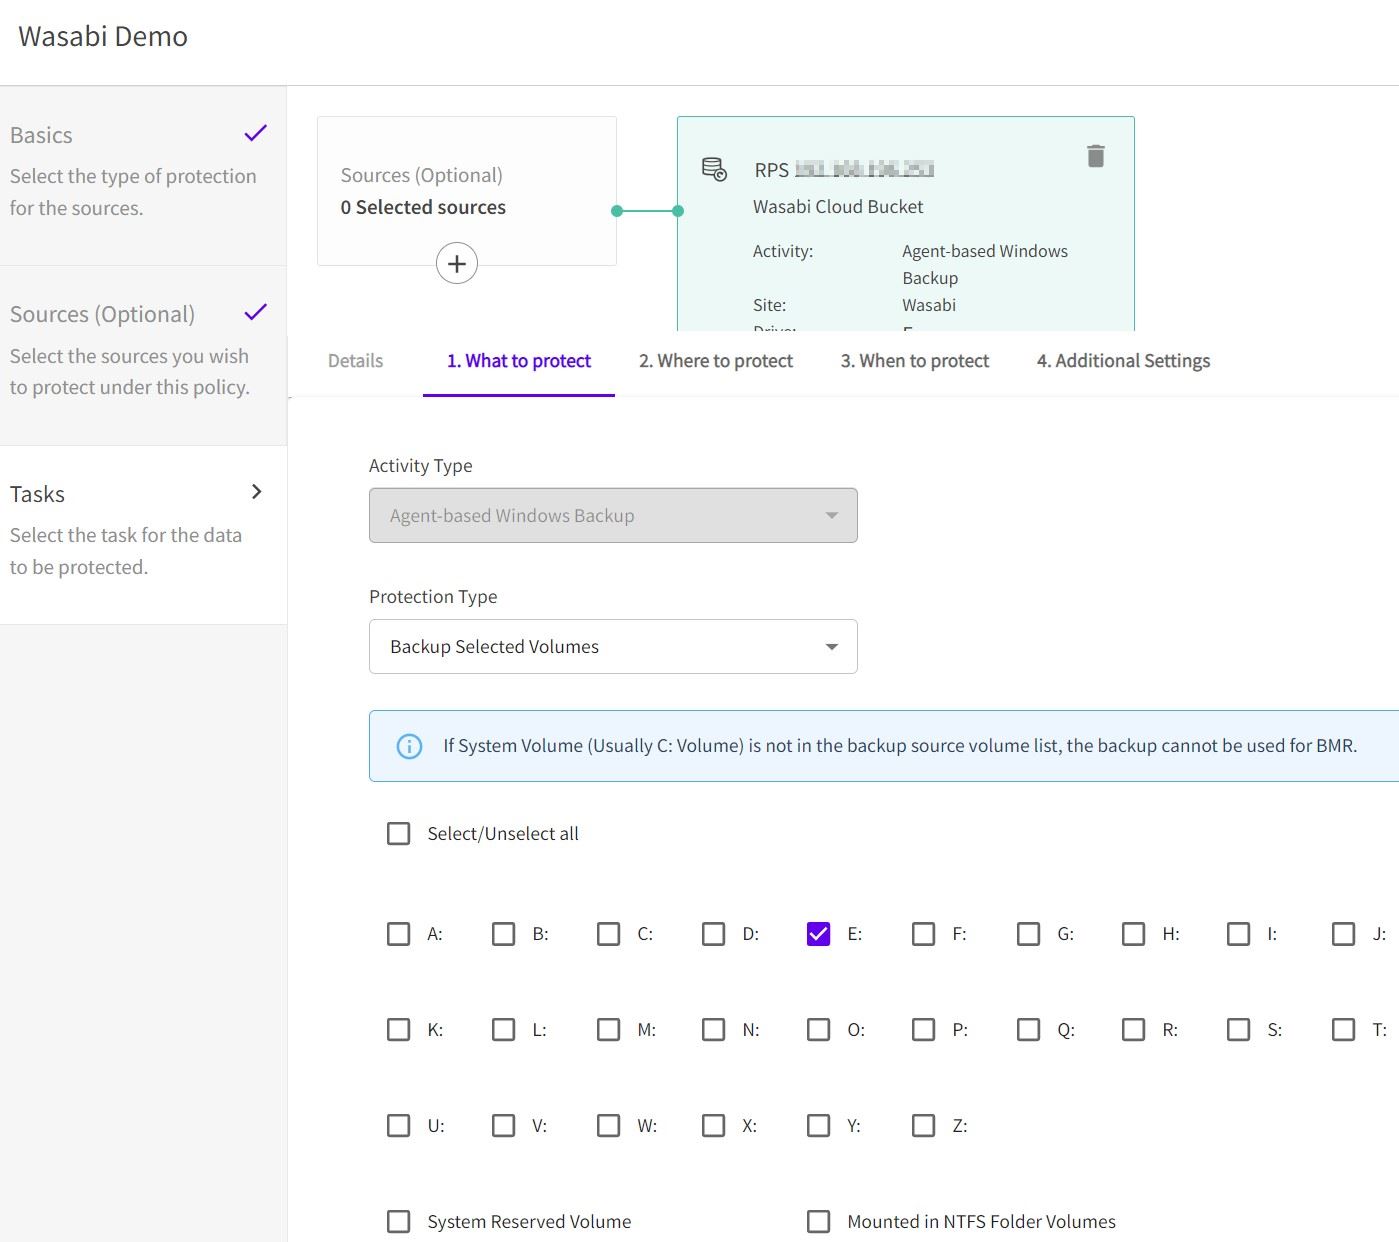
7.4 Click Tasks and then select which volume(s) to protect.
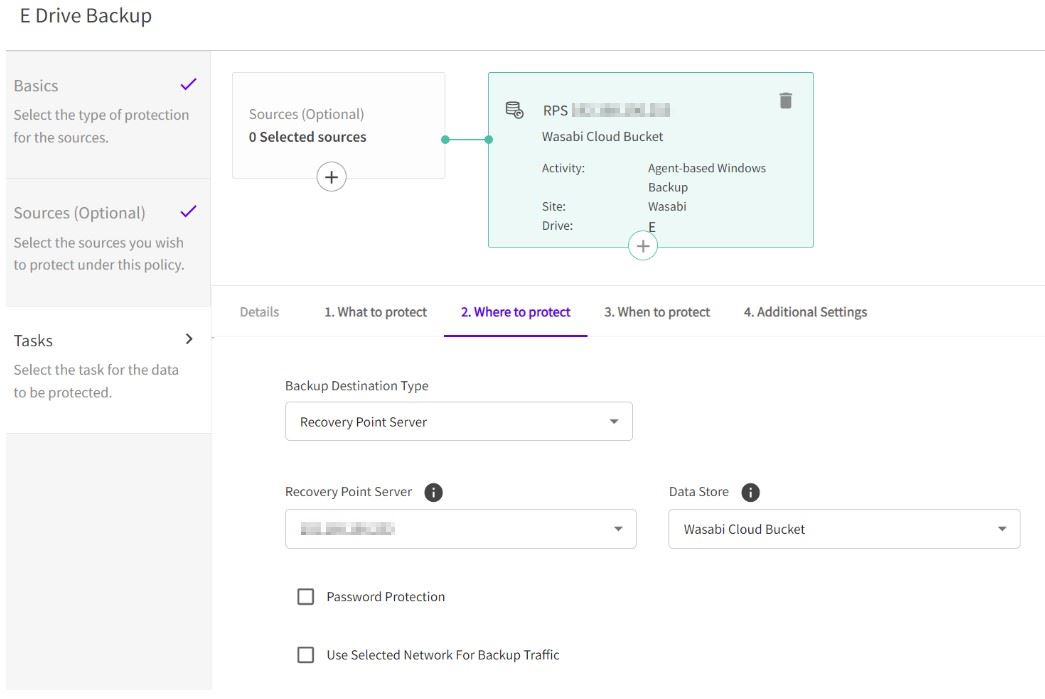
7.5 Click 2. Where to protect and input the following:
Backup Destination Type - Select Recovery Point Server
Recovery Point Server - Select the IP address of the server you wish to use
Data Store - Select the Cloud Data Store that you created earlier
7.6 Click 3. When to protect and set up the backup schedule to use for the Volume.

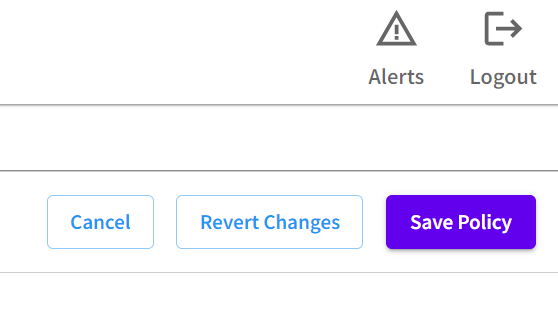
7.7 Click Save Policy.
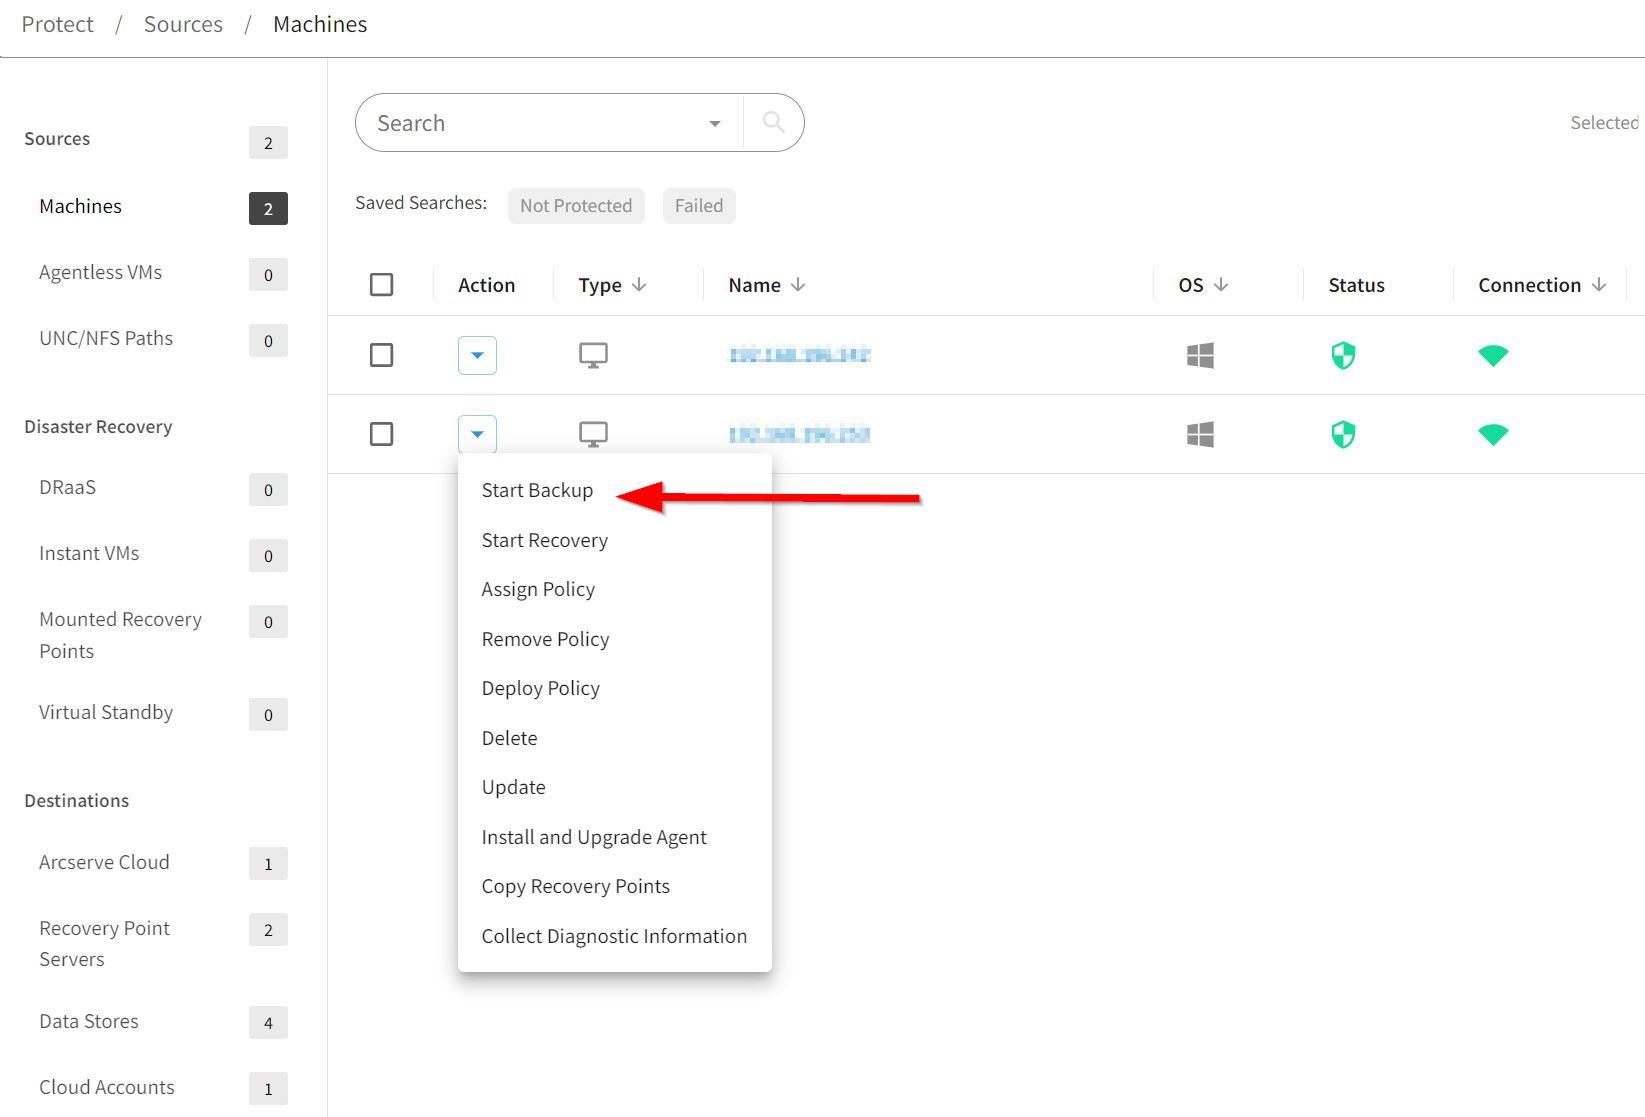
7.8 Click Machines under the Sources section. In the Action section, click the drop-down arrow and select Start Backup to protect the Volume.
8. Recovery
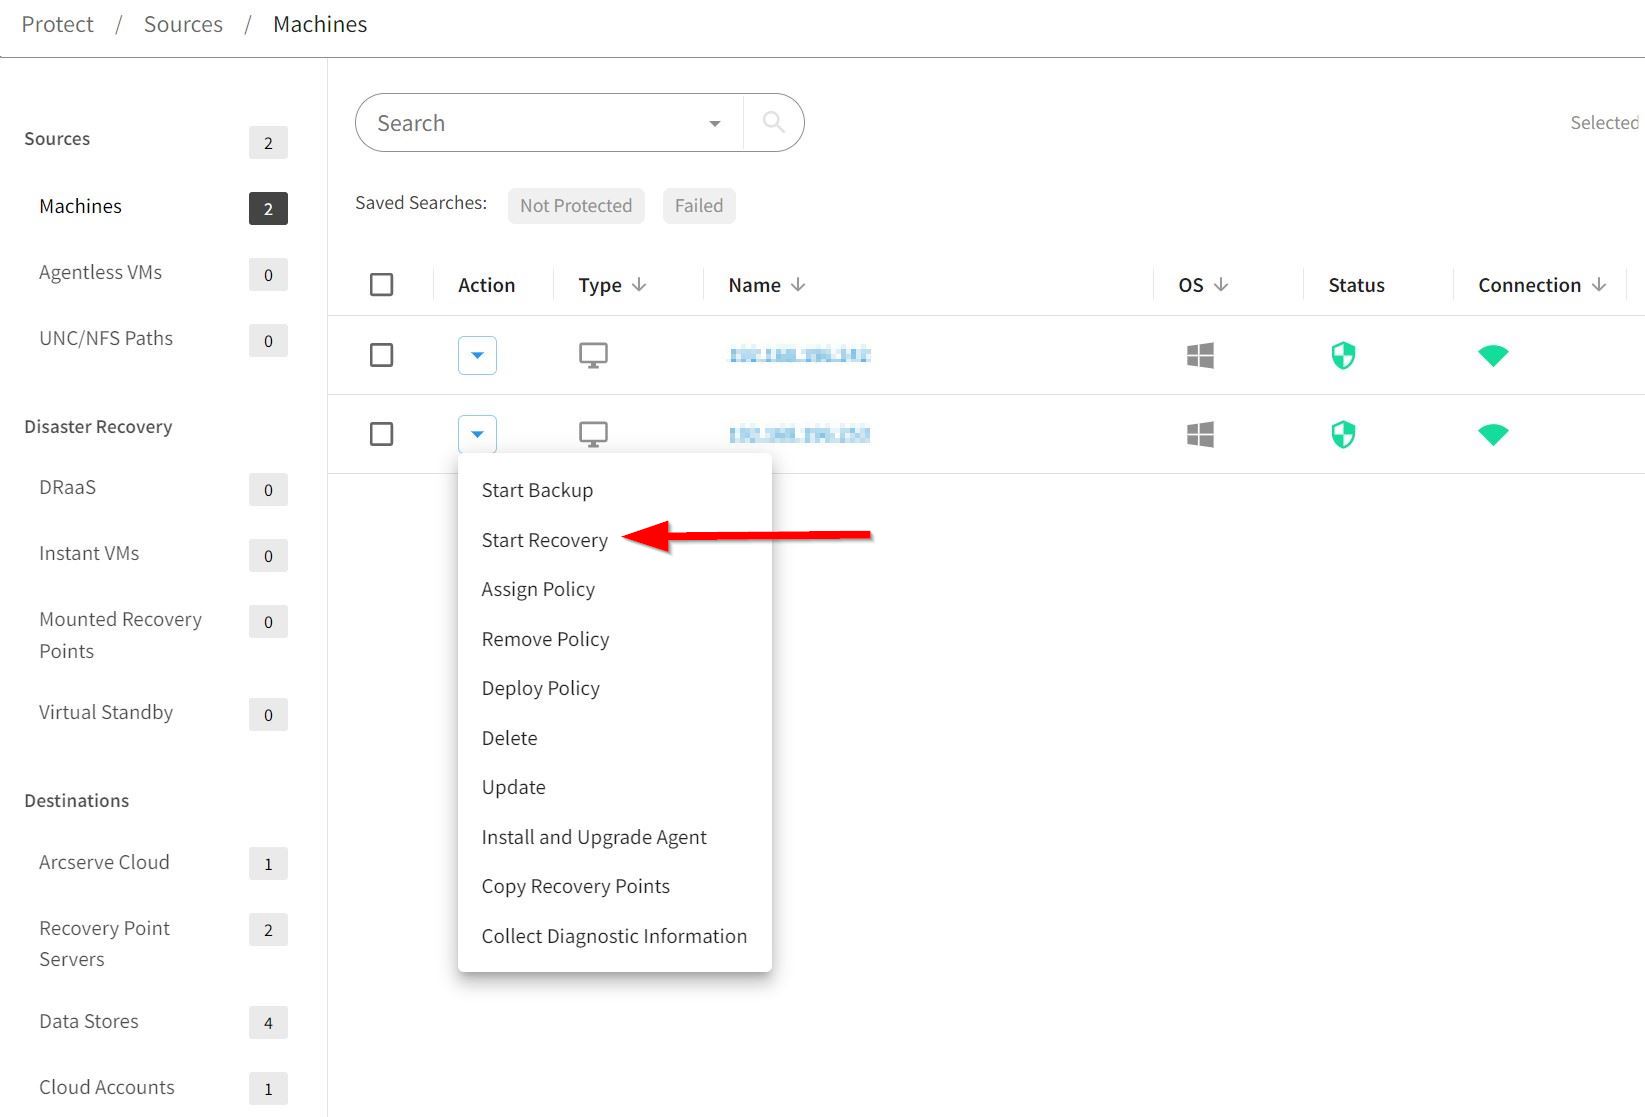
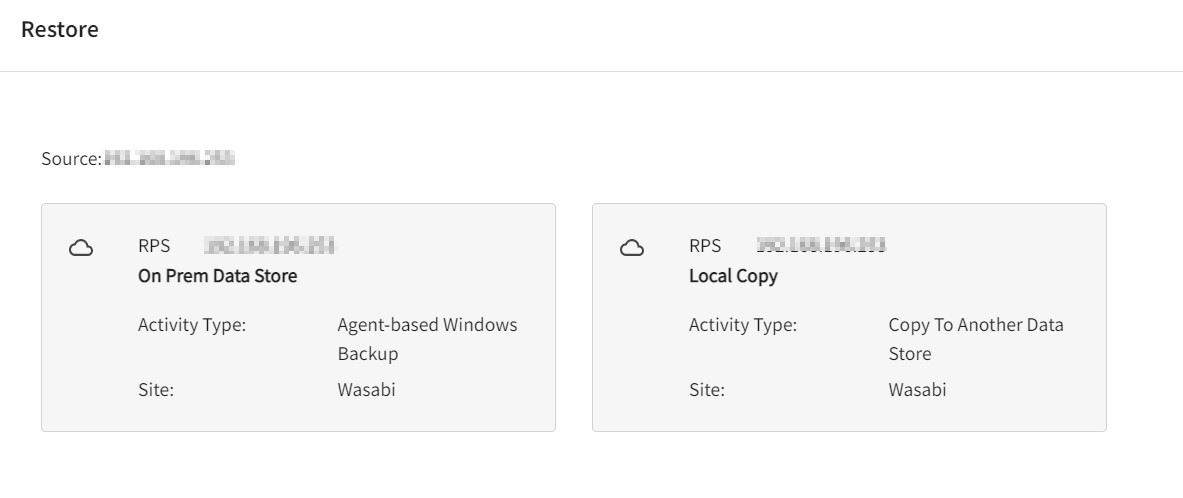
8.1 To restore a volume, folder, or file, click Machines under the Sources section. Click the drop-down arrow and select Start Recovery.
8.2 Click the recovery point.
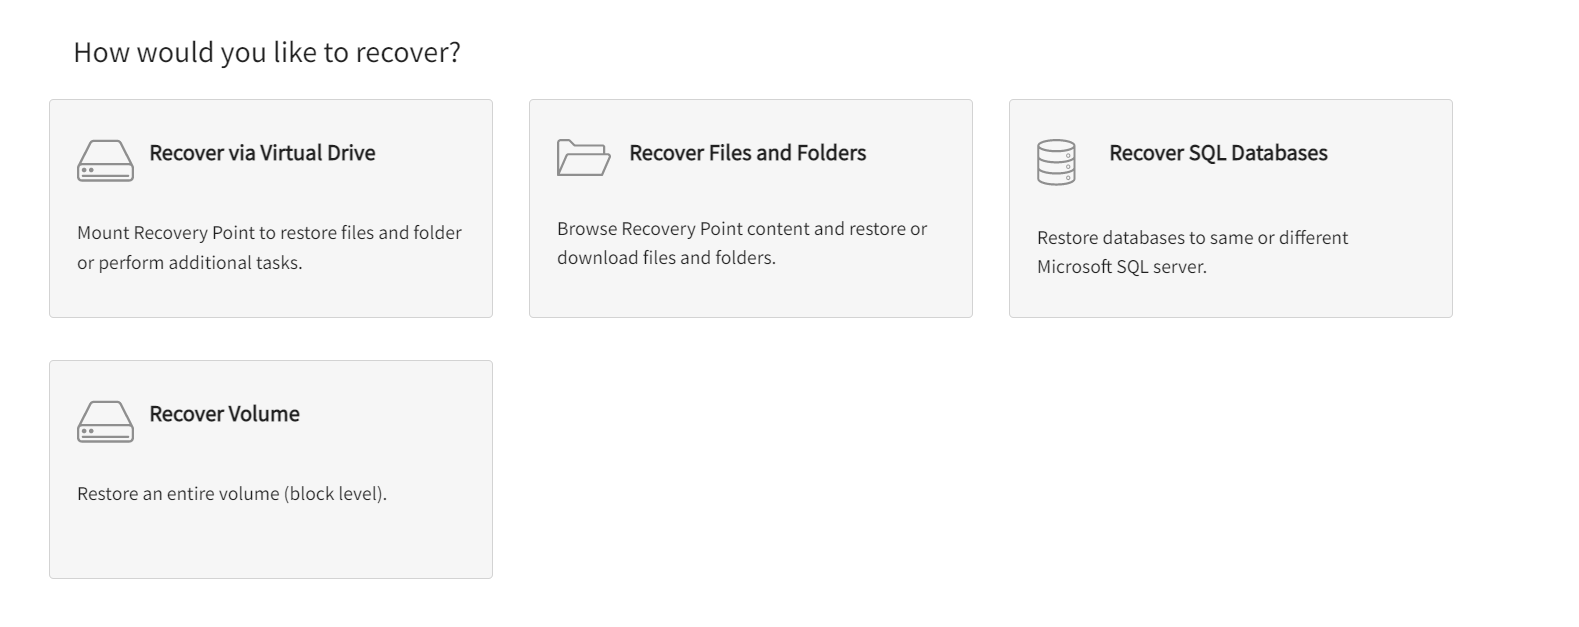
8.3 Choose your recovery type.
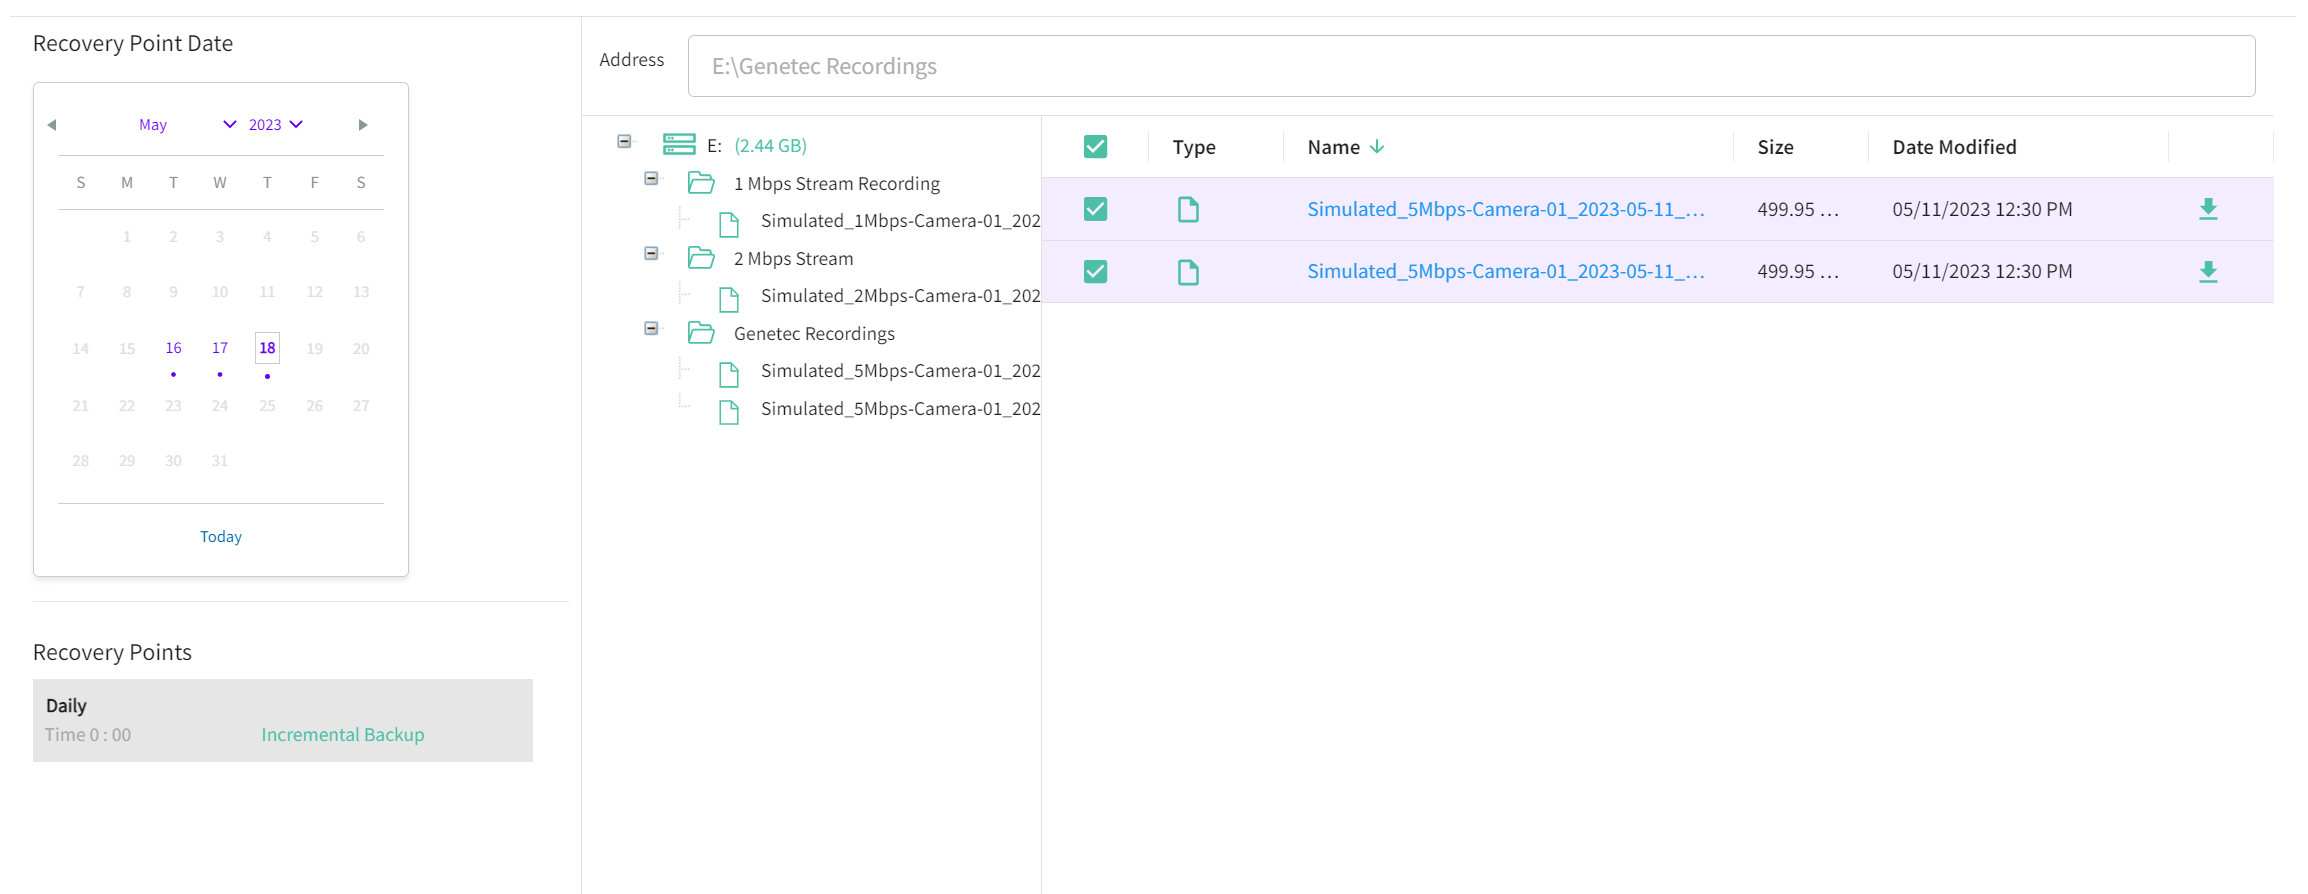
8.4 Select the date and data to restore and click Next.
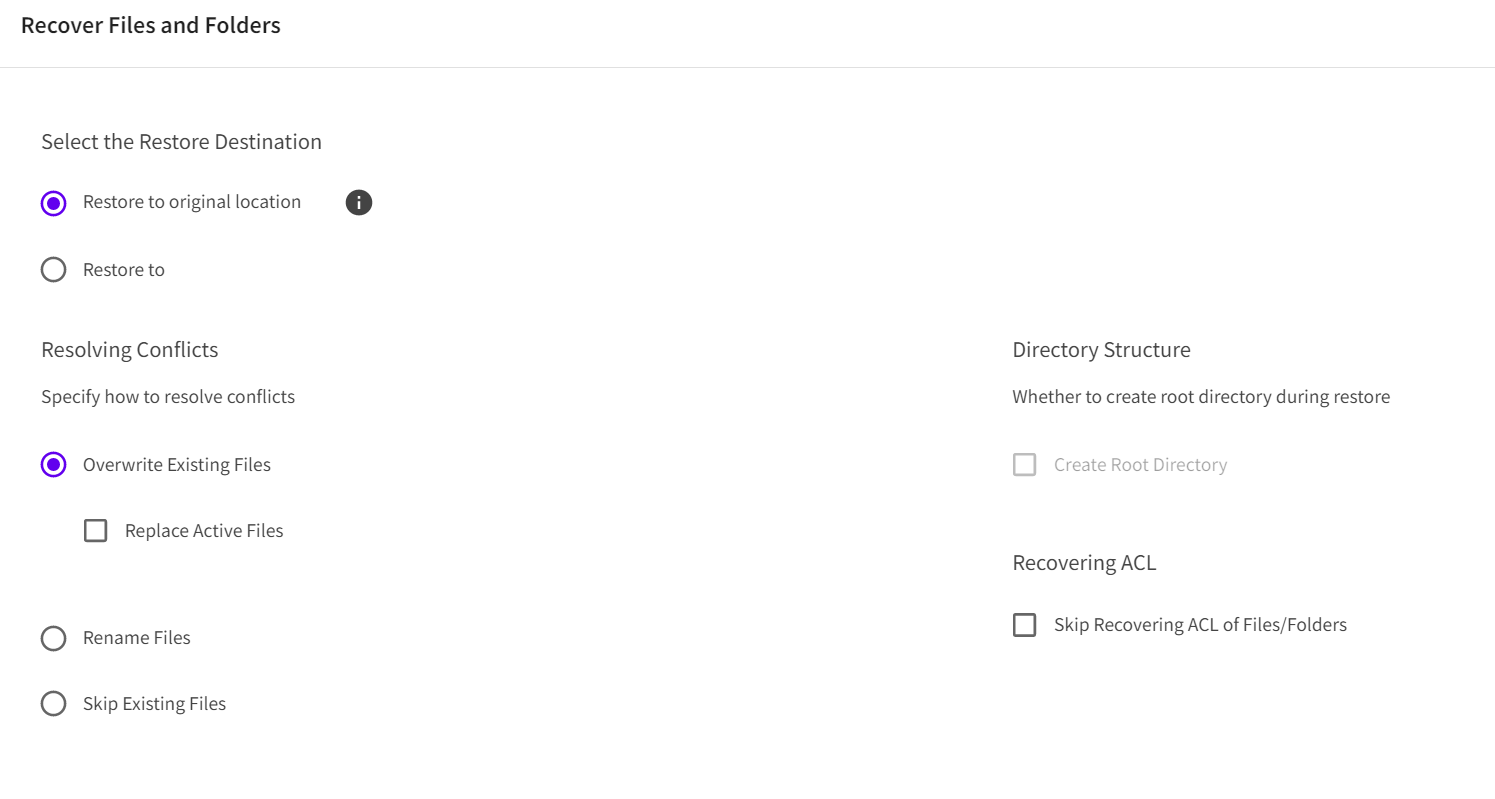
8.5 Specify your restore destination options and click Next.
8.6 Review the recovery job Information for accuracy.

8.7 Click Start Recovery.
9. Reports
9.1 To review any jobs, logs, alerts, or reports from previously run operations inside the Arcserve Cloud Console, click the Reports tab.
