CrashPlan has been validated for use with Wasabi. CrashPlan provides Software as a Service (SaaS) Data Protection, Cyber-Resiliency & E-Discovery/Search with Wasabi Hot Cloud Storage. Wasabi serves as a target for CrashPlan backups of Microsoft 365, Google Workspace, Endpoints, Servers, and other SaaS workloads. Be sure to review the CrashPlan Documentation page for more information.
Requirements
Wasabi Hot Cloud Storage account
A Wasabi standard bucket. See - Creating a Bucket KB
Be sure to note your bucket name, storage region URL, and Access & Secret Key, as you will need these for later steps.
Active CrashPlan account with login credentials
Integrating CrashPlan With Wasabi
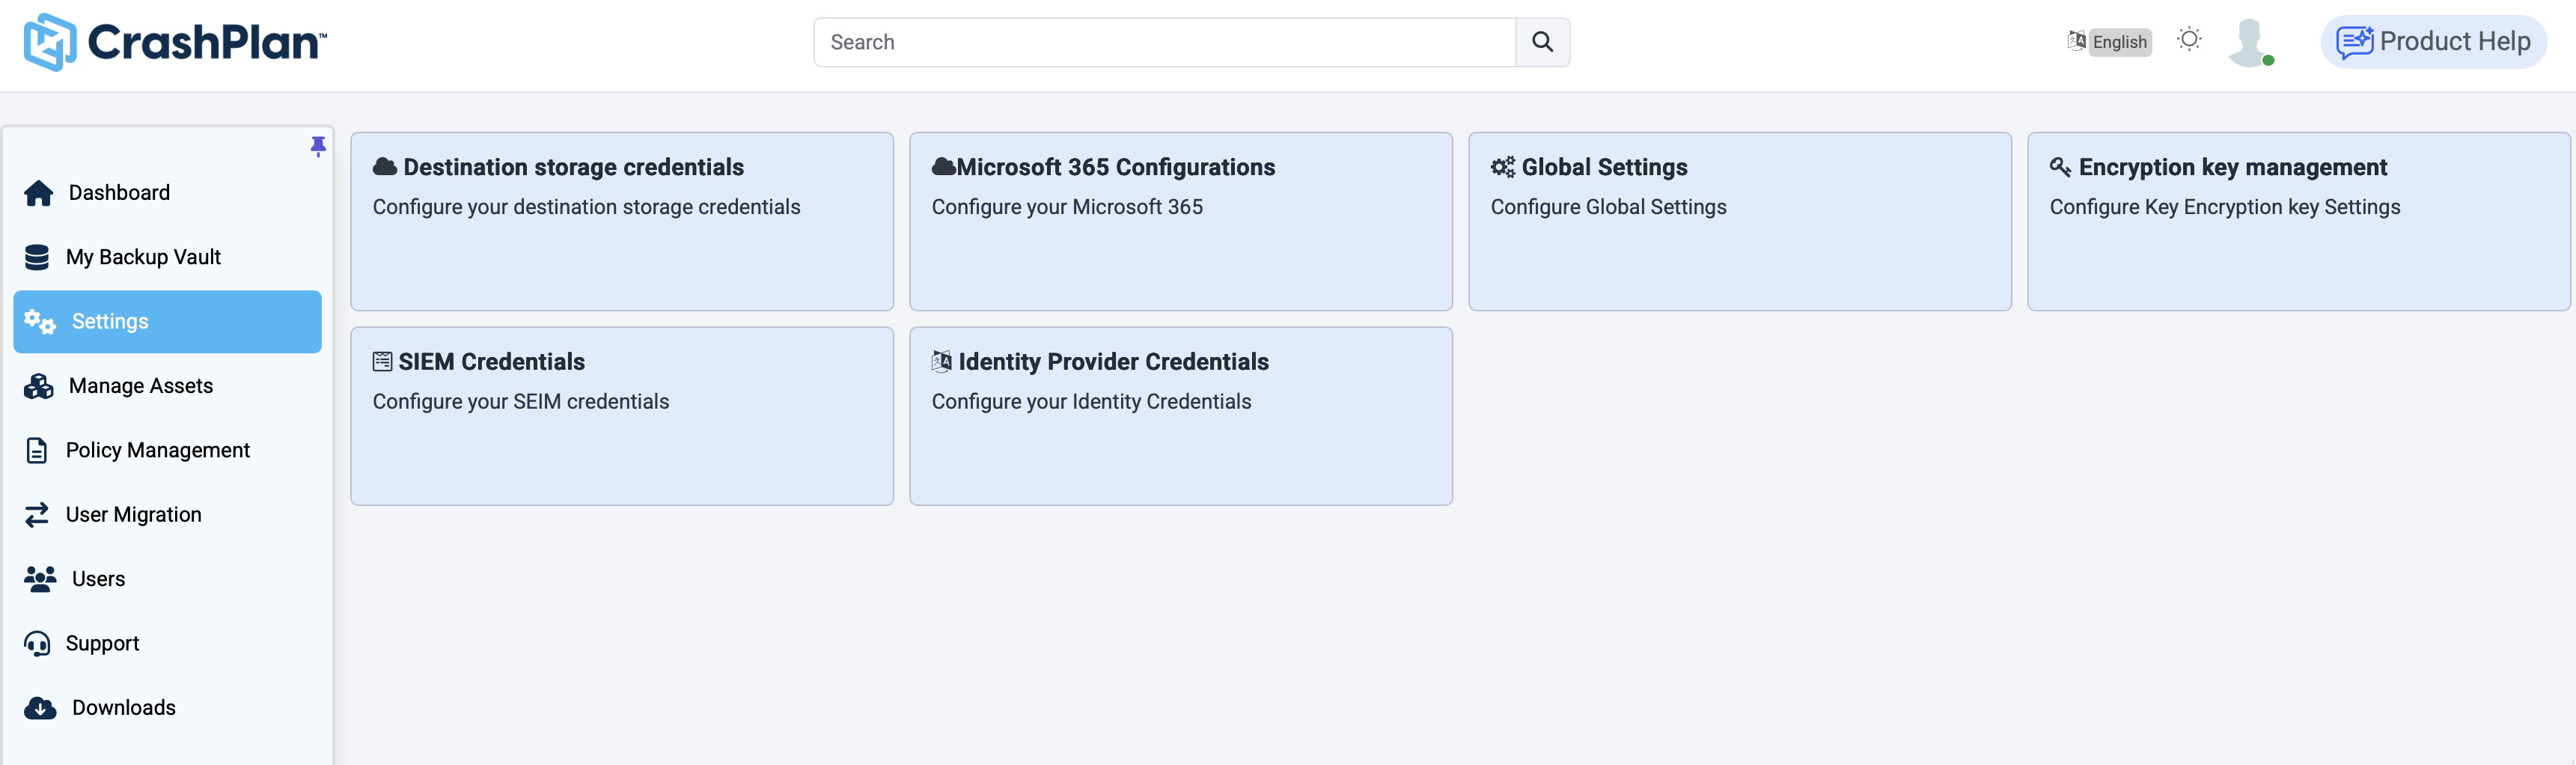
Log in to your CrashPlan dashboard and select the Settings tab in the lefthand panel. Then click the Destination storage credentials tile.
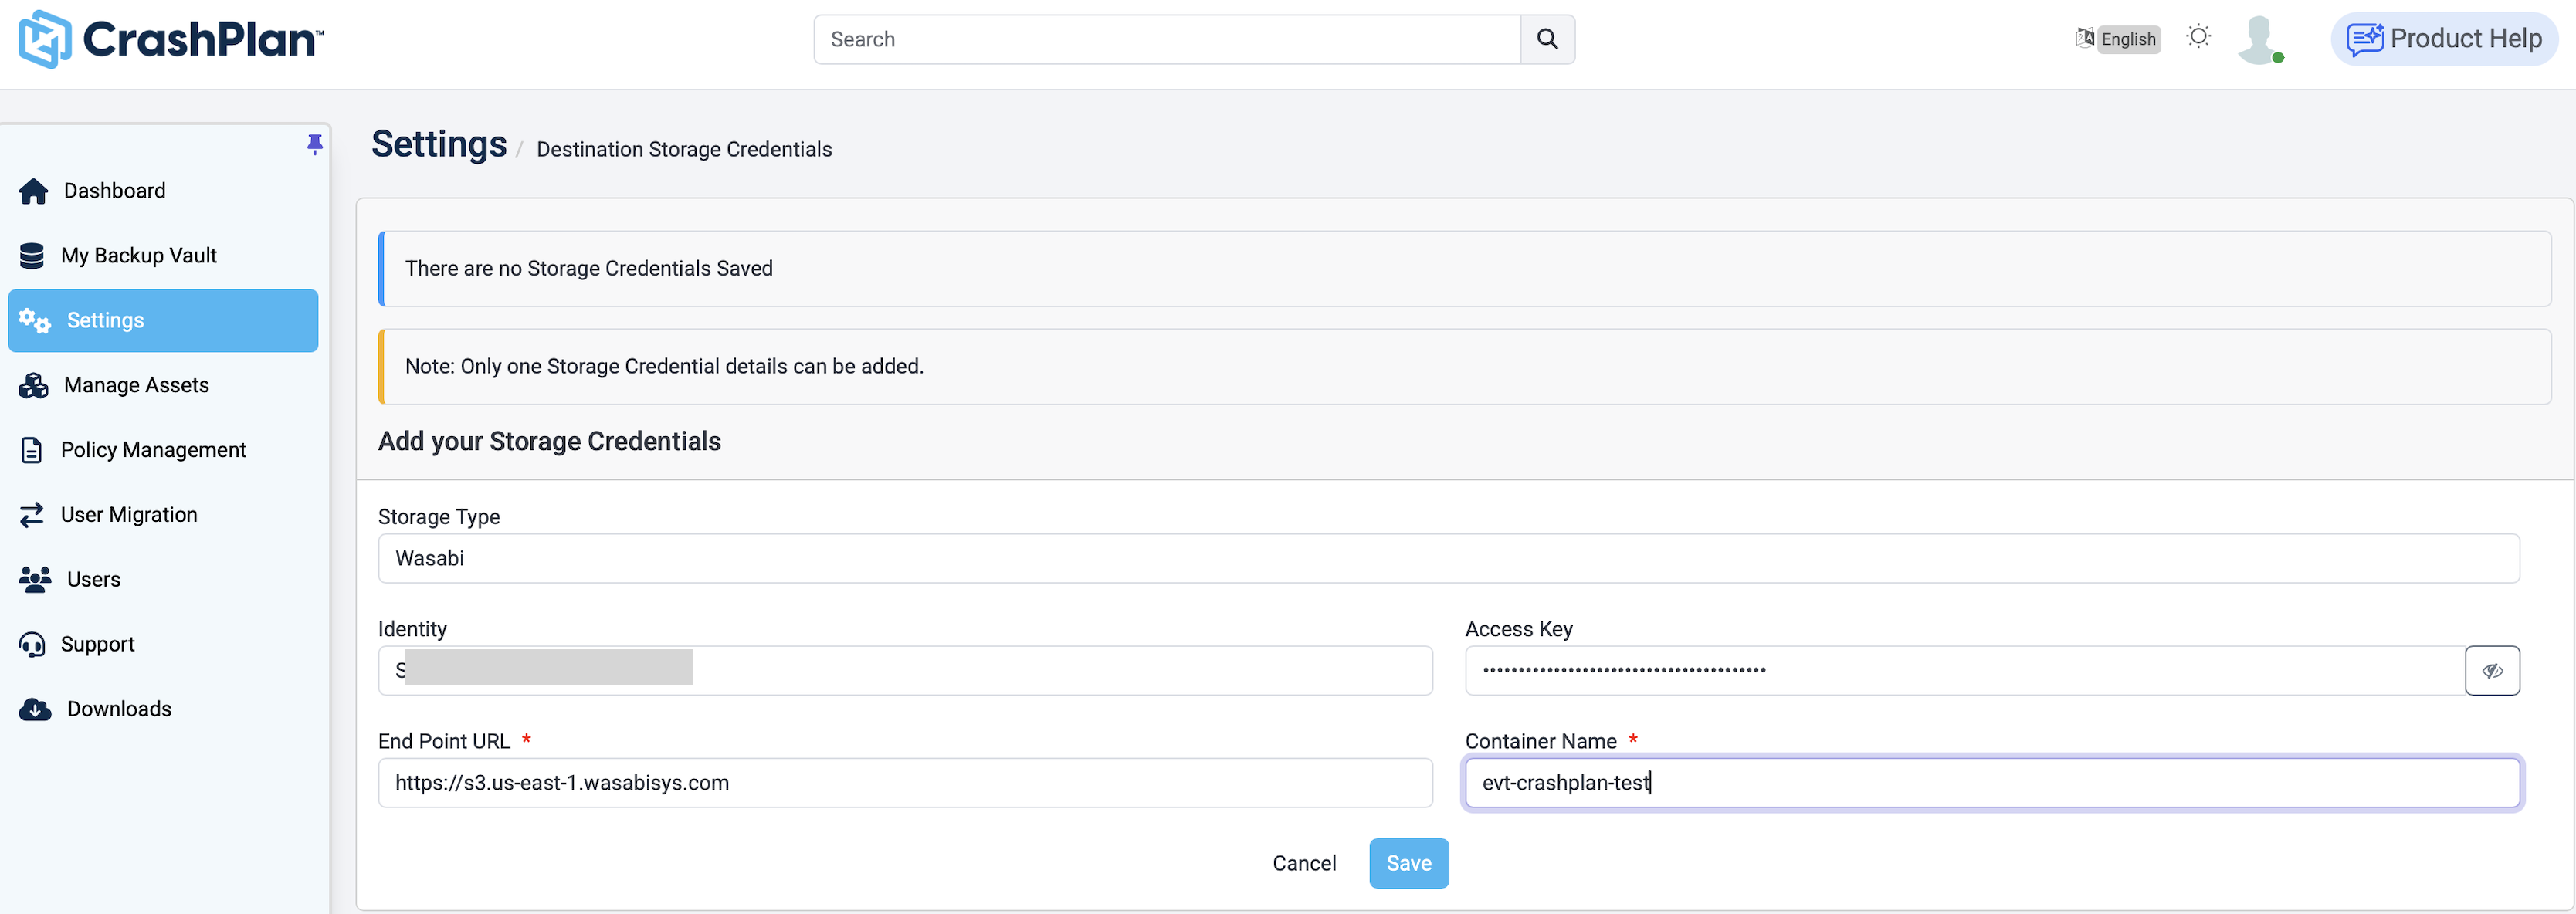
On the destination storage credentials screen, input the following:
Choose Wasabi from the Storage Type drop-down.
In the Identity field, input your Access Key.
In the Access Key field, input your Secret Key.
In the Endpoint URL field, enter the service URL for your bucket.
In the Container Name field, input the name of your bucket.
Click Save.
This configuration example discusses the use of Wasabi's us-east-1 storage region. Use the region your bucket is located in. For a list of regions, see Service URLs for Wasabi’s Storage Regions.
The End Point URL field requires you to include “https://” in the URL.
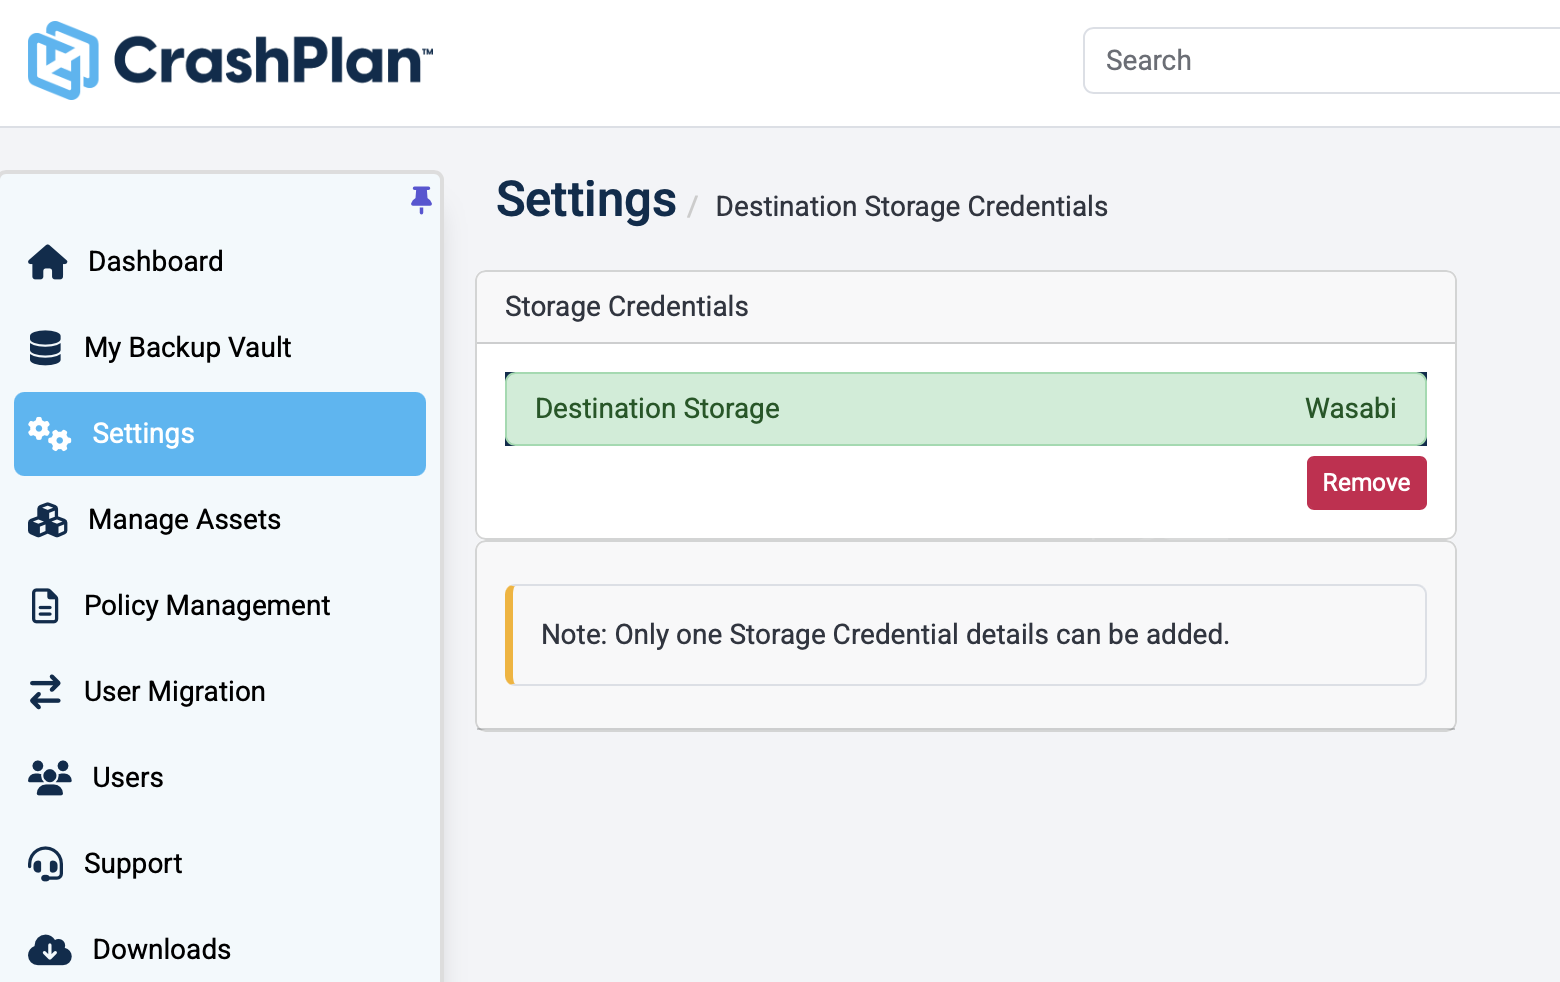
Your Wasabi bucket is now integrated into the CrashPlan application.
Scheduling Backups in CrashPlan
Log in to your CrashPlan dashboard, then click the Policy Management tab.
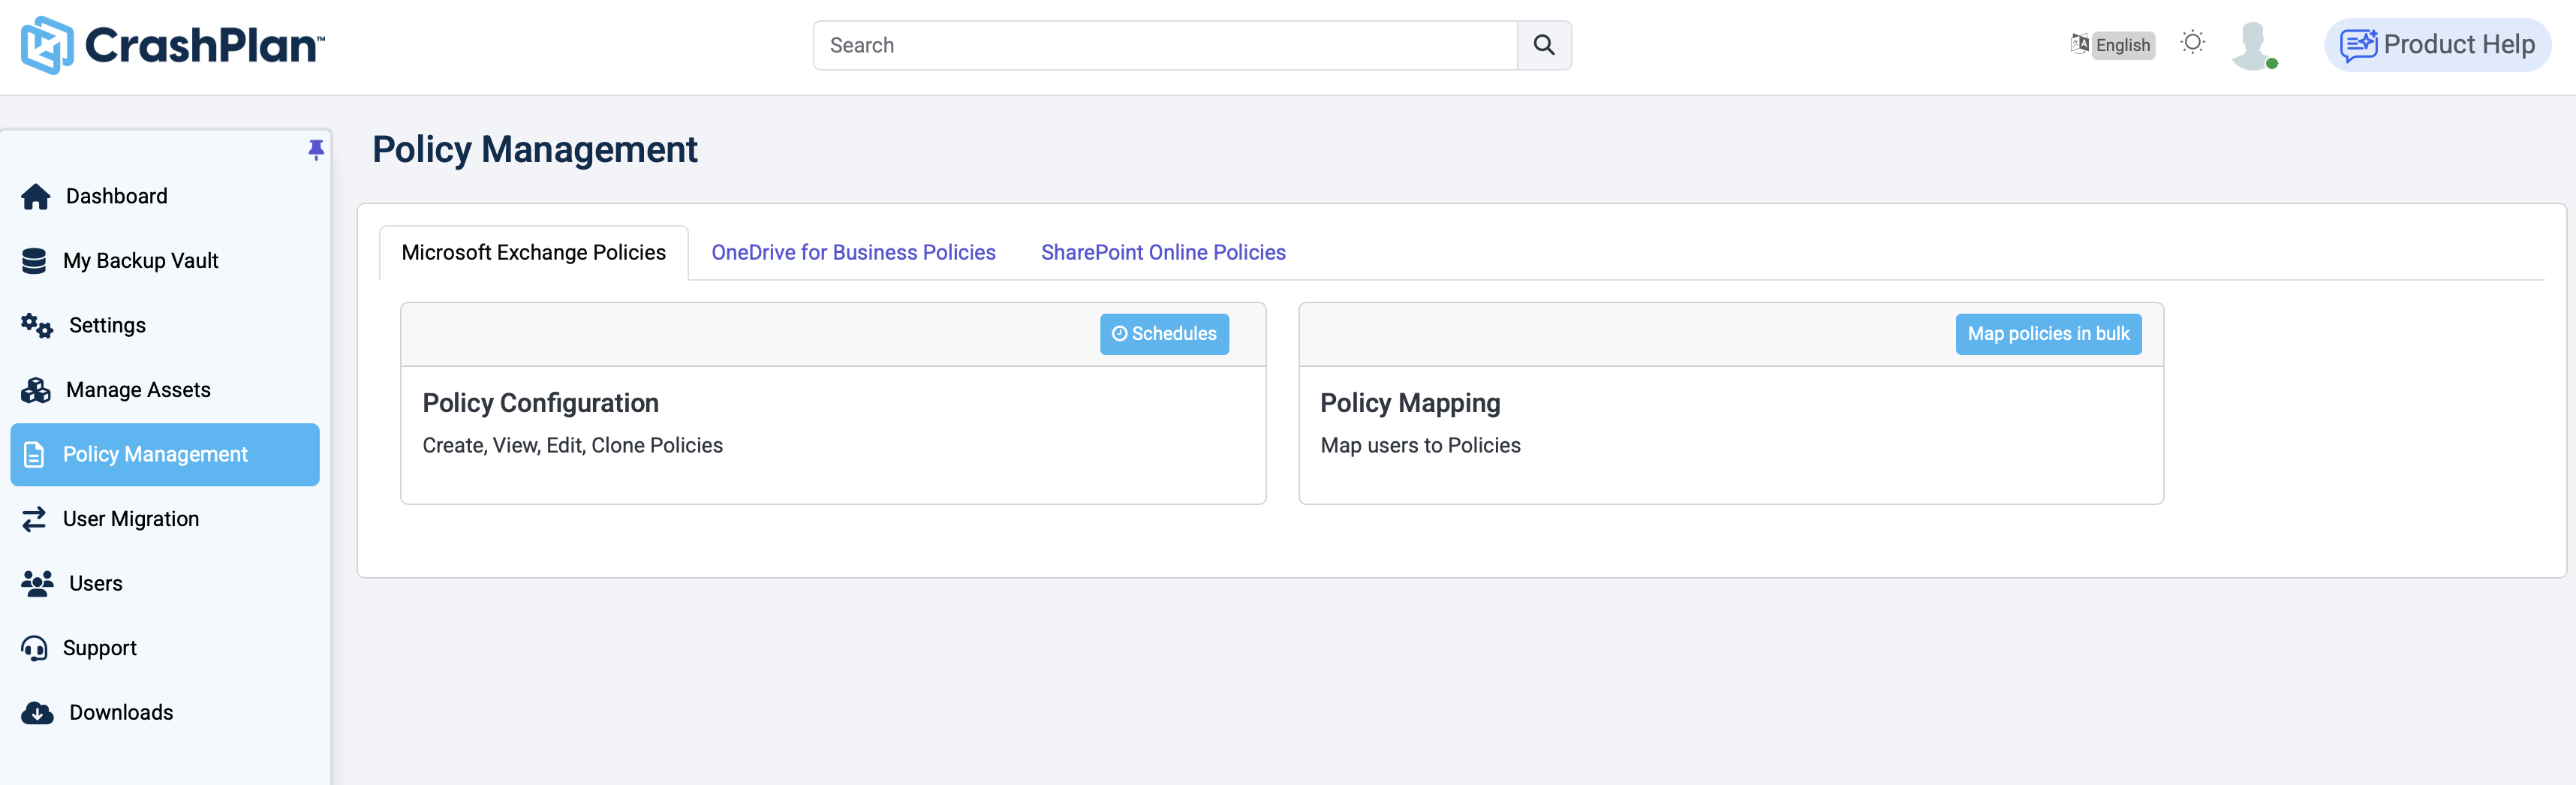
Click Schedules to manage backup schedules.
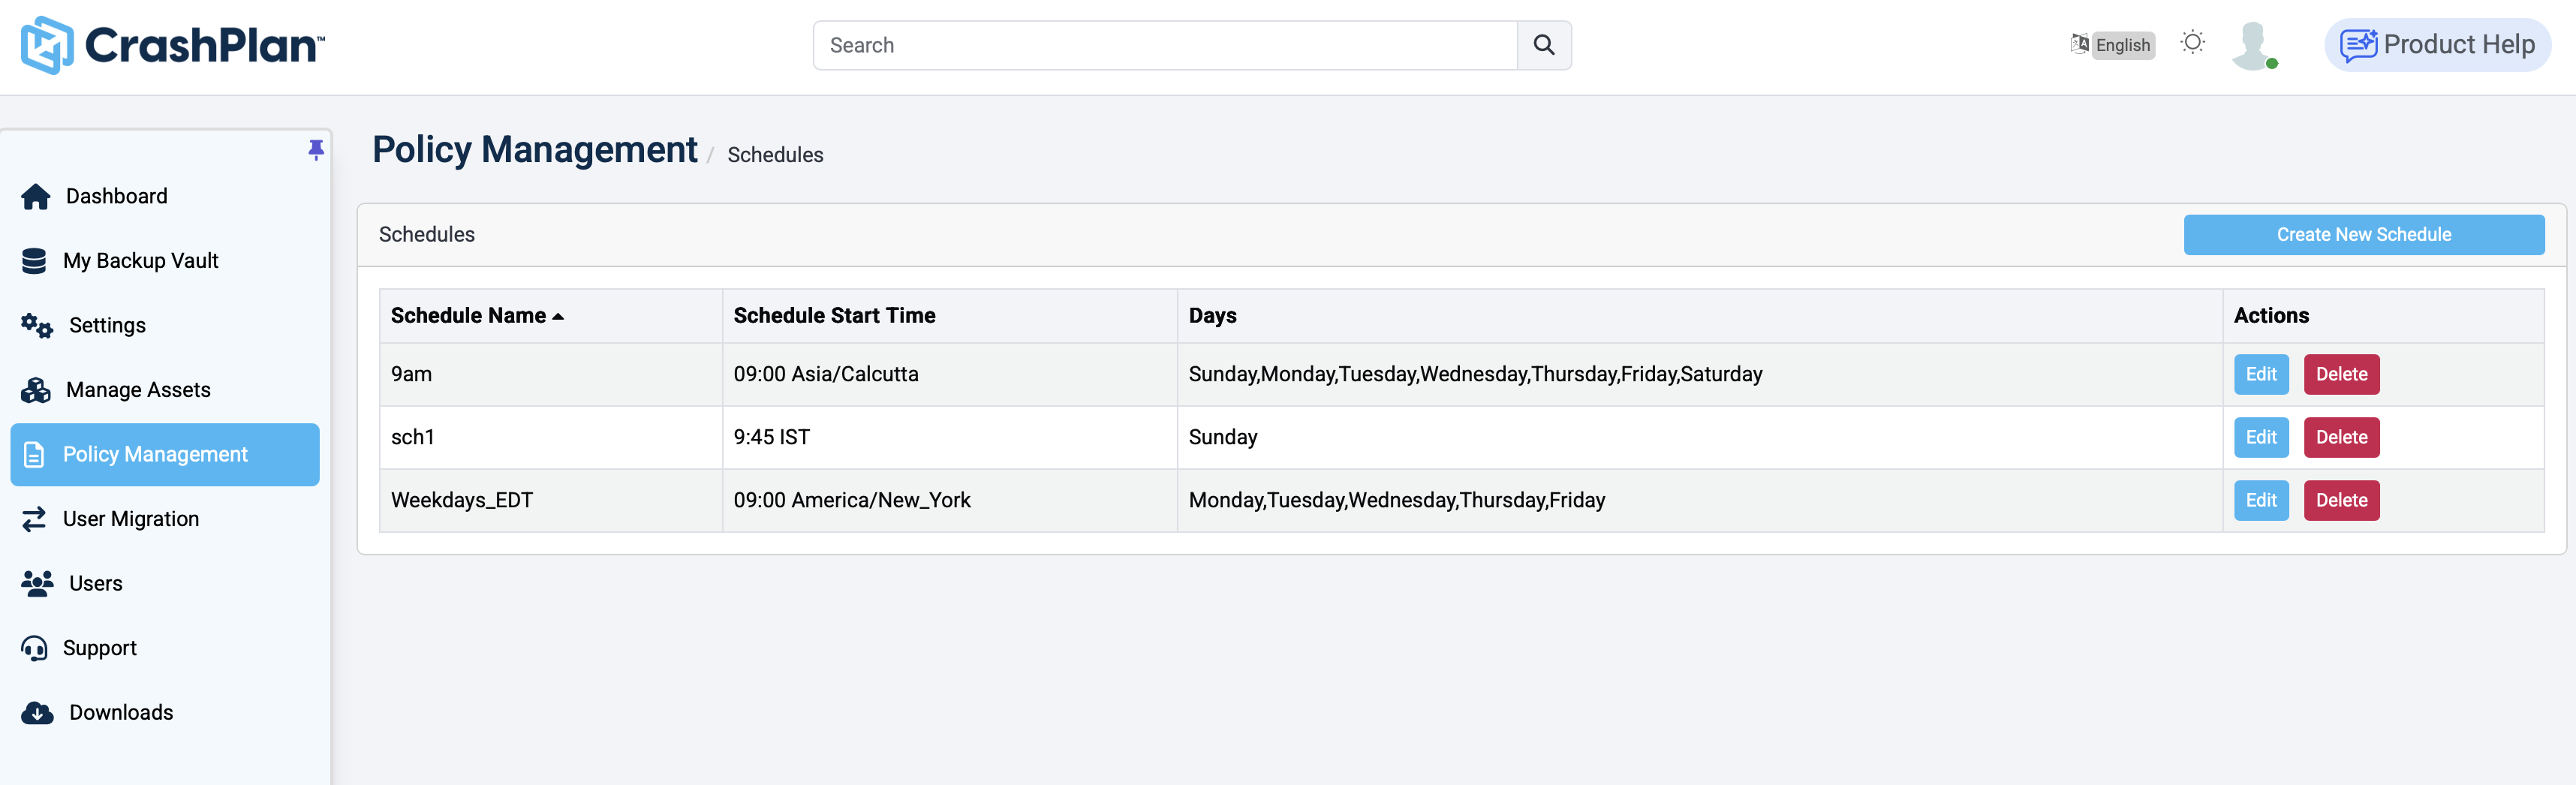
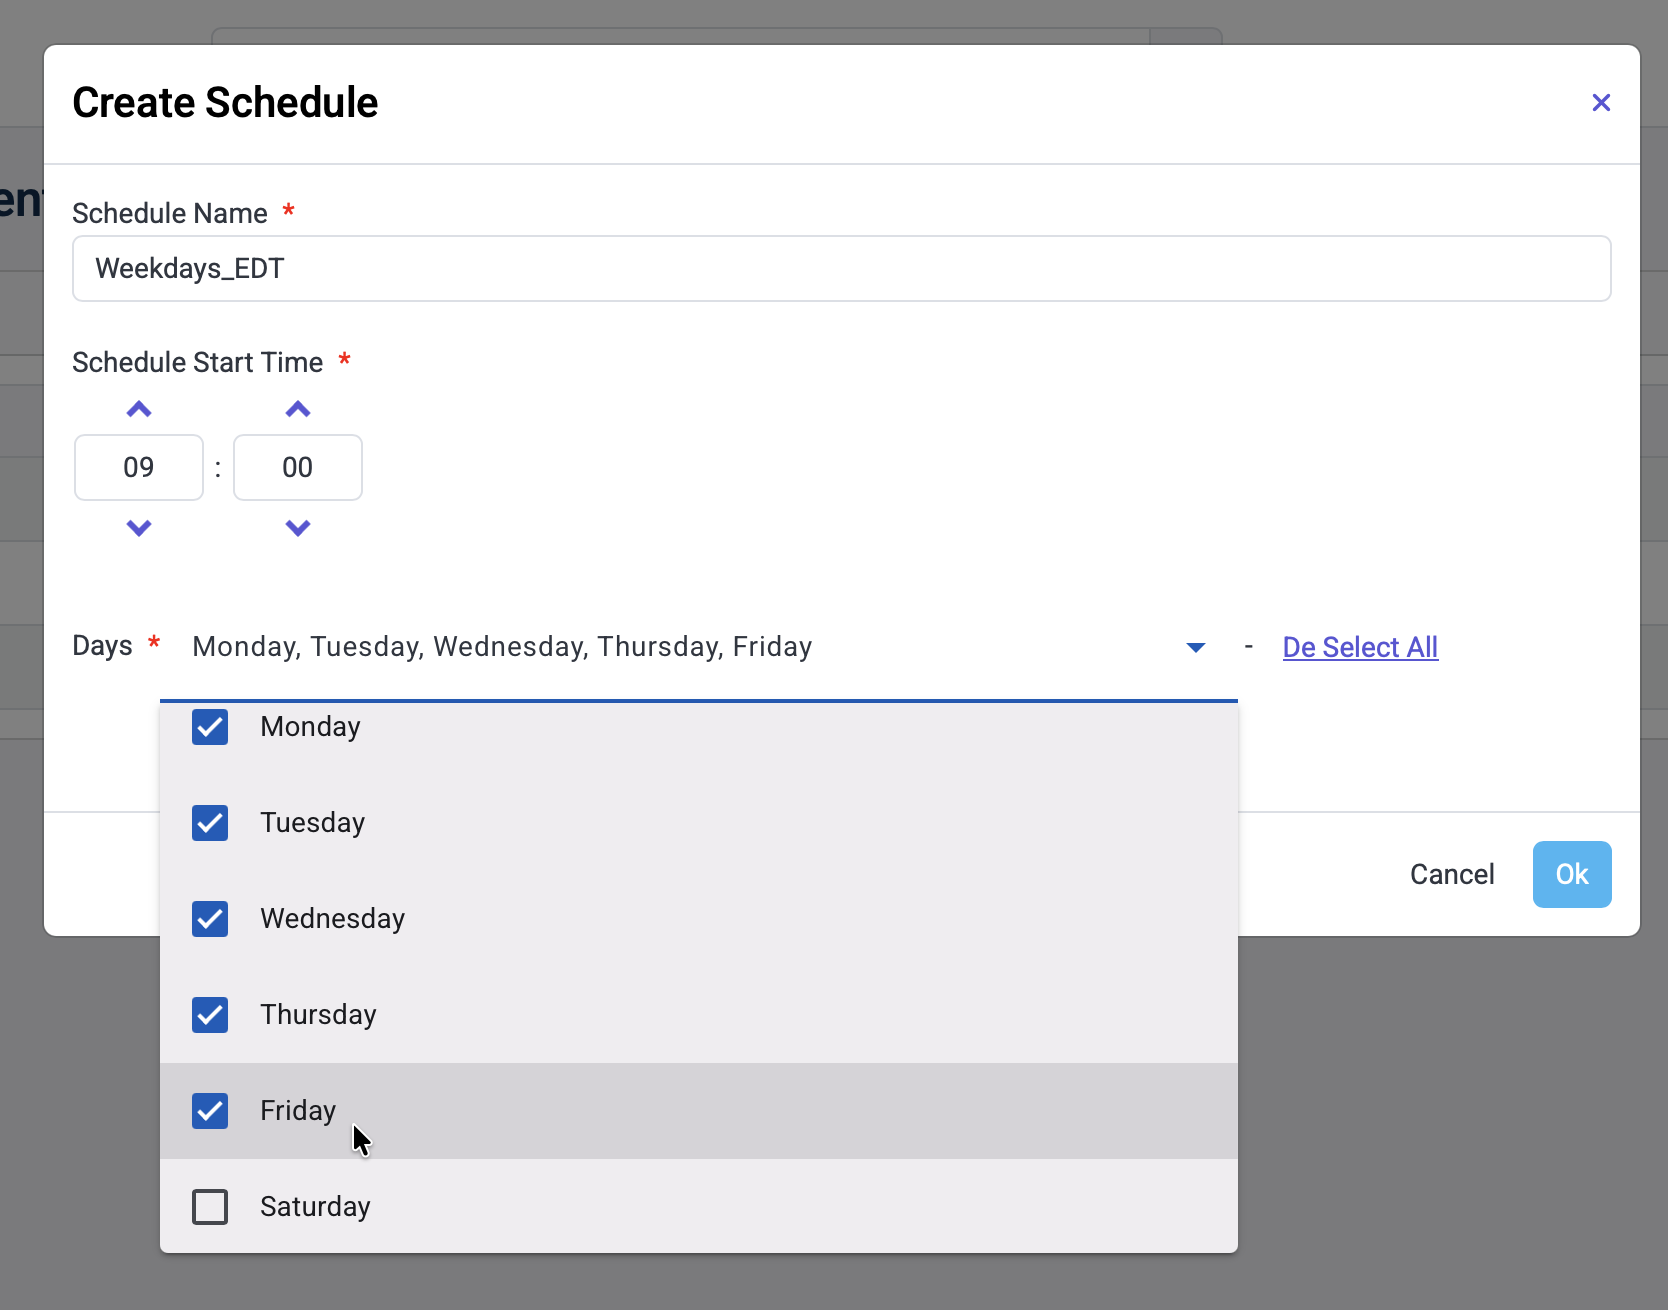
On the Schedules page, click Create New Schedule. Then, input the following:
Name your schedule
Choose a start time
Choose the day(s) of the week you wish to have your schedule run.
Finally, click Ok button.
Backing Up Your M365 Data
Log in to your CrashPlan dashboard. Click the Manage Assets tab.
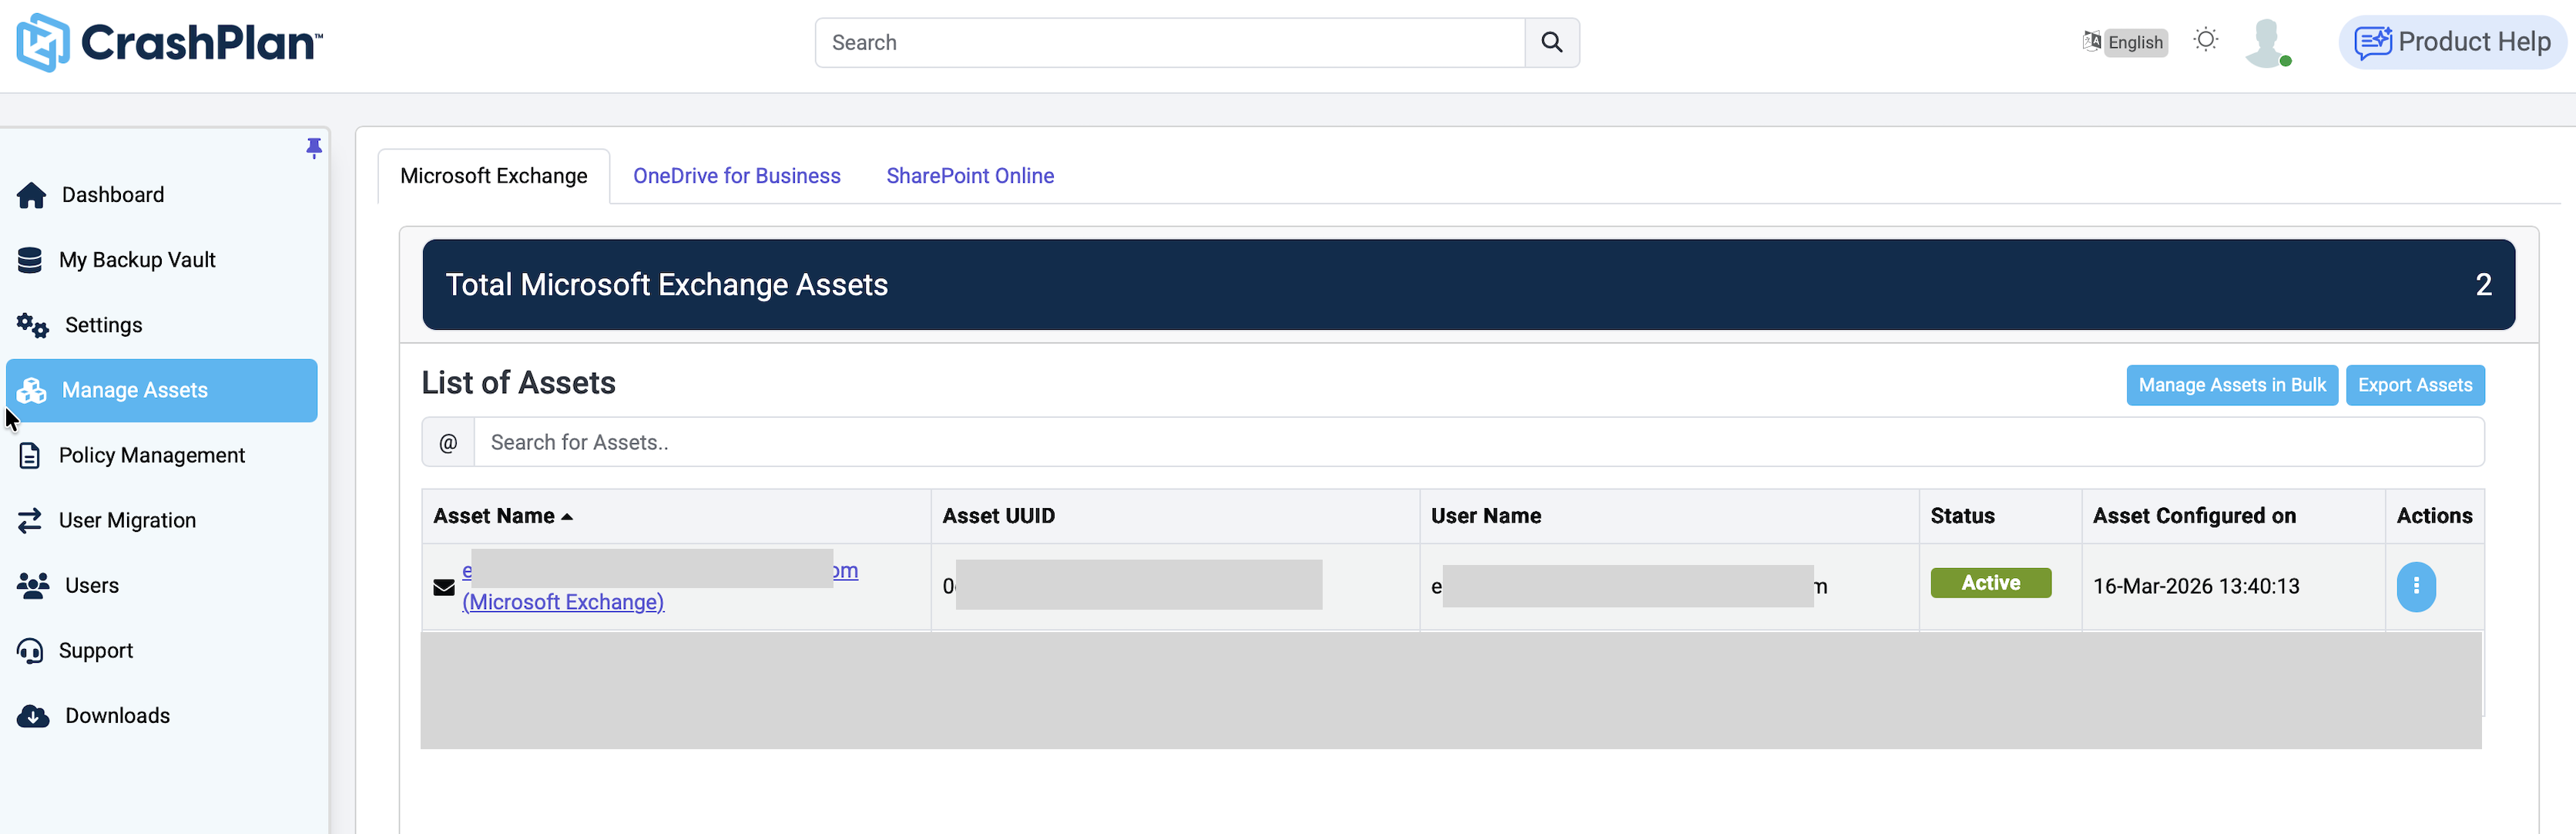
Click the three dots under Actions next to the relevant account. Select Backup Management from the drop-down.
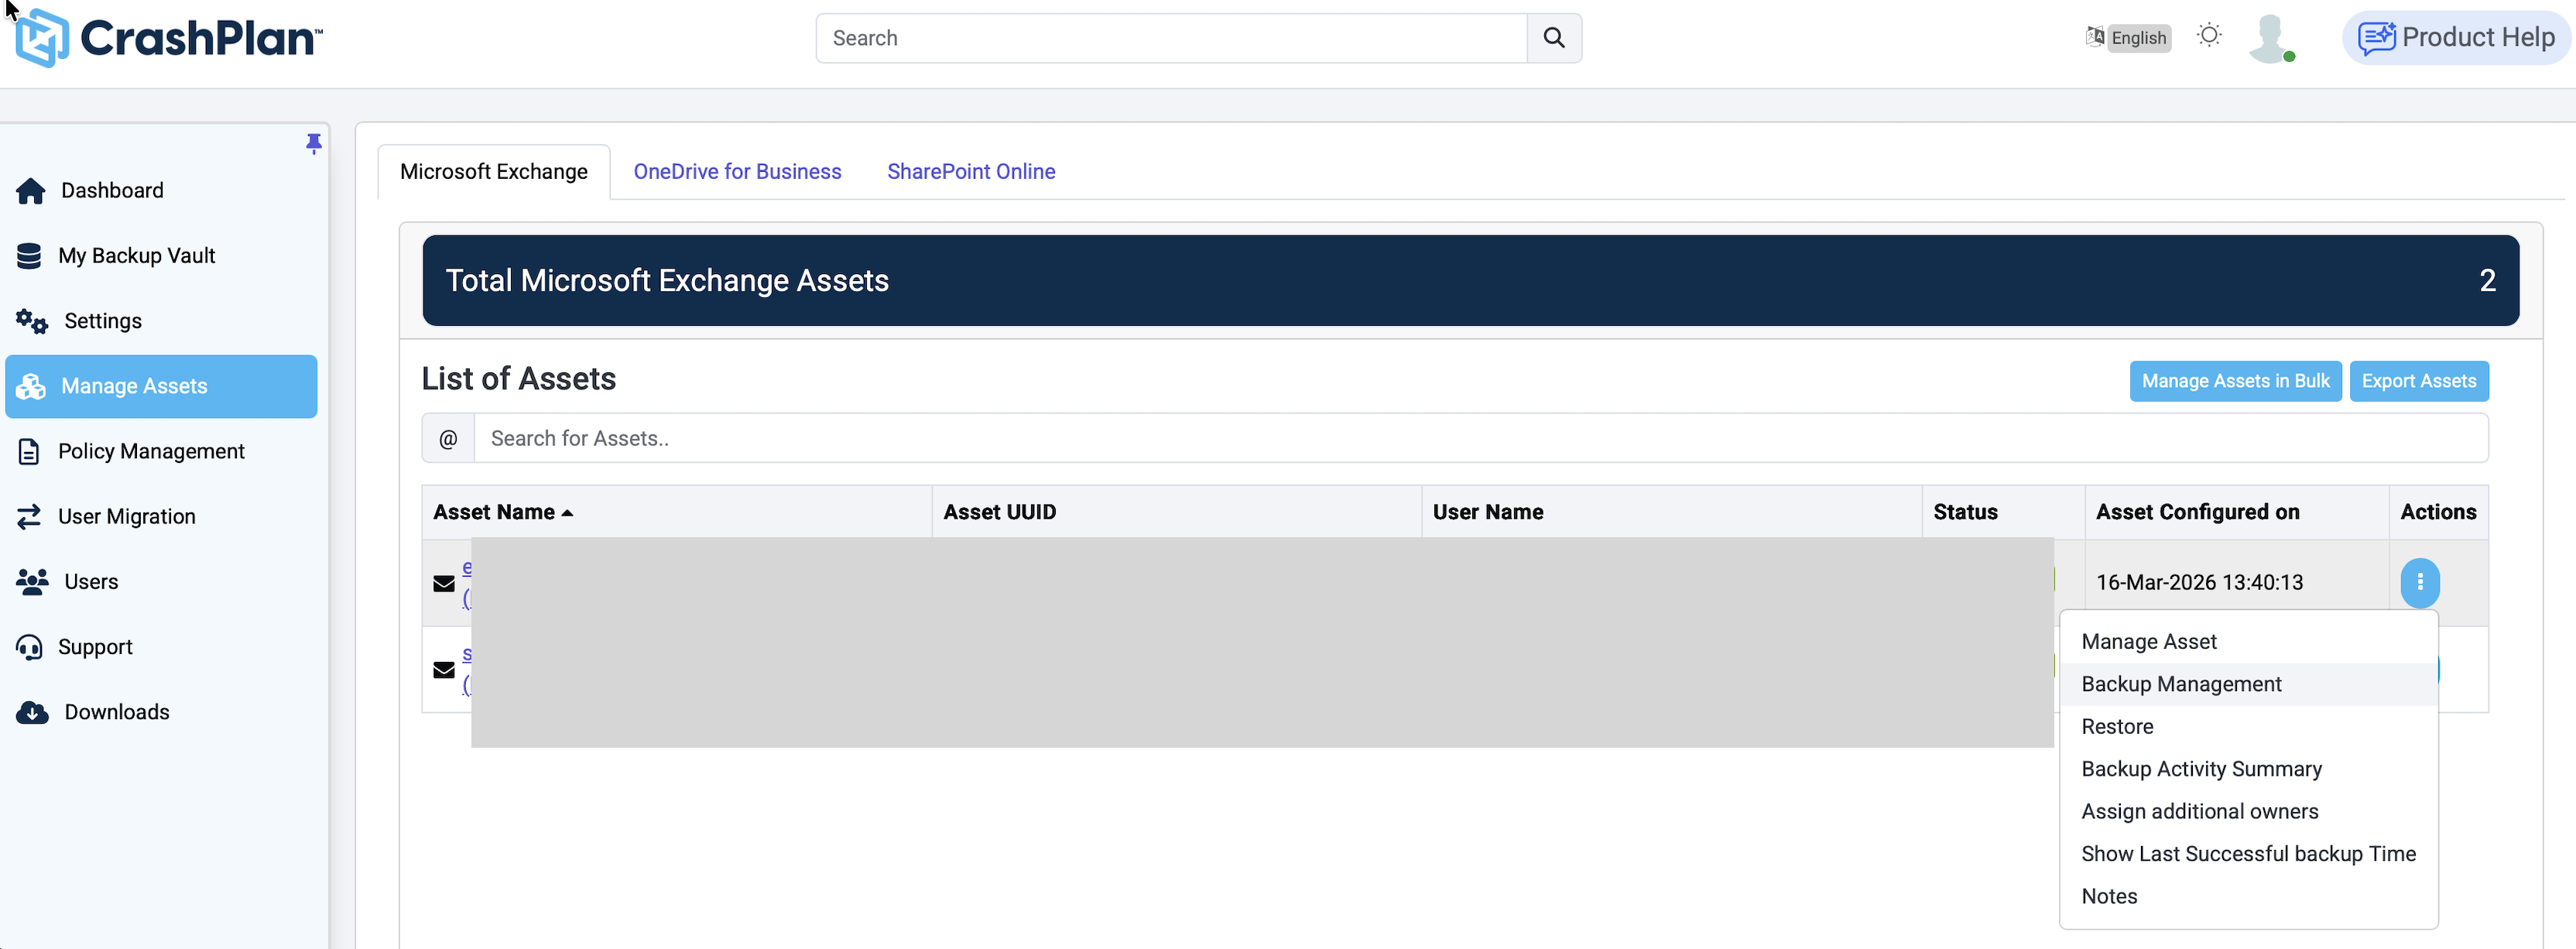
In the pop-up dialog, click Start Backup, optionally toggle Full Backup on, then click Save Changes.

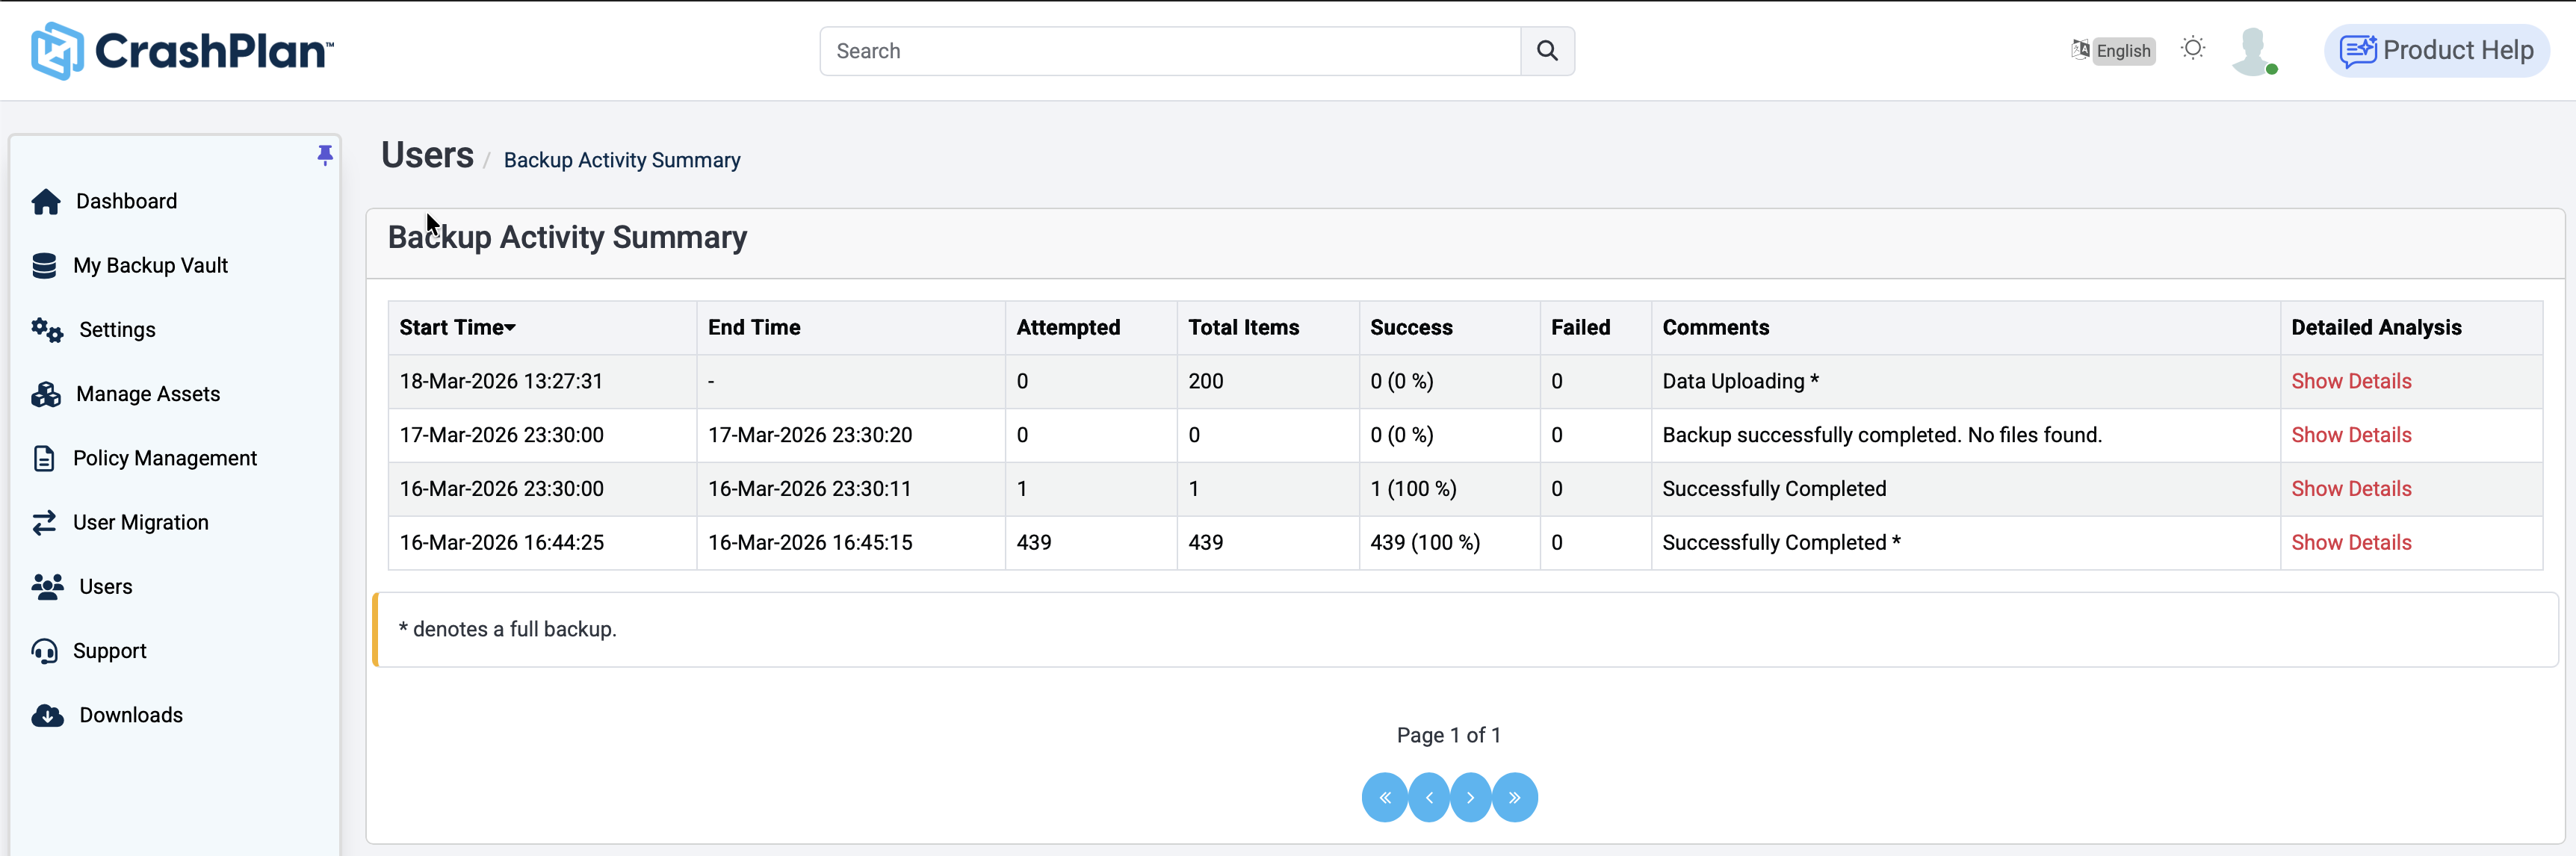
You can review the progress by clicking the three dots under Actions next to the relevant account. Then click Backup Activity Summary.

The Backup will show its status on the Backup Activity Summary page. You can click Show Details for additional information.
Verifying Your Data
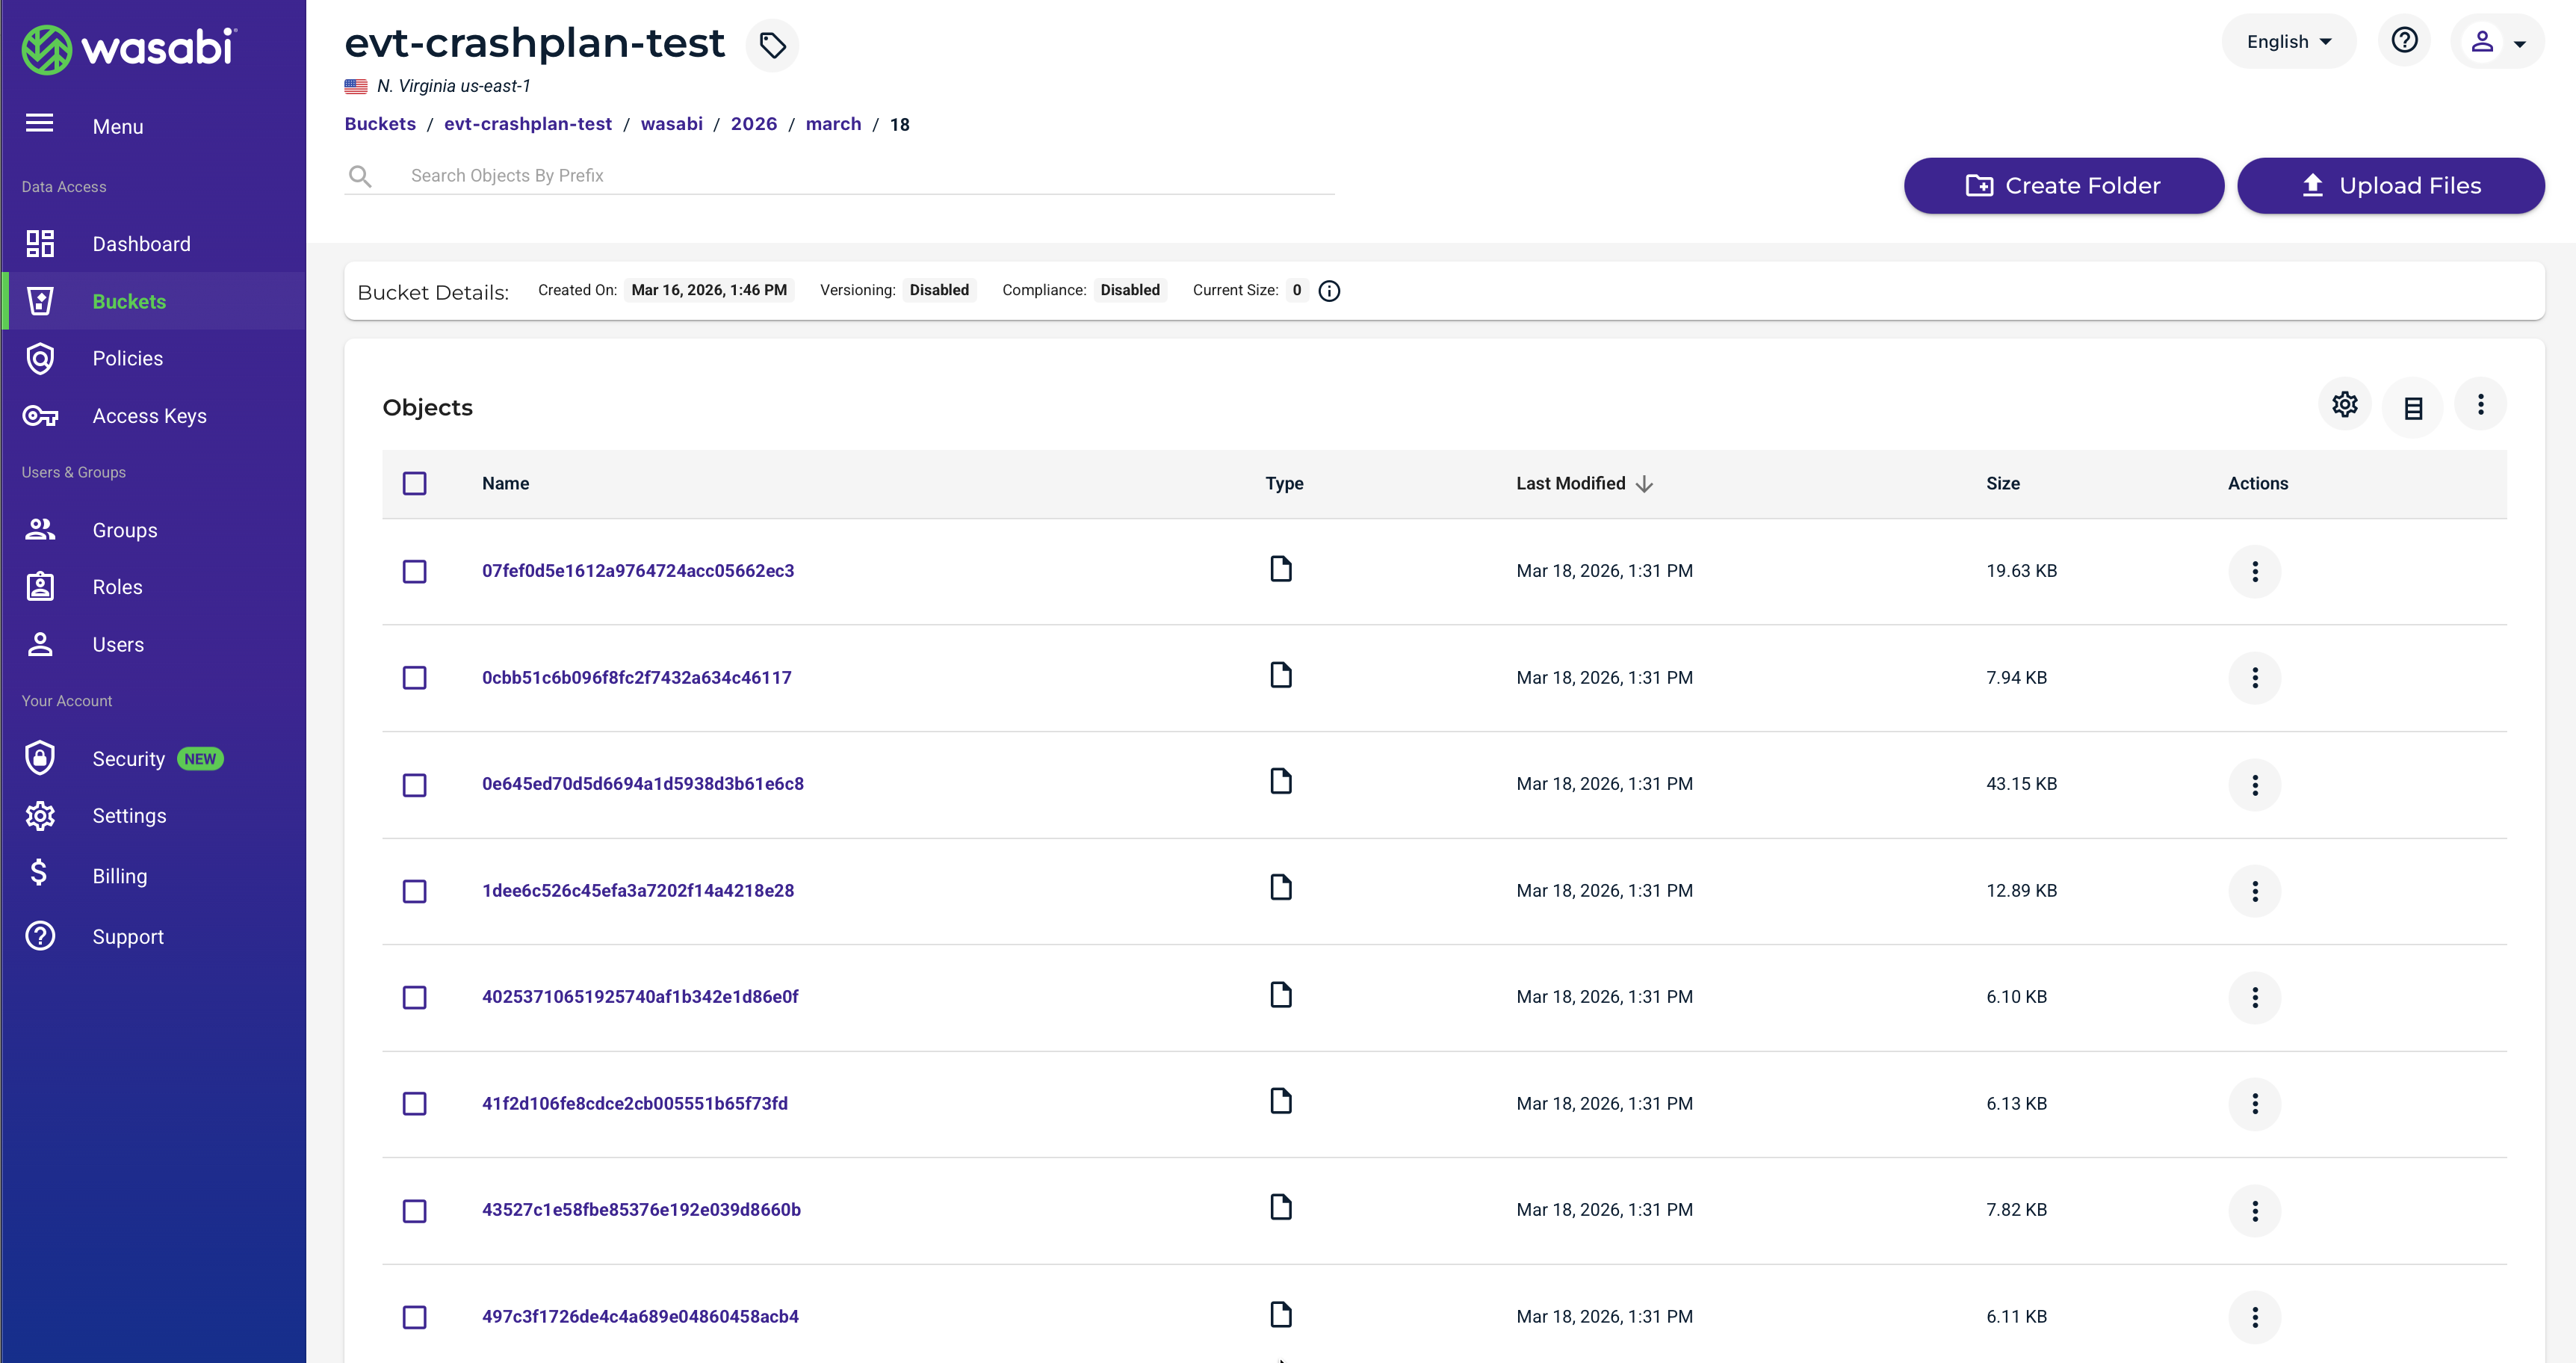
Log in to your Wasabi Storage Console, and navigate to the bucket you had created. Note that CrashPlan stores data in a proprietary format, and backups are sorted by folder, year/month/day.
Restoring Data
The data restoration process is handled by your specific backup software application. As there are many, potential variables that will affect your unique environment, Wasabi strongly recommends that you seek the guidance of your backup software's technical support team in the event that you encounter difficulty or have application-specific inquiries.
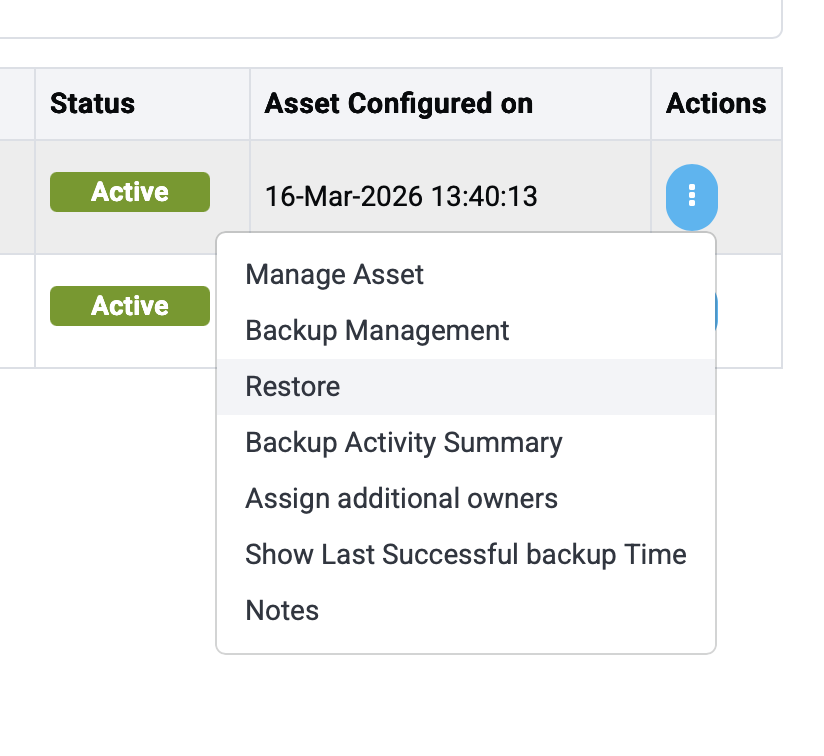
Log in to your CrashPlan dashboard and select the Manage Assets tab.

Click the three dots under Actions next to the relevant account, then select Restore.
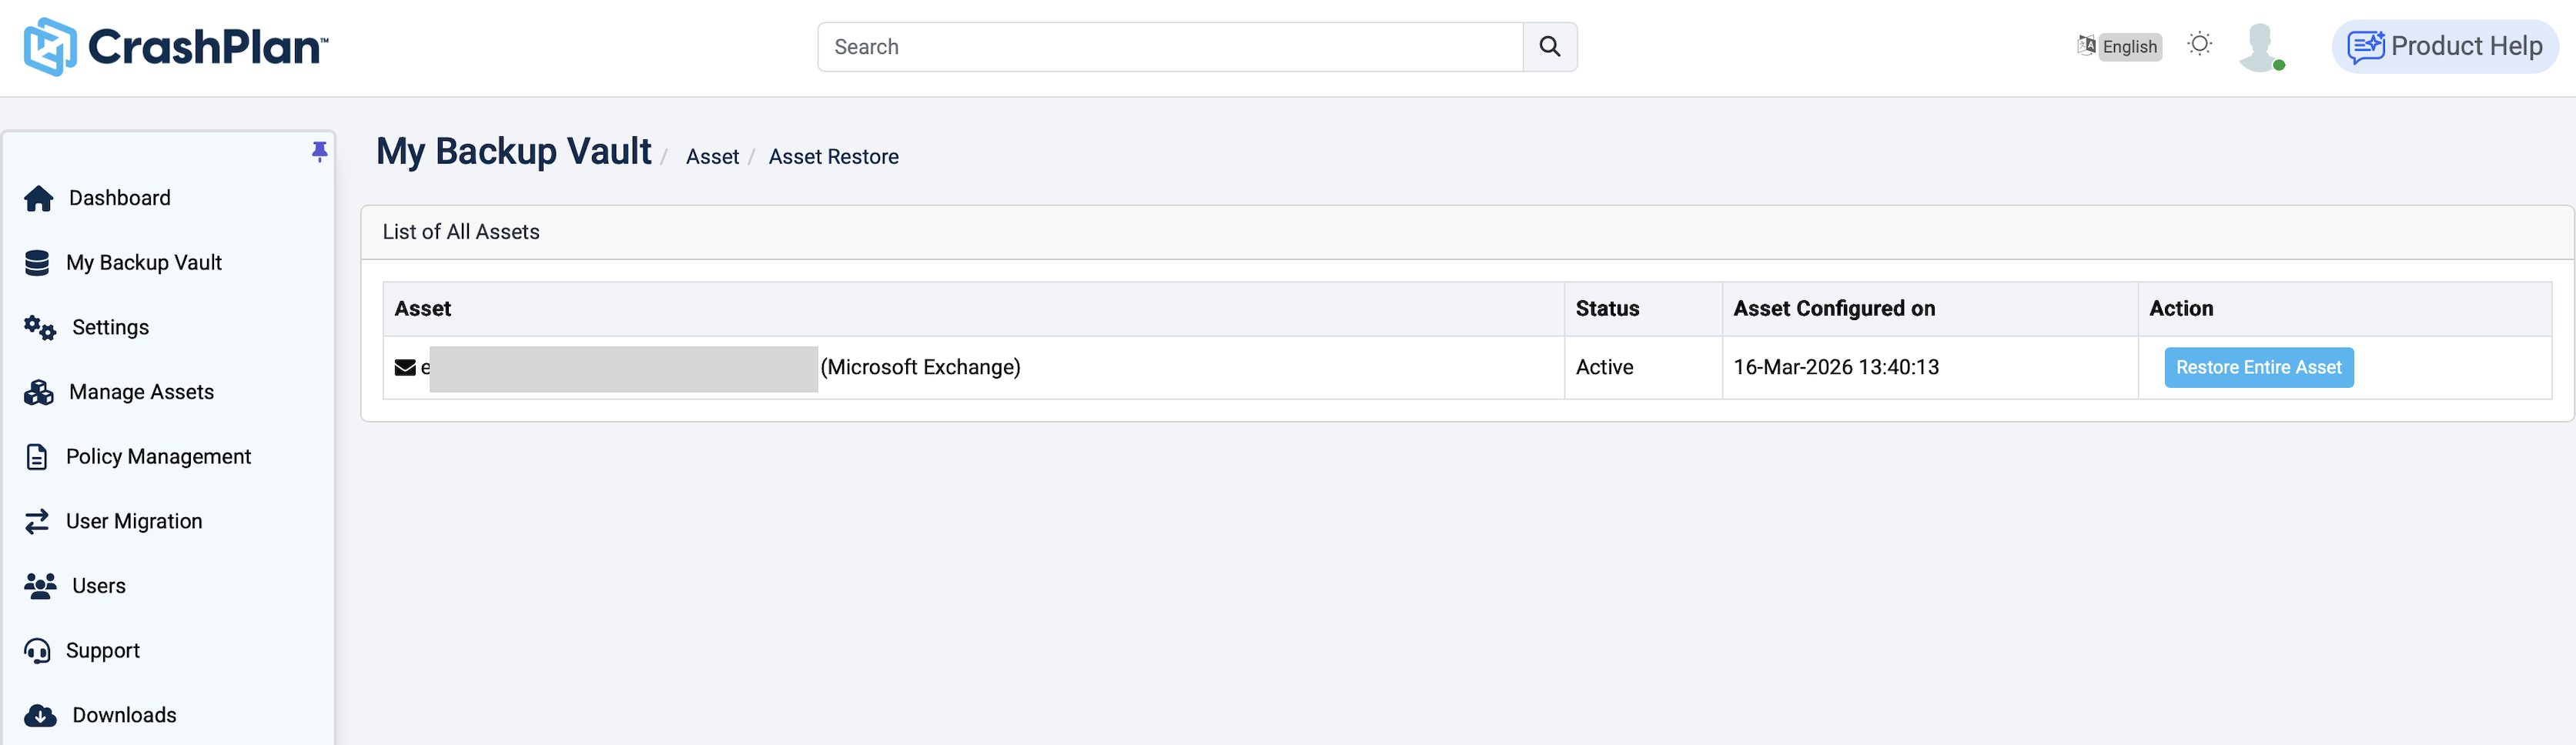
Click Restore Entire Asset next to the relevant account.
The Administrator must have permissions to restore user accounts in CrashPlan. For more information, see CrashPlan for Microsoft 365 console reference guide.
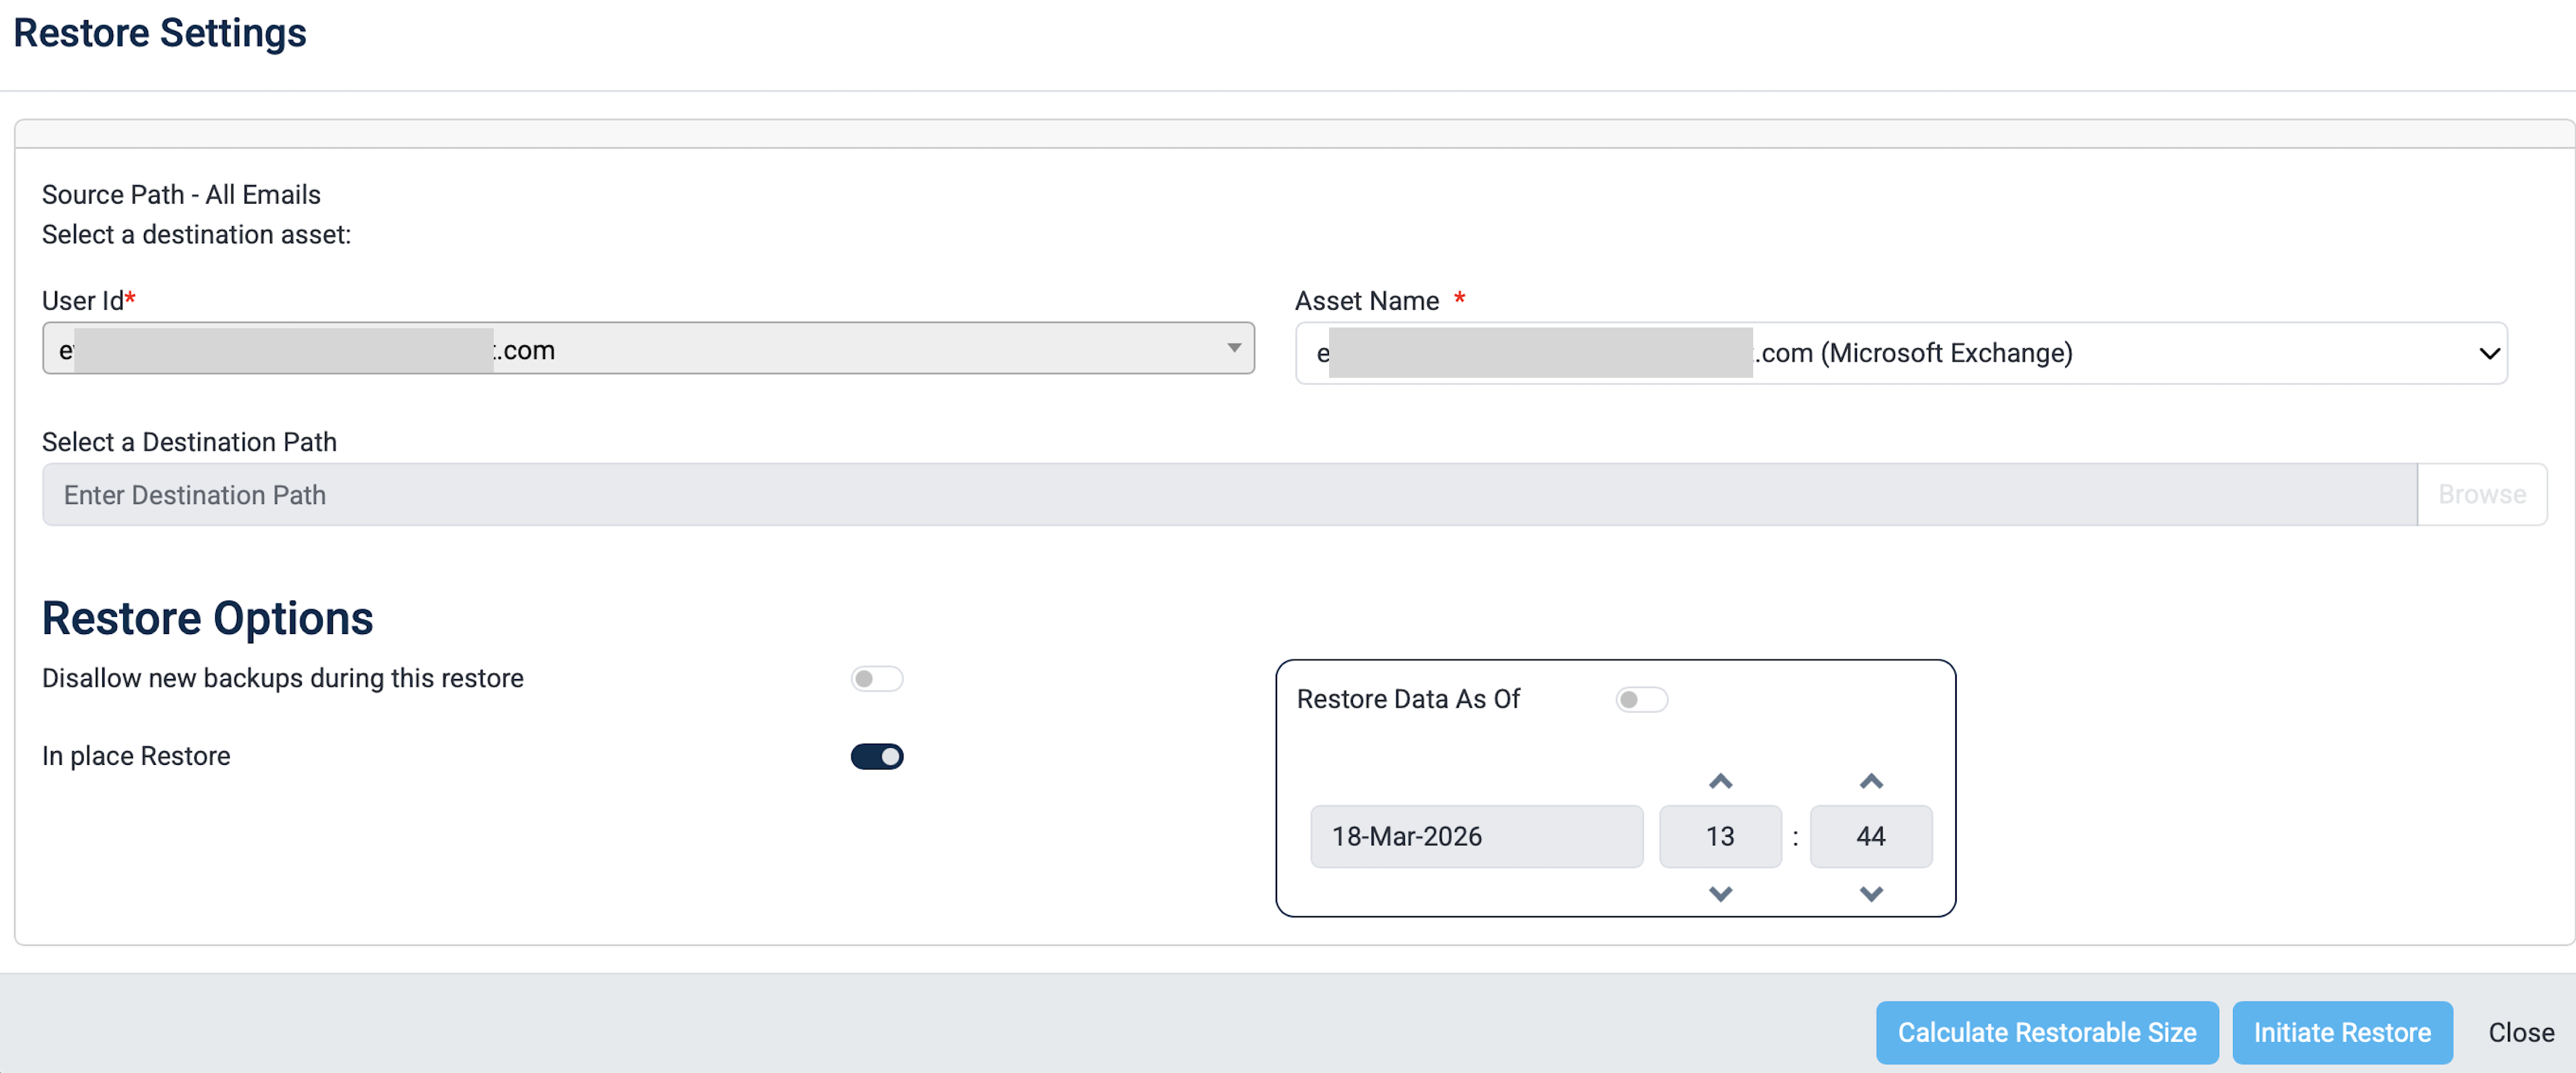
In this example, we are performing an in-place restore. You may want to contact CrashPlan for advice if your restore operation is more complex. Toggle the In place Restore to on, then click Initiate Restore.
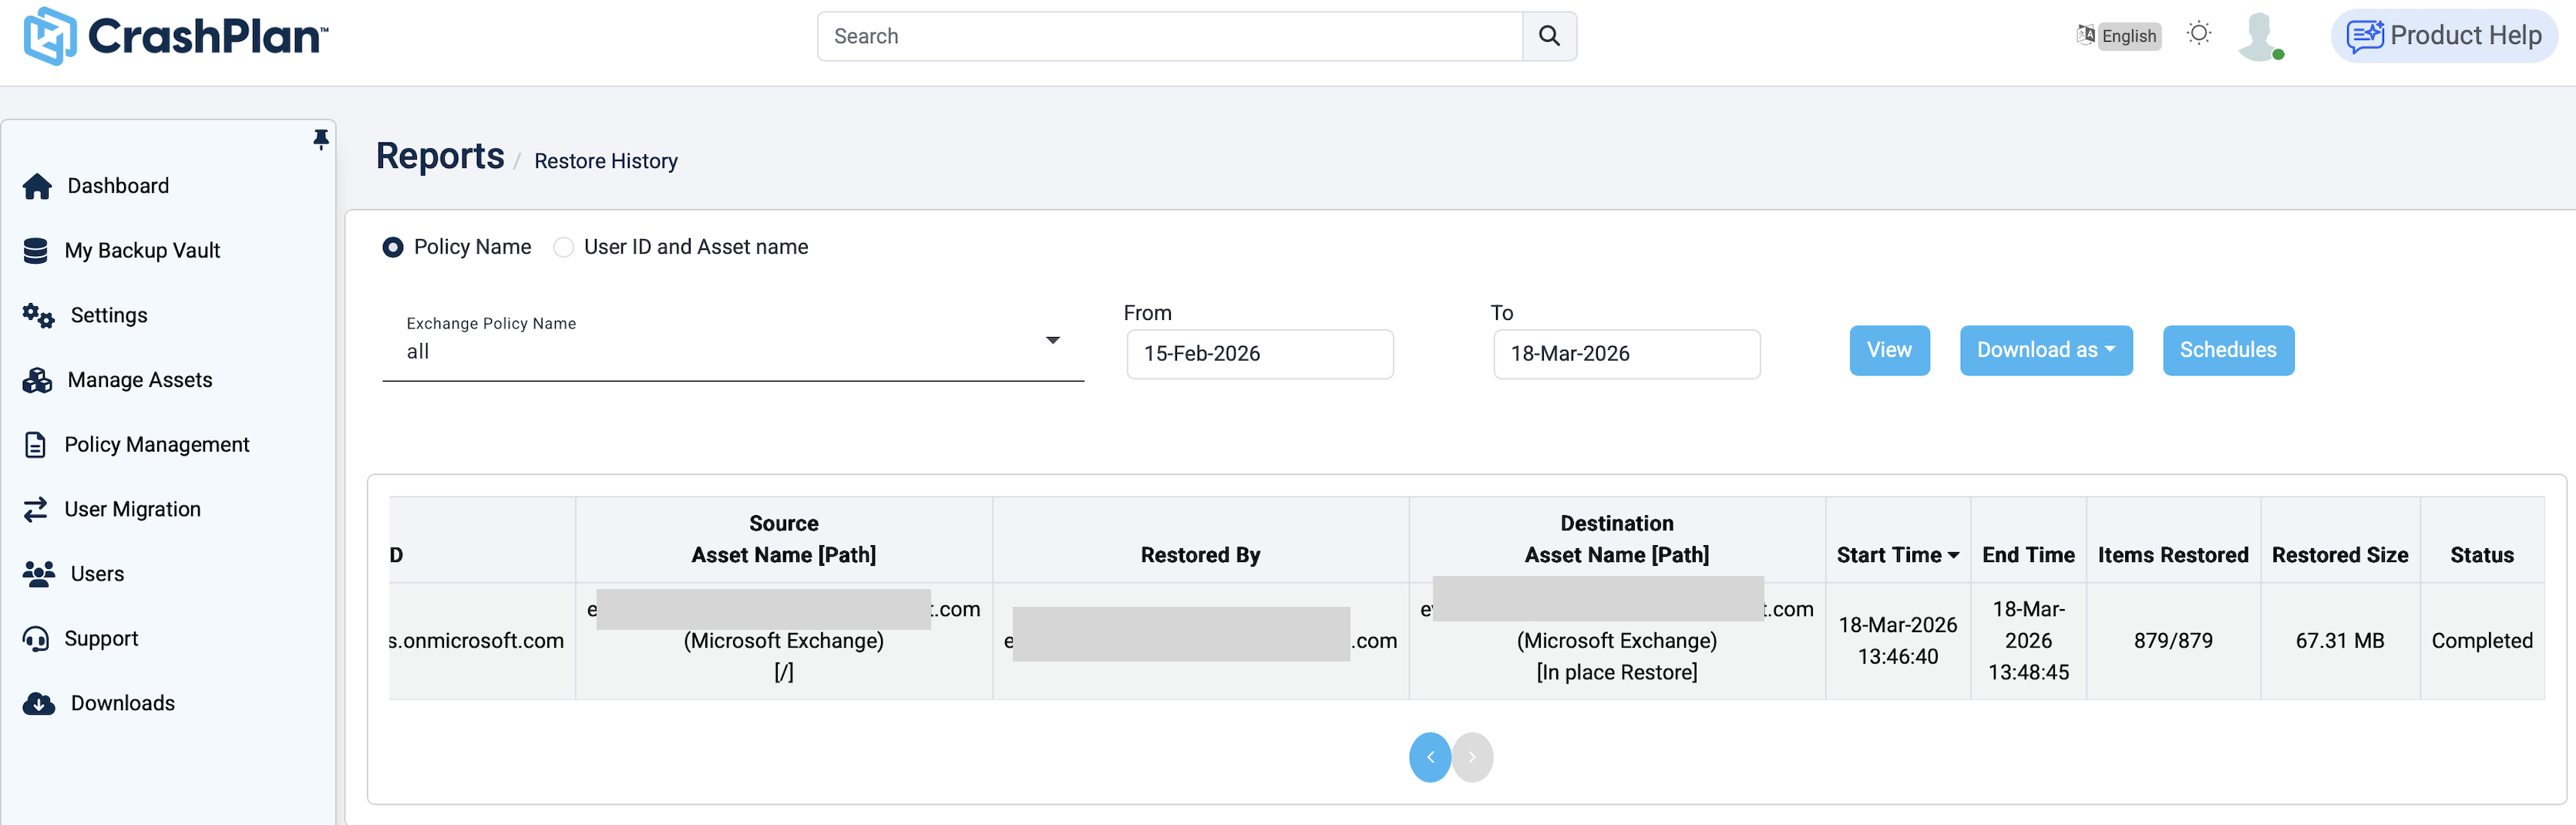
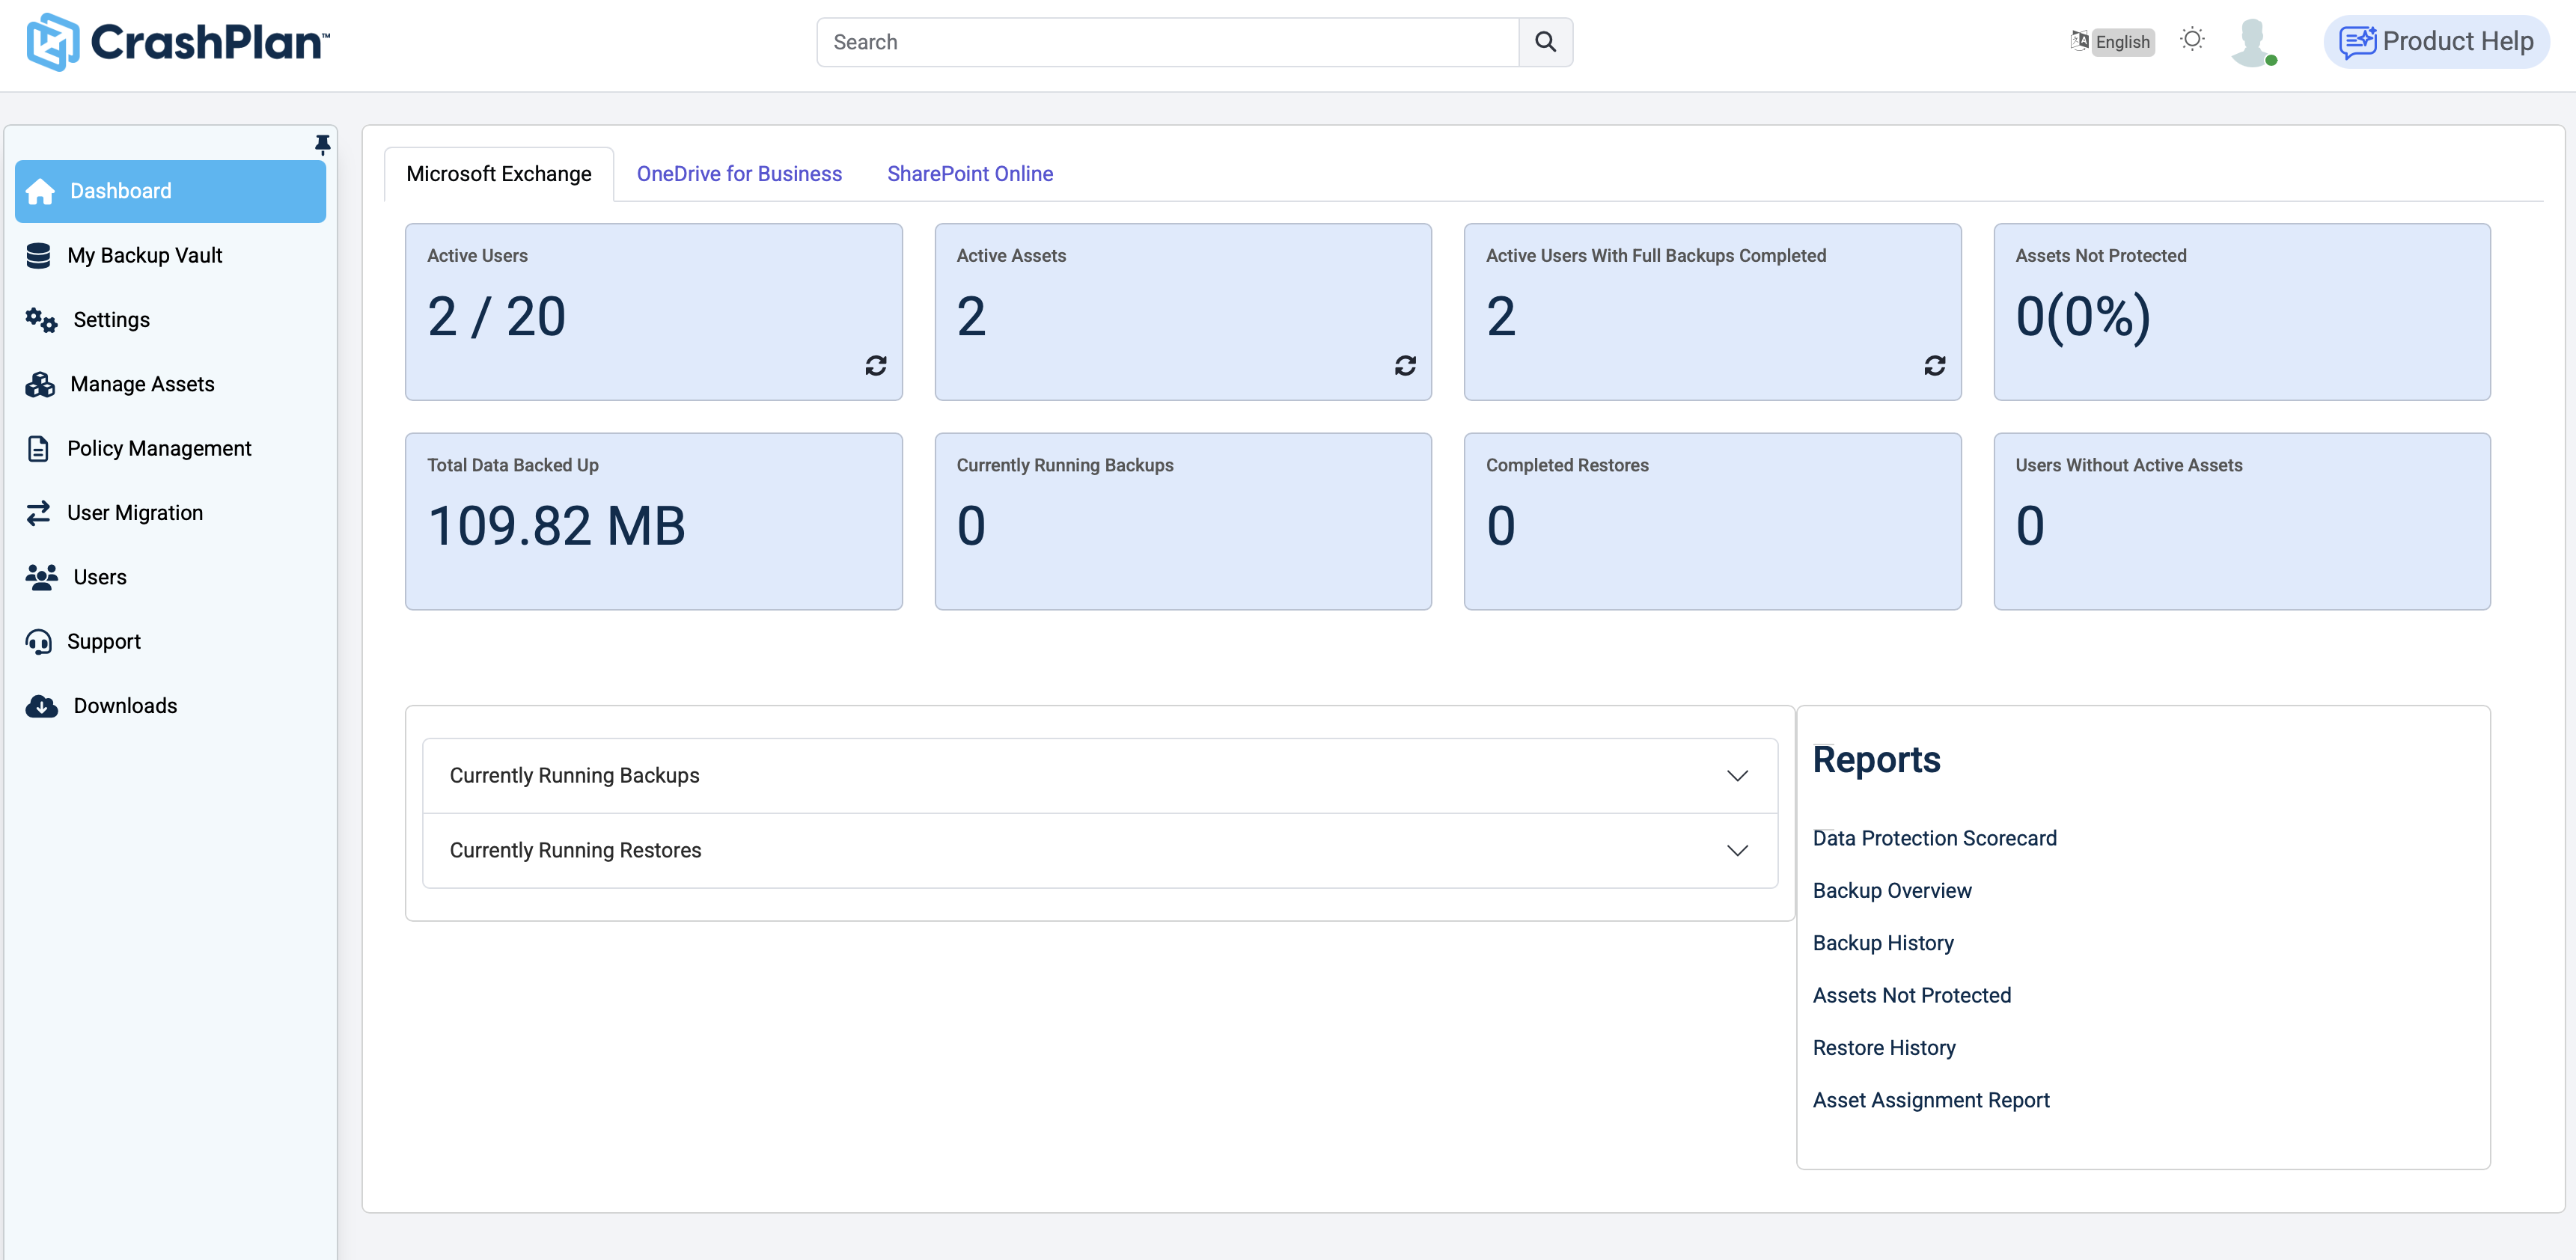
Click the Dashboard tab. Then click Restore History.
On the Reports - Restore History page, click View.
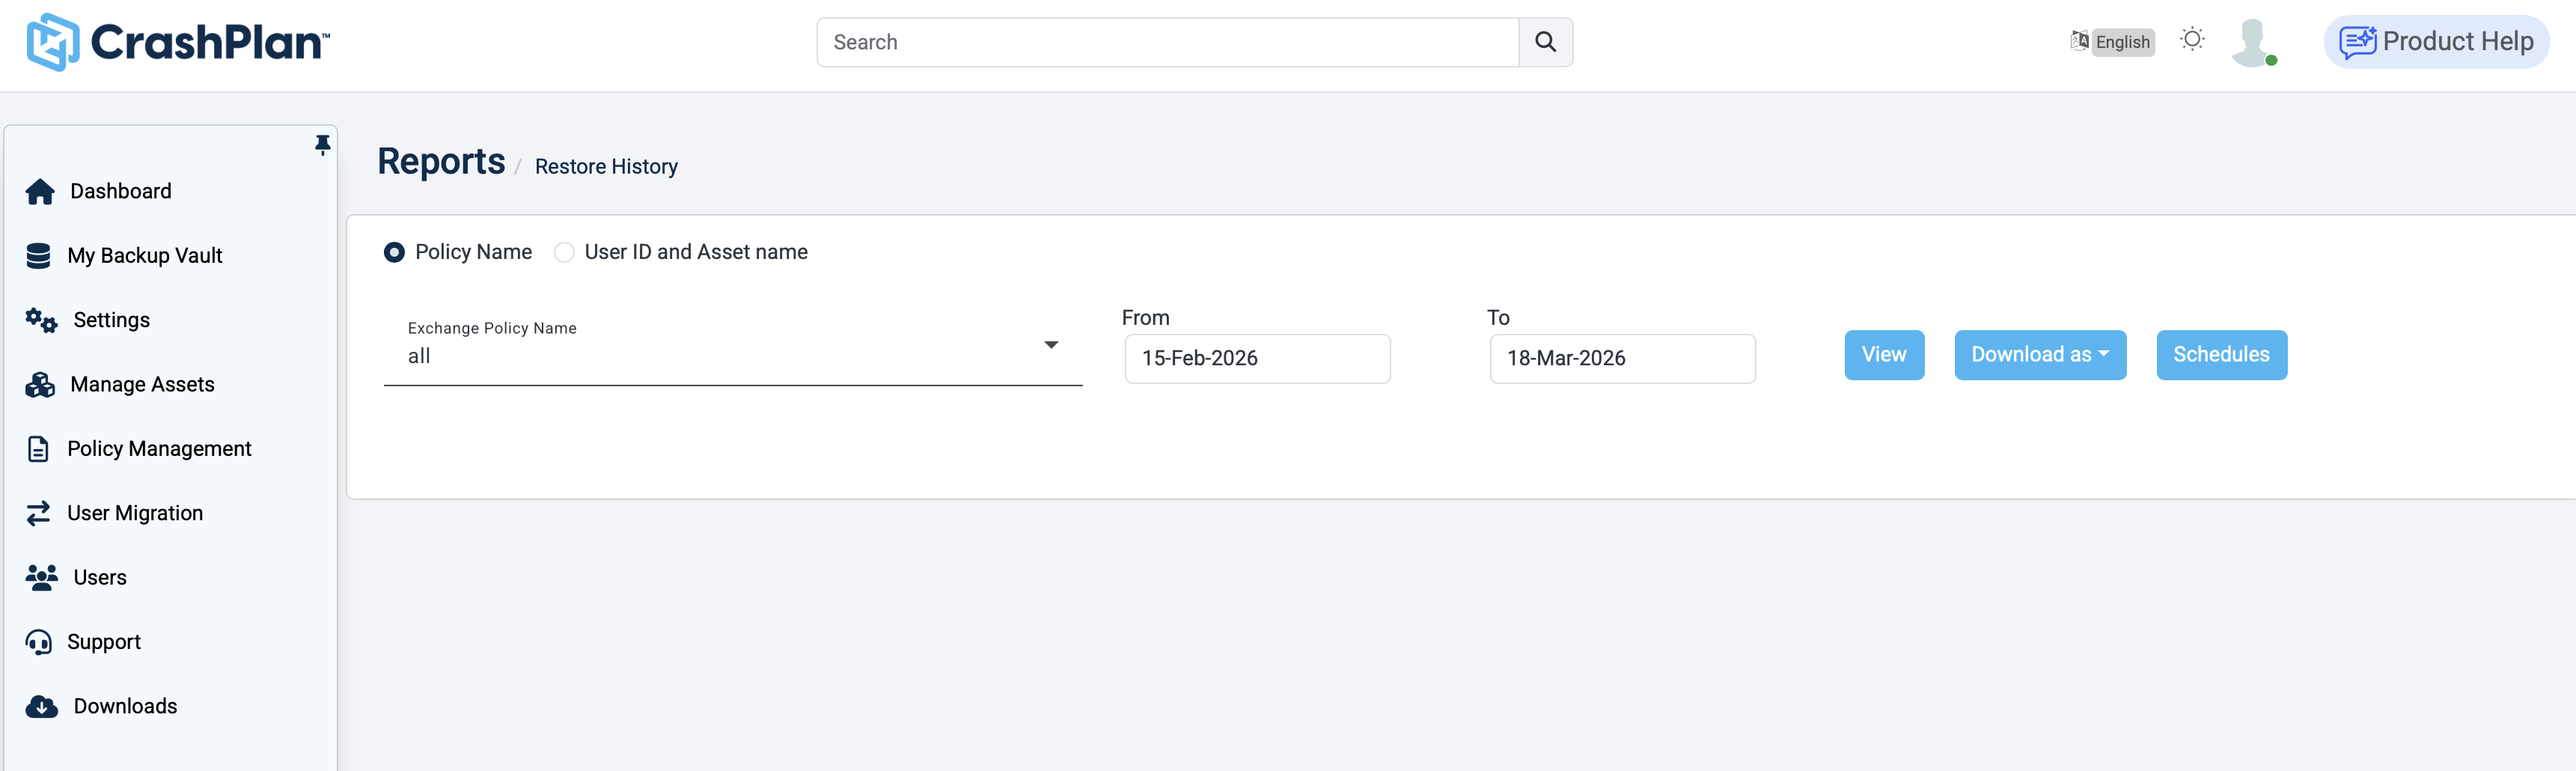
The status will show Completed once the restore operation has finished.