A user account allows an individual to access and interact with WACM based on assigned permissions. It is used to control who can view or manage accounts, ensuring secure and role-based access across the system.
Objectives
1—Sign in to WACM.
2—Create a user and assign a role.
3—Create a sub-account trial.
4—Access and export consumption data.
Creating a User Account
Click your username in the navigation menu and select My Profile from the drop-down menu. Your Profile page is displayed by default.
Click the Users tab.
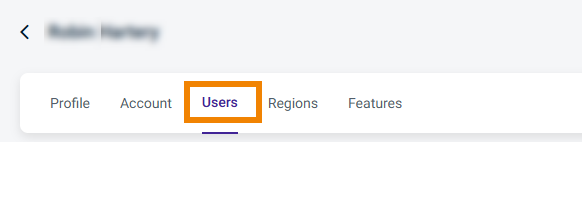
The Users page is displayed.
Click the Create button.
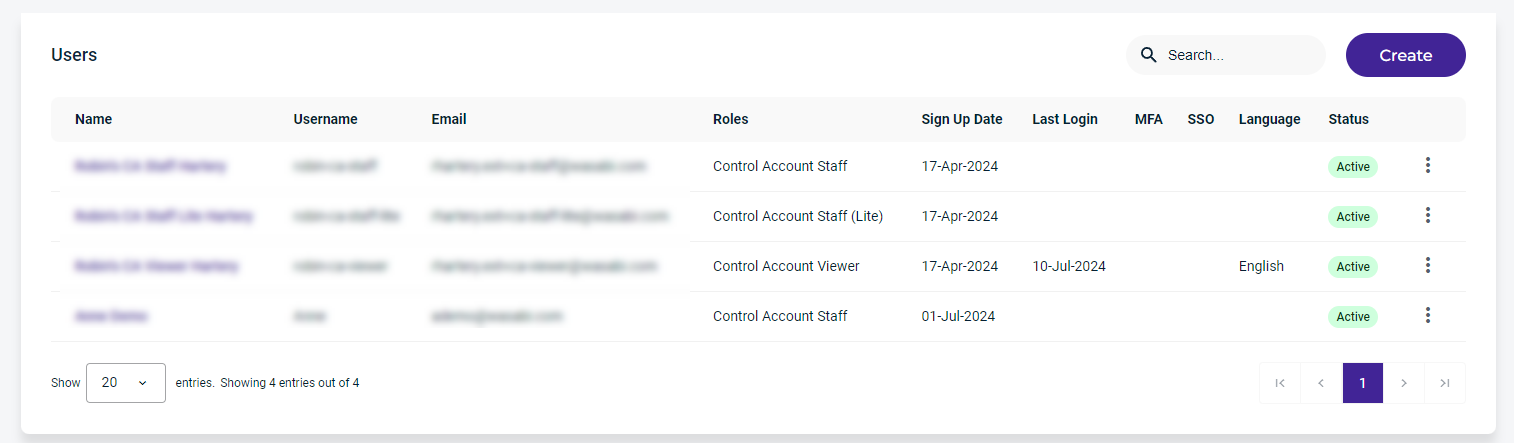
The Create New User form is displayed.
Enter the required information for the new user and assign a user role.

Click Create. The new user’s name will appear in the list of Users.
Activating the User Account
The new user will receive a Welcome email from Wasabi. To activate the account, click the link Verify your email address.

After the new user account is activated, the new user’s name will appear on the Users page. 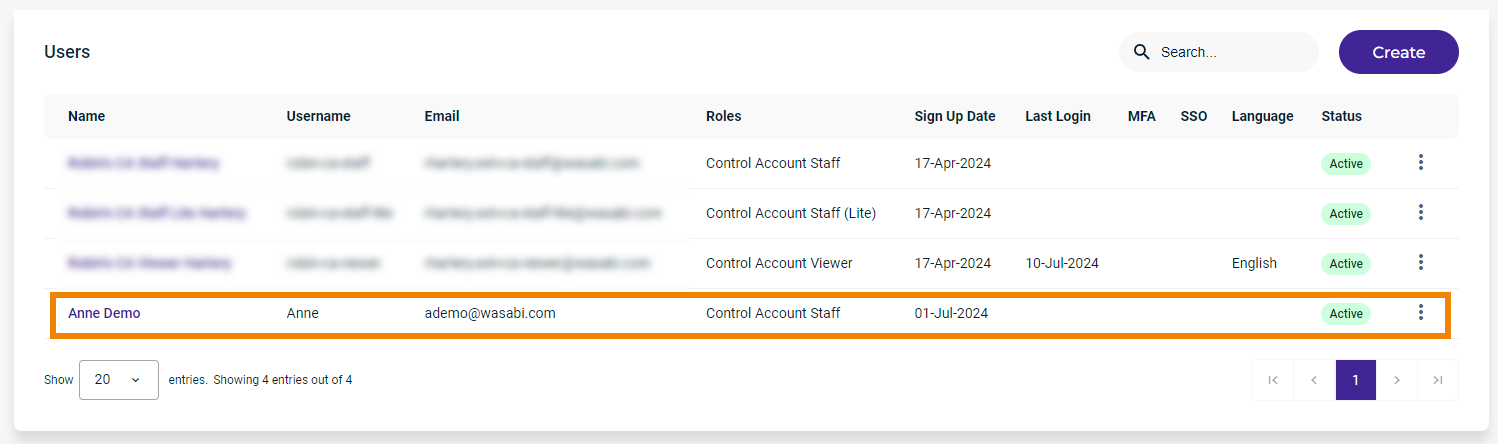
Repeat these steps to create additional users.
Objectives Met!
1—Sign in to WACM.
2—Create a user and assign a role.
4—Access and export consumption data.