Creating a Role
Click Create Role.
Enter a role name. It can contain only alphanumeric characters and the following special characters: plus sign (+), equal sign (=), period (.), ampersand (@), dash (-), underscore (_).
Modify the code for the role, as appropriate.
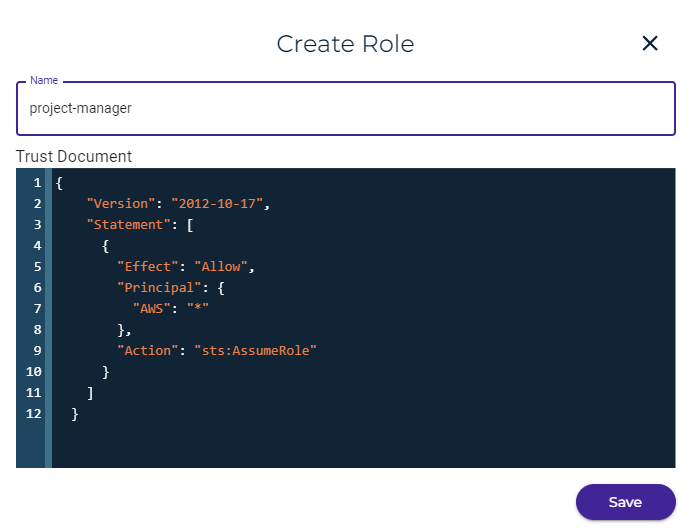
Click Save to create the new role.
If the policy has a syntax error, it will be flagged with a message when you attempt to save the role. Create the role again with the corrected policy code.

Creating a Role for Single Sign On (SSO)
If you are configuring the SSO feature (as described in Configuring the Single Sign On (SSO) Feature), you must define a role for the SSO user. You can configure SSO using one of the following protocols:
SAML
OPEN ID
You must create a role based on the chosen protocol.
Click Settings on the Wasabi menu. Or, open the account sign-in
 drop-down and click Settings.
Open the SSO (Single Sign On) drop-down.
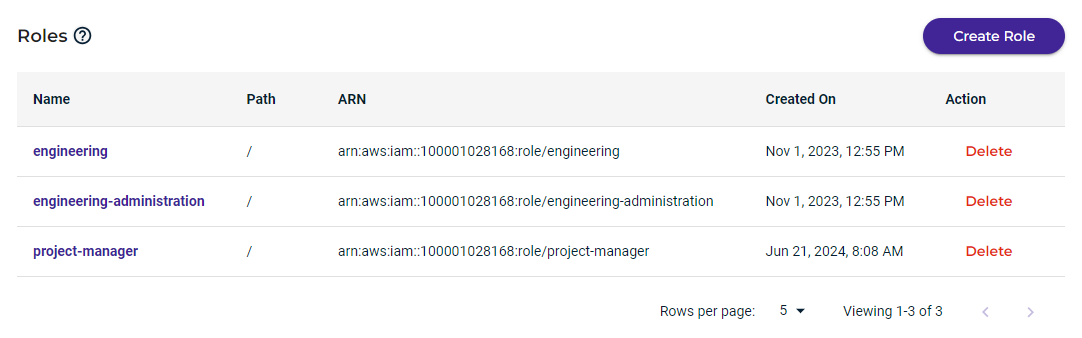
Scroll down to Roles under the SSO configuration. For example:
Click Create Role.
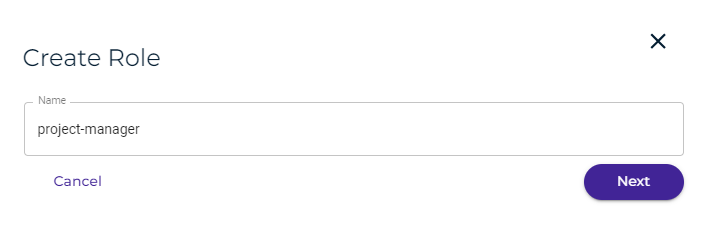
Enter a role name and click Next. For example:
Assign policies to the role. You can associate policies in two ways:
Click in the Attach Policy To Role area at the top of the panel. Select a policy from the drop-down.
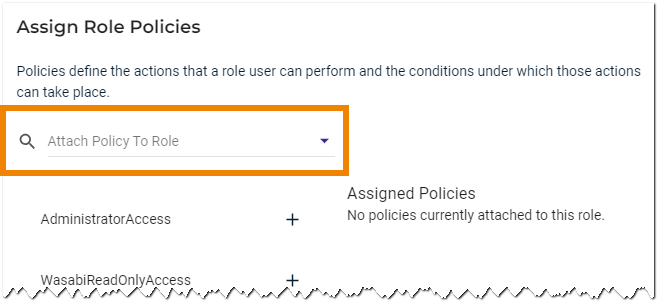
Select one of the predefined policies listed on the left of the panel. Simply click on + to the right of the policy name.
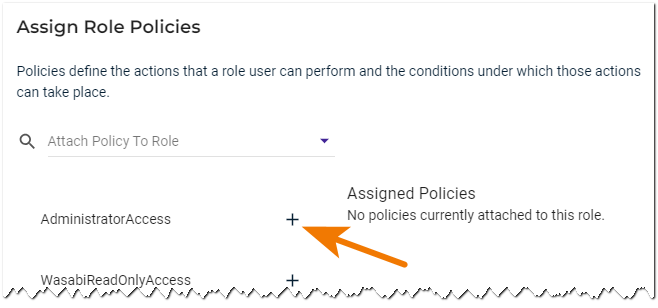
Assigned policies are displayed on the right of the panel.

Click Create Role. The role is created and contains the SSO path. For example:
Creating a Role for SSO Legacy
If you are configuring the Single Sign On (SSO) feature (as described in Configuring the SSO Legacy Feature), you must define a role for the SSO user. You can configure SSO using one of the following protocols:
SAML2
OpenID Connect (OIDC)
You must create a role based on the chosen protocol.
Click Create Role.
Enter a role name.
Modify the code for the SAML2 or OIDC protocol, as shown below.
SAML2 Role Example
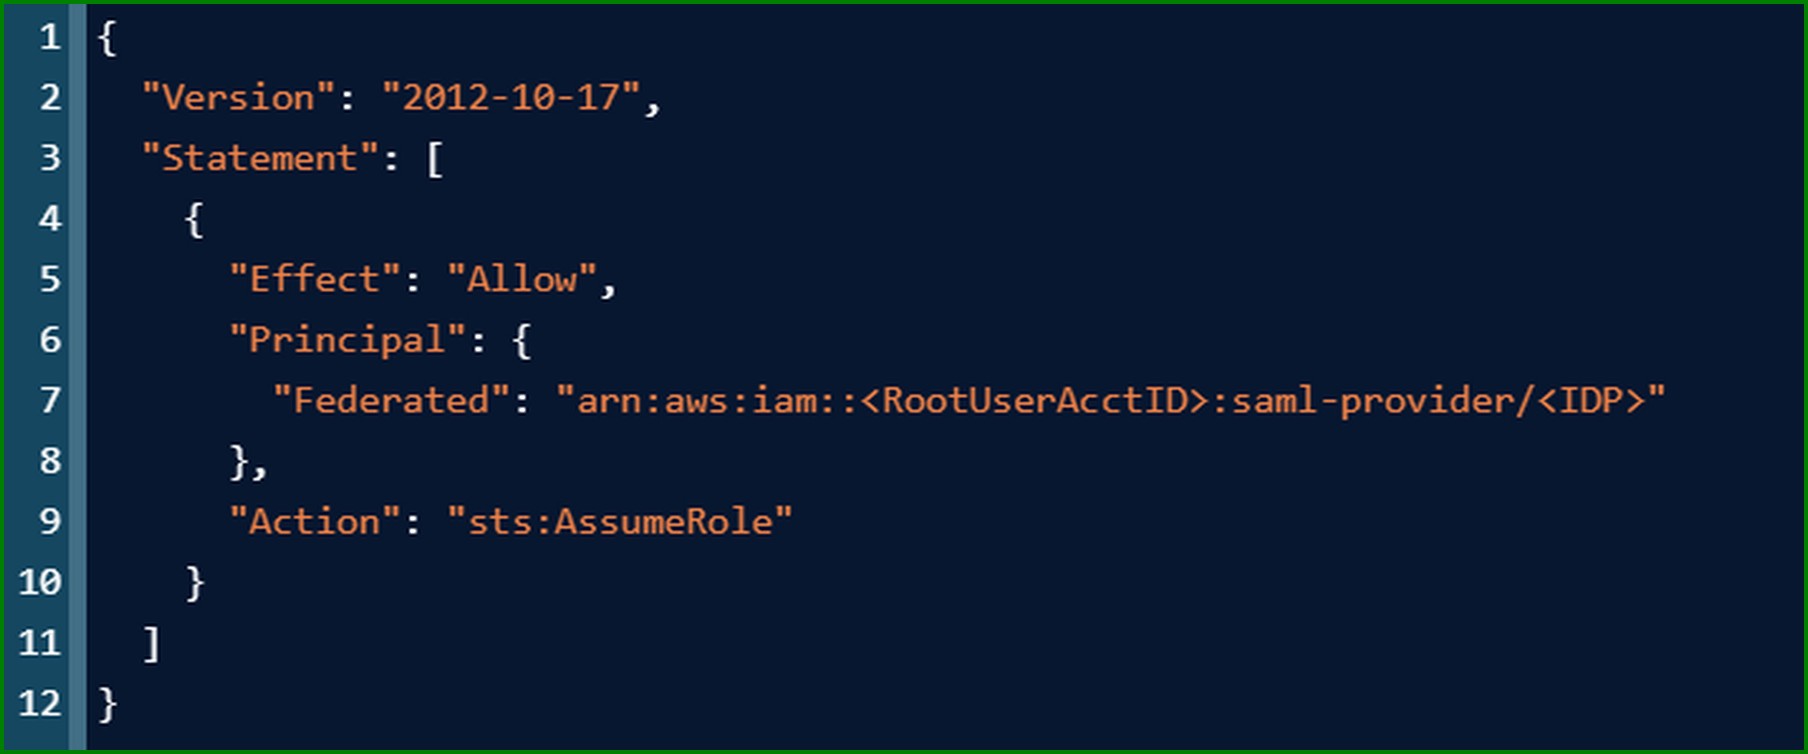
<RootUserAcctID> is your root user account ID.
<IDP> is your provider ID.
OIDC Role Example
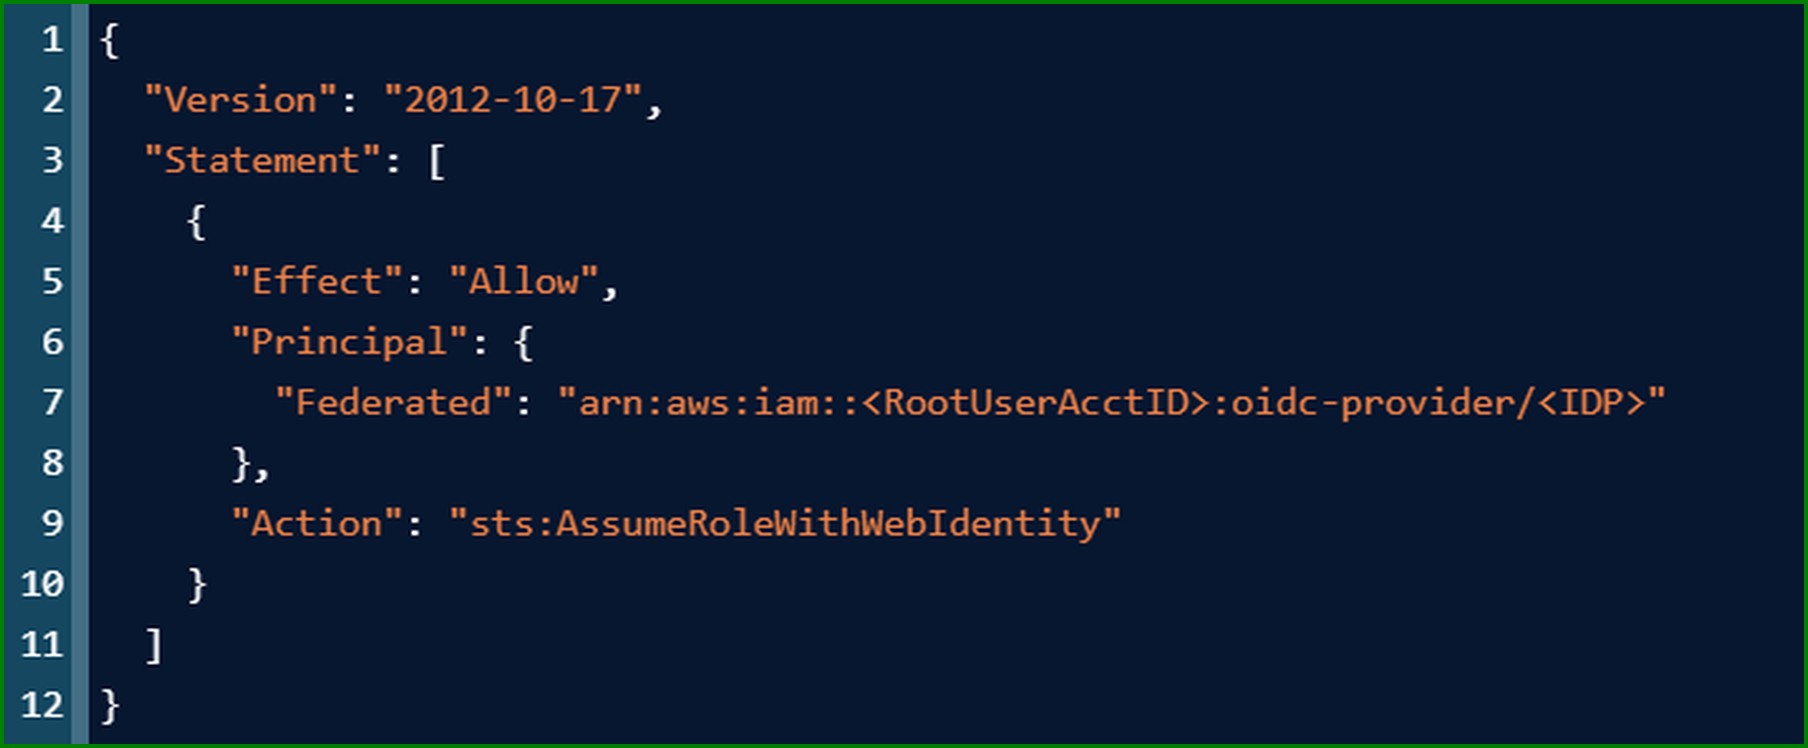
<RootUserAcctID> is your root user account ID.
<IDP> is your provider ID.
Click Save to create the new role.
Add a policy to the role as described in Attaching a Policy to a Role.
Deleting a Role
In the Action column for a role, click Delete with caution. As soon as you click the button, the role is deleted.