As a Wasabi user (trial or paid customer), you can set up SSO, at-will, in your own accounts. You simply need to enter standard SSO configuration information and define user roles.
Configuring SSO for the First Time
Click Security on the Wasabi menu.
Select SSO (Single Sign On).
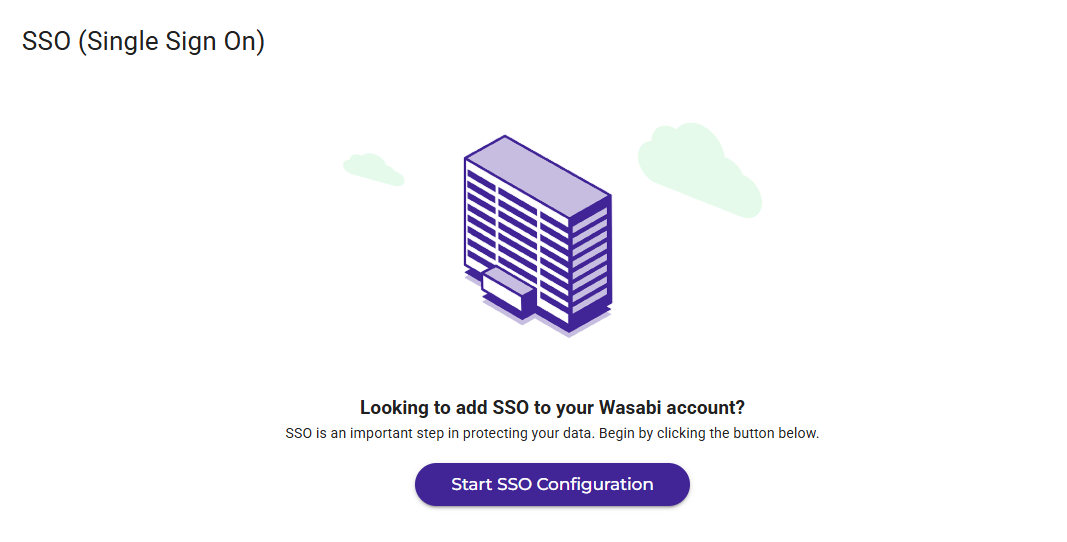
Click Start SSO Configuration.
Enter your organization name, which is a unique identifier that you and your users will use when signing in to Wasabi using SSO.
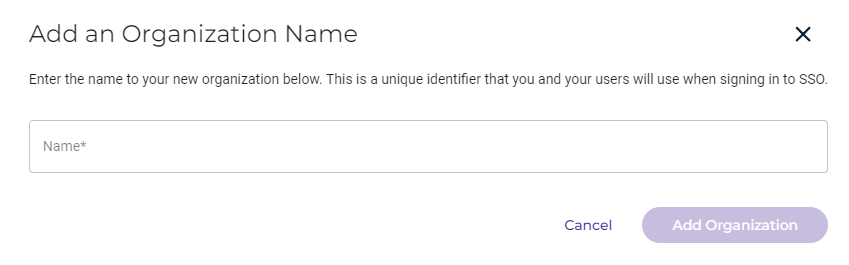
Click Add Organization. The organization name is displayed along with a drop-down menu to select the SSO connection:
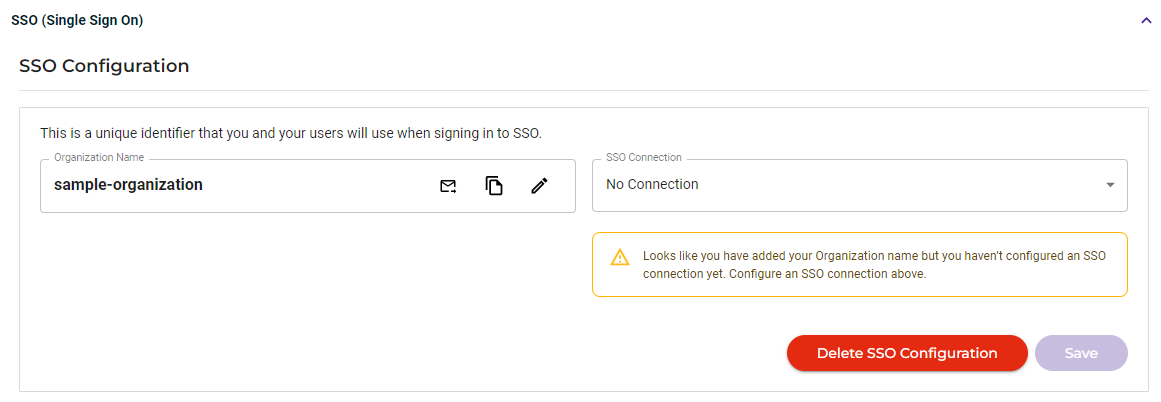
Click the SSO Connection drop-down to select the connection type.
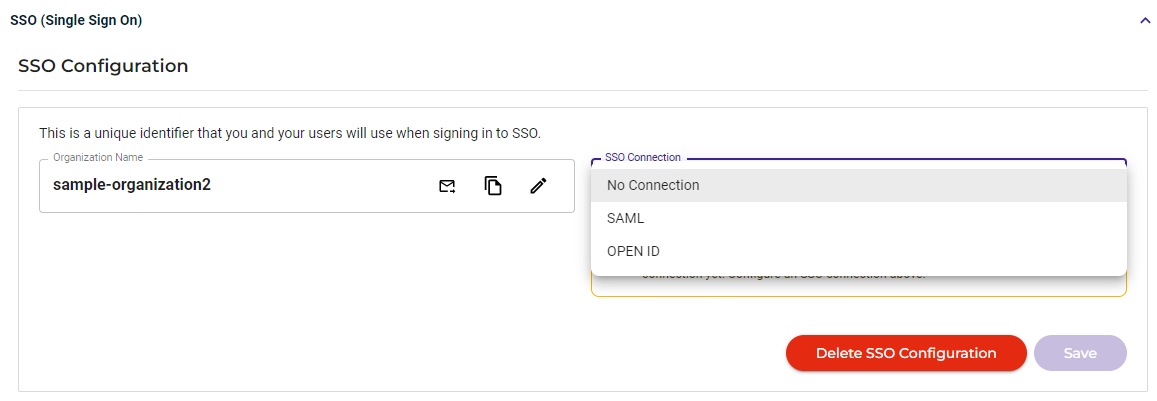
By default, SSO is disabled (No Connection) for existing and newly created Wasabi accounts. You can select one of these protocols:
SAML
OPEN ID
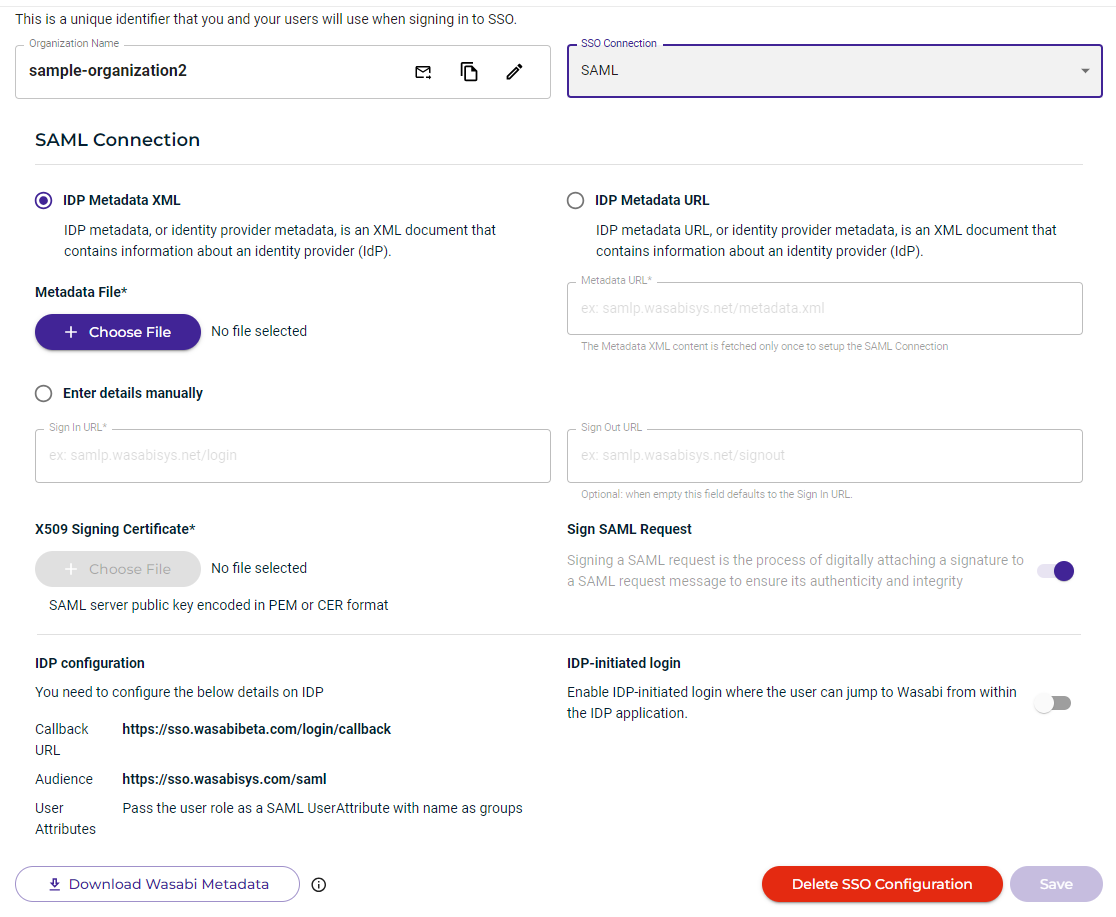
If you select SAML, a screen similar to the following is displayed. Work through the instructions on the screen to enter the Sign In URL and Sign Out URL. Then, choose a file for the X509 Signing Certificate. Finally, review and complete the IDP configuration.
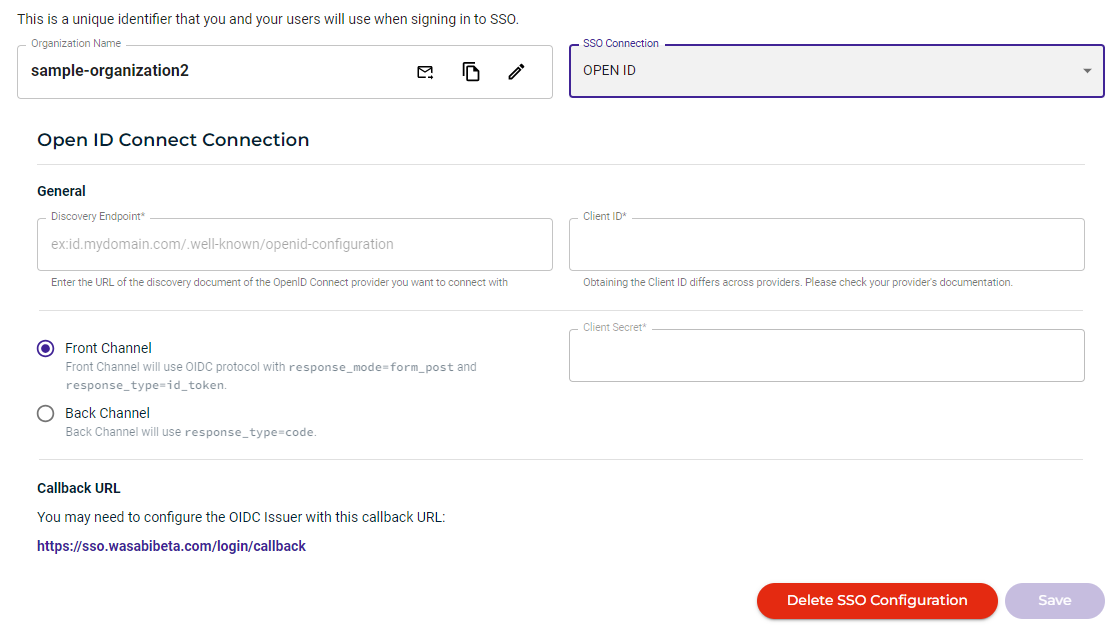
If you select OPEN ID, a screen similar to the following is displayed. Work through the instructions on the screen to enter the Discovery Endpoint and Client ID. You may need to configure the OIDC issuer with the callback URL noted at the bottom left of the screen.
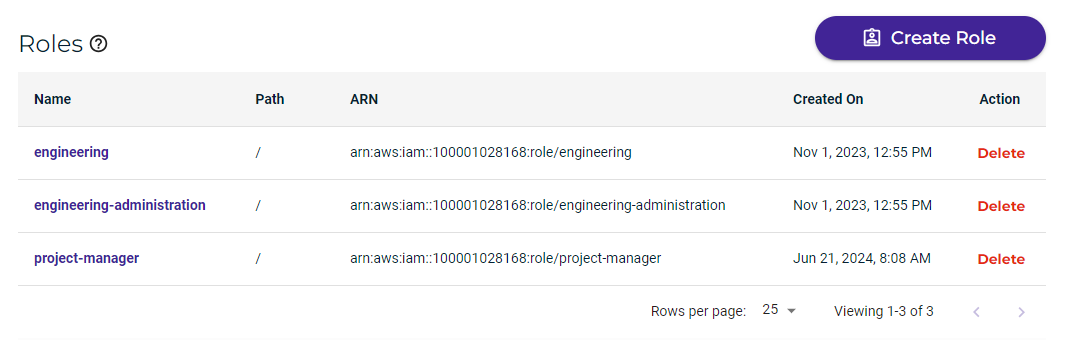
In order for SSO roles to work in the Console, they must be assigned to users within your organization's Identity Provider, and be returned to Wasabi in SSO claims. Without this, we will be unable to match a user with a role. Click Create Role, enter a role name, assign policies, and create the role.
After entering all information, click Save Connection.
Scroll down and notice that you can define roles for the connection. For example:
Set up Policies and Roles for the SSO. Begin by reviewing the information in Creating a Role for Single Sign On (SSO).
Deleting an SSO Configuration
If you are not already on the SSO Configuration panel, click Security on the Wasabi menu and select SSO (Single Sign On).
On the SSO Configuration panel, click Delete SSO Configuration.
Click Delete to confirm.