On the AiR panel, click Create Jobs. The Create AiR Jobs panel is displayed. For example:
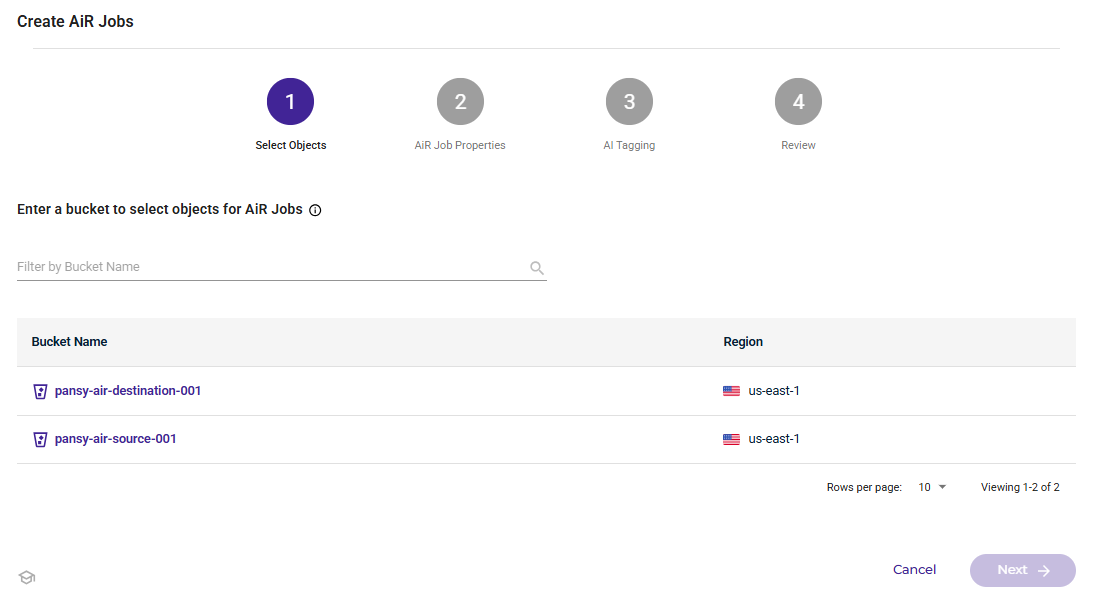
On this “form” (panel), you will select a bucket and objects for which you want to create Wasabi AiR jobs. A Wasabi AiR job is created for each object selected, up to 100 per form.
Start by clicking to select a bucket from the displayed list. If you have numerous buckets, you can enter information in the search line to filter the list.
pansy-air-source-001 is the selected bucket in this example. Notice that the objects stored in the selected bucket are listed.
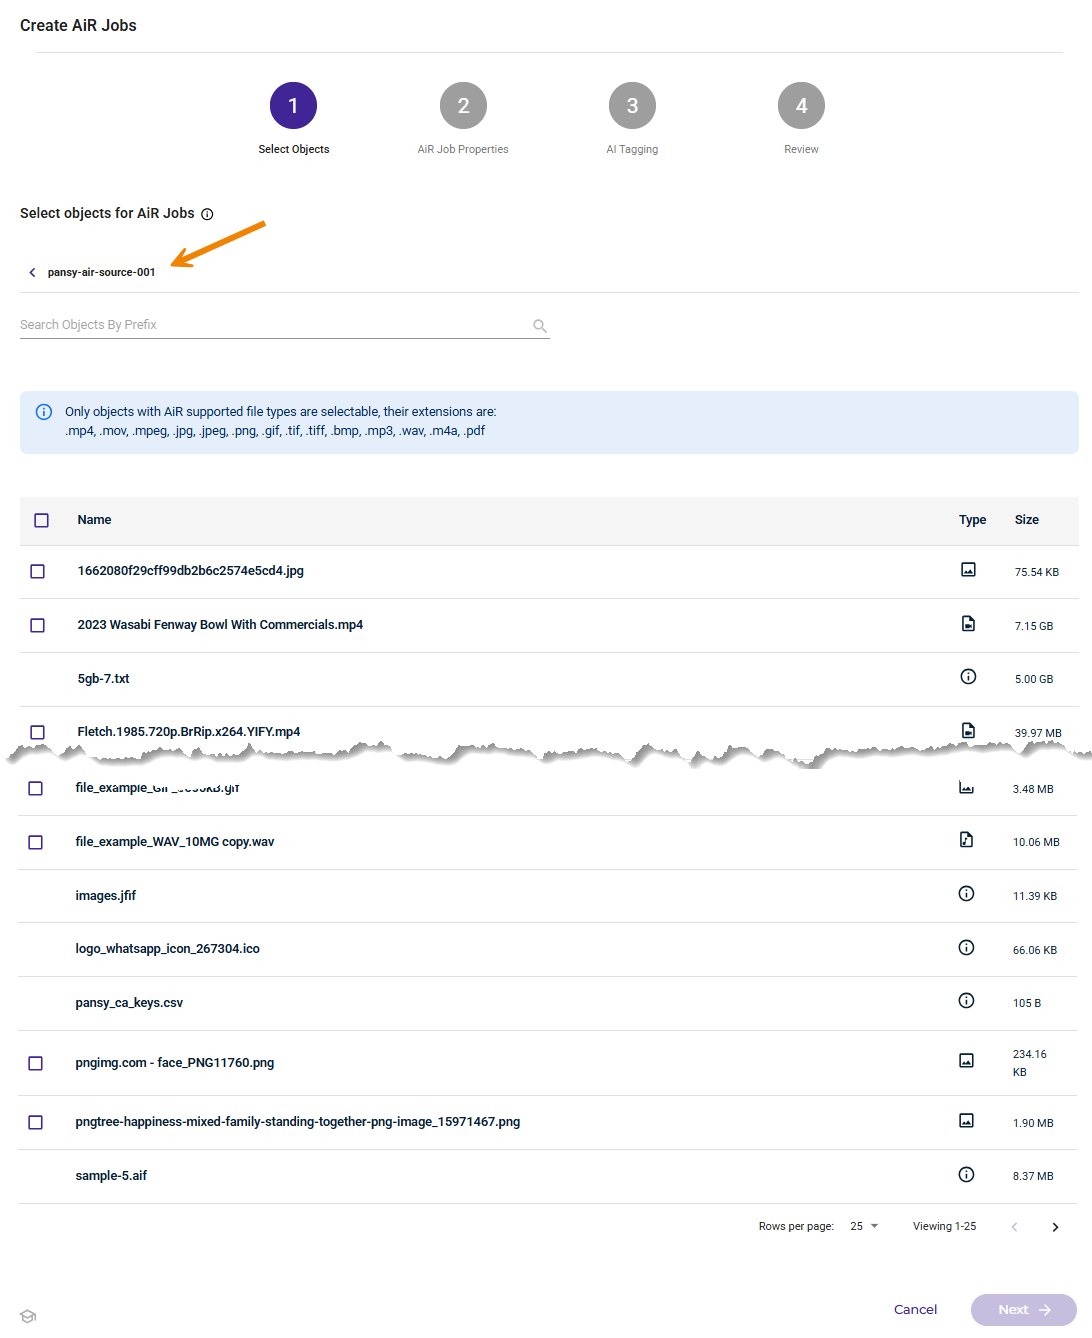
Notice the box to the left of some object names. These boxes indicate objects that can be selected for Wasabi AiR jobs. Only objects that are Wasabi AiR-supported file types are selectable. These are files with extensions of:
.bmp
.gif
.jpeg
.jpg
.m4a
.mov
.mp3
.mp4
.mpeg
.pdf
.png
.tif
.tiff
.wav
Click boxes to the left of object names to select up to 100 objects for which you want to create Wasabi AiR jobs. Two objects are selected in this example:

Click Next at the bottom of the form.
Wasabi AiR prompts you to select job properties.
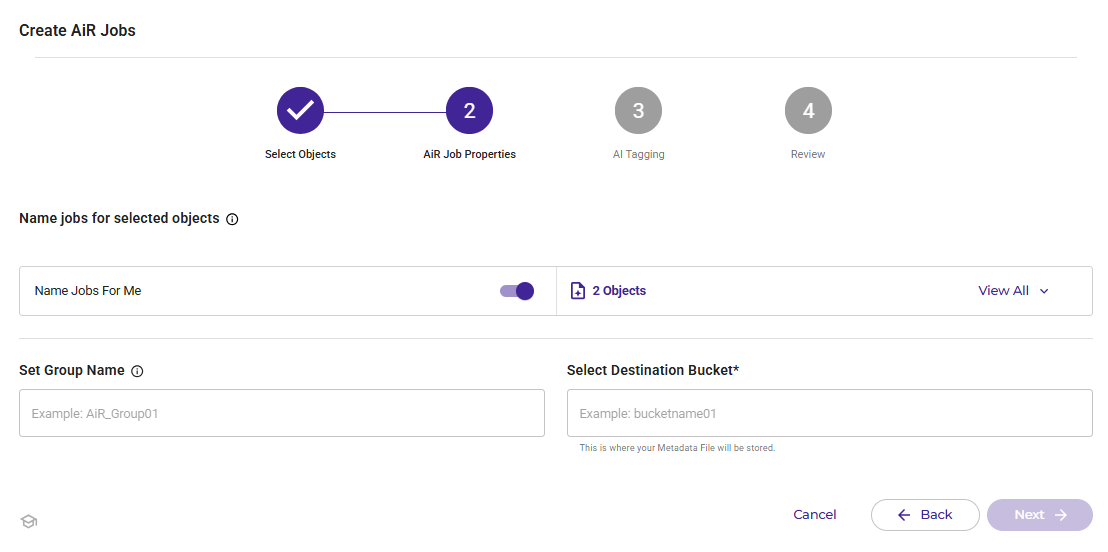
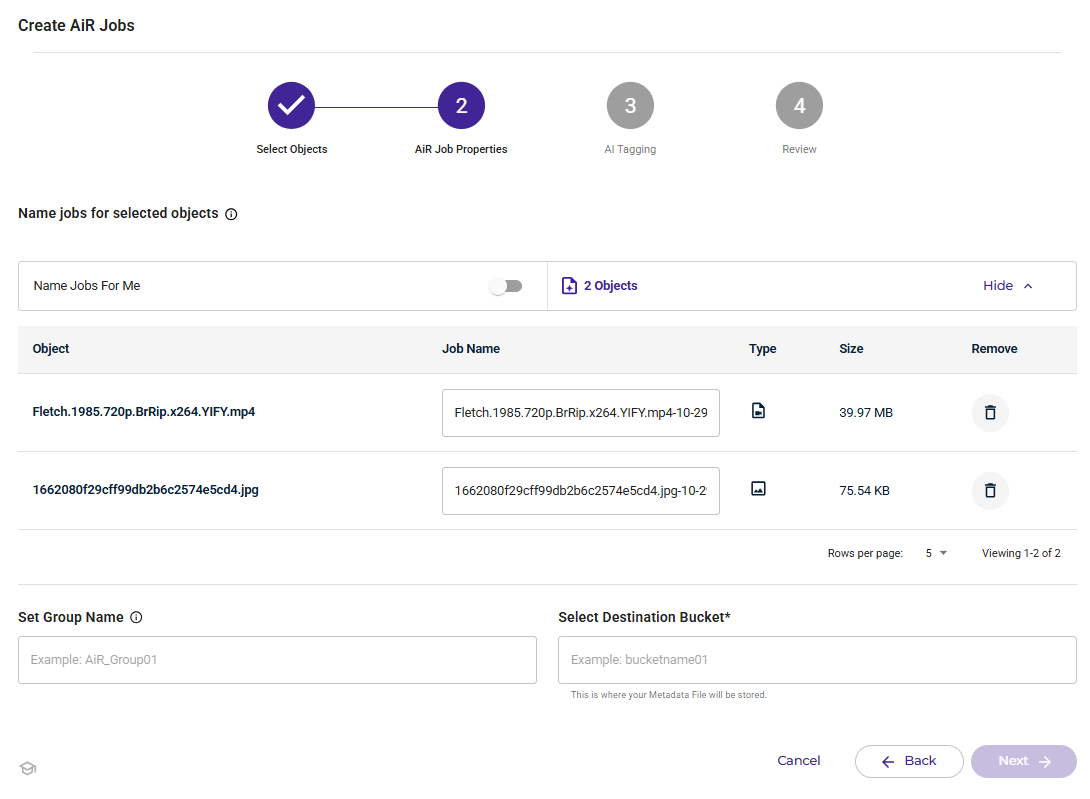
Notice the View All option to the right of the number of objects selected (2 Objects, in this example. If you click View All, you will see a list of the jobs that will be created. The list includes:
Object name
Name that will be used when the job is created
Object type
Object size
Option to remove the object and not create a job for it
By default, Wasabi AiR will provide a unique name for your jobs.
If you prefer to name your jobs, you can disable the Name Jobs For Me feature and enter a unique name in the Job Name box.
Optionally, enter a Set Group Name. This is an identifier that you can use to group and search jobs.
Click in the Select Destination Bucket box to select the destination bucket where your metadata file will be stored. Click Select.

Click Next.
Wasabi AiR prompts you to enter AI tagging services. By default, all available services are selected. Click in the services box to add or remove services:
Audio Classification automatically identifies and categorizes sounds or audio clips based on predefined labels such as speech, music, or environmental noise.
Logo Detection identifies brand logos within images or video frames using computer vision techniques.
Natural Language Description captures the key topics, scenes, or events so the content is easier to understand, search, and organize with metadata tags.
OCR (optical character recognition) converts printed or handwritten text in images or scanned documents into machine-readable text.
Person Detection determines if people are present in an image or video, and generates vector embeddings.
Speech To Text converts spoken language in audio or video recordings into written text using natural language processing.
If an IT tagging service is incompatible with an object file type, the service will be skipped, and all other applicable services will run.
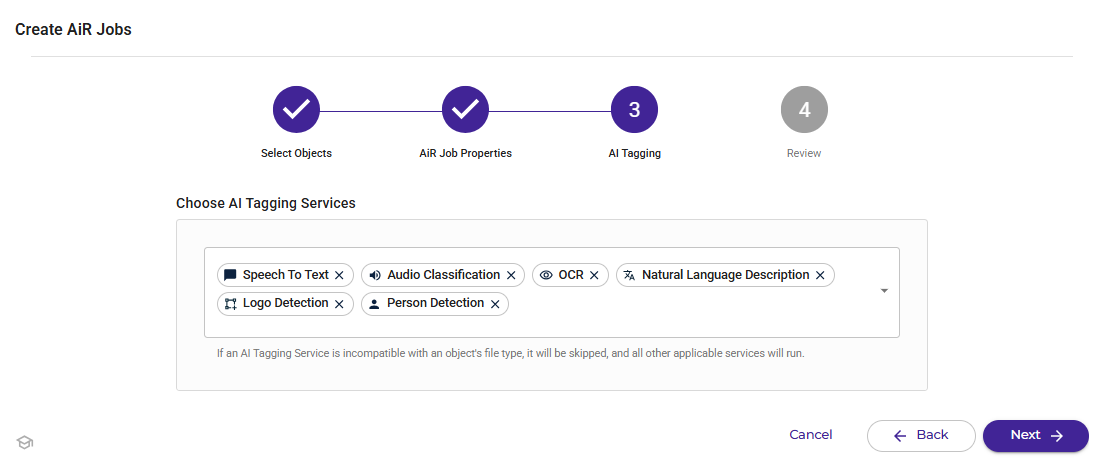
Click Next.
Review the details of your Wasabi AiR jobs. You can click View All to review each object, job name, file type, and size.
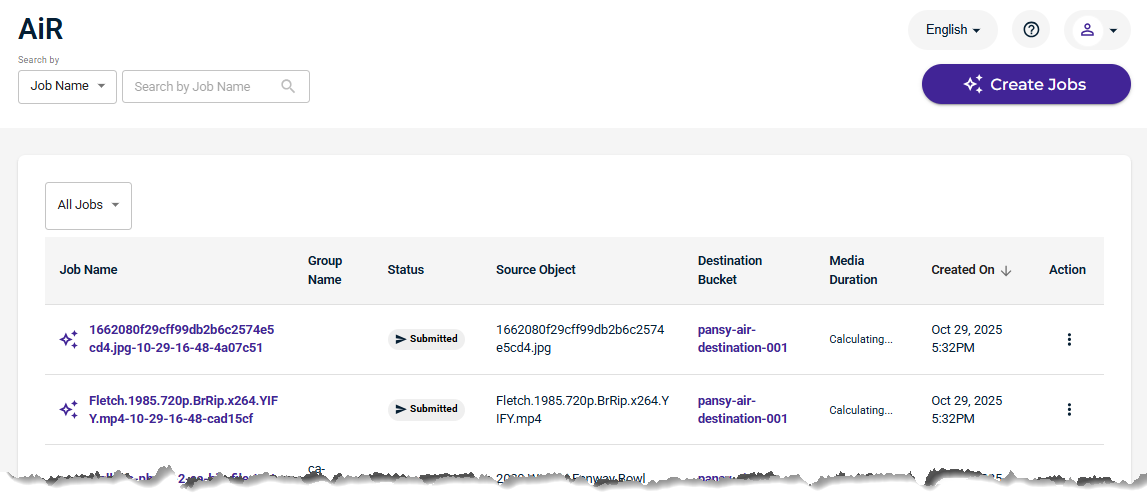
When you are ready, click Create Jobs.
The jobs are listed on the AiR panel. For example:
Reviewing Your Wasabi AiR Jobs
Refer to Reviewing Details of the AiR Jobs List.