Fivetran facilitates securely moving, managing, and transforming data to power analytics, operations, and AI at scale. Data can be sourced from Wasabi and routed to many different destinations with the S3-compatible storage connector. This article describes how to configure Fivetran to work with Wasabi.
Requirements
Active Wasabi Cloud Storage account.
Wasabi bucket (For more information, review 2—Working With Buckets and Objects.)
Access to the Wasabi Console as the account root user.
Fivetran portal access with appropriate permissions to create connectors.
Access to your connector’s destination user-interface.
Configuring Wasabi
Log in to the Wasabi Console as the account root user.
Configure a policy for a “fivetran” user (that will be created in the next step) using the following policy. Change YOUR_WASABI_BUCKET_NAME to your own Wasabi bucket name. See Creating a Policy for instructions on how to create a policy.
{
  "Version": "2012-10-17",
  "Statement": [
    {
      "Effect": "Allow",
      "Action": "s3:ListAllMyBuckets",
      "Resource": "arn:aws:s3:::*"
    },
    {
      "Effect": "Allow",
      "Action": [
        "s3:Get*",
        "s3:List*"
      ],
      "Resource": [
        "arn:aws:s3:::YOUR_WASABI_BUCKET_NAME",
        "arn:aws:s3:::YOUR_WASABI_BUCKET_NAME/*"
      ]
    }
  ]
}
Create a fivetran user and attach the previously created policy to it. Use the following settings for the user. For more information, see Creating a User.
Allow programmatic-only access, not console access.
Do not require Multi-Factor Authentication (MFA).
It is not necessary to assign the user to a group.
Save the access and secret keys in a secure location.
Configuring Fivetran
Log in to the Fivetran Dashboard.
Click Connections.
Click Add Connection.

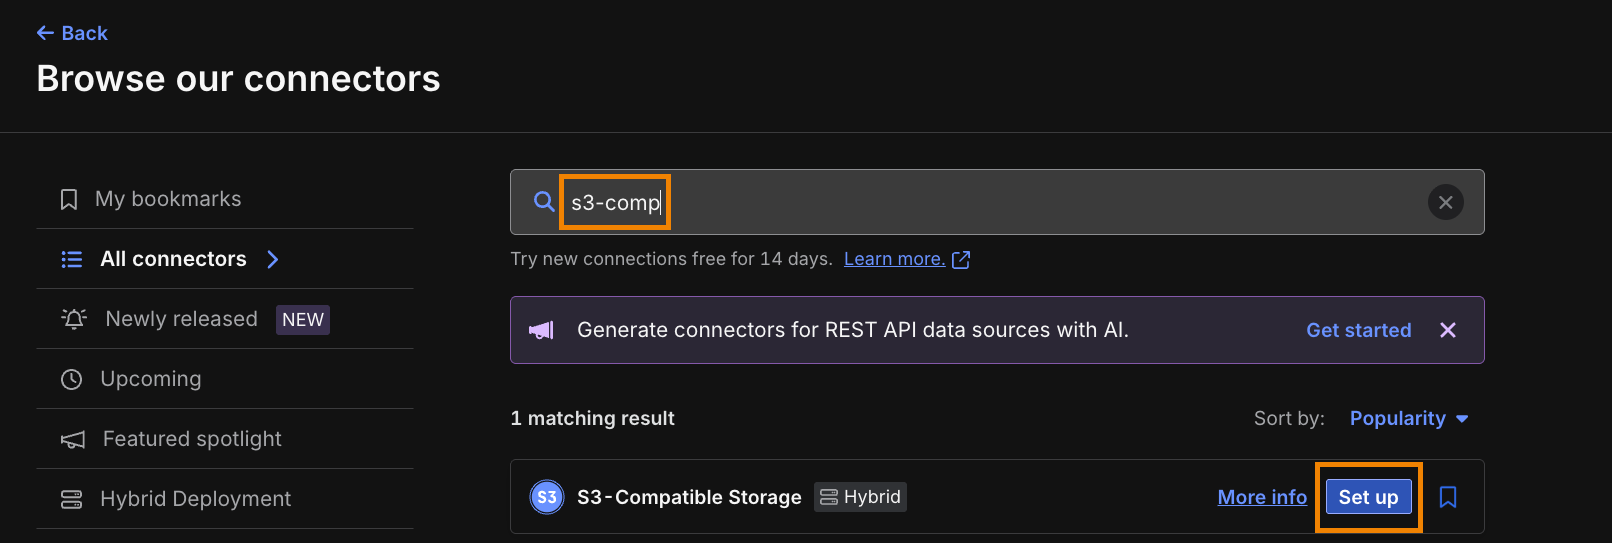
Search for s3-compatible.
Hover your cursor over the S3-Compatible Storage connector to see the buttons. Click Set up.
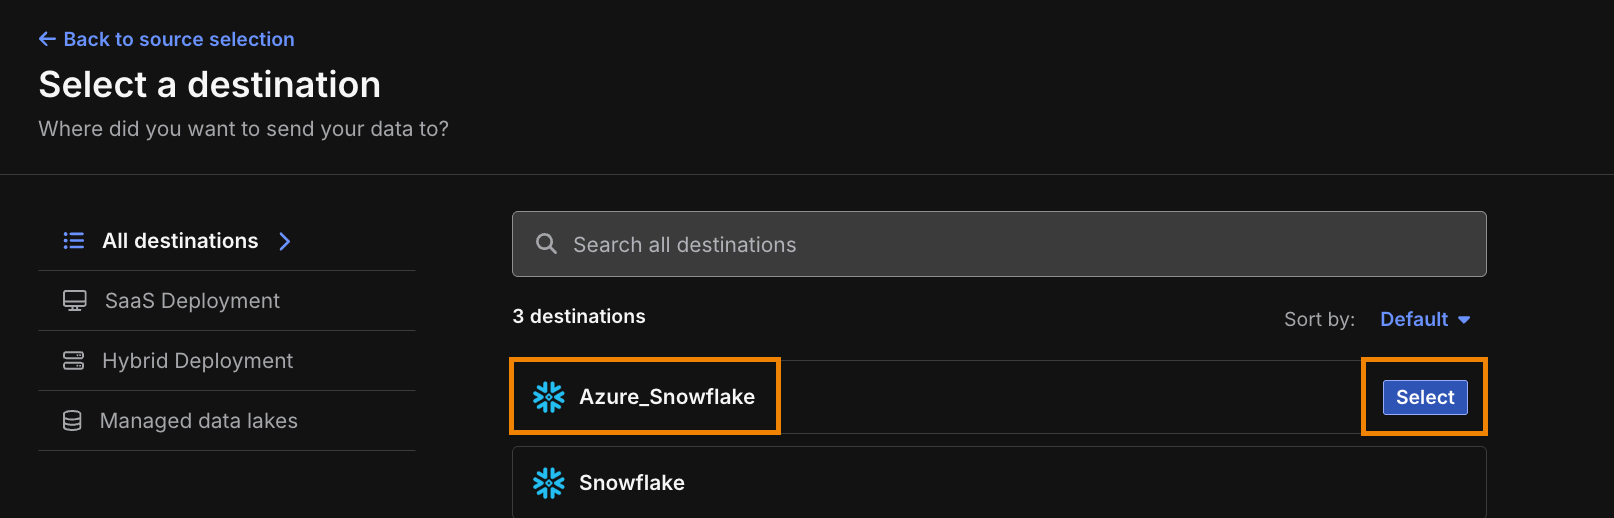
Select the destination that is appropriate for your connector. Hover your cursor over the destination and click Select.
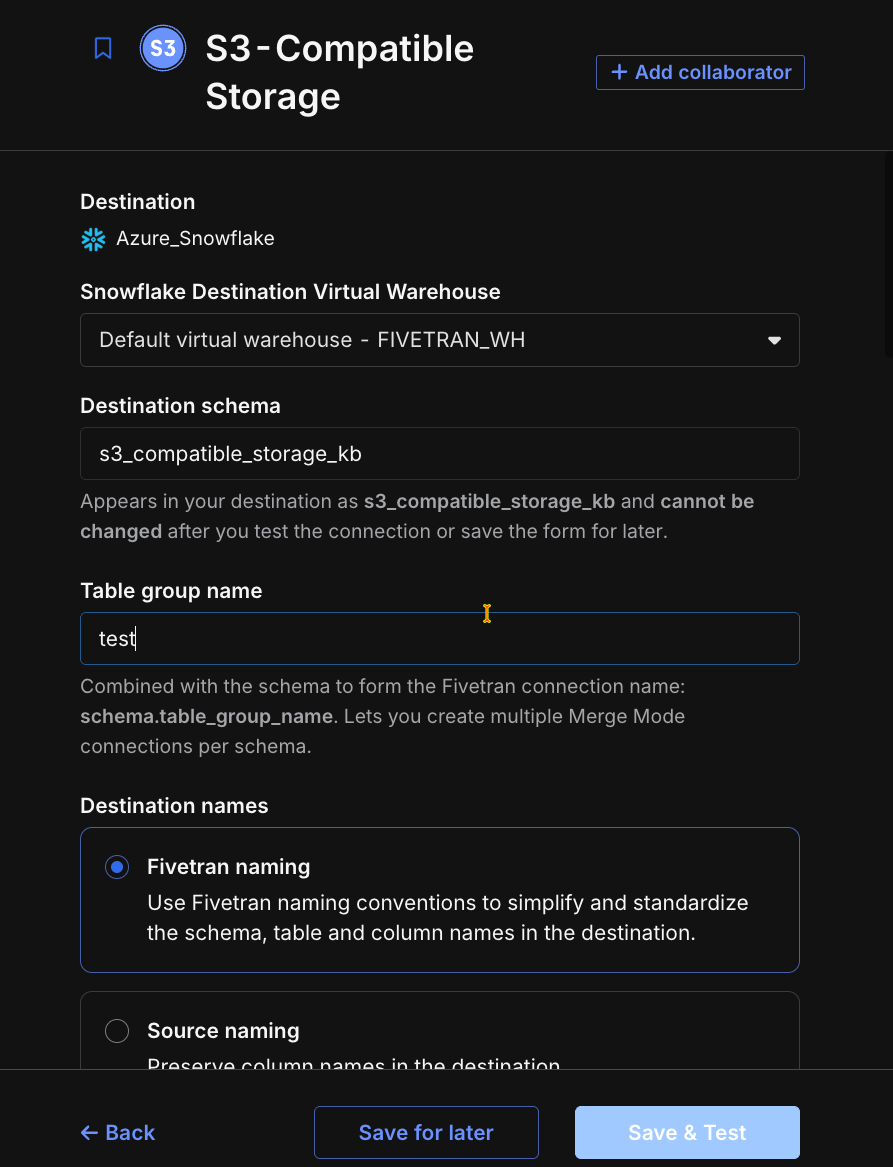
Select the values appropriate for your connection. The values shown below correspond to Snowflake as the destination and will vary for other destination types.
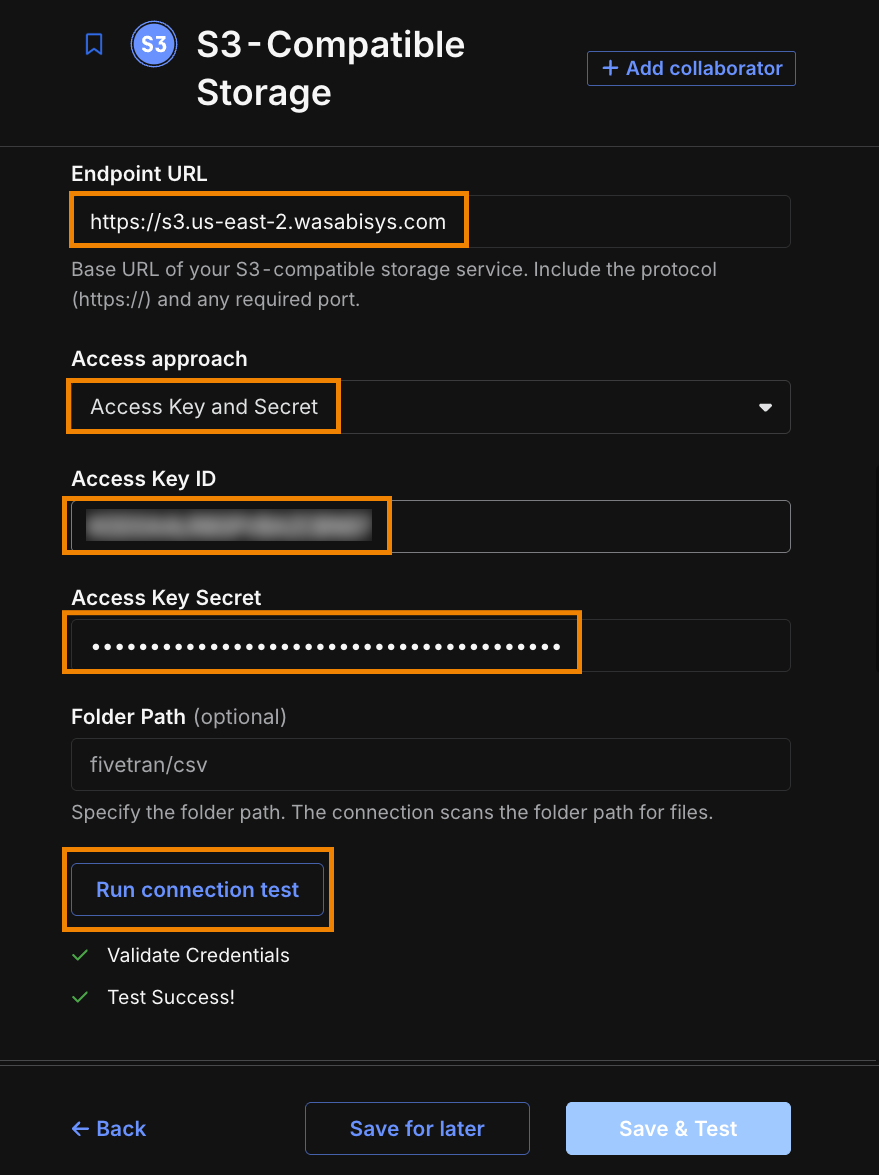
Scroll down and enter the following information for Wasabi. When finished, click Run connection test and verify there are green checkmarks next to Validate Credentials and Test Success.
This configuration example uses Wasabi’s us-east-2 storage region. To use another Wasabi storage region, select the appropriate URL for your bucket region, as described in Service URLs for Wasabi's Storage Regions.
Endpoint URL.
Select Access Key and Secret from the drop-down menu for the Access approach.
Wasabi Access Key ID (created above).
Wasabi Access Key Secret (created above).
Scroll down and continue entering the information appropriate for your connection. Select the appropriate format for the File Type.
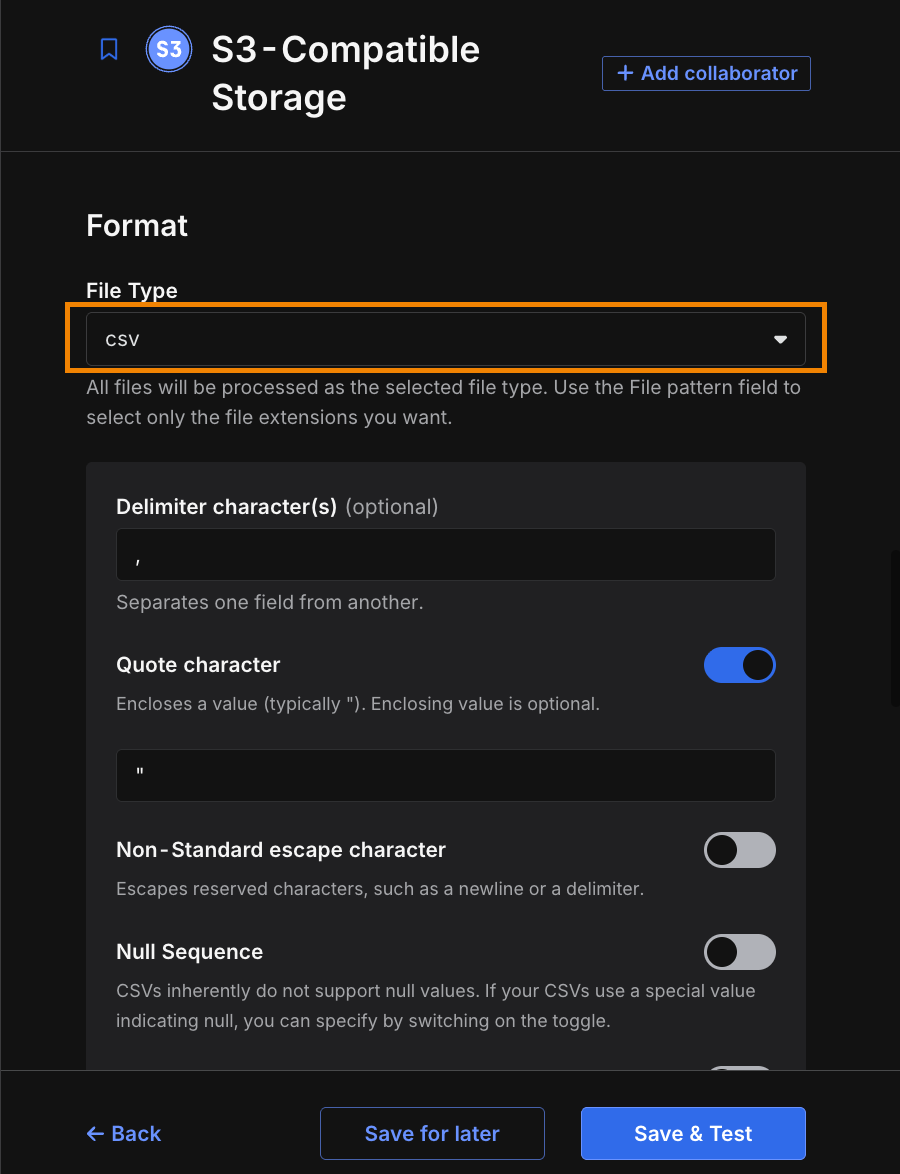
Scroll down. Under the Configure files section, click + Add files.
.png)
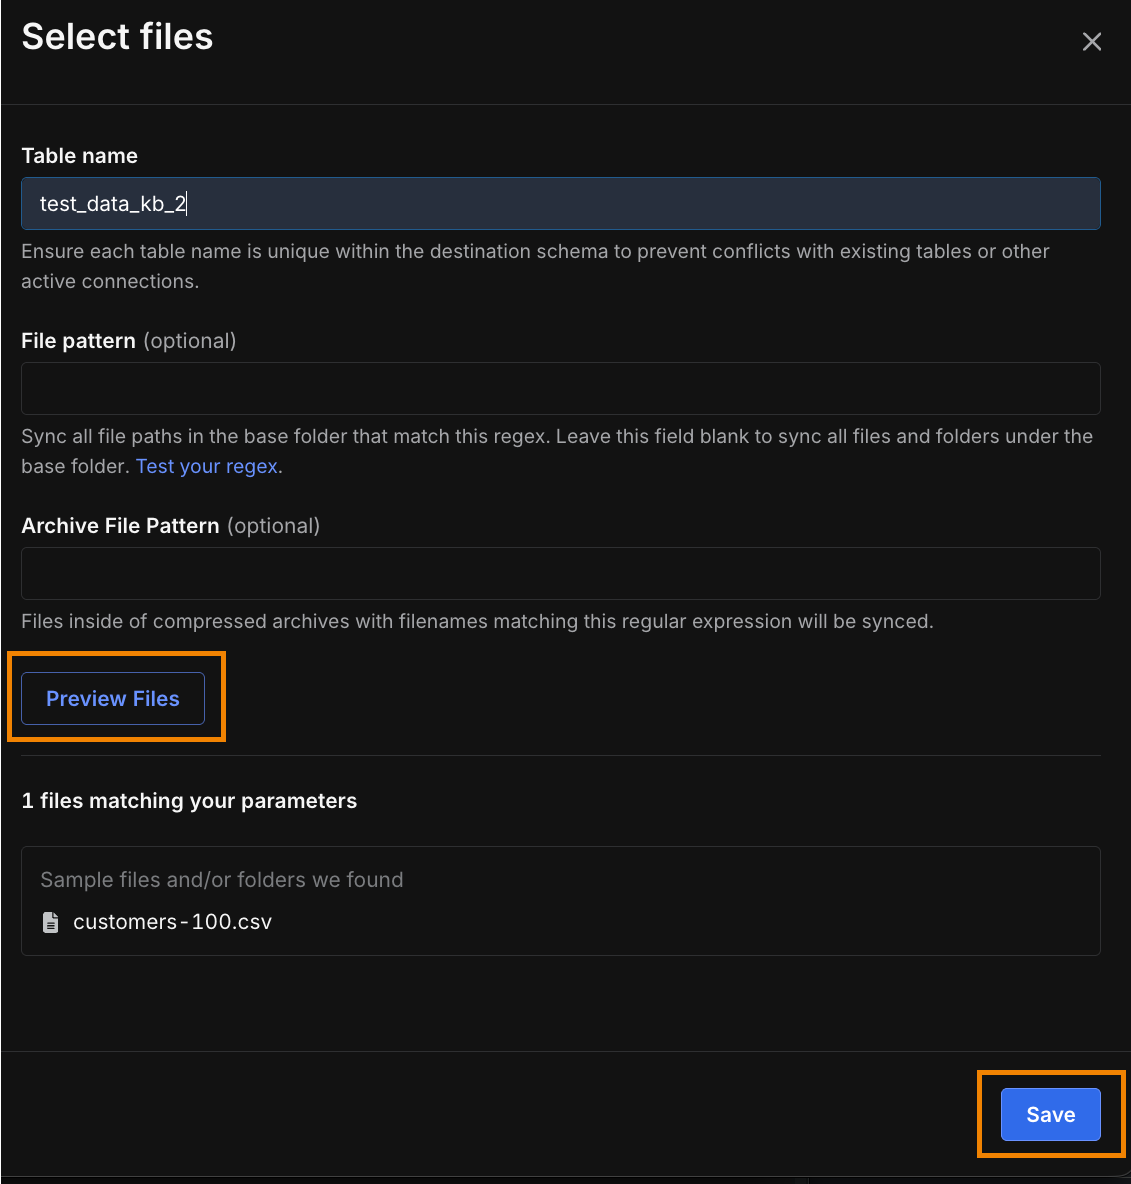
Enter the appropriate details (such as a Table name) for your connection. Click Preview Files. Fivetran will attempt to automatically find a file in your Wasabi bucket to use as a template. Once it does, click Save.
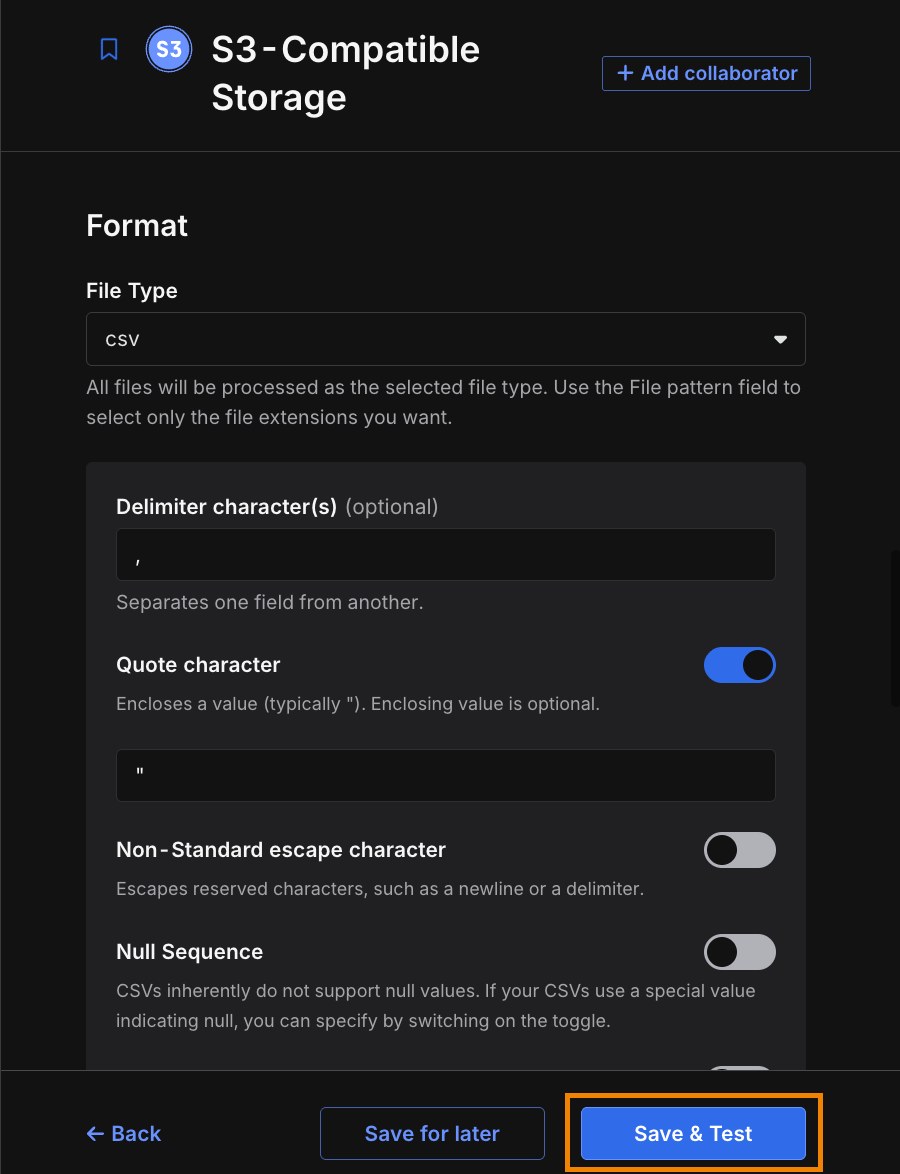
Click Save and Test.
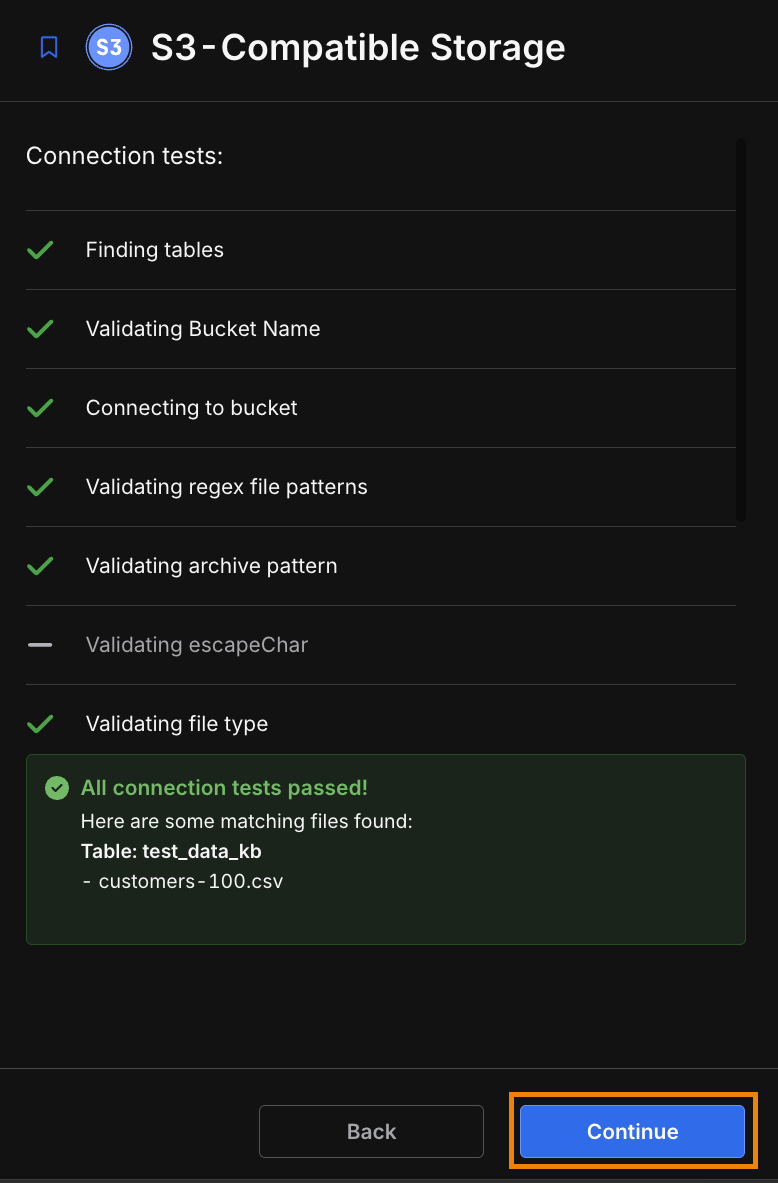
After all connection tests pass, click Continue.
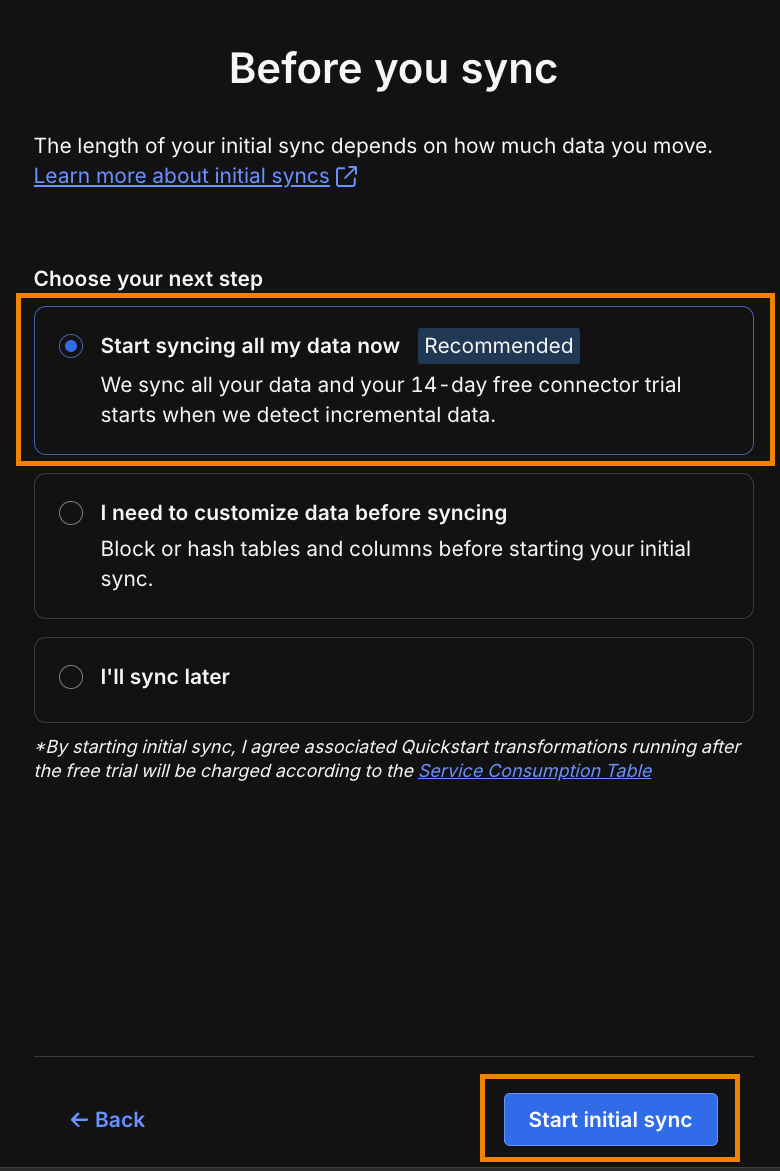
Select Start syncing all my data now.
Click Start initial sync.
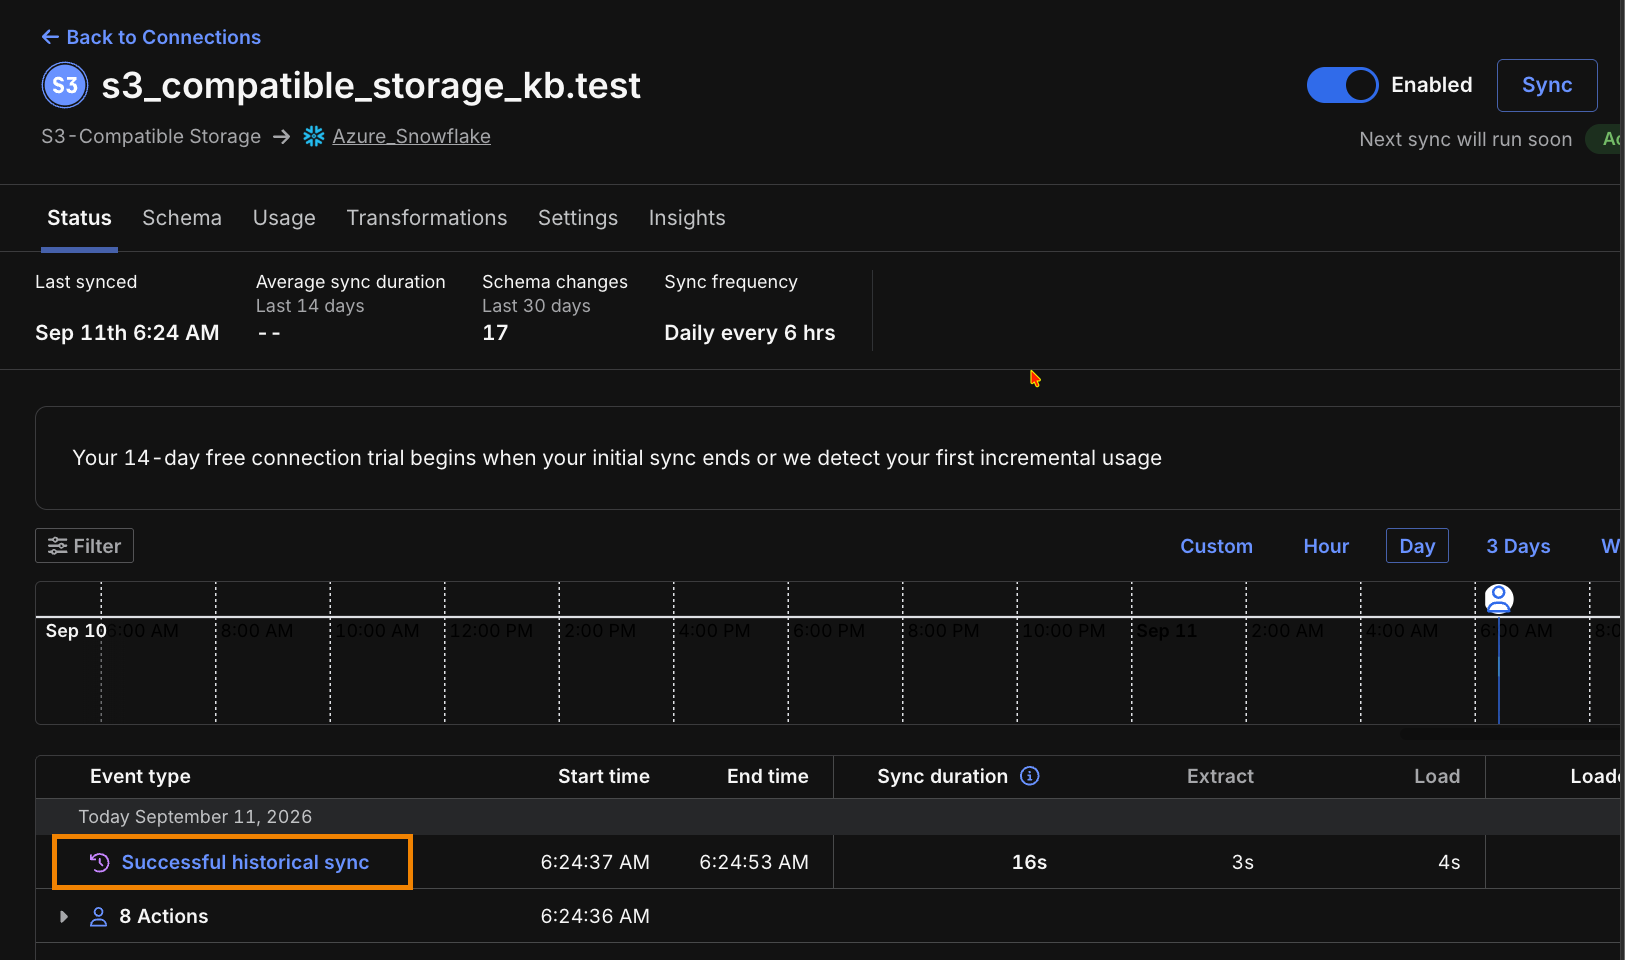
Verify that the next screen says Successful historical sync after the initial sync has run.
Log in to the destination user interface and verify that the data has been received.