This article details the procedure for migrating a non-immutable Veeam Backup for M365 repository from AWS S3 to Wasabi using the Wasabi Cloud Sync Manager (WCSM).
The data restoration process is handled by your specific backup software application. As many variables can affect your unique environment, Wasabi strongly recommends that you seek guidance from your backup software’s technical support team if you encounter difficulties or have application-specific inquiries.
Requirements
Veeam Backup for Microsoft 365 v7 or higher installed and licensed. This solution was tested with v7.1.
Active Microsoft 365 account with multi-factor authentication turned on.
Active AWS S3 cloud storage account.
A standard AWS S3 non-Object-Locked (OL) (non-immutable) bucket with access keys.
An active Veeam Backup for M365 repository with your M365 organization backed up to it.
Active Wasabi Cloud Storage account.
A Wasabi non-Object-Locked (OL) (non-immutable) bucket created with access keys.
Wasabi Cloud Sync Manager (WCSM) is a paid migration service. Refer to Getting Started With Wasabi Cloud Sync Manager to begin the migration process.
After your data has been migrated, verify that it is available in Wasabi by logging into the Wasabi Console, navigating to the bucket used to migrate Veeam Backups for Microsoft 365 from AWS S3 to Wasabi, and checking for data. Below is an example of a folder in a bucket used during testing.
After the data has been fully migrated to Wasabi and verified, proceed with the next section.
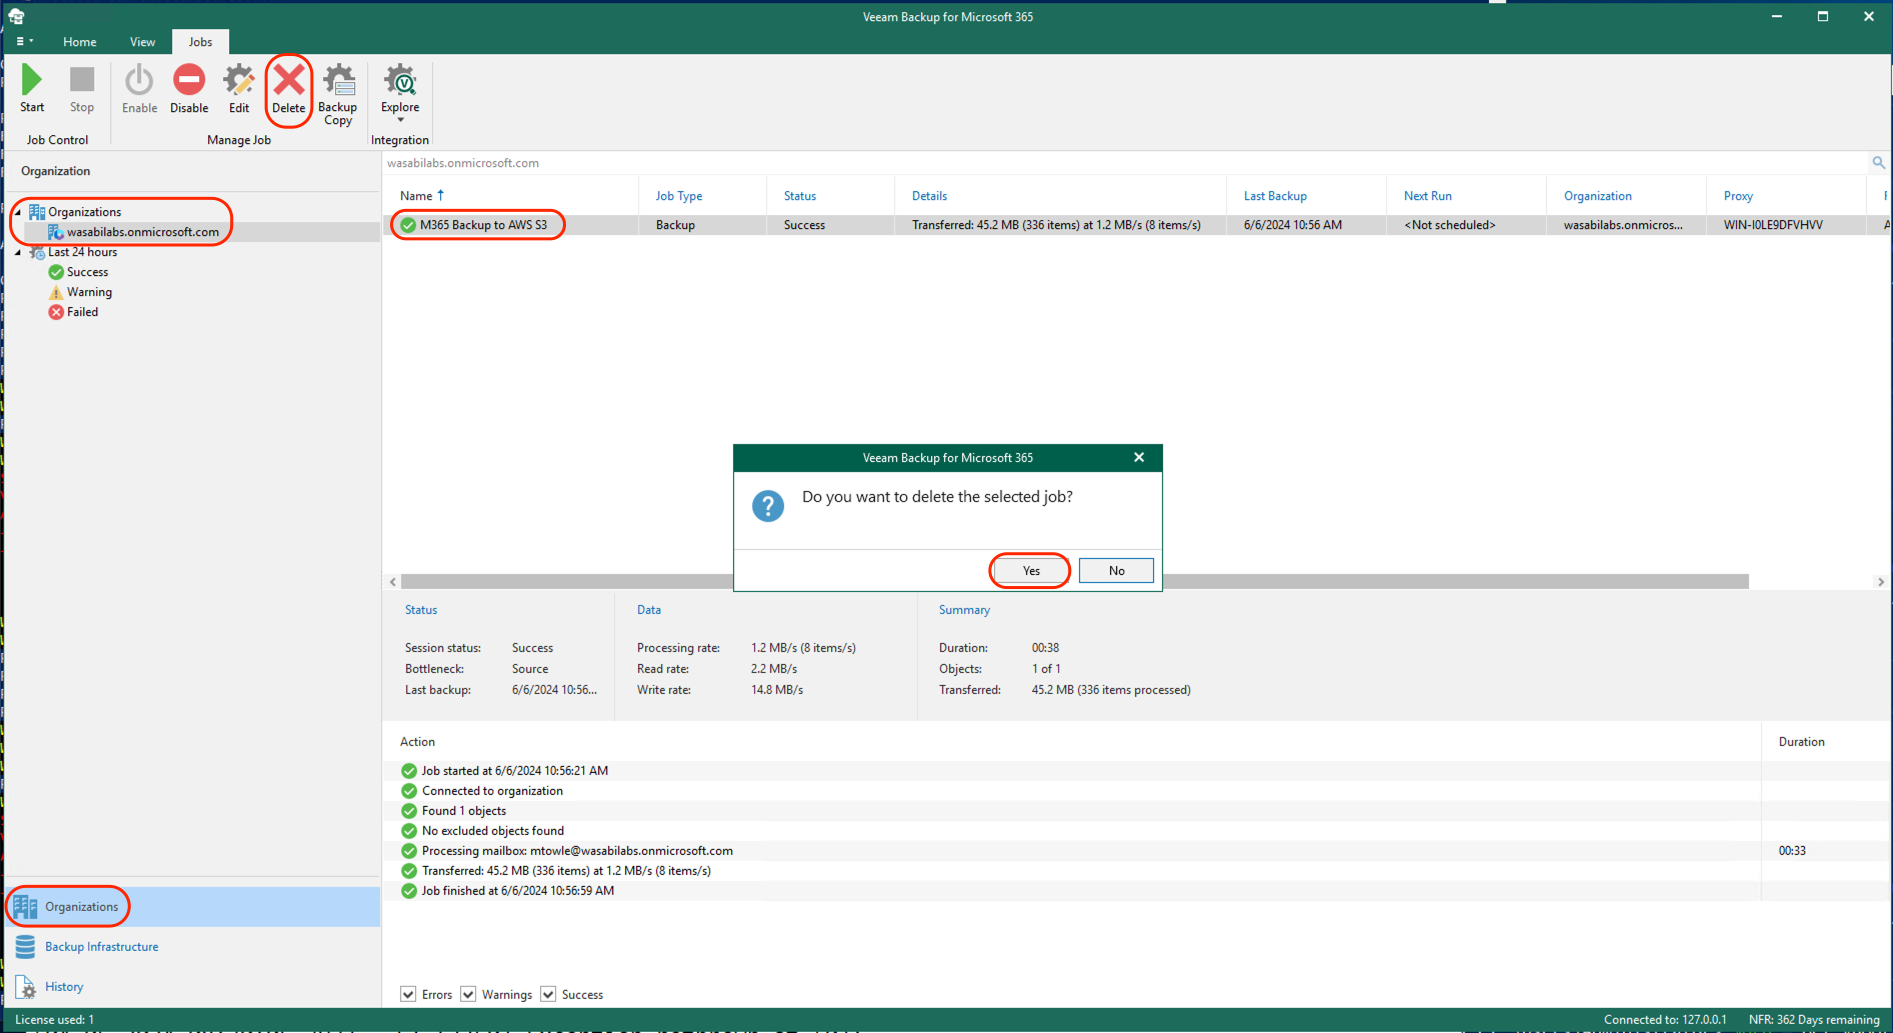
Navigate to the Organizations tab and select your organization. Select the existing backup job that backs up to AWS S3. Click Delete at the top. Click Yes when prompted to delete the selected job.
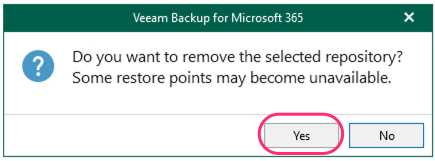
Navigate to the Backup Infrastructure tab and select Object Storage. Select your existing AWS S3 repository. Click Remove Repository. Click Yes when prompted to delete the selected job.
Click Yes when asked to confirm.
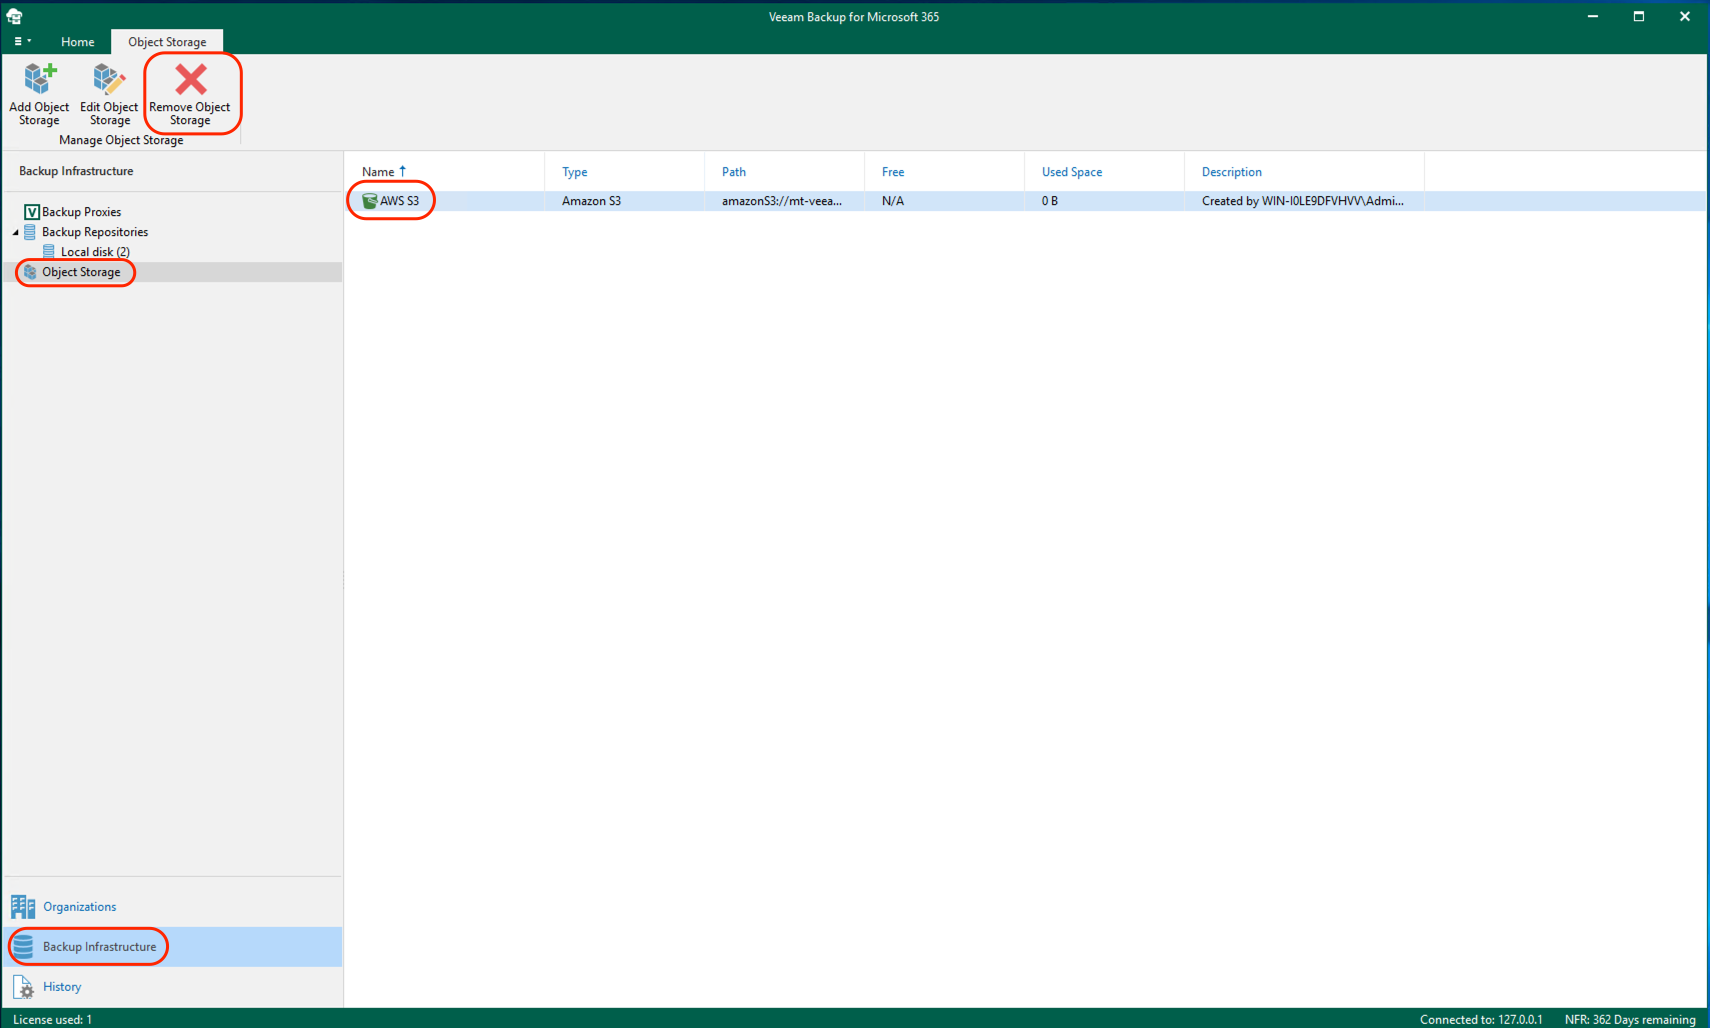
Navigate to the Backup Infrastructure tab and select Object Storage. Select the AWS S3 object storage. Click Remove Object Storage at the top.
This will NOT delete your backups in AWS S3.
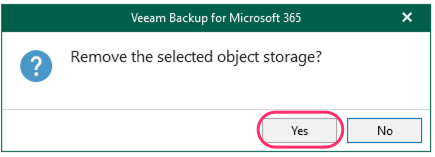
Click Yes.
Navigate to the Backup Infrastructure tab and select Object Storage. Click Add Object Storage.
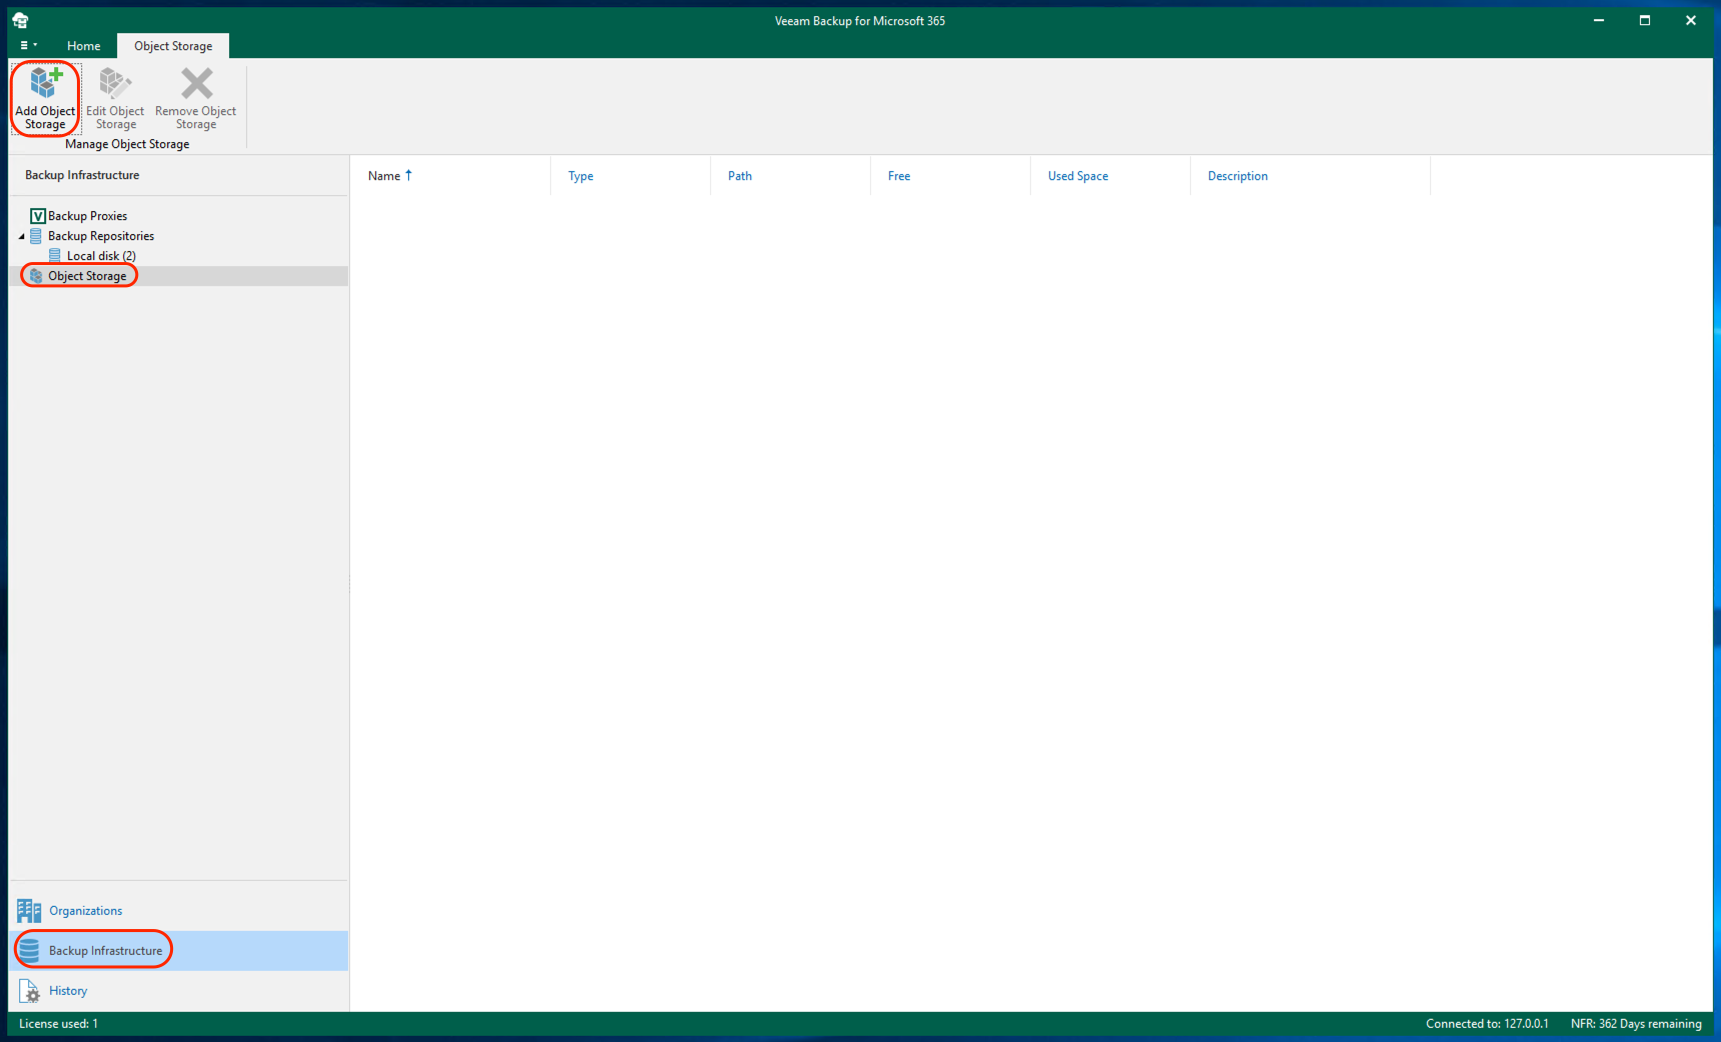
Give your Wasabi storage a name. Click Next.
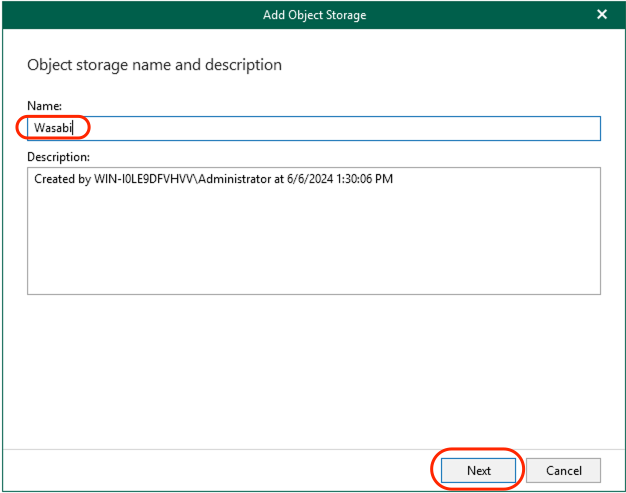
Select Wasabi Cloud Storage. Click Next.
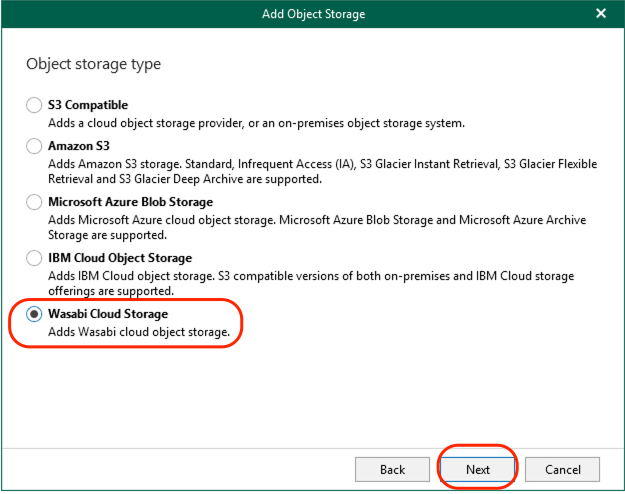
Enter the Service Point URL and the data center region where your Wasabi bucket is located. Click Add to add your Wasabi Access and Secret key account credentials.
This configuration example uses Wasabi’s us-east-1 storage region. To use other Wasabi storage regions, use the appropriate Wasabi service URL, as described in Wasabi Service URLs.
Input the Access key and Secret key for your Wasabi account. Click OK.
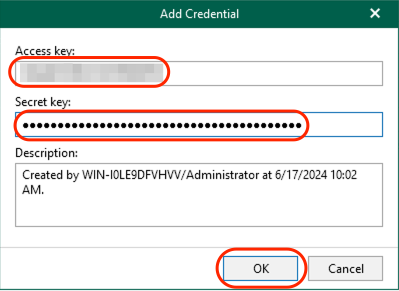
Once the credentials have been added, click Next.
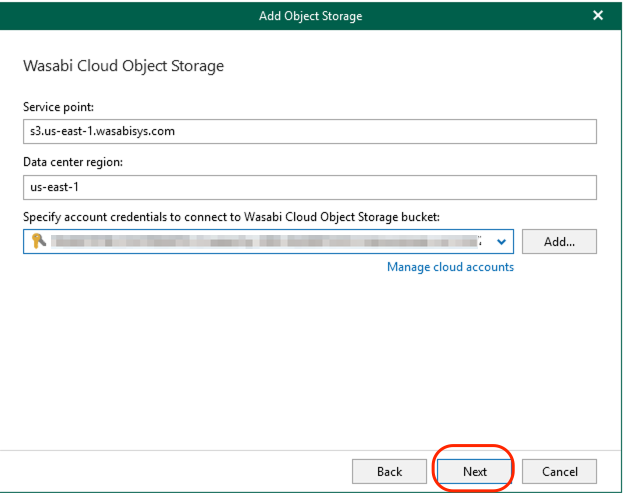
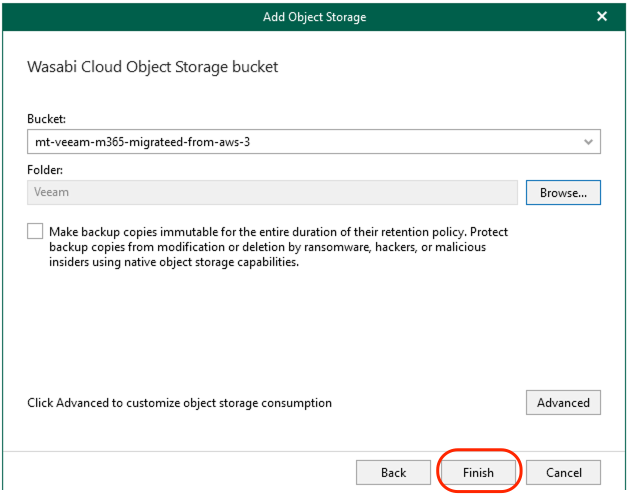
Select your Wasabi bucket from the drop-down menu.
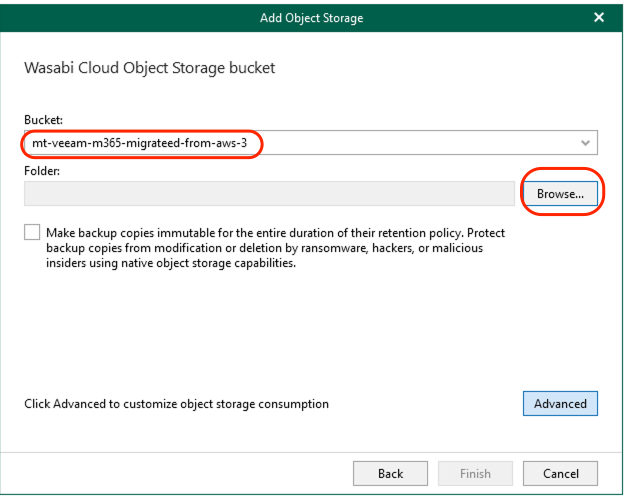
For the Folder, click Browse. Select the existing top-level folder in the bucket and click OK.
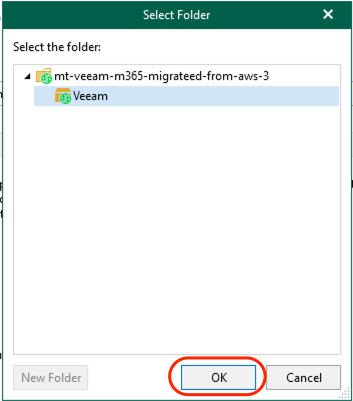
Click Finish.
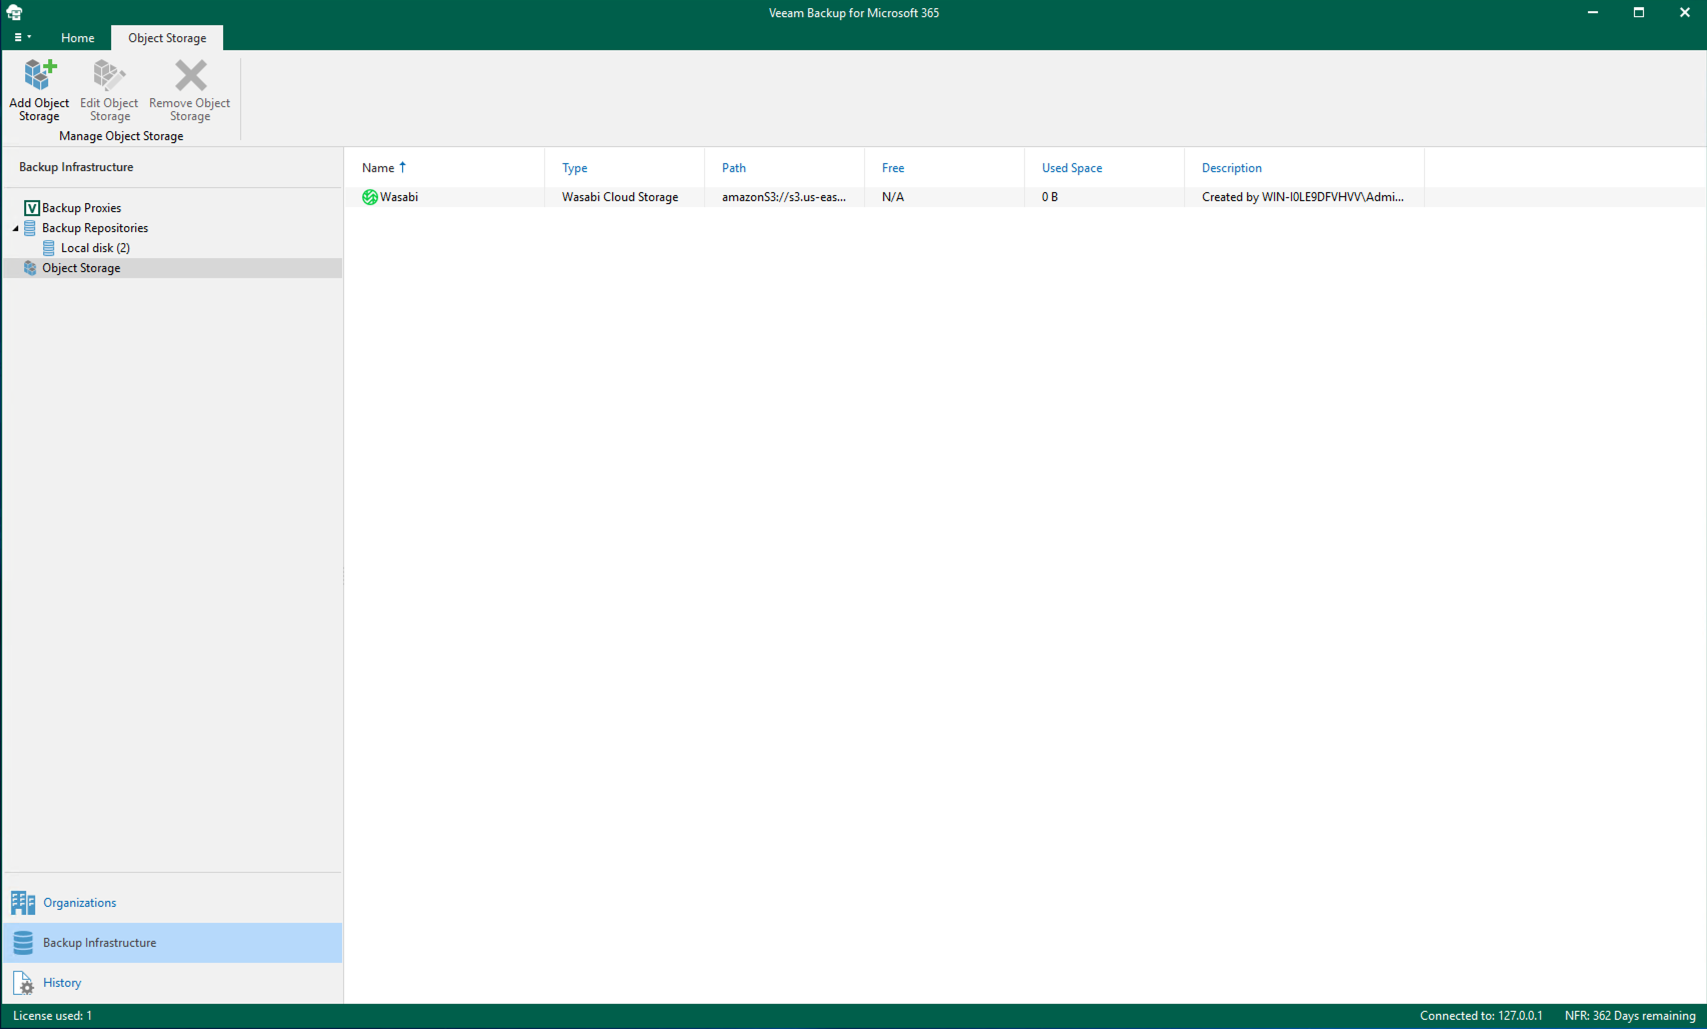
You will now see Wasabi under Object Storage.
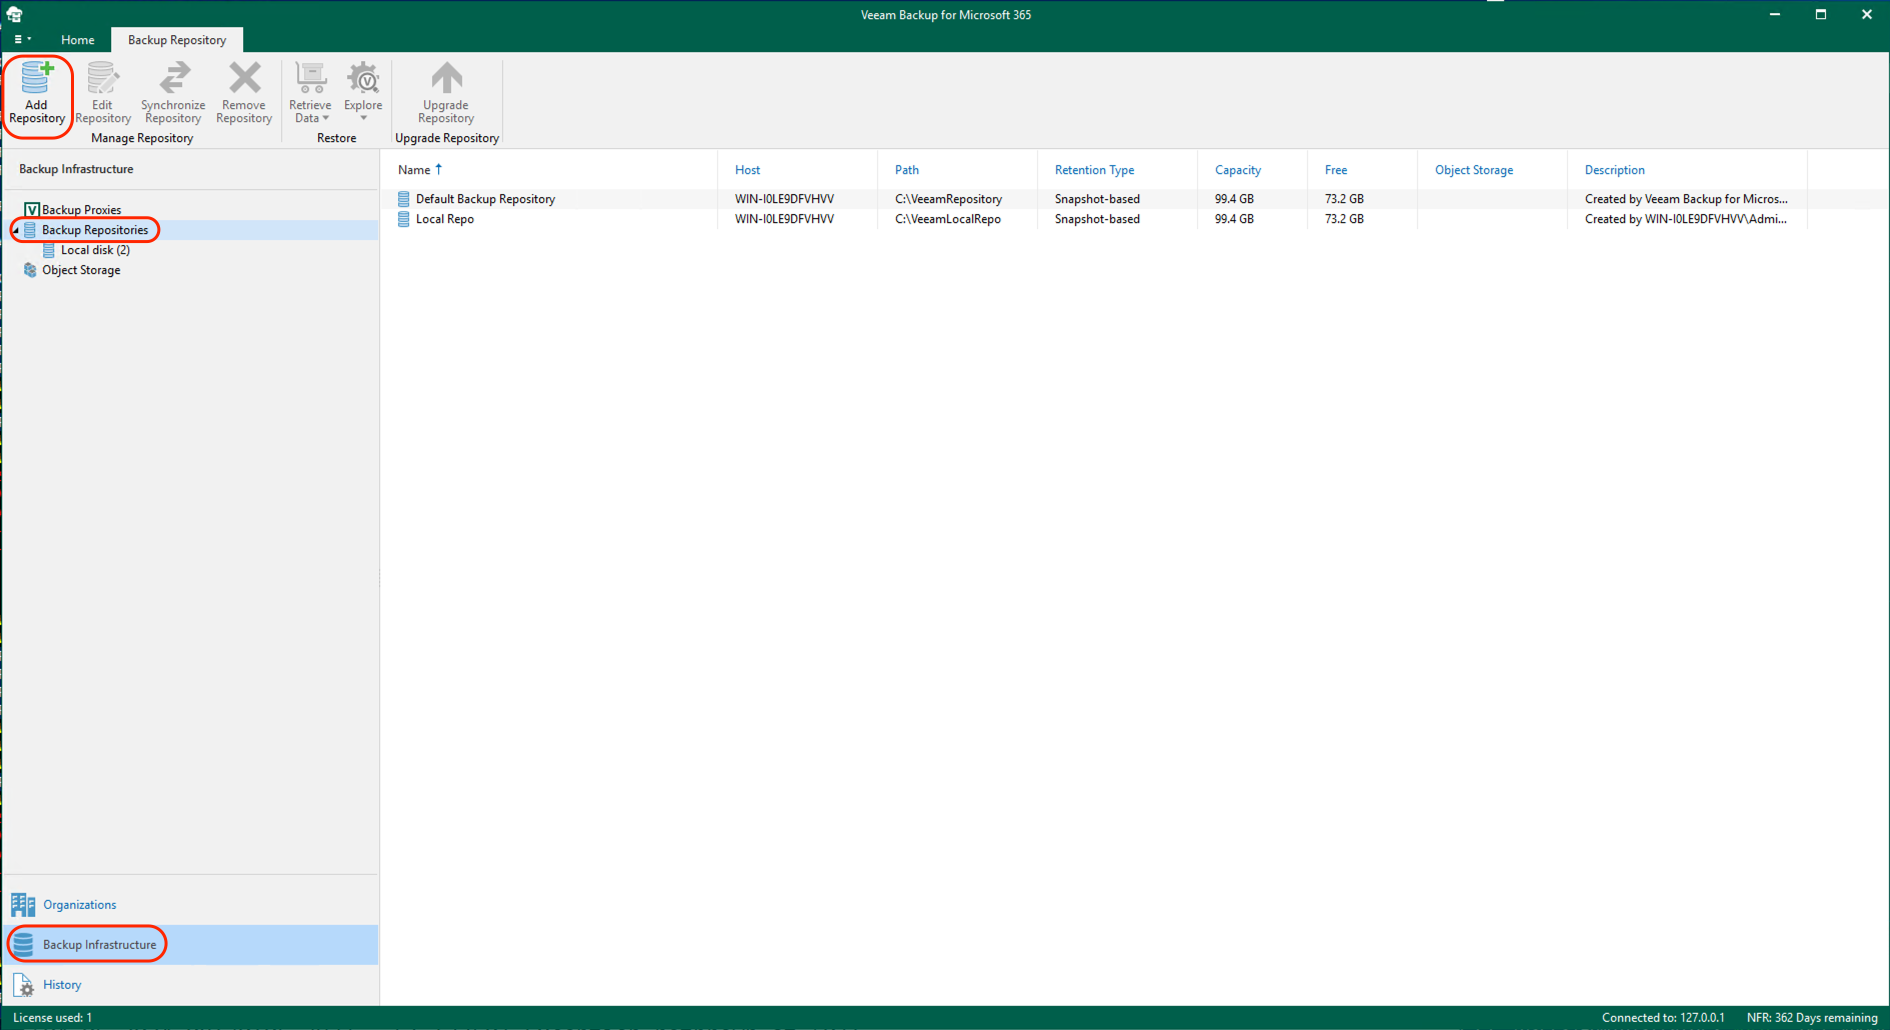
Navigate to the Backup Infrastructure tab and select Backup Repositories. Click Add Repository.
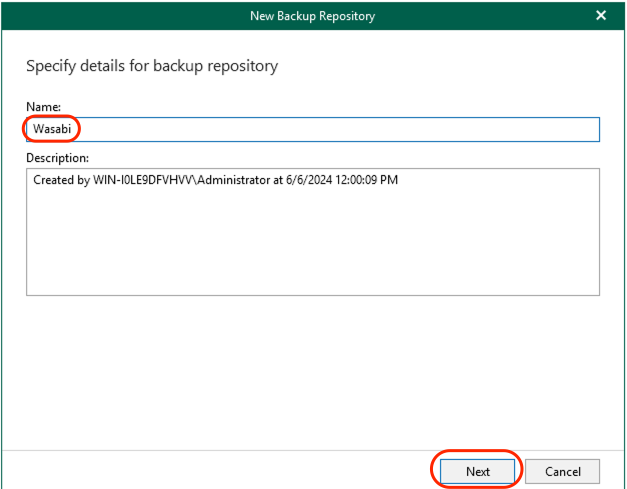
Give the Repository a name. Click Next.
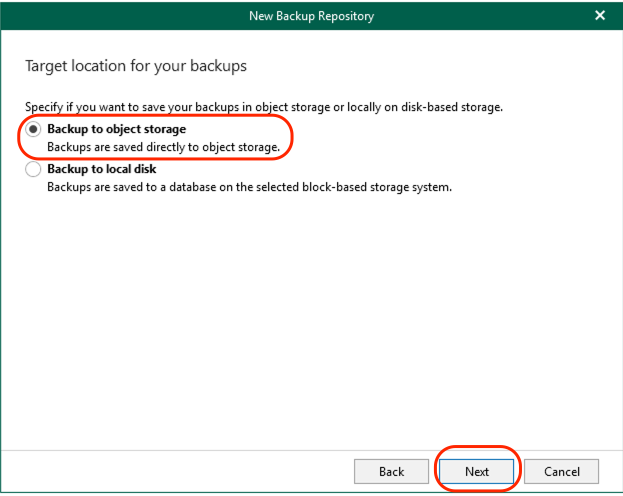
Select Backup to Object Storage. Click Next.
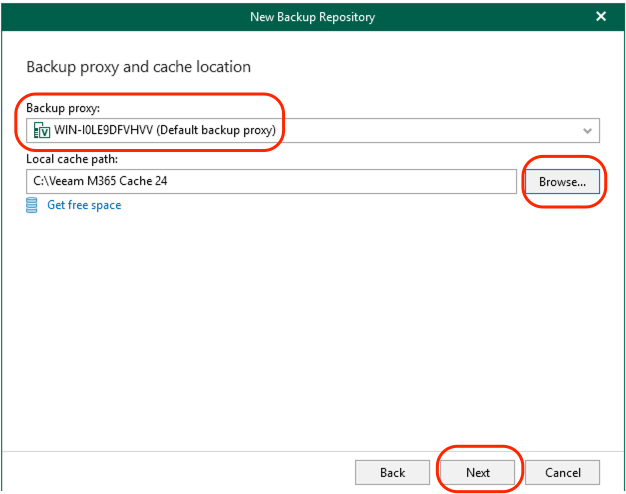
Select the appropriate backup proxy. Under Local cache path, click Browse. Create a new folder and click Next.
You must create a new folder and cannot use an existing cache folder.
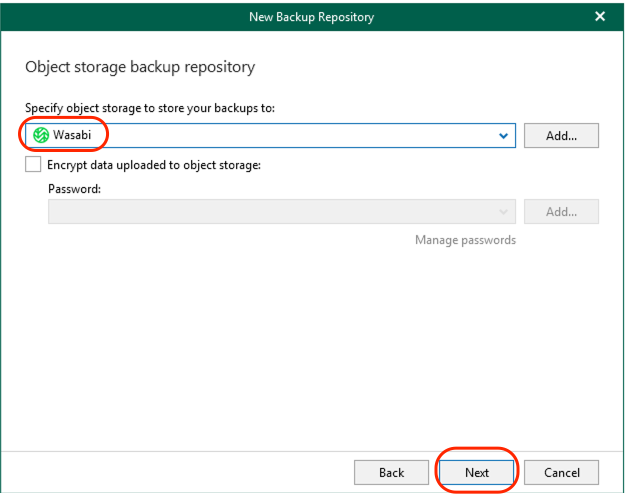
Select the Wasabi object storage created previously. Click Next.
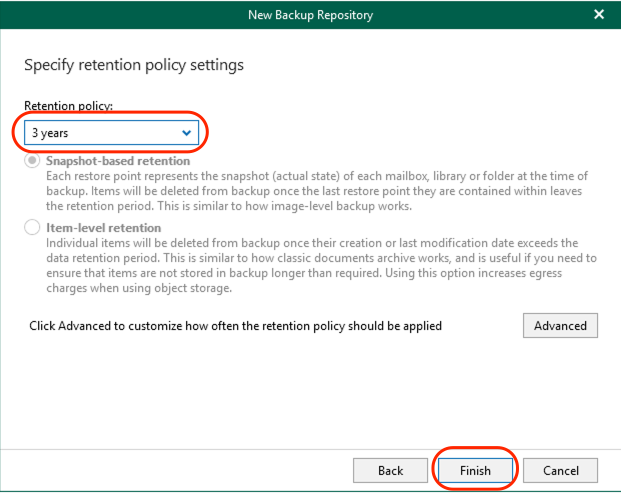
Select the appropriate Retention policy for your organization. Click Finish.
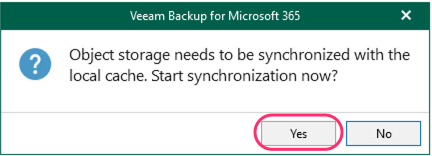
You will be presented with a popup window that asks Start synchronization now? Click Yes.
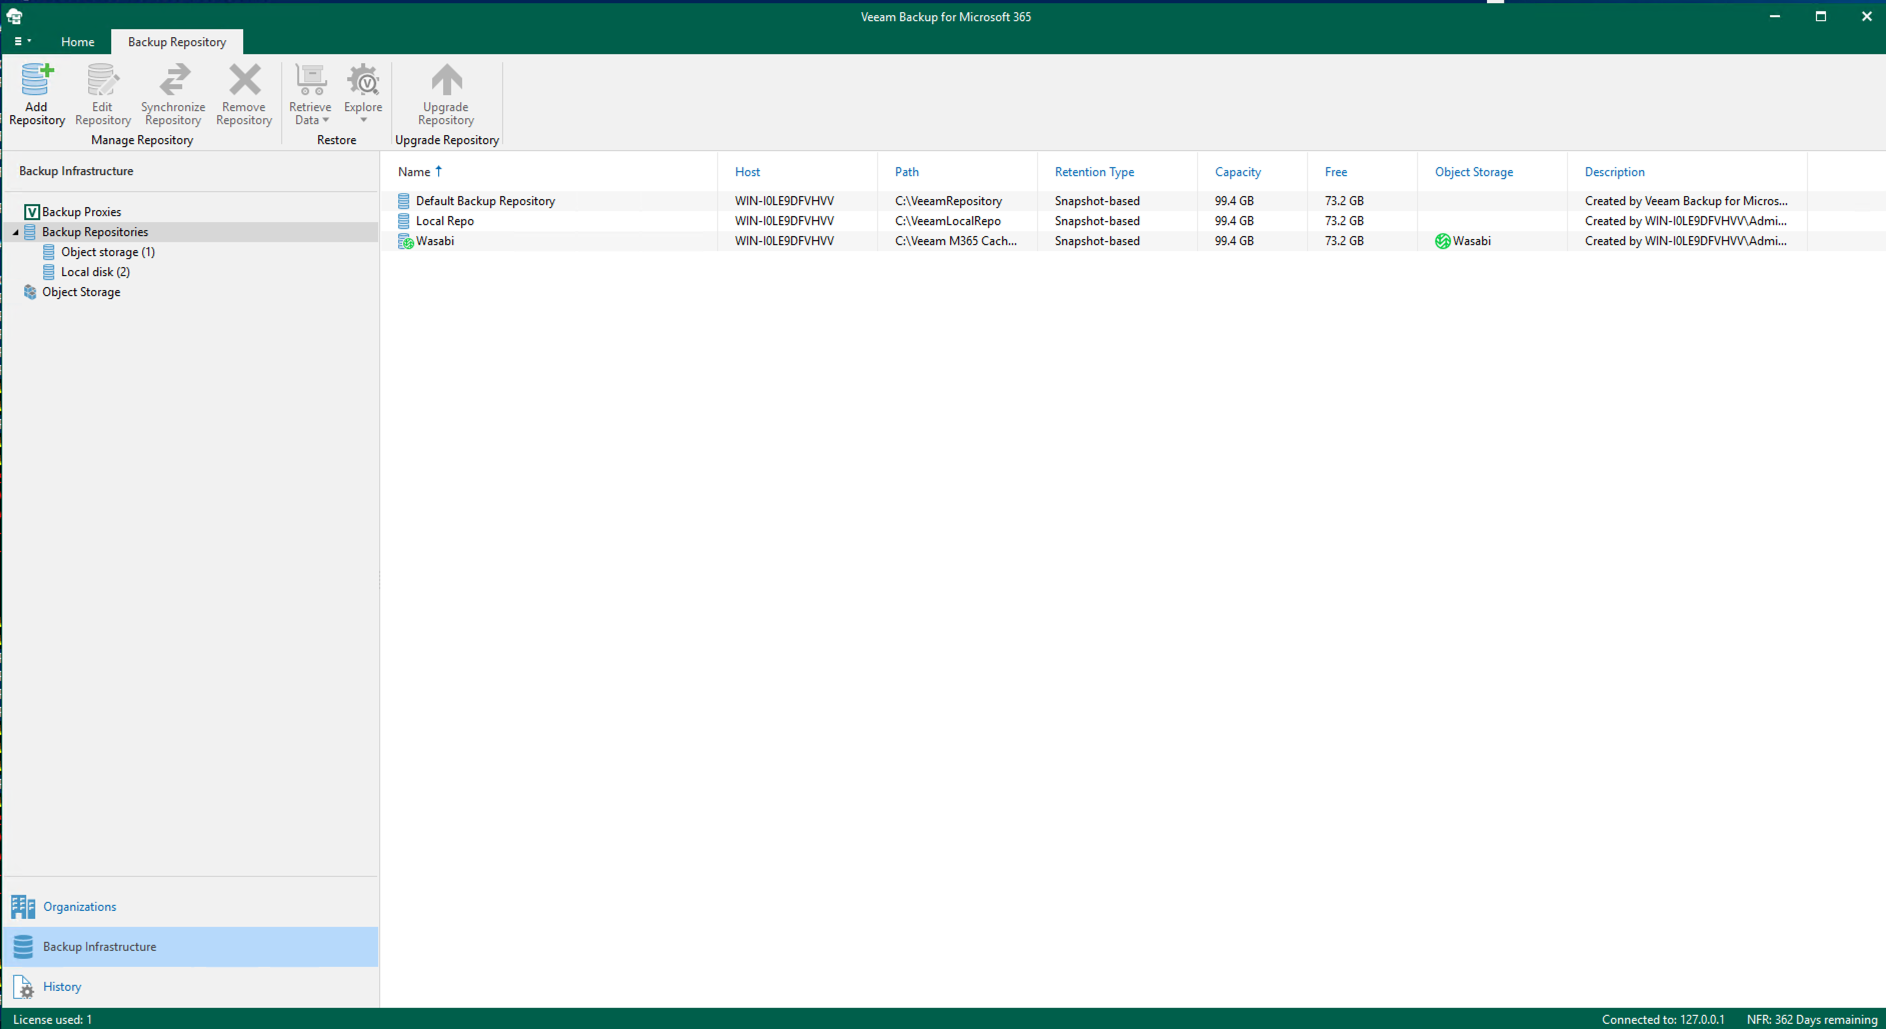
You will now see Wasabi under Backup Repositories.
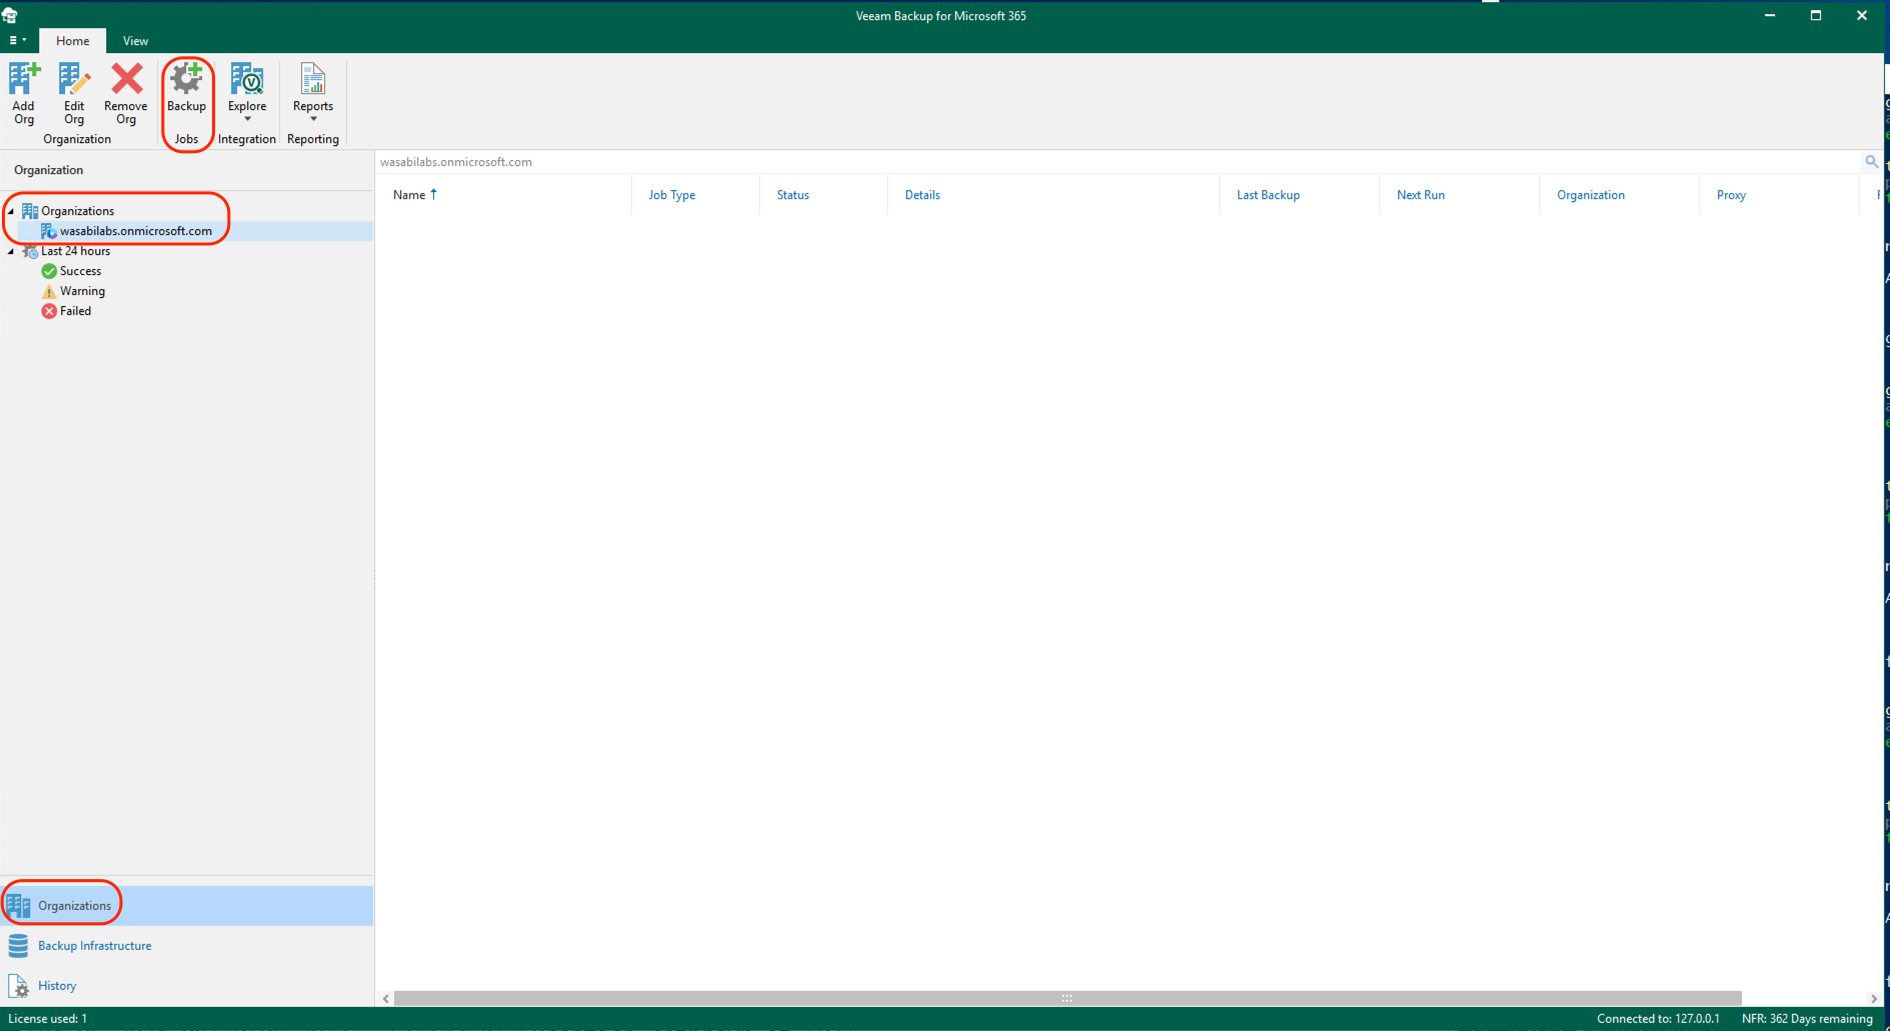
Navigate to the Organizations tab. Under Organizations, select your M365 organization. Click Backup Jobs at the top.
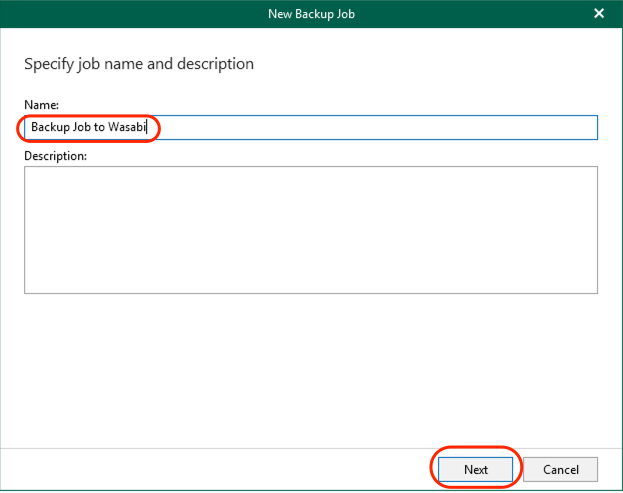
Give the job a name. Click Next.
Select the appropriate object to be backed up. Click Next.
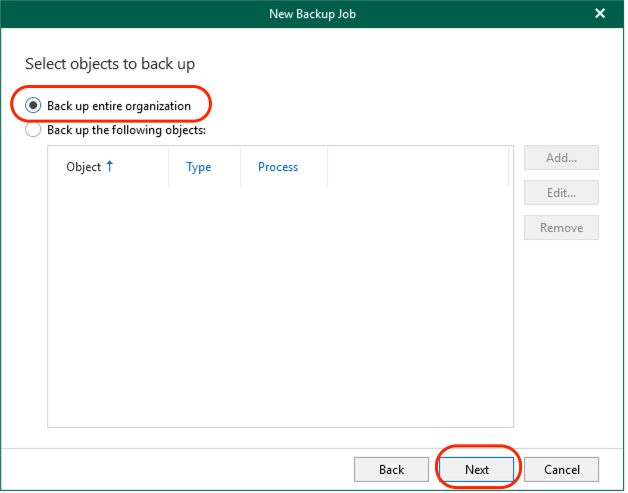
Select any objects in which to exclude. Click Next.
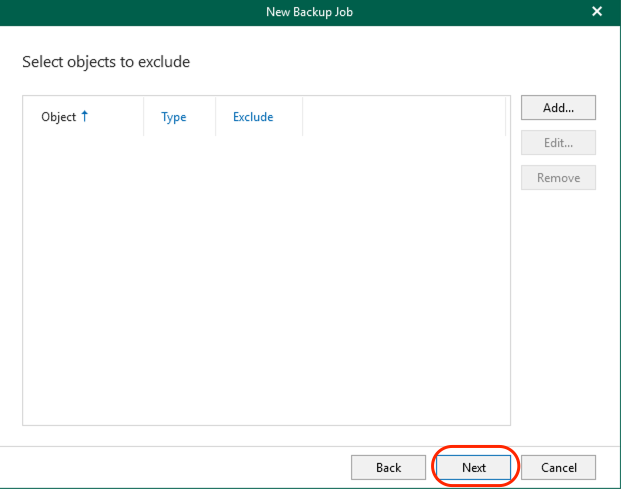
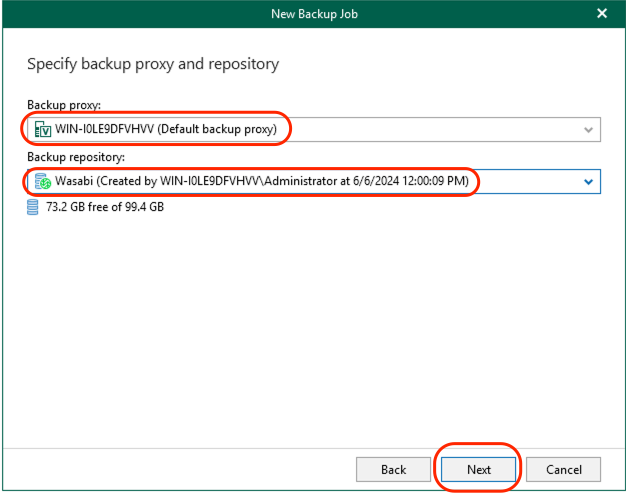
Select the appropriate backup proxy and select the Wasabi backup repository created previously.
Select the appropriate scheduling options. Click Create.
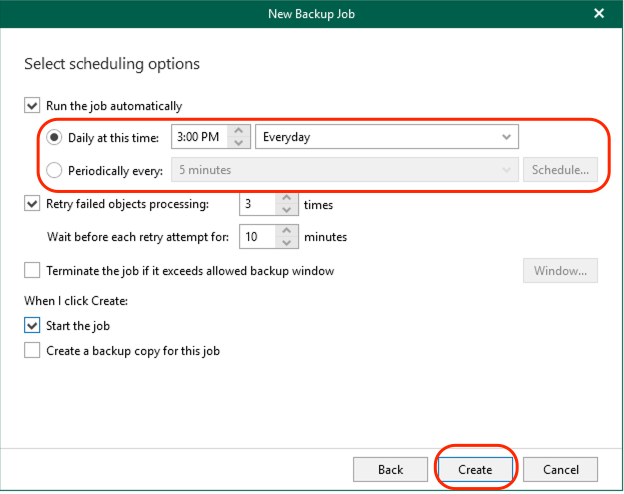
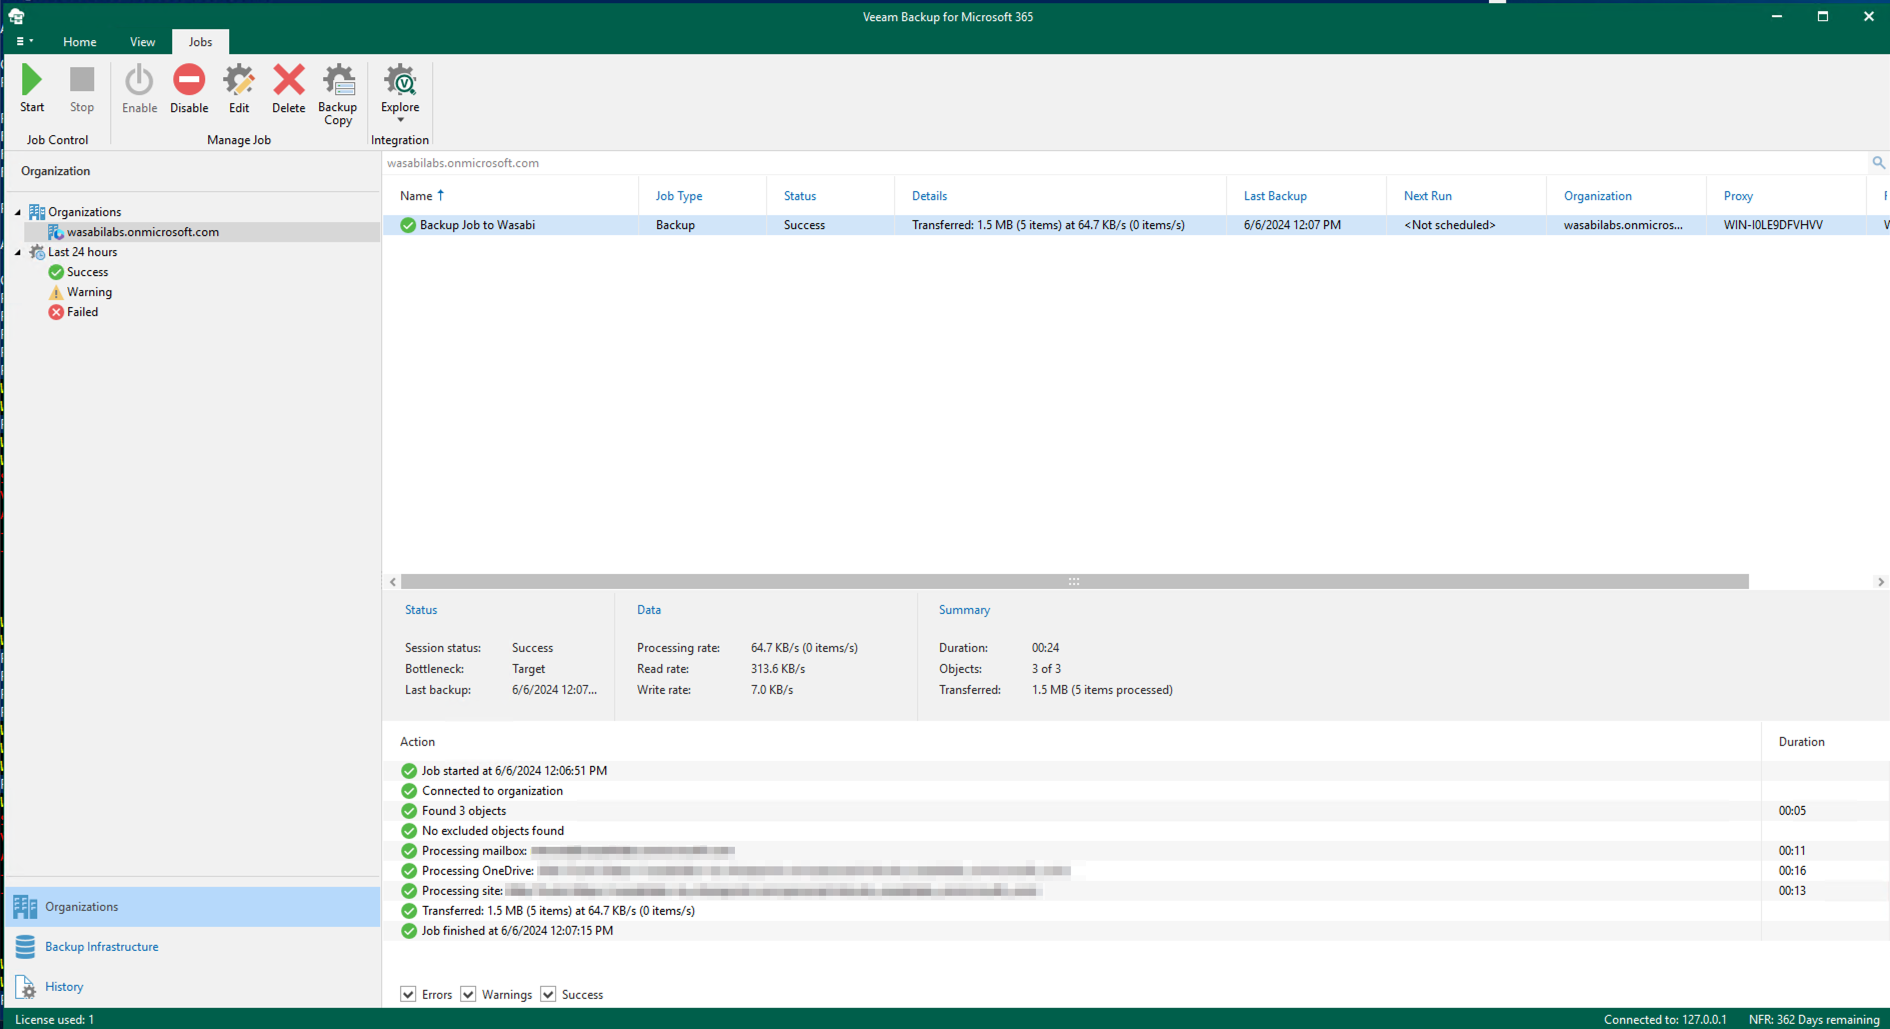
Because "Start the job" under "When I click Create" was selected in this example, a backup job will be run to Wasabi. Below is an example of a successful job.
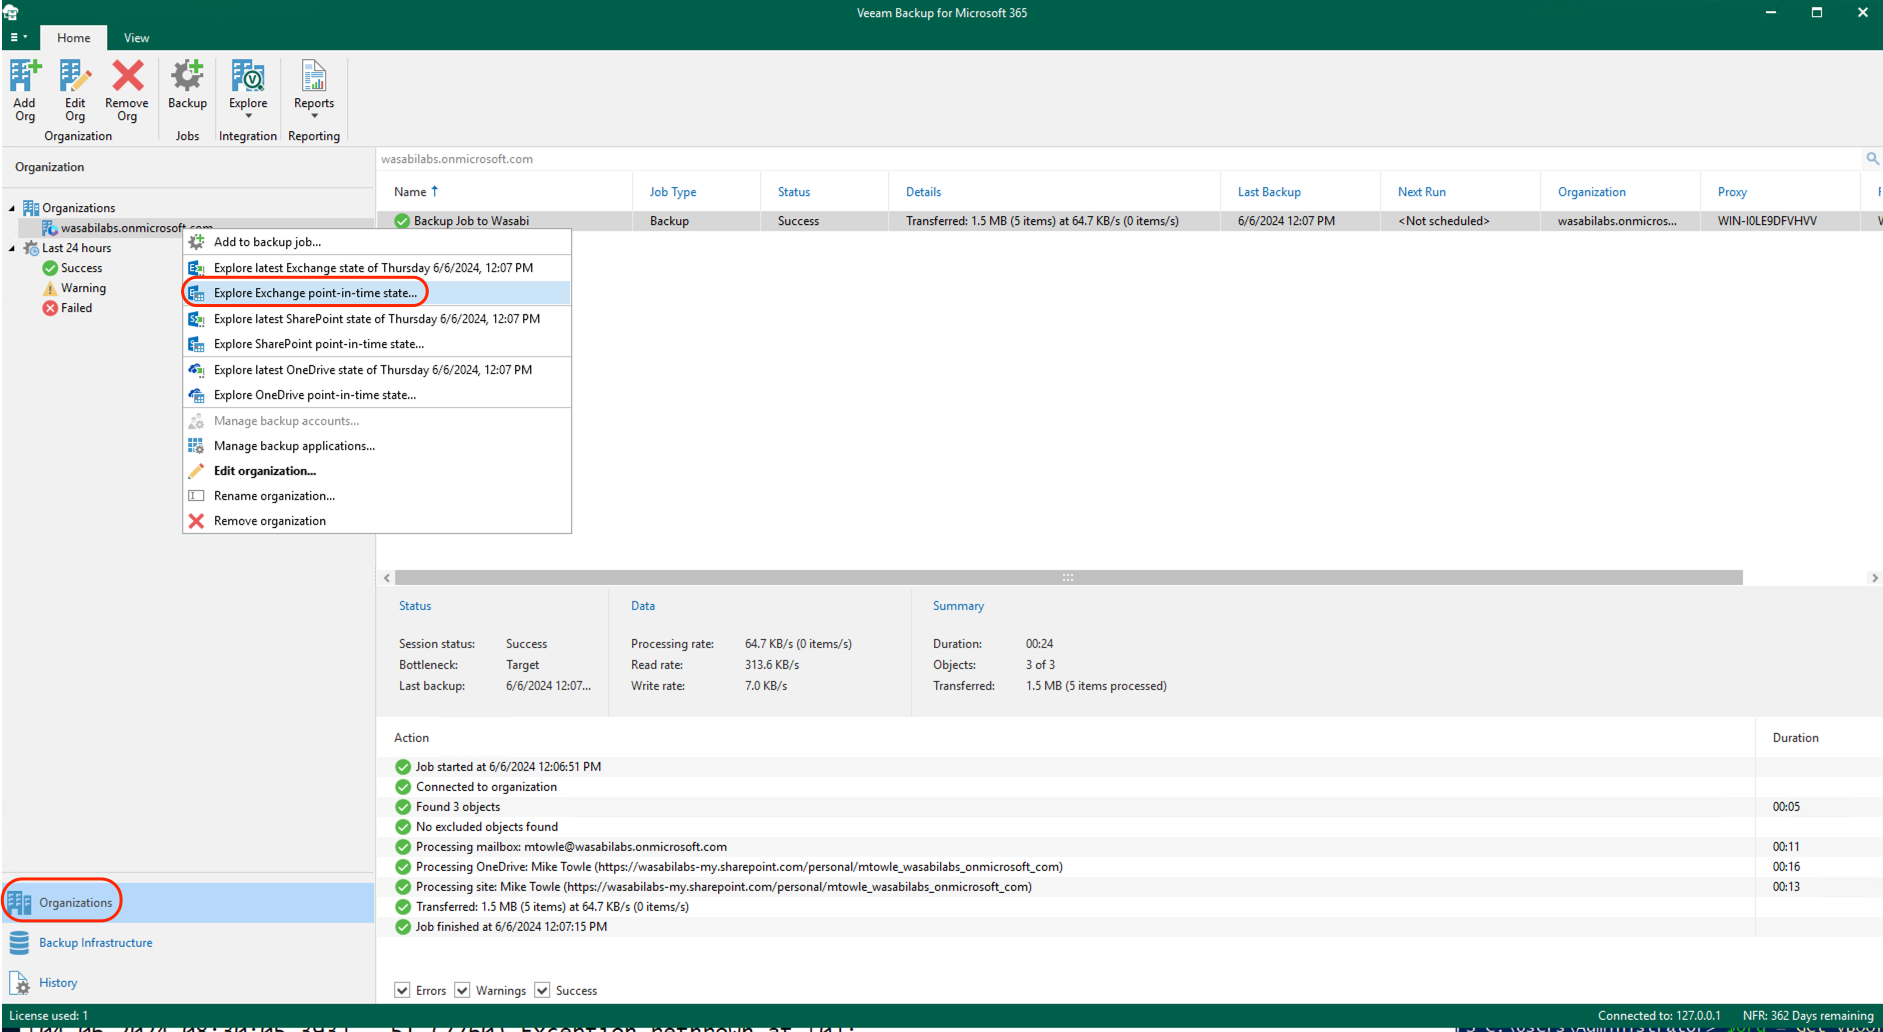
Navigate to the Organizations tab. Under Organizations, select your M365 organization. Right-click on your organization and select Explore Exchange point-in-time state.
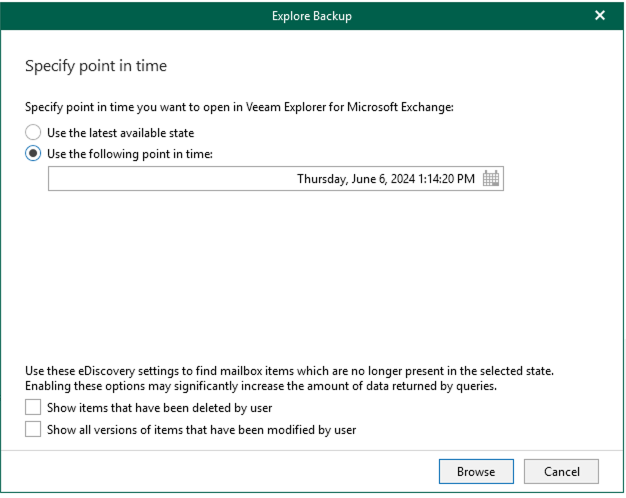
Select the Use the following point in time radio button.
Click the Calendar icon. You will see available restore points.
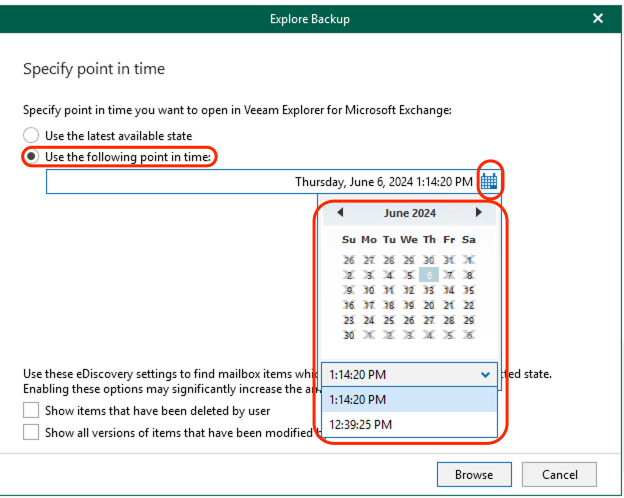
Verify that your previous restore points from AWS S3 are now available in Wasabi.