N2W is a cloud-native solution that allows customers to backup AWS and Azure systems and volumes. In this article we detail the procedure required to configure Wasabi and N2W to store backups in Wasabi Hot Cloud Storage.
The data restoration process is handled by your specific backup software application. As there are many potential variables that will affect your unique environment, Wasabi strongly recommends that you seek the guidance of your backup software's technical support team in the event that you encounter difficulty or have application-specific inquiries.
Requirements
An active Wasabi Hot Cloud Storage account.
Access to the Wasabi Console as the account root user.
Access to your N2W instance.
Existing N2W worker instance (shown under the Worker Configuration section of the N2W console). The preconfigured worker setup should function correctly. For more details, refer to the N2W User Guide.
Creating a Wasabi Bucket
The first step is to create a bucket in your Wasabi account that will used to store your N2W backups. Log in to the Wasabi Console as the root user and follow the instructions to create a bucket in the Working With Buckets and Objects article. Make note of the bucket name.
Do NOT enable Versioning or Object Lock, as N2W does not currently support them.
Creating an IAM Policy
You will then create a Wasabi Identity and Access Management (IAM) policy for a user (detailed below in Creating a Wasabi User) to restrict access to the previously created bucket.
Create a username for the user. It can contain only alphanumeric characters and the following special characters: plus sign (+), equal sign (=), period (.), at sign (@), dash (-), underscore (_).
Follow the instructions in Creating a Policy using the following policy that may be copied and pasted into the Policy Editor on the Wasabi Console.
Replace ACCOUNT_NUMBER with your Wasabi account number. The account number may be obtained by looking at the Settings tab on the left of the Wasabi console - it is labeled "Account ID."
Replace USER_NAME with the created username.
Replace BUCKET_NAME with the name of the previously created bucket, using lower-case characters.
{
  "Version": "2012-10-17",
  "Statement": [
    {
      "Effect": "Allow",
      "Action": "s3:ListAllMyBuckets",
      "Resource": "arn:aws:s3:::"
    },
    {
      "Effect": "Allow",
      "Action": "iam:GetUser",
      "Resource": "arn:aws:iam::ACCOUNT_NUMBER:user/USER_NAME"
    },
    {
      "Effect": "Allow",
      "Action": "s3:*",
      "Resource": [
        "arn:aws:s3:::BUCKET_NAME",
        "arn:aws:s3:::BUCKET_NAME/*"
      ]
    }
  ]
}
Creating a Wasabi User
The next step is creating a Wasabi user on your account via the Wasabi Console and access and secret keys for that user following the directions in Creating a User.
Select Programmatic (create API keys) under Type of Access.
You may skip assigning the user to a group unless desired.
Assign the previously created IAM policy to the user.
At the end of the user creation, a Create Access Key popup will be displayed. Be sure to download the keys (Access and Secret) and save them in a secure location, as you will need them later.
Configuring a Wasabi Account in N2W
Log in to your N2W instance.
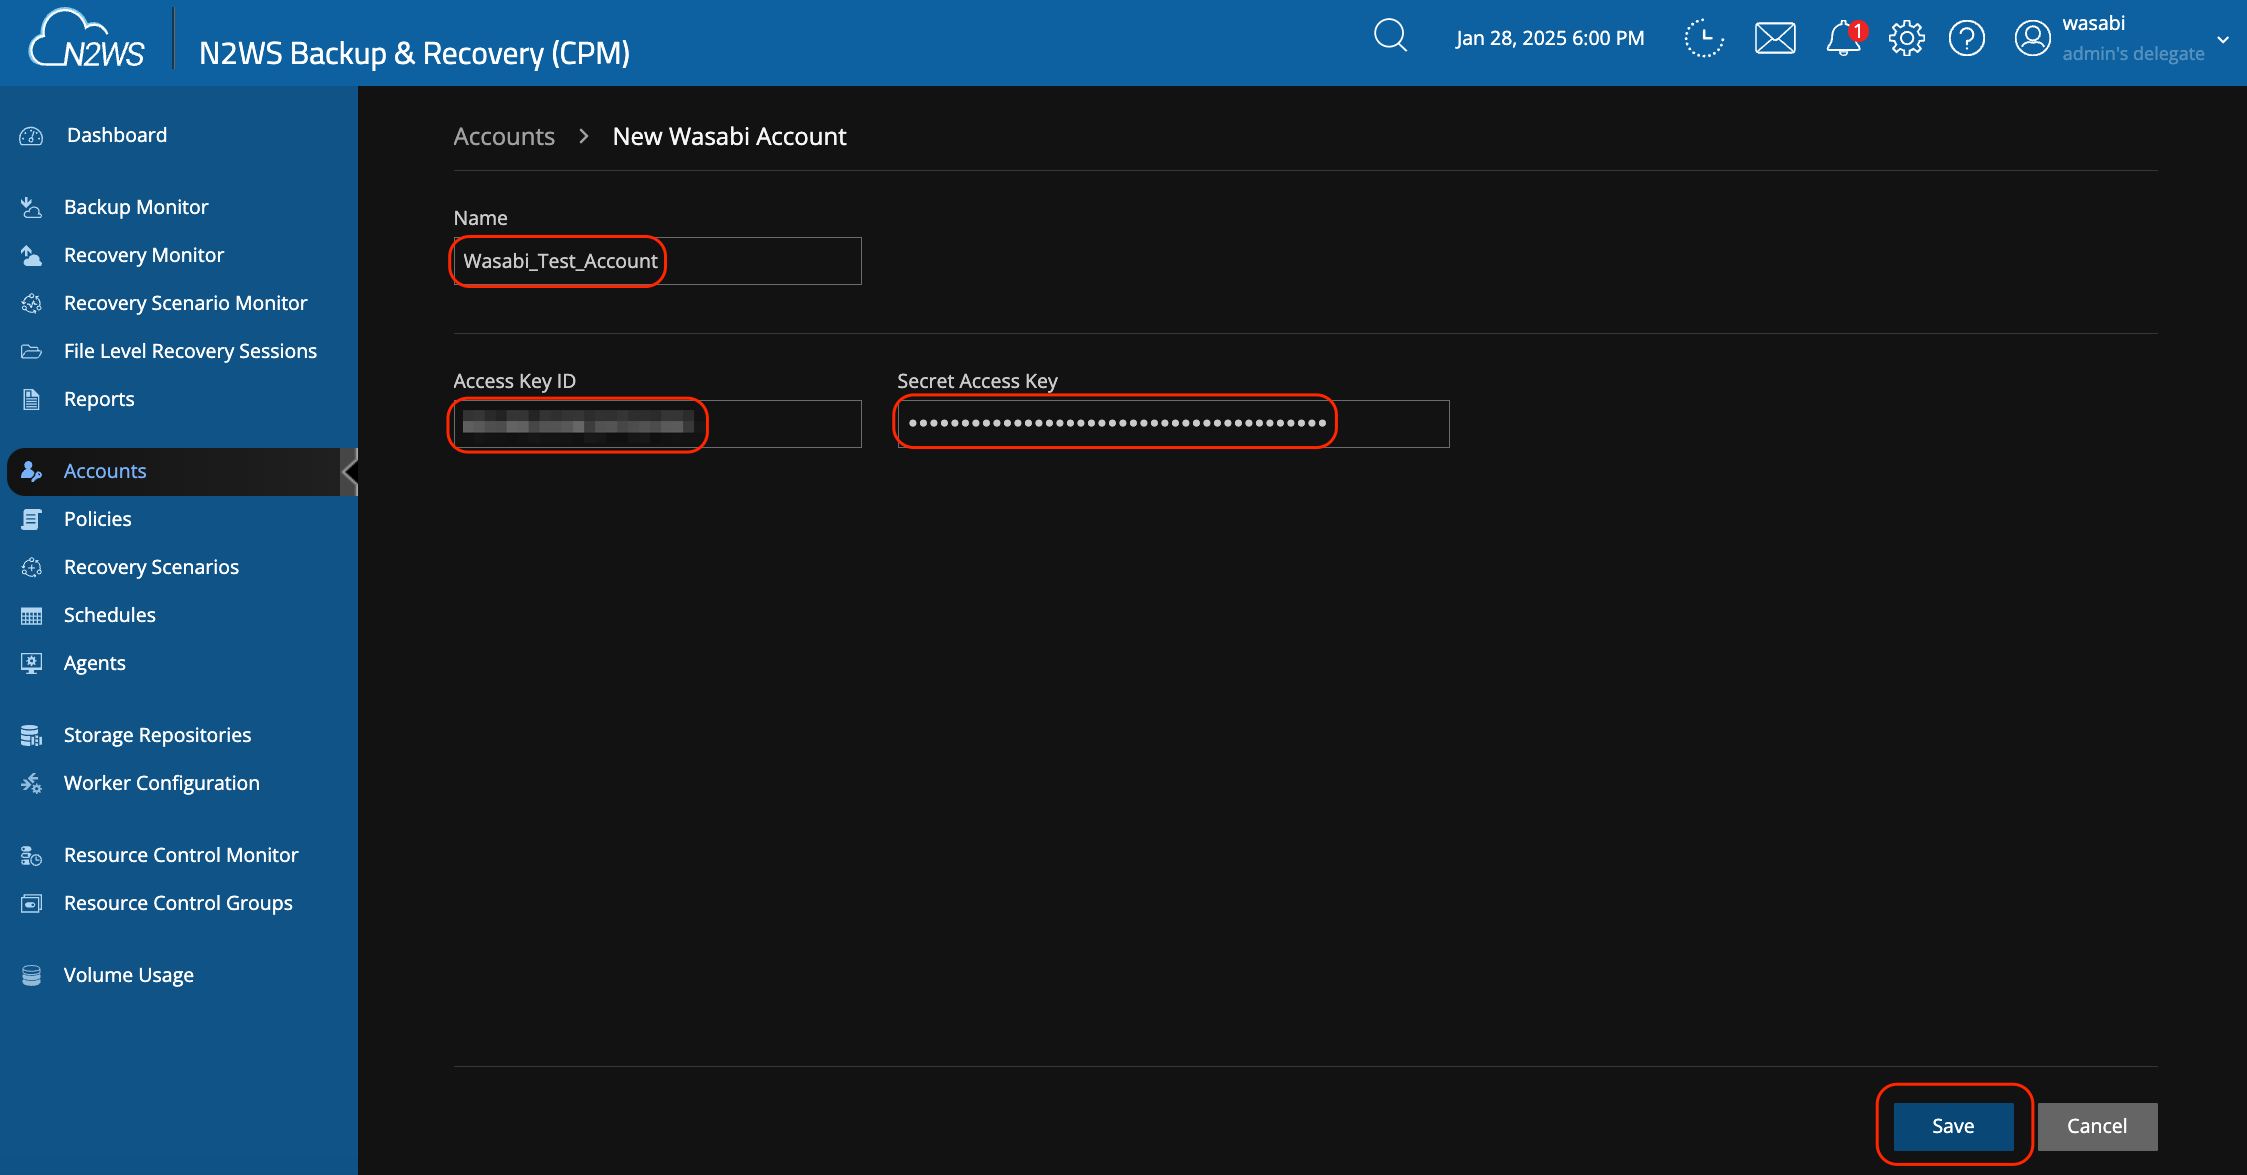
Click Accounts, then New, then Wasabi Account.
Enter a name for your Wasabi account, along with the access and secret keys generated for the user above. Click Save.
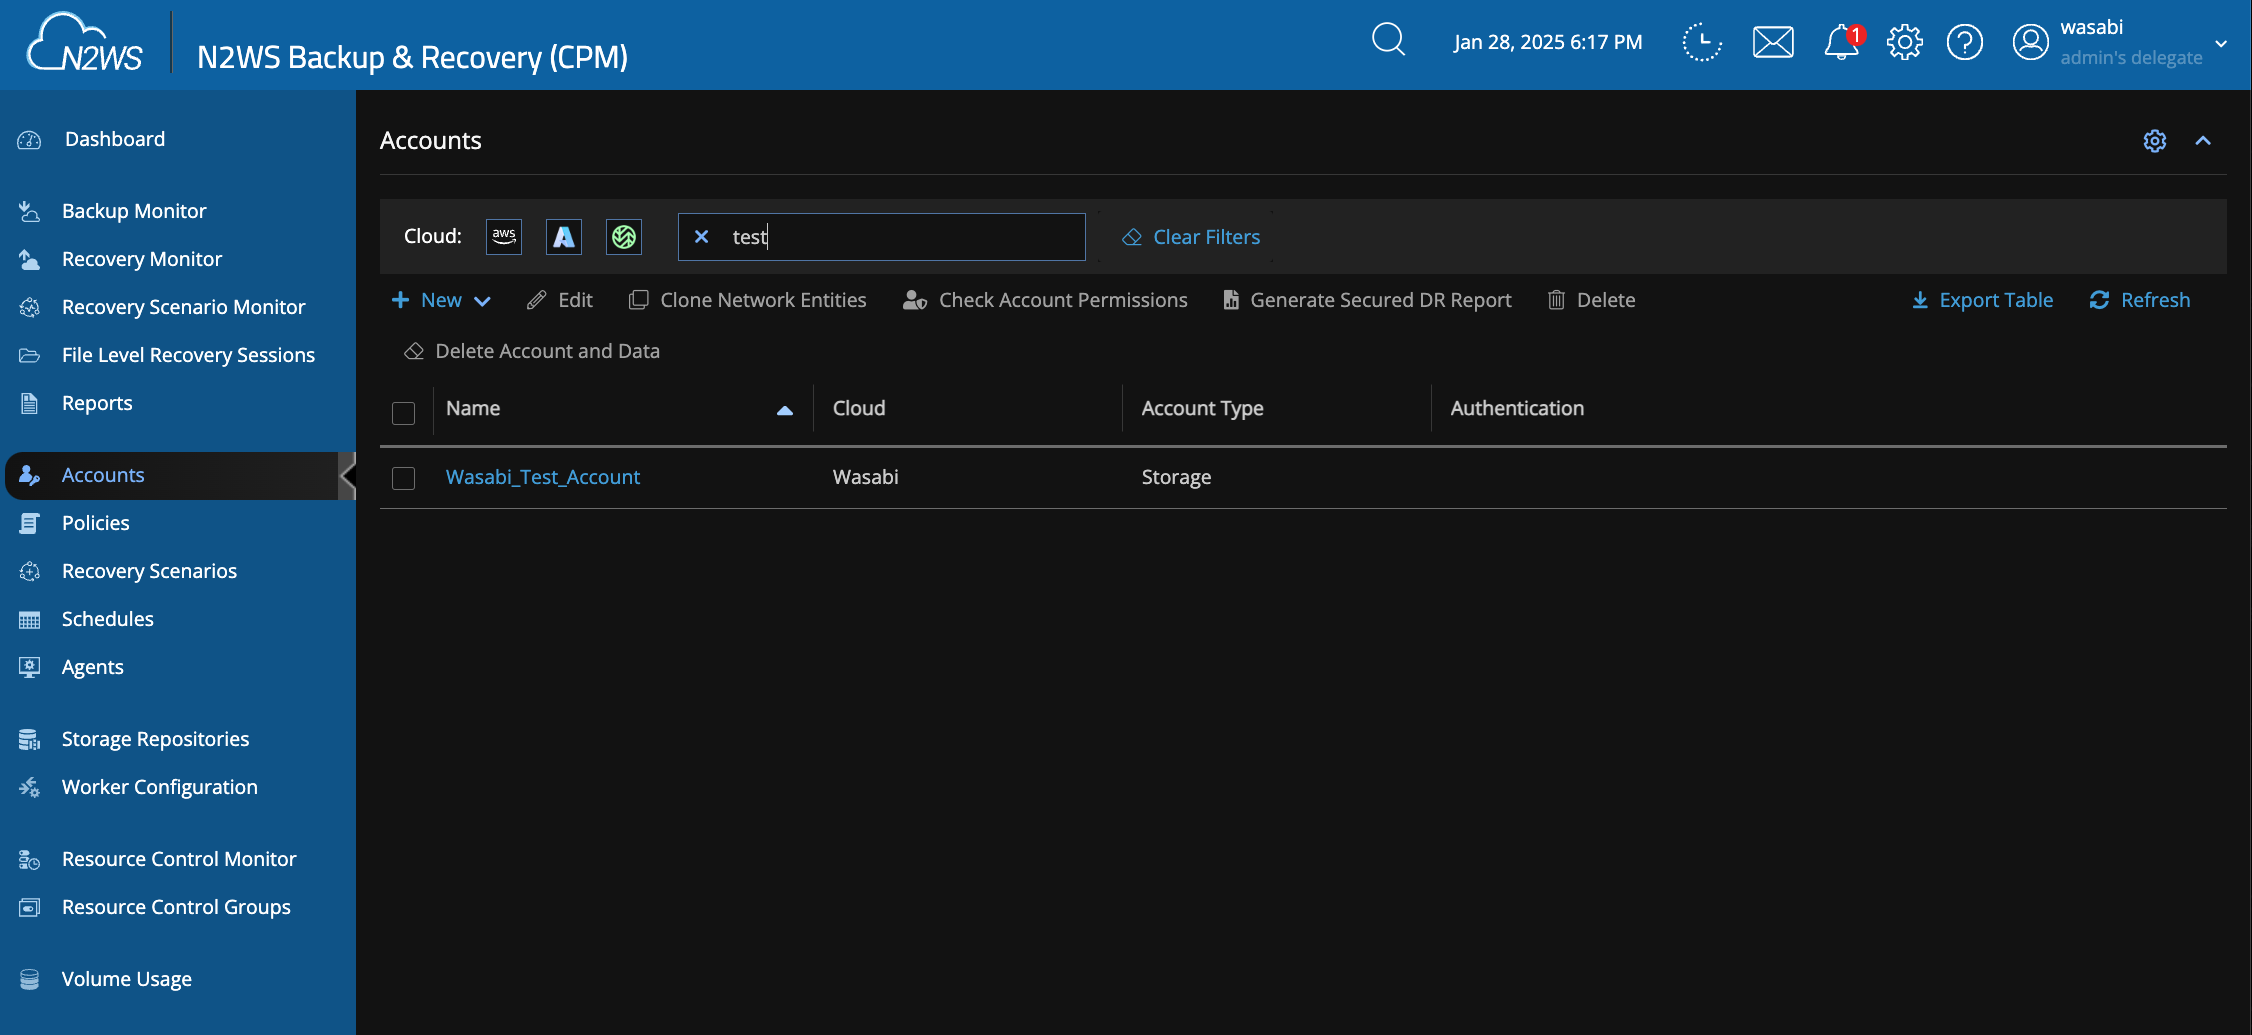
You will now see your Wasabi account listed.
Creating a Wasabi Storage Repository
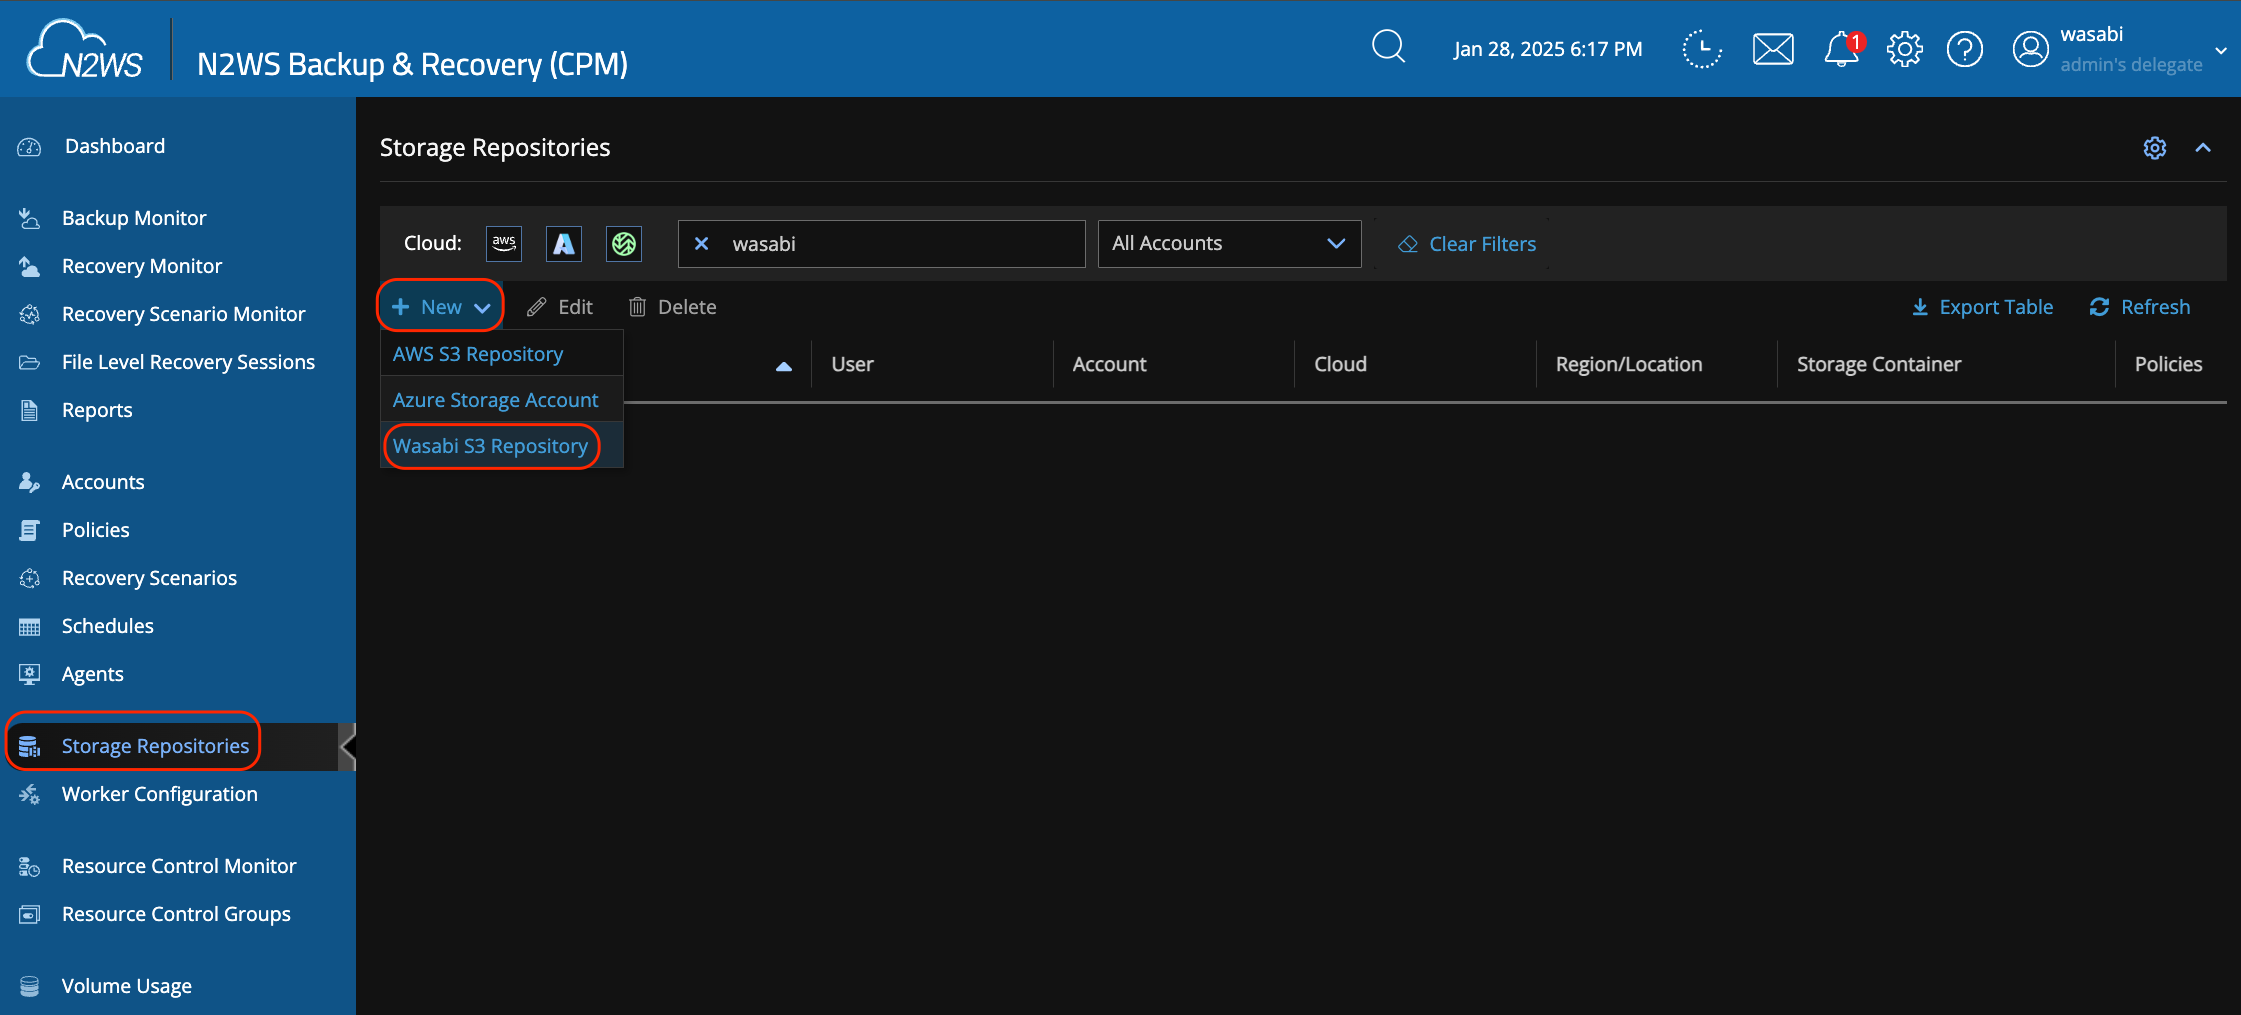
Click Storage Repositories, then New, then Wasabi S3 Repository.
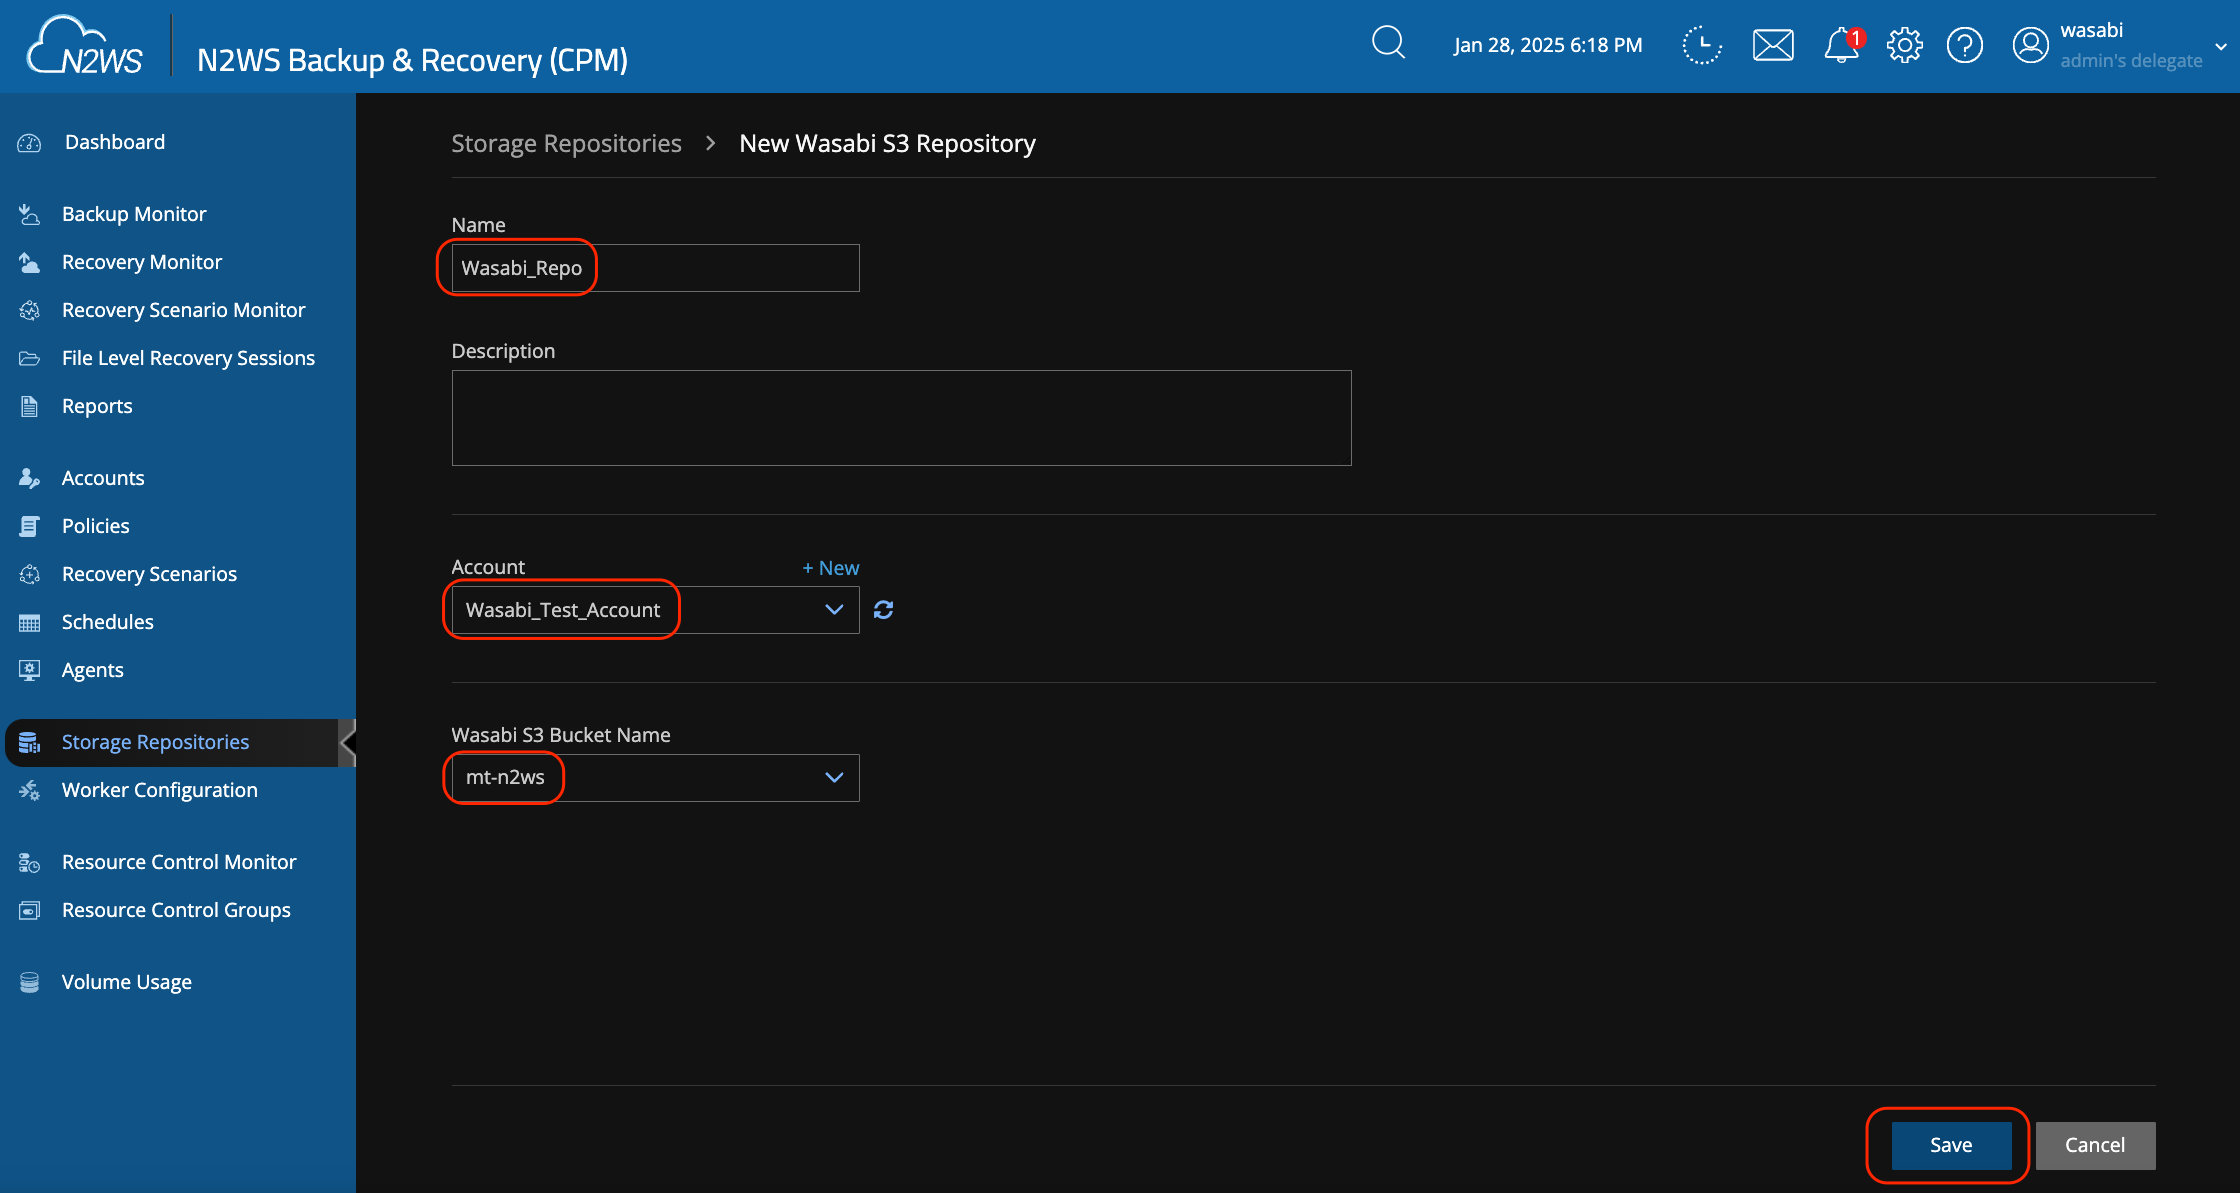
Give the repository a name, then select your Wasabi account and bucket from the drop-down menus. Click Save.
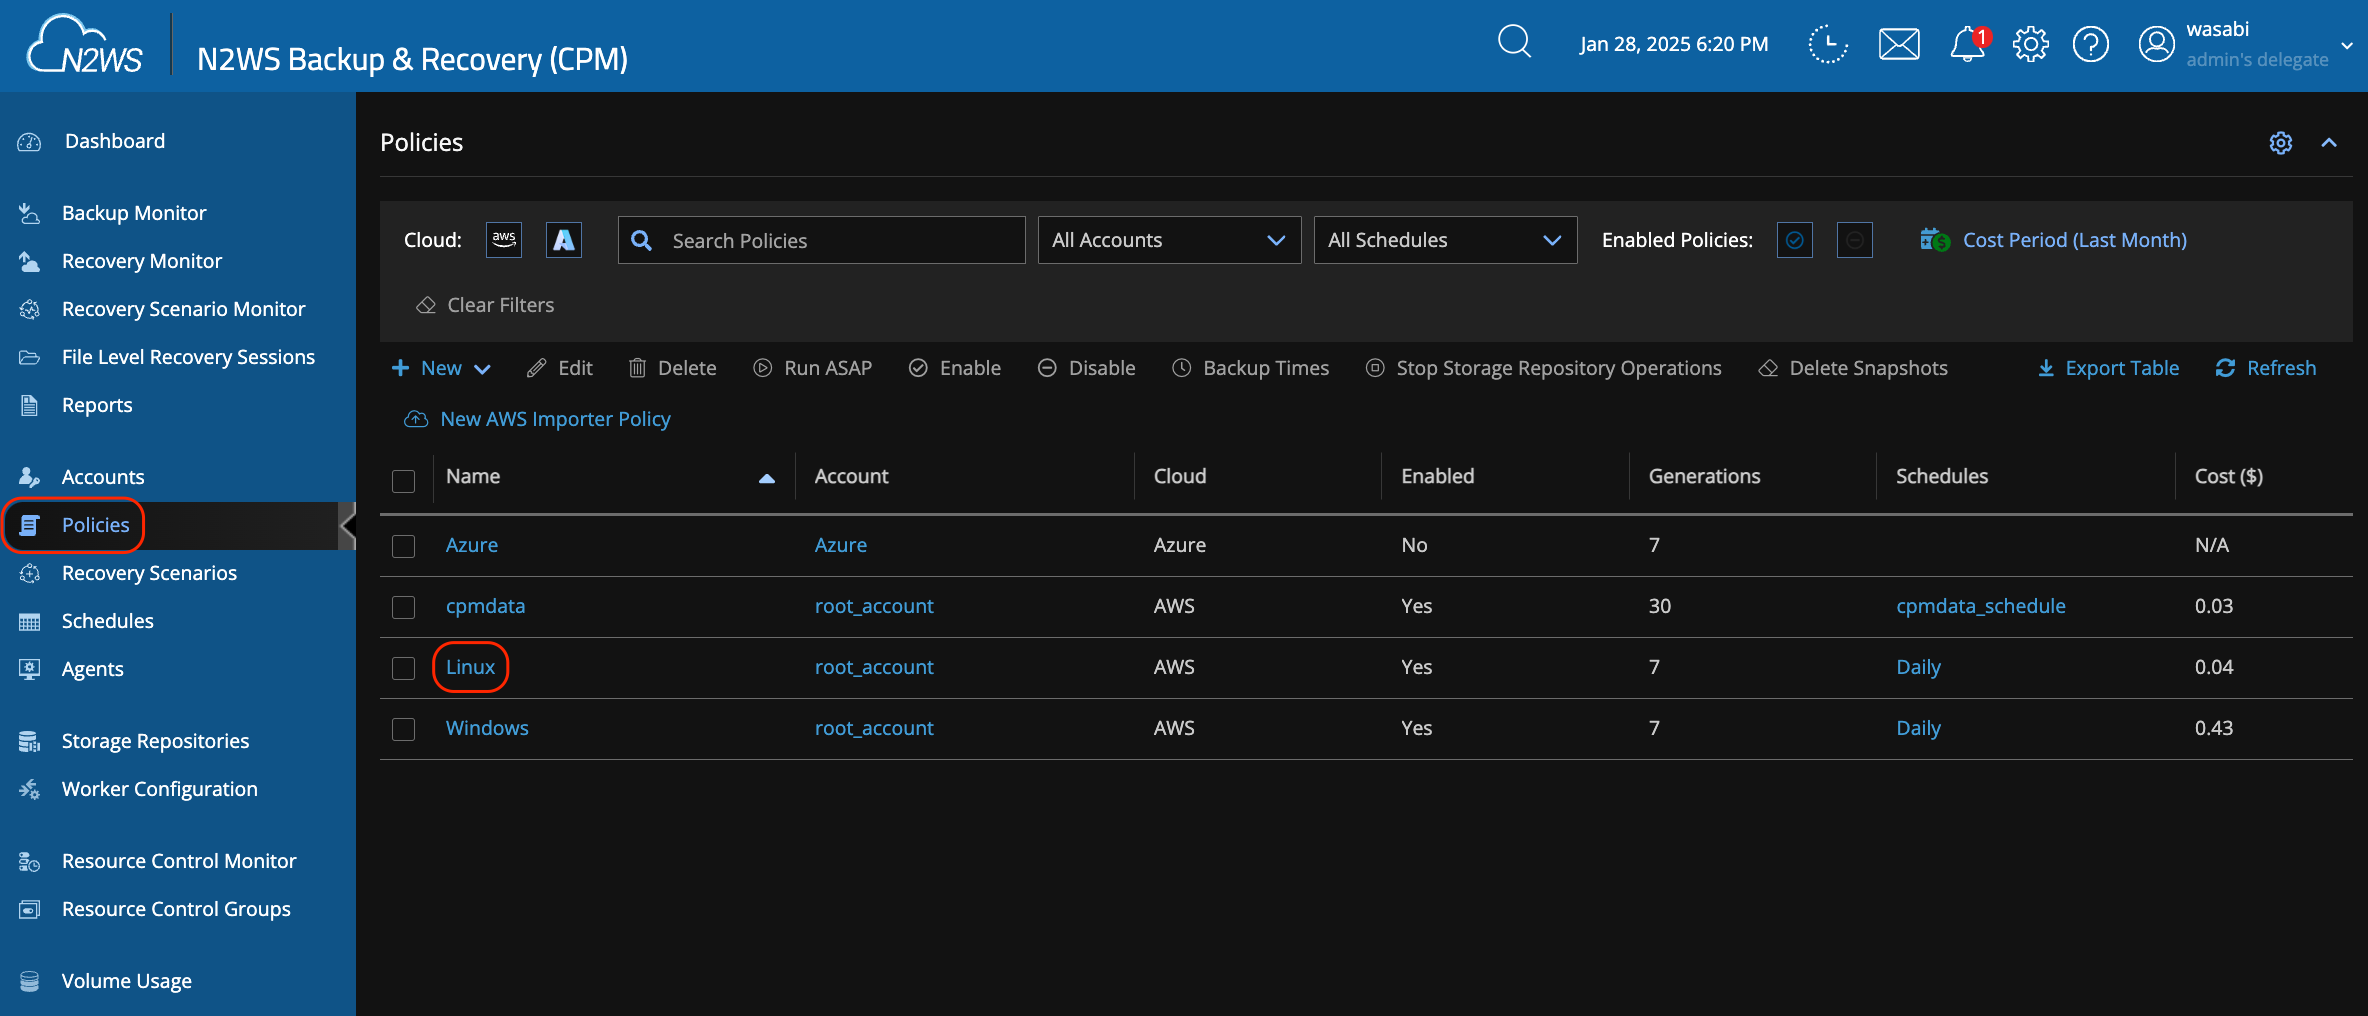
Modifying an Existing Backup Policy
Click Policies, then click on one of the existing policies (we are using a policy named Linux in our example). You may also create a new policy instead of modifying an existing one if desired.
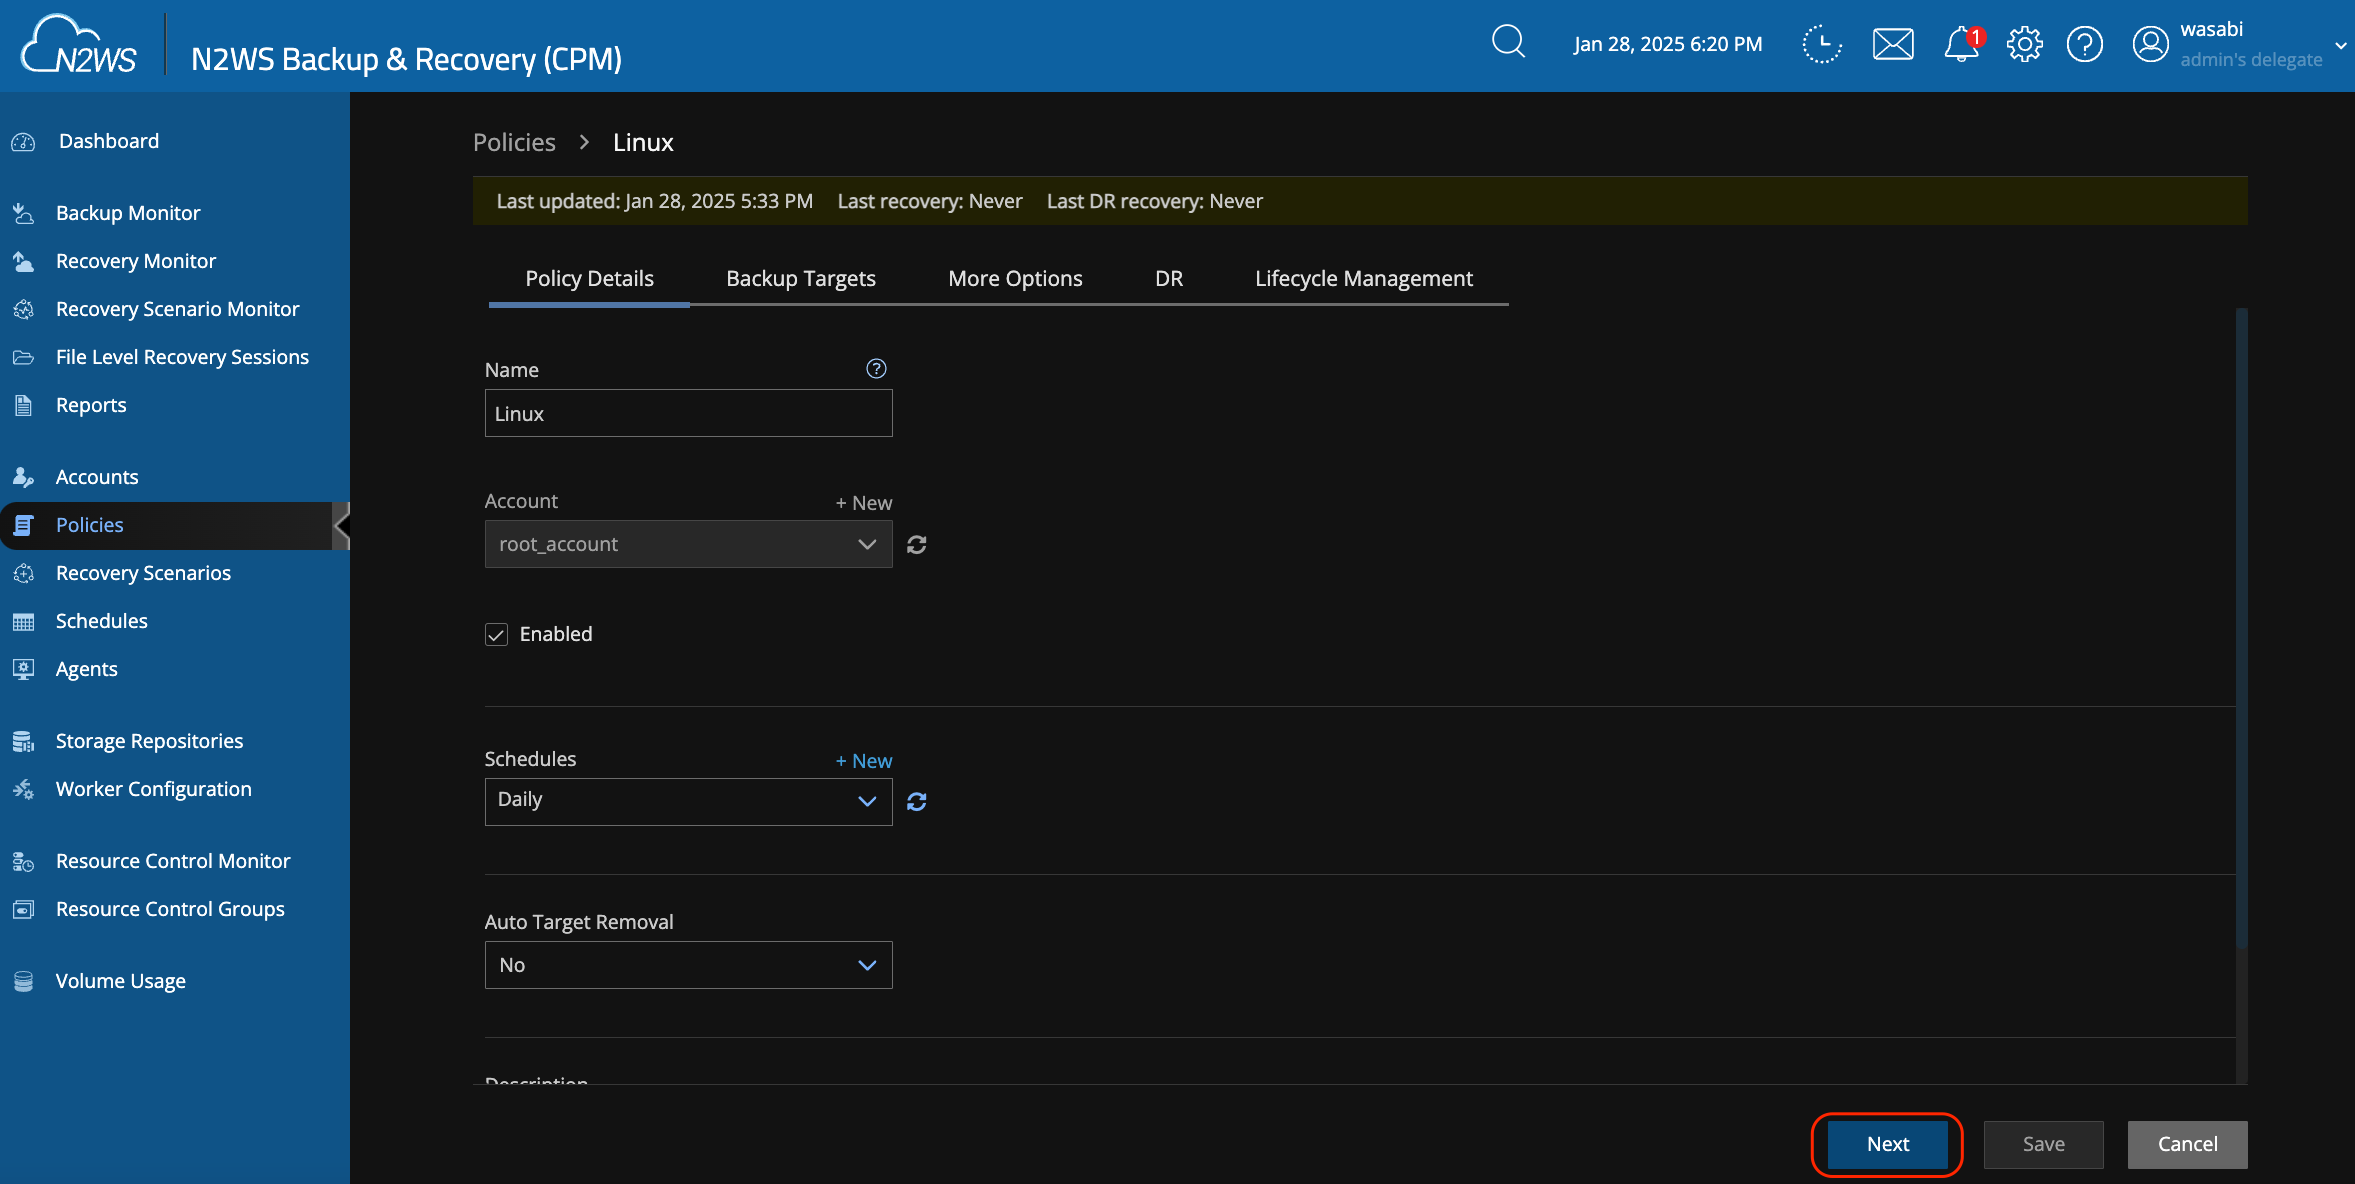
Modify the Policy Details (if needed). Click Next.
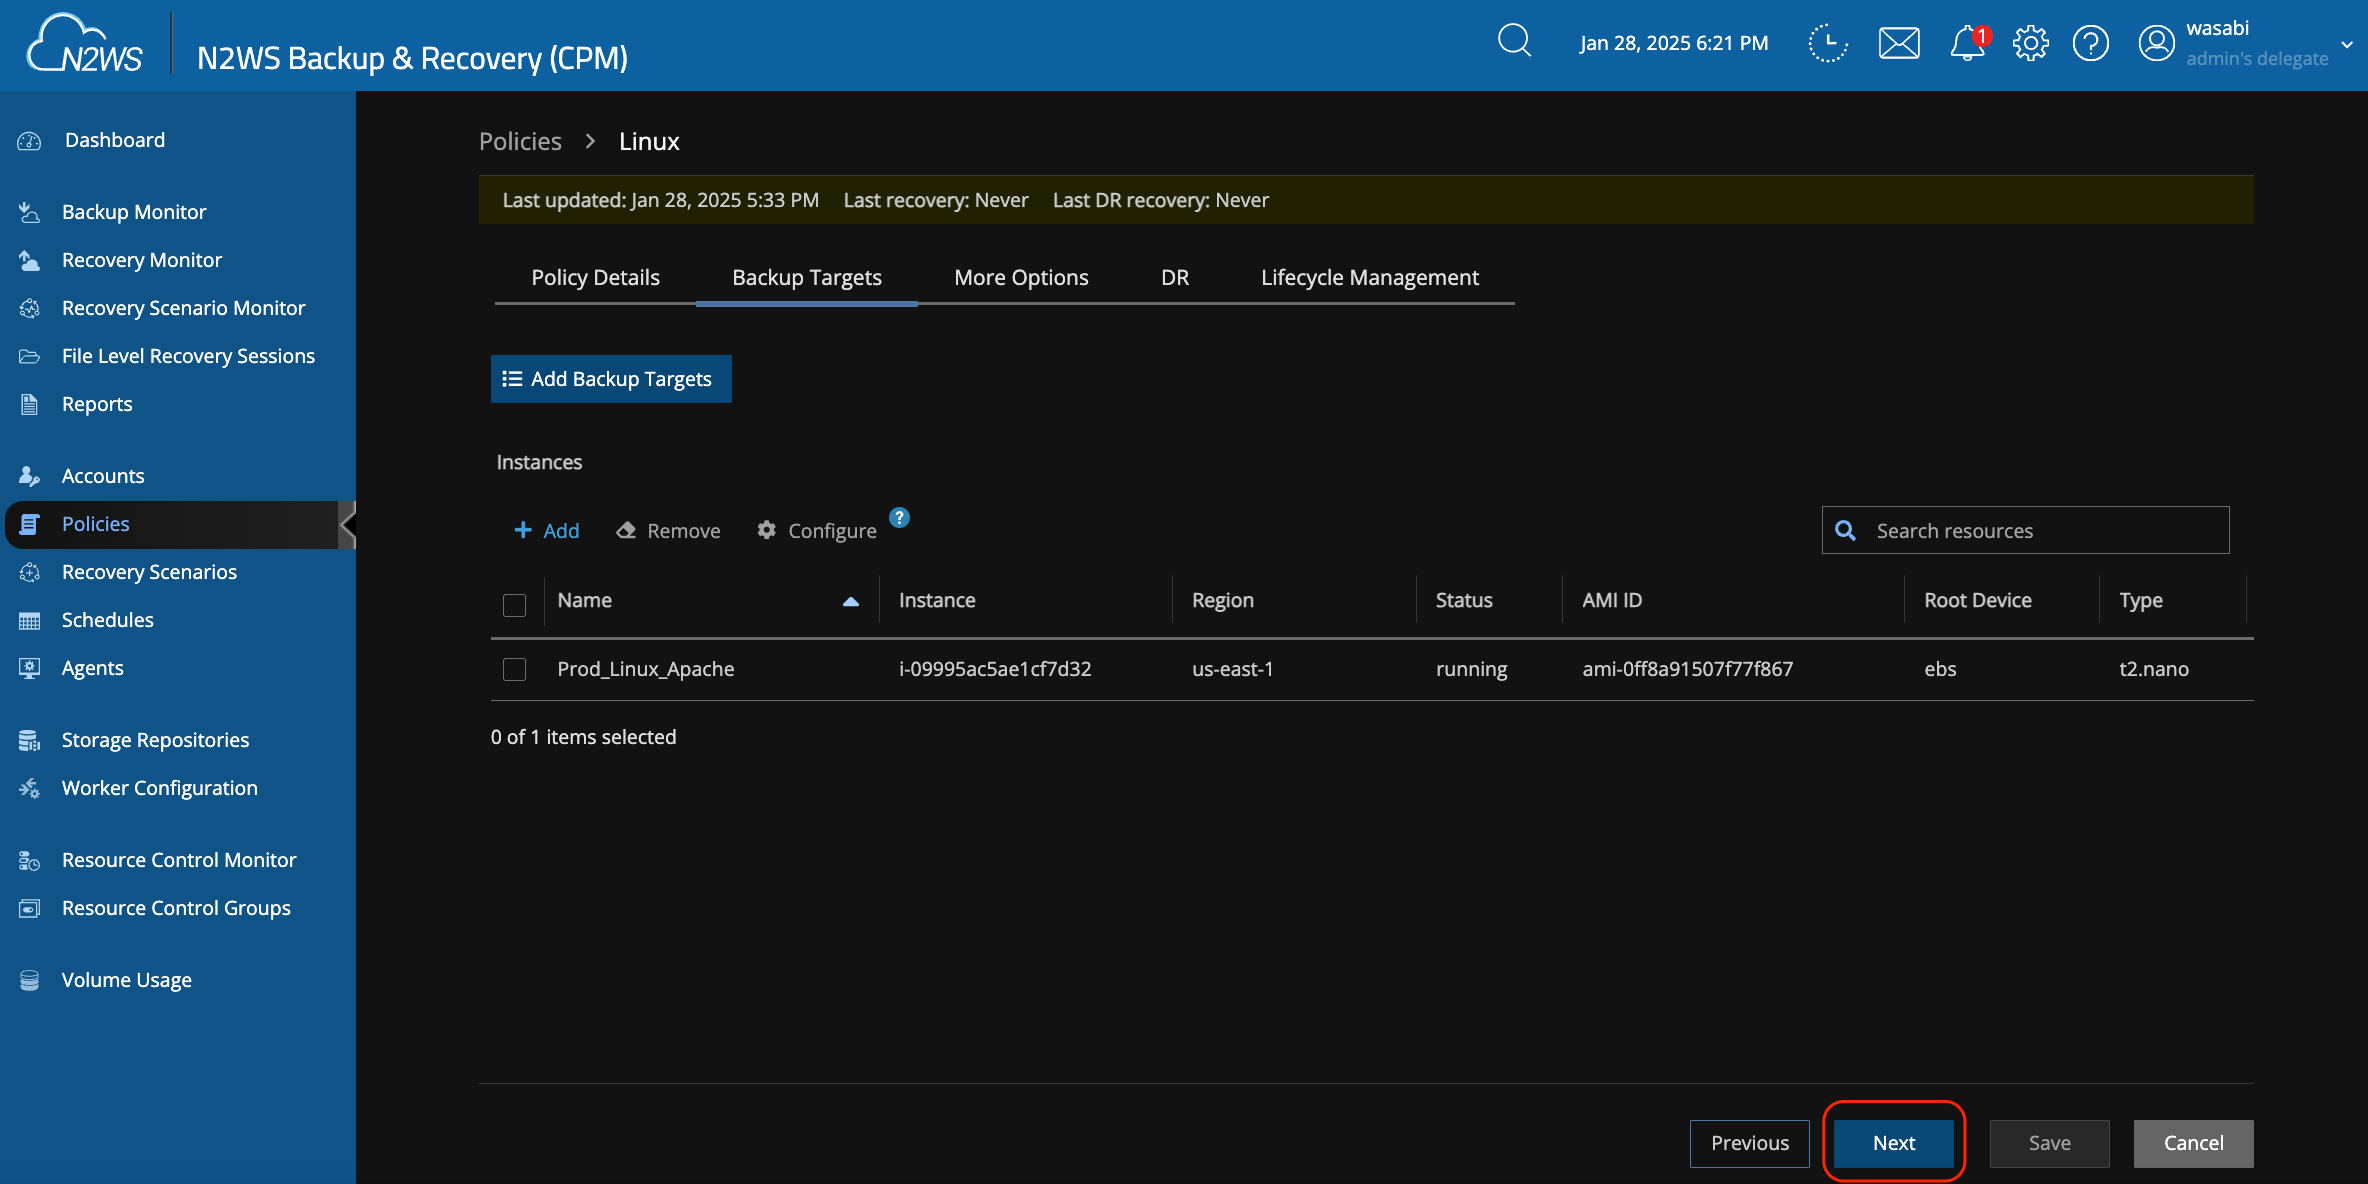
On the Backup Targets screen, you may add other AWS/Azure instances to be backed up. Click Next.
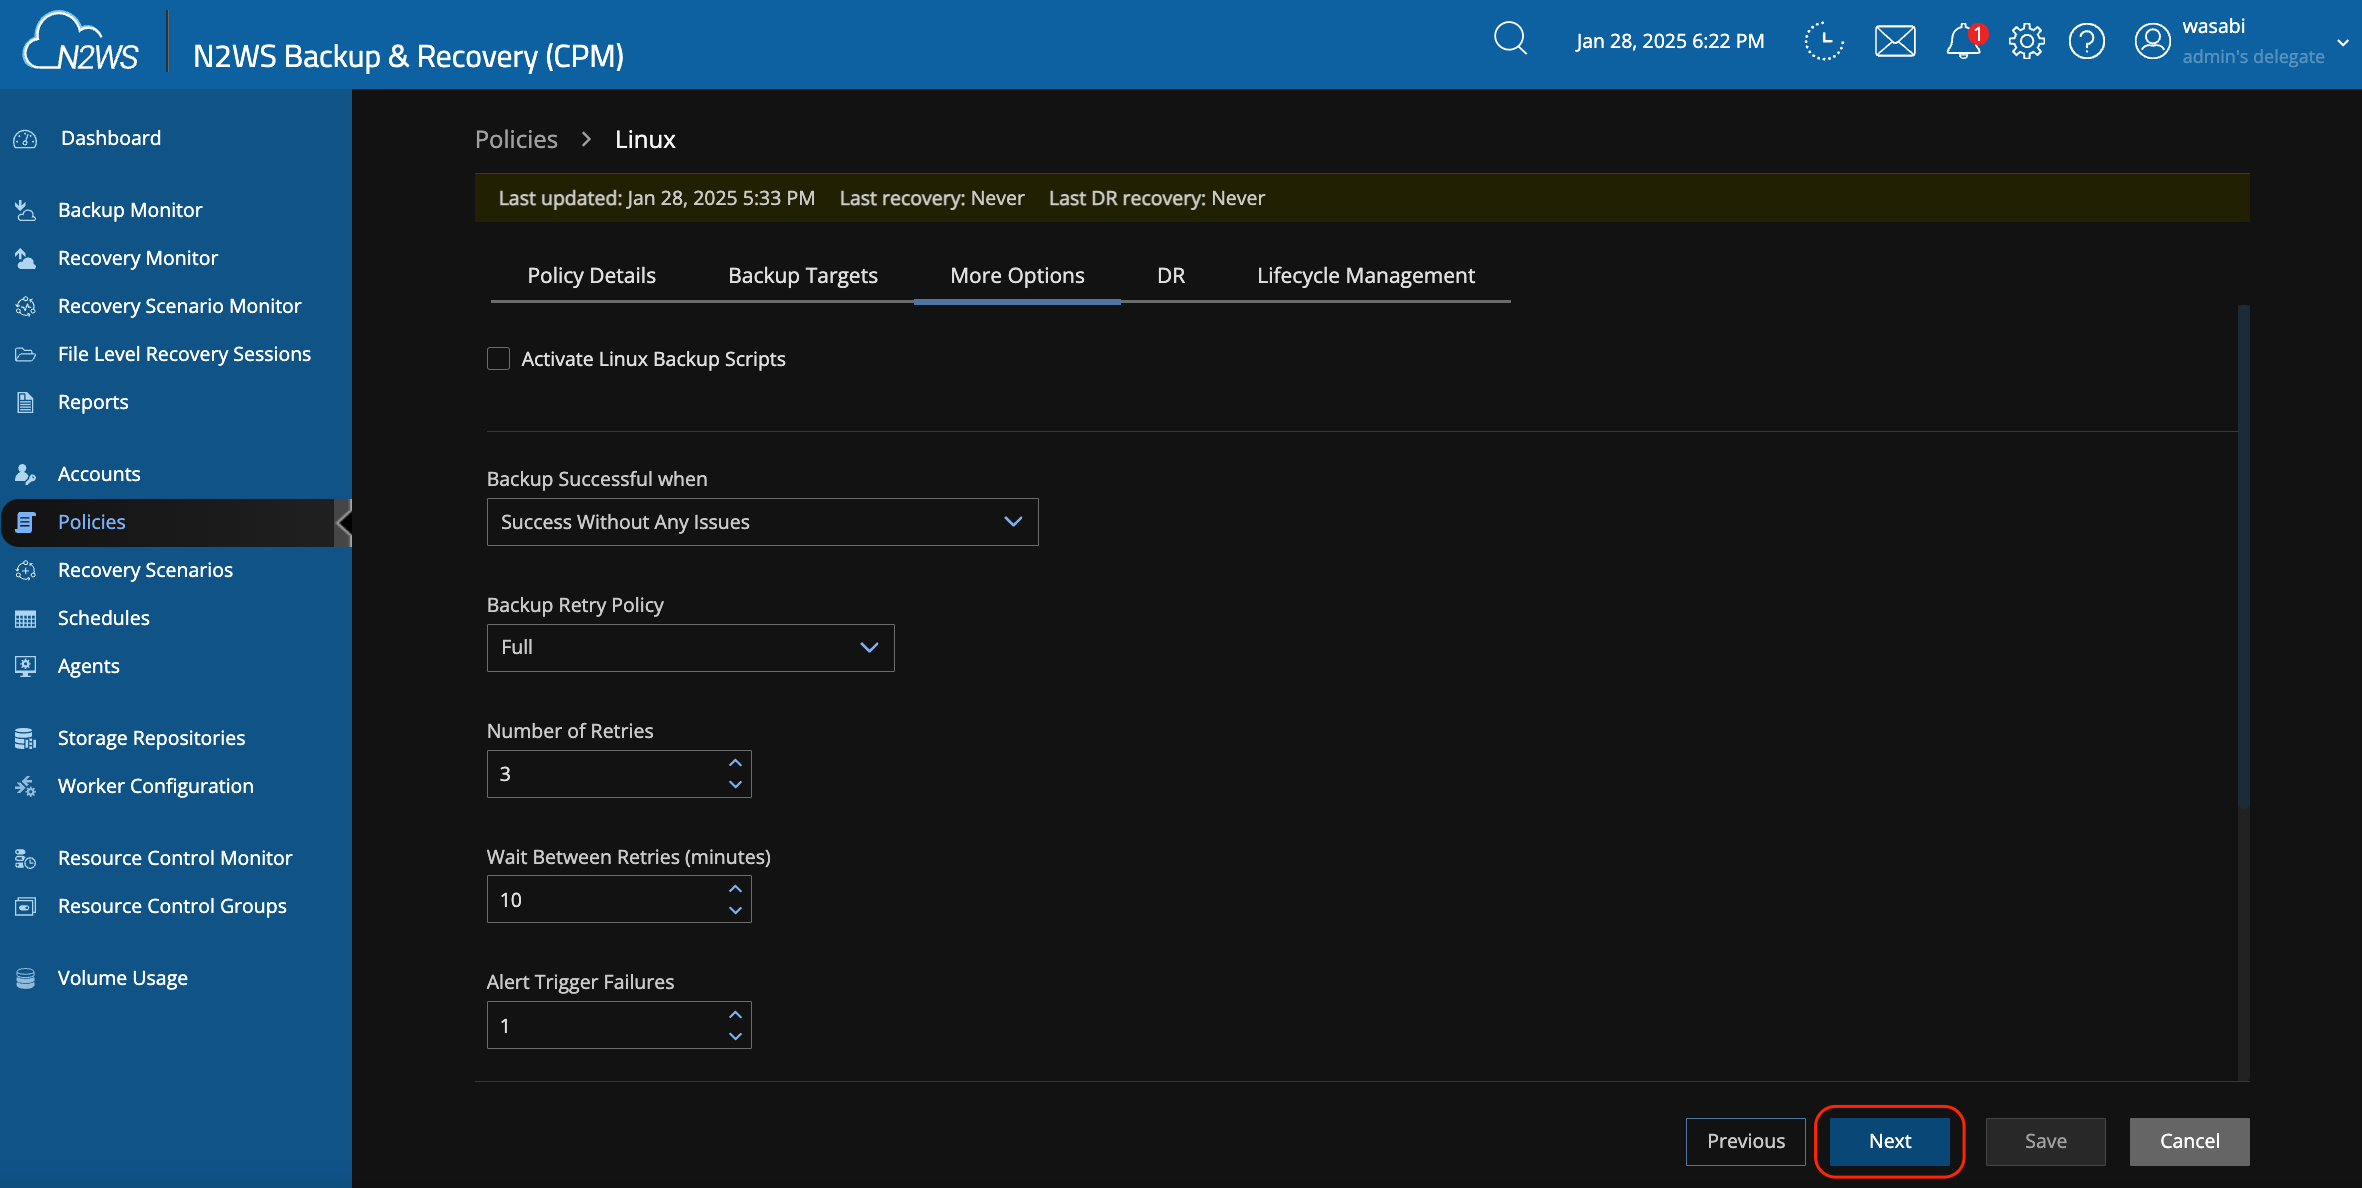
Adjust any of the additional options on the next screen. Click Next.
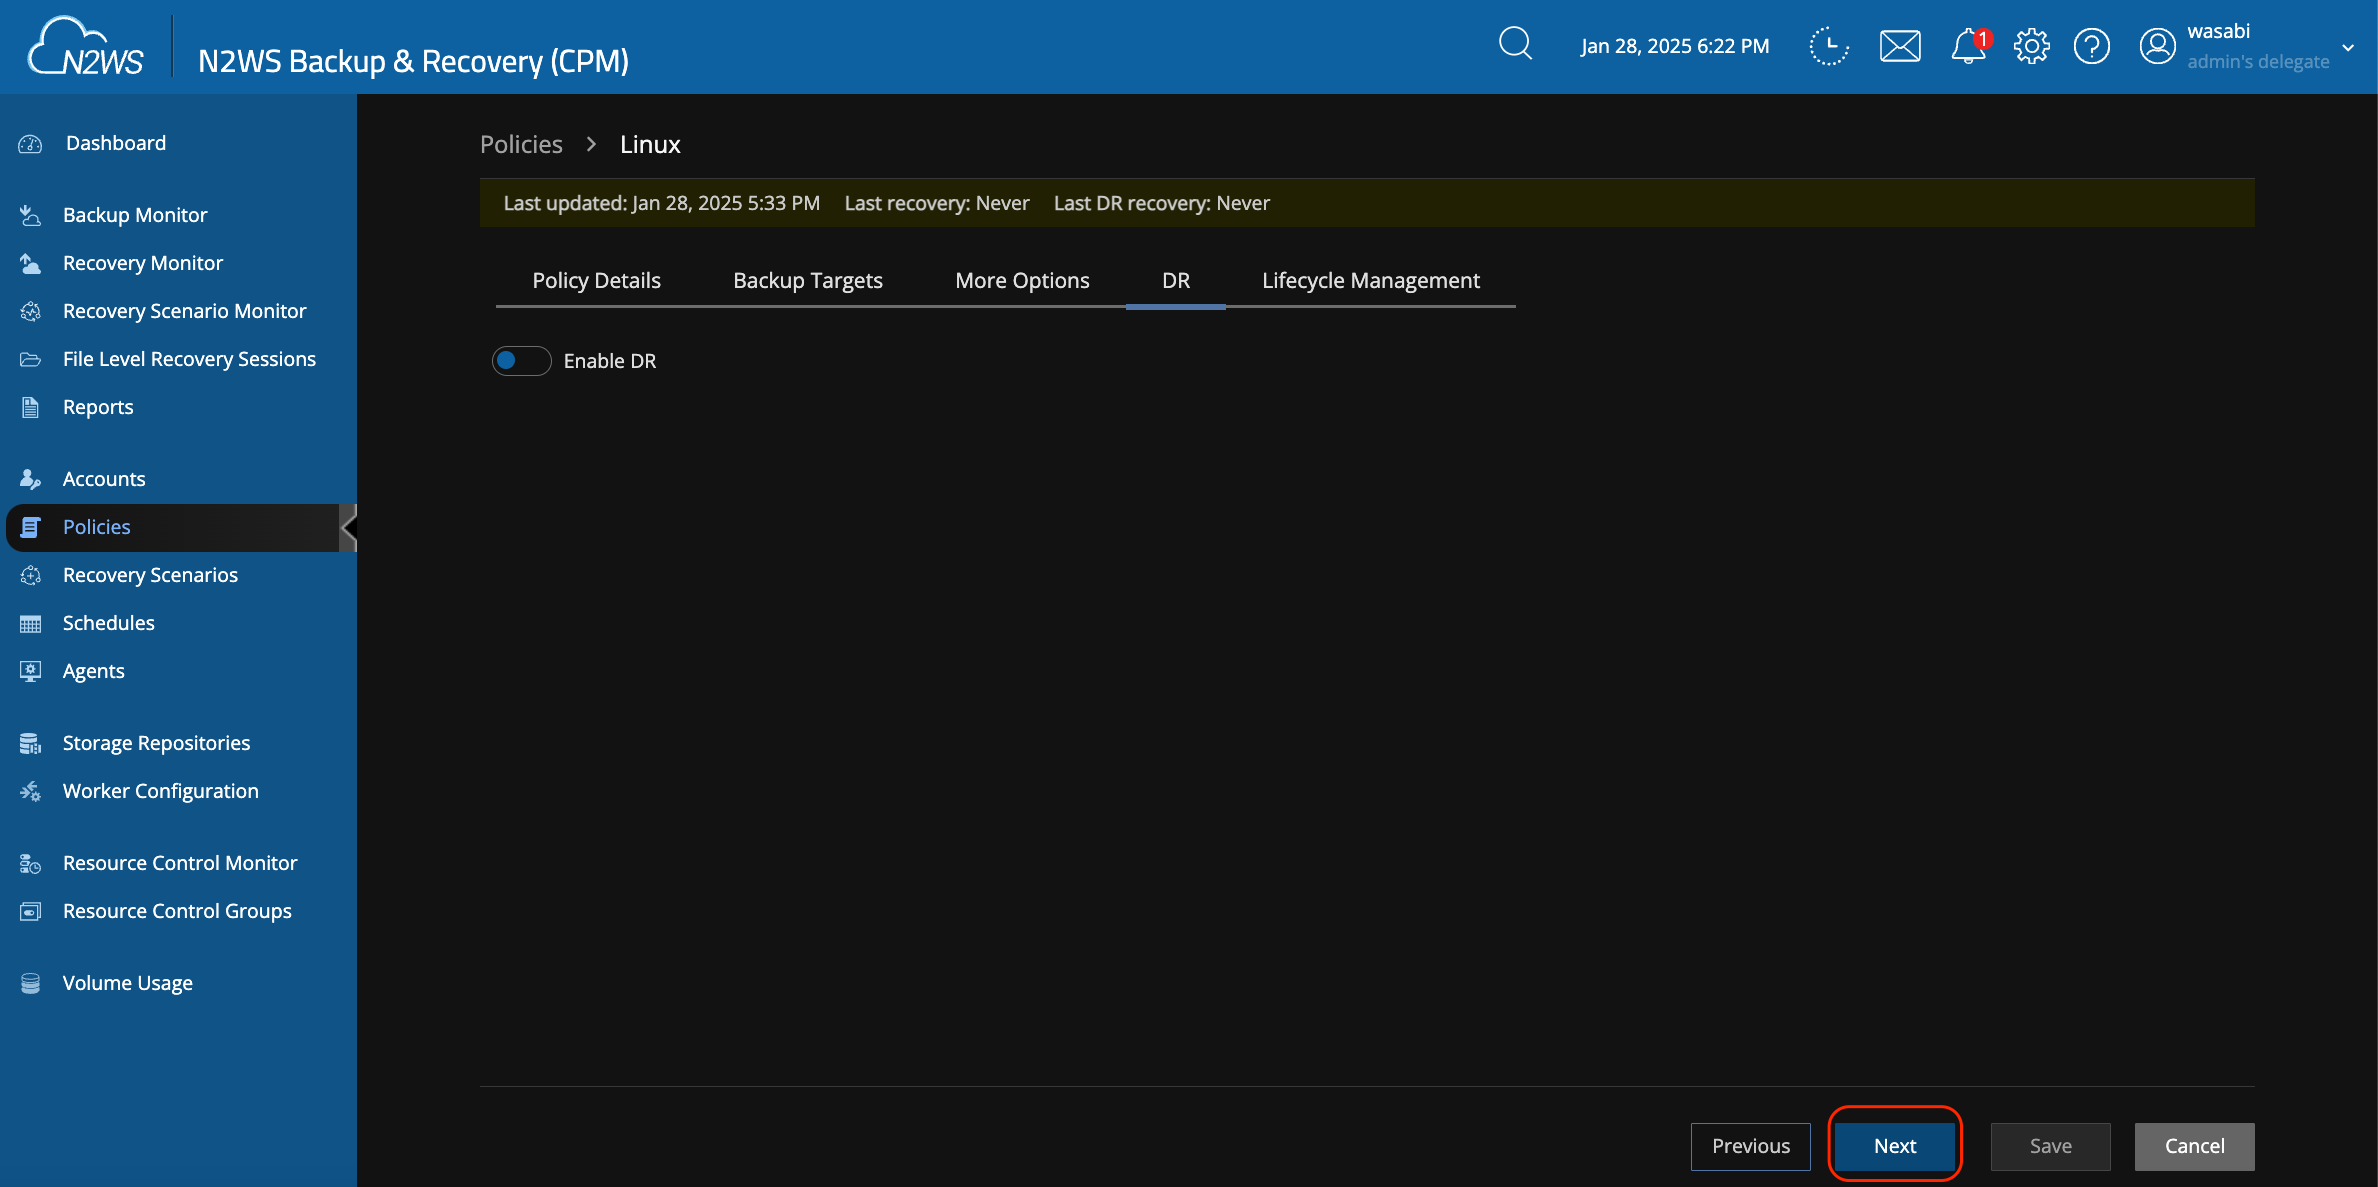
Optionally, enable DR (Disaster Recovery). Click Next.
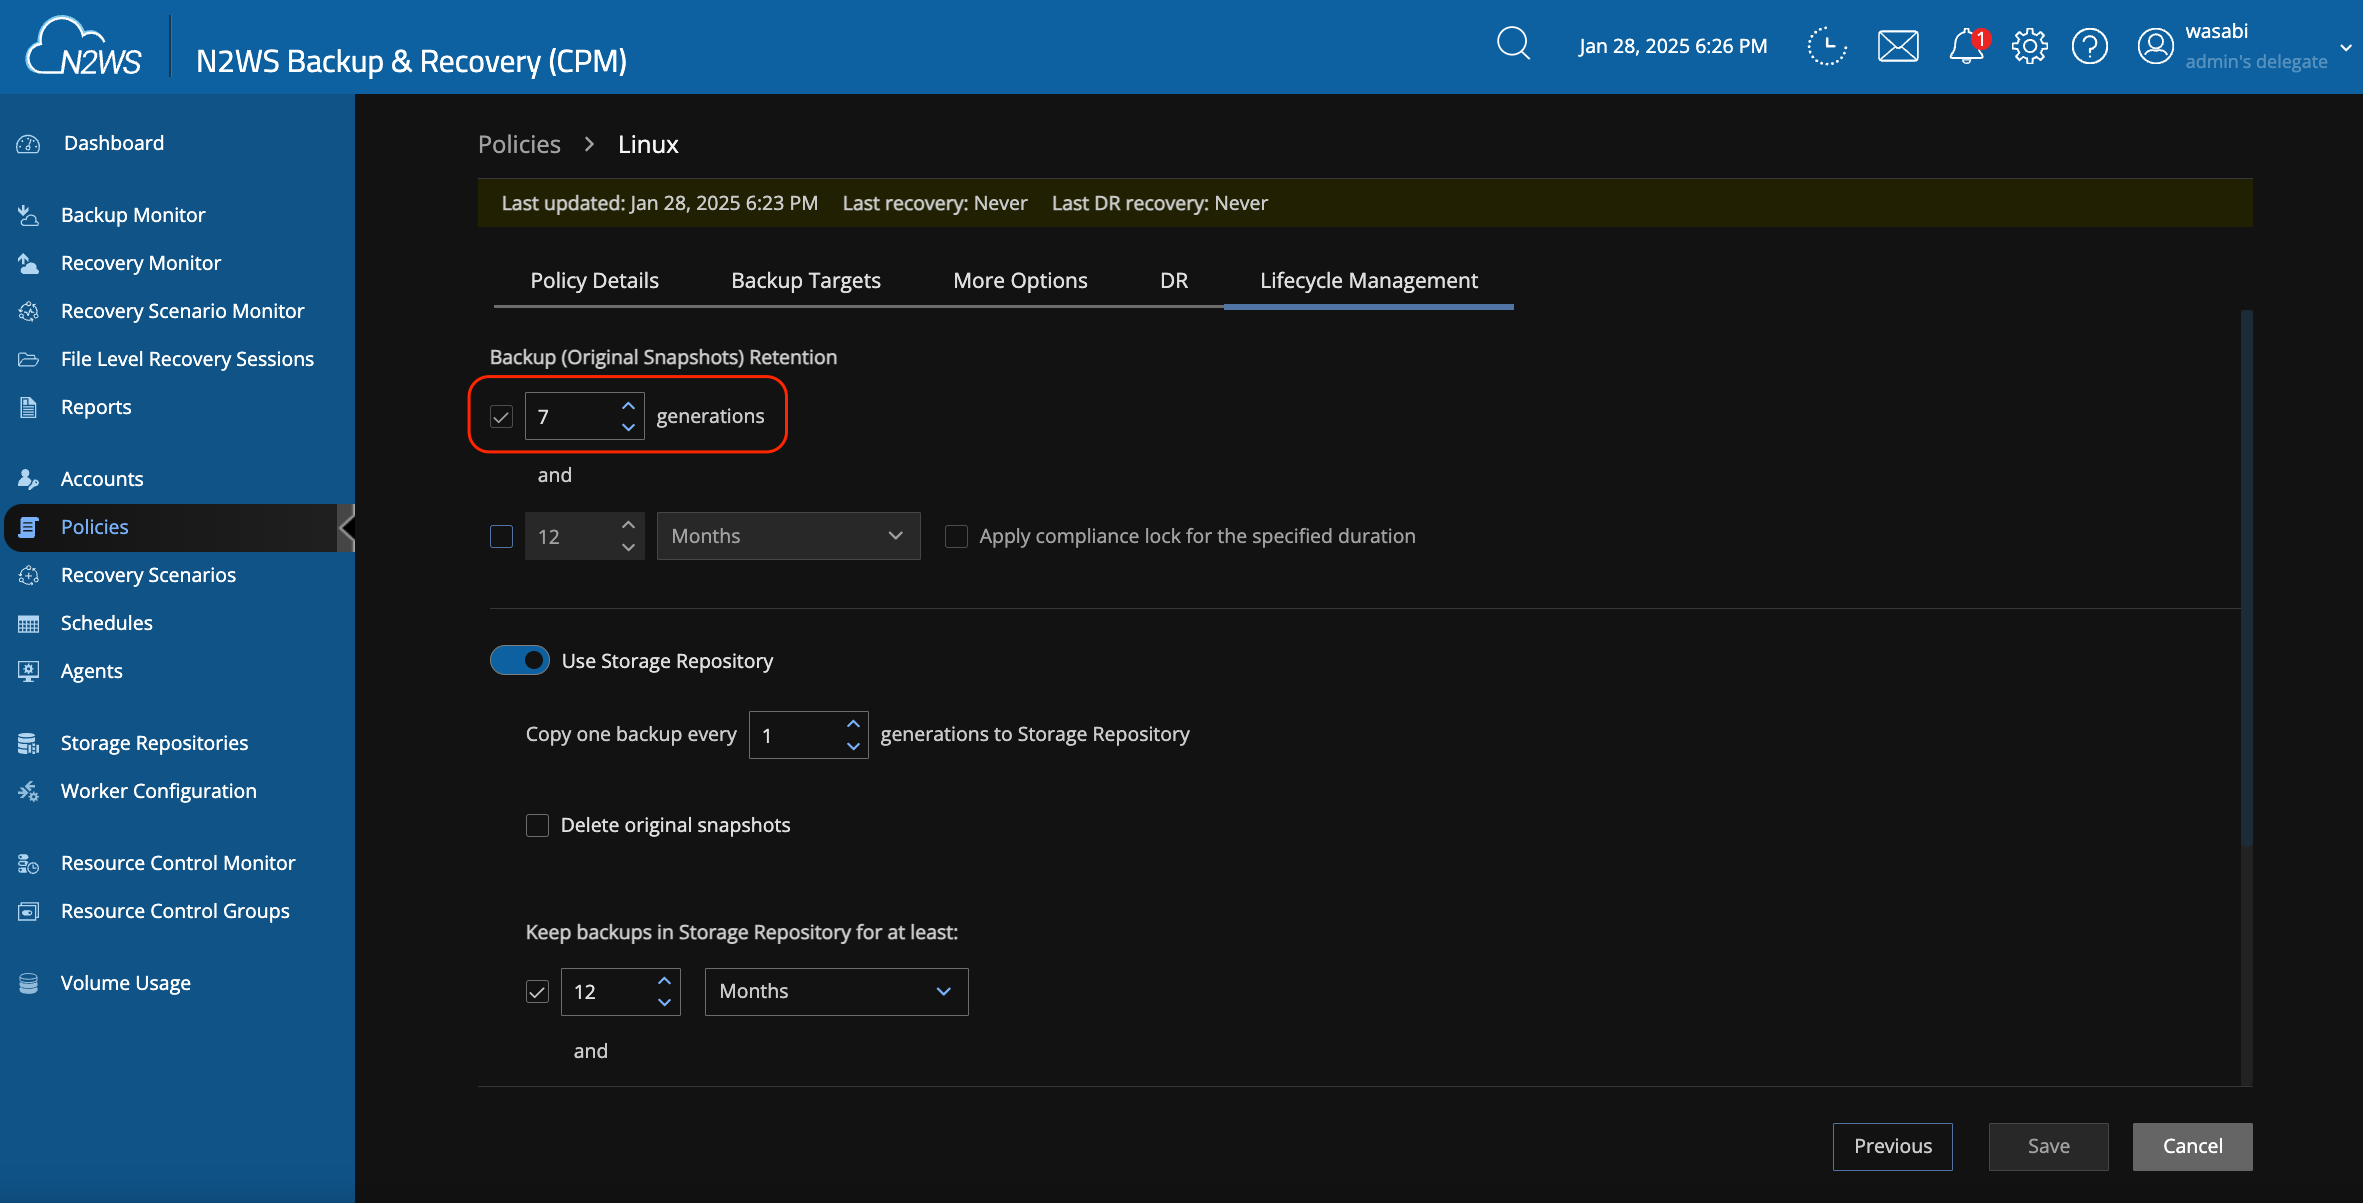
On the Lifecycle Management screen, modify the following items.
Under Backup (Original Snapshots) Retention, set the desired number of backups to keep as snapshots in AWS/Azure.
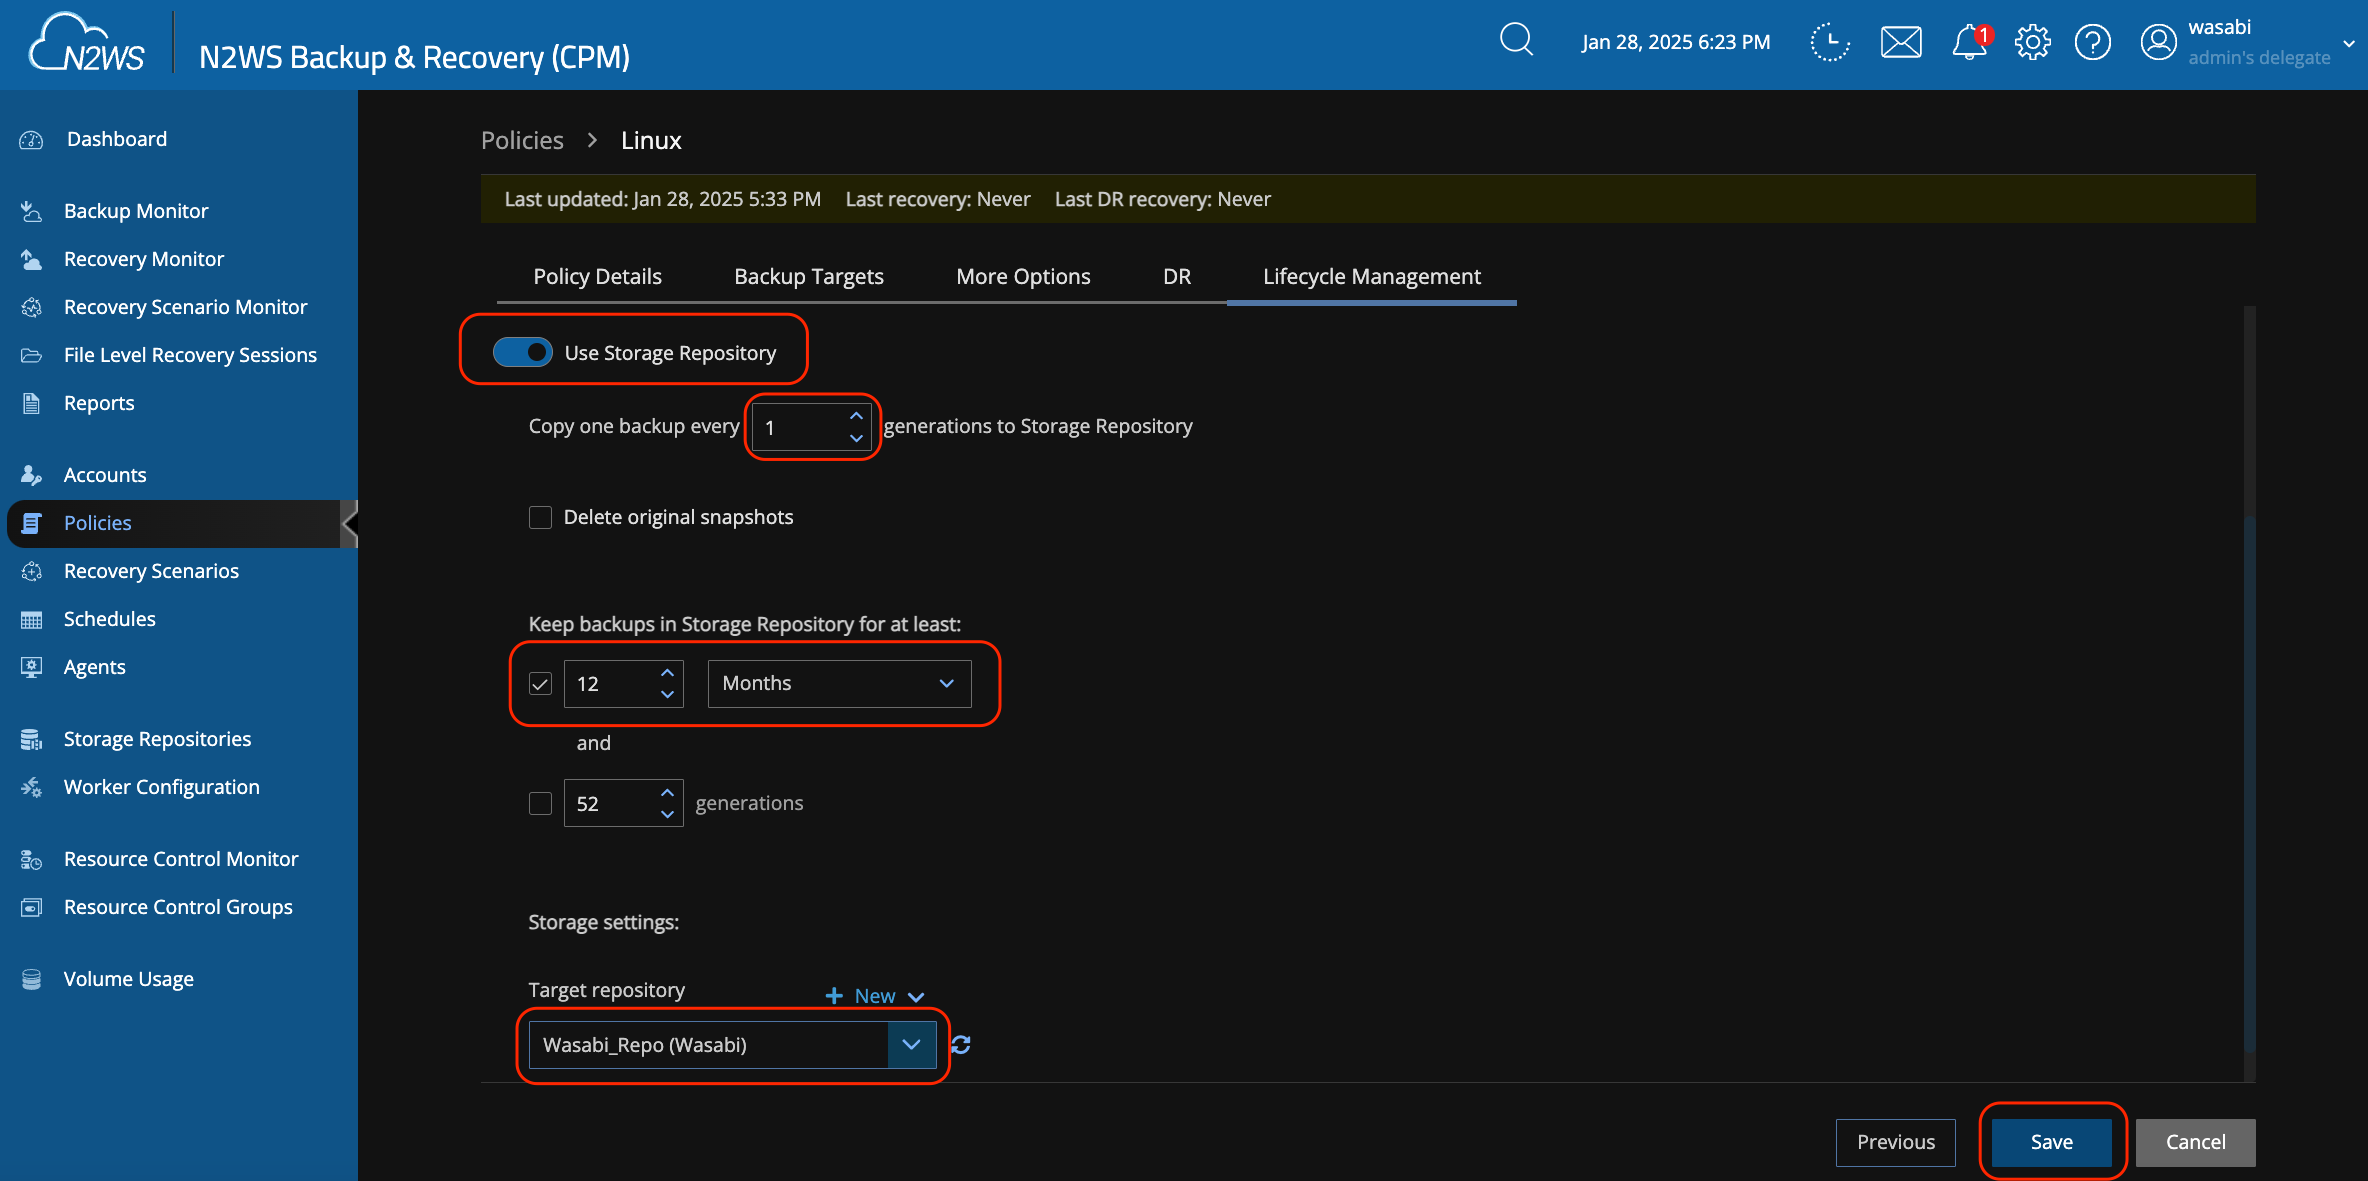
Enable Use Storage Repository.
It is recommended to set "Copy one backup every 'x' generations to Storage Repository" to '1'. This means that every time a backup is taken, it is also copied to Wasabi.
Modify Keep Backups in Storage Repository for at least to match your desired retention period for backups residing in Wasabi.
Select Wasabi as the target repository.
Click Save.
Performing a Test Backup
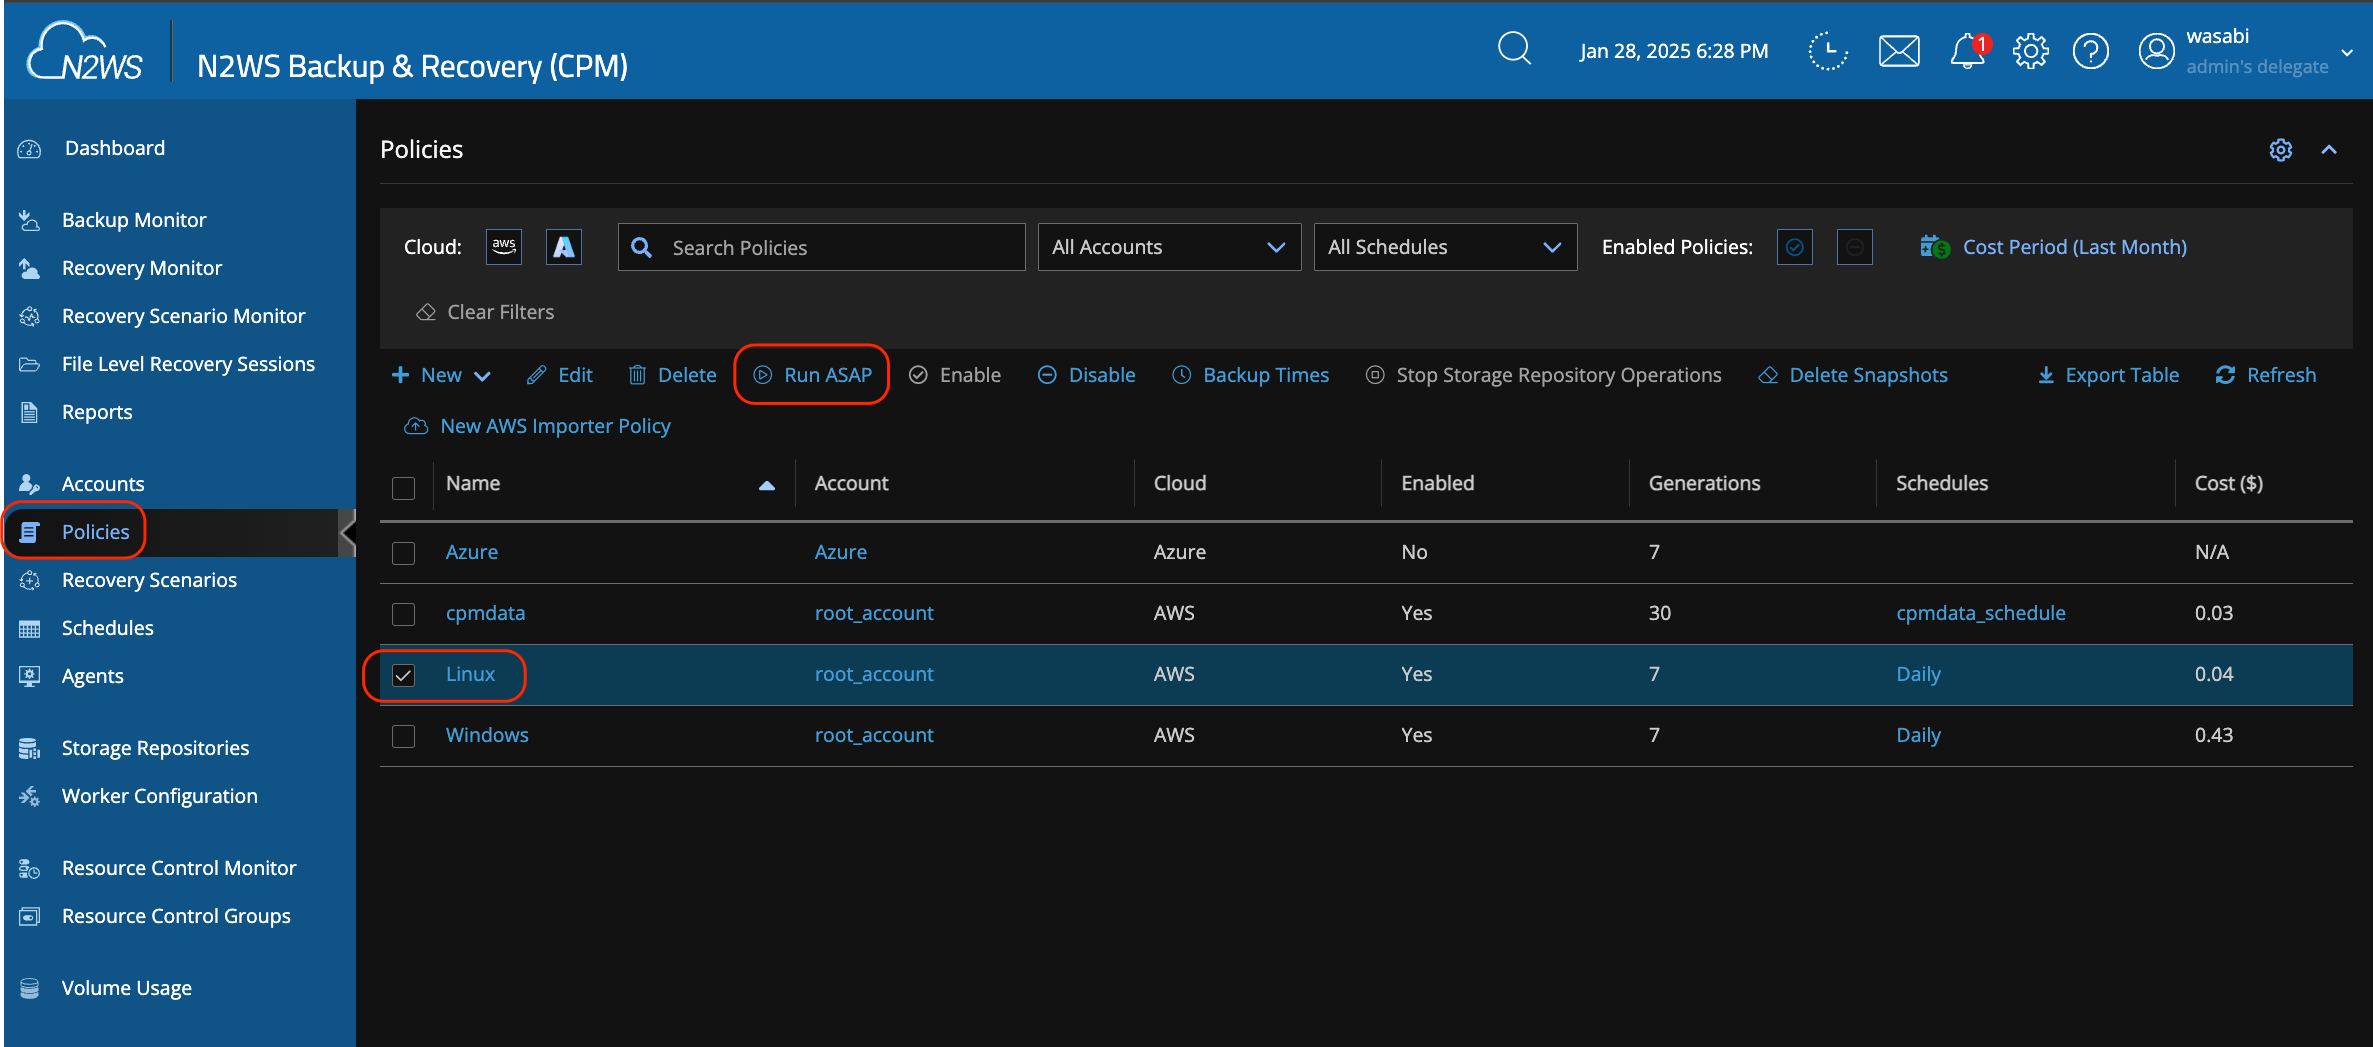
Navigate to Policies and click the checkbox next to the policy to run. Click Run ASAP.
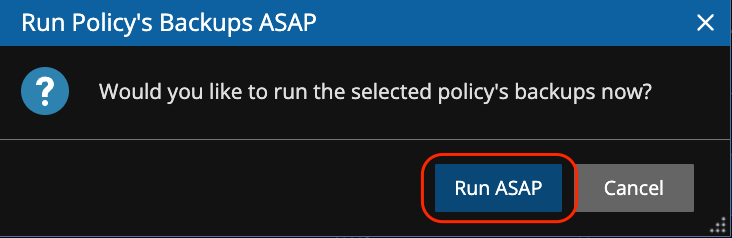
Click Run ASAP on the popup window.
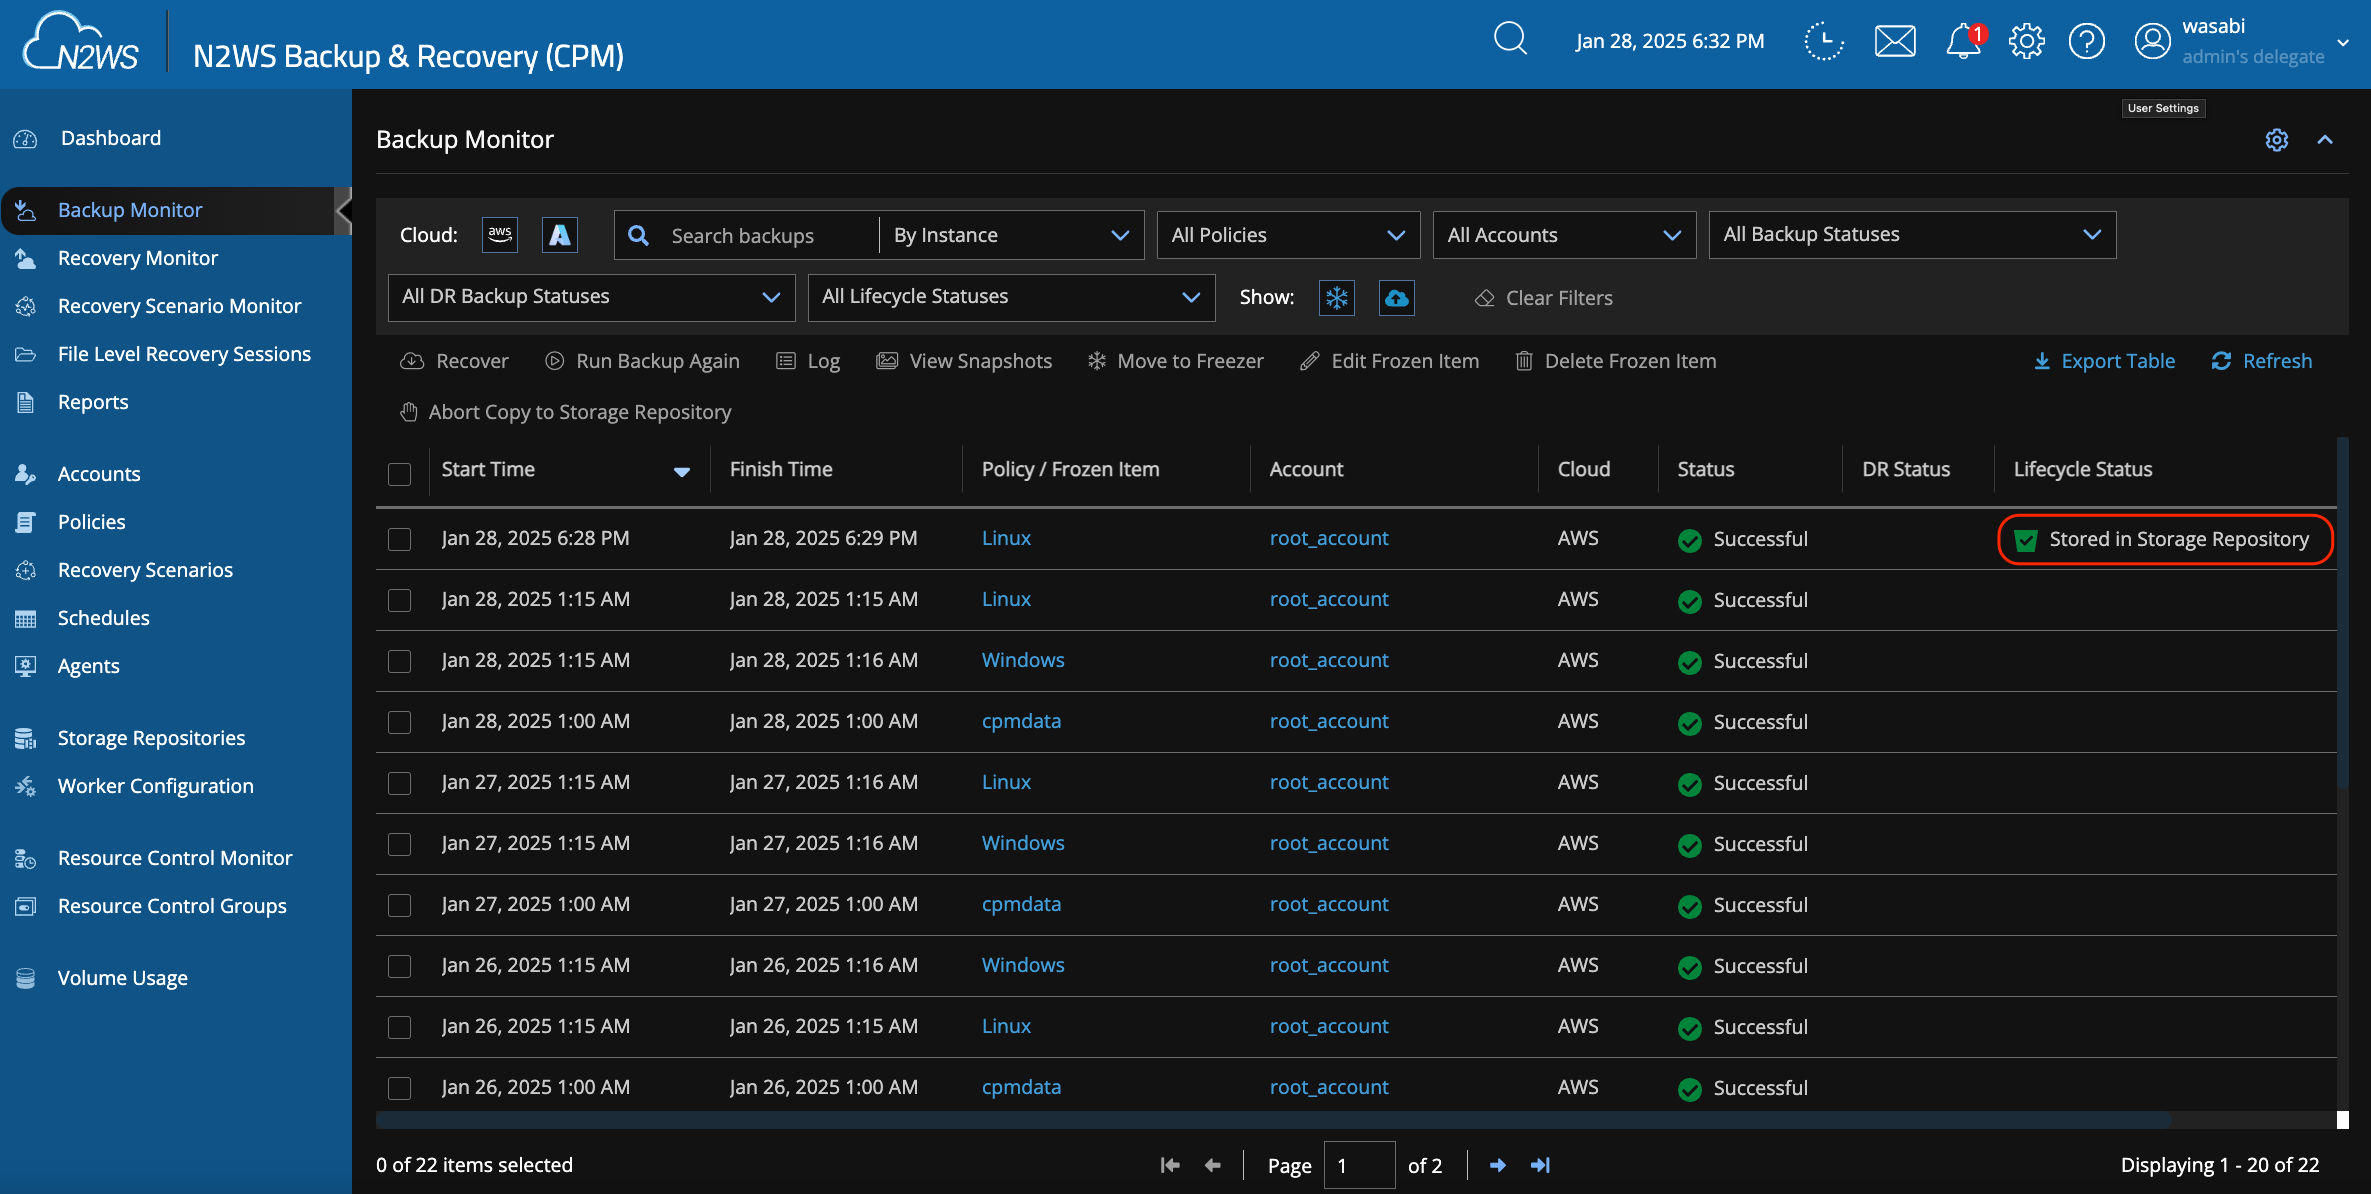
Click on the Backup Monitor tab. Once the AWS/Azure snapshot is finished and the backup to Wasabi has started, you will see a status of Successful for the snapshot and a Lifecycle Status of Storing to Storage Repository.

When the backup to Wasabi is complete, you will see Stored in Storage Repository.
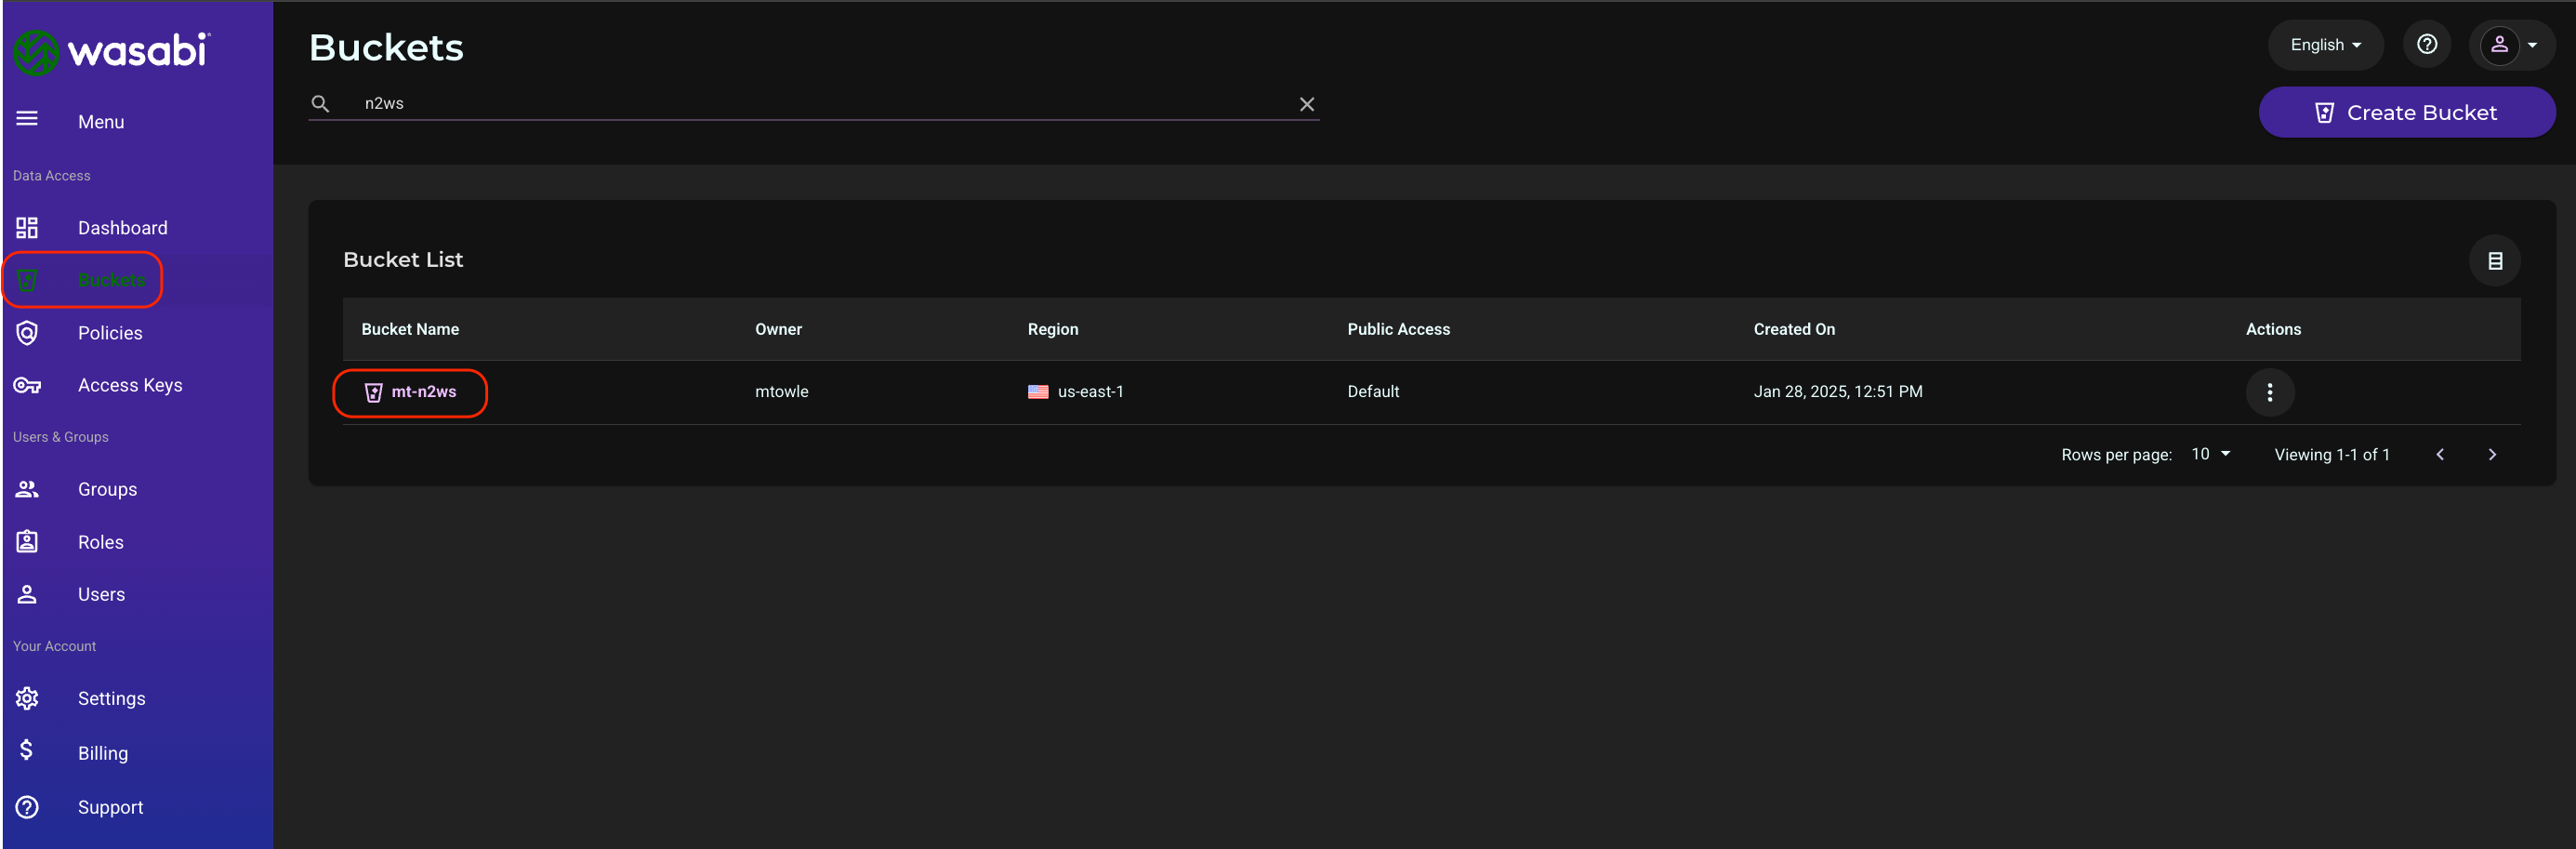
Log in to the Wasabi console and click on Buckets. Search for your bucket and click the bucket name.
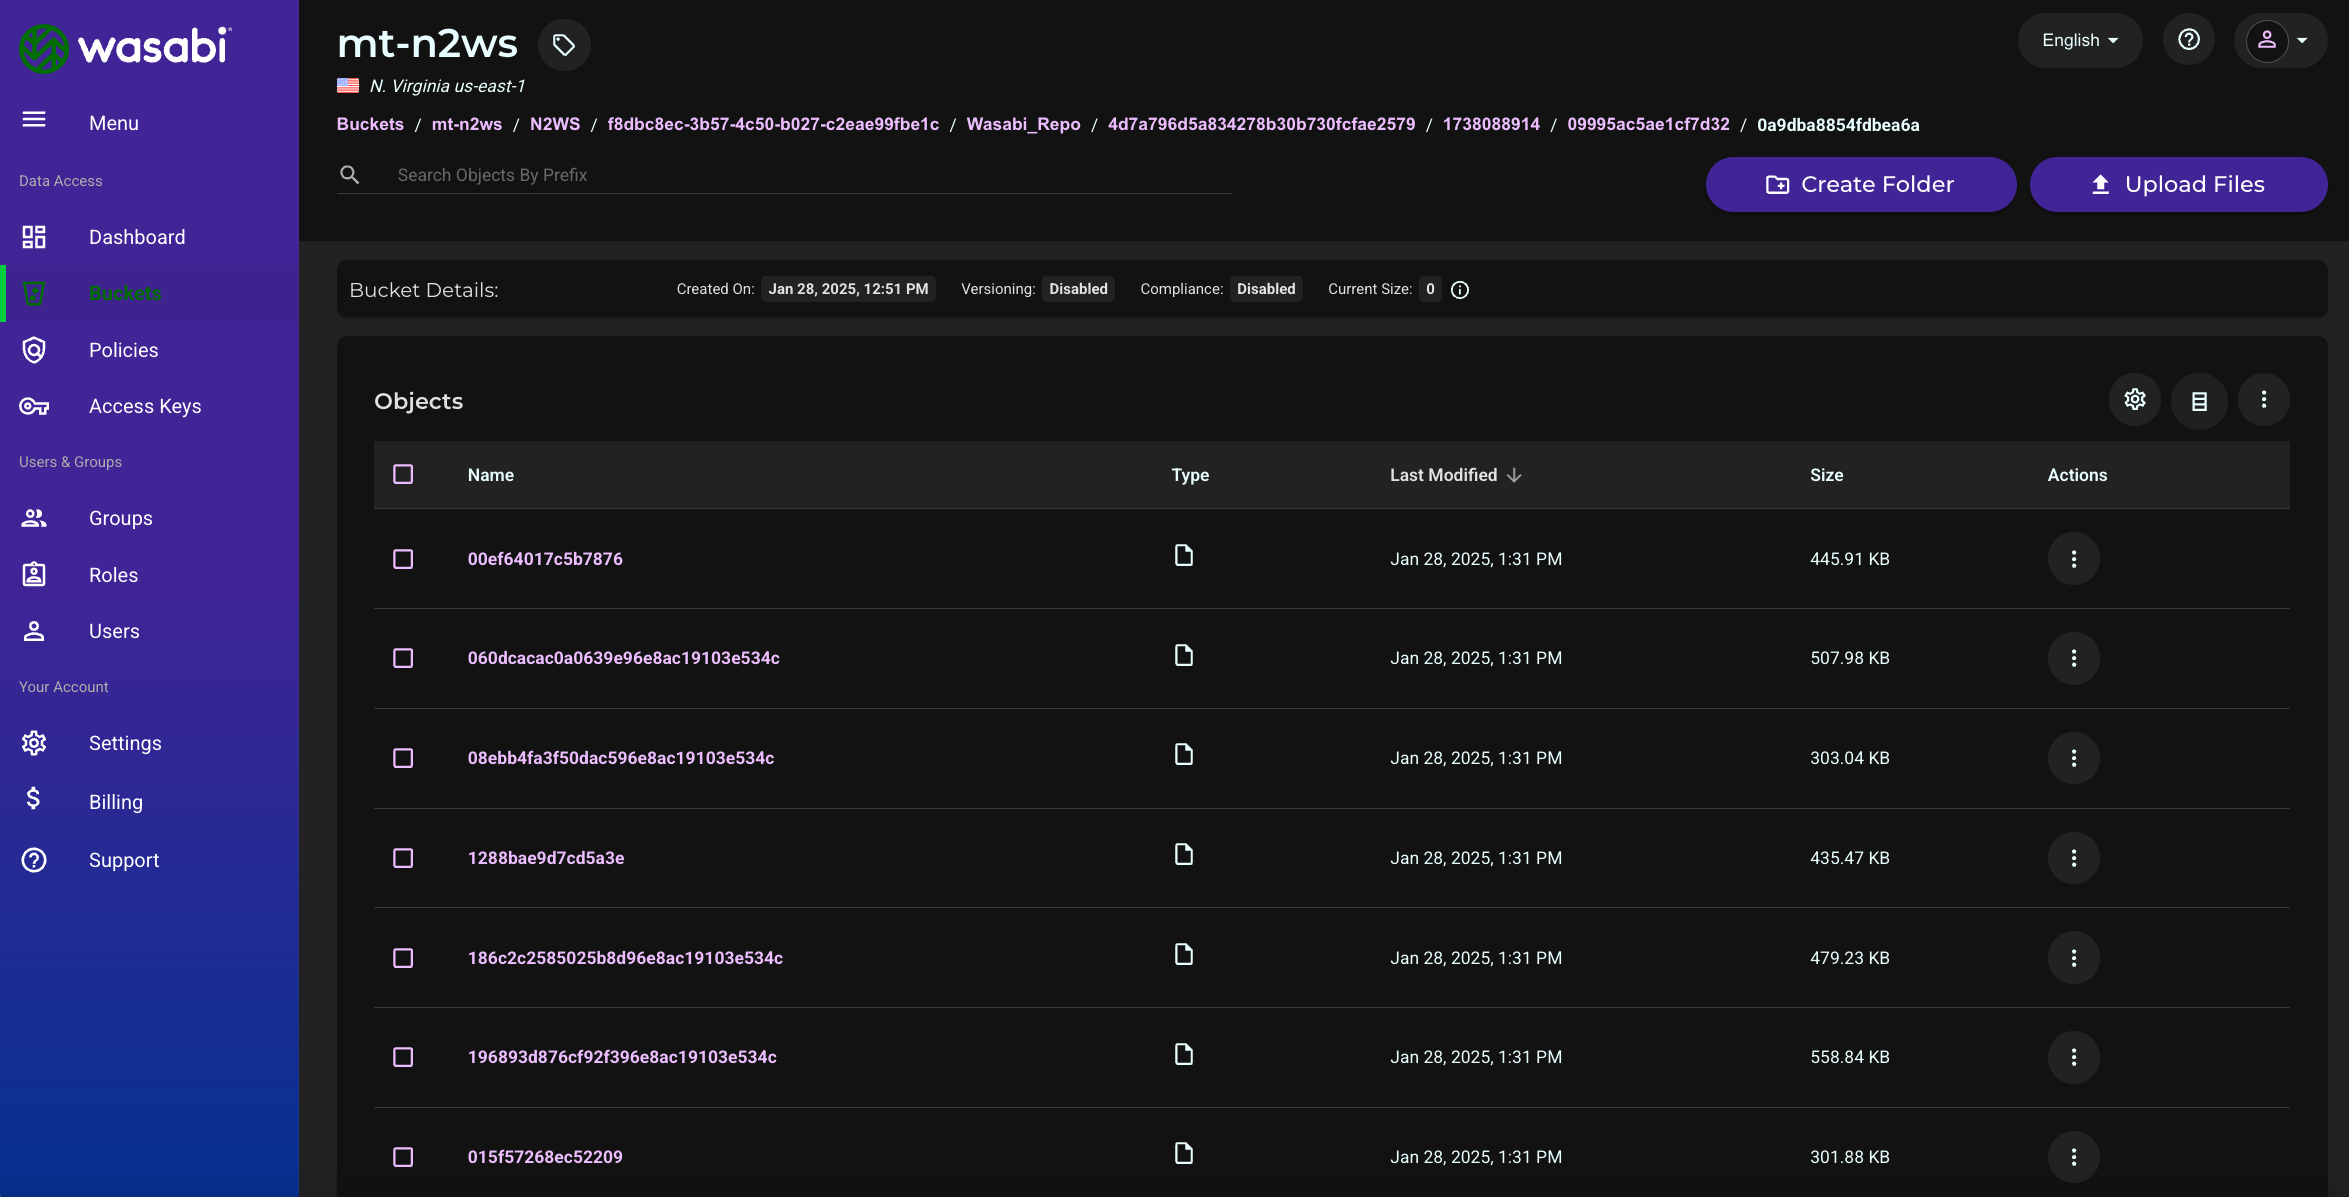
Click on folder names until you reach a folder that has multiple objects. This will verify that your N2W backups are stored in your bucket.
Performing a Test Restore
Log in to your N2W instance.
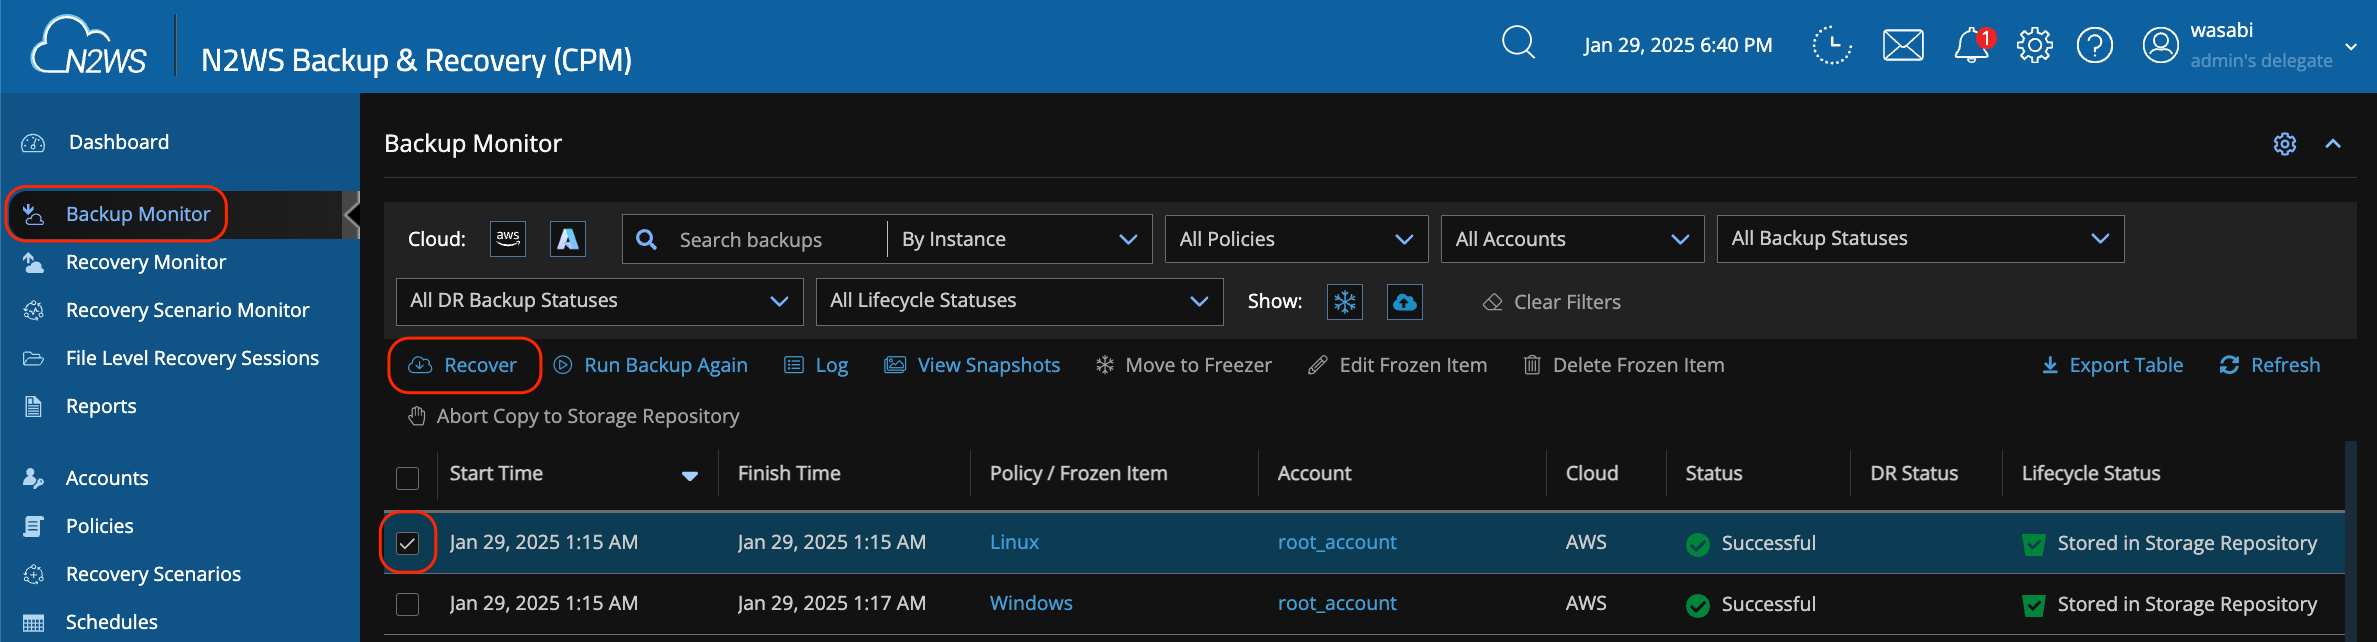
Navigate to the Backup Monitor tab. Click on the checkbox next to the test backup performed earlier. Click Recover. This process will not overwrite any of your existing instances.
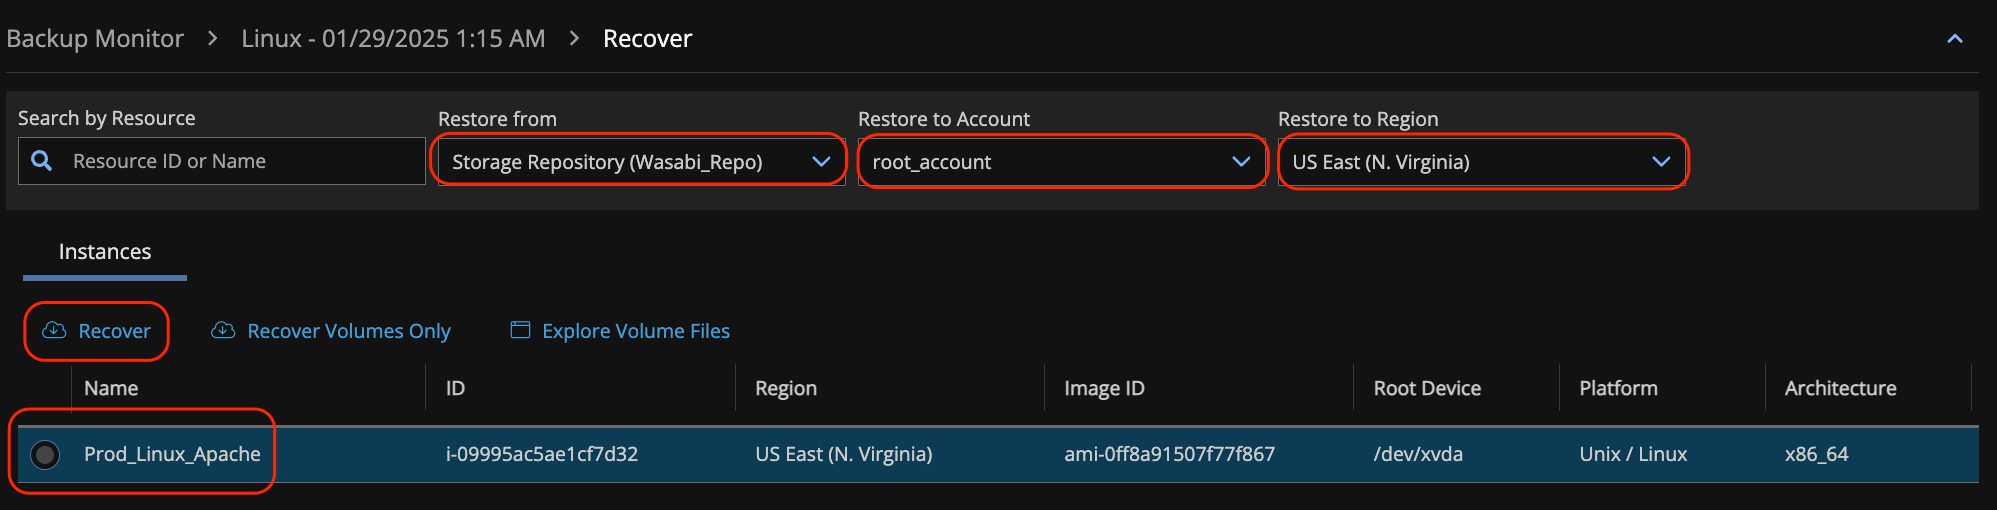
Click the radio button next to an instance and select the following from the drop-down.
Select the Wasabi repository under Restore from.
Select the appropriate account under Restore to Account.
Select the appropriate AWS/Azure region under Restore to Region.
Click Recover.
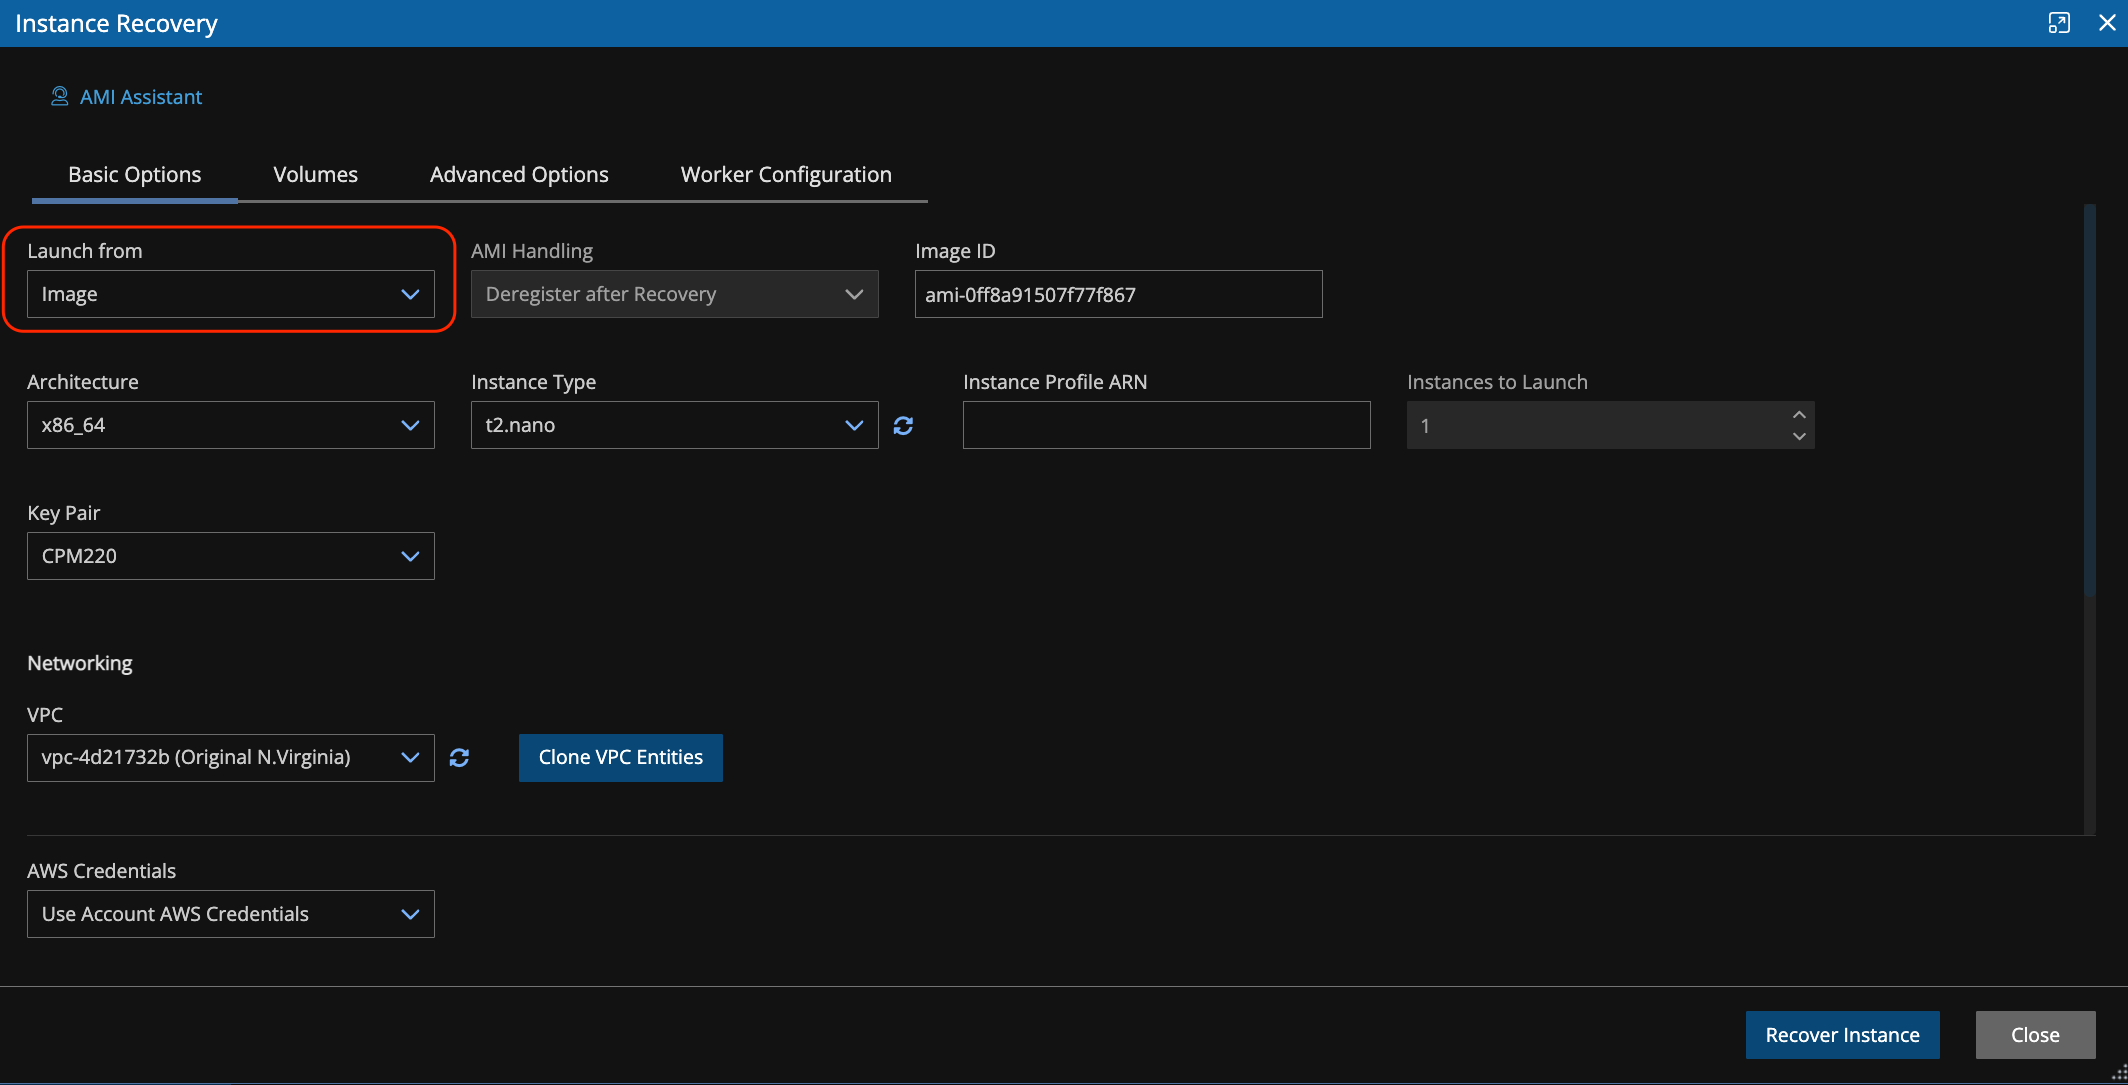
Select Image under the Launch from drop-down.
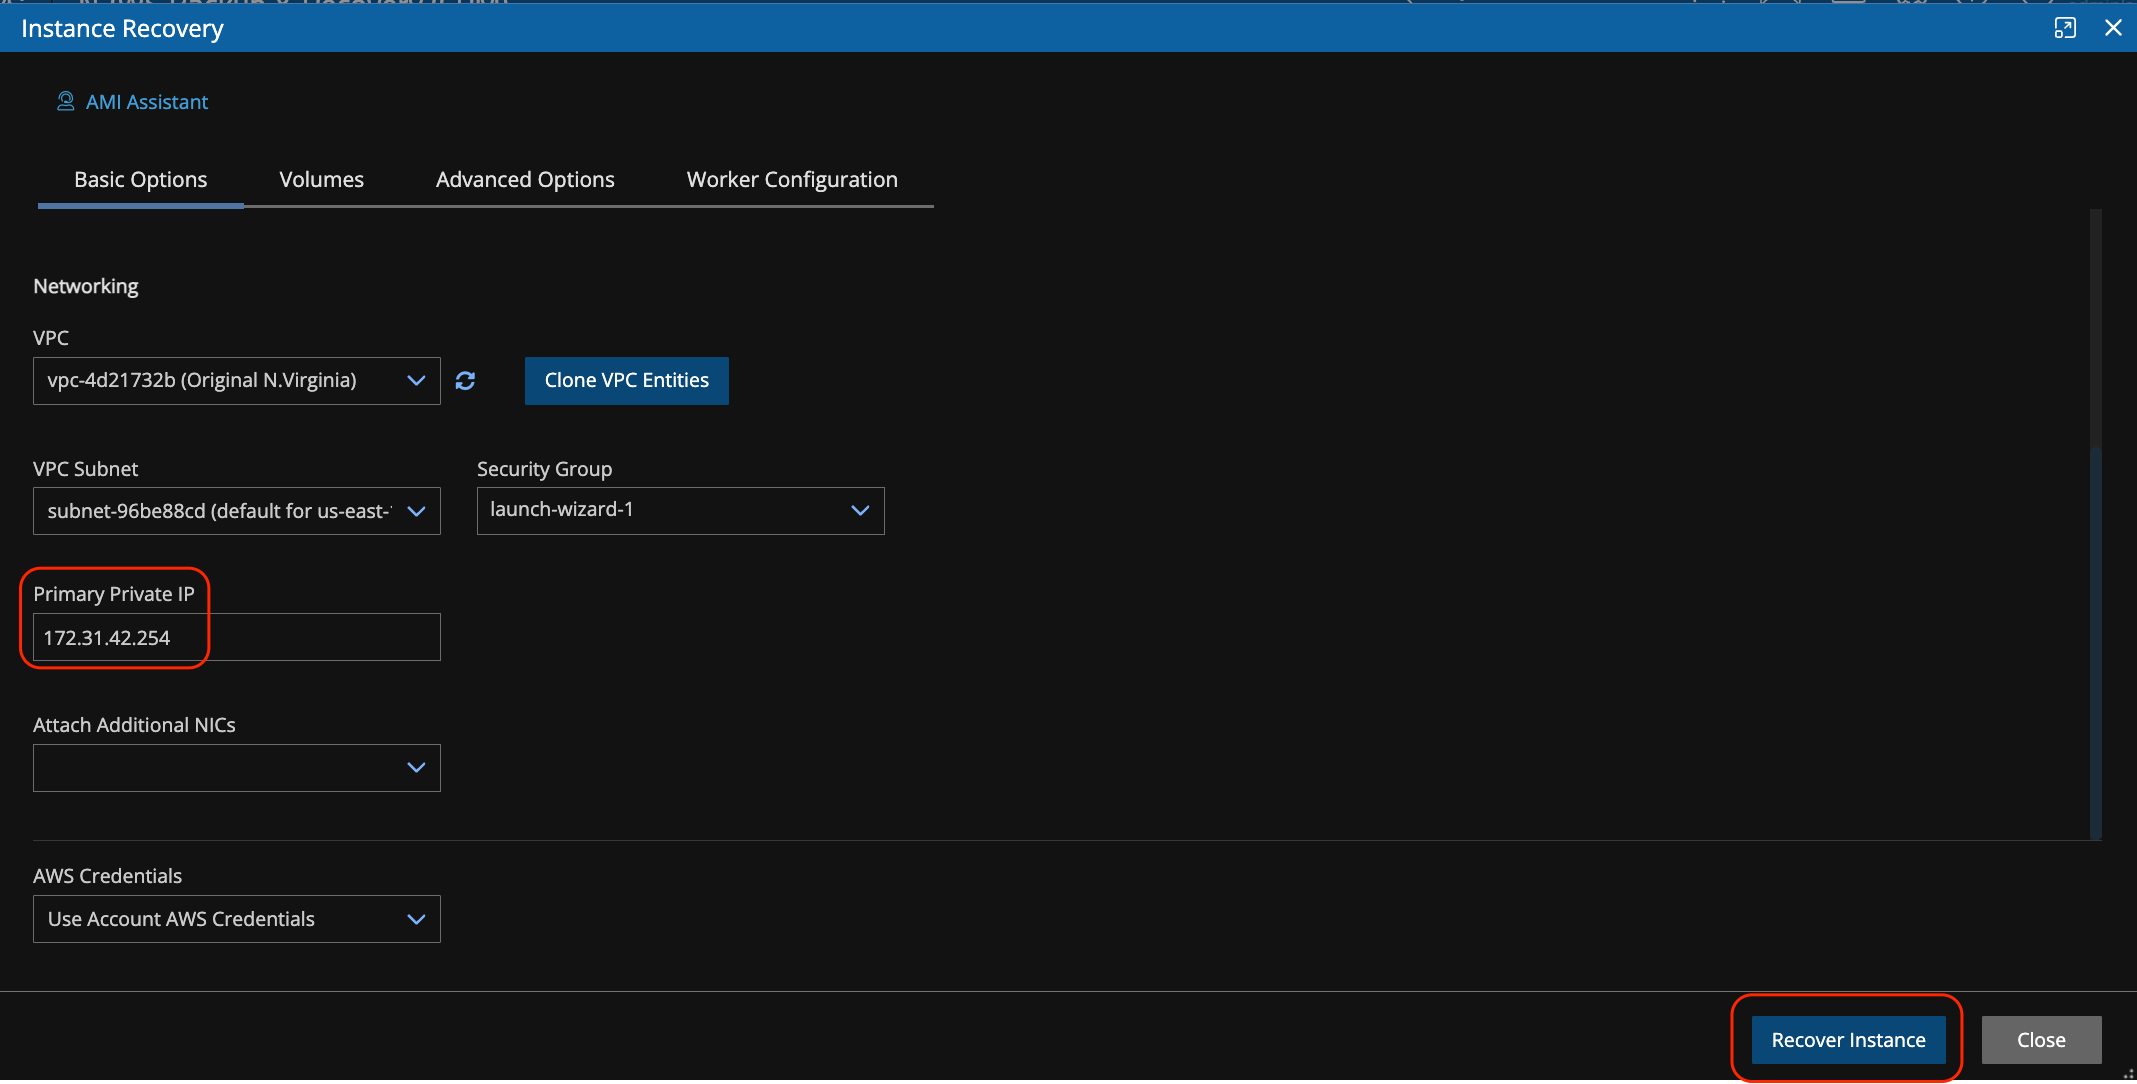
Change the Primary Private IP to be an unused IP in the VPC subnet. In this example we are using 172.31.42.254. Ensure that it is unused before proceeding. Click Recover Instance.
Click Recover on the popup window.
Click Recovery Monitor tab. You will see the restore status as Initializing recovery.

Refresh the page until you see the status is Recovery succeeded.

Technical Support
For questions about N2W, use this email to contact N2W Support (support@n2ws.com). For questions about Wasabi, use this email to contact Wasabi Support: support@wasabi.com.