How do I use Akamai CDN with Wasabi?
Akamai's Adaptive media delivery product has been validated for use with Wasabi. Follow the steps below to activate Wasabi cloud storage with Akamai's CDN network.
Requirements
Active Akamai account
Active Wasabi account
Active public domain
Administrator access to the domain provider
The instructions provided below use a test domain, support@wasabi.com, that will be associated with Akamai's CDN network. The test domain is owned and managed by GoDaddy.com and includes administrative rights to edit domain information (such as DNS values).
Uploading Data to Wasabi Storage
Wasabi has verified many S3 clients for uploading data. For more details on the products and vendors that are verified for use with Wasabi, refer to our knowledge base articles. To deliver uploaded data to a CDN vendor, such as Akamai, the data stored in Wasabi must be enabled for public access. There are two ways to allow public access:
Enable public access to specific objects — For more information, review Public Access Override: Enabling/Disabling.
Enabling public access to all objects in a bucket or folder — For more information, review How Can I Make a Bucket or a Folder inside a Bucket Public?.
Configuring Akamai
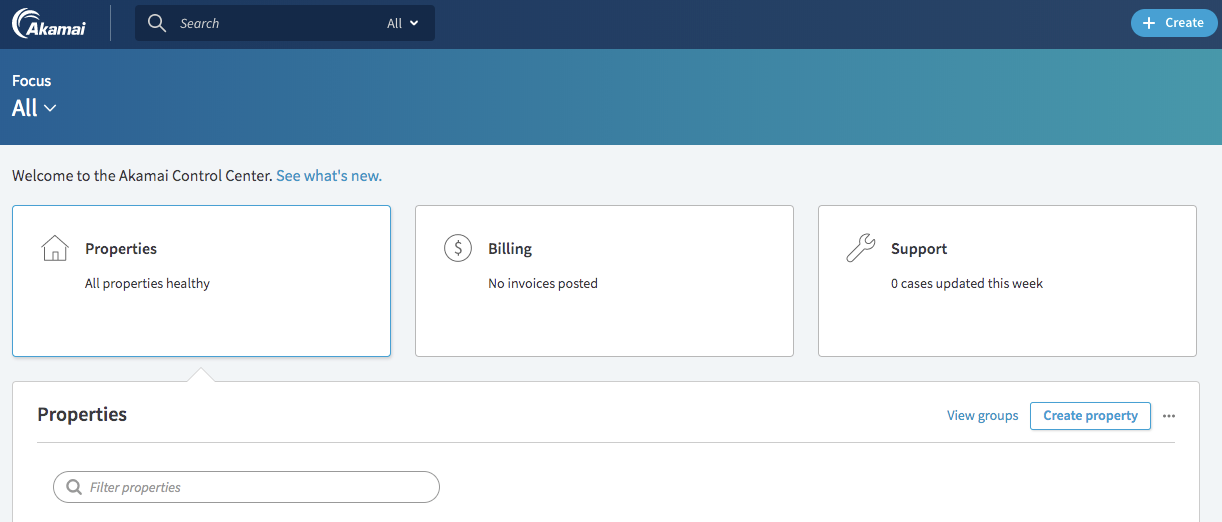
Log in to your Akamai Control Center portal.

Select Properties. Click Create property.
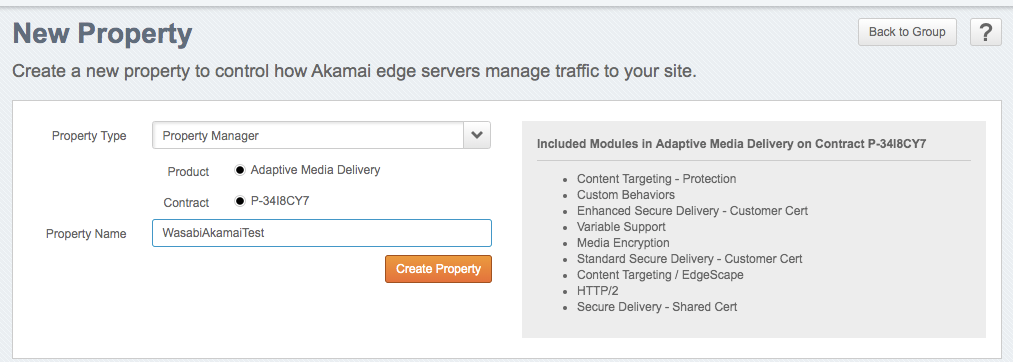
In the Property Name field, provide a name. Click Create Property.
The property name is only for internal Akami use. For recommendations, contact Akamai.
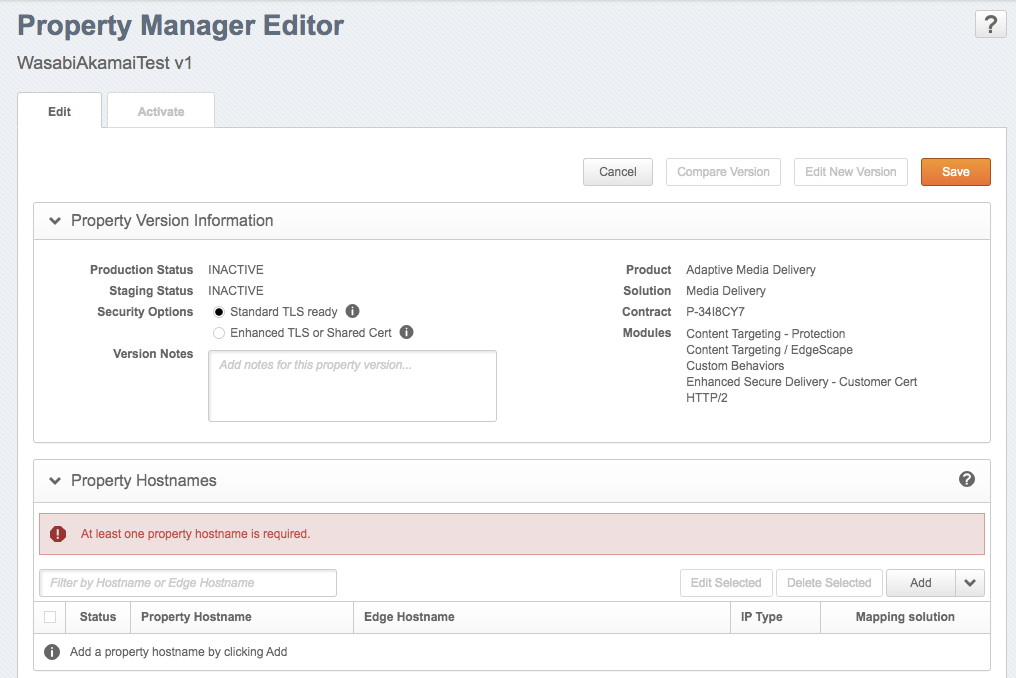
Under Property Hostnames, click Add.
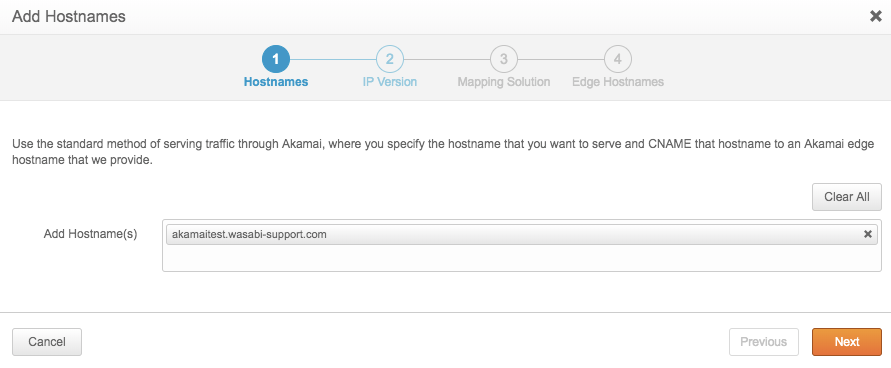
A pop-up will appear and request the following:
Hostname — In the example below, we are using the hostname akamaitest.wasabi-support.com, where “wasabi-support.com” is the top-level domain and “akamaitest” is the sub-domain. Click Next.
IP Version — Select IPv4 only. Click Next.
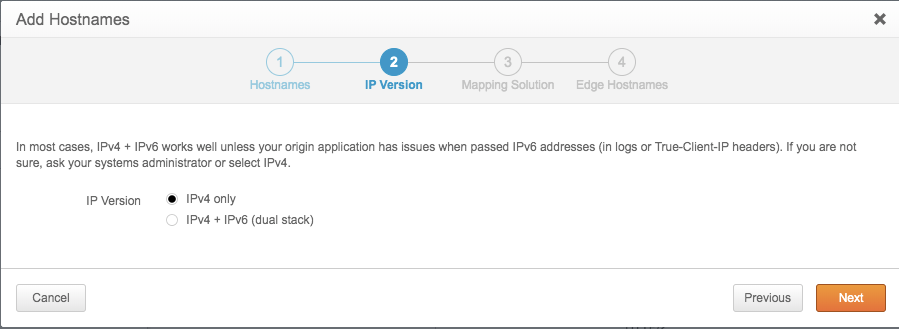
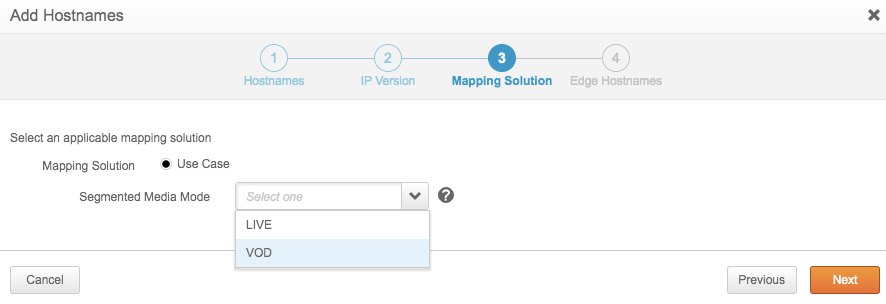
Mapping Solution — Select a mapping solution. In this integration, we are using VOD. Click Next.
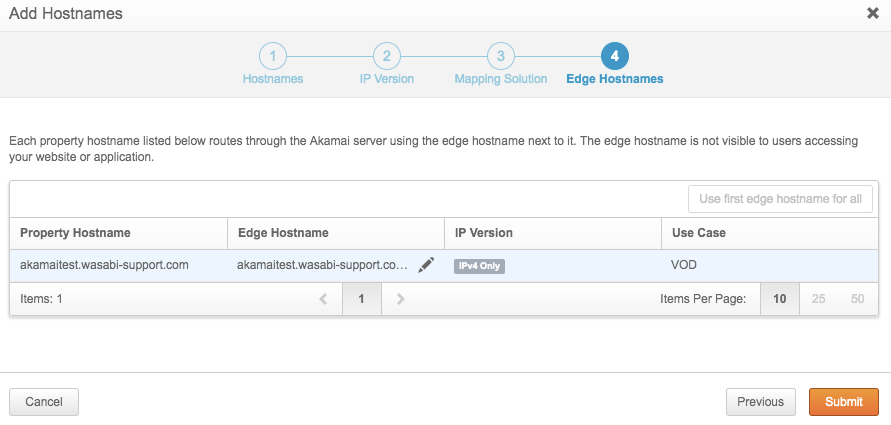
Edge Hostnames — Verify the Edge Hostname and click Submit.
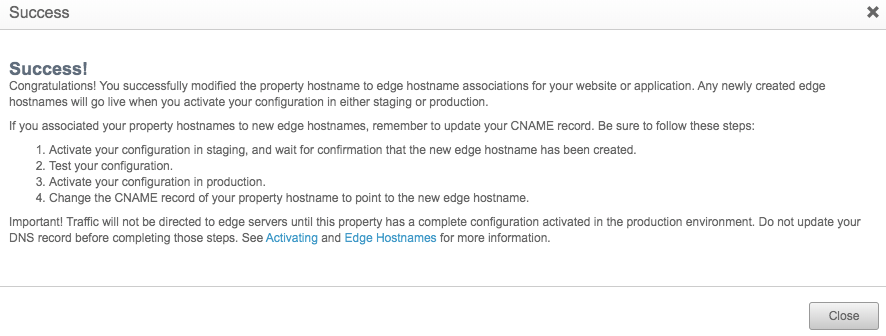
You will be presented with a confirmation that the property hostname was successfully changed. Click Close.
Select the Property Configuration Settings tab. Under Behaviors, click the Origin Type drop-down and select Your Origin.
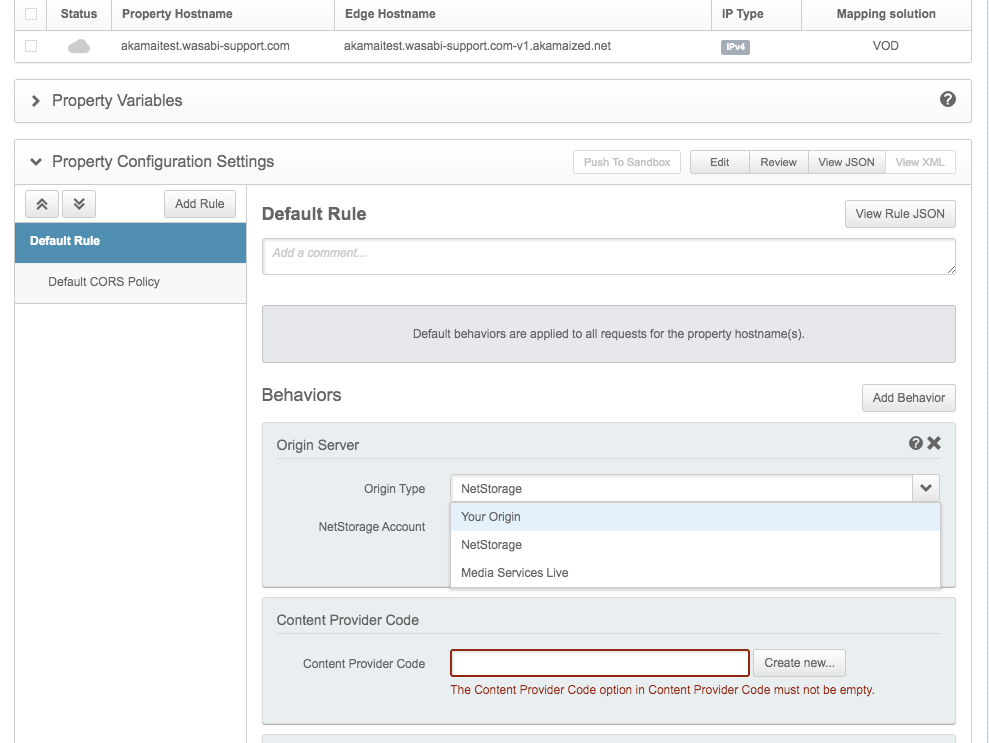
Provide the following information:
Origin Type — Your Origin
Origin Server Hostname — s3.us-west-1.wasabisys.com
Forward Host Header — Origin Hostname
Cache Key Hostname — Origin Hostname
This example discusses the use of Wasabi's us-west-1 storage region. To use other Wasabi storage regions, use the appropriate Wasabi service URL as described in Service URLs for Wasabi's Storage Regions.
Additional information is provided below on configuring Akamai using different Wasabi storage regions as part of the same property.
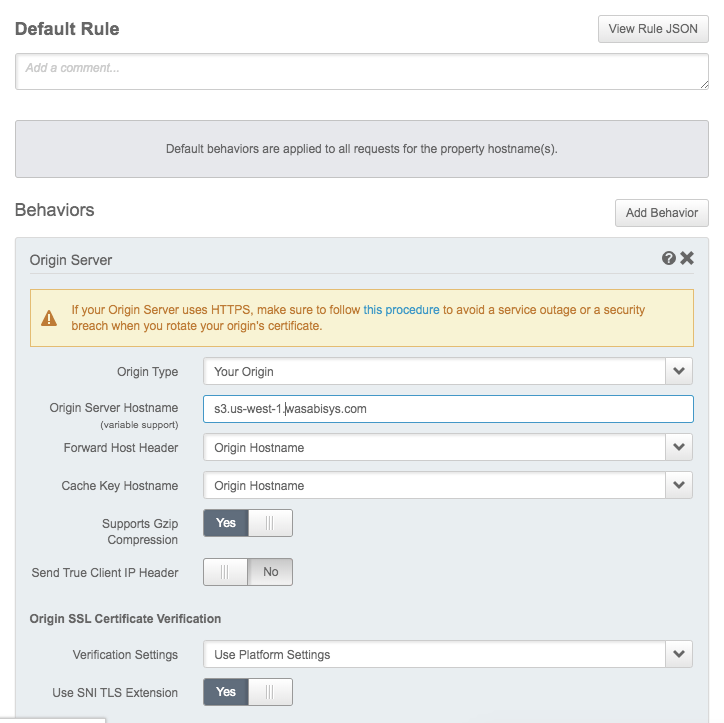
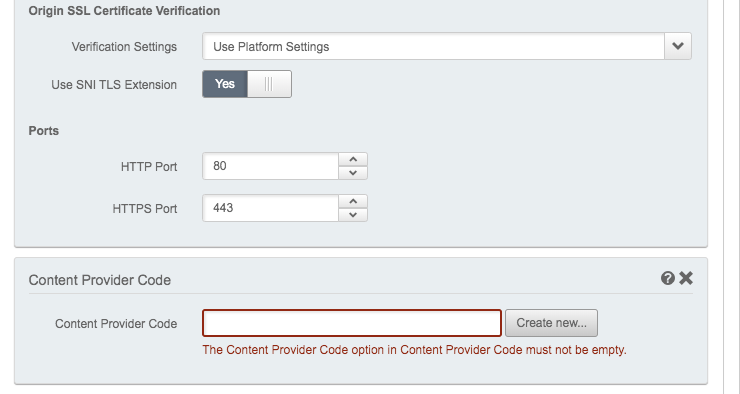
Leave the default values for SSL and Ports, as shown below. Under Content Provider Code, click Create New.
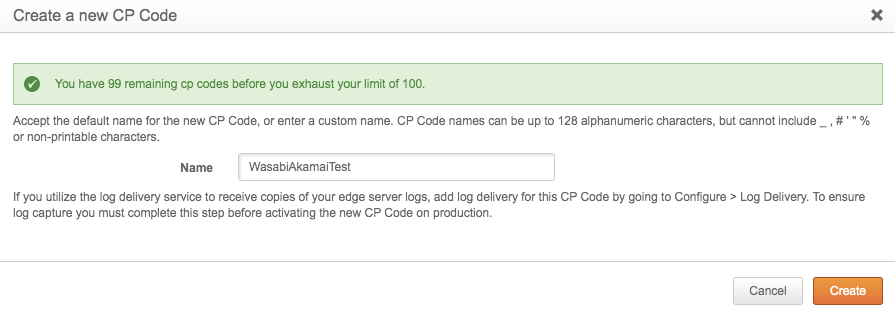
The content provider code is used for Akamai's billing and reporting purposes. For more details, contact Akamai.
A pop-up will provide a default Content Provider Code name. Click Create.
Leave the defaults for the configuration elements.
Scroll down to the end of the page and click Add Behavior.
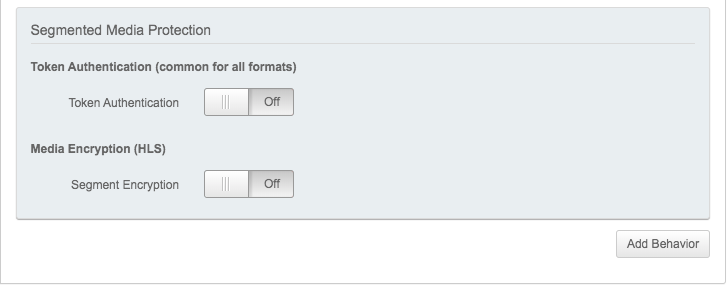
In the Add a Behavior for this Rule pop-up, enter "Origin Base Path" in the search field.
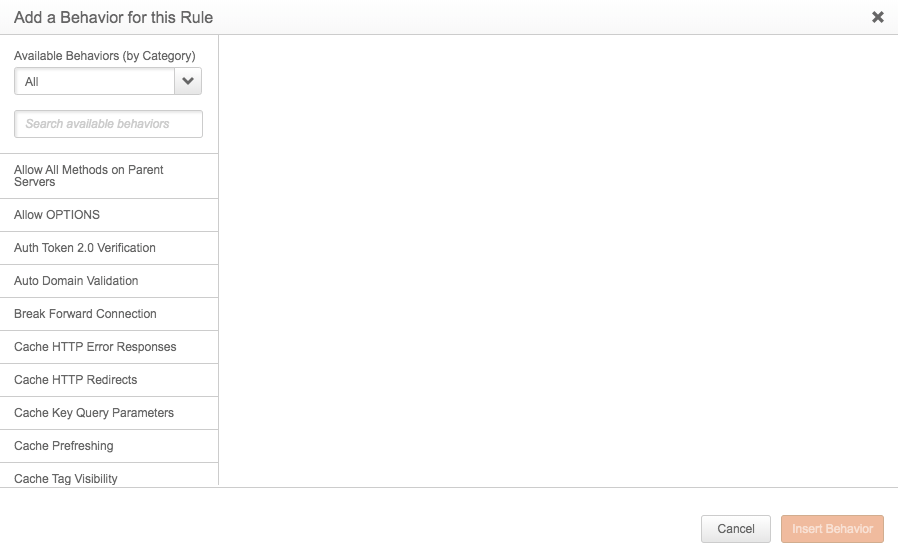
Click Insert Behavior.

Be sure that the Base Path value matches your cloud storage account. In the example below, the Wasabi account has a bucket named "akamawasabitest". We created a folder called "Videos" and inside this folder is a video asset named "Why Wasabi is Different_Wasabi.mp4". In this case, the base path provided in the Akamai control center would be "/akamaiwasabitest/Videos/".

Click Save.

Staging and Activating the Akamai Property
Select the Activate tab.
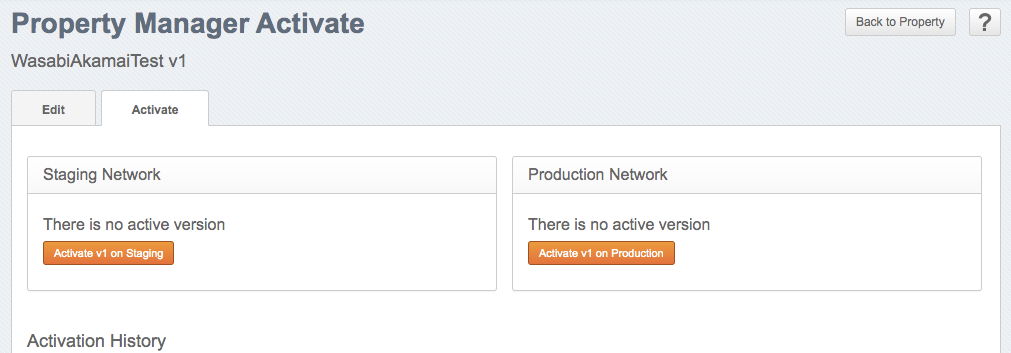
Click Activate v1 on Staging. The configuration, created above, will be verified.
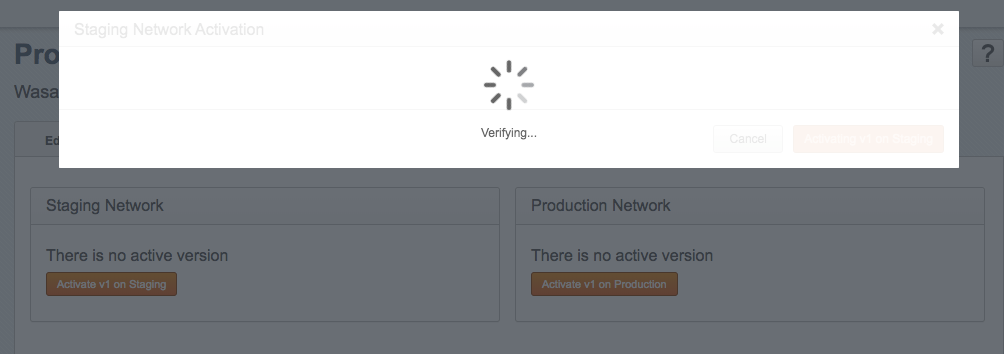
Click Activating v1 on Staging.
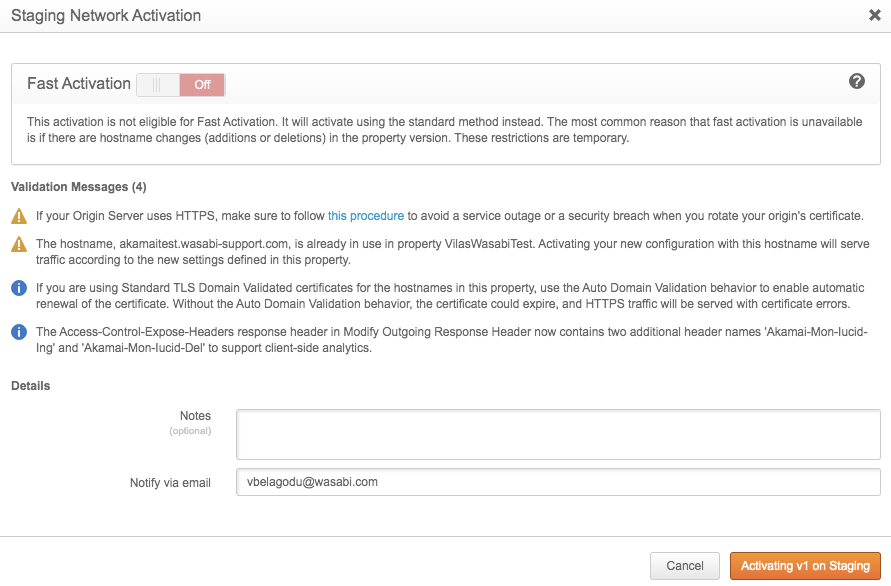
The activation process will take several minutes to complete.
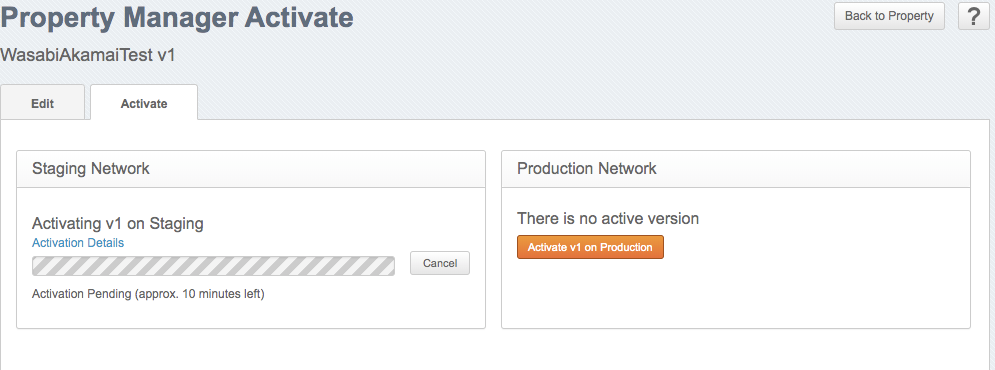
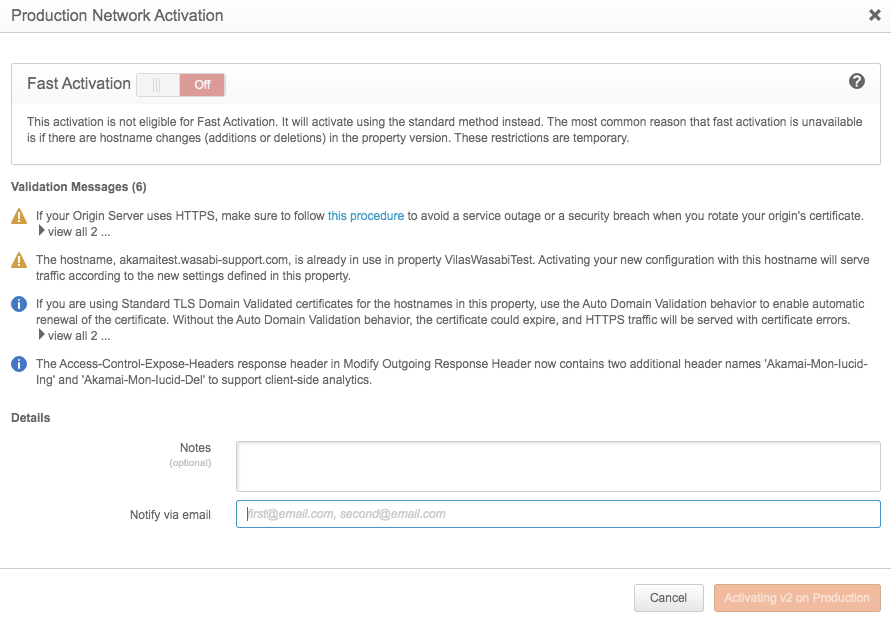
Once the staging activation is successfully completed, click Activate v2 on Production.

Provide an email address, then click Activating v2 on Production.
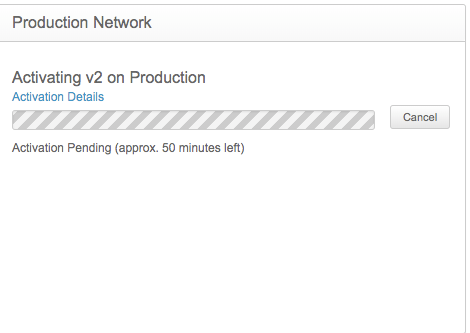
The activation may take one hour to complete.
Changes Required at DNS Hosting Provider
The wasabi-support.com domain is held by the GoDaddy hosting provider. Log in to your hosting provider's portal and add a CNAME entry, as shown below. Be sure to set:
Host — akamaitest
Points to — akamaitest.wasabi-support.com
TTL — 60 mins (can be different)

Enabling HTTPS Access
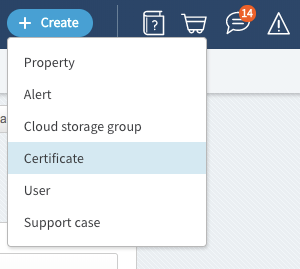
Click Create and select Certificate from the list.
Click Create New Certificate.

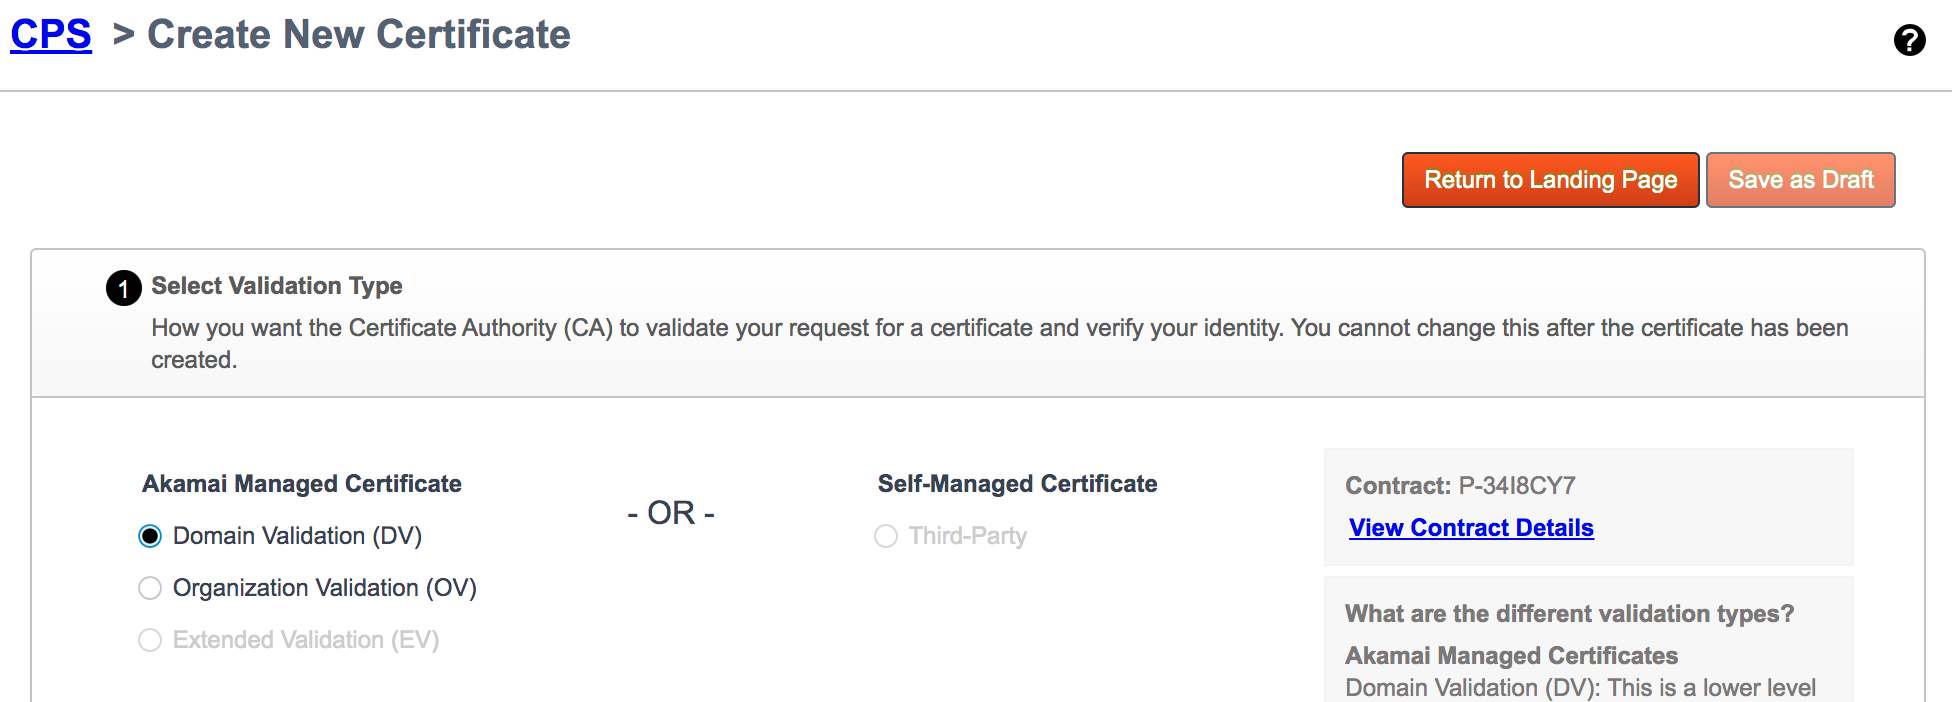
Select the best option to validate the website's identity. In the example below, Domain Validation (DV) is selected. Click Next.
For the Certificate Type, select Subject Alternative Names (SAN). Click Next.

Provide the following information and click Next.
common name for the certificate.
Company information (such as address, contact information, and so on).

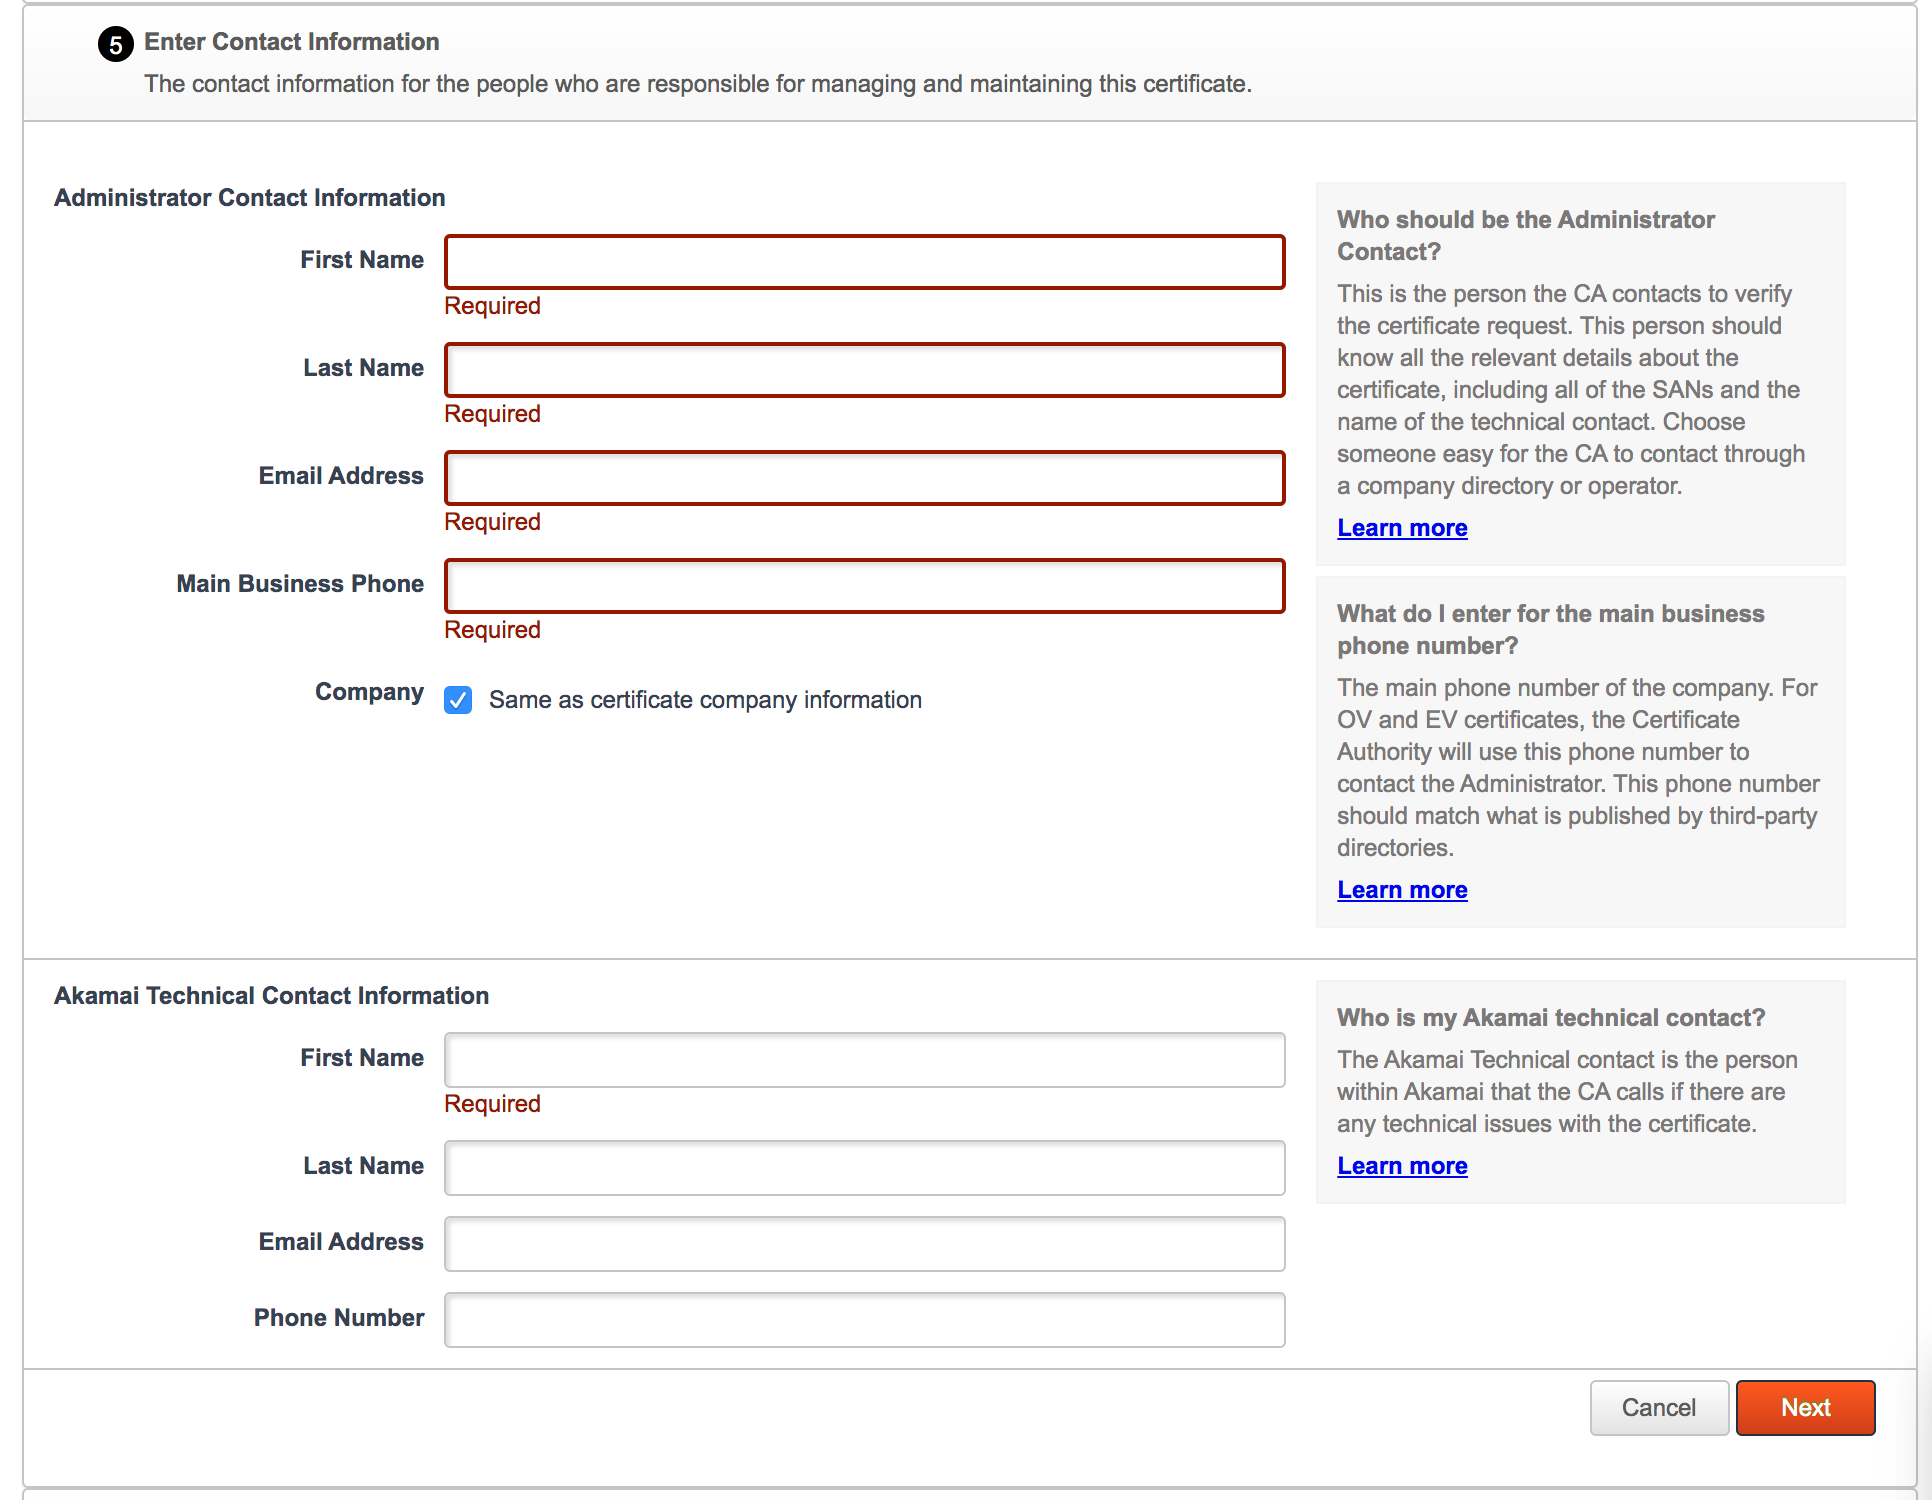
Provide contact details.
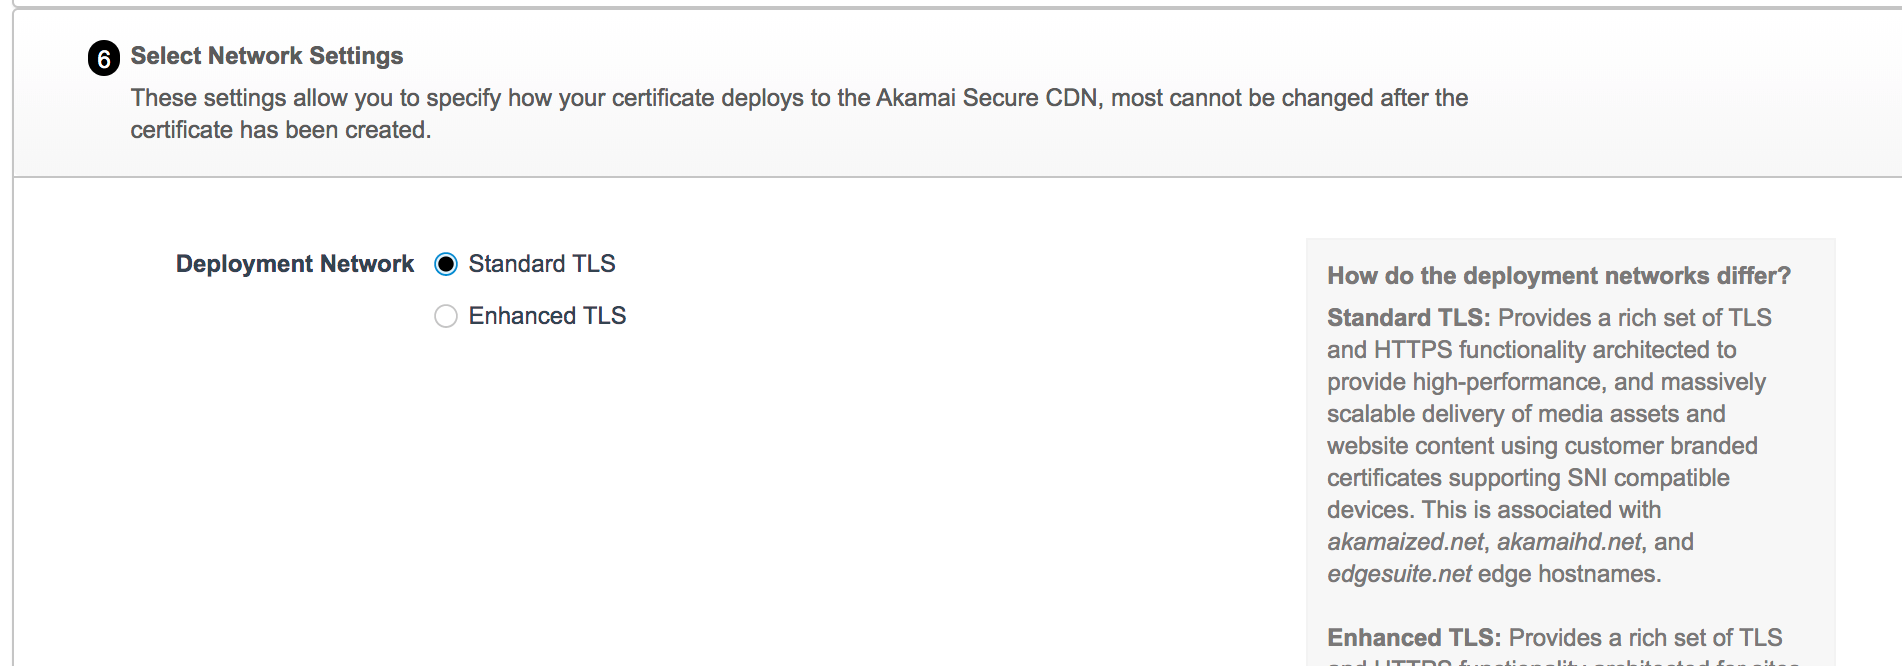
Select Standard TLS. Click Review.
Click Submit.

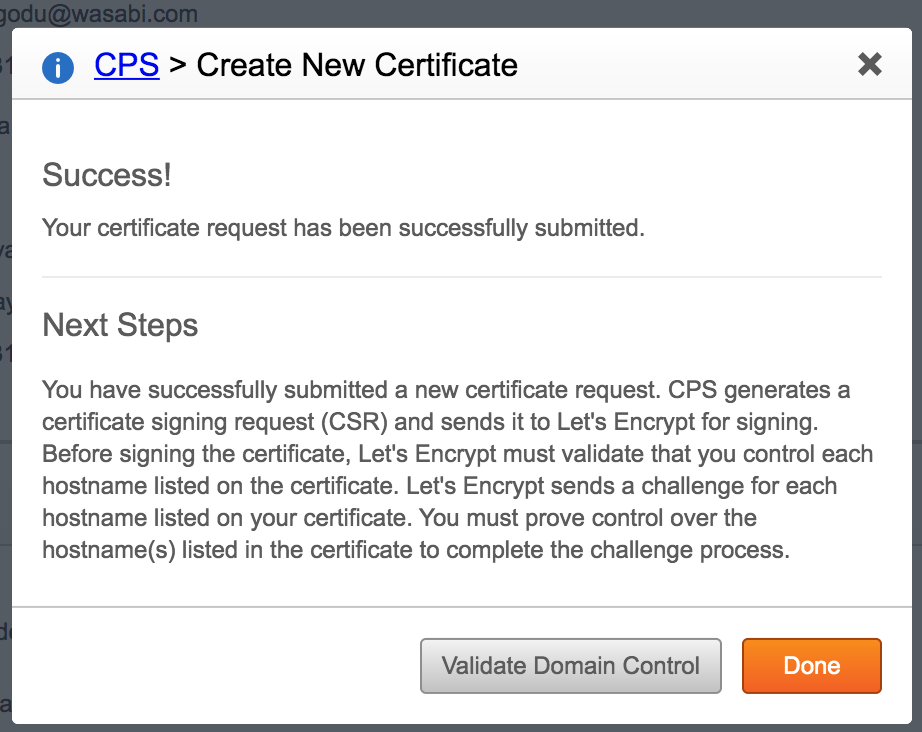
A pop-up will appear requesting that you validate the domain, as shown below. Click Validate Domain Control. Be sure to take the appropriate steps with the website hosting vendor to validate the domain.
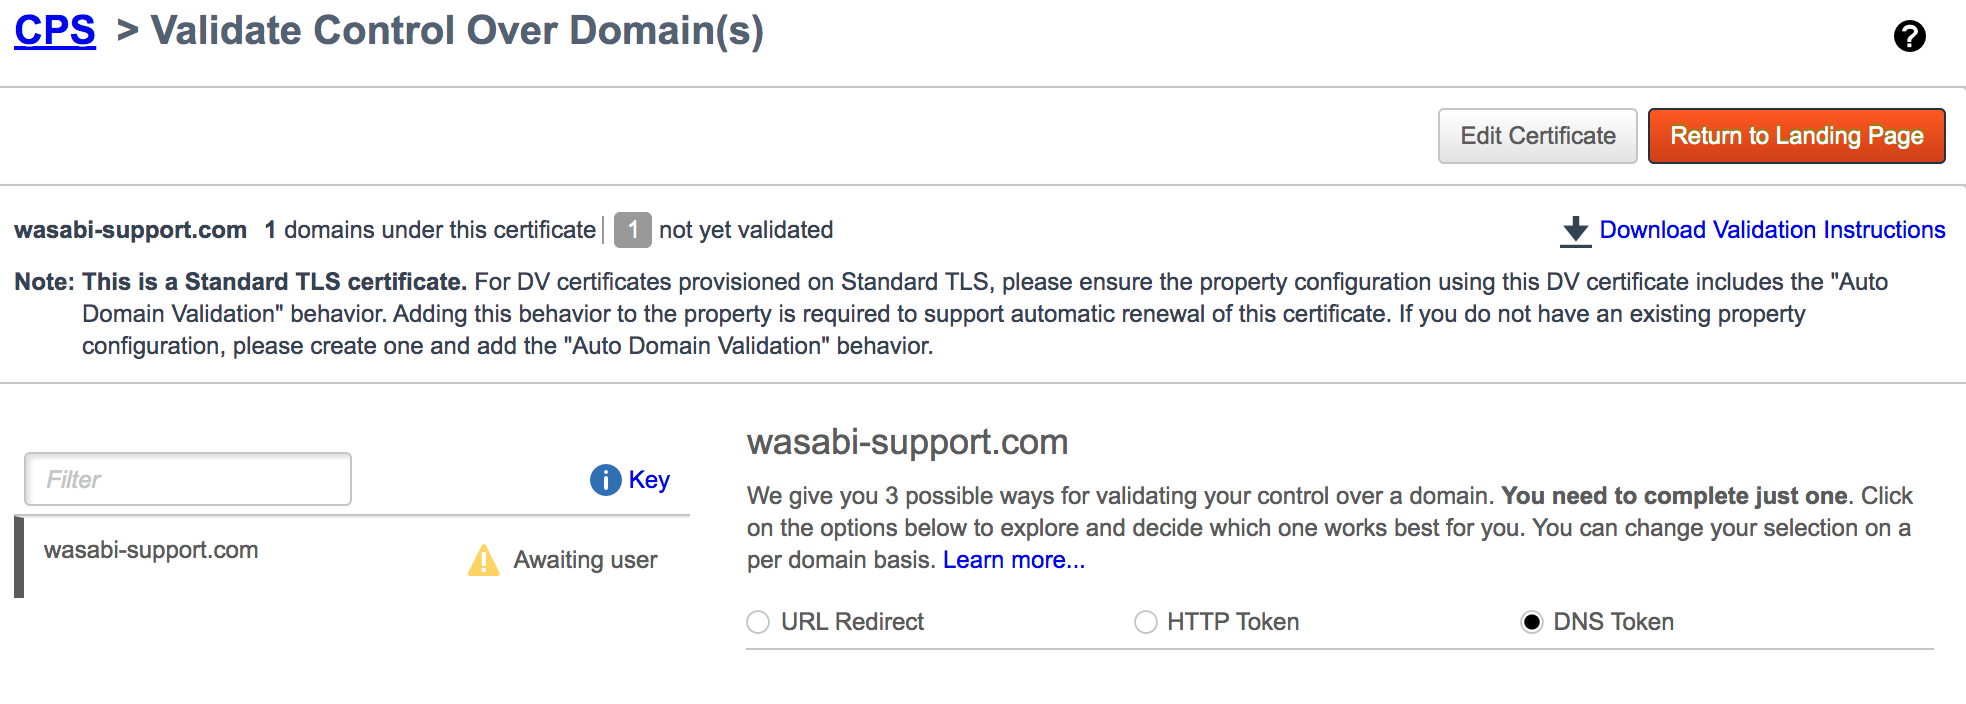
In the example below, the domain is validating via DNS Token and a TXT value.
Accessing Hosted Content Using Akamai CDN
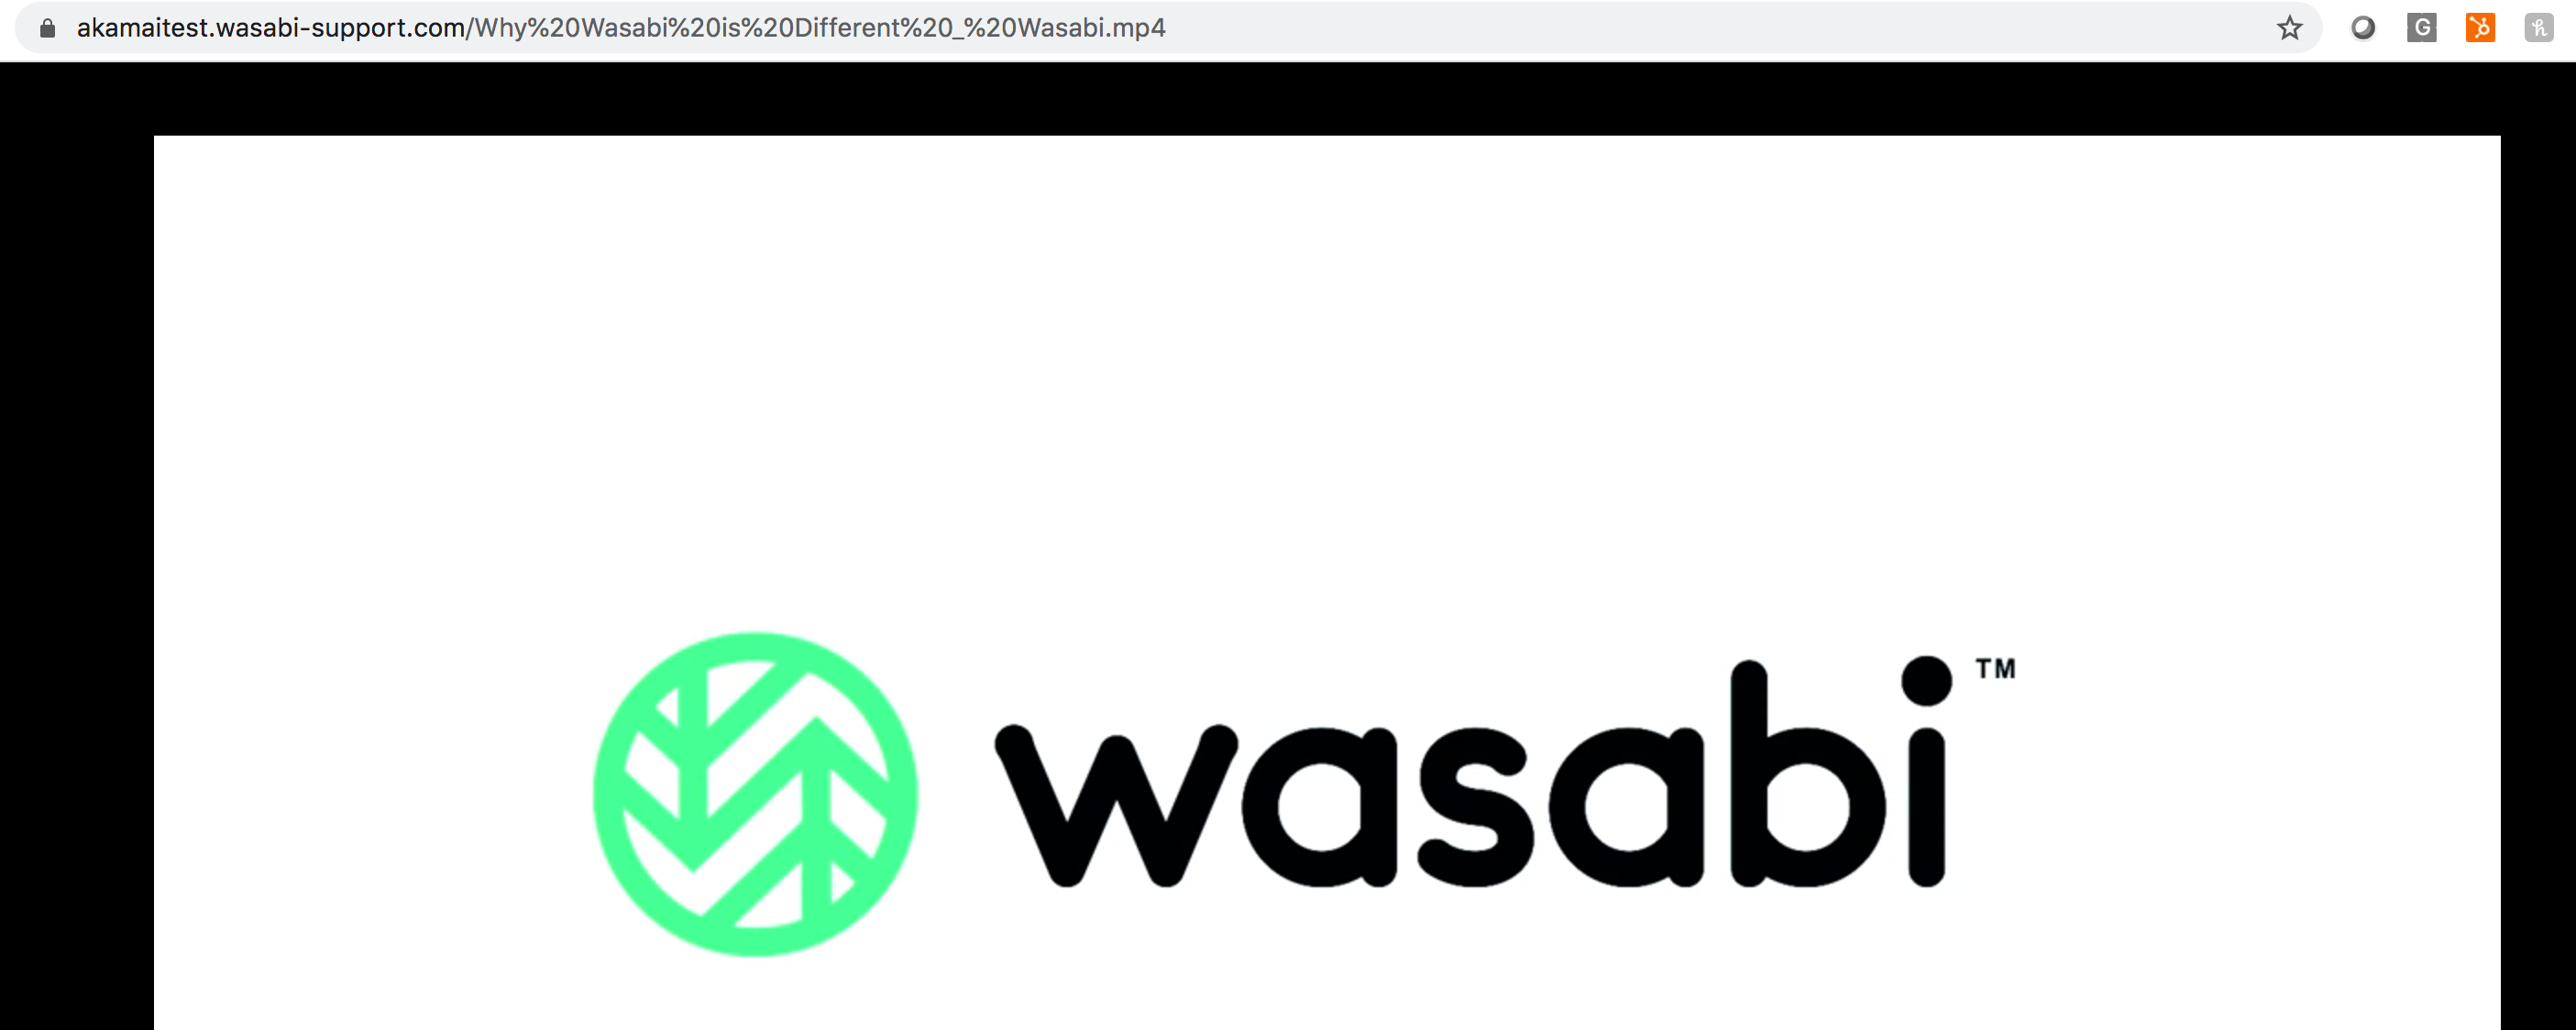
In a new browser, navigate to https://akamaitest.wasabi-support.com/Why%20Wasabi%20is%20Different%20_%20Wasabi.mp4.
URL is HTTPS based.
Top level URL contains akamaitest.wasabi-support.com.
Since the base path is "akamaiwasabitest/Videos", the asset needs to be called out after the URL.
Adding Different Wasabi Regions to the Same Property
Under Property Configuration Settings, click Add Rule.
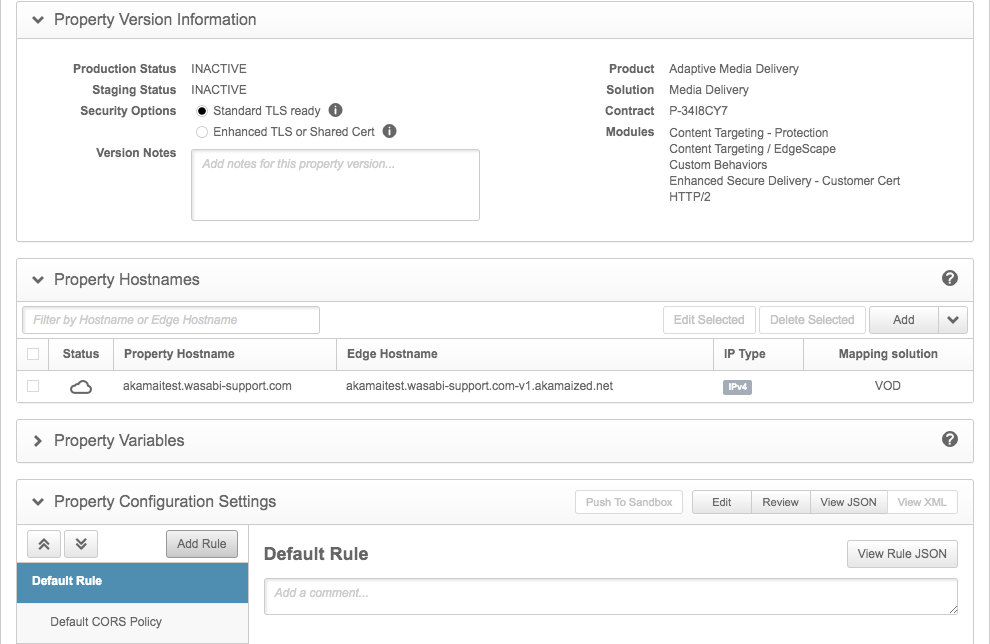
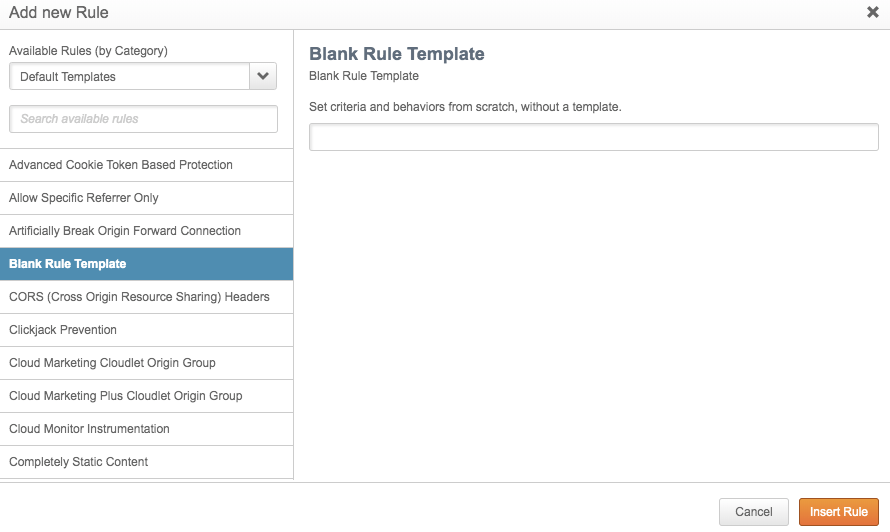
Select Blank Rule Template and click Insert Rule.
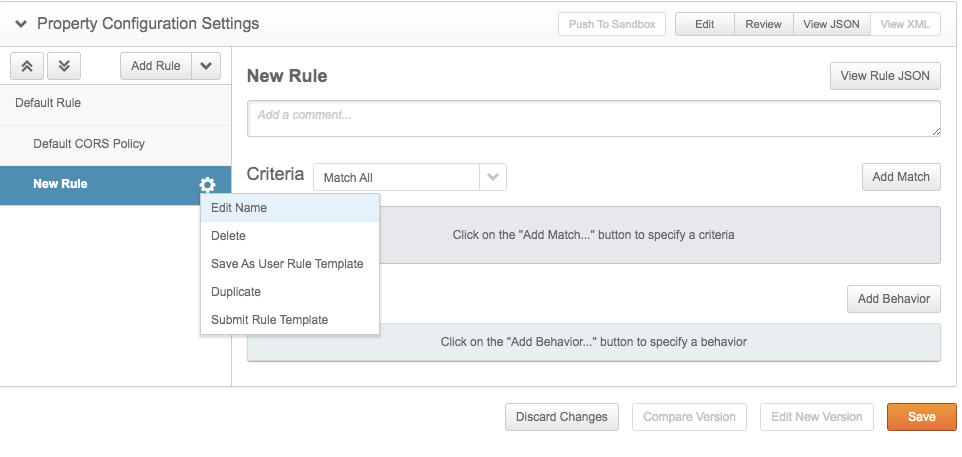
Hover over the right of the newly created rule (New Rule) and click the gear icon. Select Edit Name.
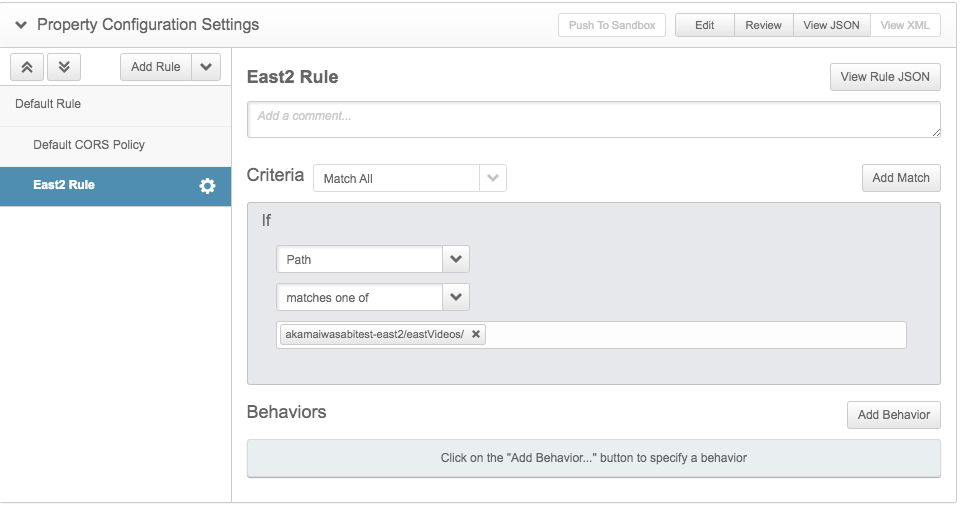
Provide a name. In the example below, the name is East2 Rule. Click Add Match, select Path in the first drop-down list, and select matches one of in the second drop-down list. Provide the bucket/folder path.
Click Add Behavior. In the pop-up, search for "Origin Server". Click Insert Behavior.
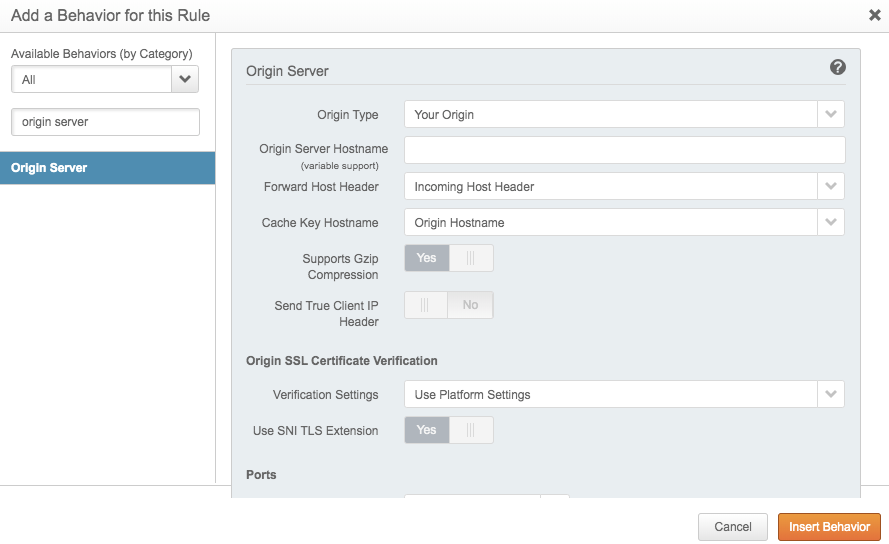
Provide the following information, then click Save.
Origin Type — Your Origin
Origin Server Hostname — s3.us-east-2.wasabisys.com
Forward Host Header — Origin Hostname
Cache Key Hostname — Origin Hostname
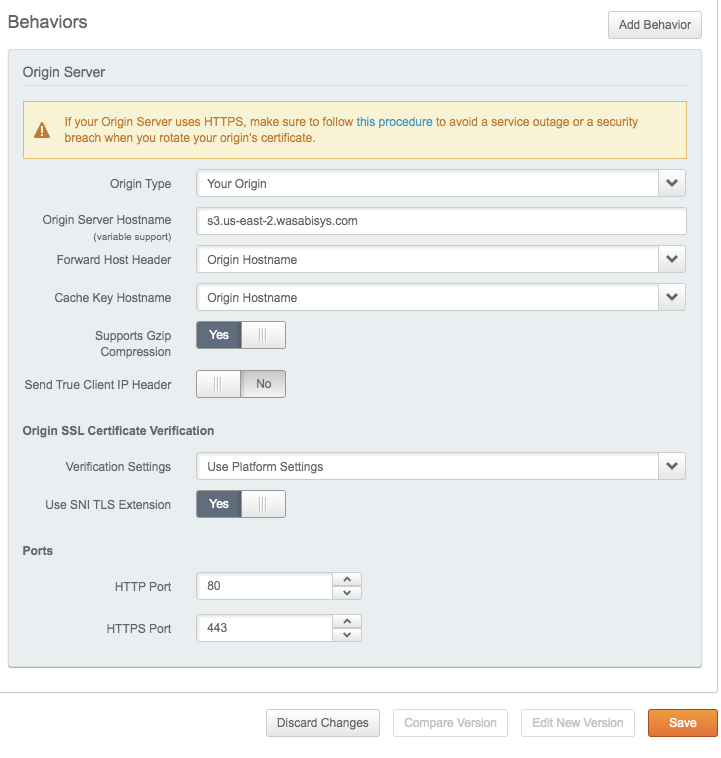
Repeat the steps in 'Adding Different Wasabi Regions to the Same Property' to add more Wasabi regions to your Akamai property.