Wasabi has been validated for use with Thales CipherTrust Transparent Encryption (CTE). Thales CTE delivers data-at-rest encryption with centralized key management, privileged user access control and detailed data access audit logging.
1. Prerequisites
Active Wasabi Cloud Storage Account
Wasabi Bucket - See our Bucket Creation Guide
Access & Secret Key Pair - See our Access Keys Guide
Active Cipher Trust Manager
Access to CTE 7.3 Software
Red Hat Enterprise Linux 7 or 8 Instance
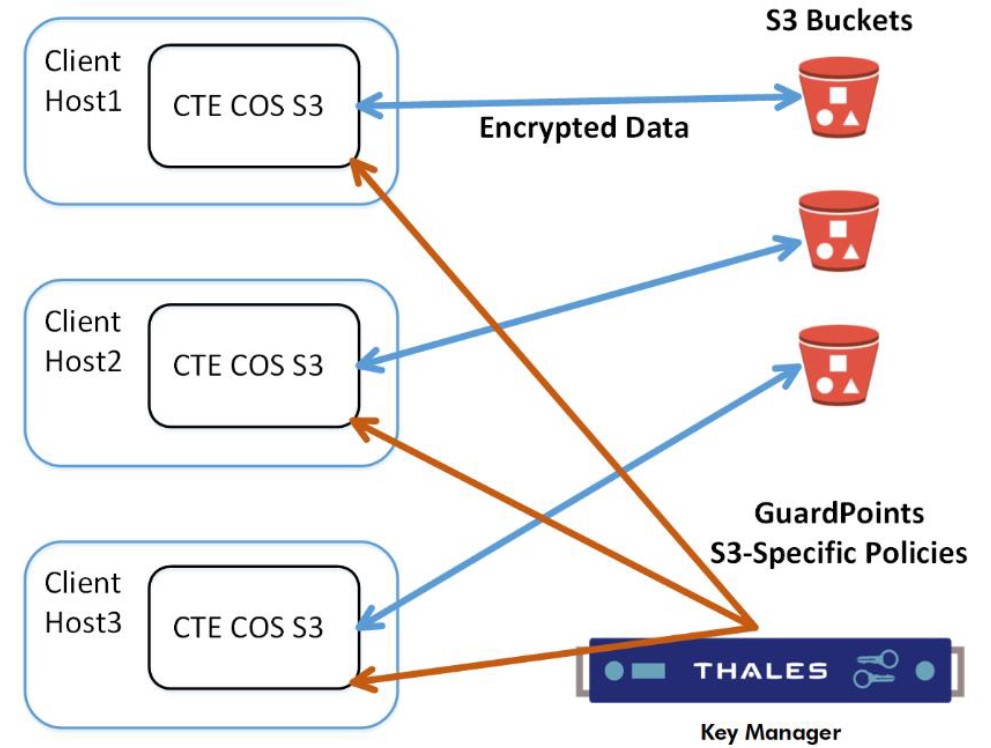
2. Reference Architecture
3. Create CTE User and Group
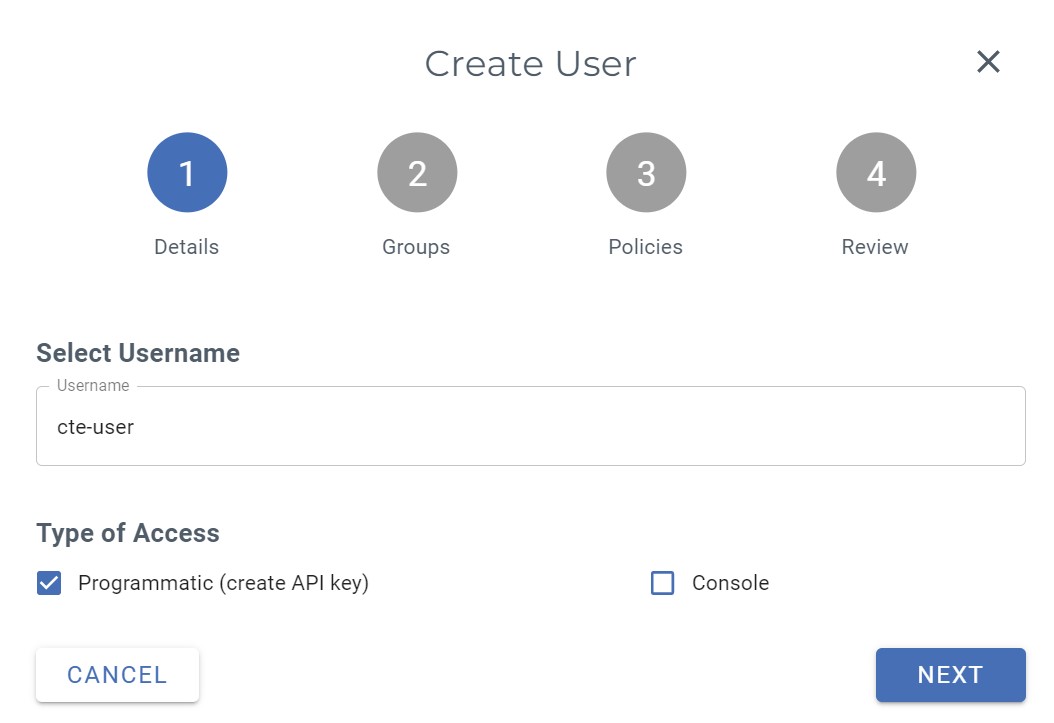
3.1 Create a CTE User account in your Wasabi Cloud Console. Click on Users in the left hand pane and then click on Create User on the right hand side.

3.2 Name the user, then select Programmatic (create API key). Click Next.
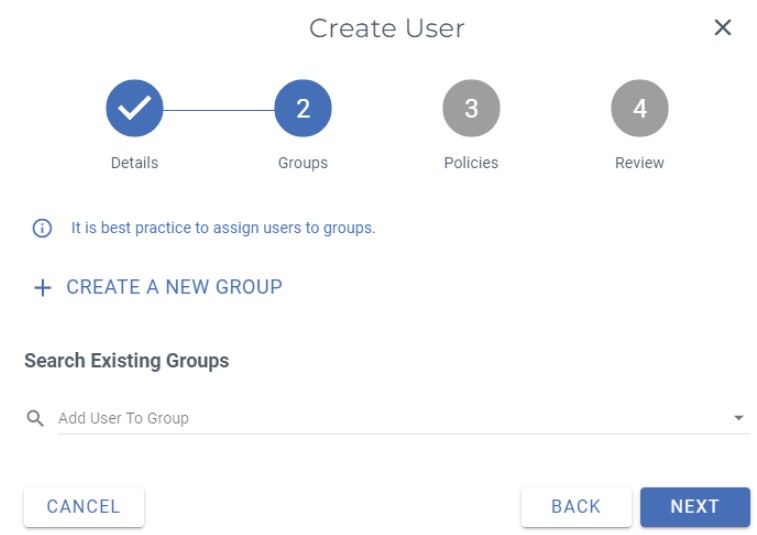
3.3 Next click + Create A New Group and name the group CTE and then click on Next at the bottom.
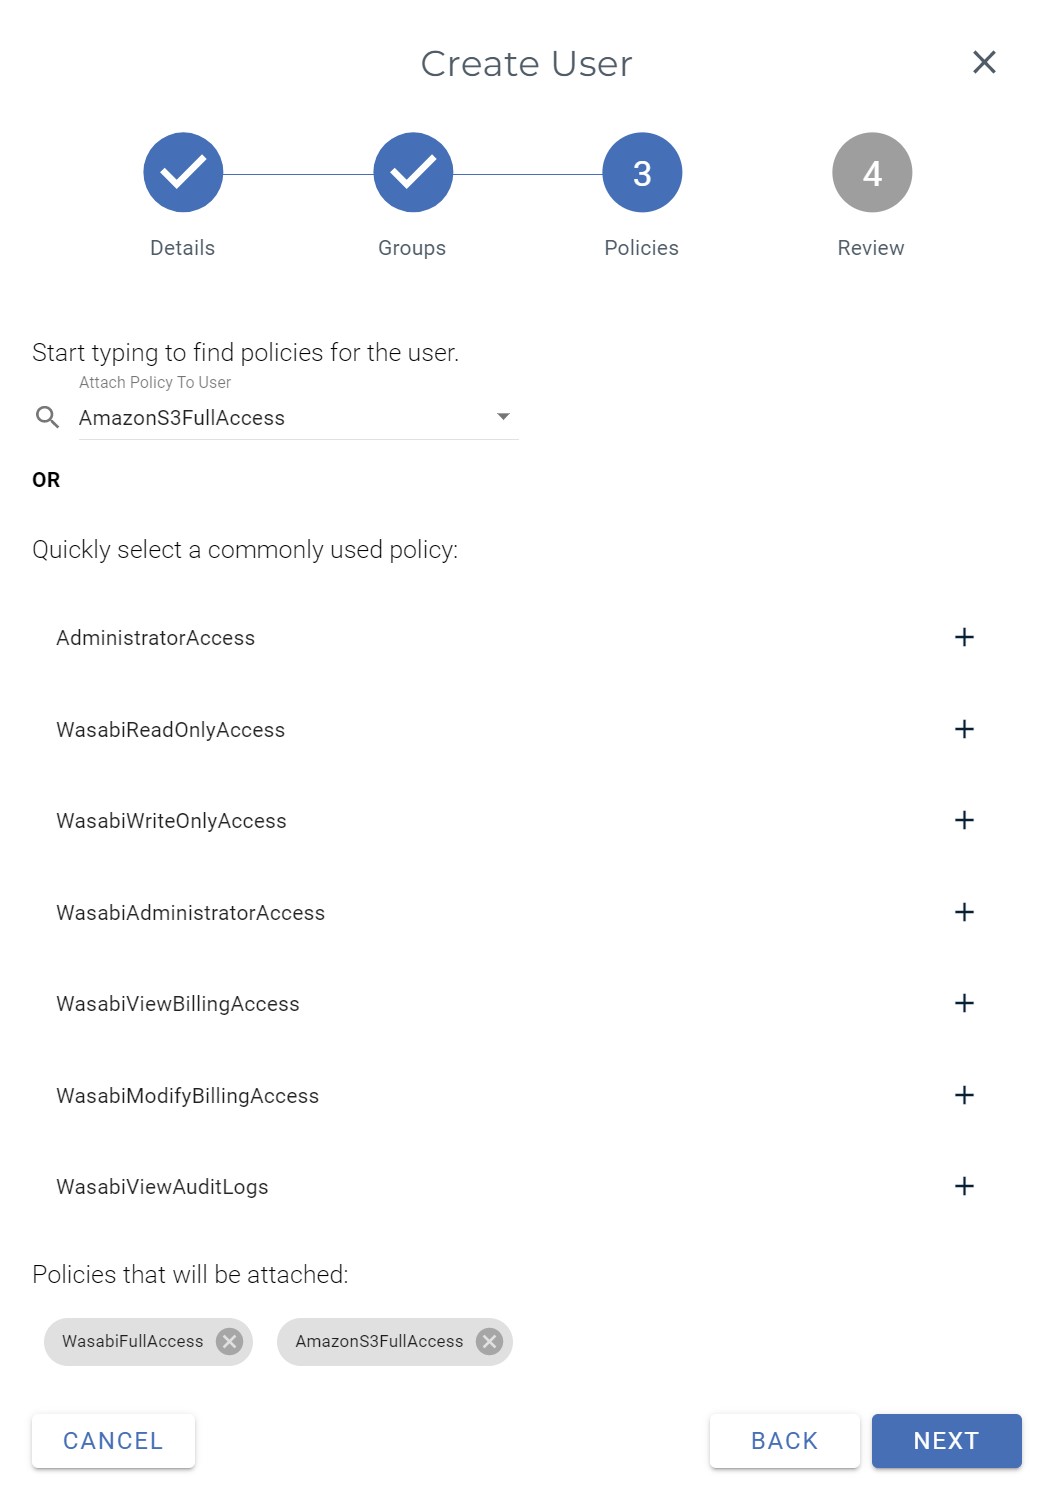
3.4 Add WasabiFullAccess and AmazonS3FullAccess policies to the group and then click Next.
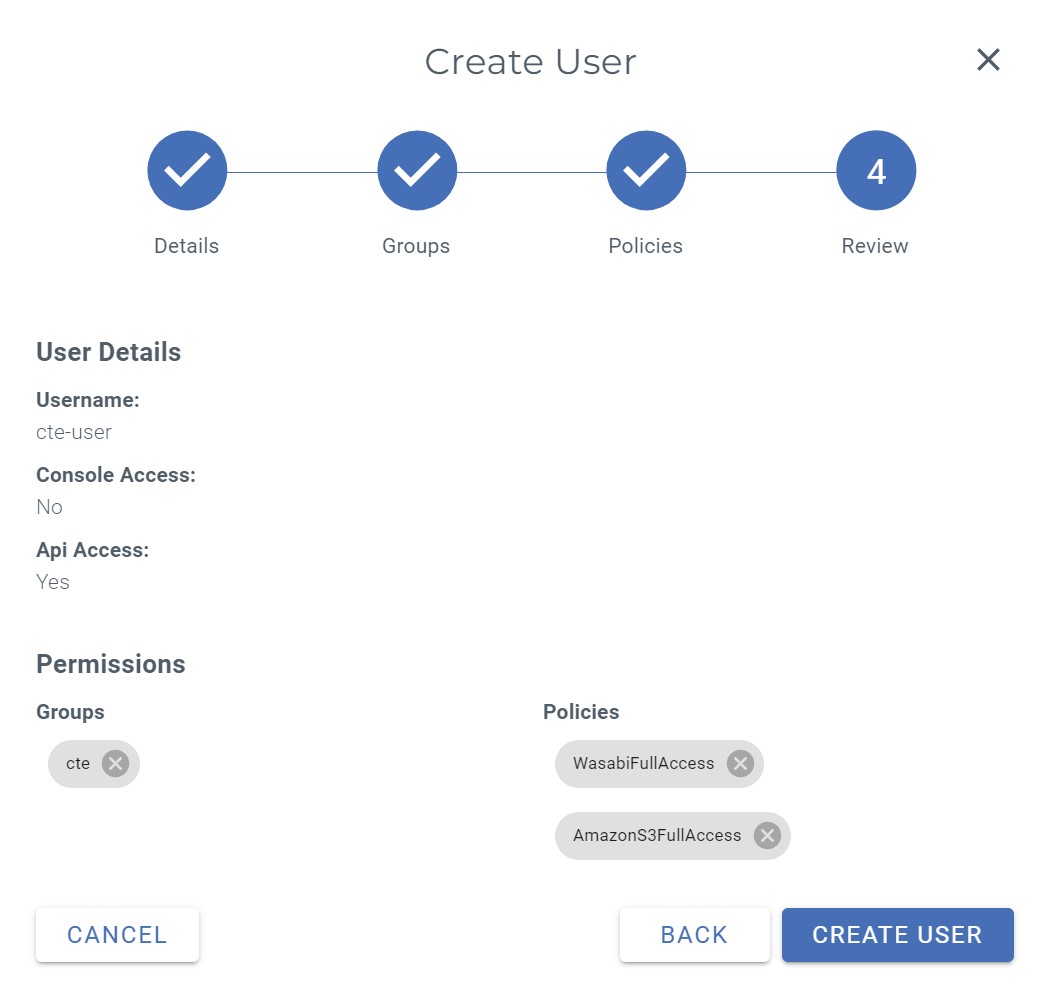
3.5 Verify the information and then click on Create User.
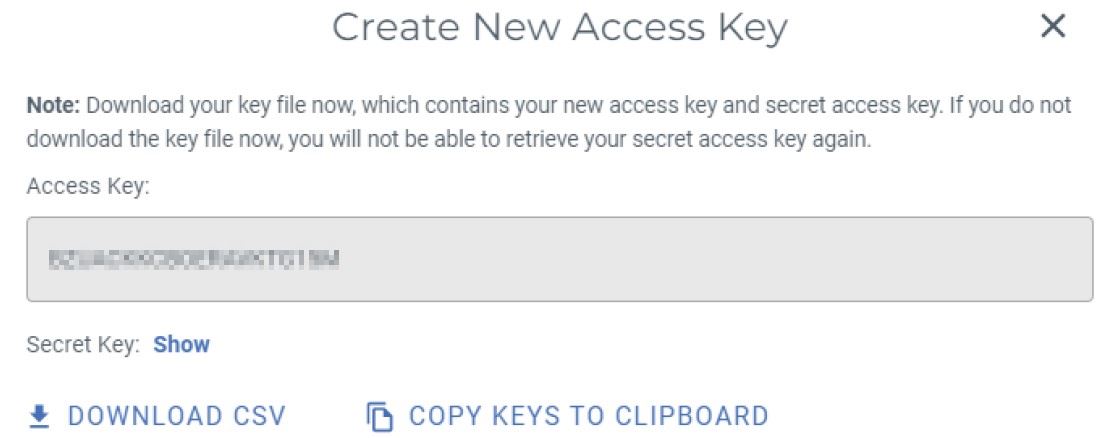
3.6 Download and save your newly created API Key Set for the user which will be used by the CTE Agent.
4. Test Access to Wasabi
4.1 Copy file to bucket.
aws s3 cp hello.txt s3://cte-wasabi-demo/ --endpoint-url=https://s3.us-east-1.wasabisys.com4.2 Verify file exists in Wasabi.
via cli
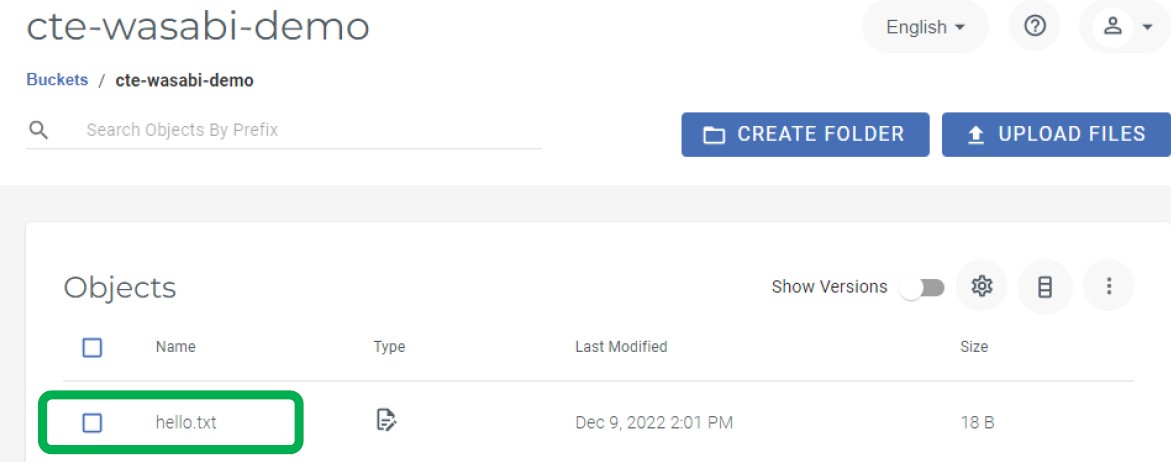
aws s3 ls s3://cte-wasabi-demo/ --endpoint-url=https://s3.us-east-1.wasabisys.comNote: This configuration example discusses the use of Wasabi's us-east-1 storage region. To use other Wasabi storage regions, please use the appropriate Wasabi service URL as described in our Wasabi Service URLs.
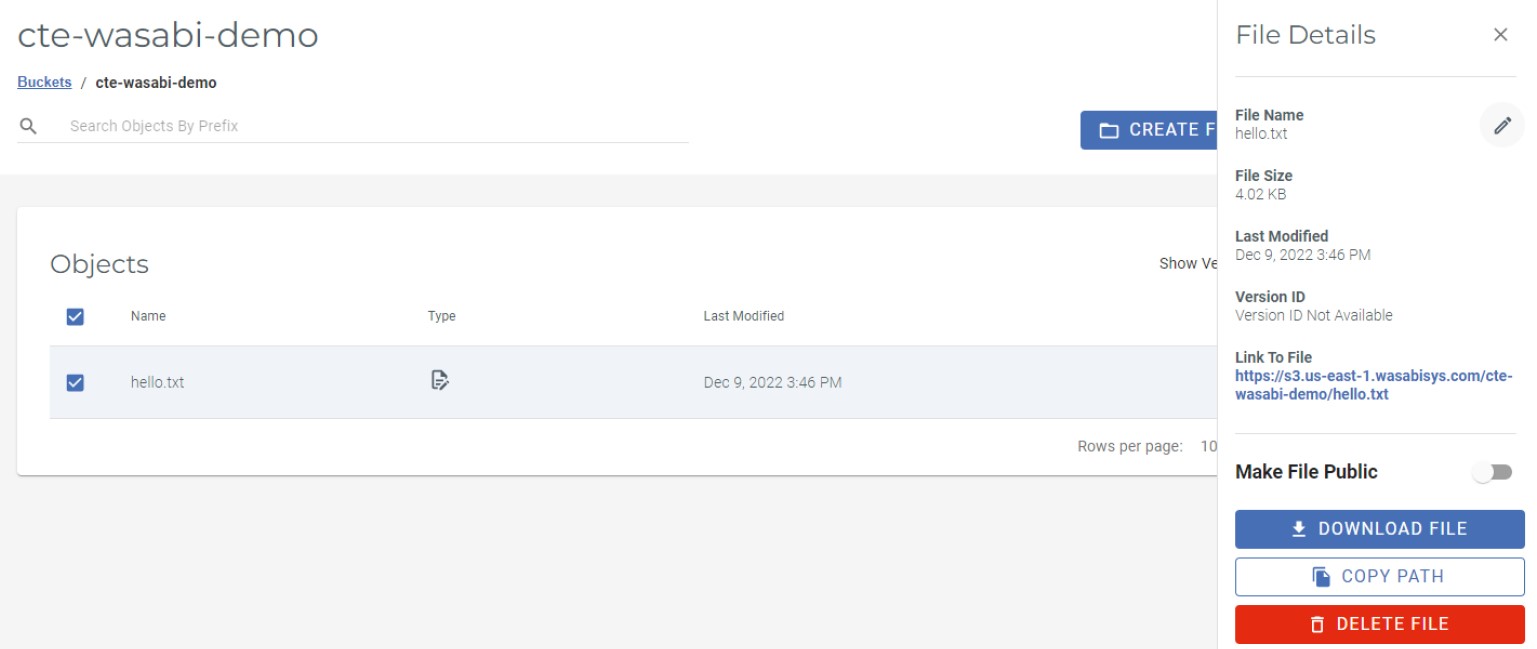
via Console
5. Install AWS CLI
5.1 Run the following commands to install the AWS CLI.
curl "https://awscli.amazonaws.com/awscli-exe-linux-x86_64.zip" -o "awscliv2.zip"
unzip awscliv2.zip
sudo ./aws/install
5.2 Configure AWS CLI with the Wasabi User Credentials and Region where the bucket resides.
aws configure
Note: This configuration example discusses the use of Wasabi's us-east-1 storage region. To use other Wasabi storage regions, please use the appropriate Wasabi service URL as described in our Wasabi Service URLs.
5.3 Add CTE cosCA.crt location to the configuration file
sudo vim .aws/config
ca_bundle = /opt/vormetric/DataSecurityExpert/agent/squid/etc/cosCA.crt
6. CipherTrust Manager Config
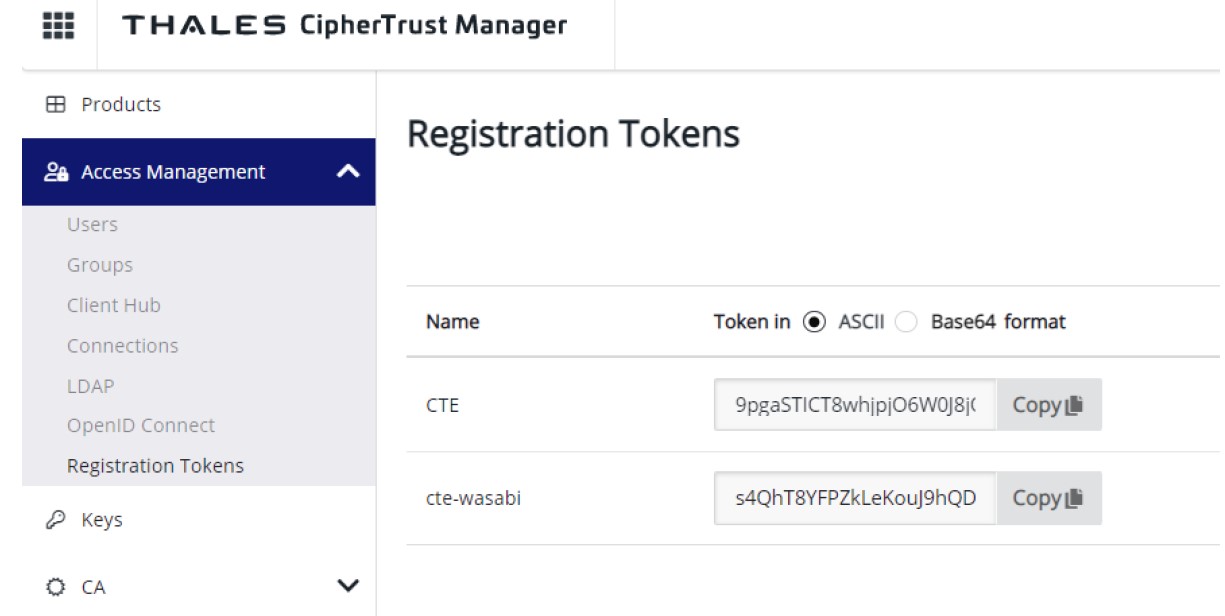
6.1 Add Registration Token
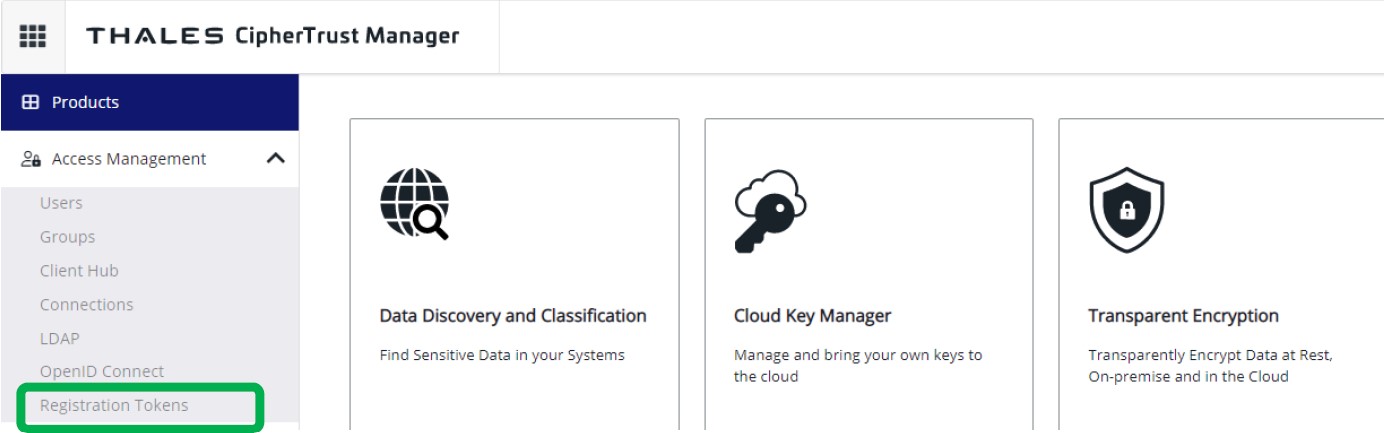
From the CM Console, expand Access Management and then click Registration Tokens.
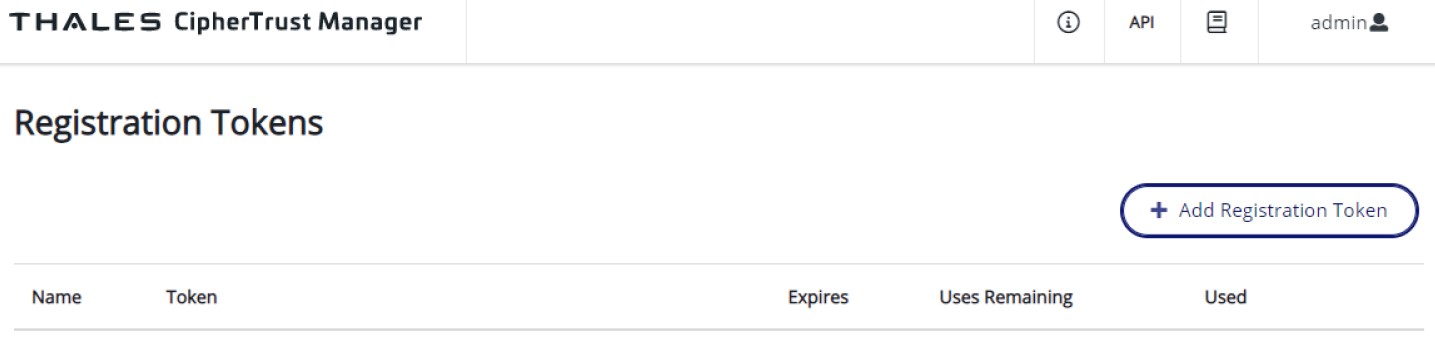
6.2 Click + Add Registration Token.
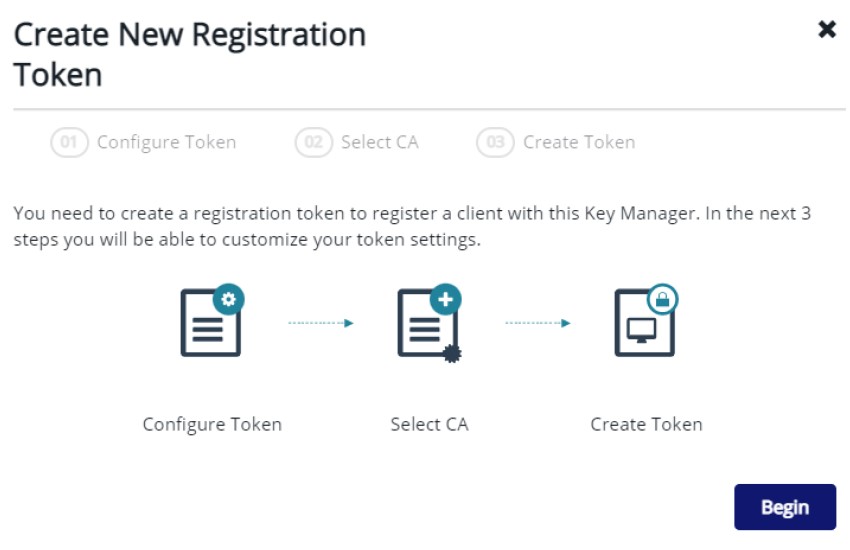
6.3 Click Begin.
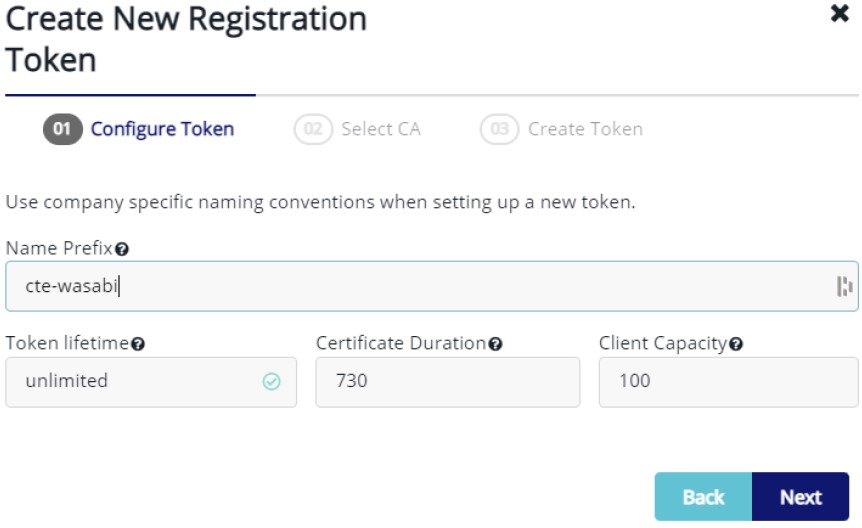
6.4 Enter the name prefix and click Next.
6.5 Click Local under CA Type and then click Create Token.
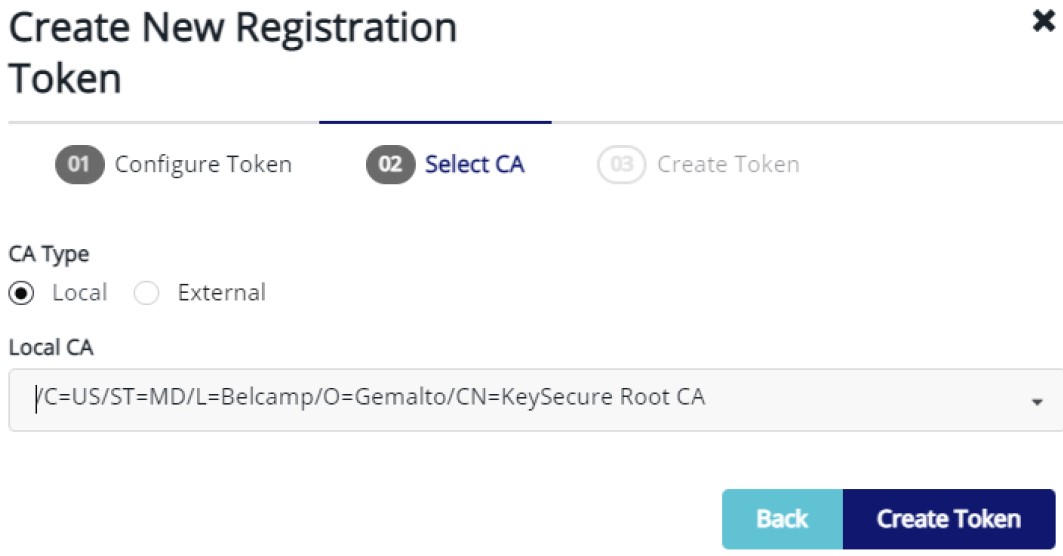
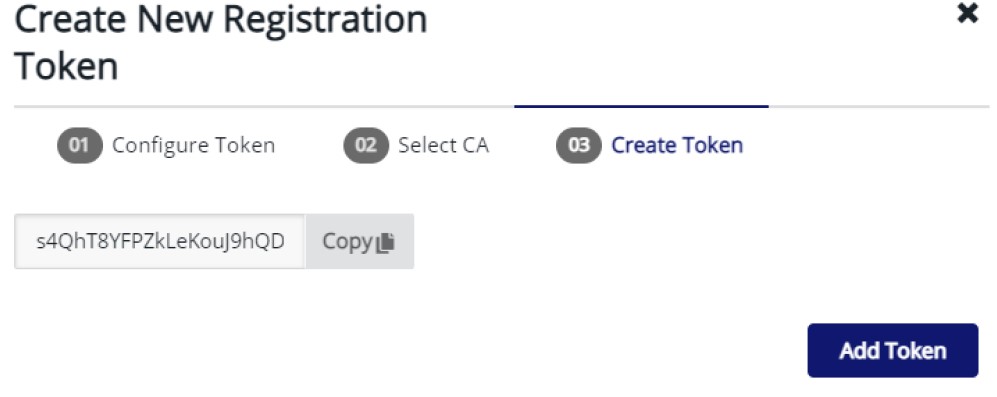
6.6 Copy Token for later use and then click Add Token.
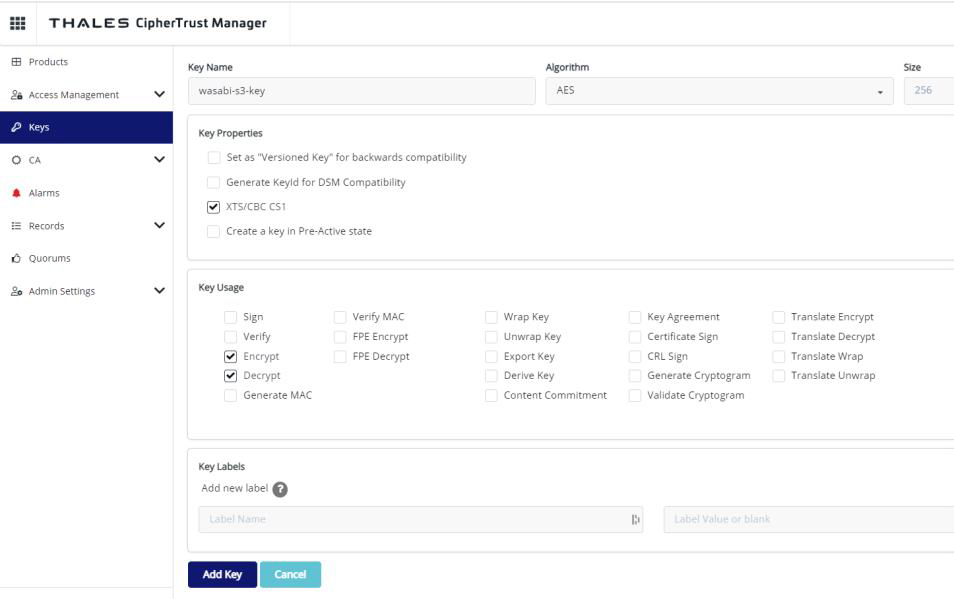
7. Create Key
7.1 Click on the keys menu, then click on +Add Key.
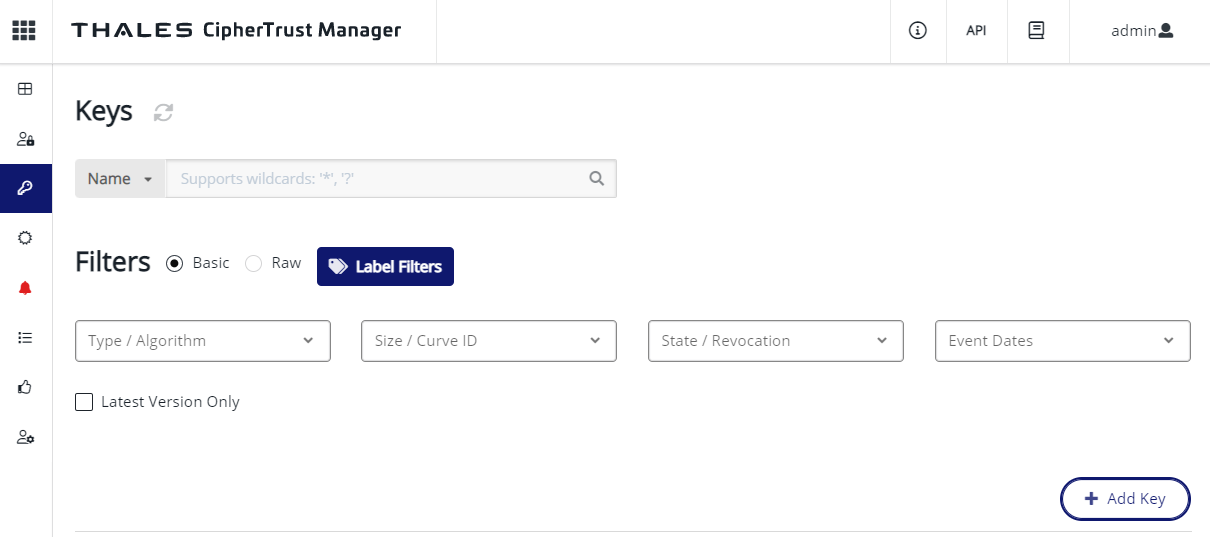
7.2 Enter the following details and then click on Add Key.
Key Name - name of the key
Check the box "XTS/CBC CS1
Select Encrypt and Decrypt boxes
8. Create CTE Policy
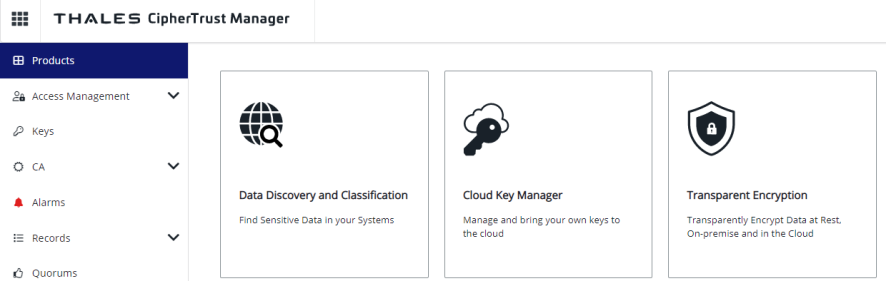
8.1 From the Products Menu click on Transparent Encryption.
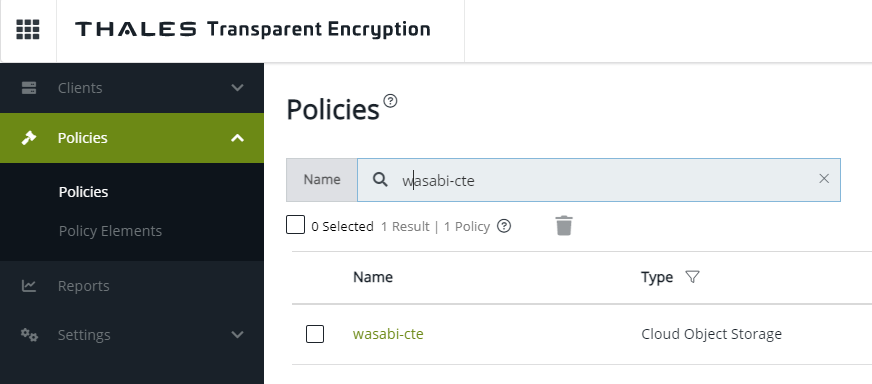
8.2 Expand Policies in the left hand pane, click Policies, then click + Create Policy.

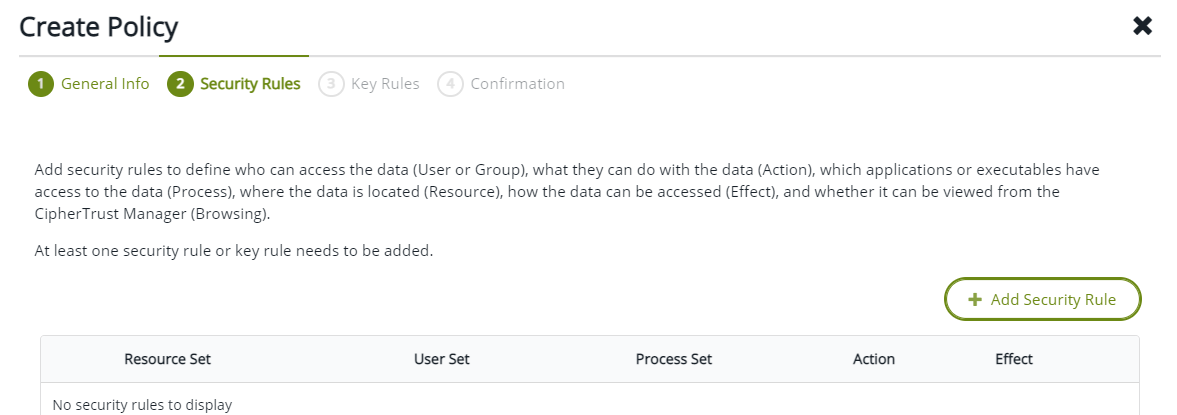
8.3 Click + Add Security Rule.
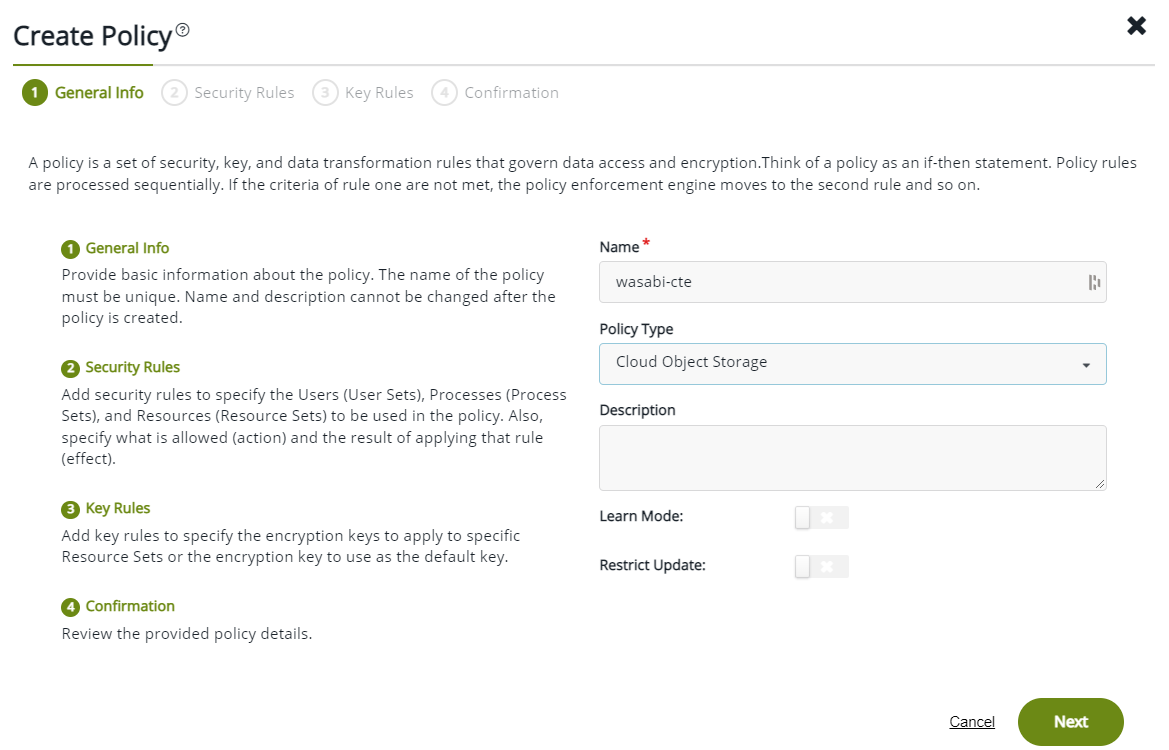
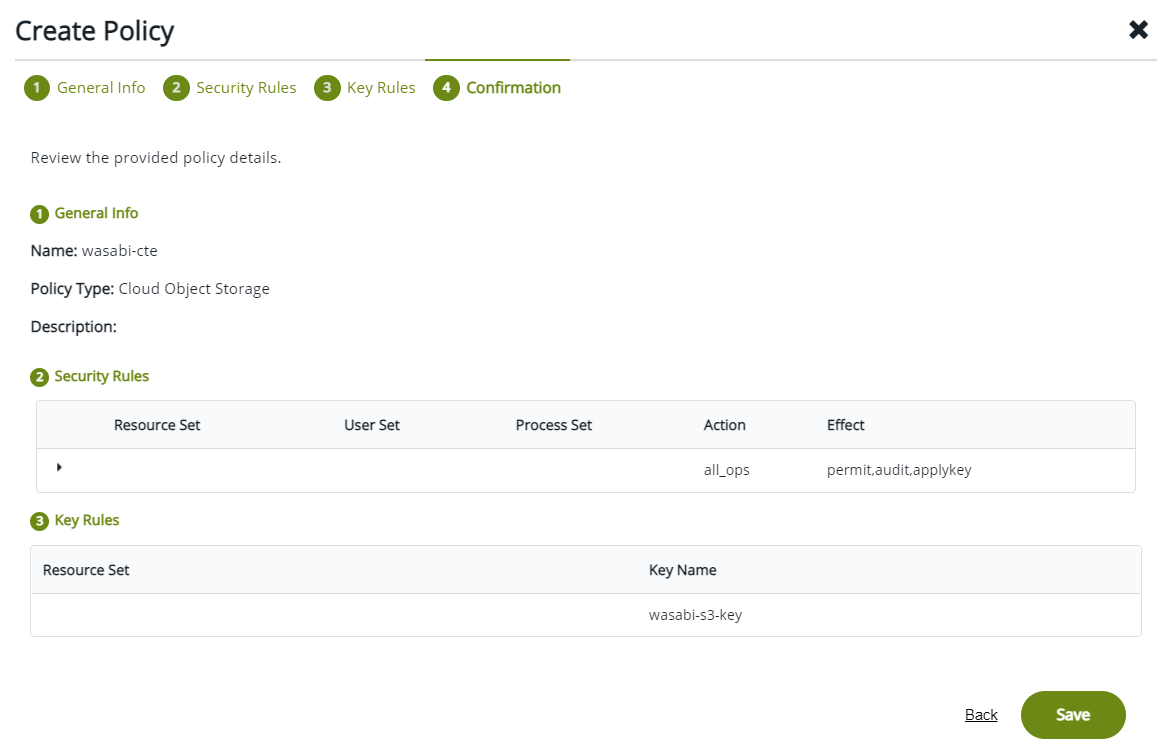
8.4 Enter the policy details and click Next.
Name - name of the policy
Policy Type - Cloud Object Storage
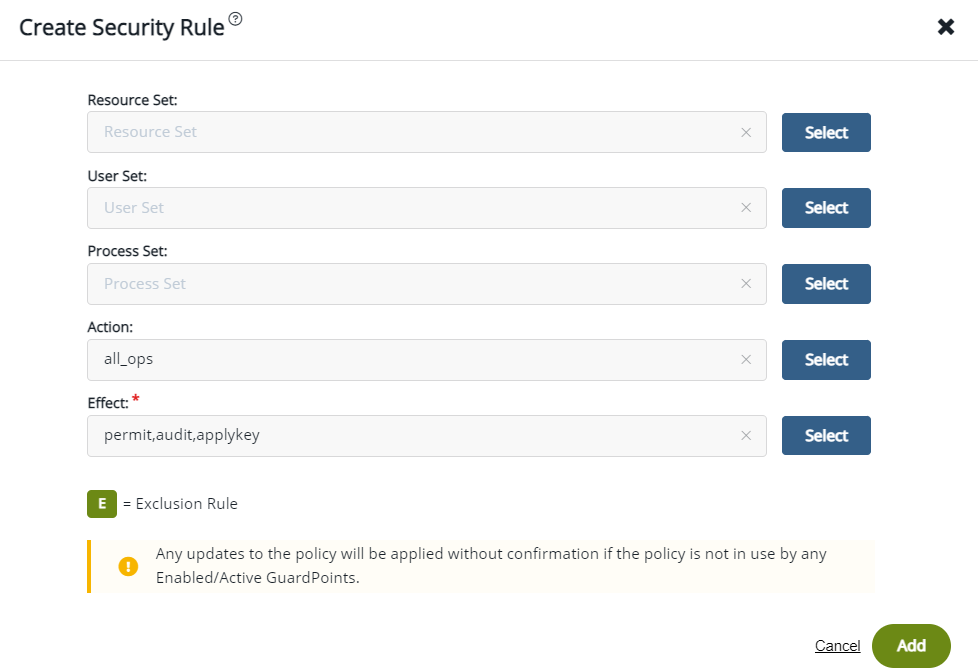
8.5 Create a Security Rule
Action - Set to all_ops
Effect - Set to Permit, ApplKey. Audit is optional
Click Add and then Next.
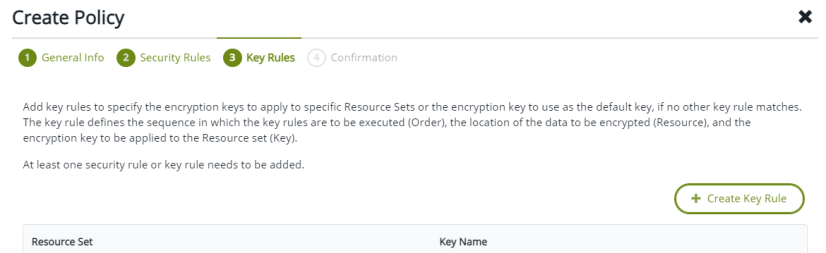
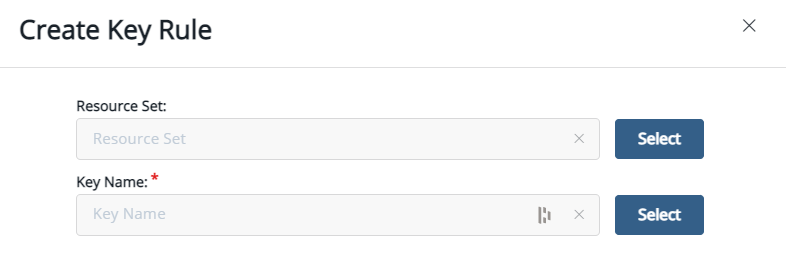
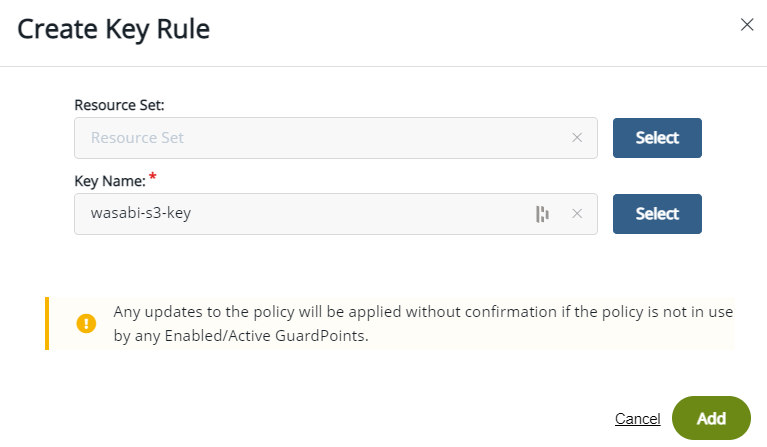
8.6 Create a Key Rule by clicking on + Create Key Rule.
8.7 Click Select button for the Key Name section.
8.8 Select the key created earlier in previous steps.
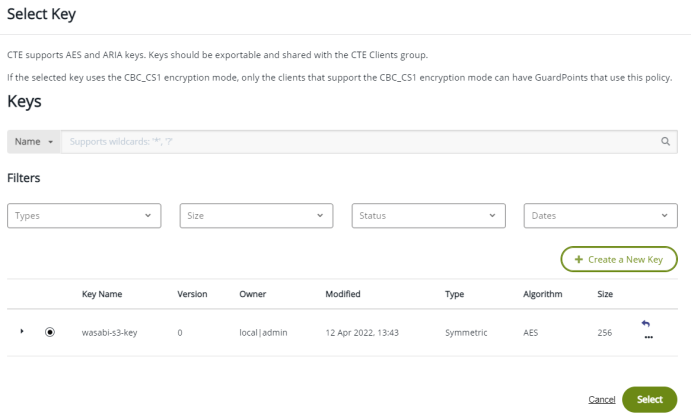
8.9 Click Add.
8.10 Click Save and now your policy is created.
9. Install CTE Agent on Linux
Note - Required Linux Packages - https://www.thalesdocs.com/ctp/cte-con/cte/latest/integrations/lin-int/lin-int-cos/lin-int-packages/index.html
9.1 Run the following commands:
sudo yum install boost-regex boost-system boost-thread libcurl libtool-ltdl libxml2 epel-release -y
sudo yum install cryptopp log4cpp -y
sudo yum install python3 python3-pip -y
sudo pip3 install boto3 future
sudo yum install lsof
sudo yum install policycoreutils-python-utils
10. Install CTE with COS Service
Note - CTE for Cloud Object Storage Documentation found here https://www.thalesdocs.com/ctp/cte-con/cte/latest/integrations/lin-int/lin-int-cos/index.html
10.1 Copy the CTE binary to the RHEL instance
10.2 Login as Root and Install l CTE Agent
./vee-fs-7.3.0-135-rh8-x86_64.bin
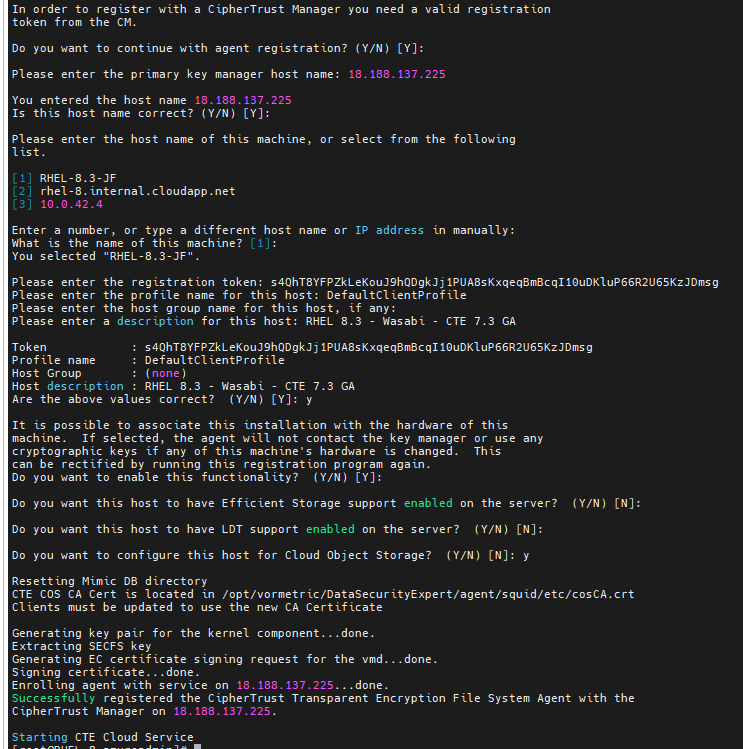
10.3. Enter the details of your environment.
Be sure to answer Y to Cloud Object Storage.
11. Configure CTE COS
11.1 Add Wasabi Credentials to the CTE COS S3.
voradmin cos s3 cred add BZUACKKCBOERAVKTG15M i52OdrknYzq0nbsq5ptEpmUYHUw0y2BRelibLPwZ
voradmin cos s3 chunk BZUACKKCBOERAVKTG15M i52OdrknYzq0nbsq5ptEpmUYHUw0y2BRelibLPwZ 8![]()
12. Configure CTE GuardPoint
12.1 From the Transparent Encryption Section expand Clients and click on Clients in the left hand pane.
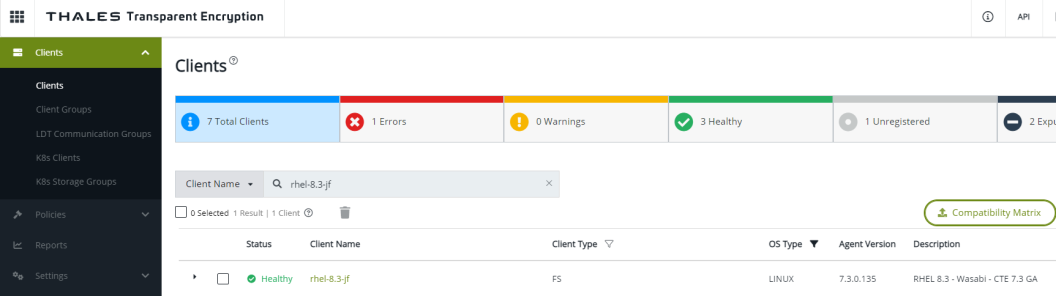
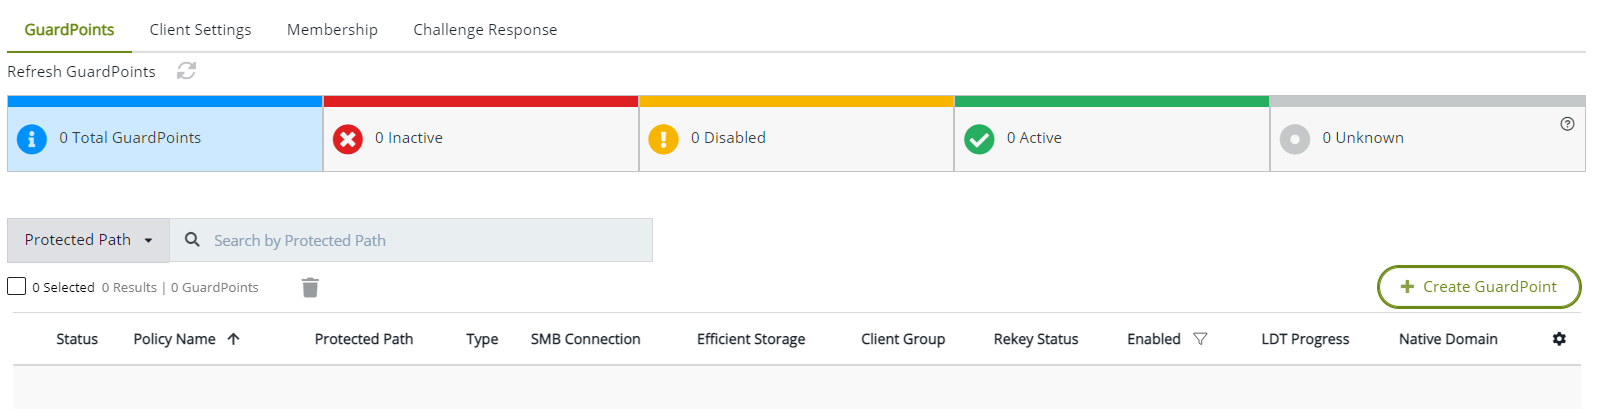
12.2 Click on the client name and then click on + Create GuardPoint.
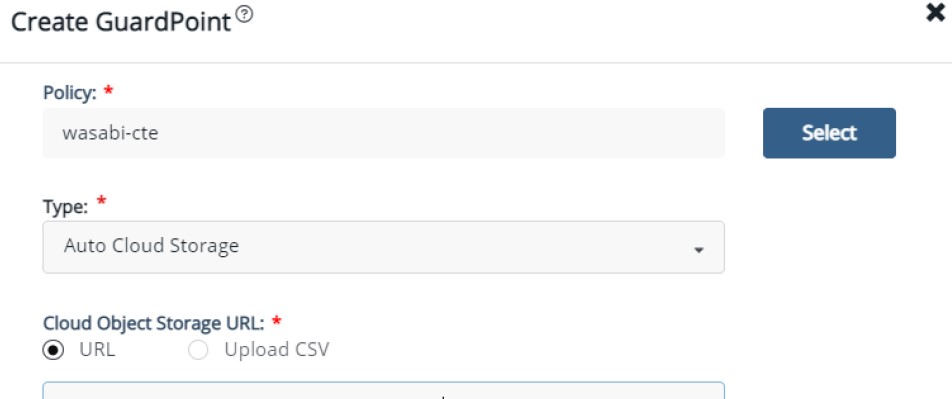
12.3 Enter GuardPoint Settings, then click on Create.
Policy - Select policy created earlier
Type - Auto Cloud Storage
URL - URL of the Wasabi bucket
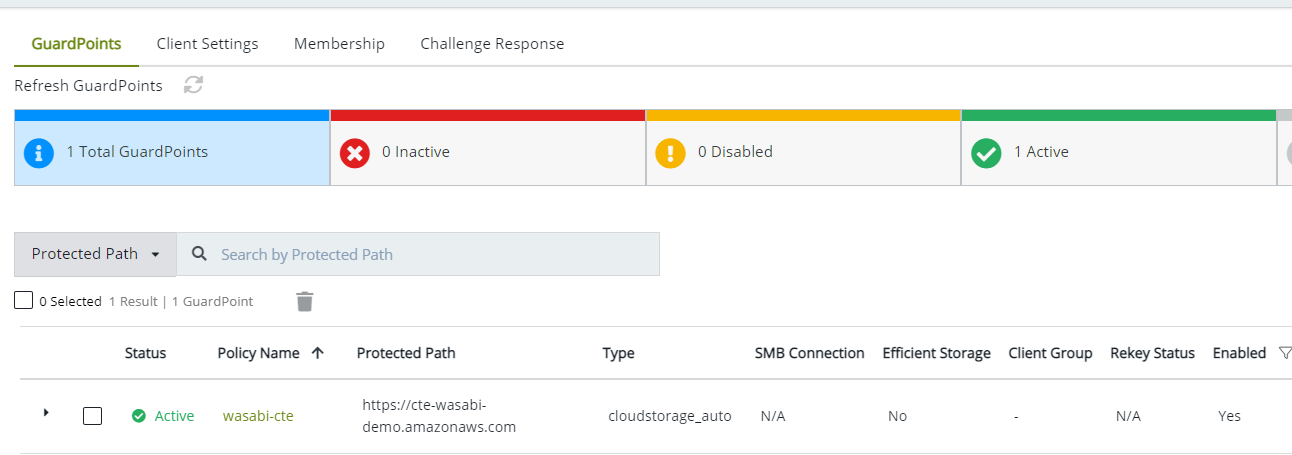
12.4 After a few moments the GuardPoint will become active.
12.5 You can verify the status of the GuardPoint from the RHEL instance with the following command.
sudo secfsd -status guard
13. Configure the AWS CLI Network Proxy
13.1 All communications between client applications and the AWS server must be done through the COS proxy and the environment variable HTTPS_PROXY or https_proxy should be set. If both variables are defined, then the AWS CLI will use https_proxy.
Export HTTPS_PROXY=localhost:3128
14. Test CTE COS
14.1 Copy file from RHEL instance to the Wasabi bucket.
aws s3 cp hello.txt s3://cte-wasabi-demo/ --endpoint-url=https://s3.us-east-1.wasabisys.com![]()
Note: This configuration example discusses the use of Wasabi's us-east-1 storage region. To use other Wasabi storage regions, please use the appropriate Wasabi service URL as described in our Wasabi Service URLs.
14.2 At this point you should see ciphertext if accessing the file from the Wasabi console.
Download File and open.