Objectives
1—Enable Custom Cloud Console.
2—Create a sub-account and add a member or onboard an existing sub-account.
3—Reset a Password.
4—Manage region availability.
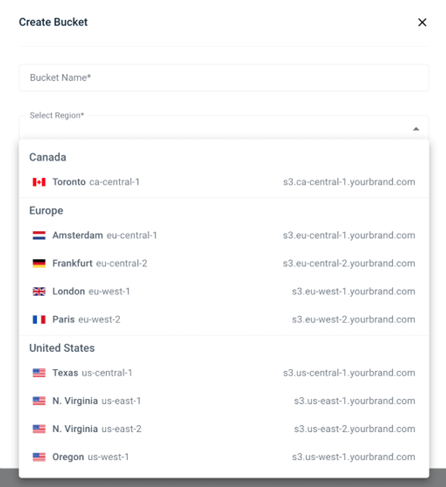
WACM partners using Custom Cloud Console can configure region availability by sub-account. When customers log in to the Custom Cloud Console, the only regions they will see in the Create Bucket region drop-down are those configured by the partner in WACM.
This article includes the following sections:
Setting Default Regions for Your Custom Cloud Console
Disabling Regions for a Sub-Account
Setting Default Regions for Your Custom Cloud Console
Log in to WACM and go to My Profile.
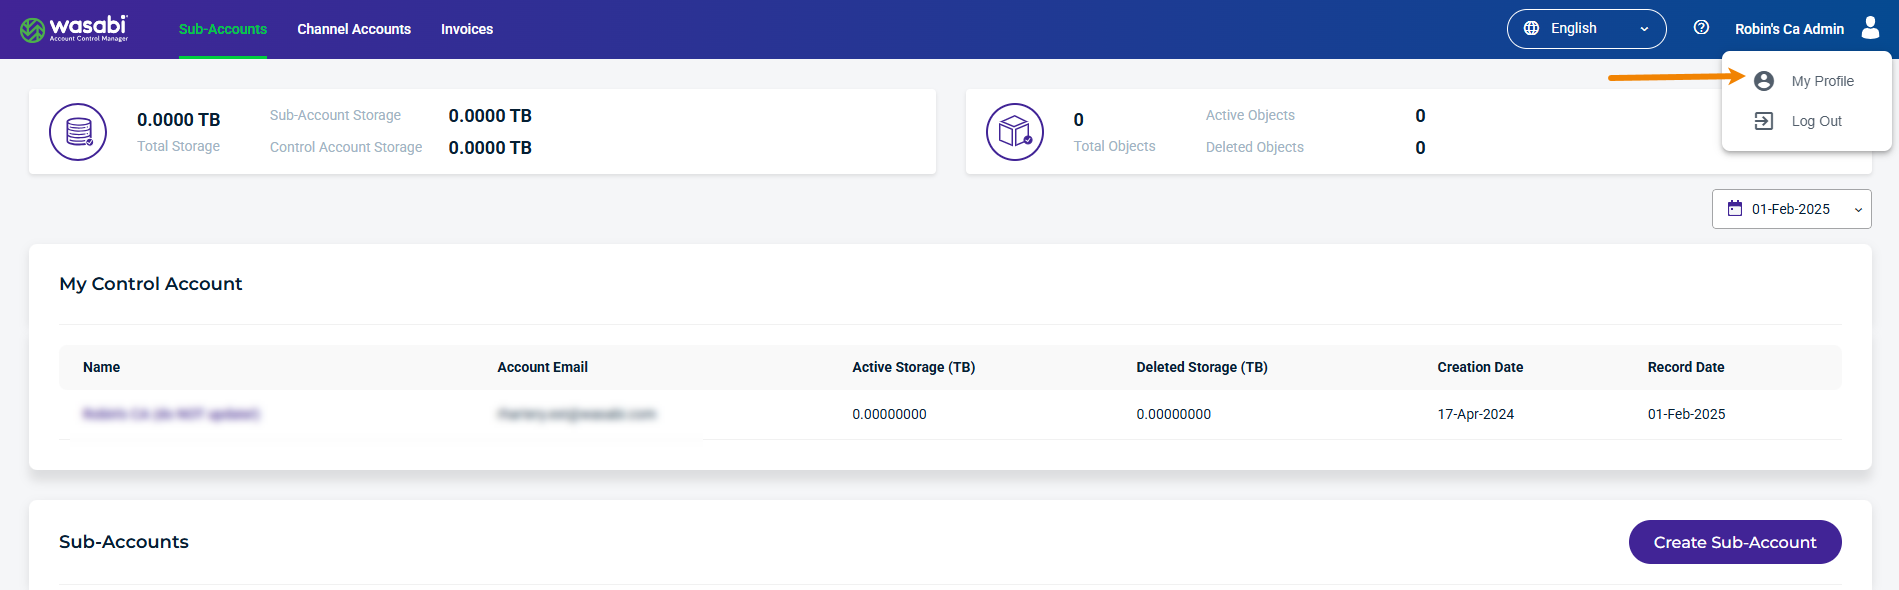
The Profile page is displayed.
Select Regions.

The Regions page is displayed.
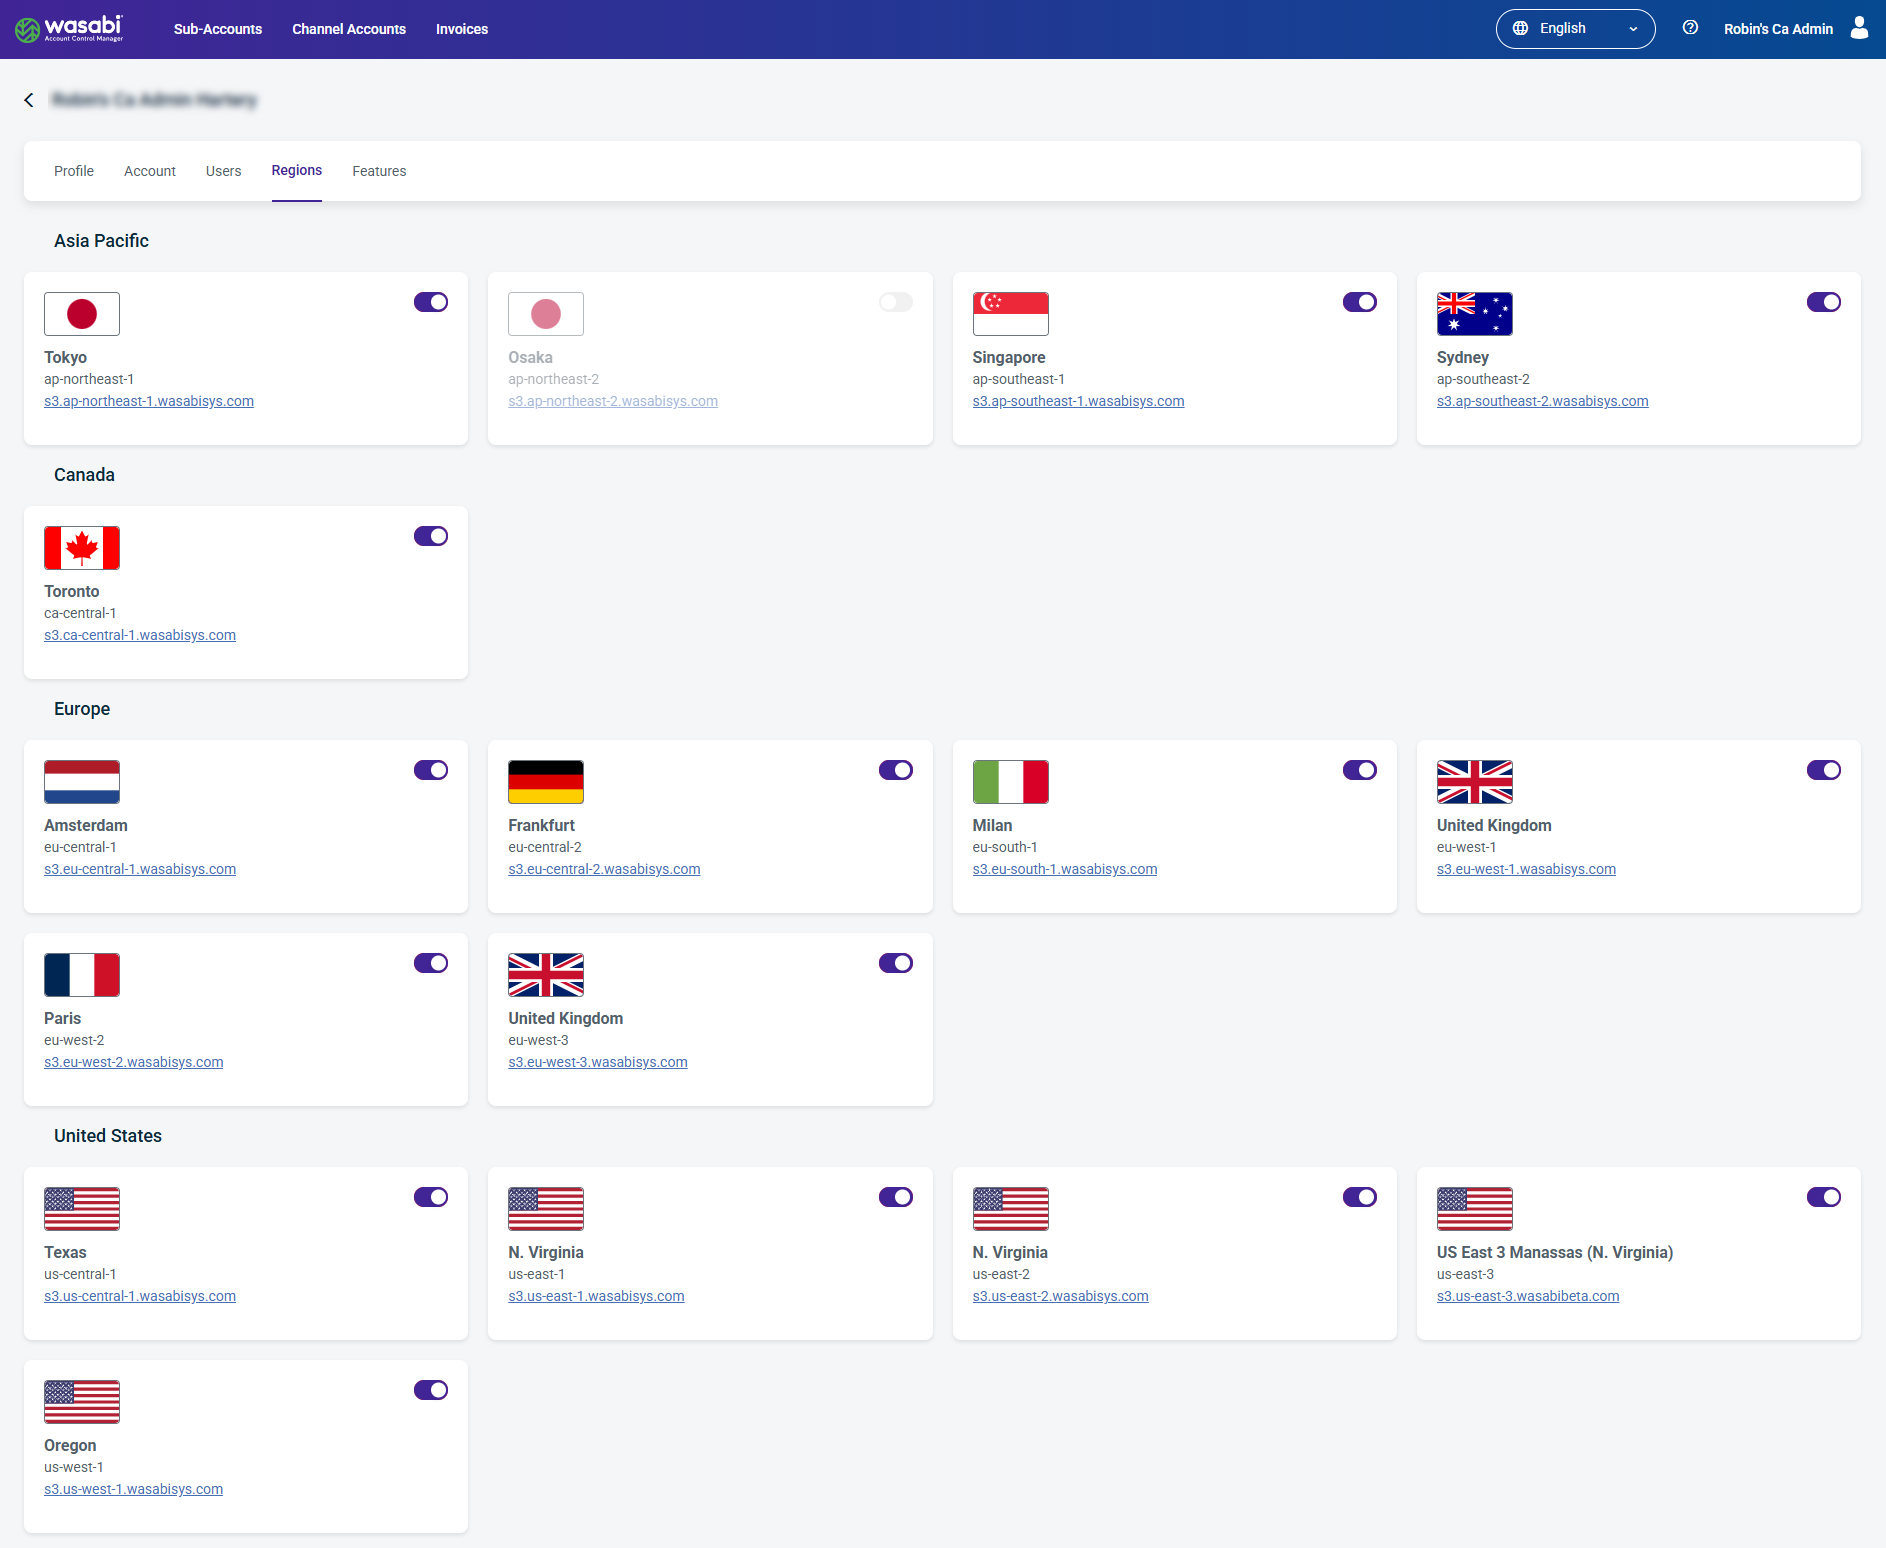
Use the toggle to enable
 and disable
  Regions. For example, the Osaka Region shown below is disabled.
Disabling a Region hides it from all sub-accounts.
All Regions that are "enabled" in your Profile will be available to sub-accounts, but can be disabled at the sub-account level.
Disabling Regions for a Sub-Account
Log in to Wasabi Account Control Manager. The Sub-Accounts page is displayed.
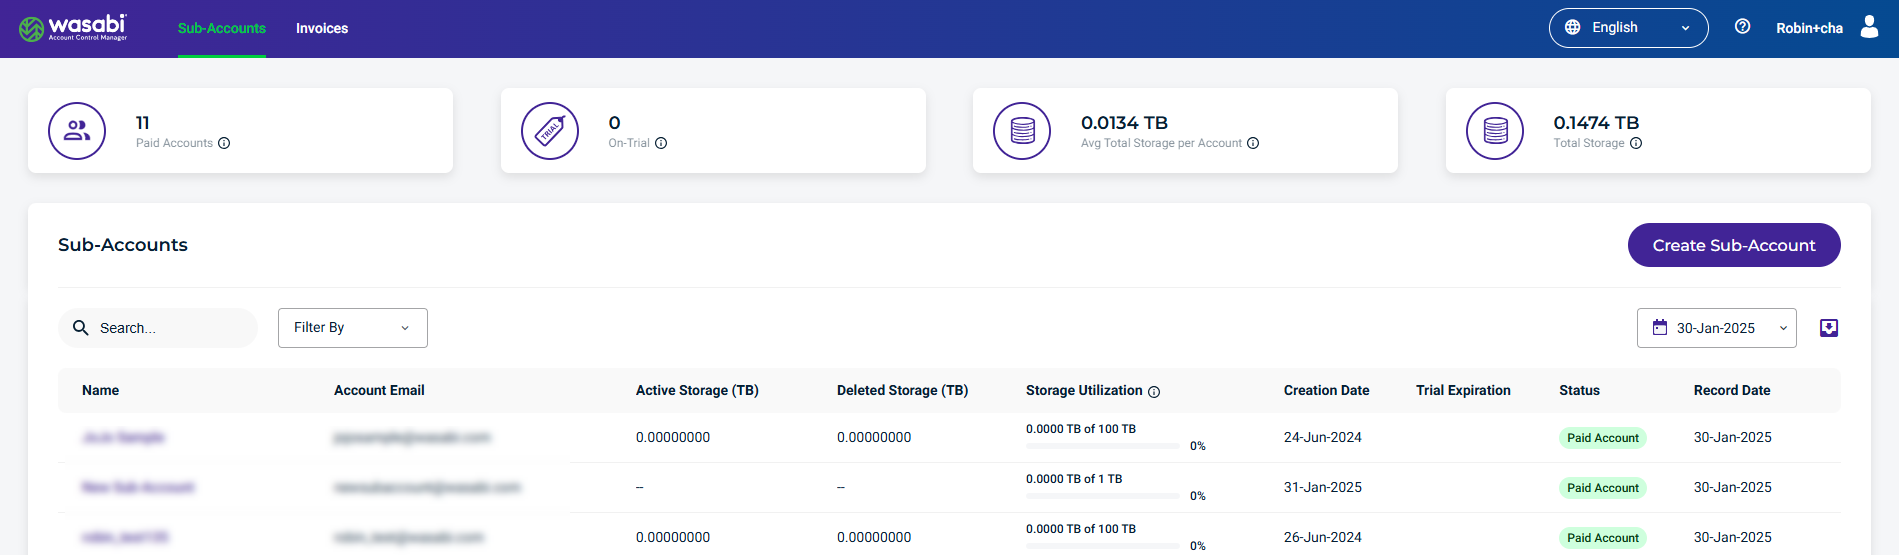
Select the Sub-Account for which to disable the Region.
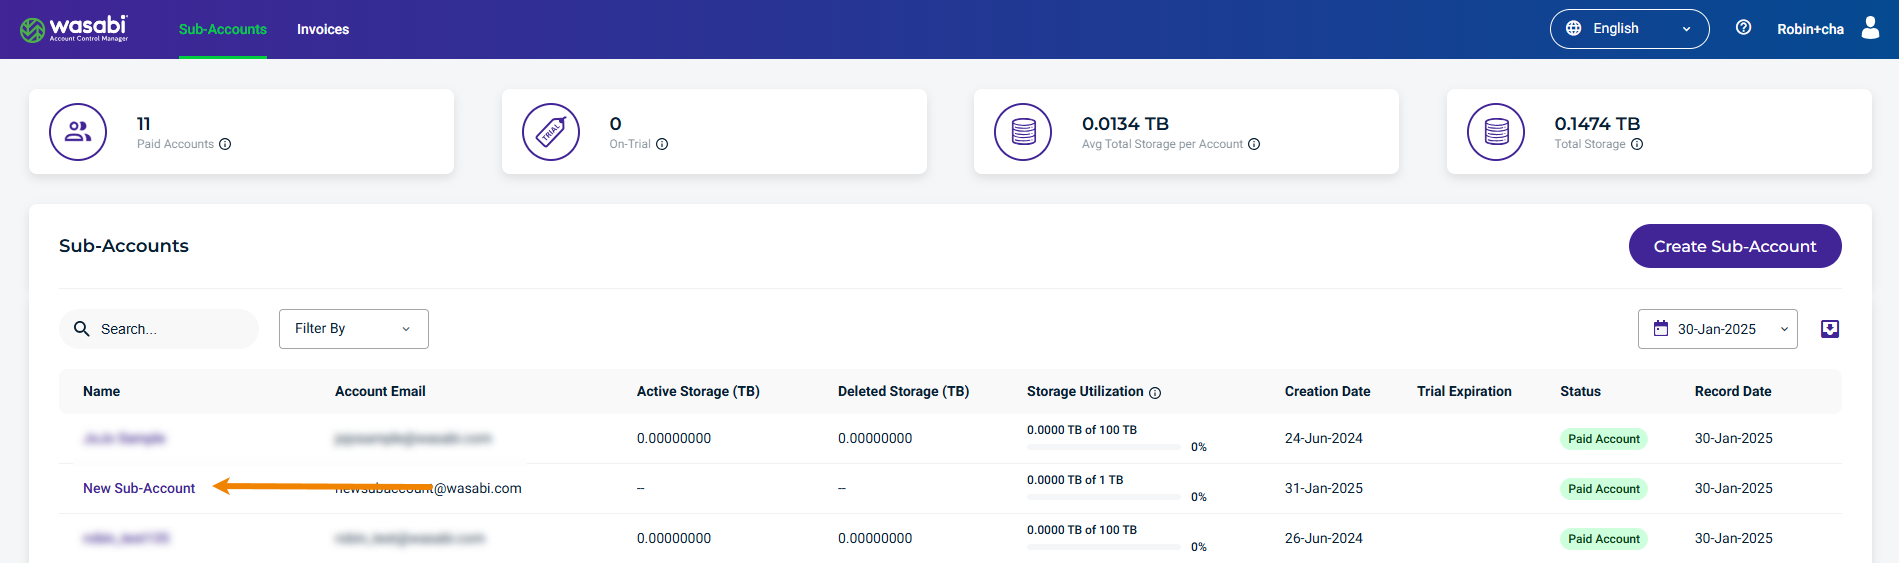
The selected Sub-Account page is displayed.
Select Regions.
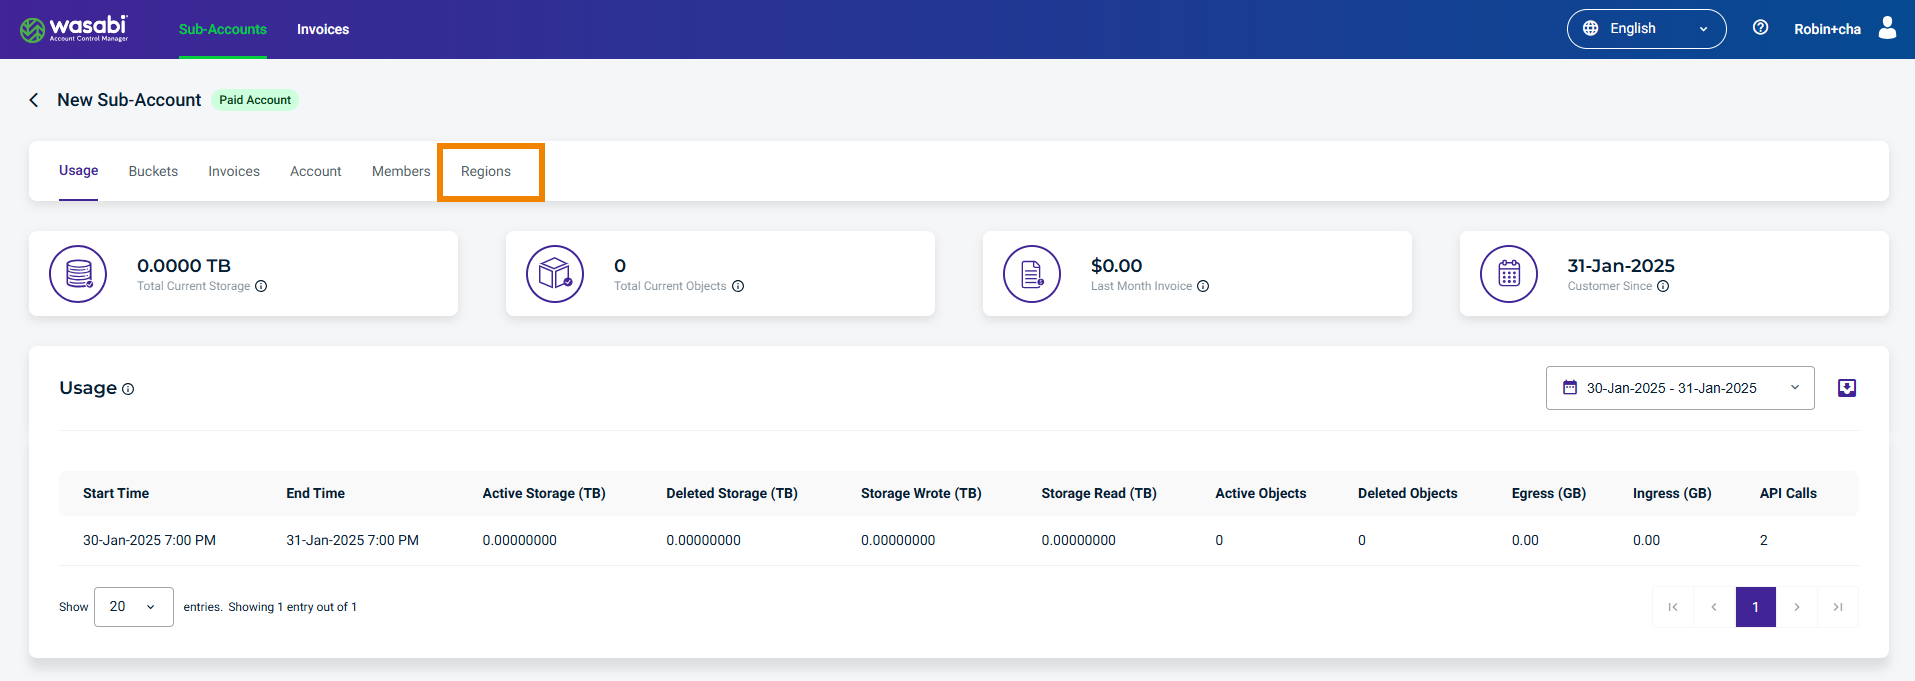
The Regions page is displayed.
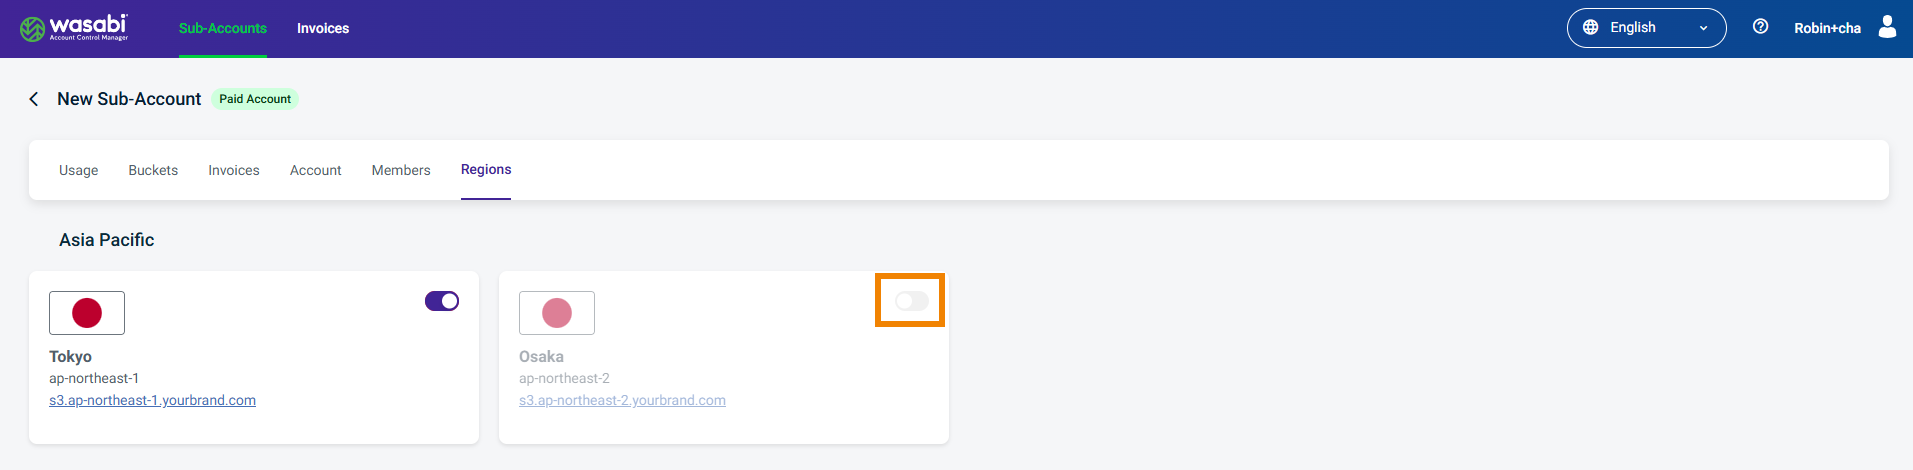
Use the toggle to disable a Region for the sub-account. For example, the Osaka Region is disabled.
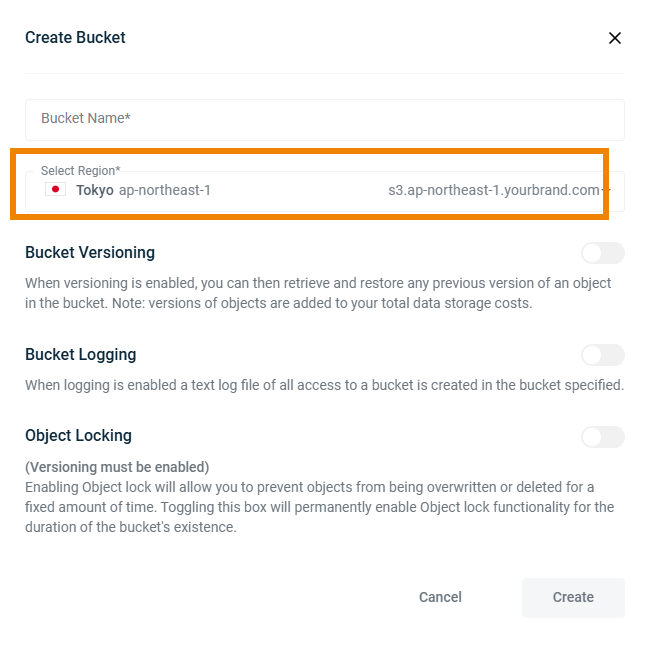
The Osaka Region is not visible in the Select Region drop-down on the Create Bucket modal.
If a region is disabled by default (as described in Setting Default Regions for Your Custom Cloud Console), the Region is hidden from all sub-accounts.
For example, if you disable all Asia Pacific regions for a sub-account, the sub-account member will not see the Asia Pacific regions when logged in to the Custom Cloud Console or when creating a bucket.
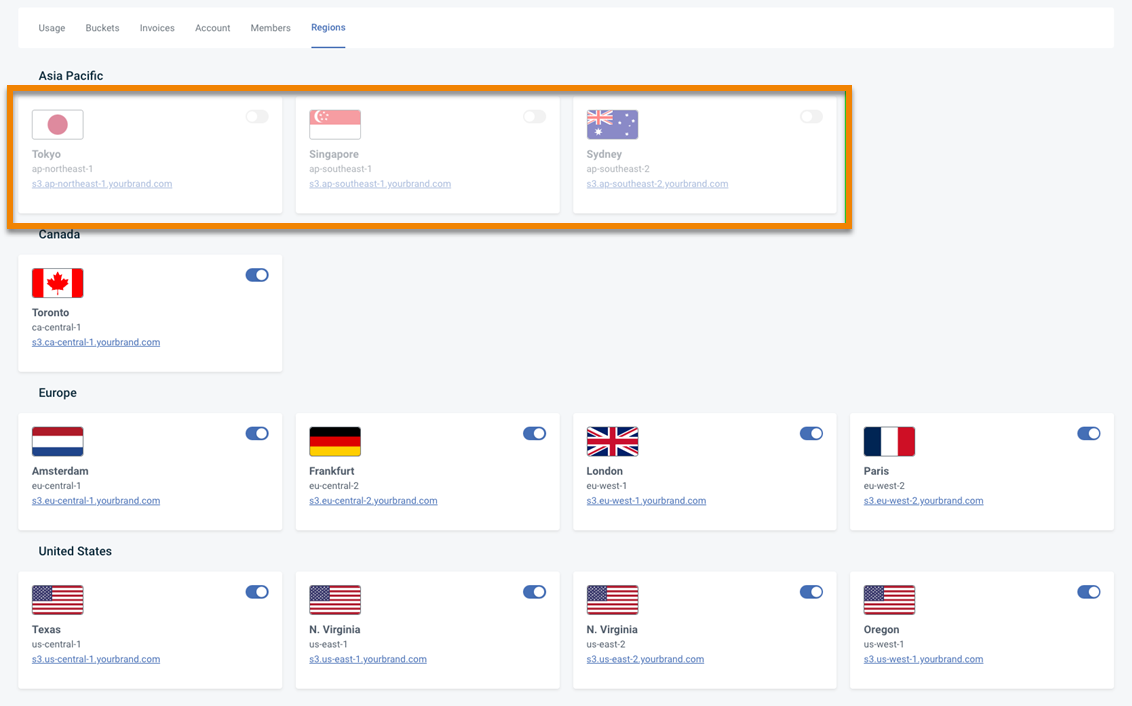
The Asia Pacific regions are disabled.
Objectives Met!
1—Enable Custom Cloud Console.
2—Create a sub-account and add a member or onboard an existing sub-account.
3—Reset a password.
4—Manage region availability.