Milvus is an open-source database built for storing and quickly searching massive amounts of data based on similarity rather than exact matches. It is commonly used to power similarity search in AI and machine learning applications, such as Retrieval-Augmented Generation (RAG), recommendation systems, and image, audio, or text search. Milvus can be deployed as a single all-in-one instance (standalone) for development, testing, and smaller workloads, or as a distributed cluster across multiple nodes for production-scale performance and availability. This article covers configuring Milvus to use Wasabi as its object storage backend, for both standalone and Kubernetes cluster deployments.
Requirements
This solution was tested with the software versions listed below. Later compatible versions are expected to work, but have not been specifically tested.
Active Wasabi Cloud Storage account.
Wasabi bucket—For more information, review 2—Working With Buckets and Objects.
Milvus v3.0.0—Standalone and Cluster.
Docker Engine v29.7.2—Standalone.
Docker Compose plugin v5.5.0—Standalone.
Kubernetes v1.35.1—Cluster.
kubectl v1.36.4—Cluster.
Helm v3.21.4—Cluster.
Milvus Operator v1.3.8—Cluster.
This article assumes a Kubernetes cluster is already installed and available for the cluster deployment. Testing for this article was performed using minikube as a single-node Kubernetes cluster; a production deployment would typically use a multi-node Kubernetes cluster instead.
Wasabi Configuration
Reference commands in this article use the placeholder YOUR_WASABI_BUCKET_NAME — replace it with your own bucket name. Commands and output labeled “Example” are copied directly from the terminal during testing for this article, using a real bucket named mt-milvus.
Log in to the Wasabi Console as the account root user.
Configure the “milvus” user (to be created in the next step) using the following policy. Change YOUR_WASABI_BUCKET_NAME to your own Wasabi bucket name. See Creating a Policy for instructions on how to create a policy.
{
  "Version": "2012-10-17",
  "Statement": [
    {
      "Effect": "Allow",
      "Action": "s3:ListAllMyBuckets",
      "Resource": "arn:aws:s3:::*"
    },
    {
      "Effect": "Allow",
      "Action": [
        "s3:Get*",
        "s3:List*",
        "s3:Put*",
        "s3:Delete*",
        "s3:AbortMultipartUpload"
      ],
      "Resource": [
        "arn:aws:s3:::YOUR_WASABI_BUCKET_NAME",
        "arn:aws:s3:::YOUR_WASABI_BUCKET_NAME/*"
      ]
    }
  ]
}
Create a “milvus” user and attach the previously created policy to it. Use the following settings for the user. For more information, see Creating a User.
Allow programmatic-only access, not console access.
Do not require Multi-Factor Authentication (MFA).
It is not necessary to assign the user to a group.
Save the access and secret keys in a secure location.
Configuring Milvus
Choose one of the two deployment paths below, depending on whether you are configuring a standalone instance or a Kubernetes cluster.
Standalone Configuration
Software needed: Docker Engine, the Docker Compose plugin, and the Milvus standalone Docker image.
Download the standard Milvus standalone Docker Compose file and the default
milvus.yamlconfiguration file.wget https://github.com/milvus-io/milvus/releases/download/v3.0.0/milvus-standalone-docker-compose.yml -O docker-compose.yml wget https://raw.githubusercontent.com/milvus-io/milvus/v3.0.0/configs/milvus.yamlEdit the minio section in
milvus.yamlto point to Wasabi instead of the default local MinIO using the YAML text below. Replace YOUR_WASABI_ACCESS_KEY and YOUR_WASABI_SECRET_KEY with the access and secret keys generated above. Replace YOUR_WASABI_BUCKET_NAME with the name of your bucket, and change the region to the region your bucket is located in.This configuration example uses Wasabi’s us-east-2 storage region. To use another Wasabi storage region, use the appropriate URL in Service URLs for Wasabi's Storage Regions. Use the URL for the region where your bucket is located.
minio:
  address: s3.us-east-2.wasabisys.com
  port: 443
  accessKeyID: YOUR_WASABI_ACCESS_KEY
  secretAccessKey: YOUR_WASABI_SECRET_KEY
  useSSL: true
  bucketName: YOUR_WASABI_BUCKET_NAME
  rootPath: milvus
  useIAM: false
  cloudProvider: aws
  region: us-east-2
Edit
docker-compose.yml. Under the standalone service:Comment out the MINIO_ADDRESS environment variable by placing a # at the beginning of the line, since its presence causes Milvus to use the bundled local MinIO instead of Wasabi.
Add a volume mount for the edited
milvus.yamlso the container uses your configuration instead of its built-in default.
The
${DOCKER_VOLUME_DIRECTORY:-.}portion of the volume paths resolves to the directory from which you run docker compose up -d (step 5 below), not necessarily your home directory. Run this command from the same directory where you downloaded and editeddocker-compose.ymlandmilvus.yaml, or the container will not be able to find them.services: standalone: ... environment: ETCD_ENDPOINTS: etcd:2379 # MINIO_ADDRESS: minio:9000 volumes: - ${DOCKER_VOLUME_DIRECTORY:-.}/volumes/milvus:/var/lib/milvus - ${DOCKER_VOLUME_DIRECTORY:-.}/milvus.yaml:/milvus/configs/milvus.yamlBefore starting the container for the first time, check the user ID (UID) and group ID (GID) that the Milvus image runs as, and set the local data directory’s ownership to match them.
docker run --rm --entrypoint id milvusdb/milvus:v3.0.0An example command that was run in our testing is:

Substitute the UID and GID reported by the command above if they differ from 999 in your environment.
mkdir -p volumes/milvus
sudo chown -R 999:999 volumes/milvus
Start Milvus.
docker compose up -dVerify the deployment is healthy and connected to Wasabi.
docker compose ps
docker compose logs standalone | grep -i "AwsChunkManager"
A healthy deployment shows the standalone container as Up (healthy), and the log output includes a line similar to the following, confirming the AwsChunkManager initialized with your Wasabi endpoint and bucket name.
[SERVER][AwsChunkManager][milvus][]init AwsChunkManager with parameter
[endpoint=s3.us-east-2.wasabisys.com:443][bucket_name=YOUR_WASABI_BUCKET_NAME]
[root_path=milvus][use_secure=true][tls_min_version=default]
Cluster Configuration
Software needed: a Kubernetes cluster, kubectl, Helm, and the Milvus Operator.
Milvus 3.0.0 cluster mode supports two message queues: Pulsar and Woodpecker. When deploying the Milvus cluster mode with Wasabi as external storage, Pulsar (msgStreamType: pulsar) is required.
Use the Milvus Operator rather than the Milvus Helm chart directly. The Helm chart has a known issue where the externalS3.port value is not applied, which prevents it from connecting to Wasabi correctly.
Install the Milvus Operator using Helm.
helm repo add zilliztech-milvus-operator https://zilliztech.github.io/milvus-operator/
helm repo update zilliztech-milvus-operator
helm install milvus-operator zilliztech-milvus-operator/milvus-operator \
  -n milvus-operator --create-namespace \
  --wait --wait-for-jobs
Create a Kubernetes Secret manifest to hold your Wasabi access and secret keys.
cat > wasabi-secret.yaml << 'EOF'
apiVersion: v1
kind: Secret
metadata:
  name: milvus-s3-secret
type: Opaque
stringData:
  accesskey: YOUR_WASABI_ACCESS_KEY
  secretkey: YOUR_WASABI_SECRET_KEY
EOF
Open the file in nano and replace YOUR_WASABI_ACCESS_KEY and YOUR_WASABI_SECRET_KEY with the access and secret keys generated earlier, then save and exit.
nano wasabi-secret.yamlApply the Secret.
kubectl apply -f wasabi-secret.yamlRun the command below with the following configuration.
Cluster mode
Pulsar as the message queue
Change YOUR_WASABI_BUCKET_NAME to the name of your bucket
Use the region where your bucket is located for both the region and endpoint fields.
This configuration example uses Wasabi’s us-east-2 storage region. To use another Wasabi storage region, use the appropriate URL in Service URLs for Wasabi's Storage Regions. Use the URL for the region where your bucket is located.
cat > milvus-cluster.yaml << 'EOF'
apiVersion: milvus.io/v1beta1
kind: Milvus
metadata:
  name: milvus-cluster
  labels:
    app: milvus
spec:
  mode: cluster
  components:
    image: milvusdb/milvus:v3.0.0
    proxy:
      serviceType: LoadBalancer
  config:
    minio:
      bucketName: YOUR_WASABI_BUCKET_NAME
      rootPath: milvus
      useSSL: true
      cloudProvider: aws
      region: us-east-2
  dependencies:
    msgStreamType: pulsar
    storage:
      external: true
      type: S3
      endpoint: "s3.us-east-2.wasabisys.com:443"
      secretRef: "milvus-s3-secret"
EOF
The proxy.serviceType: LoadBalancer setting exposes Milvus through a standard Kubernetes LoadBalancer Service. If your cluster does not have a load balancer controller available, use an alternative such as NodePort or an Ingress Controller instead.
Apply the manifest.
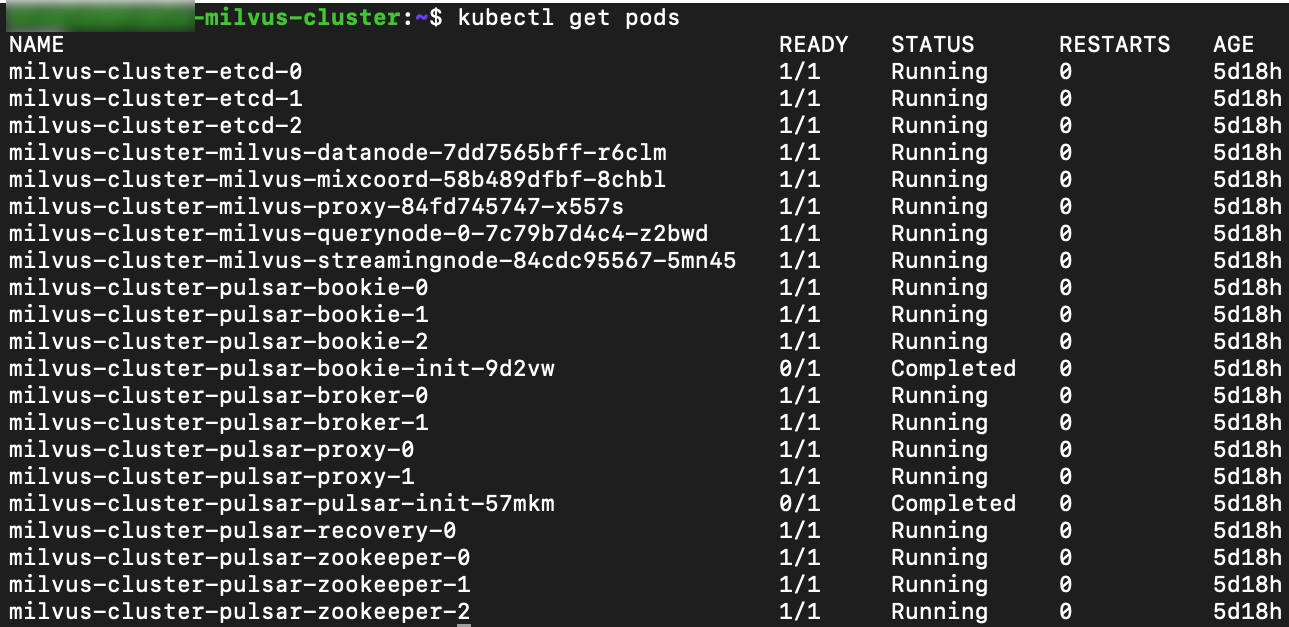
kubectl apply -f milvus-cluster.yamlVerify all pods show
Running, except the two*-initJobs, which are expected to showCompletedonce they have finished their one-time setup task. A healthy deployment shows every Milvus, etcd, and Pulsar pod as 1/1 Running, except the two init jobs.kubectl get podsAn example command output from testing is below.
Verify the data node connected to Wasabi.
kubectl logs -l app.kubernetes.io/component=datanode --tail=100 | grep -i "AwsChunkManager"The log output includes a line similar to the following, confirming the AwsChunkManager initialized with your Wasabi endpoint and bucket name.
[SERVER][AwsChunkManager][milvus][]init AwsChunkManager with parameter
[endpoint=s3.us-east-2.wasabisys.com:443][bucket_name=YOUR_WASABI_BUCKET_NAME]
[root_path=milvus][use_secure=true][tls_min_version=default]
Verifying Data in Your Wasabi Bucket
Once Milvus is running and connected to Wasabi, you can confirm data is actually being written by browsing the bucket contents directly in the Wasabi Console.
Log in to the Wasabi Console.
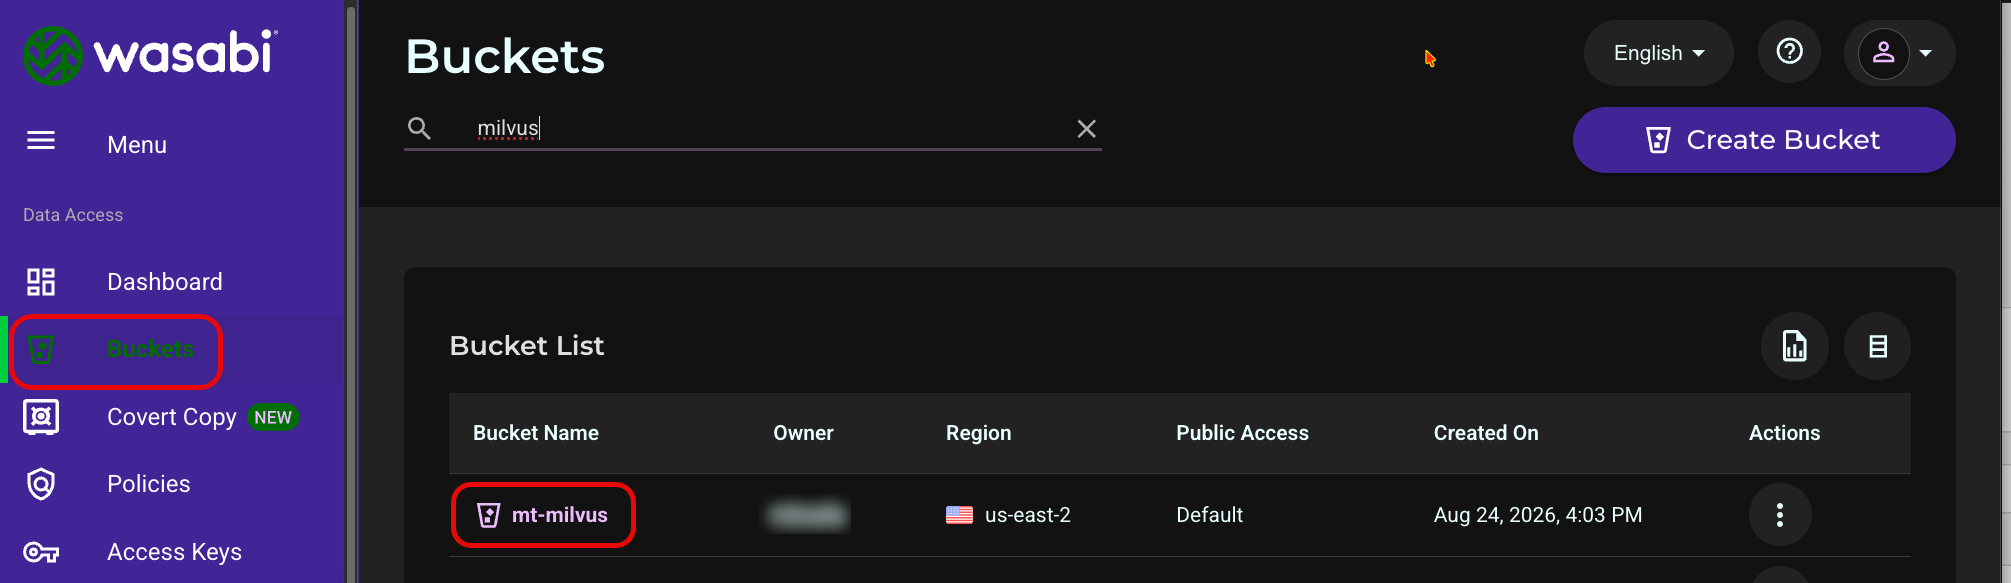
Click Buckets in the left navigation, then click the name of your bucket.
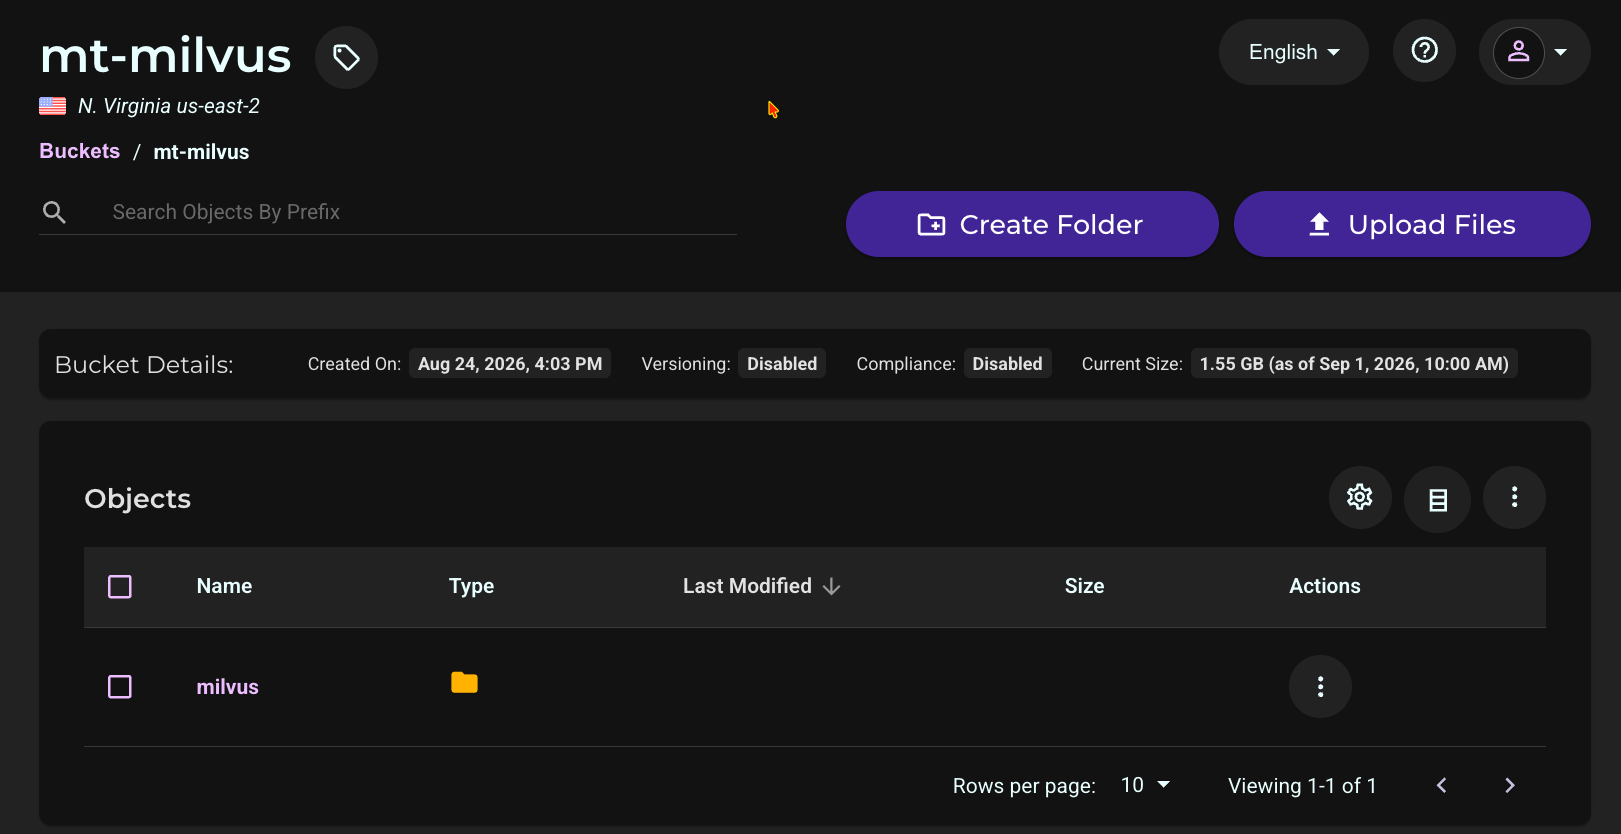
Confirm a folder matching the rootPath value used in your configuration (milvus, in the examples above) appears with data inside. In an active deployment, this folder will contain index_files, insert_log, and stats_log subfolders as data is inserted, indexed, and flushed.
Performance
There will be performance differences between Wasabi and local disk storage. Factors contributing to these differences may include network latency, the type of data being used, the indexing algorithm, and the number of requests per operation.