After searching for an asset, the Search Results page is displayed. Select a search result to open the Asset Details page, as shown below. The details provided will vary depending on the type of asset selected. There are four asset types:
- Video
- Image
- Audio
- Document
.png)
In the upper left corner of the Asset Details page, title information is provided with the file name, stow name, stow URL, an option to copy the stow URL, and an option to rename the file.
Click  to access title information.
Click to rename the asset title.
.png)
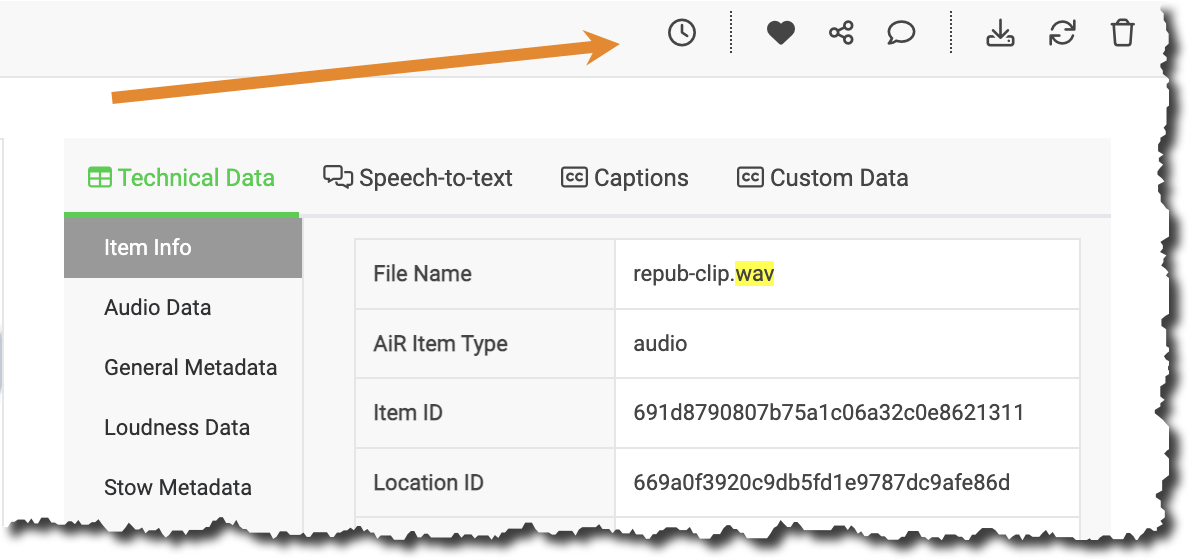
The additional tools in the upper right corner enable you to:

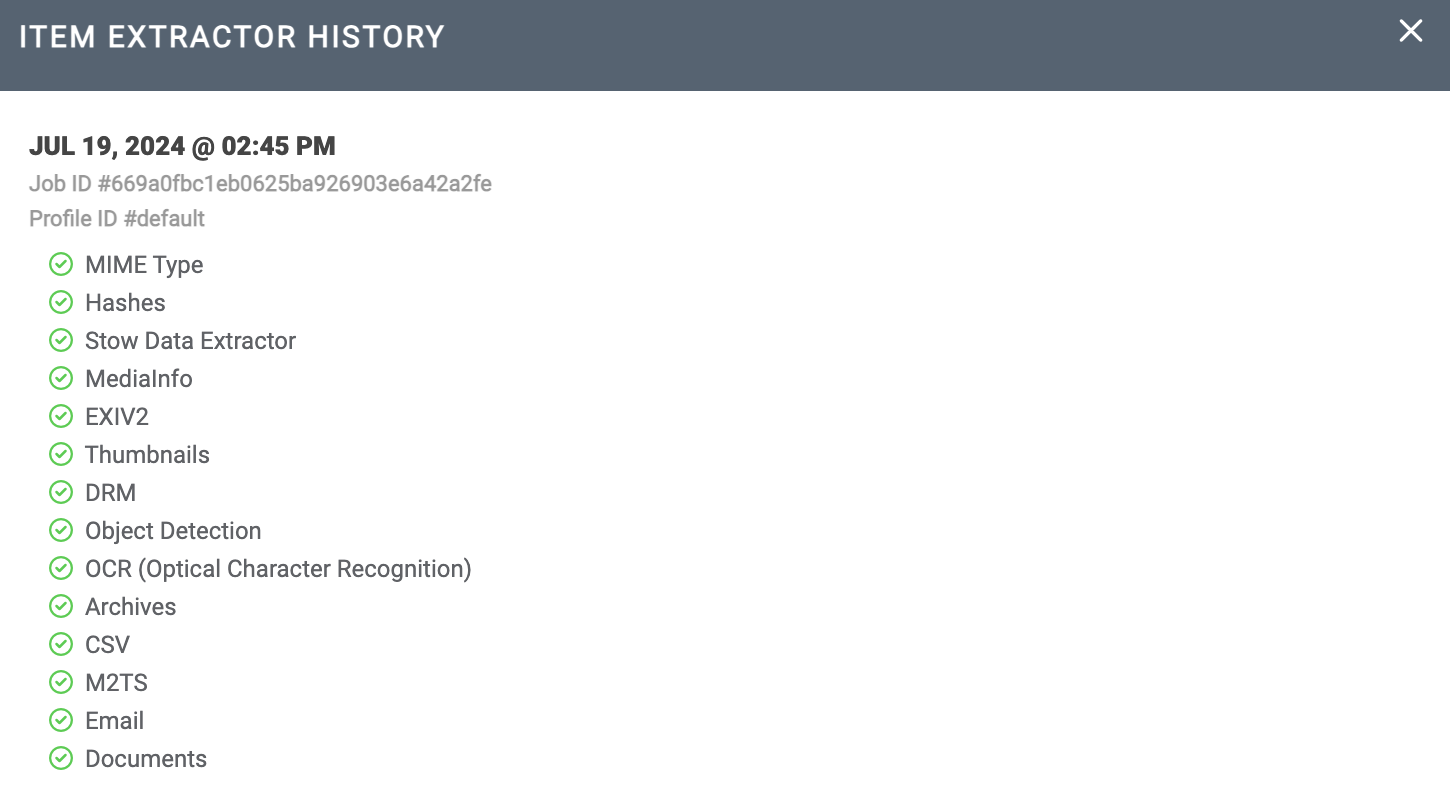
 View Item Extractor History — Show the history of ML extractors that were run on the asset.
.png) Add to Collection — Add the asset to a specific collection or to create a new collection in which to add the asset.
Add to Collection — Add the asset to a specific collection or to create a new collection in which to add the asset.
.png) Share this Page — Generate a temporary, shareable link to an asset or collection.
Share this Page — Generate a temporary, shareable link to an asset or collection.
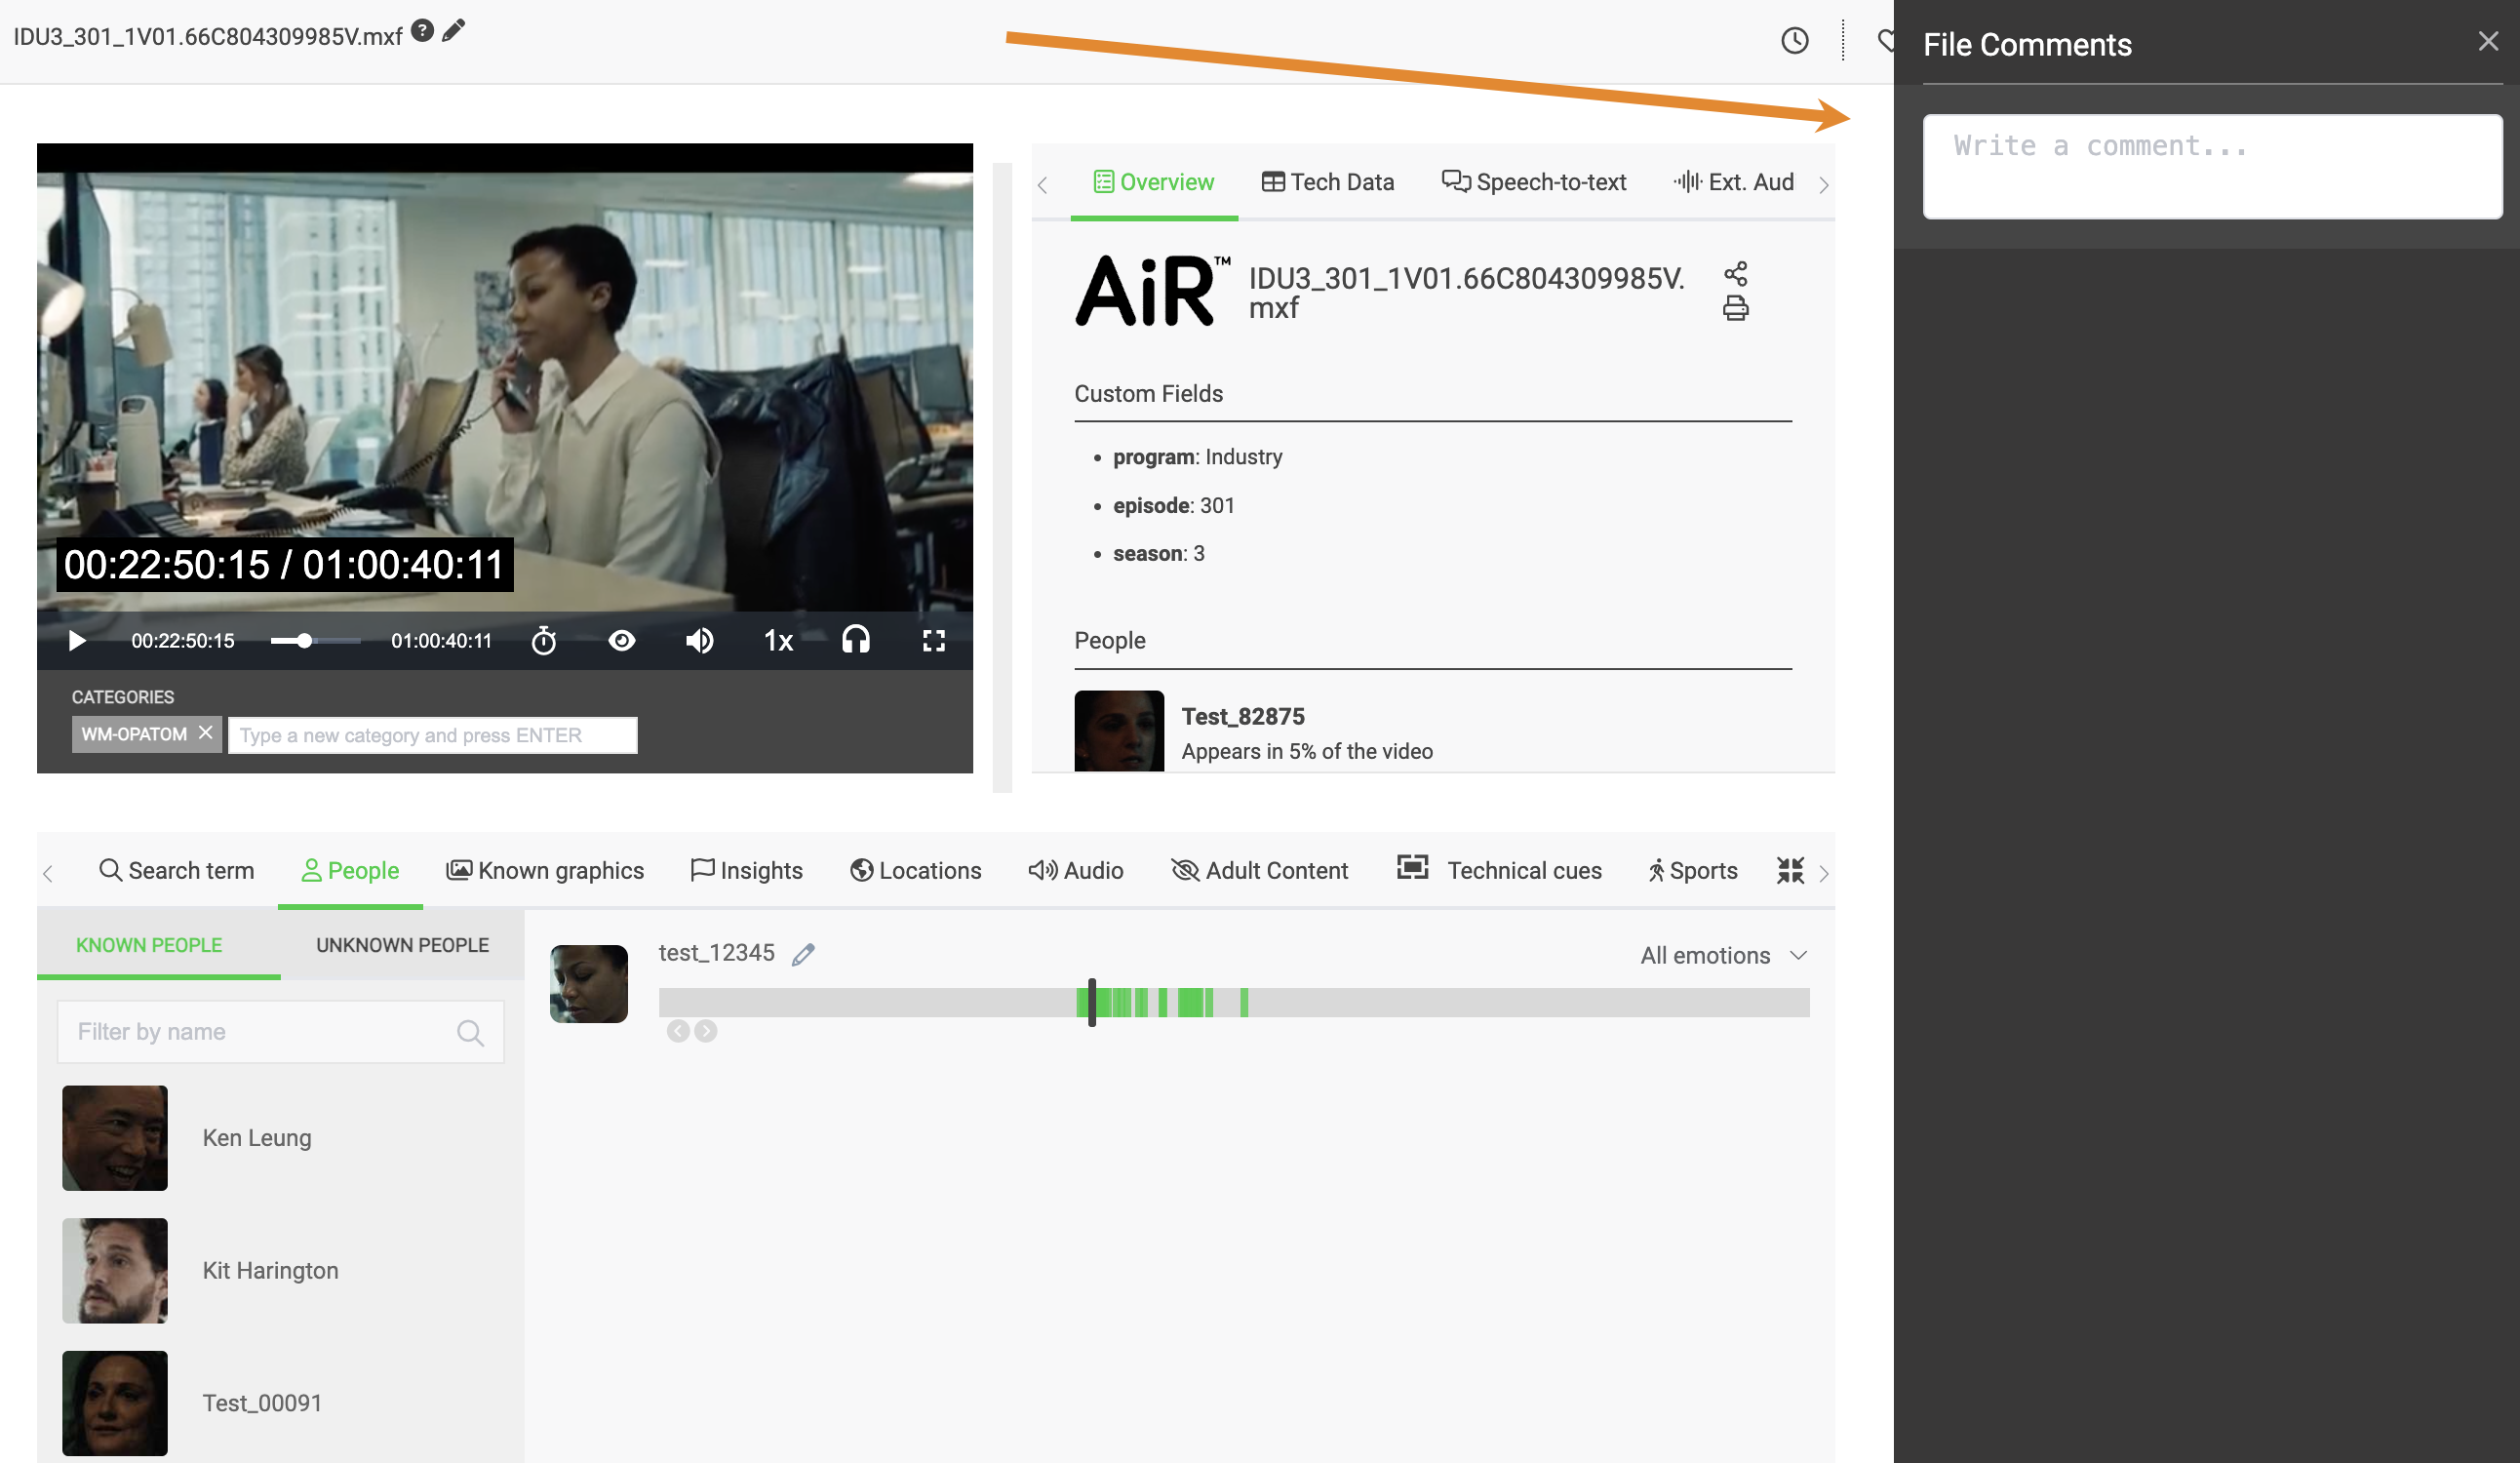
 Comments — Add comments to the asset, such as usage details, curation information, and so on.
.png) Download file — Download the asset to your local machine. This action requires that your role grants permission to do so.
Download file — Download the asset to your local machine. This action requires that your role grants permission to do so.
 Reanalyze Item — Re-harvest the asset using the configured ML services.
.png) Delete Item — Delete the asset from your Wasabi AiR index, but not from your connected storage container.
Delete Item — Delete the asset from your Wasabi AiR index, but not from your connected storage container.
Viewing Item Extractor History
- On the Search Results page, select an asset to open the Asset Details page.
- On the toolbar in the upper right-hand corner, click
 to view the Item Extractor History.
You are presented with a list of all extractors run against the asset. 
Each extractor will have one of the following statuses:
 indicates that the extractor was successfully run and no errors were found.
![]() indicates that there was either an error extracting the data type or the extractor profile was configured to extract a data type that was not found in the asset.
indicates that there was either an error extracting the data type or the extractor profile was configured to extract a data type that was not found in the asset.
If an error occurred while extracting data, you can re-harvest the asset. For more information, refer to Reanalyzing Items.
Adding Assets to a Collection
- Select an asset to open the Asset Details page.
- Click
.png) .
.
- In the ADD TO COLLECTION window, click the drop-down and select a collection in which to add the asset.

- Optionally, to add the asset to multiple collections, select additional collections from the drop-down.
- Click ADD.

A message will confirm that the asset has been added to the collection..png)
Sharing Assets
You can share assets with other Wasabi AiR users. To generate a sharable link to an asset, follow the steps below:
- From the Search Results page, select the asset to open the Asset Details page.
- Click
.png) .
.
- Click COPY URL TO CLIPBOARD. Optionally, highlight and copy the generated link.
.png)
A message will confirm that the URL was successfully copied. You can now share this link with Wasabi AiR users.
Commenting on an Asset
To add a comment to an asset or view existing comments left on an asset:
- Select an asset to open the Asset Details page.
- Click
 . The File Comments panel will open, as shown below.
- Add or view existing comments.
Downloading an Asset
To download an individual asset:
- On the Search Results page, select an asset to open the Asset Details page.
- Click
 .
.
The download will start immediately and can be viewed from the Downloads folder on your local machine.
Reanalyzing Items
The Reanalyze Item feature enables you to manually rerun all currently configured services in your extractor profile on a specific asset. Wasabi AiR automatically performs a harvest analysis of your asset storage every six hours, but you can manually initiate this process from the Asset Details page. Before reanalyzing items, contact Wasabi AiR support to discuss your use case.
- Click
 on the toolbar to reanalyze the asset.
A message will confirm that the re-harvest has begun:

- Click
 .
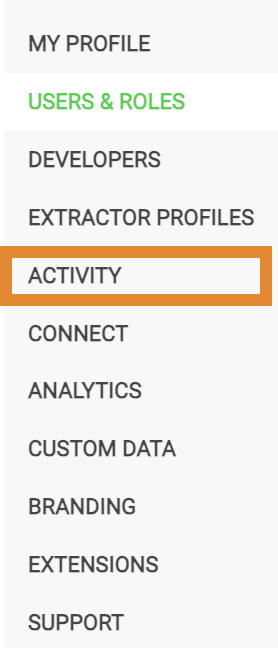
. - Click ACTIVITY.

- Verify the job status and analysis details on the Job History page. For more information, refer to Reviewing Activity.
Deleting Items
- From the Asset Details page, click
.png) .
..png)
- A message will request that you confirm the deletion. Click YES, DELETE.
