Objectives
| 1 | Sign up for Wasabi AiR and sign in. |
| 2 | Work with assets and storage. |
| 3 | Create a user account. |
Wasabi AiR manages and connects you to your asset storage by extracting and creating metadata using machine learning (ML) and AI services. An asset is any content to be indexed within the Wasabi AiR platform. An asset can be a video, image, audio, or document file. Wasabi AiR automatically tags your content as it is ingested into the cloud, enabling searchable metadata for you to instantly find any moment in any media that you own.
To begin working with assets, you will connect your Wasabi Console storage to Wasabi AiR, as described below. Once connected, filter simple and complex search queries to quickly locate your assets. The Product Guide explores more features used to manage, organize, and enhance ML services to best suit your use case.
Connecting Your Storage to Wasabi AiR
The Connect feature enables you to securely connect your storage to Wasabi AiR to access your assets. In order to use this feature, you must complete the following three steps, as described below:
- Create an identity and access management (IAM) policy.
- Create a Programmatic User.
- Attach the Programmatic User to Wasabi AiR.
The IAM policy and programmatic user that you create in Wasabi Console will be used to enable the connection between your Wasabi Console storage and Wasabi AiR. The IAM policy will define the buckets from which Wasabi AiR can read. Once you have created an IAM policy, continue to Creating a Programmatic User and, finally, Attaching the Programmatic User to Wasabi AiR.
Creating an IAM Policy
To create an IAM policy, follow the steps provided in the Product Guide for Wasabi Hot Cloud Storage in Creating a Policy. Be sure to set:
- Policy Name: Provide a name for the policy that is recognizable (for example, "my-bucket-policy"), as you will need to assign this policy to a programmatic user, as described below.
- Policy Editor: Paste the following script into the Policy Editor. Replace "my-bucket" with your intended bucket name.
{
  "Version": "2012-10-17",
  "Statement": [
    {
      "Effect": "Allow",
      "Action": [
        "s3:GetObject",
        "s3:ListBucket",
        "s3:GetBucketLocation"
      ],
      "Resource": [
        "arn:aws:s3:::my-bucket/*",
        "arn:aws:s3:::my-bucket"
      ]
    },
    {
      "Effect": "Allow",
      "Action": "s3:ListAllMyBuckets",
      "Resource": "*"
    }
  ]
}Creating a Programmatic User
Now that you have an IAM policy, follow the steps in Creating a User (in Wasabi Console) to create the programmatic user to which you will assign the policy. The credentials (access key and secret key) generated for this user are what enable Wasabi AiR to act as the user that reads your files. This is how Wasabi AiR creates metadata from your content. Be sure to set:
- Type of Access: Specify user access as Programmatic (the user can create an API key). By enabling programmatic access, the user gets an access key and secret key once the user is created.
- Groups: Optional. On this screen, click Next to skip this step.
- Policies: In the Attach Policy To User area, enter the name of the newly created IAM policy to attach the policy to the user.
- Access Keys: Download or view the credentials (access key and secret key). Save these credentials now, as you will need them to connect to Wasabi AiR.
Attaching the Programmatic User to Wasabi AiR
- Navigate to your organization's URL (orgname.air.wasabisys).
- Sign in to Wasabi AiR.
- Click
 to open Settings.
.png)
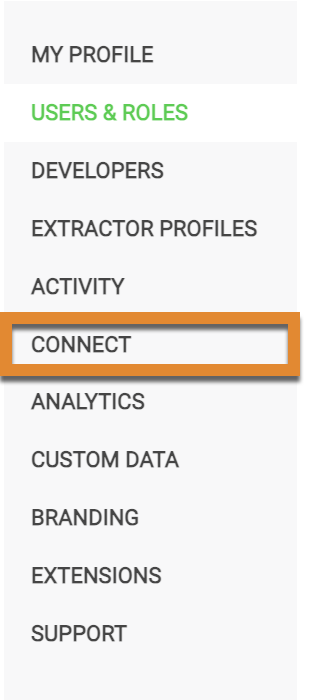
- Click CONNECT.
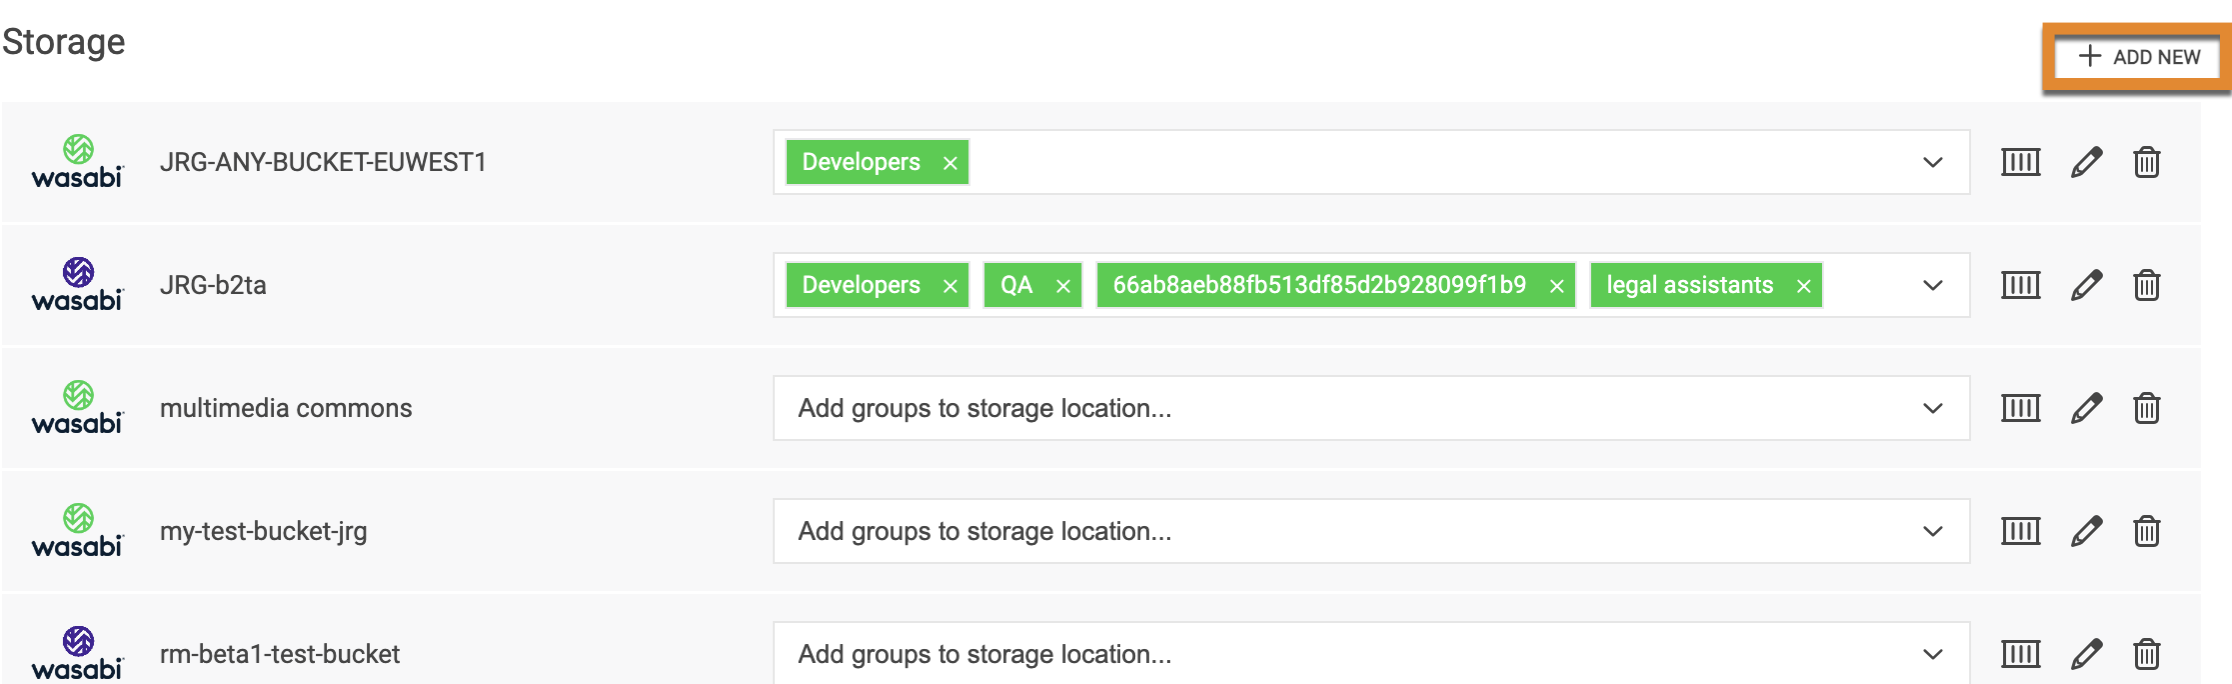
- Click +ADD NEW.
- Click the Wasabi tile to connect your Console storage.

- Enter the following information:
- Name (for the Location). This can be the name of the bucket used to create the IAM policy or a new name for the storage connection.
- Access Key ID.
- Secret Key.
- Bucket region.
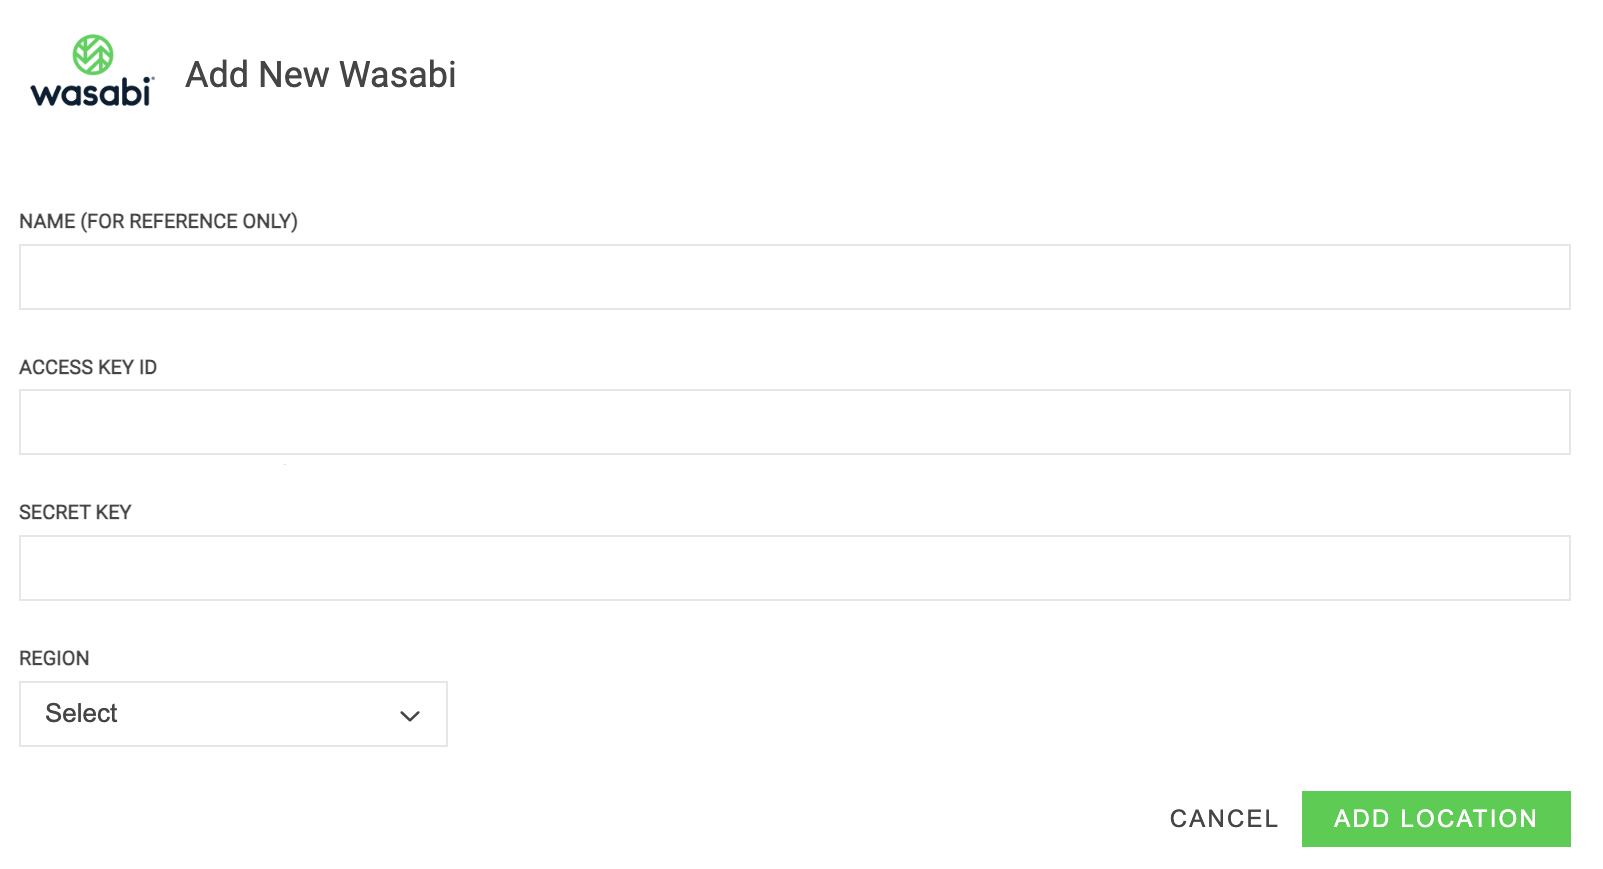
- When complete, click ADD LOCATION.
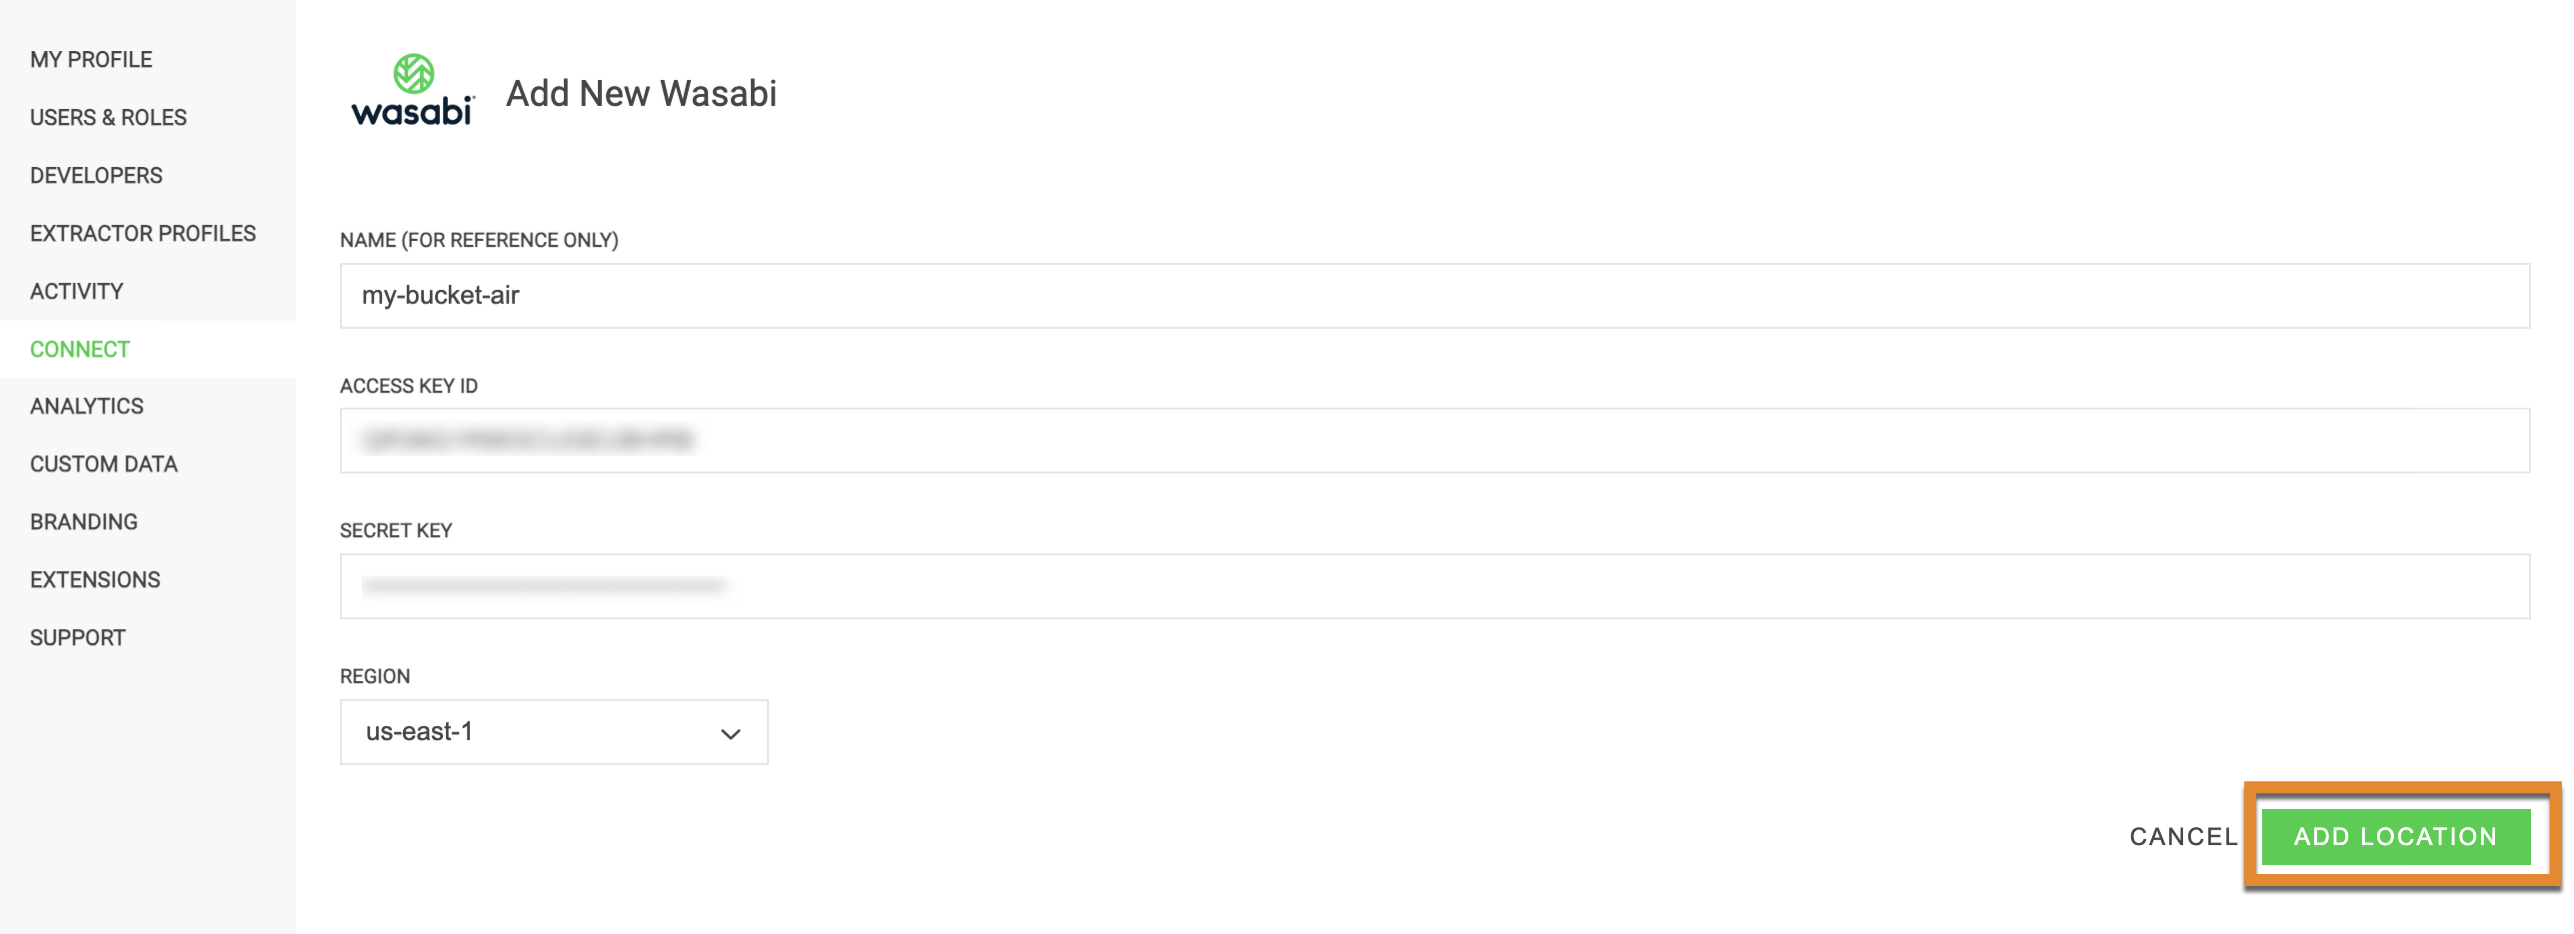
A message will confirm that the connection was successfully added. The storage location is now connected.
You will be returned to the Storage page and are now able to:
- View all buckets.
- Edit the location.
- Remove the location.
After connecting your storage to Wasabi AiR, you will need to assign an extractor profile to your buckets. For more detail, refer to Extractor Profiles: Configuring a Bucket for Analysis in the Product Guide.
Searching for Assets
Once your storage location is connected, use the Search bar to search your content within Wasabi AiR. The icons below the Search bar are additional tools used to construct search queries and retrieve information quickly. Combine one or more search types to construct a complex search, as described in Home Page in Wasabi AiR.
Objectives Met!
| 1 | Sign up for Wasabi AiR and sign in. |
| 2 | Work with assets and storage. |
| 3 | Create a user account. |
Before proceeding to Step 3, you may want to learn more about working with assets by Reviewing Asset Details.
After Getting Started With Wasabi AiR, explore more features in the Product Guide for Wasabi AiR.