Single Sign-On (SSO) is important because it enhances user experience and productivity by allowing users to access multiple applications and systems with a single set of credentials. This eliminates the need for multiple logins and passwords. Additionally, SSO improves security by reducing the risk of weak passwords and enabling centralized authentication and access control. Refer to SSO in the Wasabi Security Center for instructions on configuring SSO.
When accessing Wasabi, it is important to know that Wasabi supports two versions of SSO:
SSO (described in the next topic)
Currently, users of either SSO version cannot access the BILLING tab. For billing, we encourage you to use sub-users who are provisioned with billing permissions.
Accessing Wasabi With SSO
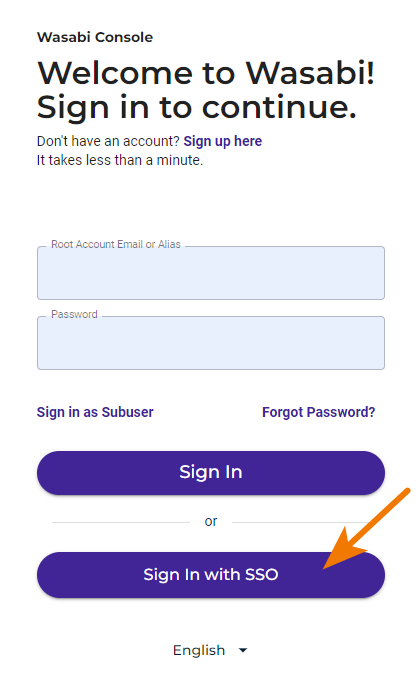
On the "Welcome to Wasabi!" page, click the SIGN IN WITH SSO button.
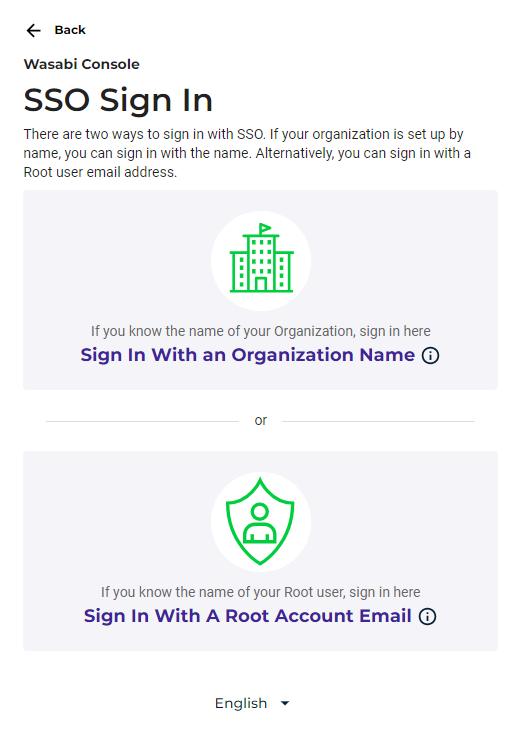
There are two ways to sign in with SSO. If your organization is set up by name, you can sign in with the organization name by clicking the upper blue area. Alternatively, you can sign in with a Root user email address by clicking the lower blue area.
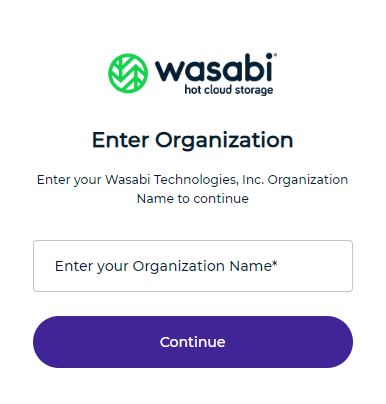
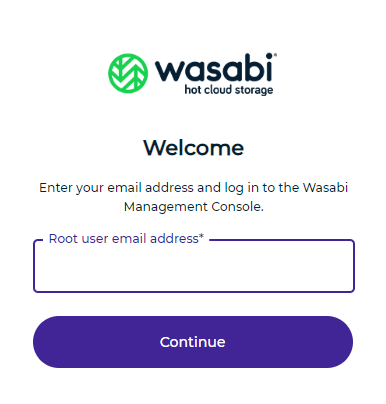
Enter your organization name or Root user email address, as prompted. Click Continue.
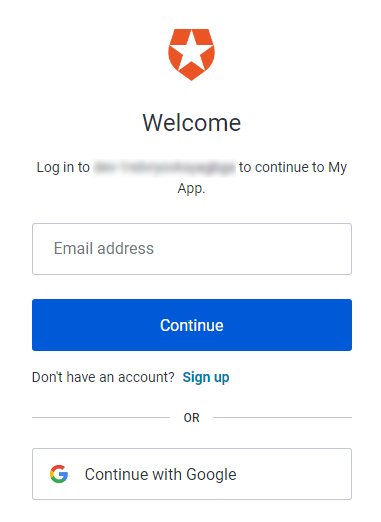
You may be redirected to an IDP login page (an example is shown below). Enter your login credentials and click Continue.
Wasabi will verify security and redirect you to the Wasabi Management Console.
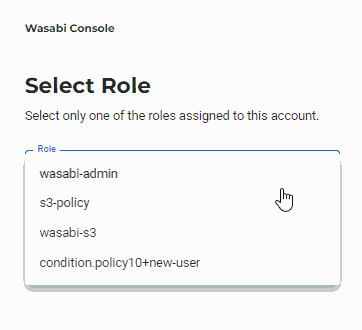
If you are a user who is a member of multiple groups, you will be prompted to select a role upon authenticating into the Console. Select a role and then click Continue.
Accessing Wasabi With SSO Legacy
If you have an enterprise account with SSO Legacy configured, you will see this login when you access the Wasabi URL: https://auth.wasabisys.com
You must contact Wasabi Customer Support to enable the SSO Legacy feature.
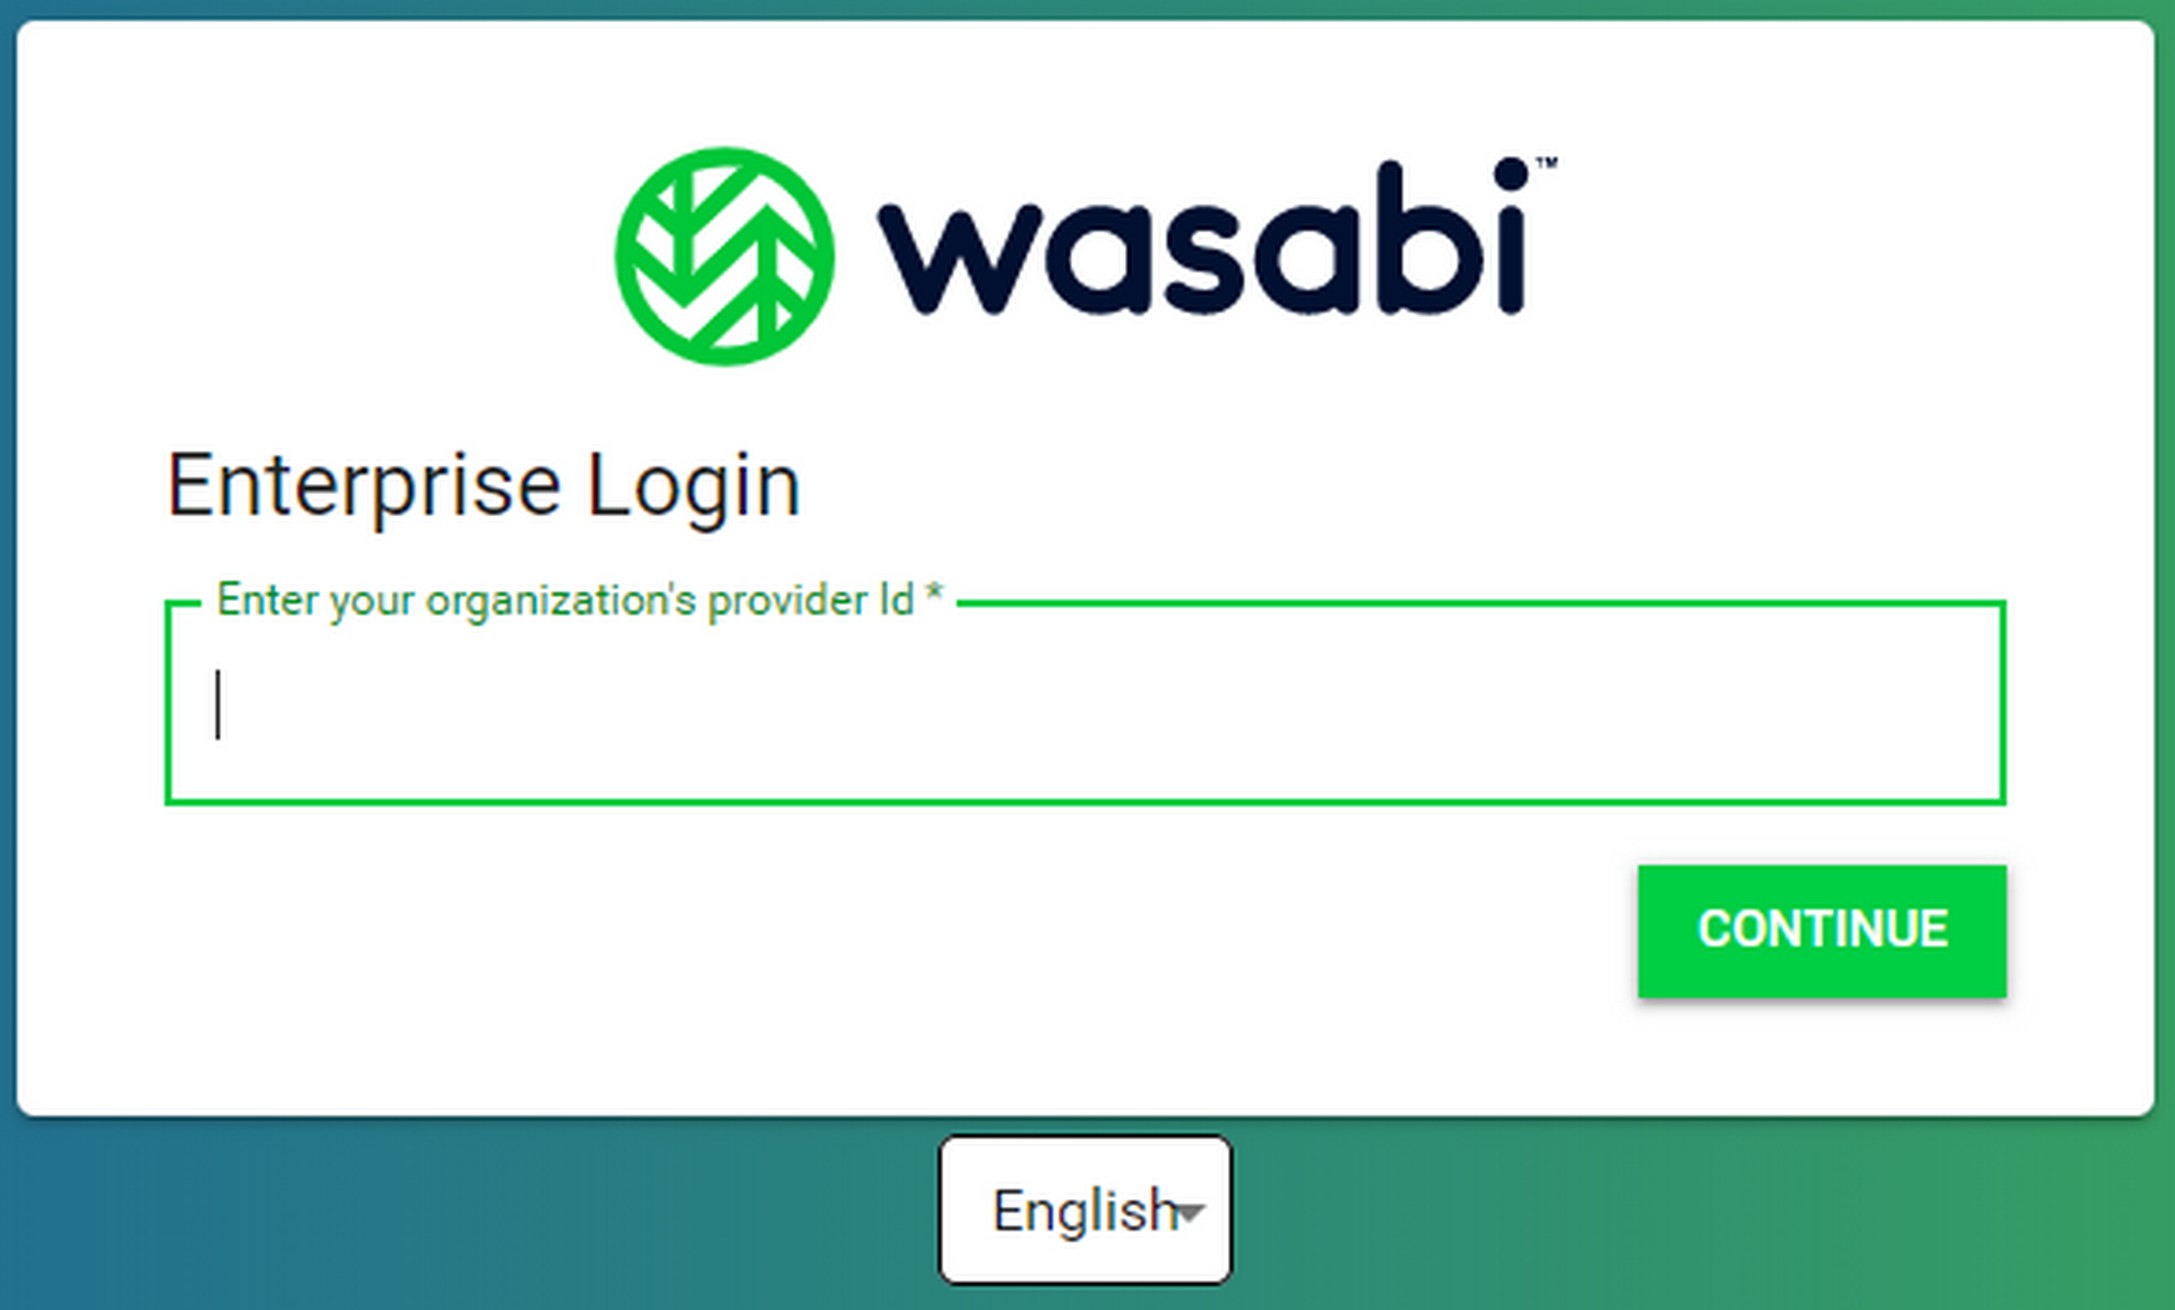
Enter your organization’s provider ID.
As an alternative to English, you can click the English button (located below the Sign Up panel) and select the language in which to display the interface.
Click CONTINUE. You will be redirected to the Identity Provider (such as Okta) login panel. Enter your credentials.
If you have been assigned multiple roles on the Identity Provider, select one of the roles from a drop-down list. For example:
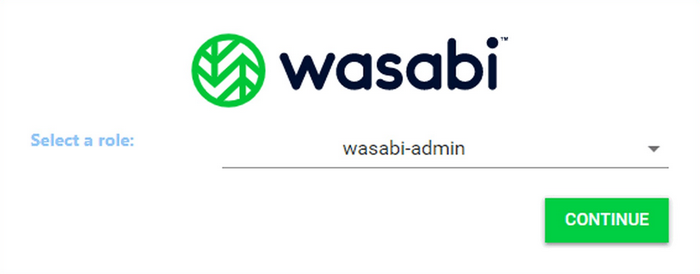
Based on the selection, you will be able to perform actions on the Wasabi console as per the policy associated with your role.
Click CONTINUE.