Wasabi supports SSO (Single Sign On) functionality for enterprise/educational accounts using Ping Identity IdP based on SAML2 (Security Assertion Markup Language).
This article provides the configuration instructions for the Wasabi Console administrator and SSO user to properly configure and complete a Wasabi login using the organization's Ping Identity IdP.
To follow to accomplish SSO logins using Ping Identity:
Log in to your Ping Identity IdP as an Admin user.
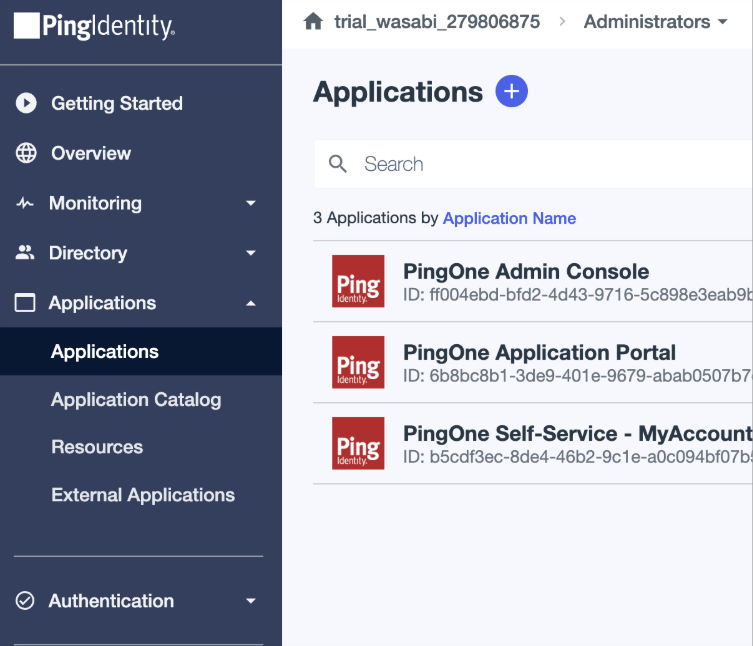
Click Applications to create a new application for Wasabi SSO.
Click + to create a new application.
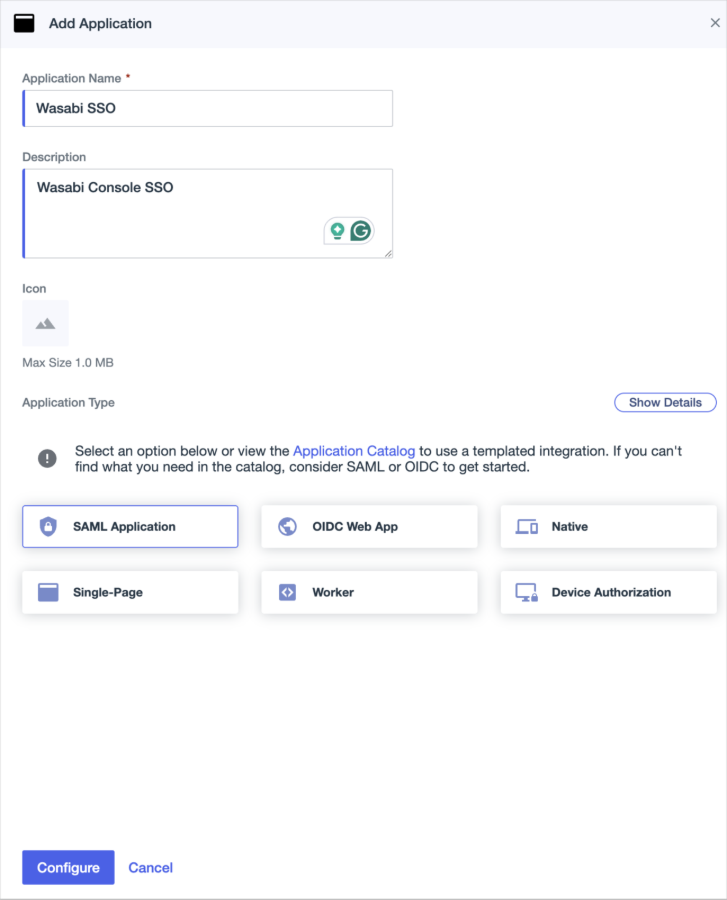
Enter a name for the new application.
Click to select the SAML Application option.
Click Configure.
For the SAML Configuration, select Manually Enter.
Enter the following URLs.
ACS URL:
https://sso.wasabisys.com/login/callbackEntity ID:
https://sso.wasabisys.com/saml
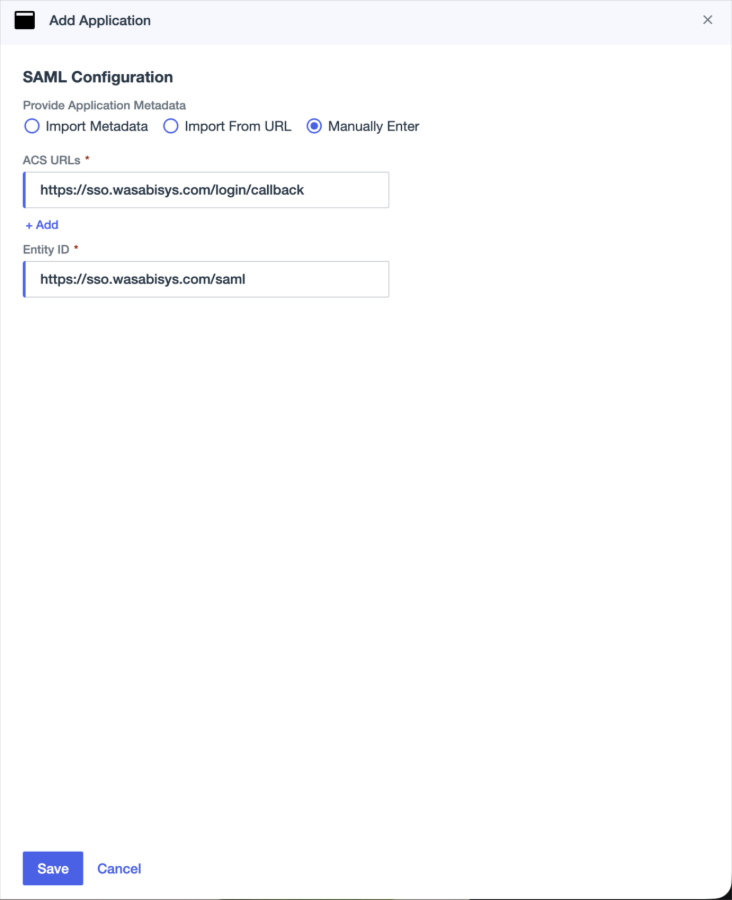
Click Save.
Once the application is configured, click Overview in the new Wasabi SSO application.
Click to select the Download Metadata file option. You will need the metadata file to upload within the Wasabi SSO configuration.

You will need to create custom attributes for the Wasabi SSO Application in Ping Identity. Click Attribute Mappings on the Wasabi SAML application. Add the following attributes and mappings:
Attribute Names (Case Sensitive)
PingOne Mappings
email
Email address (required)
groups
Group names (required)
firstName
Given name
lastName
Surname
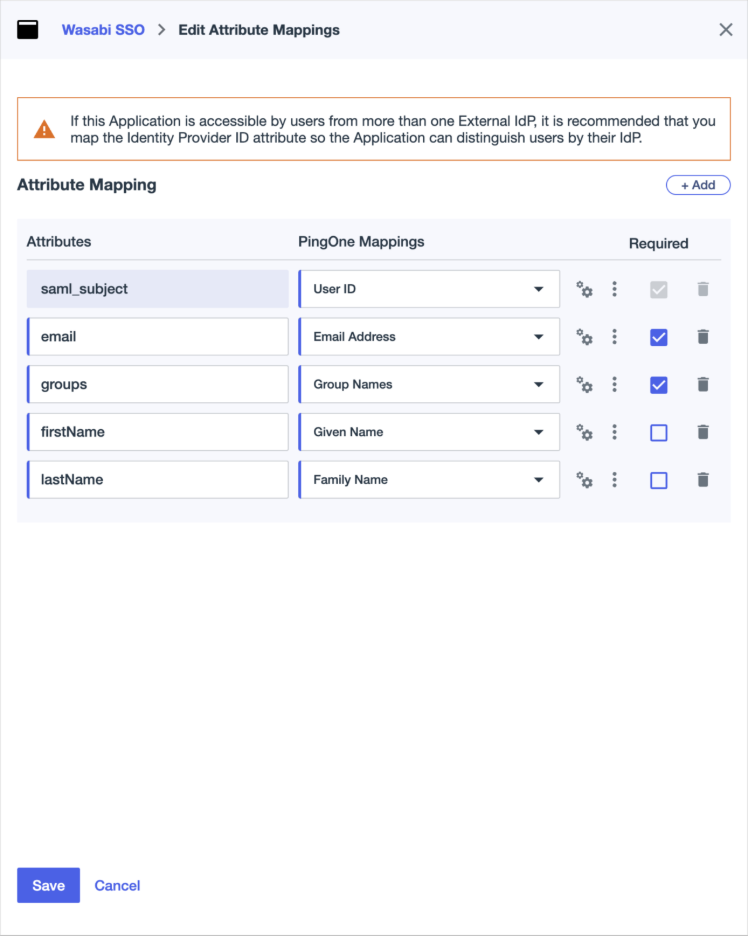
Click Save.
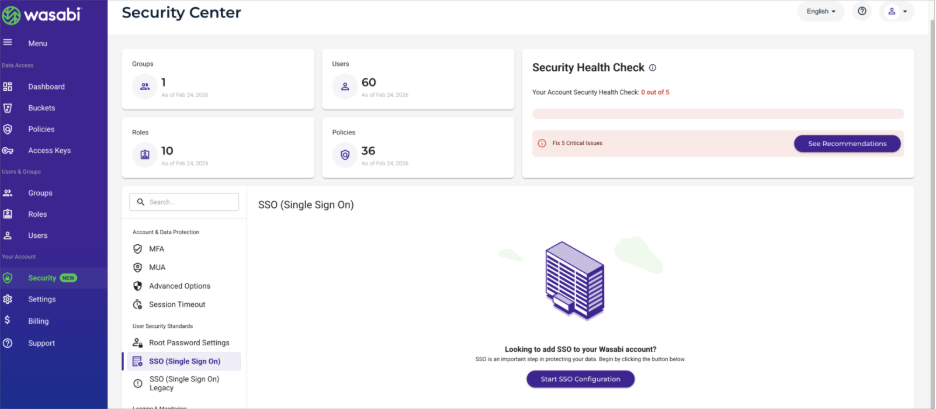
Log in to the Wasabi Console (https://console.wasabisys.com) as the Wasabi Root account user or an Administrator user.
Click Security and SSO (Single Sign On) to start the Wasabi SSO configuration. A unique organization name is needed for your Wasabi SSO. You will need this organization name for users to log into the Wasabi console via SSO.
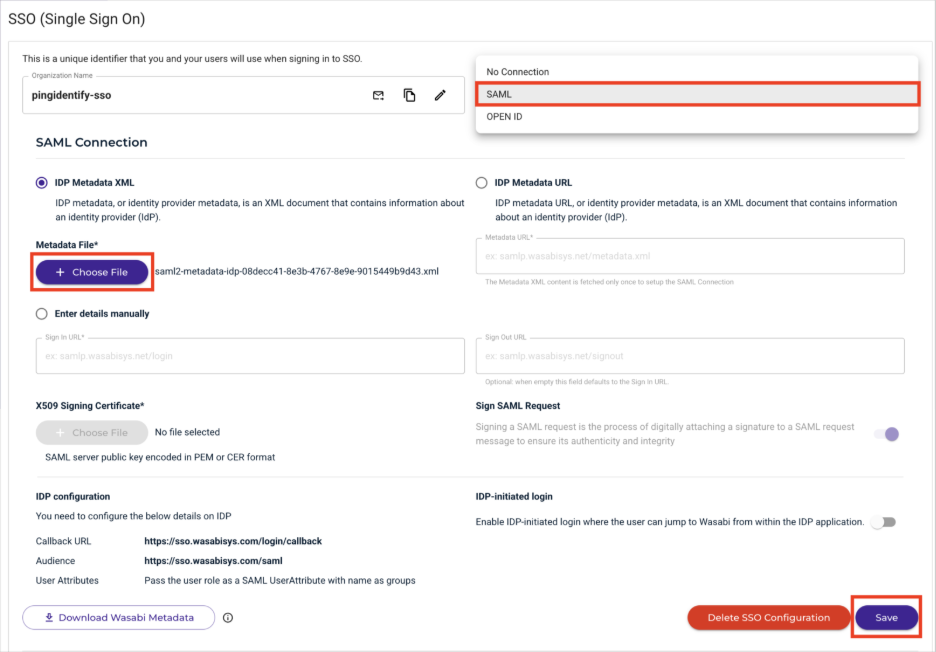
In the SSO connection drop-down, select SAML.
Once SAML is selected, click + Choose File for the Metadata File.
Choose the XML file that you downloaded from the Ping Identity application in Step 11.
Once the XML is uploaded, click Save.
You will need to create a Wasabi role that matches the Ping Identity group name. (Do use an existing Wasabi role for SSO.) Click Roles. Users will authenticate with this Wasabi role, and the role name must match the groups attribute mapped for the Ping Identity user. Use the same group name in your Ping Identity or create a new group. In this example, the Wasabi SSO role is wasabi-admin, which is also the name of the Ping Identity group.

Attach an IAM policy to this Wasabi role. You can reference a premade policy or create your own IAM policy. (You can edit the attached policy by clicking on the Wasabi Role once it is saved.)
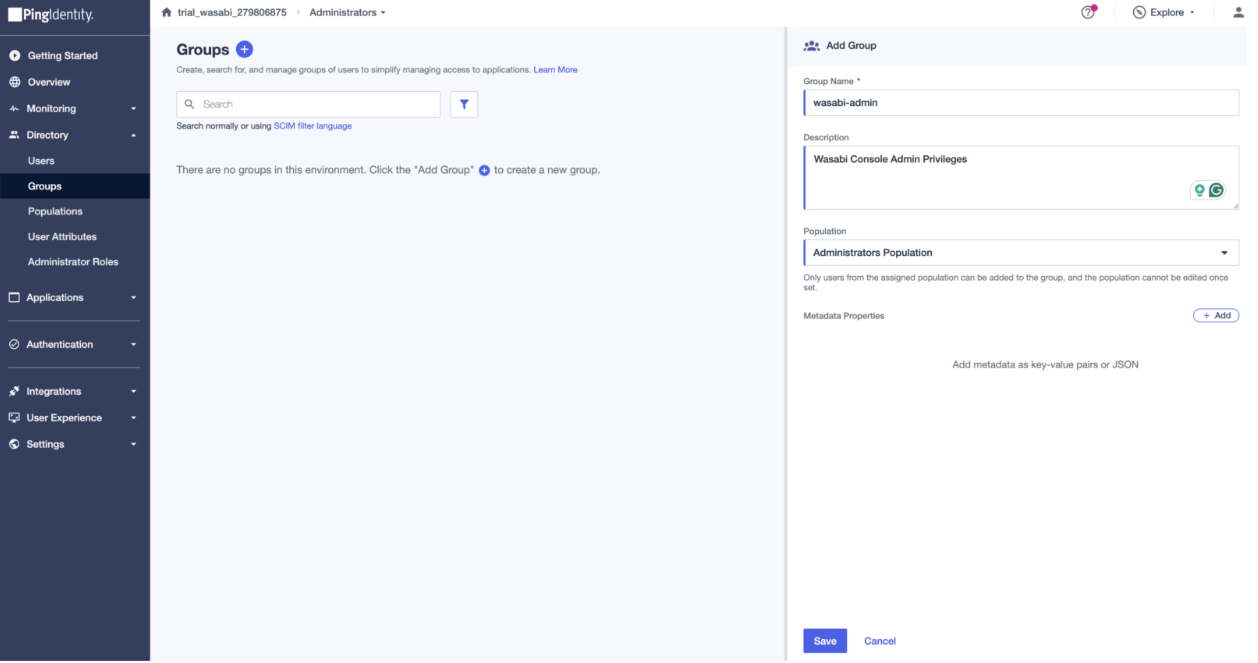
Go back to the Ping Identity Admin console to create the wasabi-admin group to match the Wasabi SSO role name.
Under Directory – Groups, click +.
Name the group to be the same as the Wasabi SSO role name you created (wasabi-admin in the example).
Add the Population mapping.
Click Save.
Add the necessary Ping Identity users to the wasabi-admin group.
Once the Ping Identity group is created and the necessary users are added to the group, you can test the Wasabi Console through SSO.
Log out of your existing Wasabi Console session or use an incognito window. Go to the SSO Sign In (https://console.wasabisys.com/sso_org_login) and click Sign In With an Organization ID (you created the organization name starting with Step 15) or Sign In With A Root Account Email.
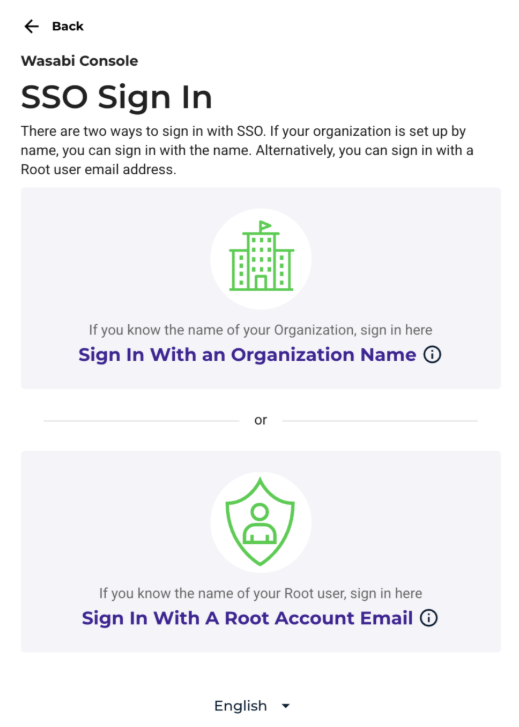
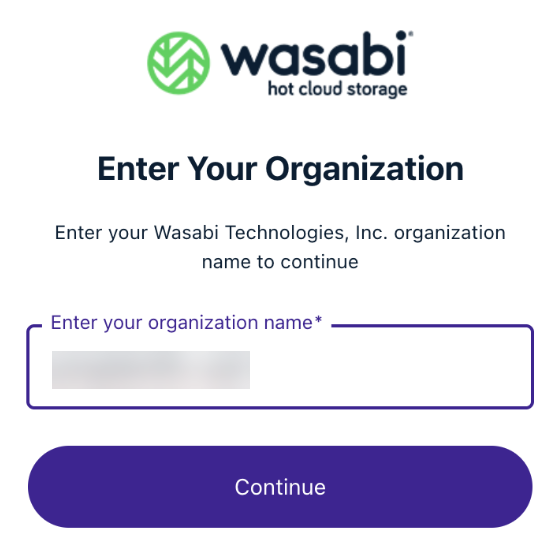
If you choose to log in with an organization ID, enter the organization name and click Continue.
Wasabi will reroute you to the Ping Identity Login page for the user to log in. Once you log in through your Ping Identity IdP, you will be rerouted to the Wasabi Console with the permission/policy attached to the Wasabi SSO role.