After you create a bucket, you can store an object in it. An object can be any type of file—text, photo, video, etc.
In the Buckets list, click the name of the bucket into which you want to upload an object.
The bucket content panel is displayed. If your bucket already held objects, the panel would list the object names and associated information. With an empty bucket, you will see a panel such as:
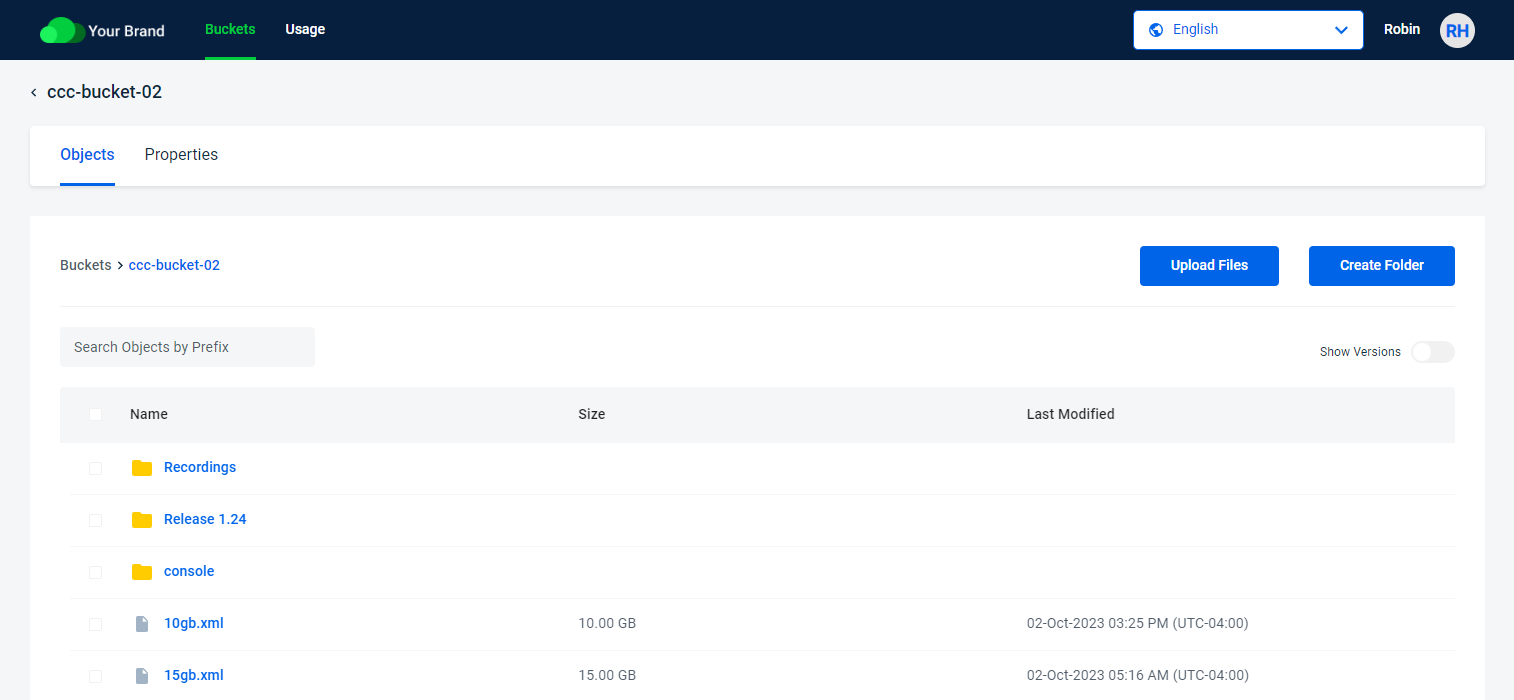
Click Upload Files.
You can select files and folders to upload in two ways:
Drag and drop files or folders onto the Drag & Drop Files area of the panel.
ORUpload a file(s) by clicking the Browse Files button. Then, navigate to find the file(s) you want to upload. You can use the Shift or Ctrl keys to select multiple files. (Continue with the next step.) If you choose the same file name from different folders, the file chosen last will be stored before the upload starts.
Avoid the use of the following special characters in a file name:
% (percent)
< (less than symbol)
> (greater than symbol)
\ (backslash)
# (pound sign)
? (question mark)Non-ASCII, 4-byte UTF8 characters (such as emojis) are not supported and will return a 400 error message. Rename these files, if possible.
When you add a file, it is listed on the Upload Files panel. For example:
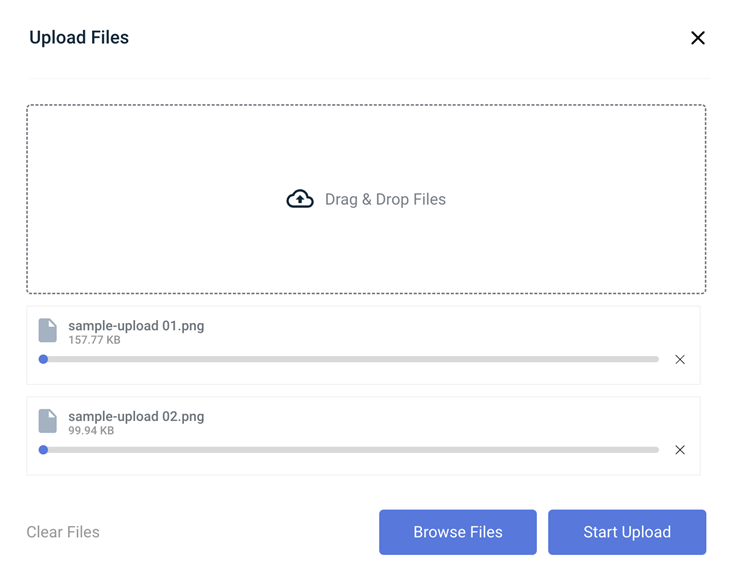
Optionally, to remove a file from the list before uploading, click X to the right of the file name.
Optionally, to remove all selected files before uploading, click Clear Files.
Click Start Upload to upload the objects.
A check appears to the right of each file name when it is successfully uploaded. When the upload is complete, you are returned to the Upload Files panel where you can repeat these steps to upload additional folders or files. When you are done uploading, close the Upload Files window.
Uploaded Files
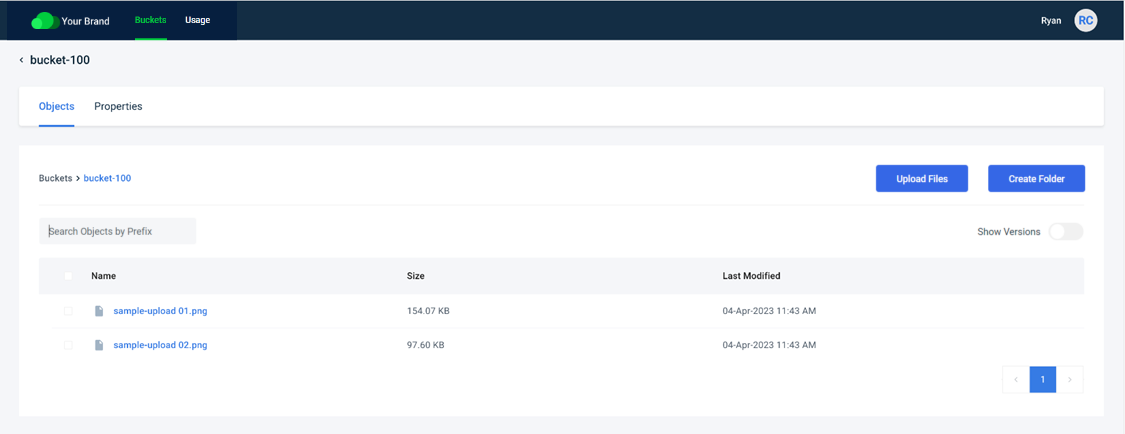
Uploaded files are listed on the Objects page within a selected bucket. The following example shows multiple files stored in "bucket-100".
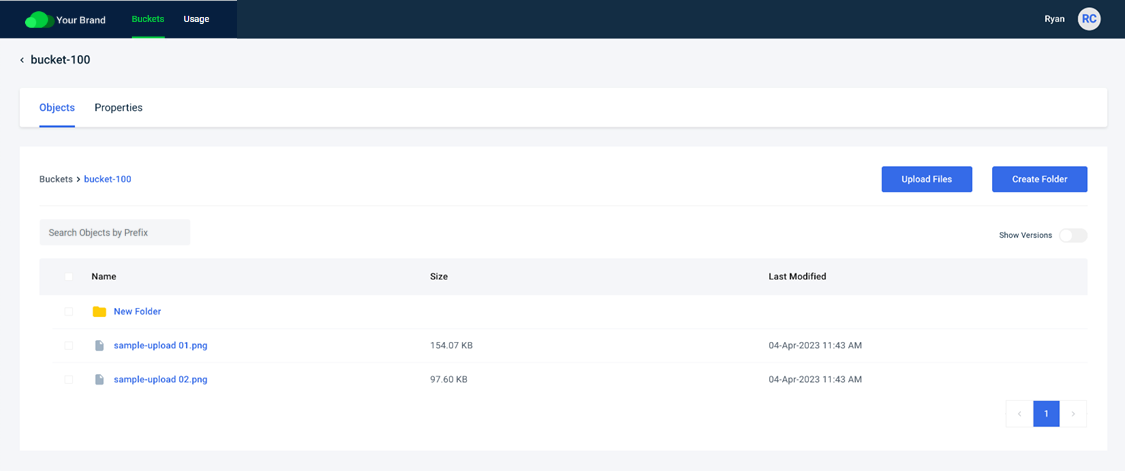
Folders and files are displayed with a Name, Size, and Last Modified (date/time).
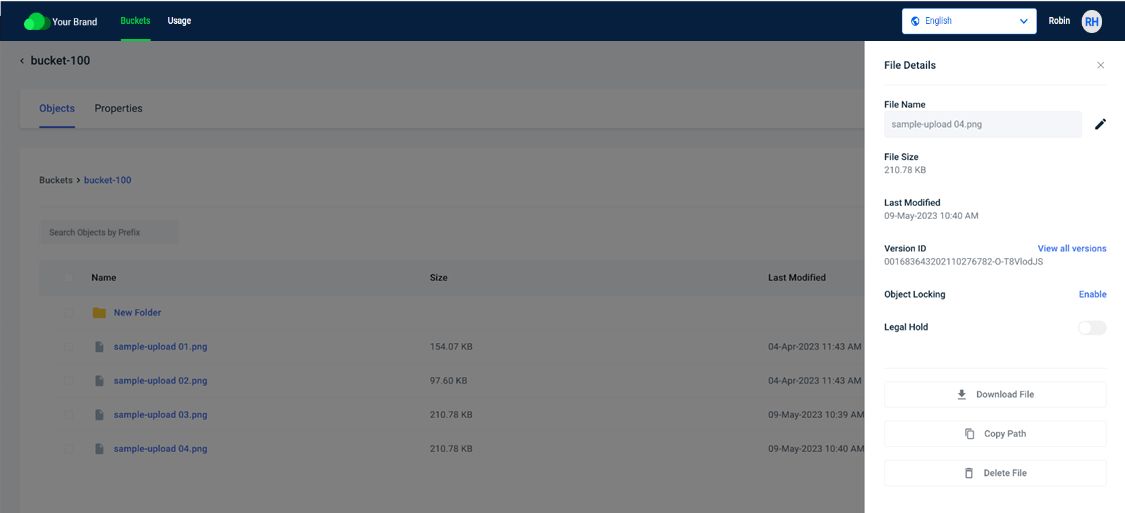
You can view details about the file by clicking on it. Refer to Reviewing File Details for more information.
