Trilio for Kubernetes provides fast and easy backup of application containers and virtual machines, disaster and ransomware recovery and application mobility across any cluster, anywhere. These backups can be stored in Wasabi hot cloud storage.
Prerequisites
There is no minimum version of Trilio required. The solution was tested with version 4.
An active Wasabi account.
A license provided by Trilio is needed for backup, recovery, migrations, and disaster recovery.
Architecture Diagram
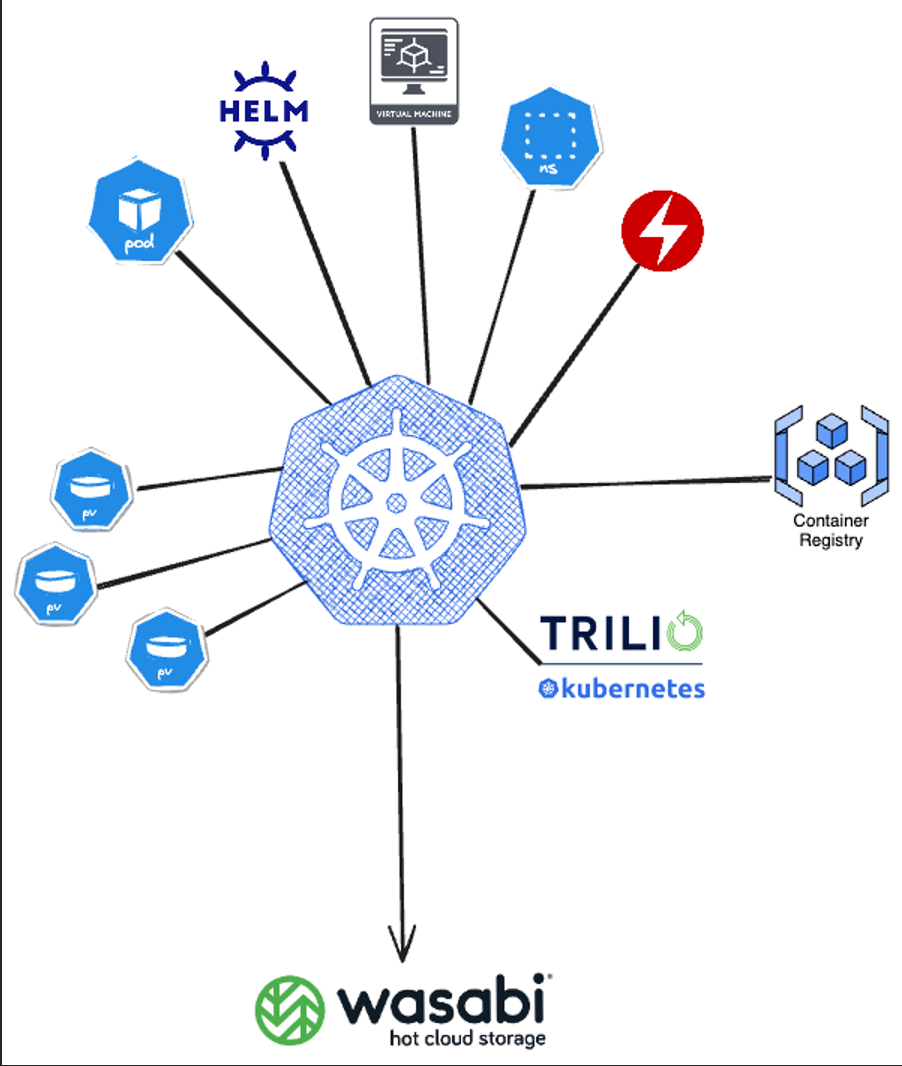
Creating a Wasabi Bucket
The first step is to create a bucket in your Wasabi account that will contain Trilio data. Login to the Wasabi Console as the root user and follow the instructions to create a bucket in the Working With Buckets and Objects article. Make note of the bucket name and region that your bucket resides in.
Do NOT enable Object Locking as Trilio currently does not currently support managing object lifecycle with Object Locking.
Creating a Wasabi User
The next step is creating a Wasabi user on your account via the Wasabi Console and API keys for that user following the directions in Creating a User Account and Access Key.
Select the Programmatic (create API key) and Console under Type of Access.
You may skip assigning the user to a group unless desired.
Assign the WasabiFullAccess policy to the user.
At the end of the user creation, a "Create Access Key" popup will be displayed. Make sure to download the keys (Access and Secret) and save them in a secure location.
Creating a Target
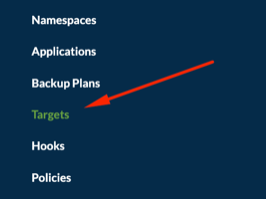
In Trilio, click on Targets.
Click on Create New.

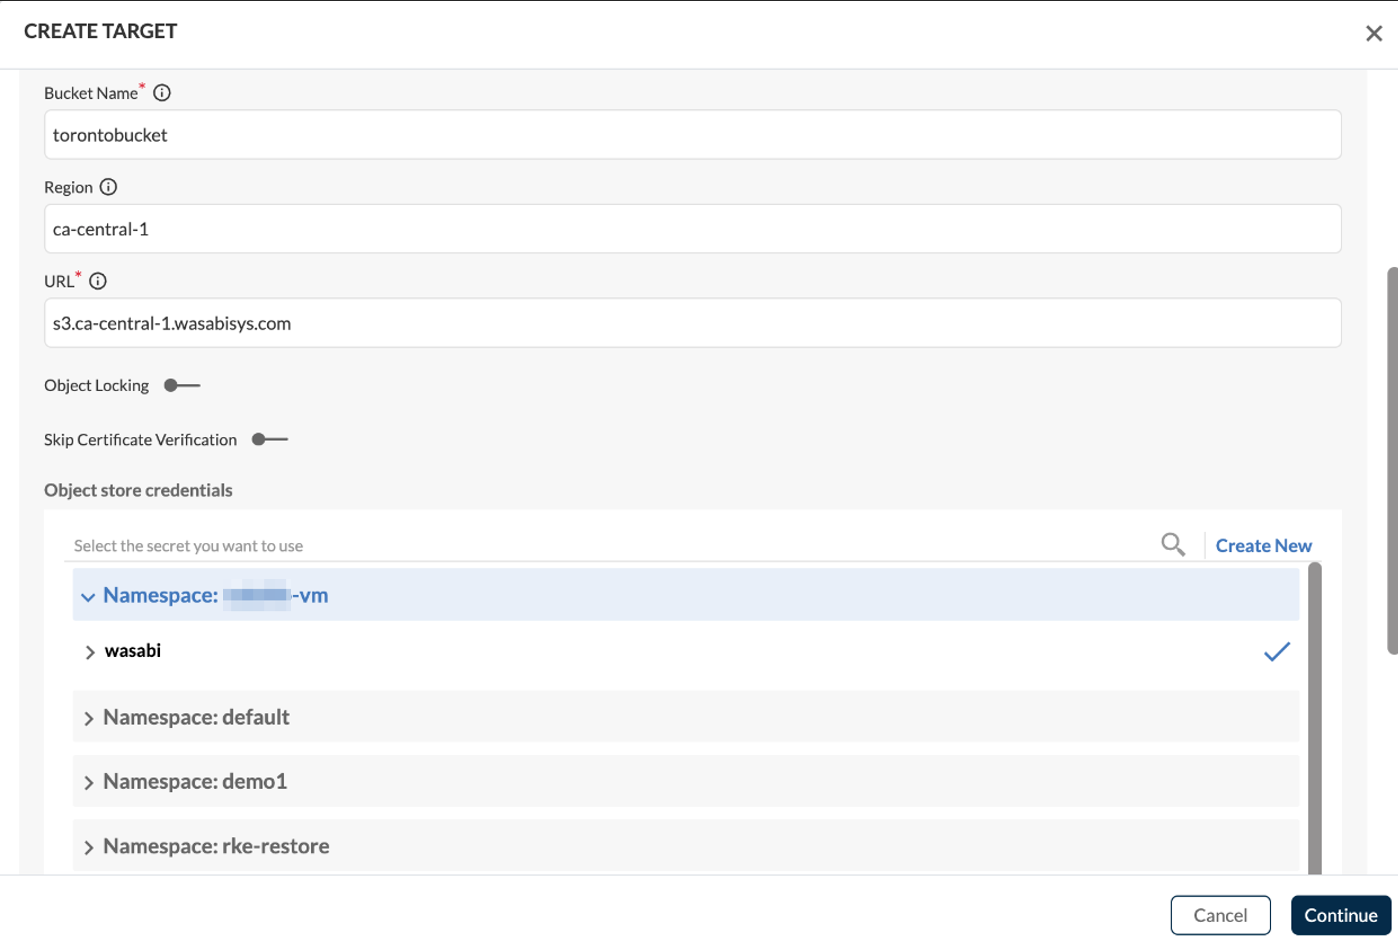
Select Object Storage, Wasabi, the appropriate size and enter the following details.
Enter the bucket name, region, and URL that your Wasabi bucket is located in.
This configuration example discusses the use of Wasabi's ca-central-1 storage region. To use other Wasabi storage regions, please use the appropriate Wasabi service URL as described in our Wasabi Service URLs article.
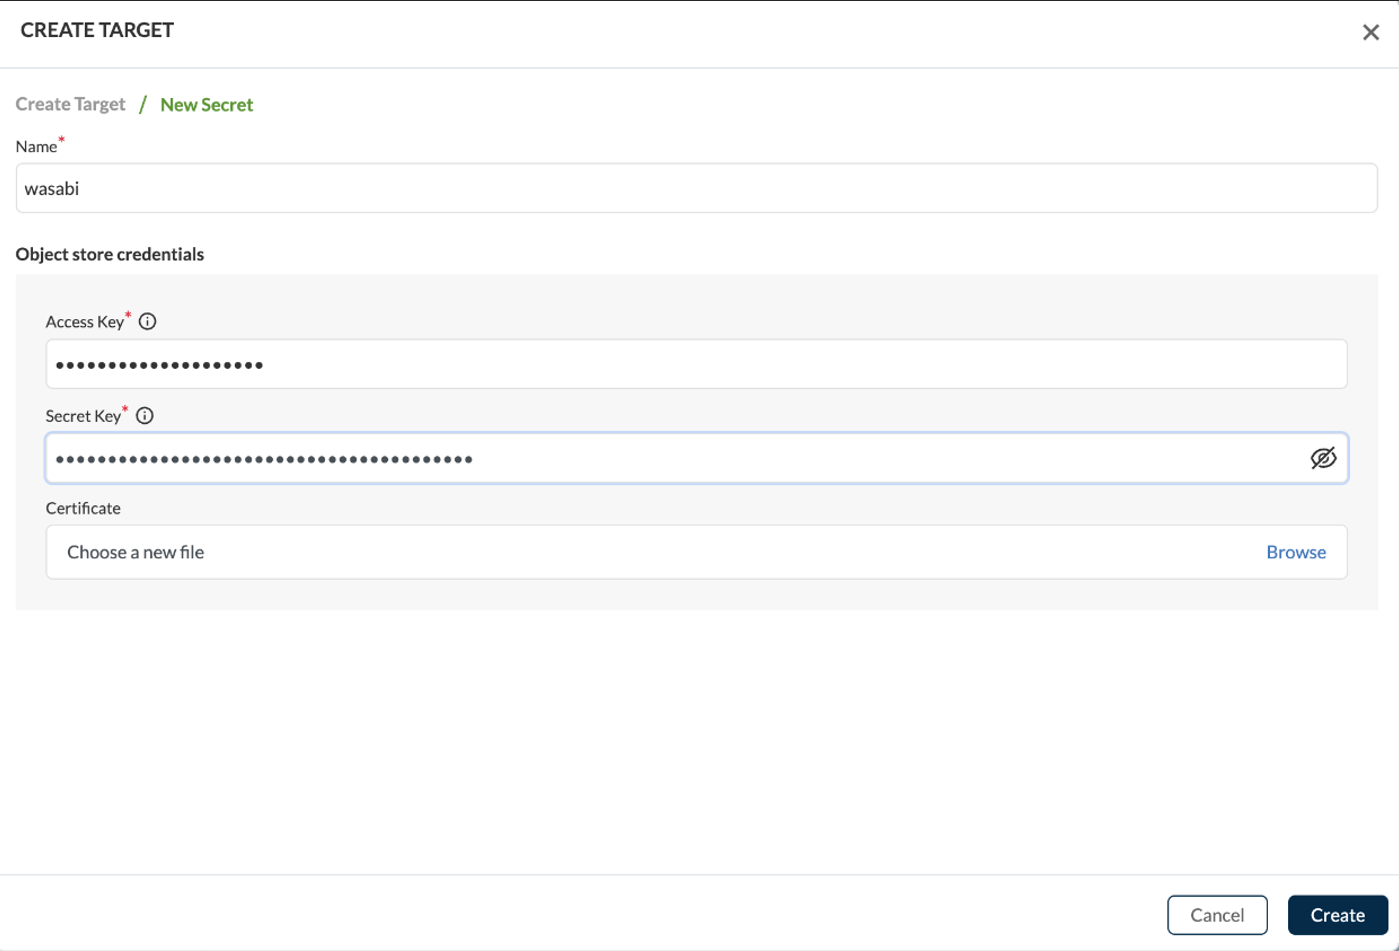
Under Object store credentials, click on Create New.
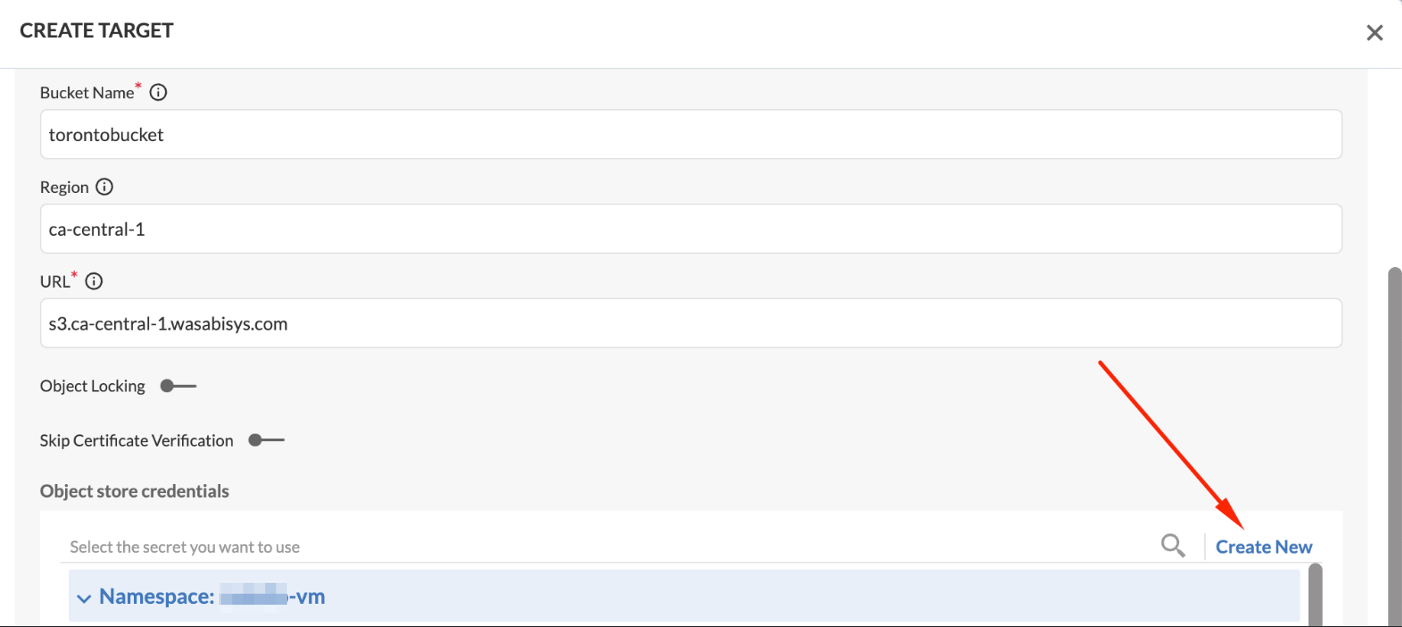
Give the Secret a name and enter the Access Key and Secret Key that were created above. Click Create.
The Wasabi target will soon have a status of Available.

Creating a Backup Plan
Then we can create a backup plan, to protect the vm namespace, which has one virtual machine inside in this example. At the moment there is no backup, it has 1 pod, and 1 PV.
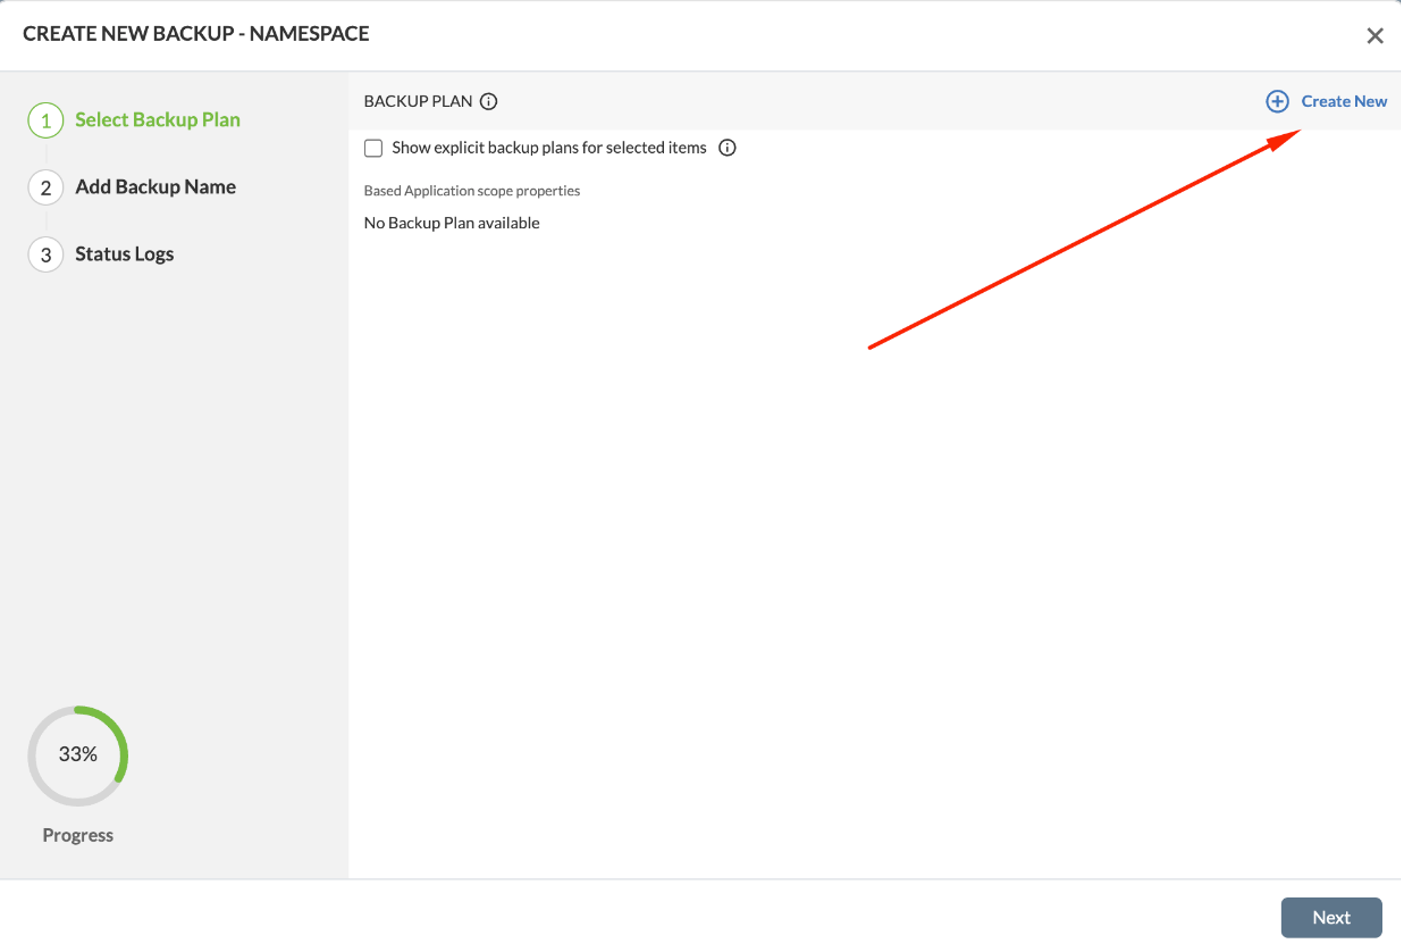
Click on Create Backup, available in the Namespaces view, and this will start the wizard:

Click on Create New.
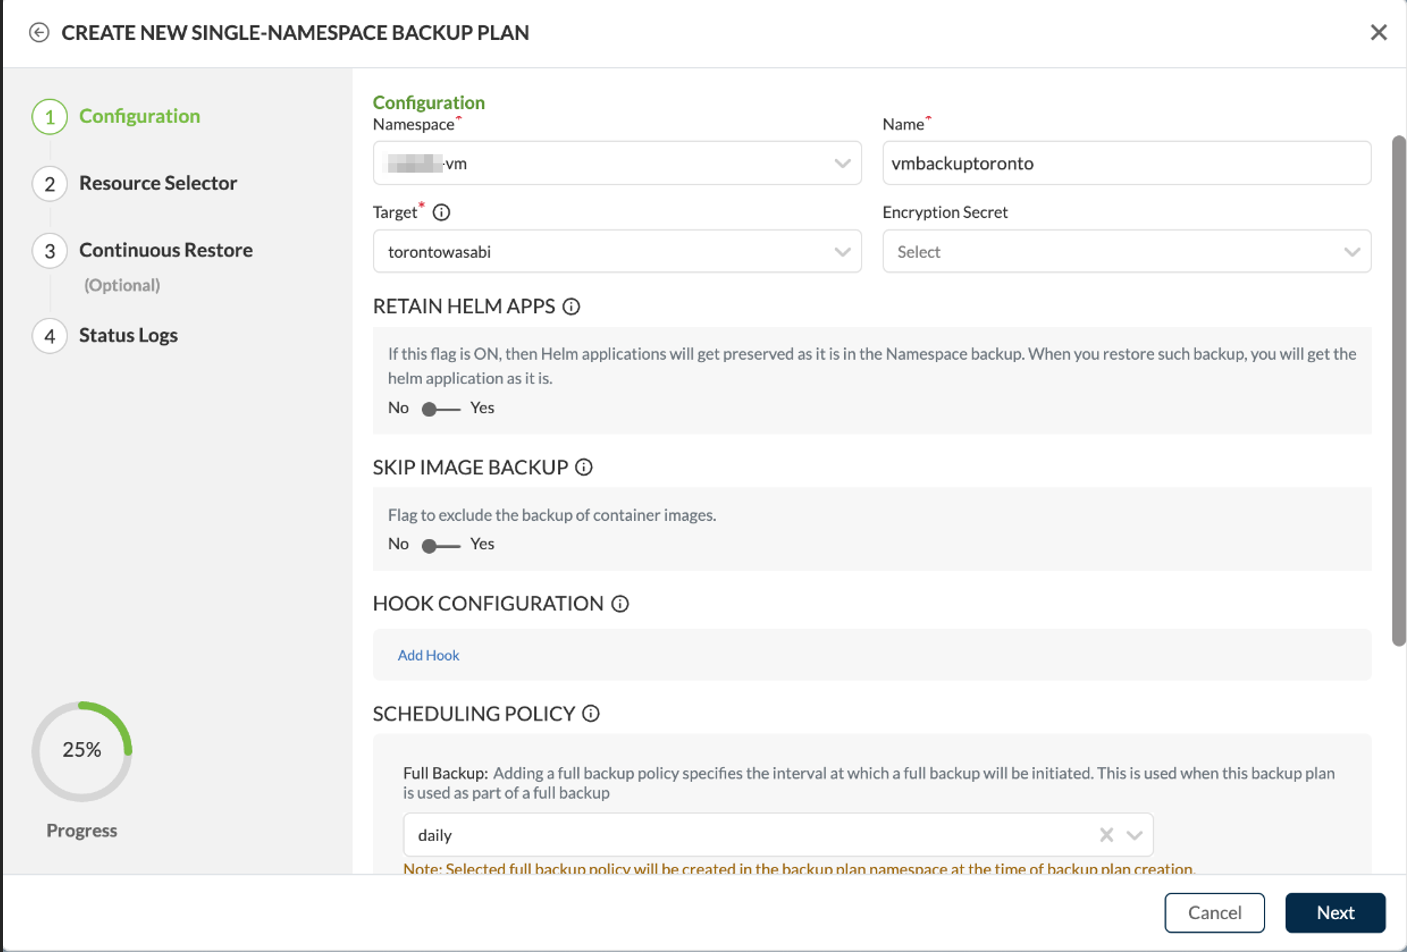
 Check the namespace protected, enter a name for the backup plan, and select the previously created Wasabi target to be used. In the Scheduling Policy, choose the appropriate backup frequency for your organization. Click Next.
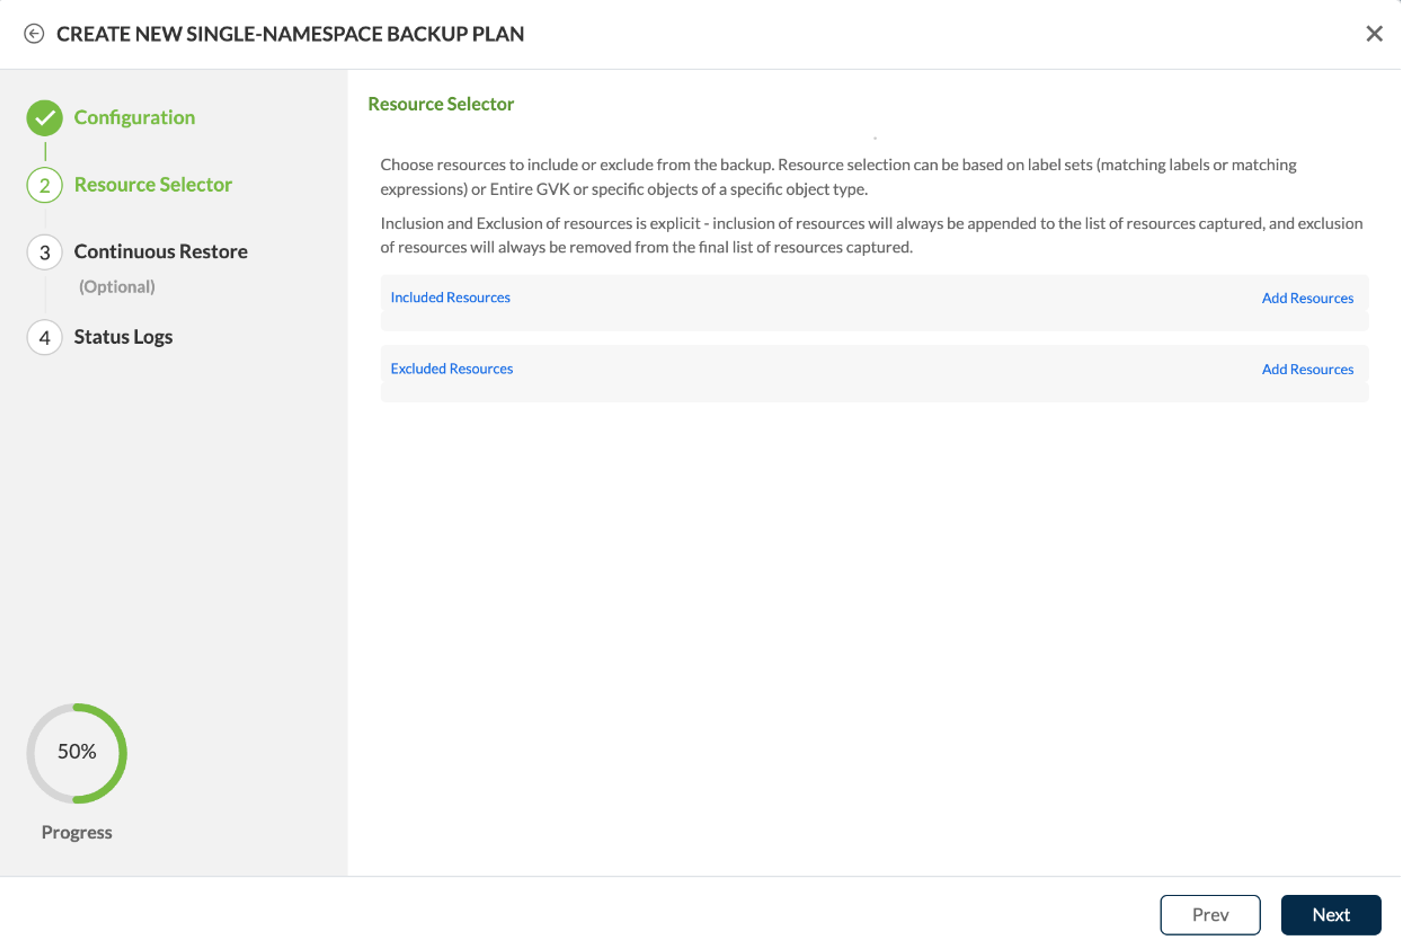
Include or exclude resources if desired and then click Next.
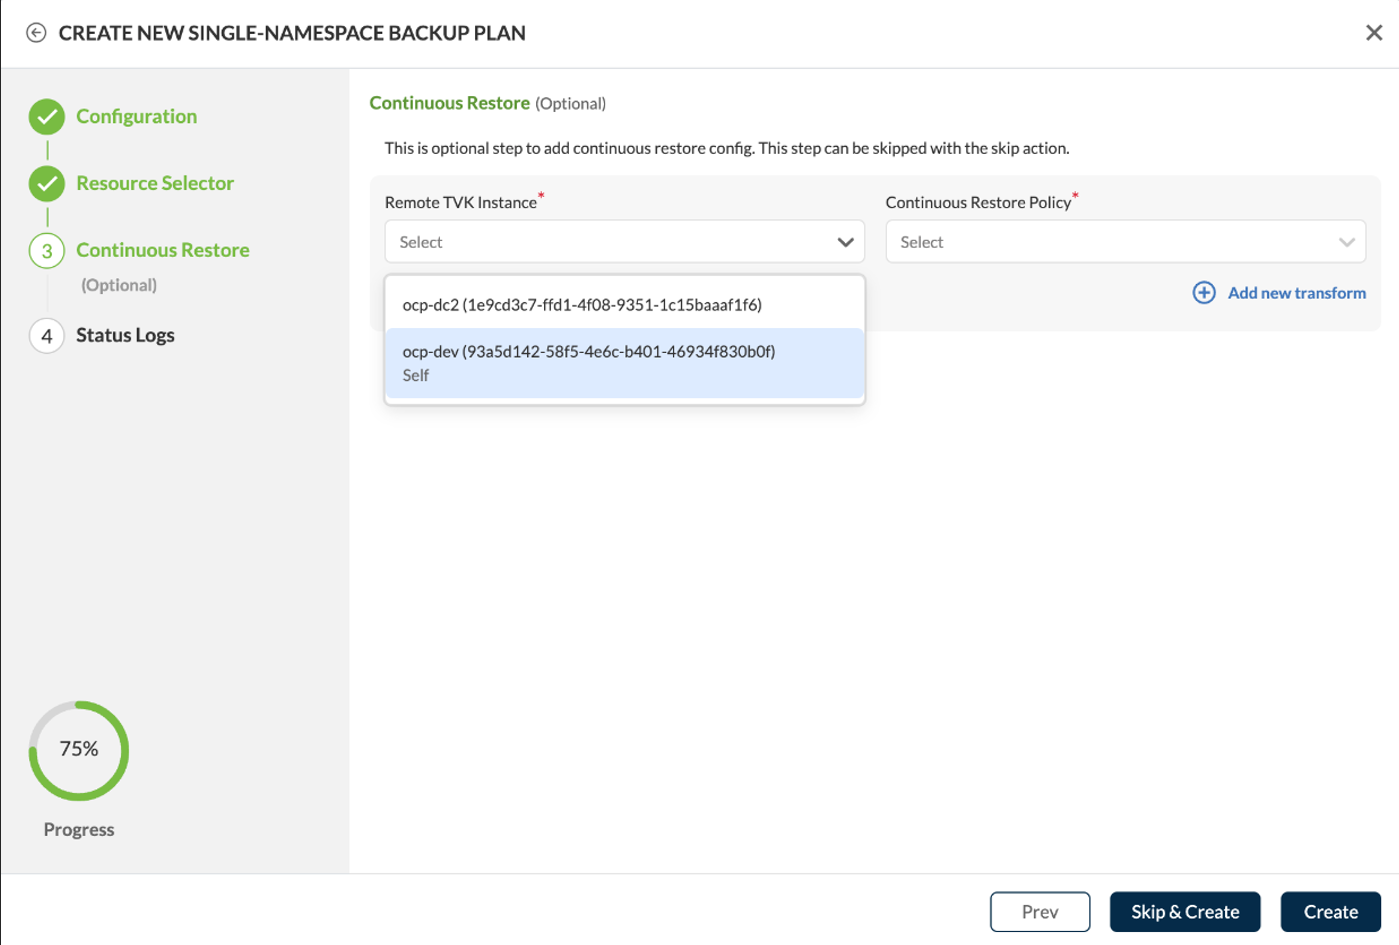
The next screen gives us the option to use Trilio's Continuous Restore feature to lower RTO, pre-staging volumes to a remote cluster → ![]() Continuous Recovery & Restore
Continuous Recovery & Restore
If you do not want to do this, click Skip & Create.
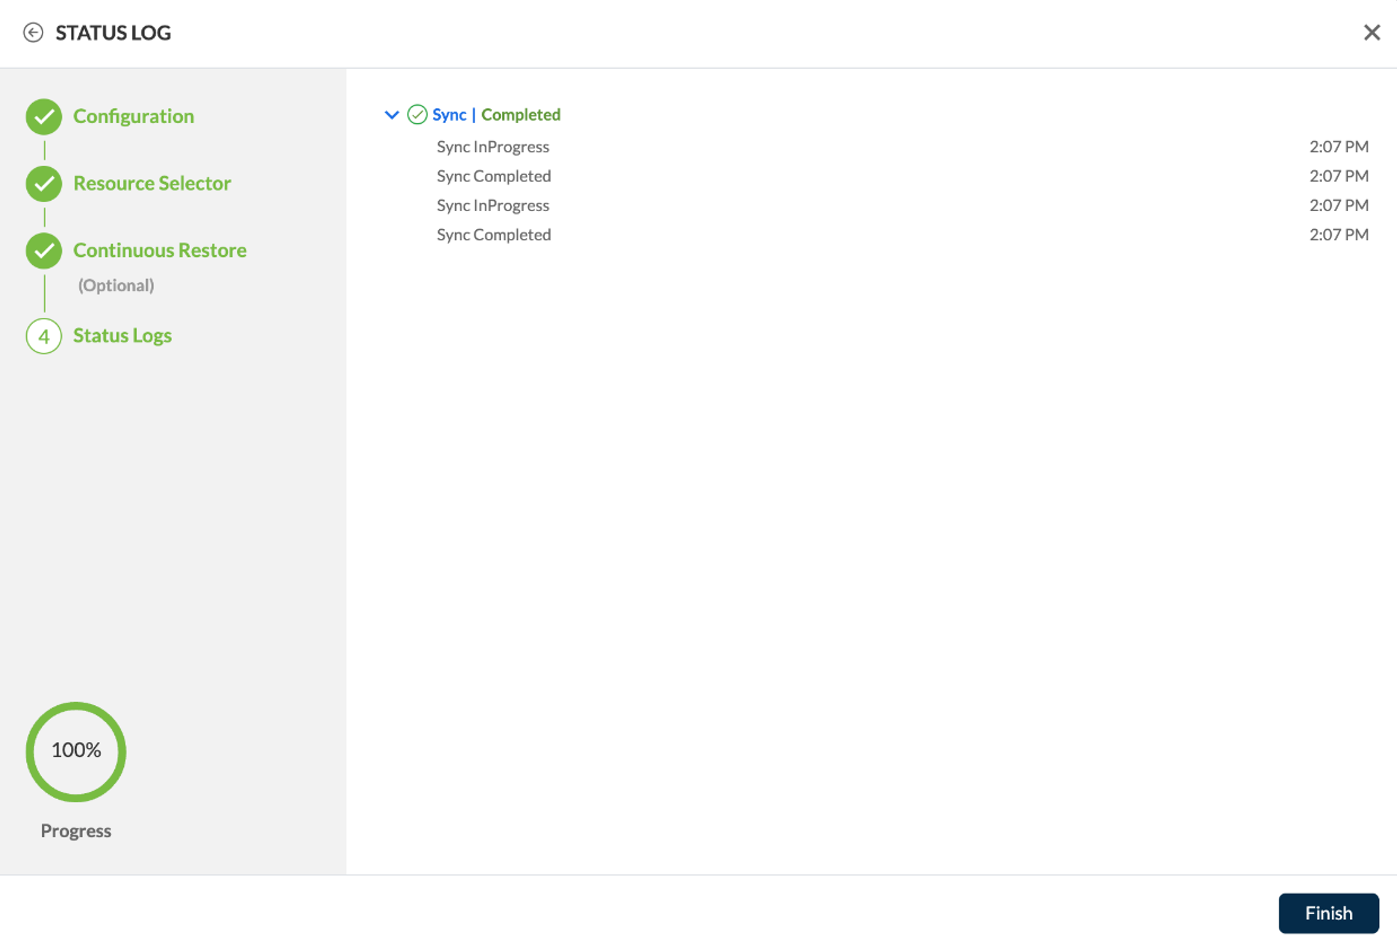
The next screen will show the backup plan has been created. Click Finish.
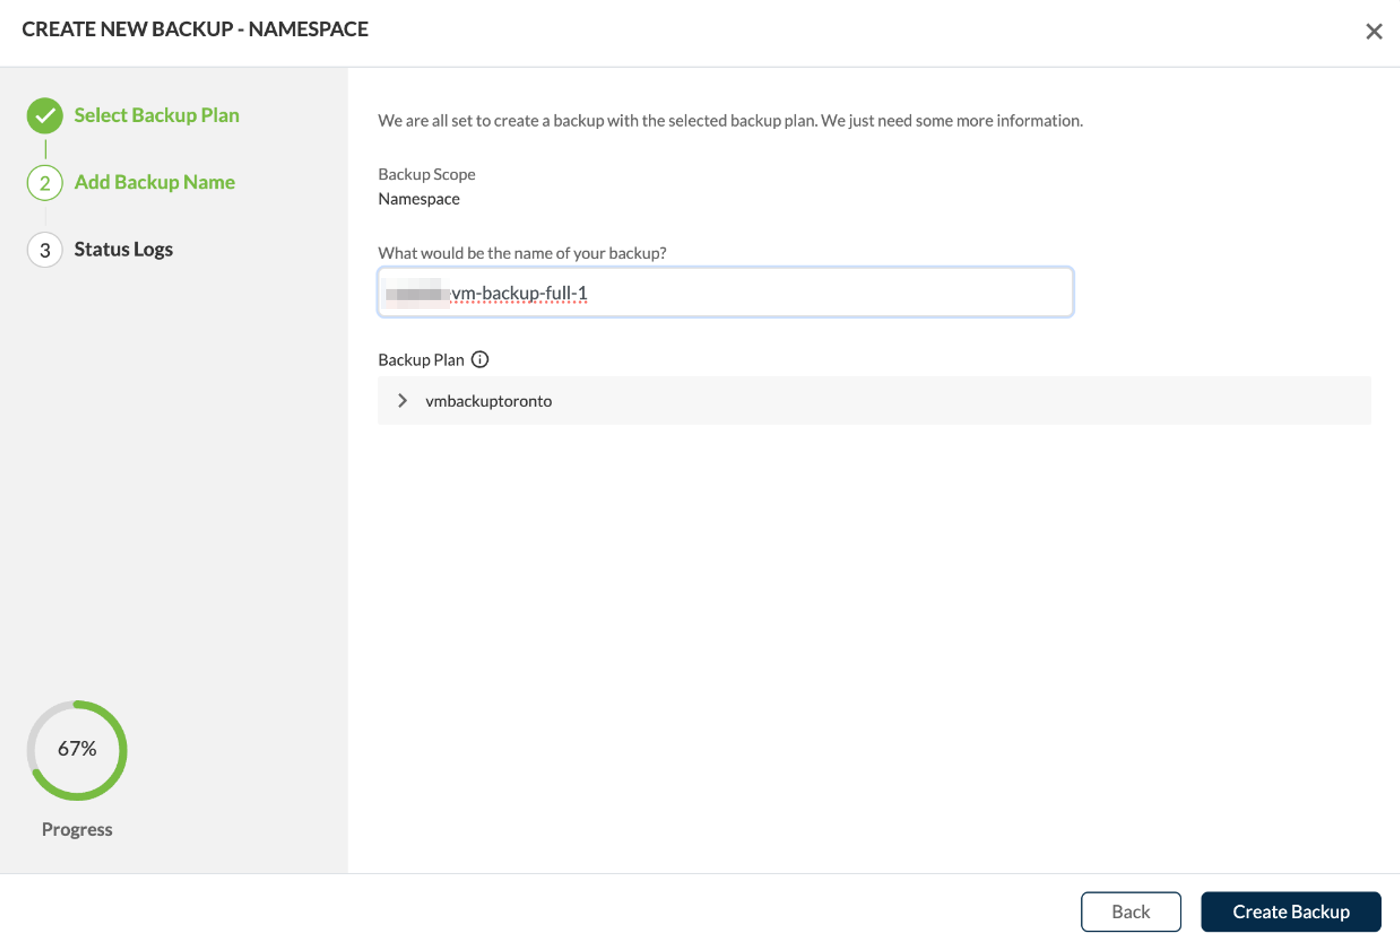
Click Next on the following screen.

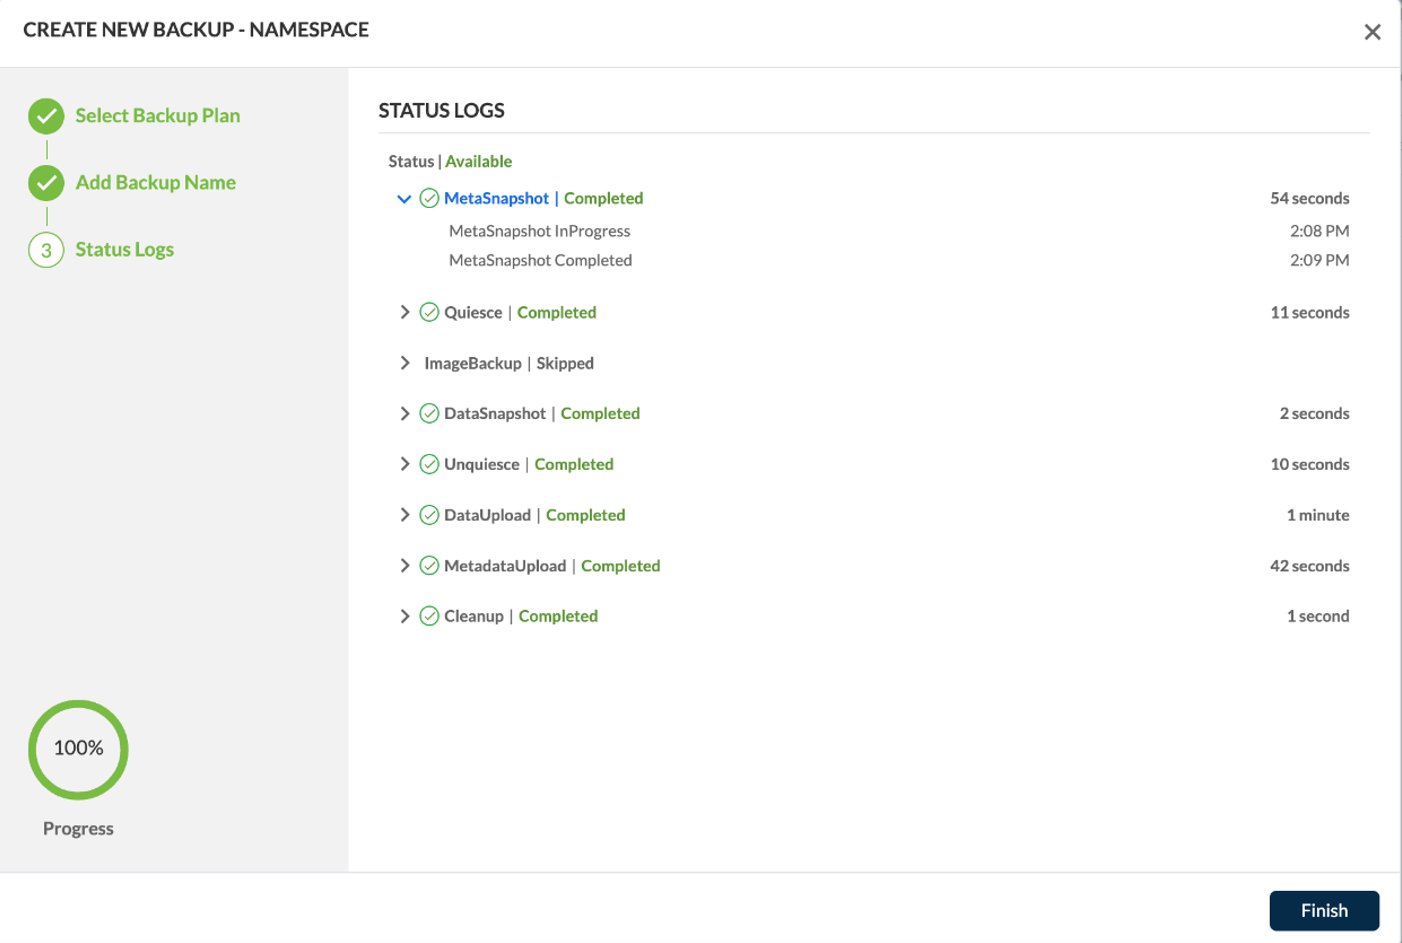
Enter a name for the backup and click on Create Backup.
The backup will start.
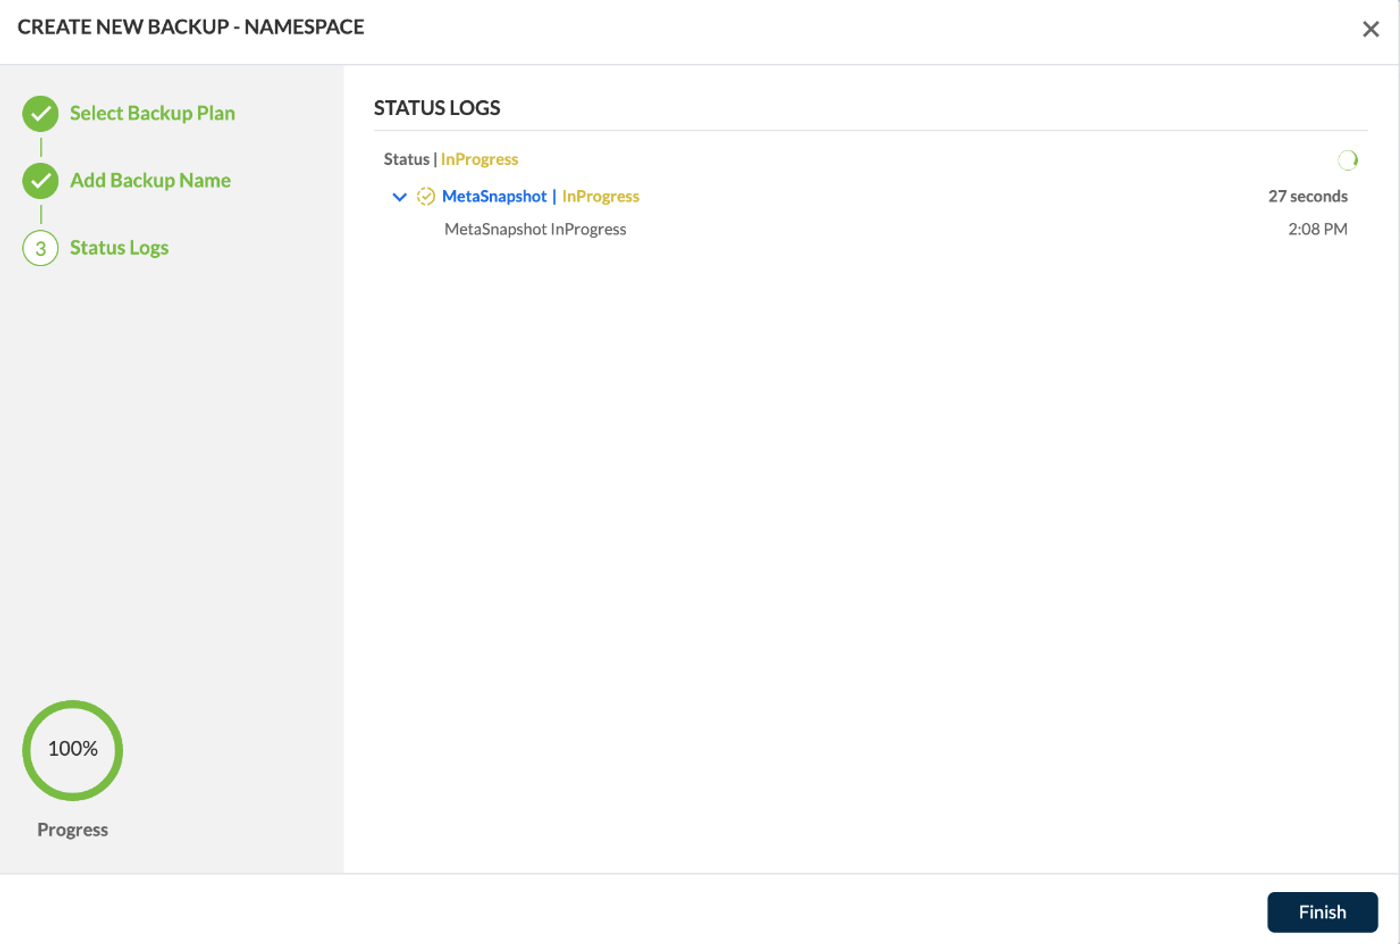
When the backup is Finished, the status will show Available. Click Finish.
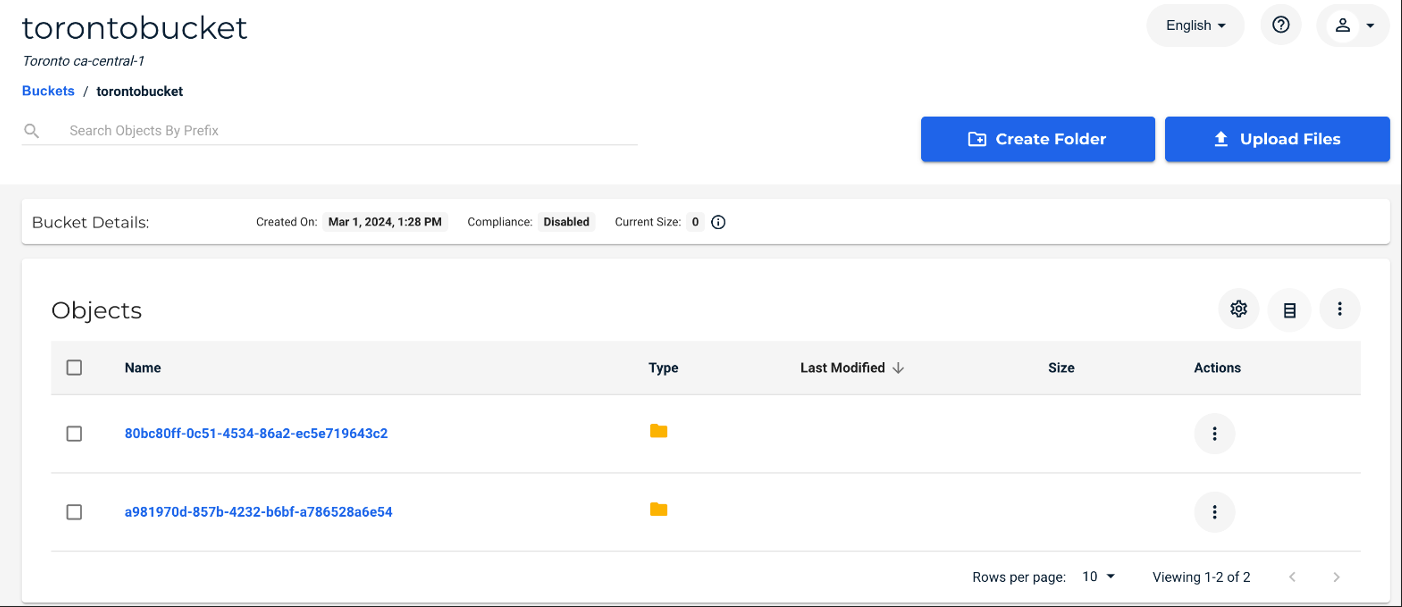
Verifying Data in Wasabi
Verify that the backup has been stored in your Wasabi bucket on the Wasabi Console. Here is an example of backup data being stored in a bucket.
Support
Contact Trilio with any technical support questions by logging in here.