The Users page provides a centralized view of users to view and manage data for the selected Control Account. You can create new users with different roles, including Control Account Admin, Control Account Staff, Control Account Staff (Lite), and Control Account Viewer.
On the Control Accounts page, select a Control Account from the list to view a user’s details. The Account page opens by default. Select the Users tab.
Details and Metrics
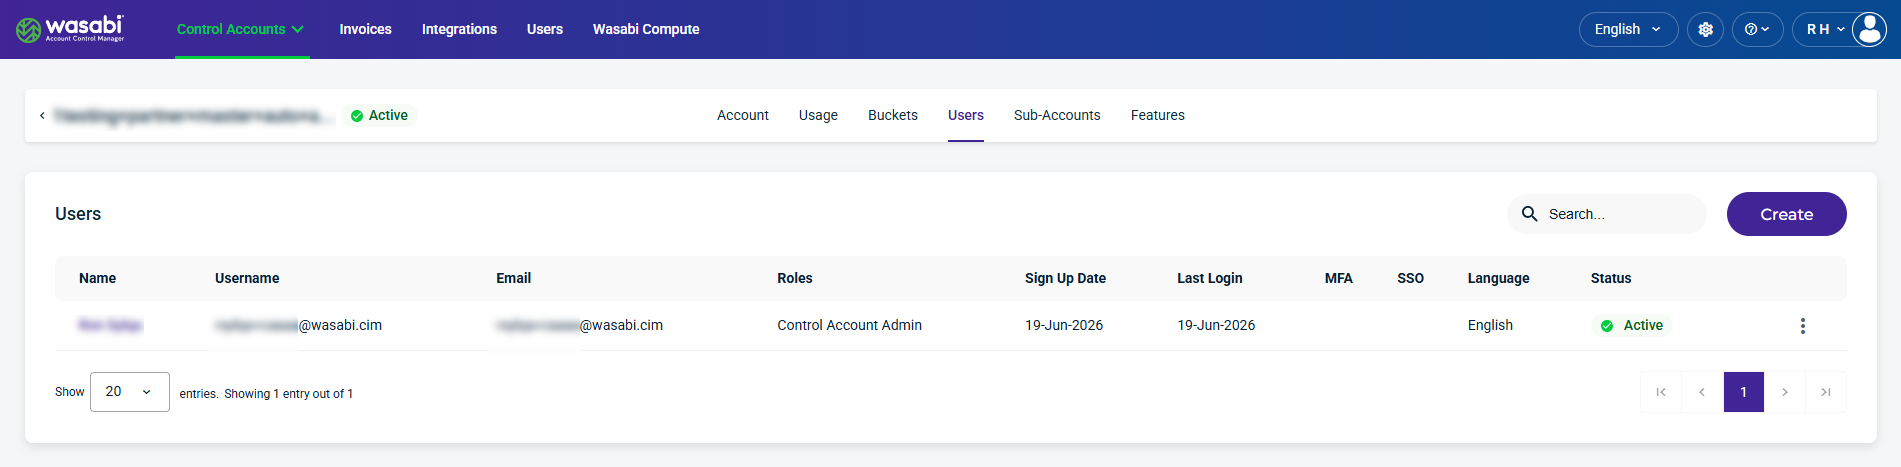
The Users page displays the following information for each user:
Name—The user’s name associated with the account.
Username—The unique name (single string) not associated with the user’s identity, used for the account.
Email—The email used for the account.
Roles—The role assigned to the user.
Sign Up Date—The date the user profile was created.
Last Login—The last time the user logged in.
MFA (multi-factor authentication)—The MFA status active
 icon, if enabled.
SSO (Single Sign On)—The SSO status is Yes if enabled.
Language—The language selected by the user.
Status—The user status: Active, Deactivated, Locked, or Pending.
Three-dot menu—Select an option on a user account.
Manage User Access
You can manage a user’s access from the kebob menu  icon, which, when selected, allows you to perform actions on the selected user account.
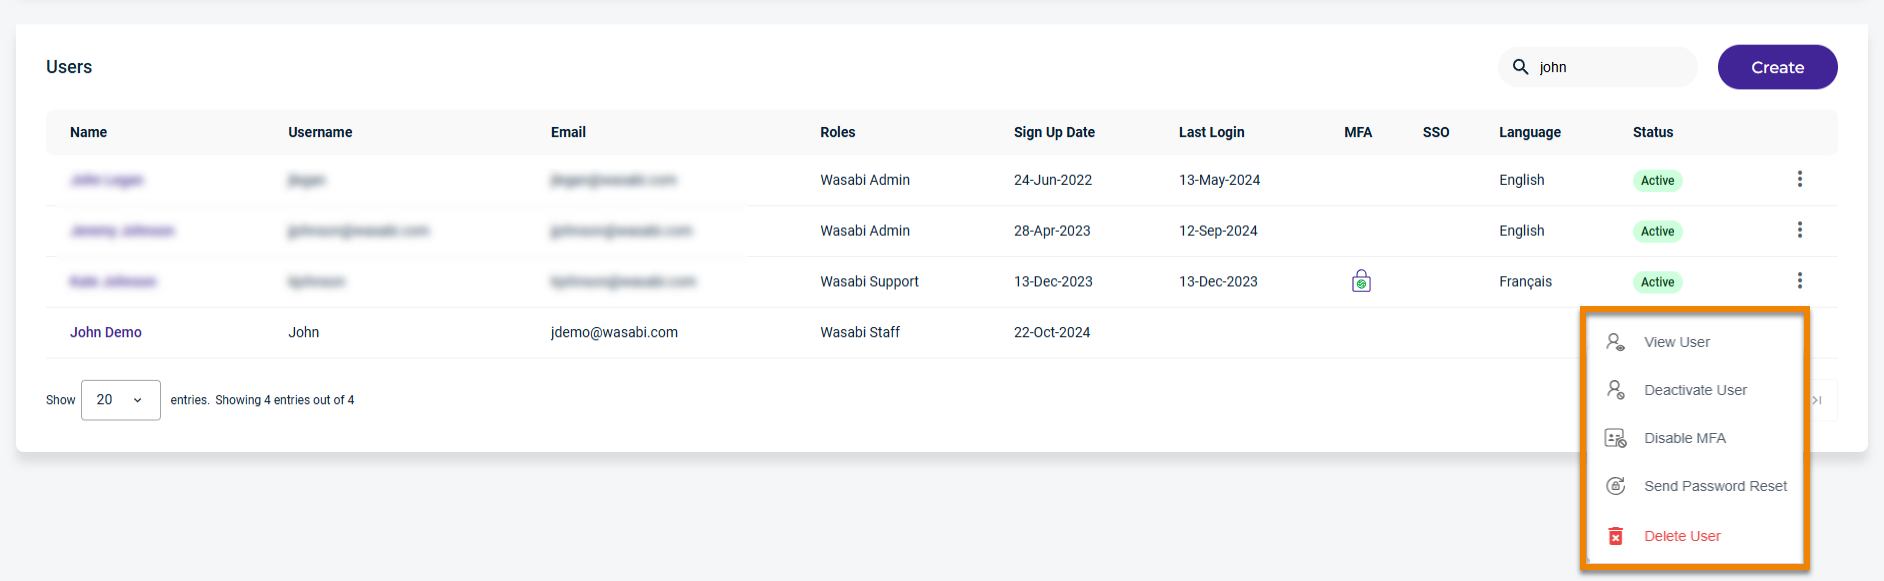
A Control Account Admin can manage the following settings on a user account:
View User—Provides user information, contact, and security information.
Deactivate User—Deactivates the selected user.
Send Password Reset—Sends a password reset to the user.
Resend Verification Email—Resends the verification email after it has expired.
Disable MFA—Disables MFA for the selected user.
Delete User—Deletes the selected user.
Create a New User
For information on creating a user from the Create button, see Creating a User.
Users Information Settings
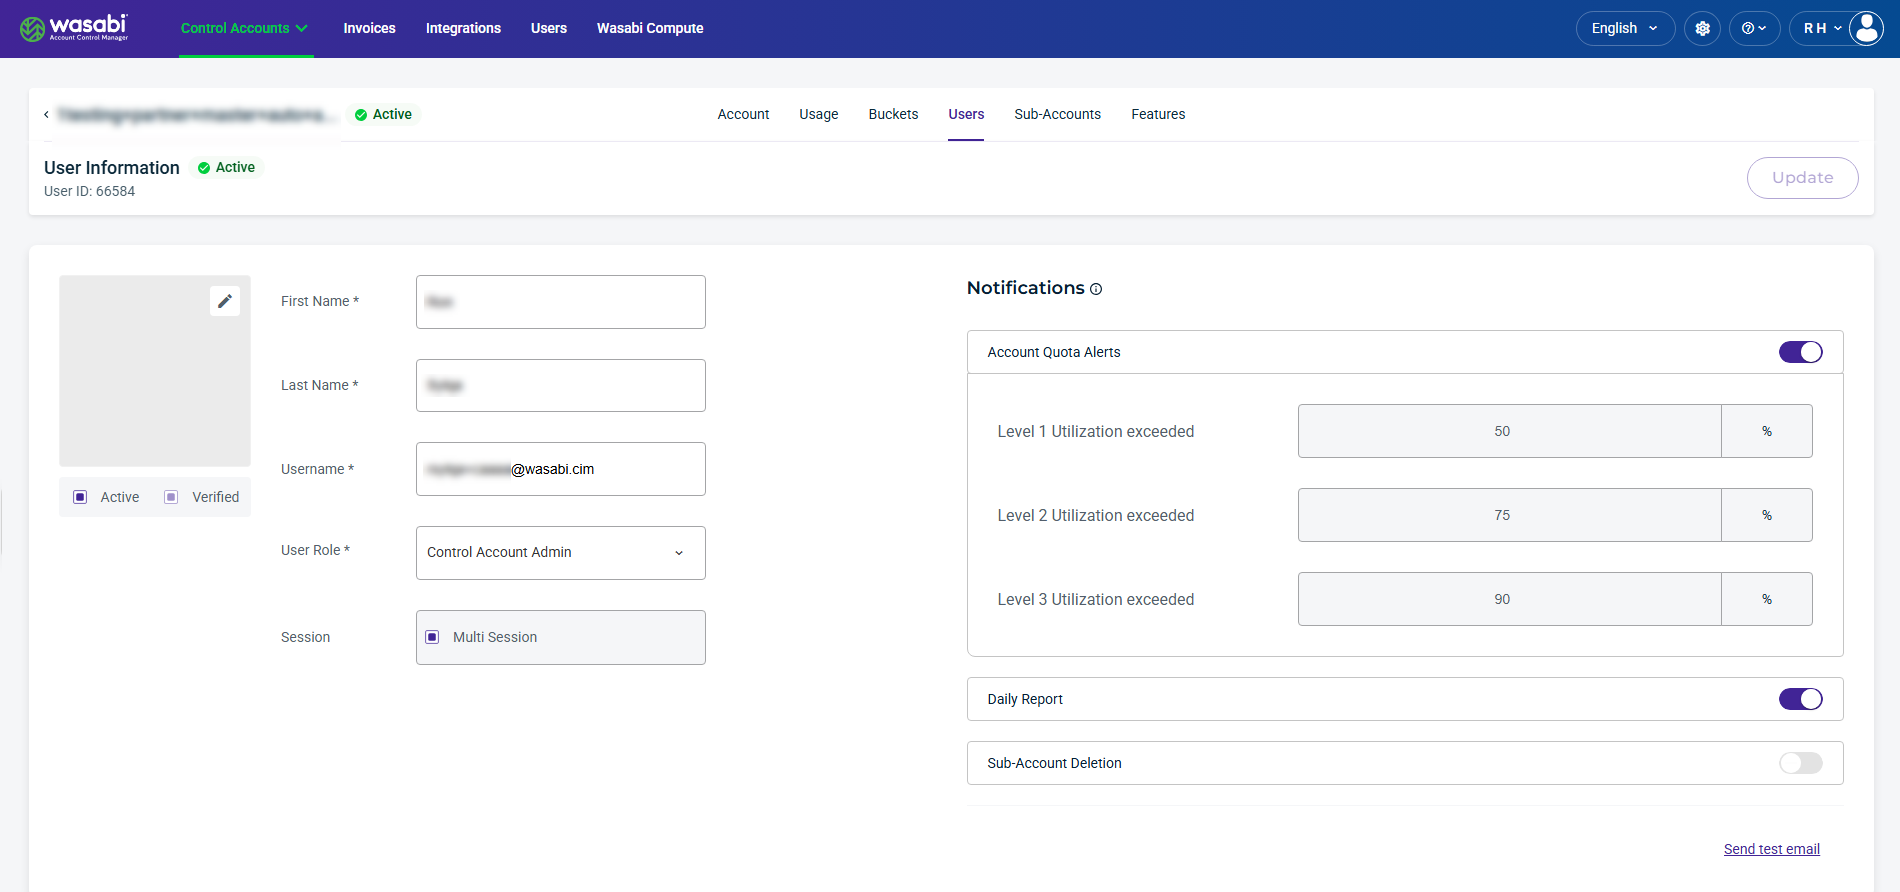
Select a user from the list to view their information. In the User Information section, you can view the account status, update the name and email fields, and change the user role.
Be sure to click Update (in the upper-right corner) to apply any changes made on this page.
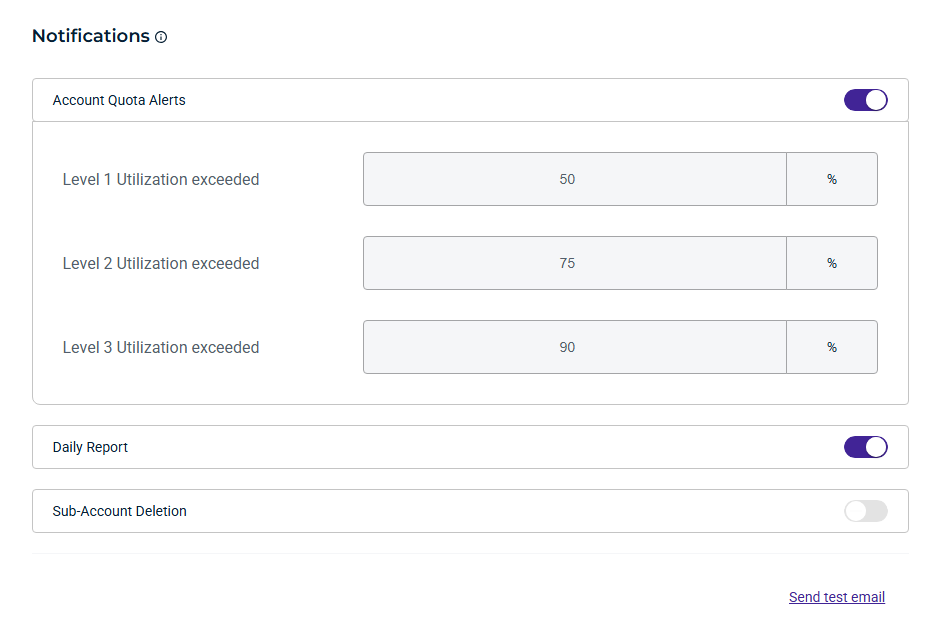
Notifications
You can enable notifications for account quota alerts and daily reports, and set utilization thresholds to trigger email notifications when each threshold is reached. Notifications will be sent to your user email address. Additionally, you can enable Sub-Account deletion.
Sub-Account Deletion
Enable Sub-Account Deletion to receive email notifications related to Sub-Account deletion. Notifications are sent when:
A Sub-Account is scheduled for deletion.
A user cancels a Sub-Account scheduled for deletion within the Delay Window.
A Sub-Account is deleted once the delay window has elapsed.
WACM Connect API Key
The WACM Connect API lets you access WACM data for automation and can be rotated or deleted as needed for security purposes. To generate an API key for WACM Connect, click Generate New API Key.

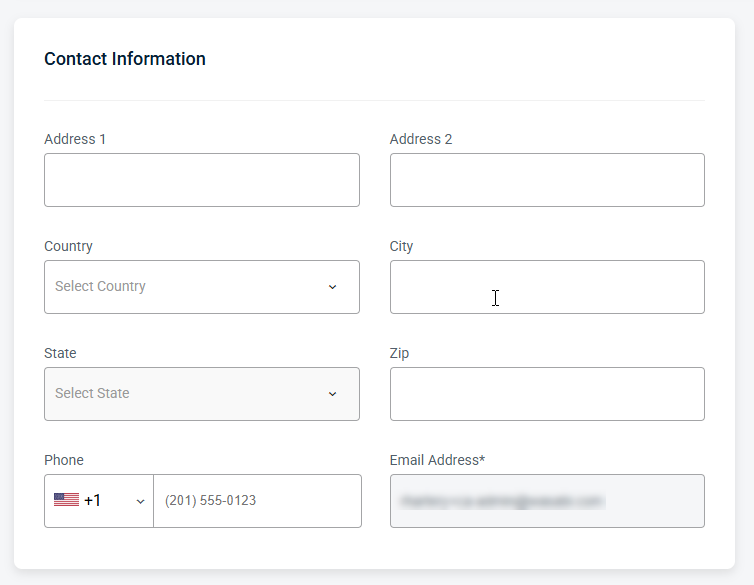
Contact Information
Provides editable fields for the user’s contact details, including the email address and other associated contact information.
Security Information
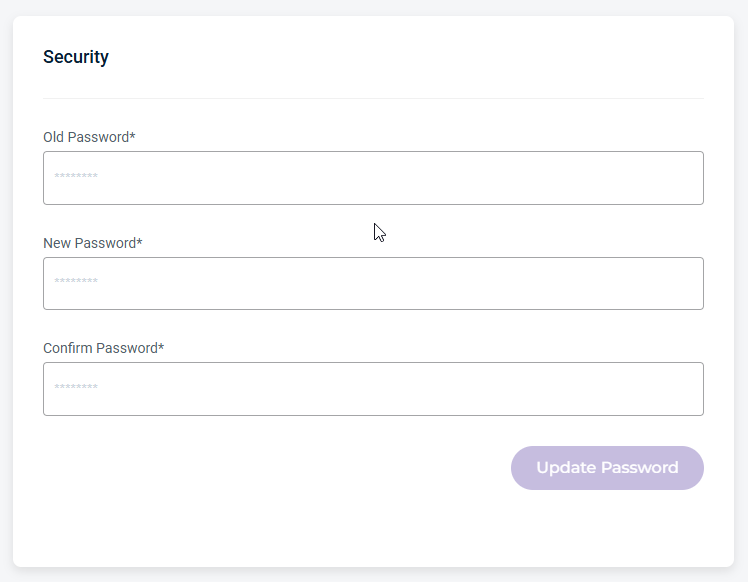
Manage password settings, including resets.