Wasabi Object Replication enables you to replicate or copy your data between Wasabi regions to protect against ransomware attacks, malicious data manipulation, natural disasters, or even accidental deletion. Object replication enables you to replicate/copy objects from an active storage bucket (source) to one or more different buckets (destination).
Replicating an Existing Bucket
Log in to the Wasabi Console.
Create a new bucket as the destination for the replication. For more information, see Creating A Bucket.
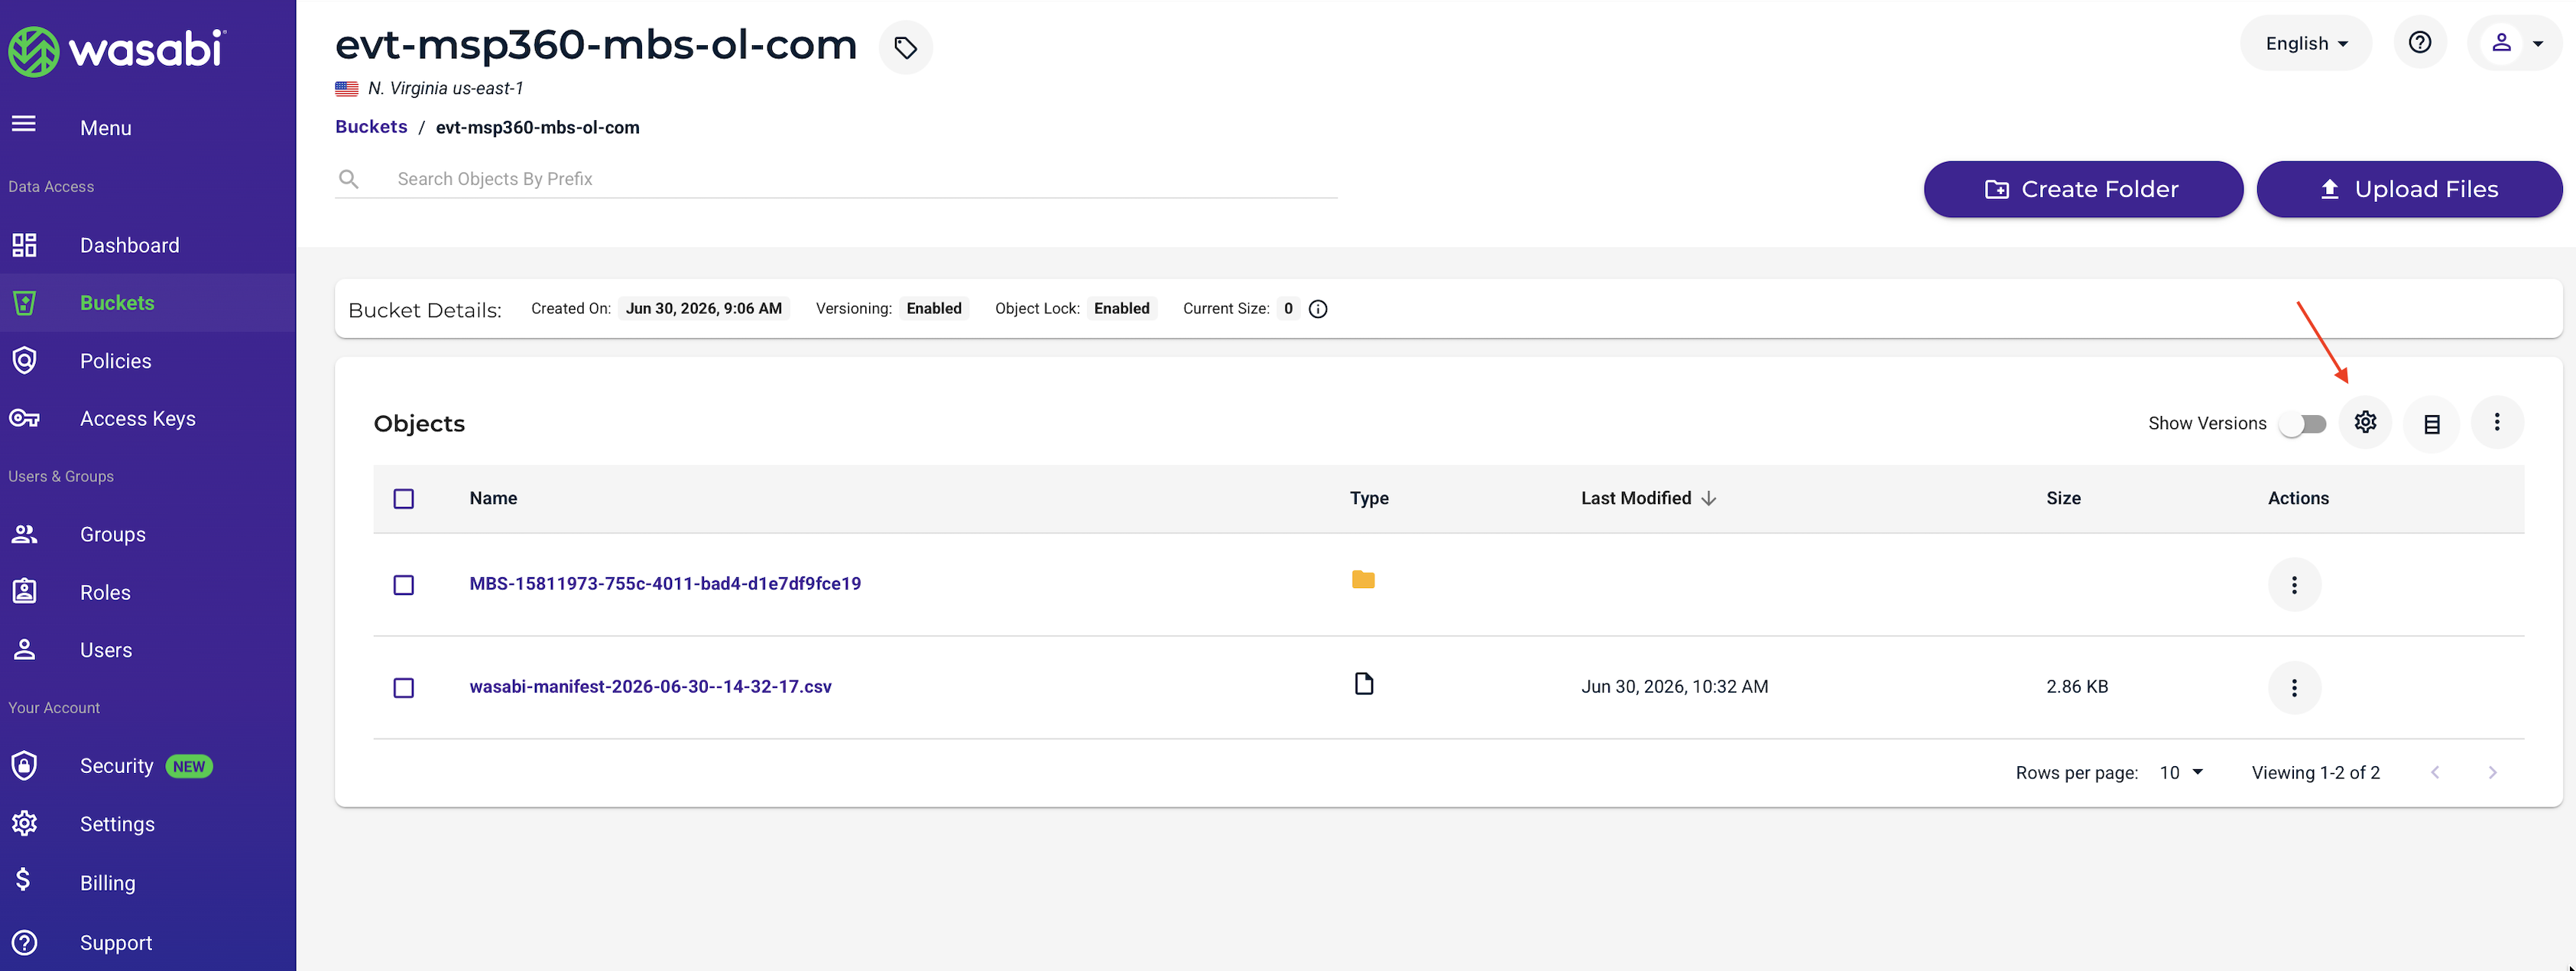
Navigate to the source bucket that contains the backups to be replicated.
Click Settings (gear icon) to open bucket settings.
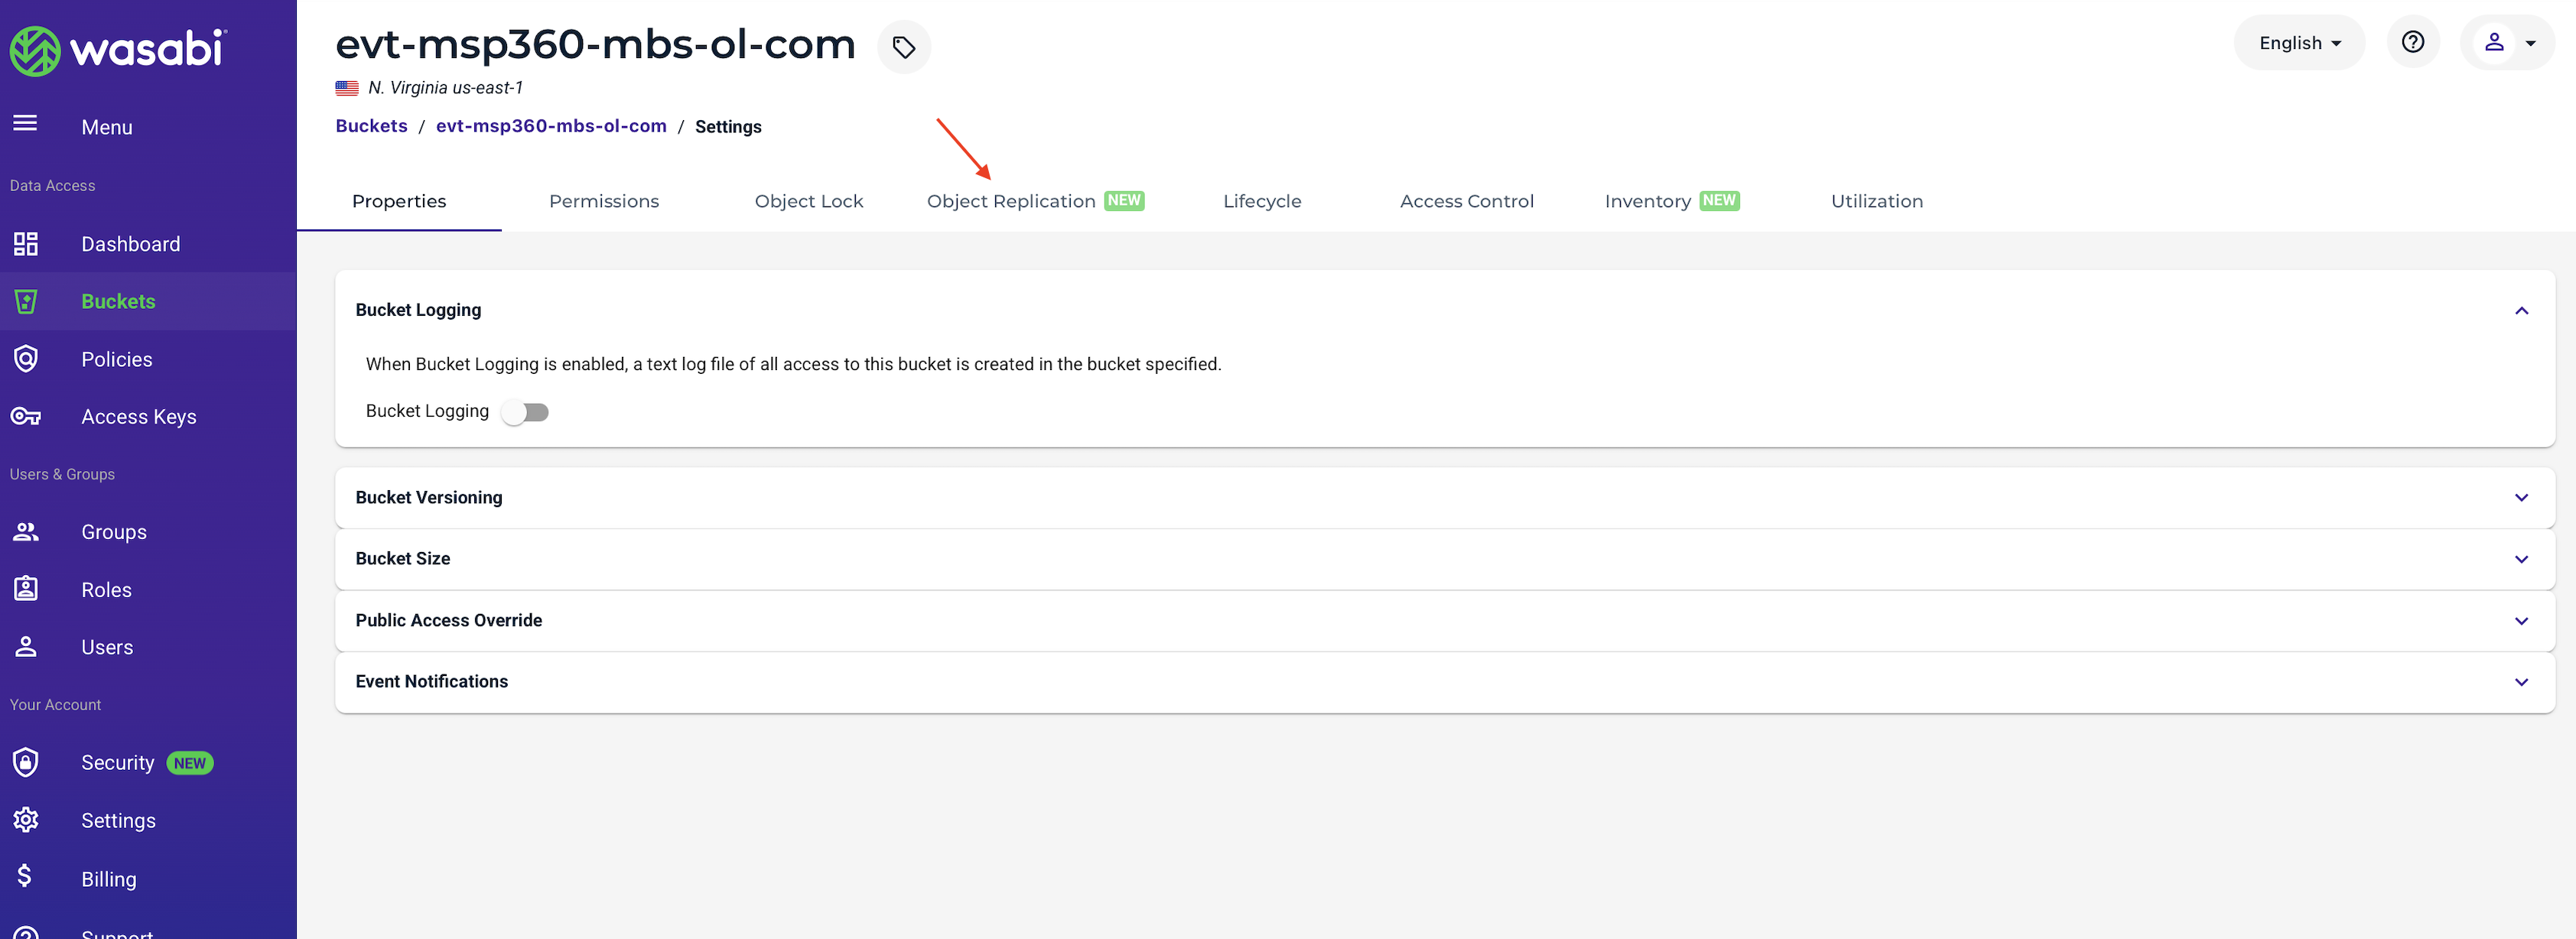
Select Object Replication.
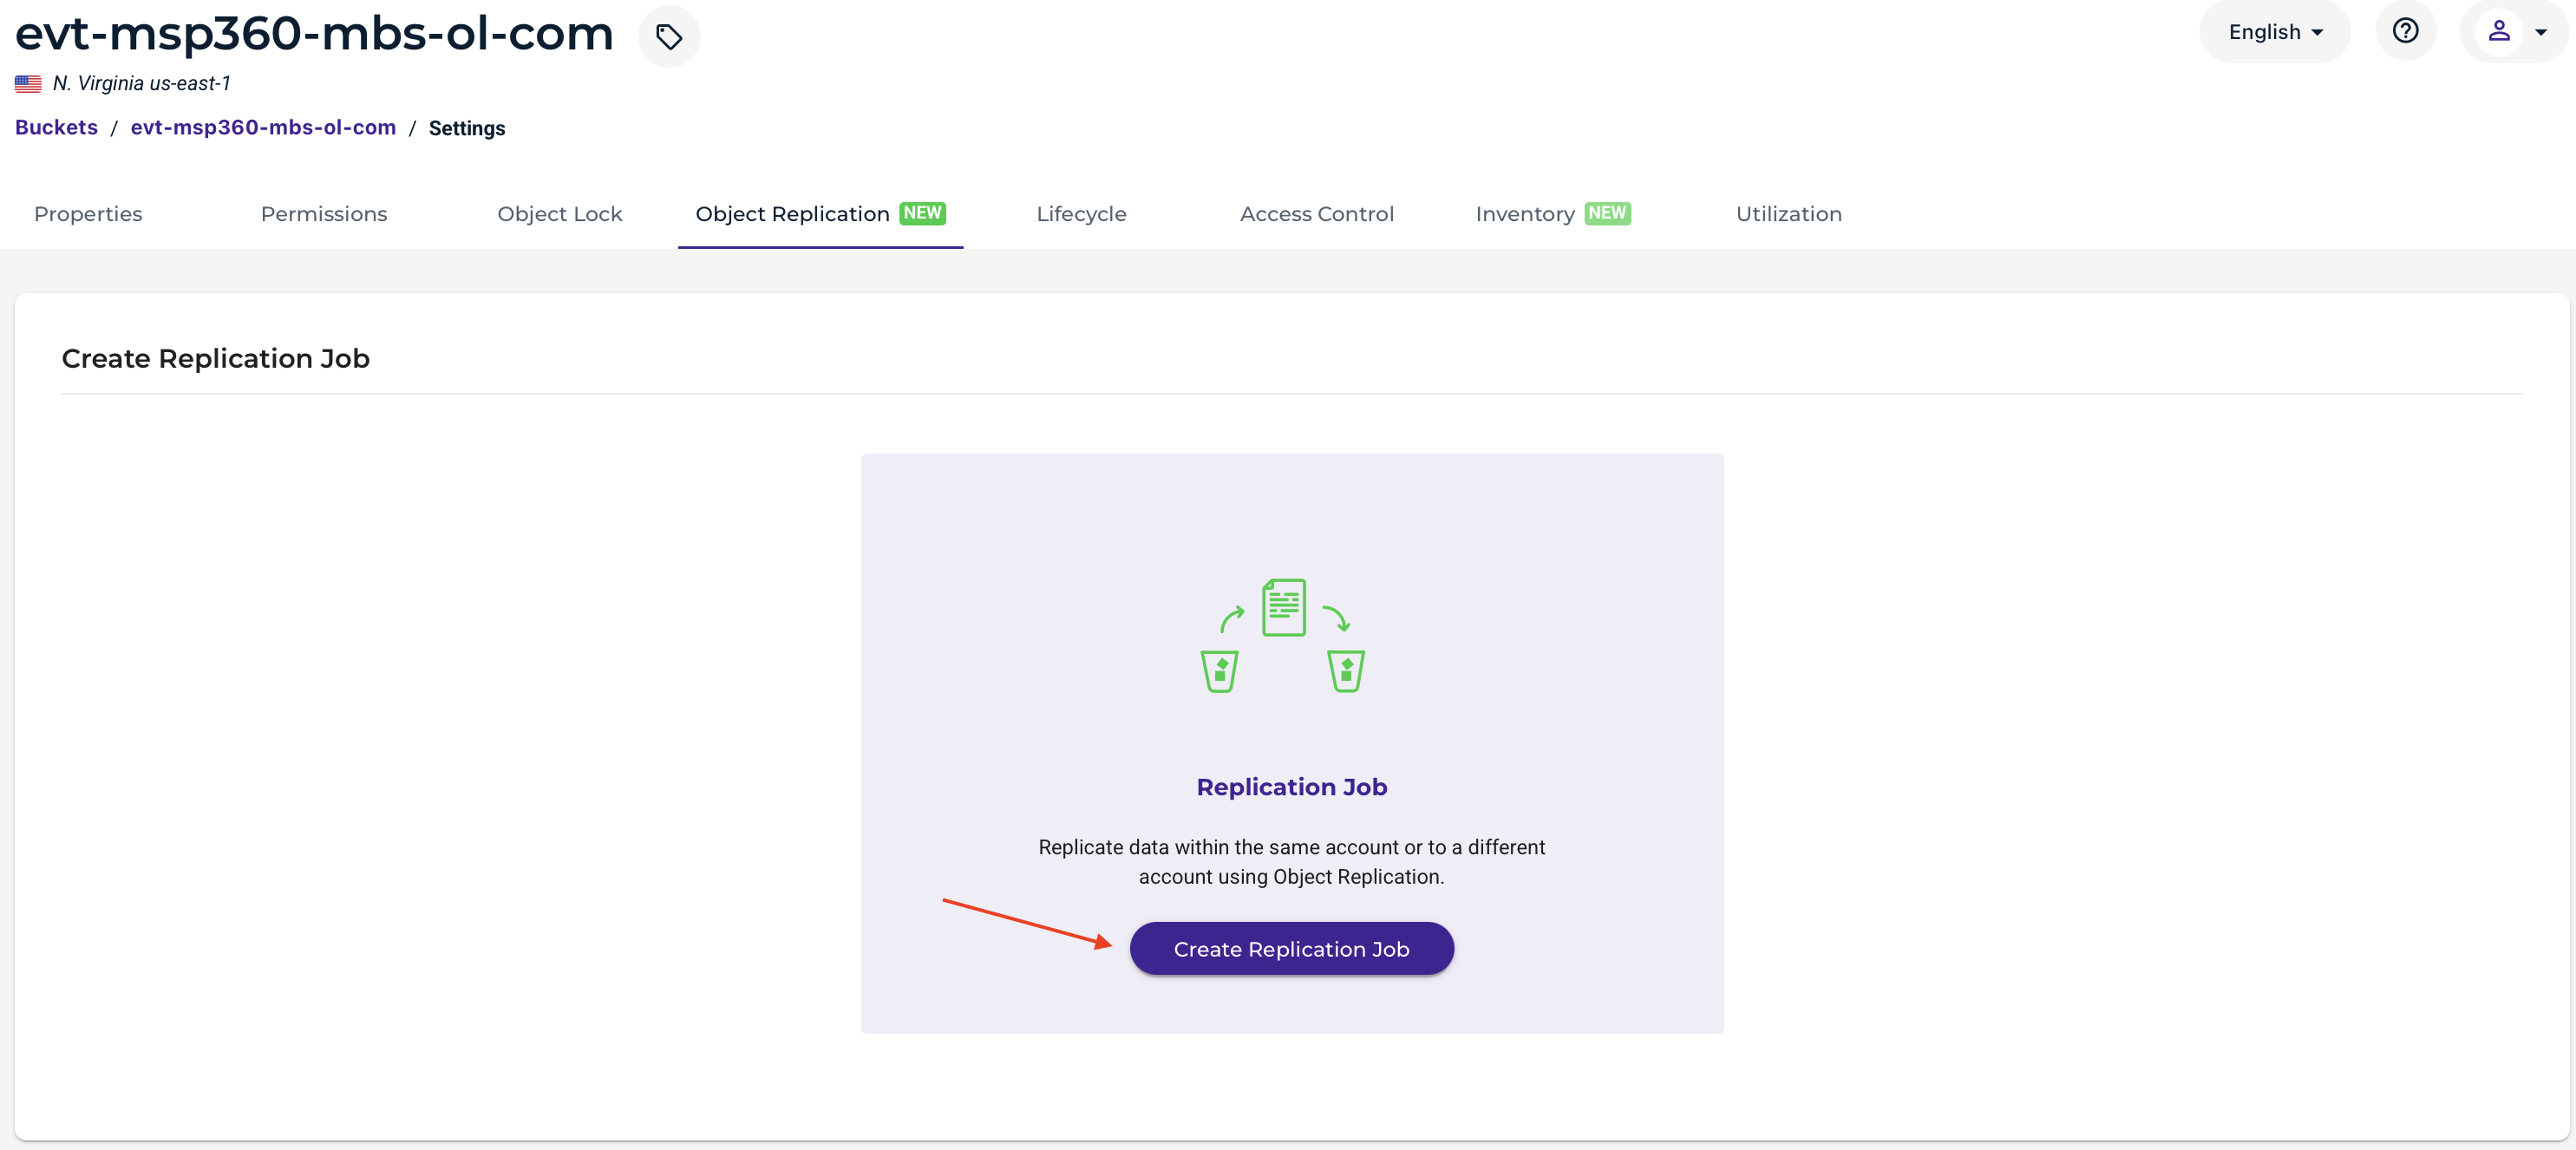
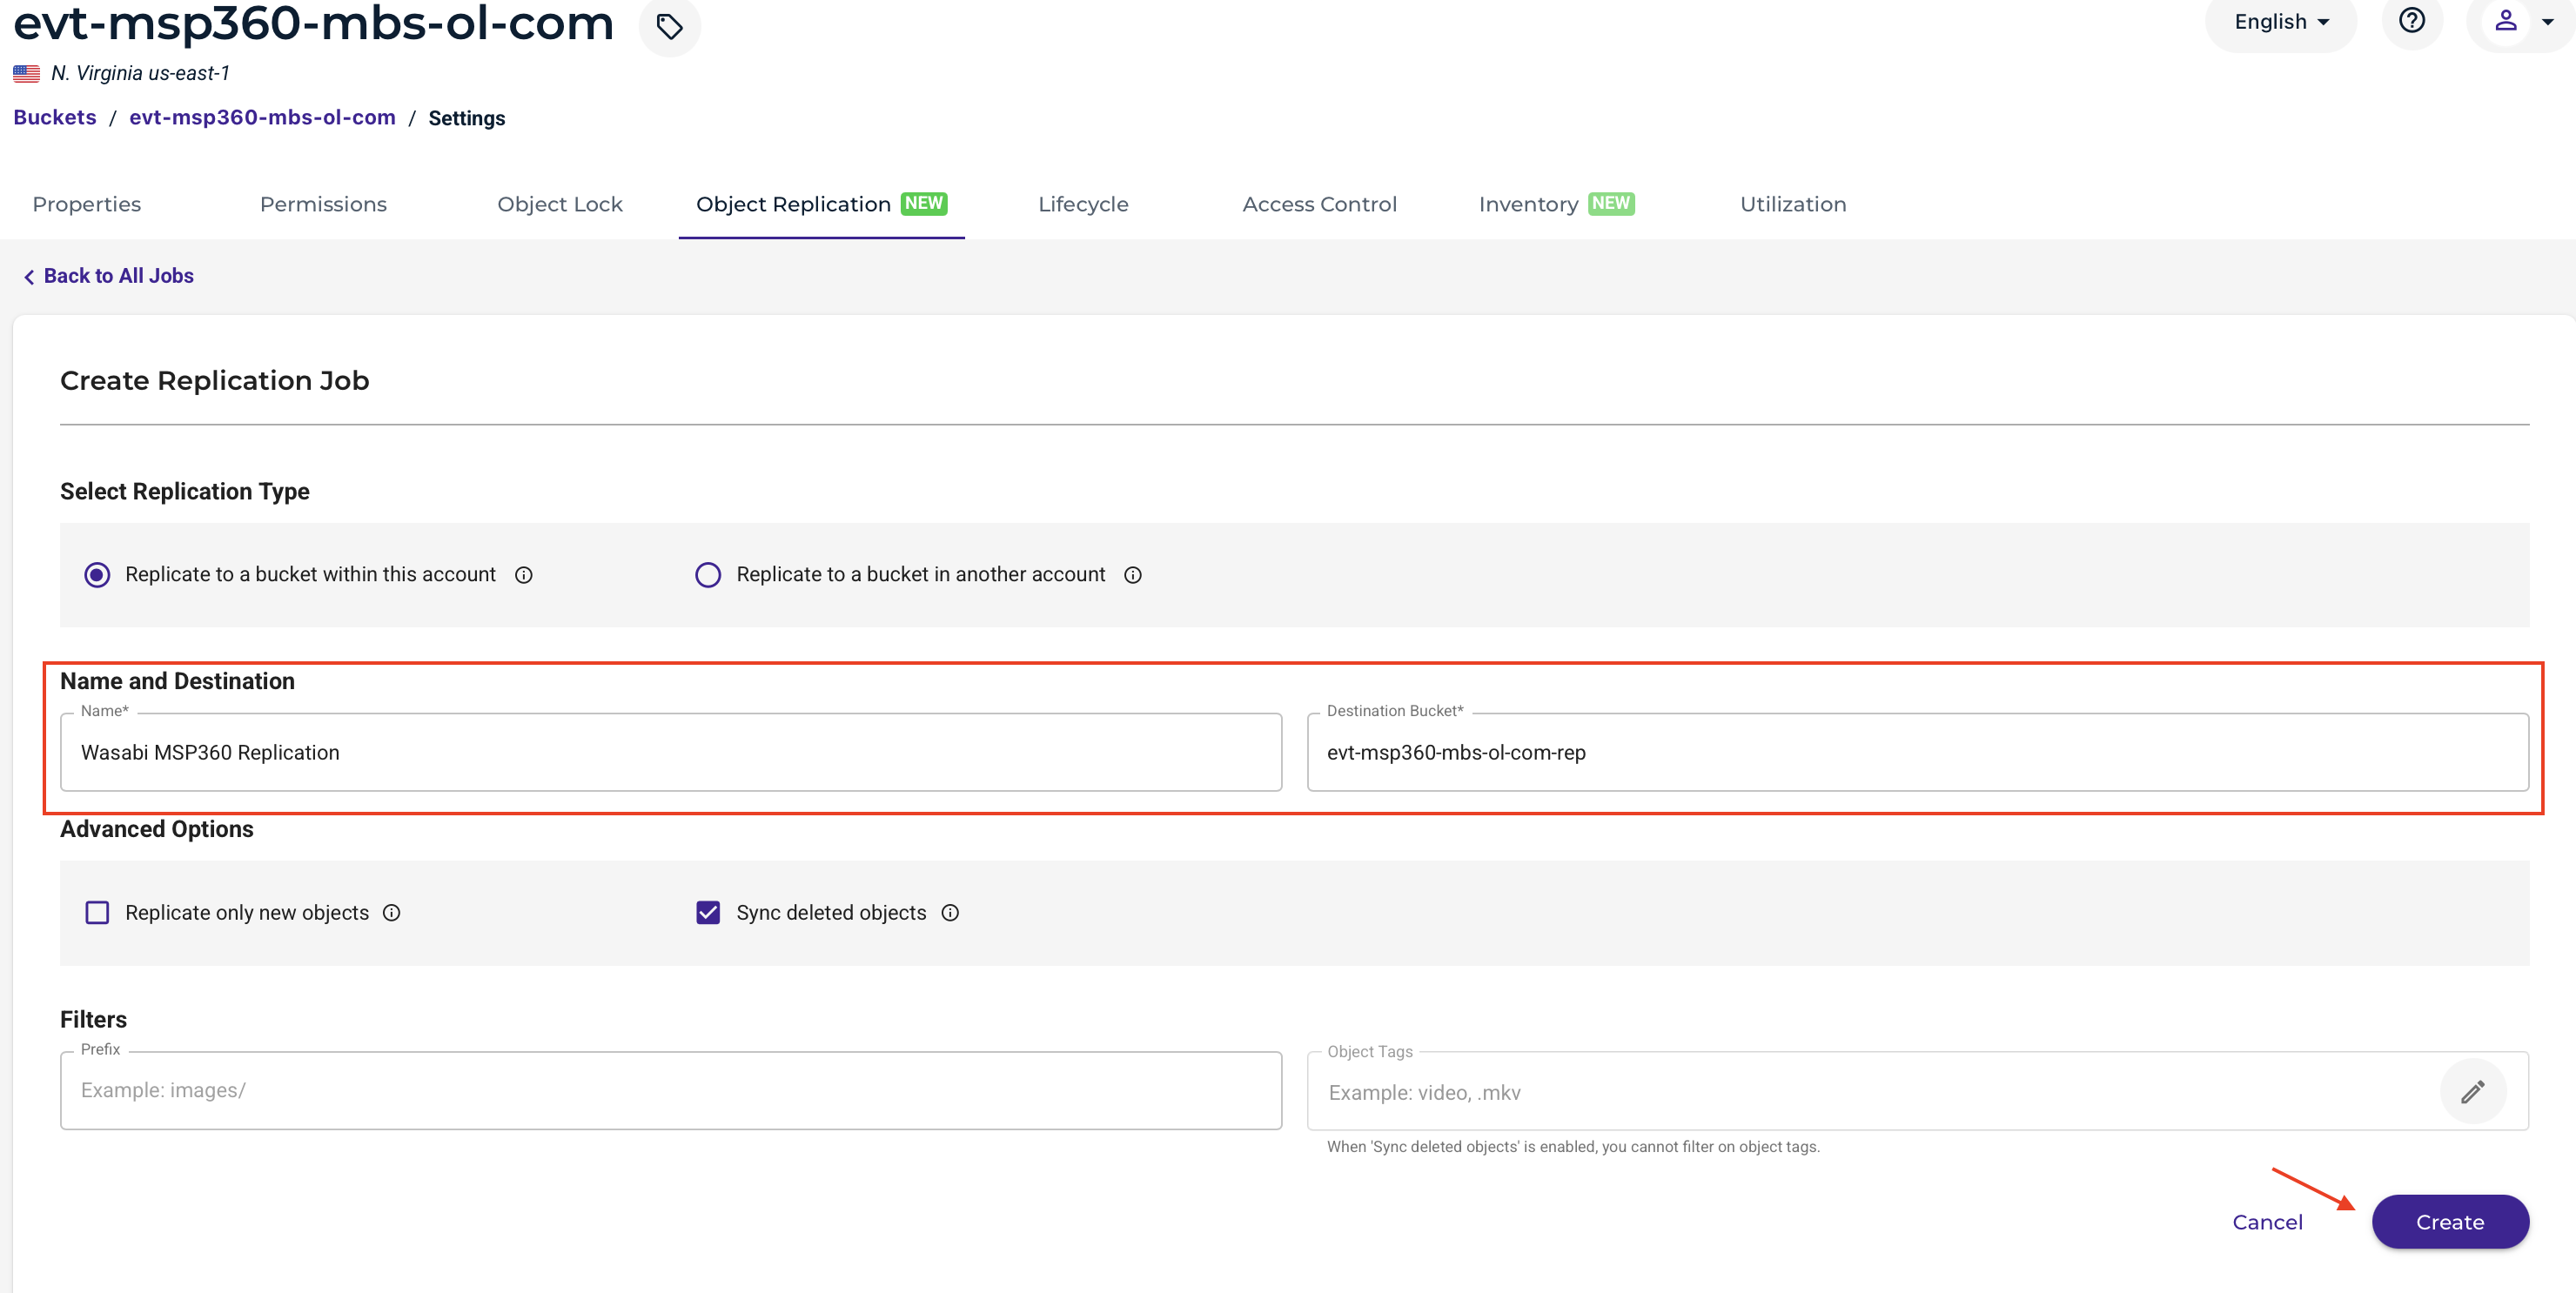
Click Create Replication Job.
Provide a name for the replication job.
Select the bucket that you created in Step 1 as the Destination Bucket.
Click Create.
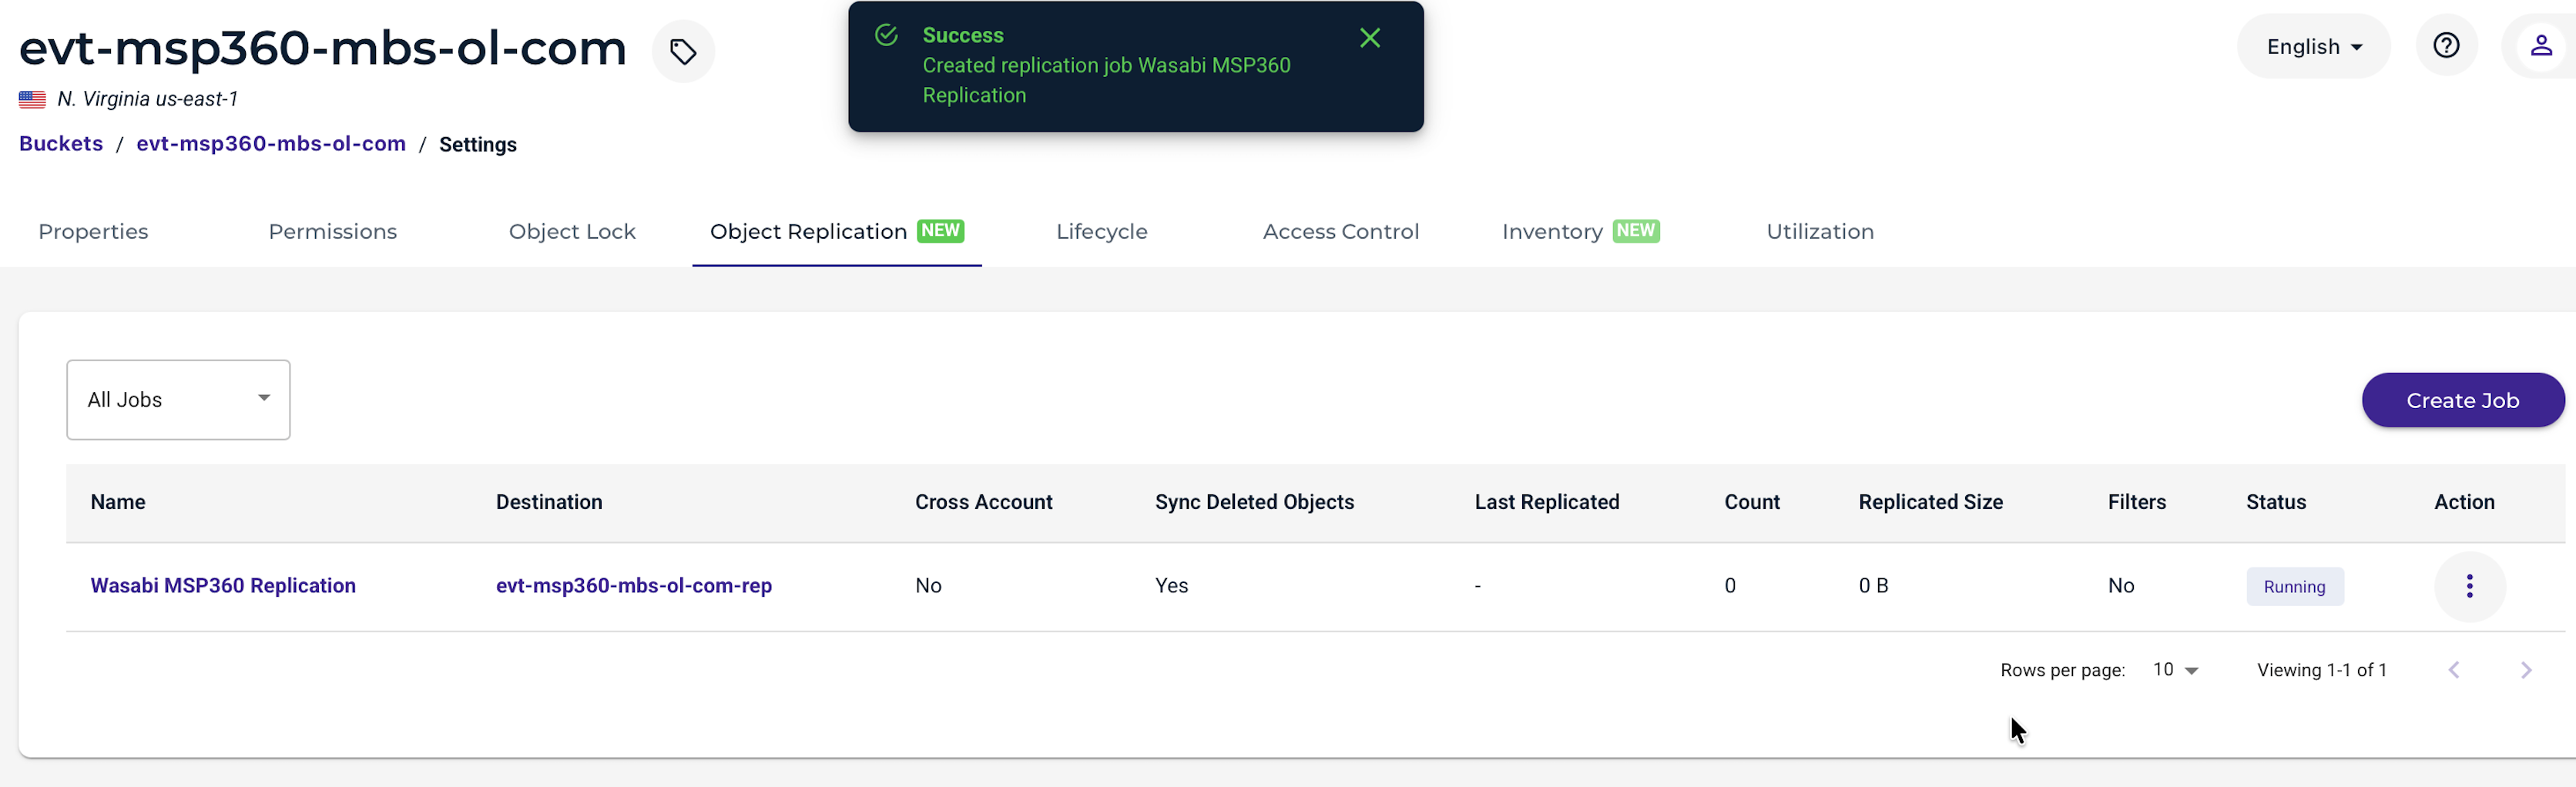
The replication will begin shortly. Depending on the size of the data, this may take time.
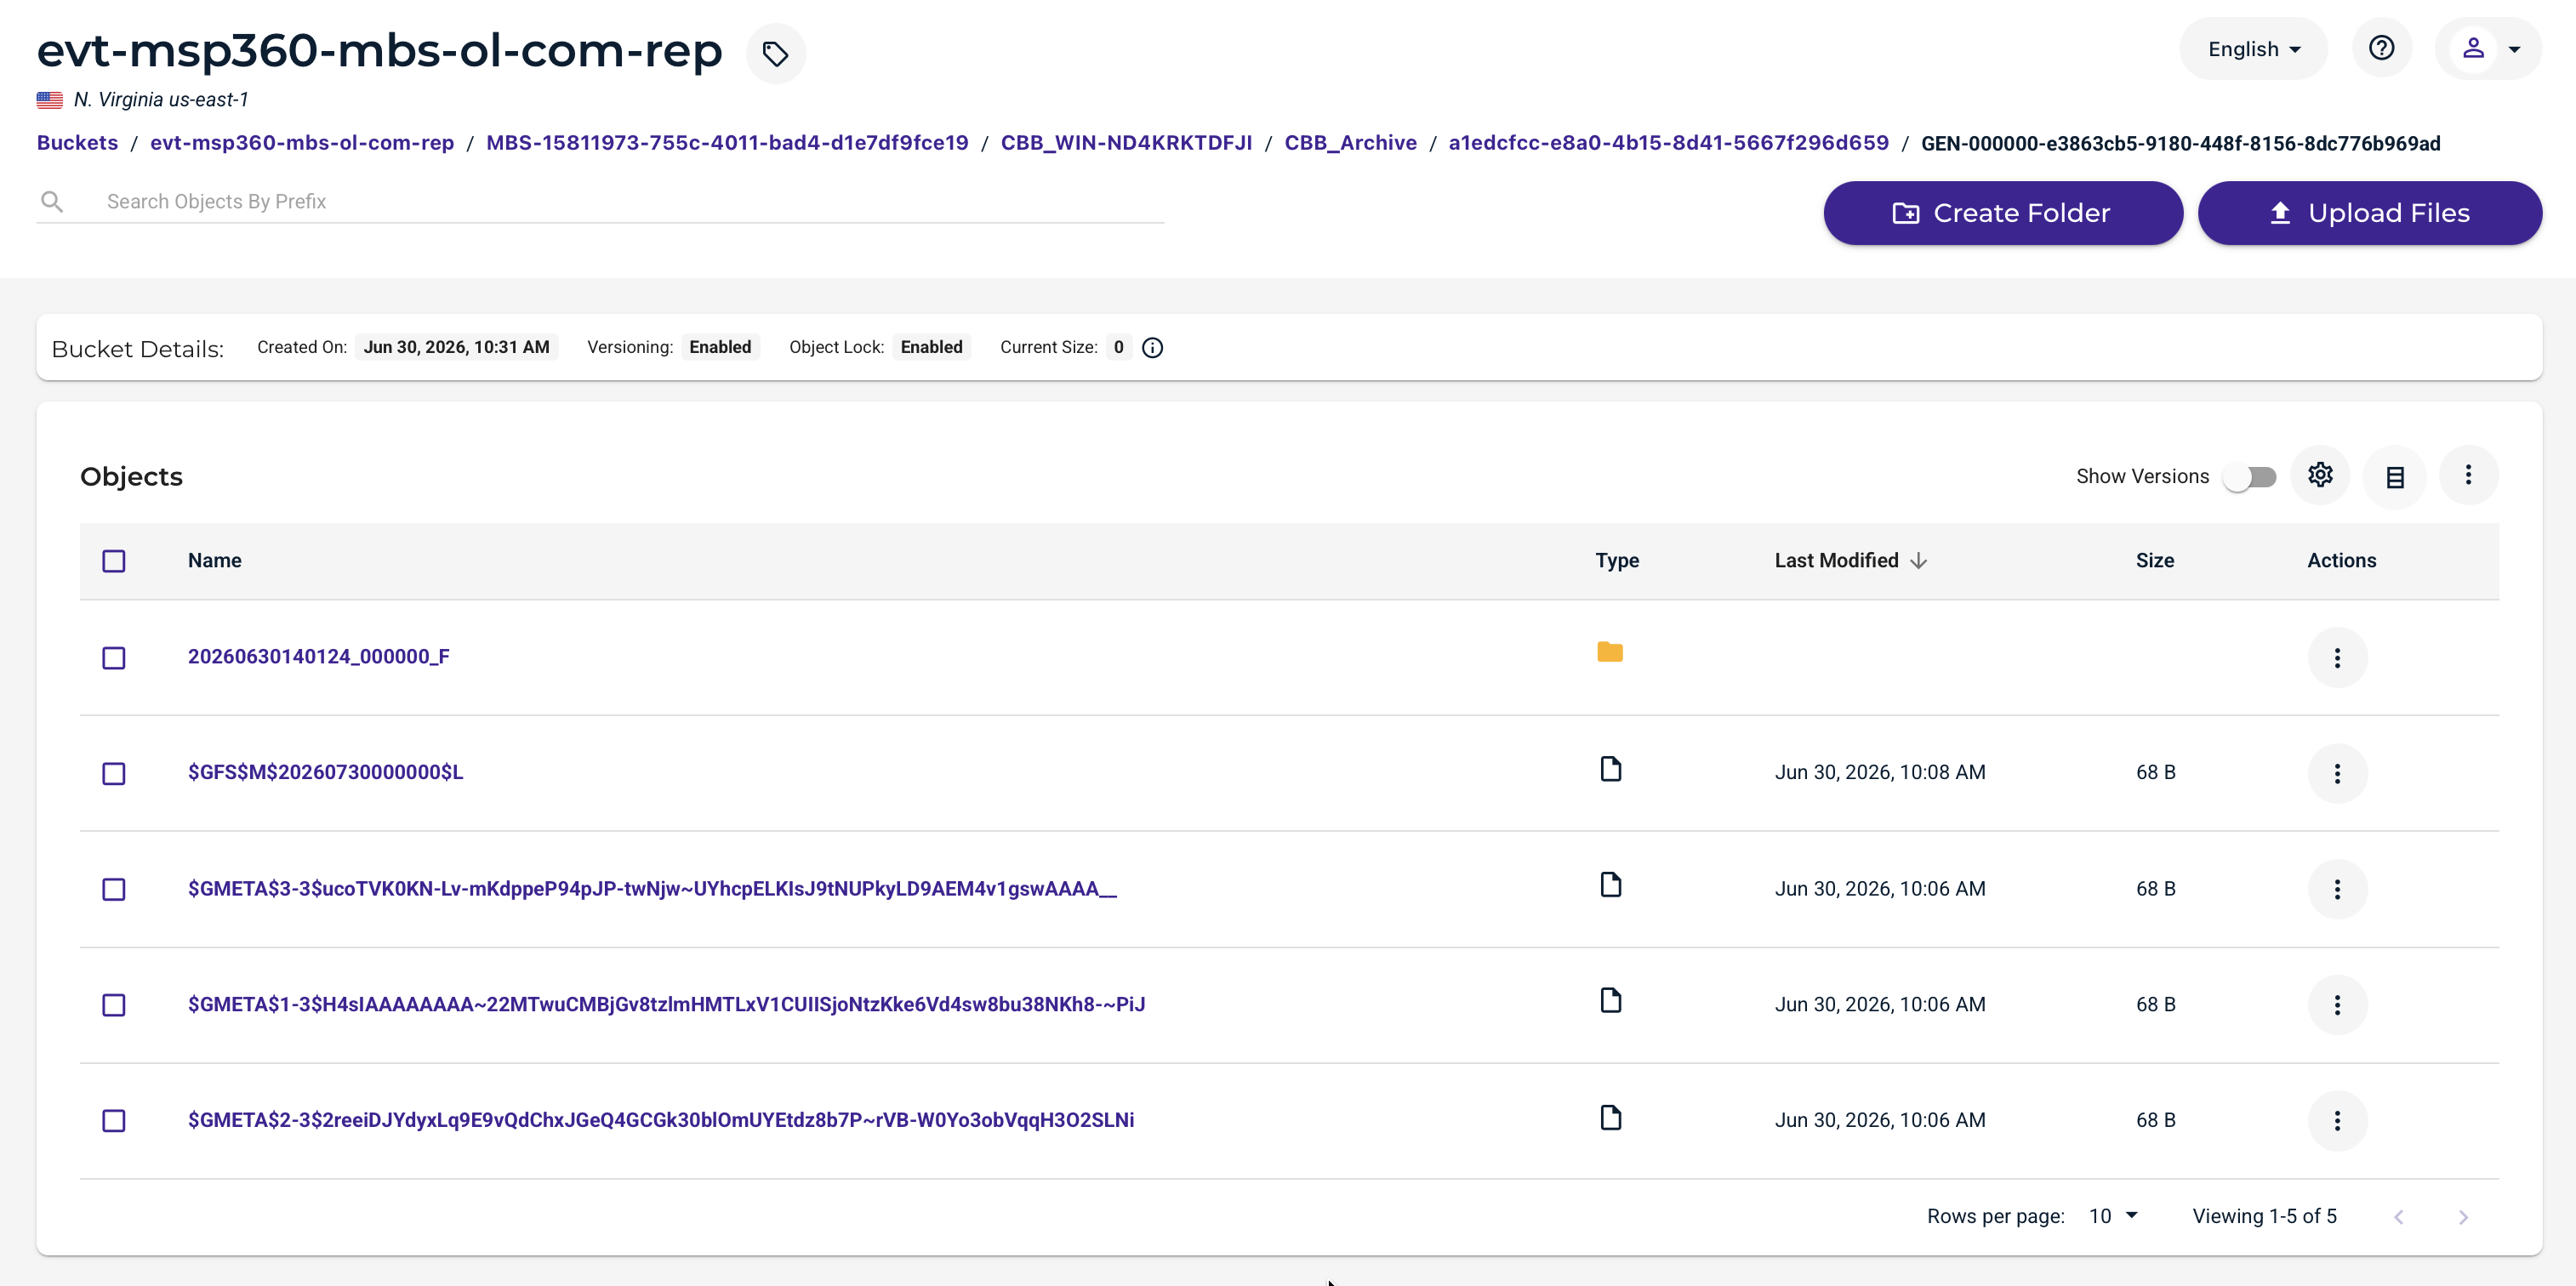
Once the replication completes, you will receive an email, and the replicated data will be visible in the new bucket.
Adding the Replicated Bucket to MSP360 MBS
Log in to the Managed Backup Service (console.msp360.com).
Select Backup.
Select Storage Accounts from the toolbar.
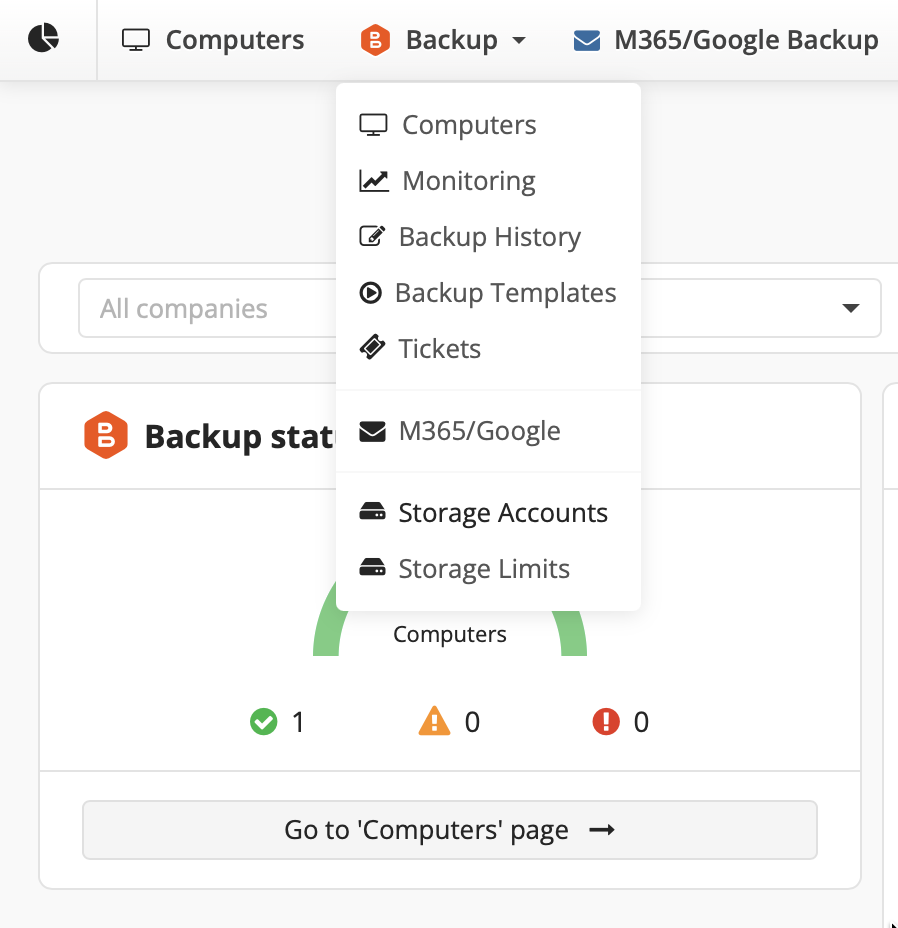
Select the name of the storage account that holds the replicated bucket.

Click the + to create a new destination.

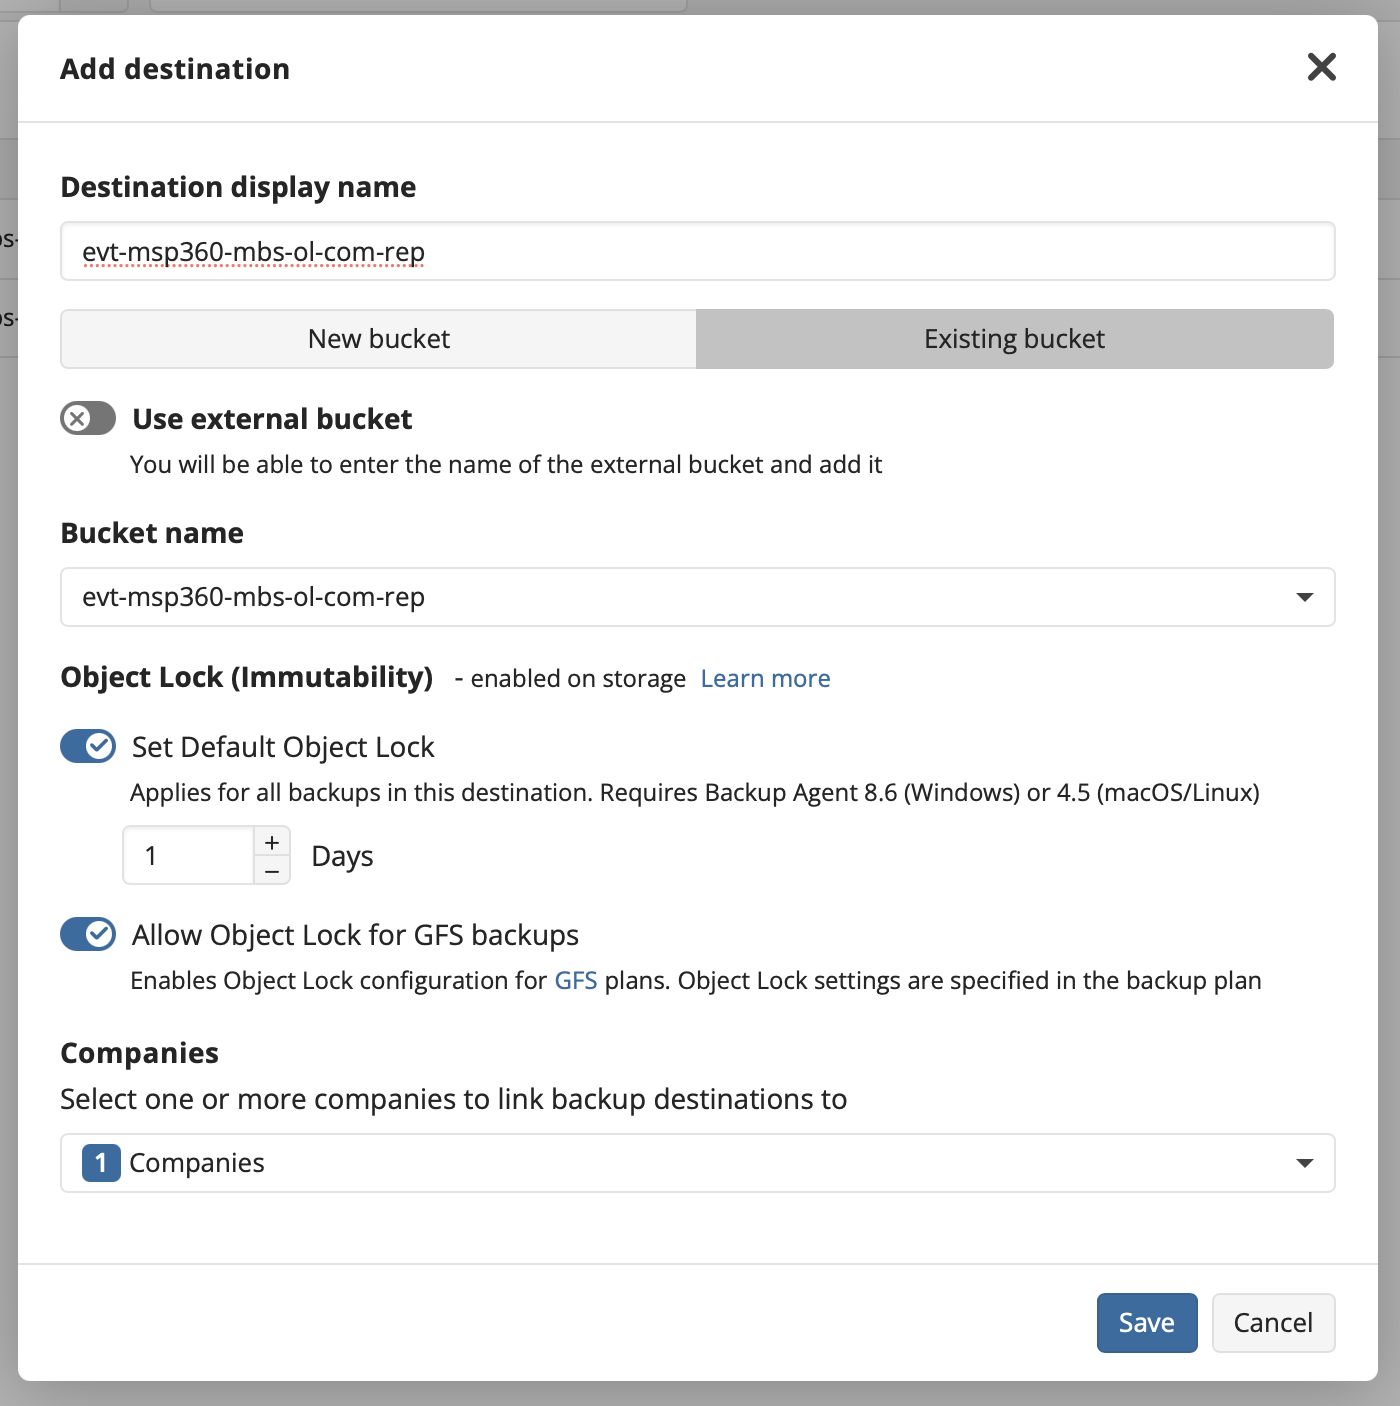
On the Add destination screen, enter a destination display name.
Click Existing Bucket.
Enter the name of your replicated bucket.
Optionally, enable Object Lock.
Link the bucket to the appropriate Company.
Click Save.
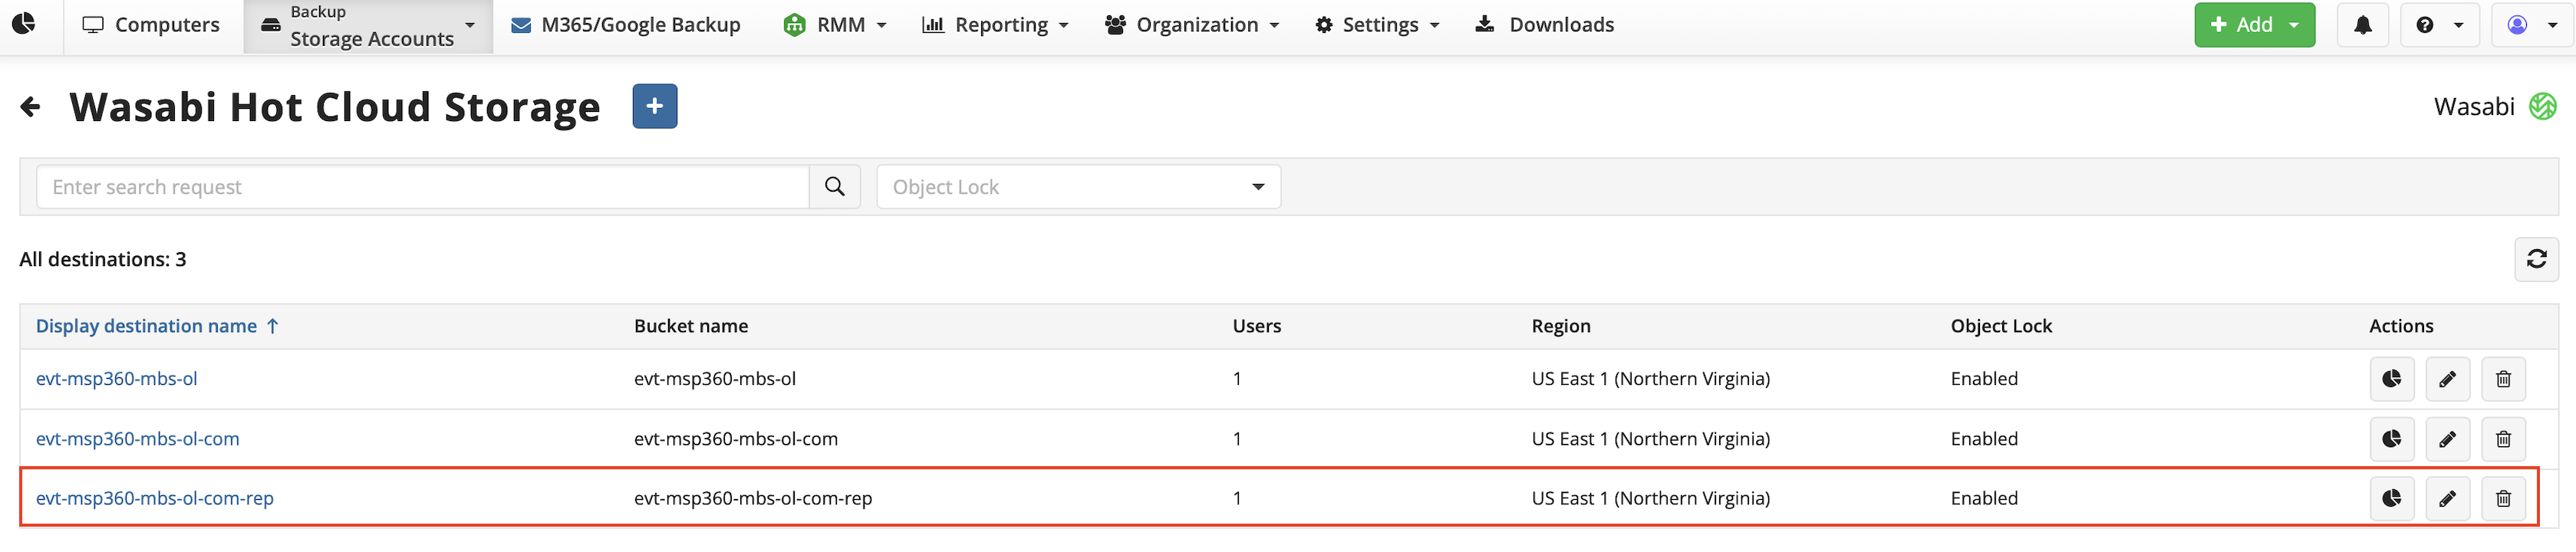
Your new replicated bucket will now show as a destination.
Restoring From a Replicated Bucket
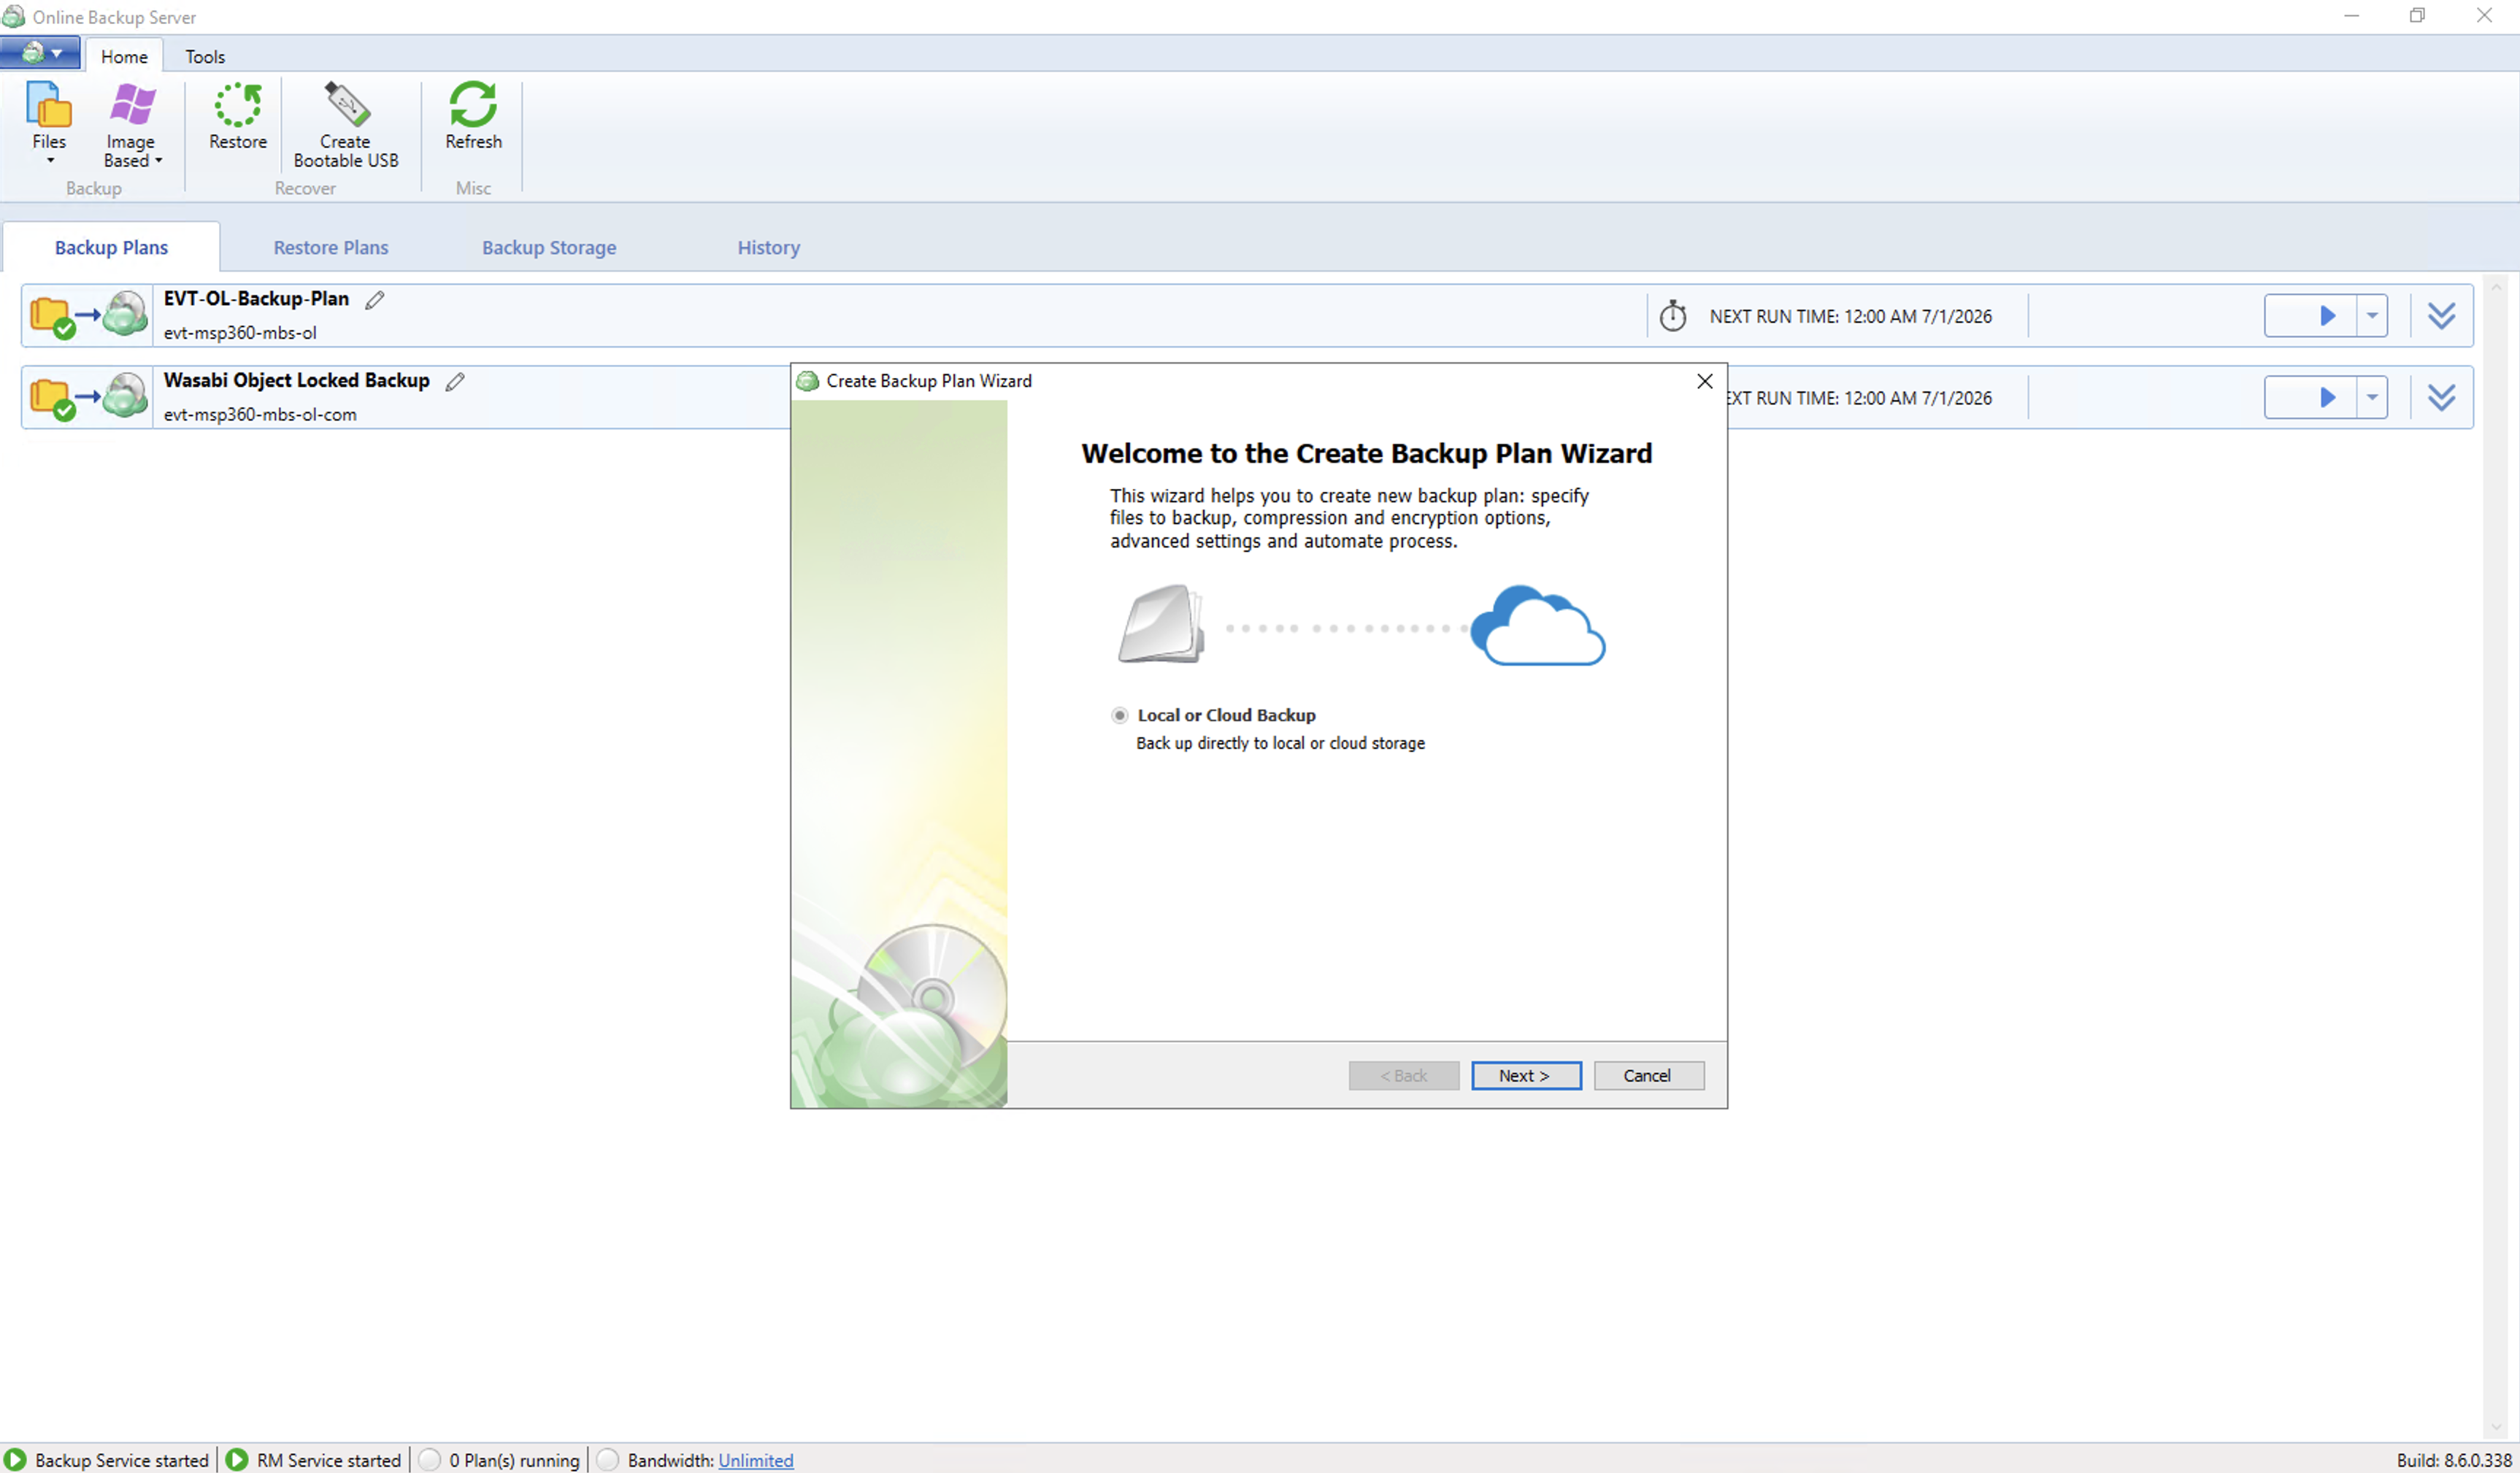
Launch the MSP360 MBS Online Backup Client.
Create a new Backup Plan.
Click Next.
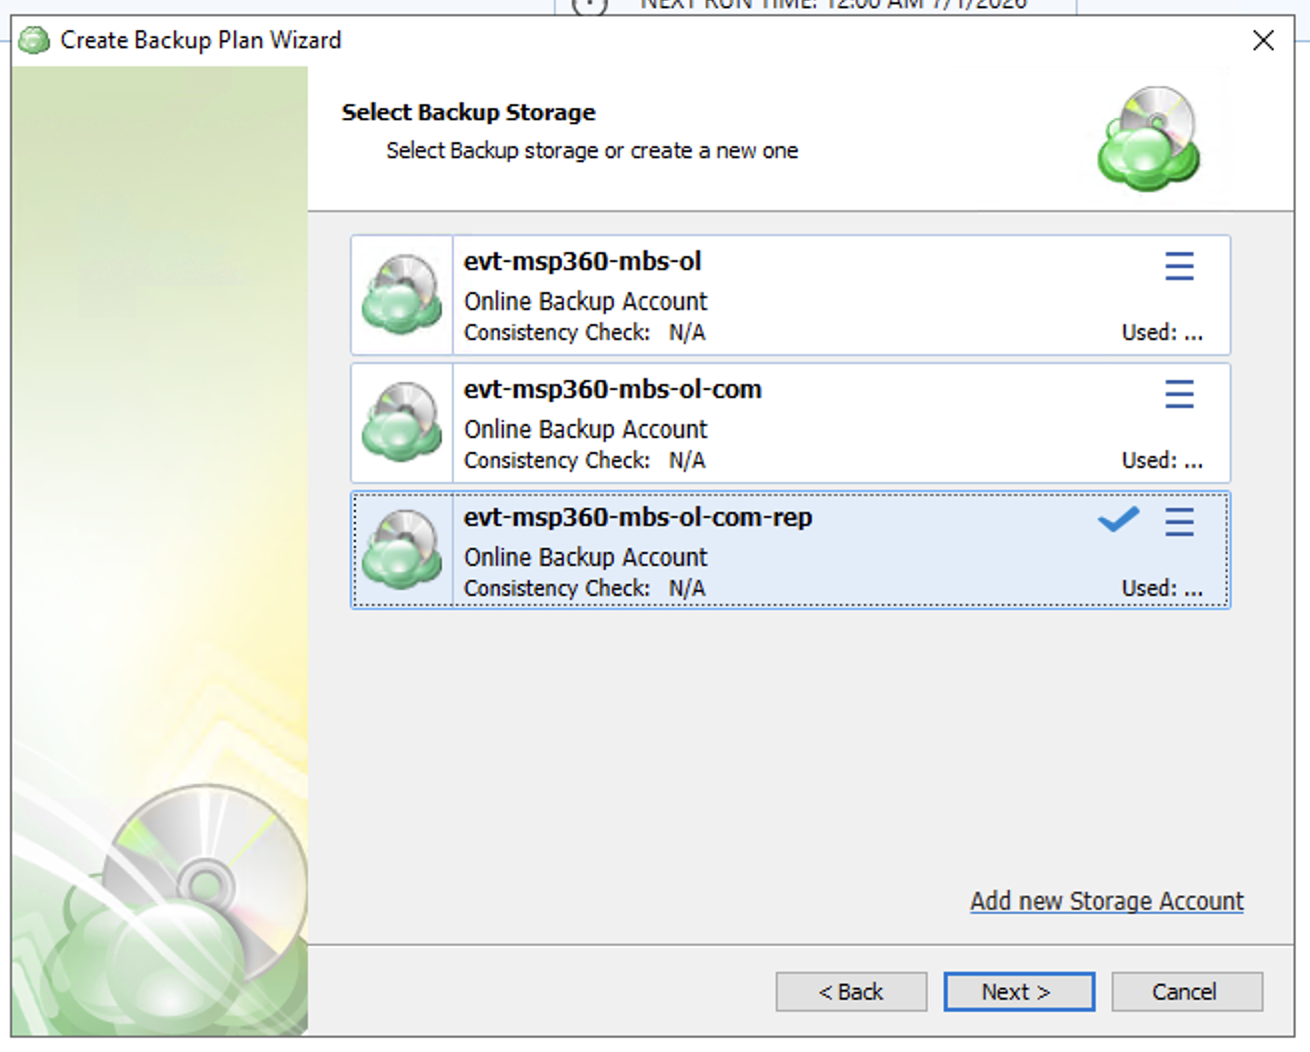
Plan. Select the replicated bucket that you added in the previous steps.
Click Next.
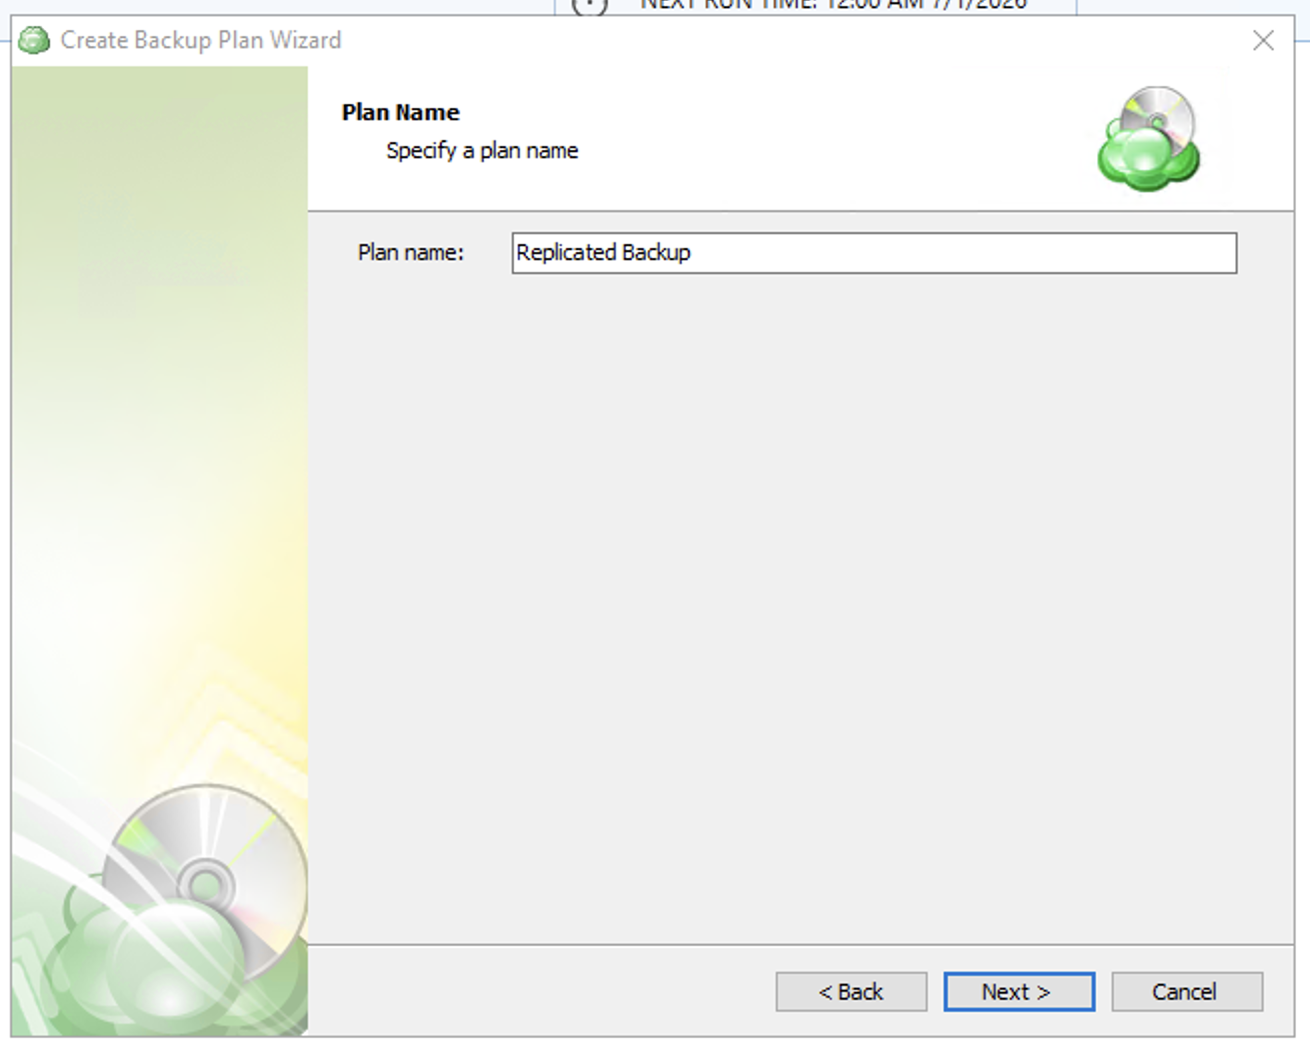
Provide a name for the plan.
Click Next.
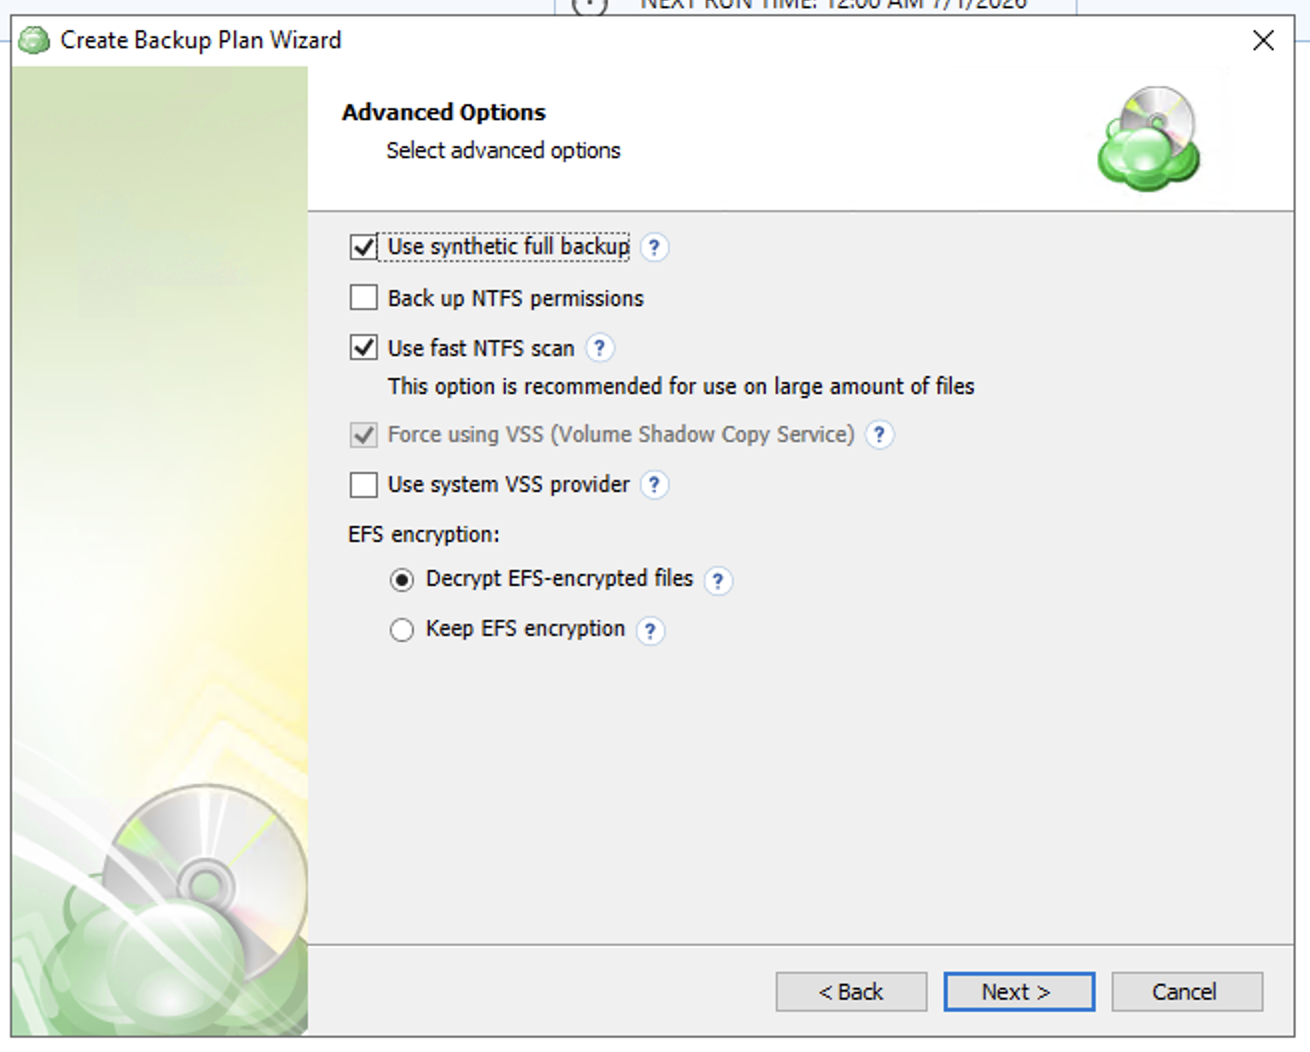
Click Next.
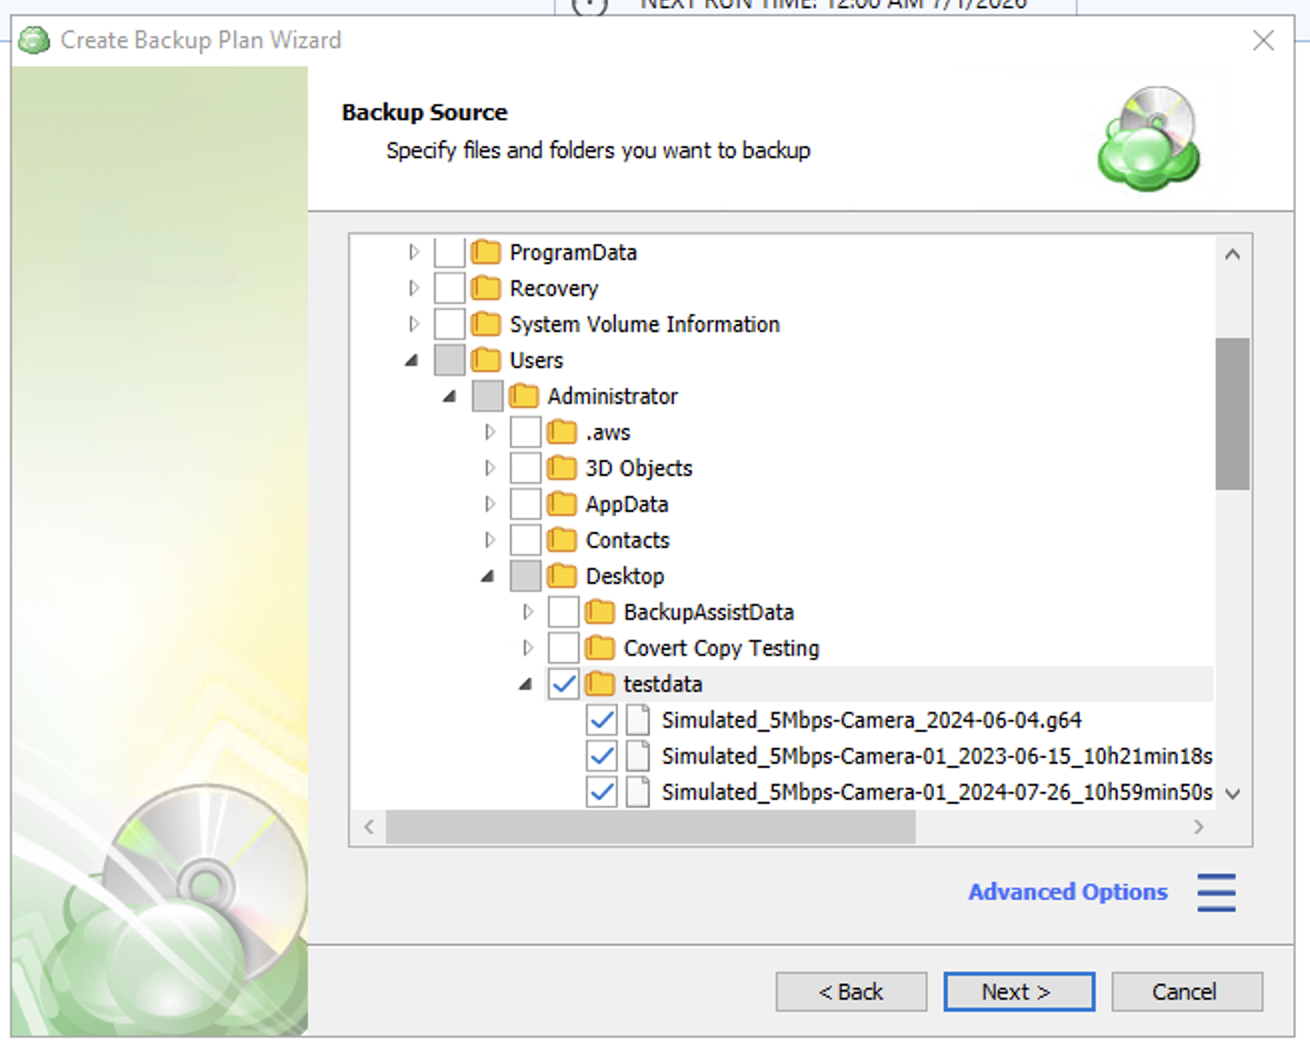
Use the tree to navigate to the data to restore.
Click Next.
Click Next.
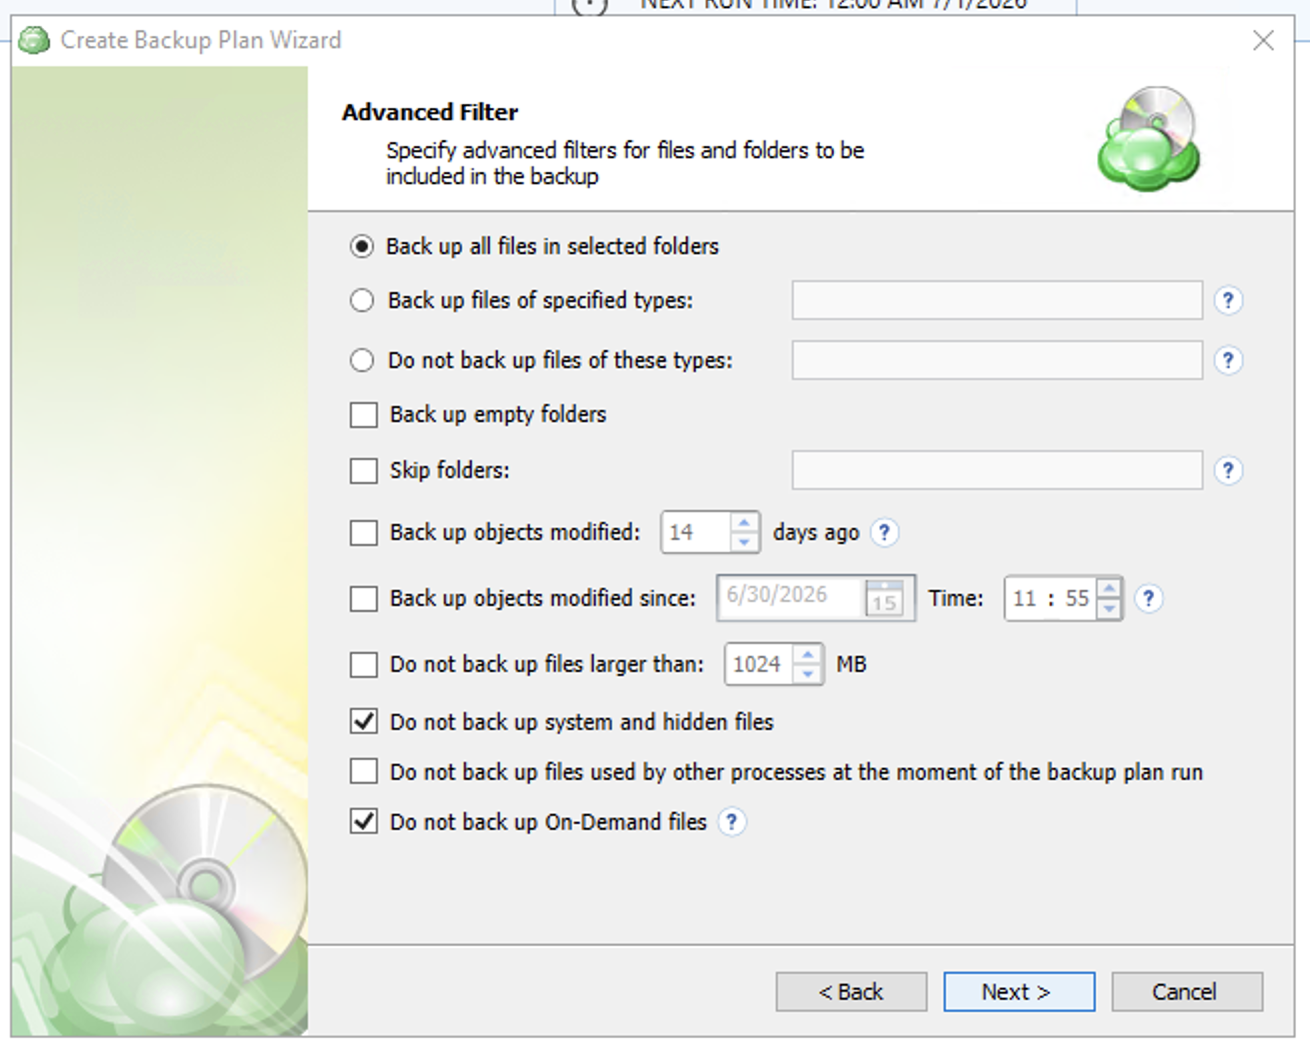
Click Next.
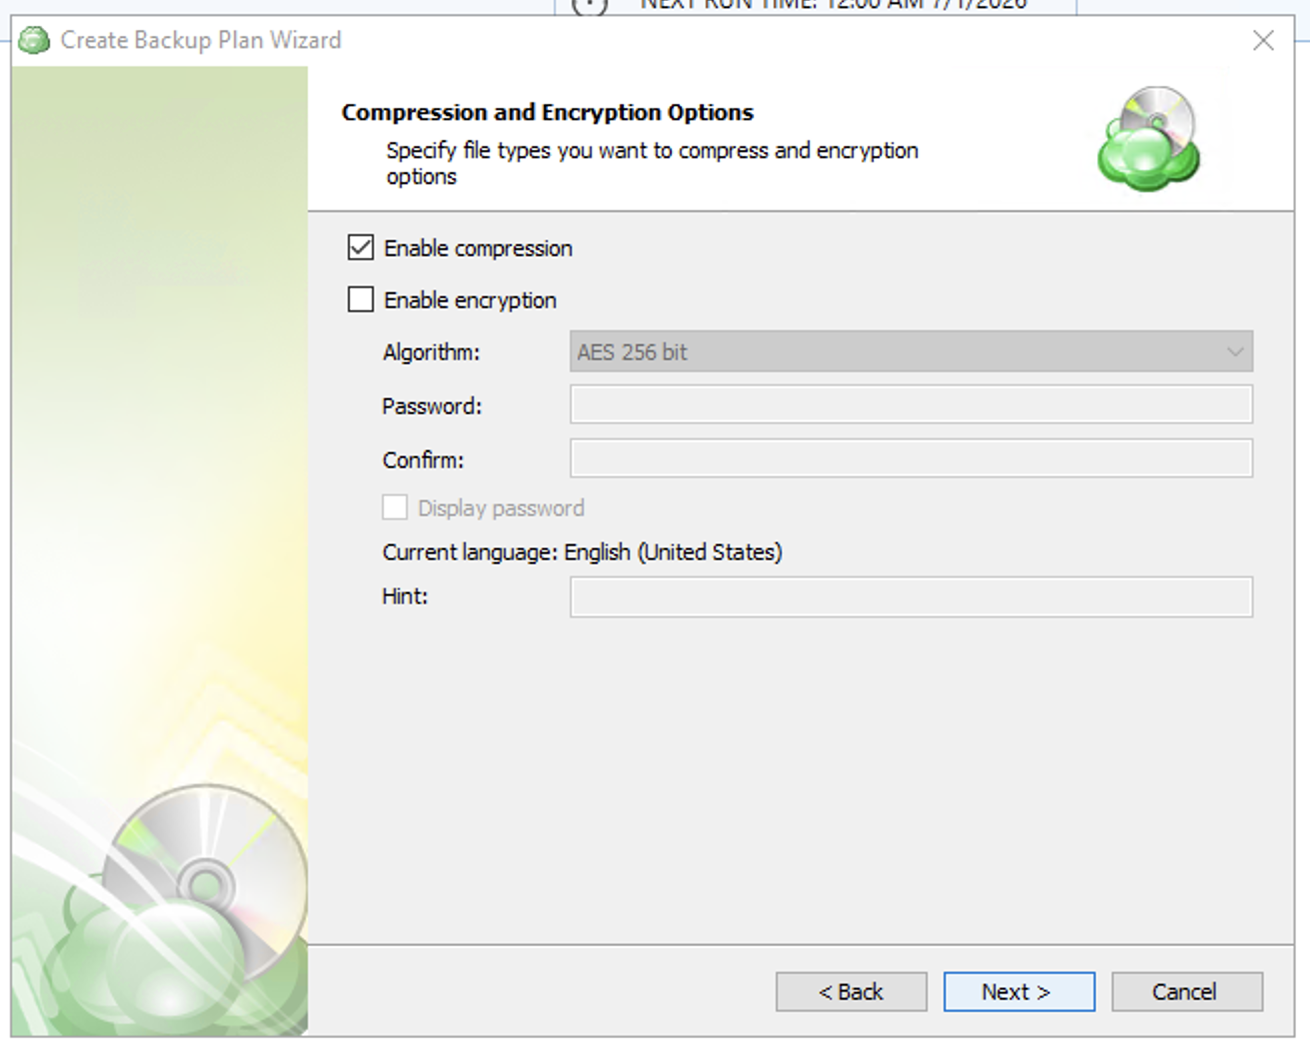
Click Next.
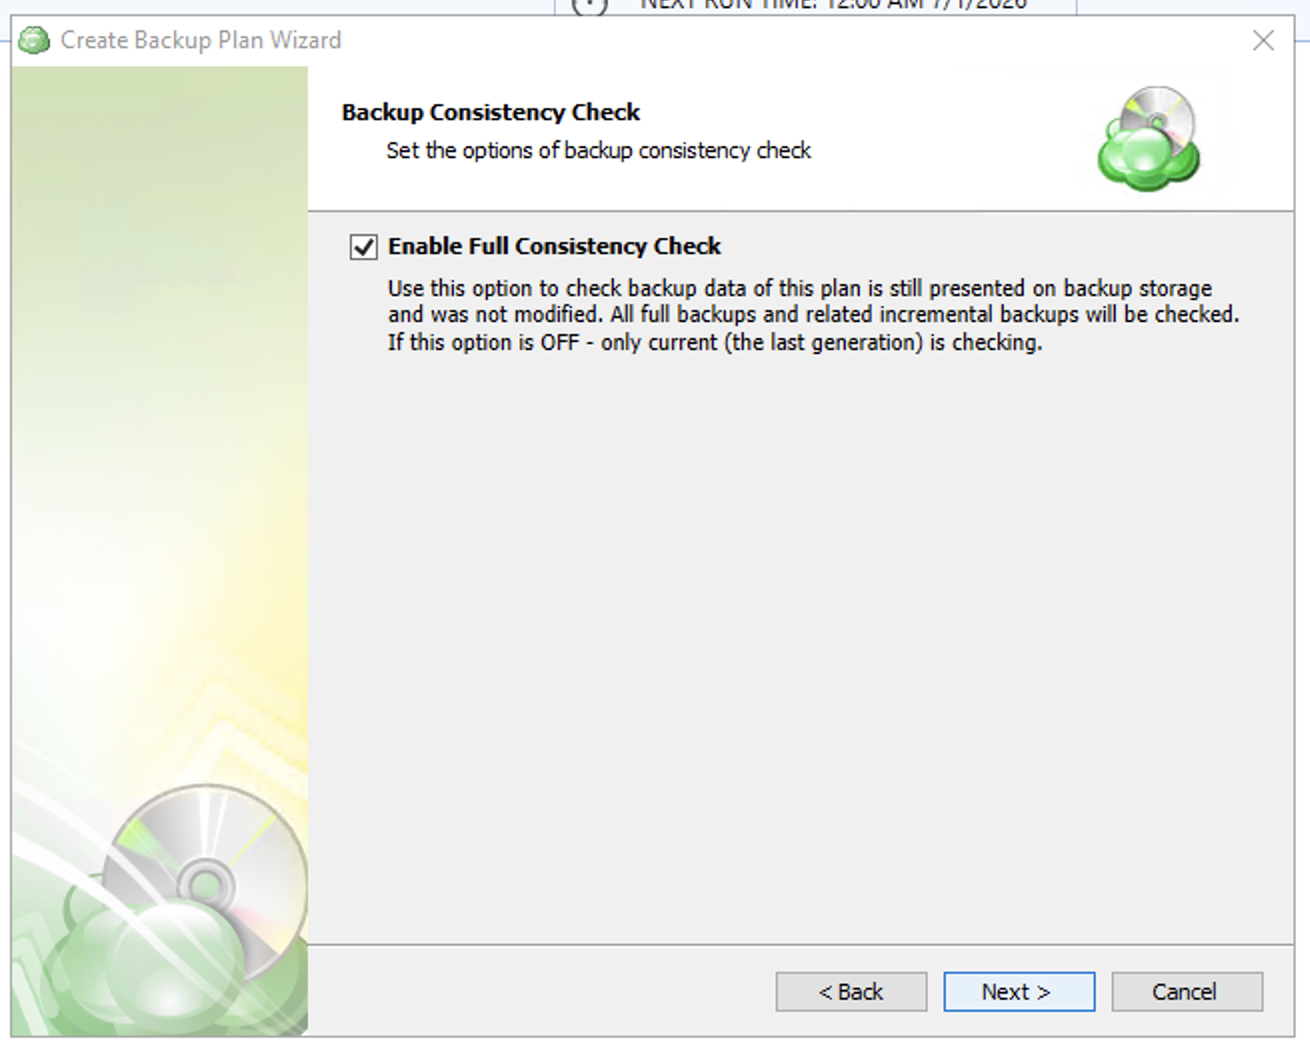
Click Next.
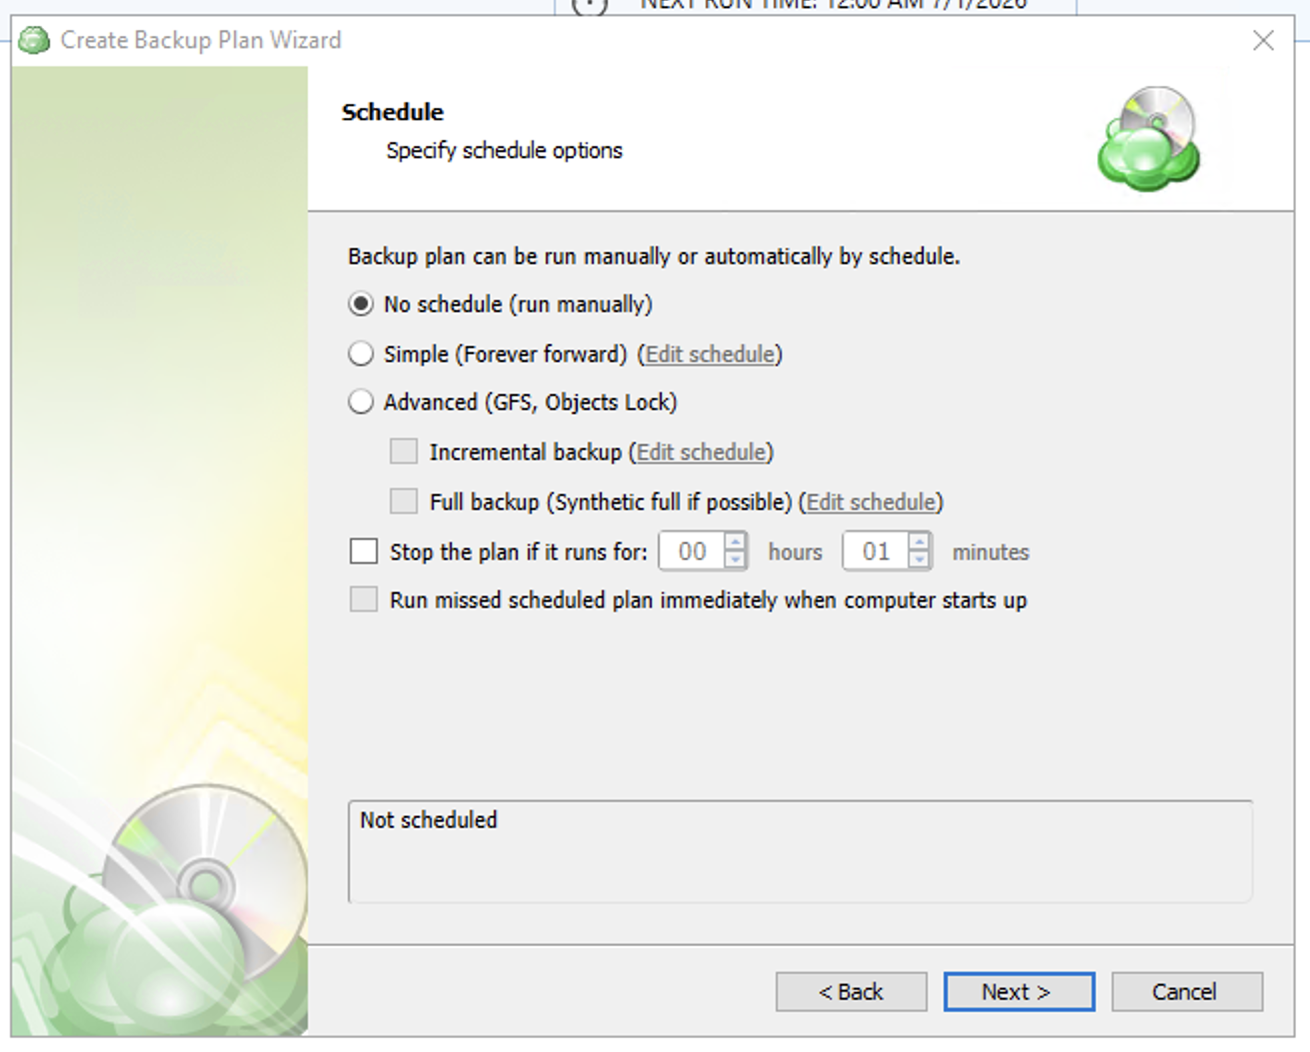
Click Next.
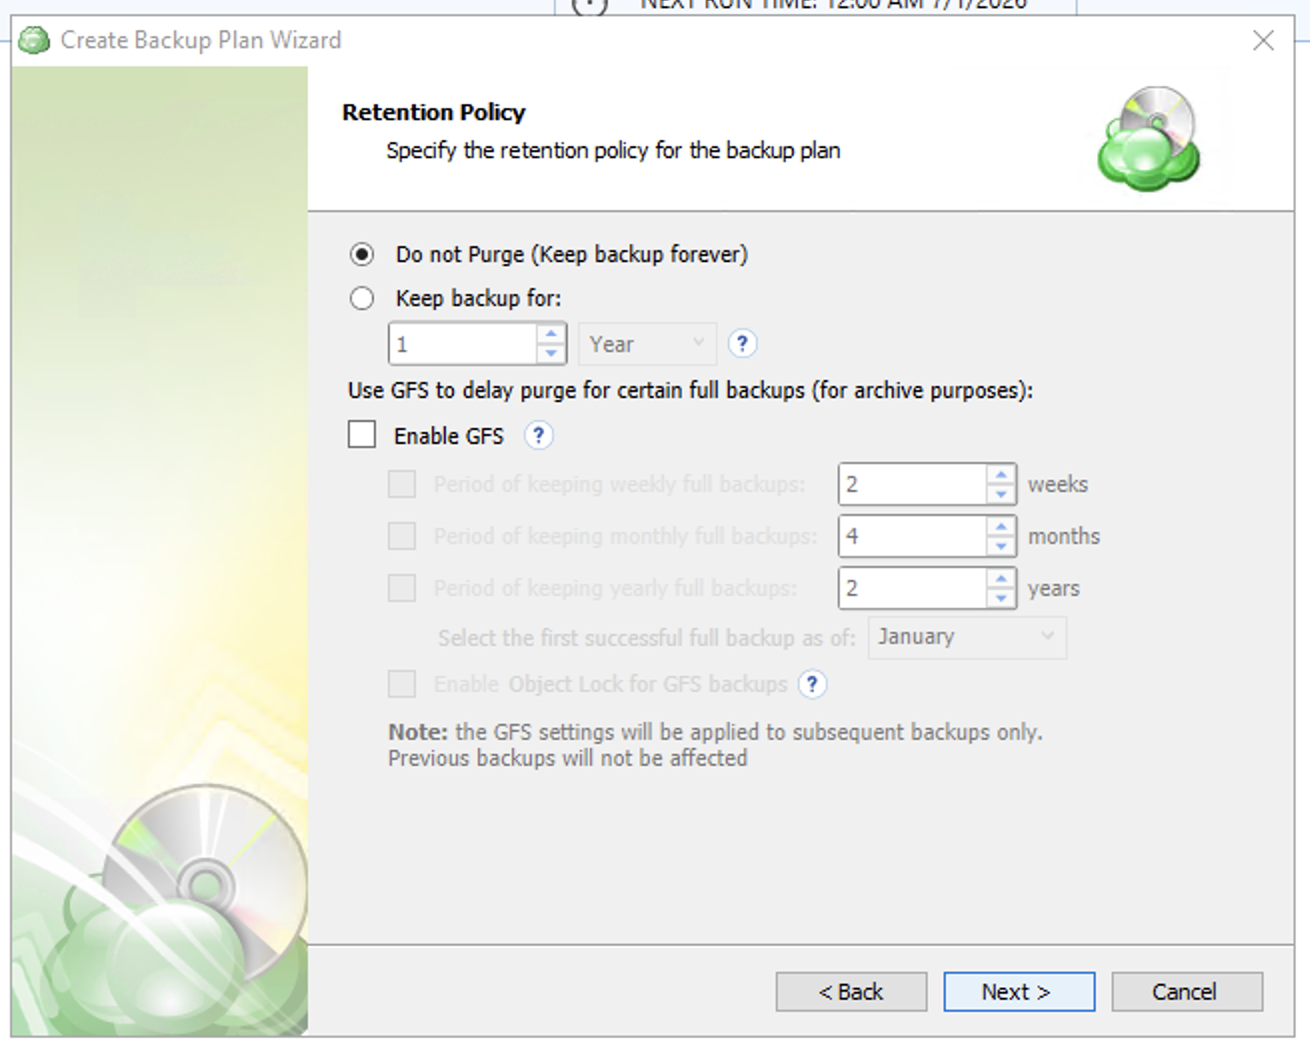
Click Next.
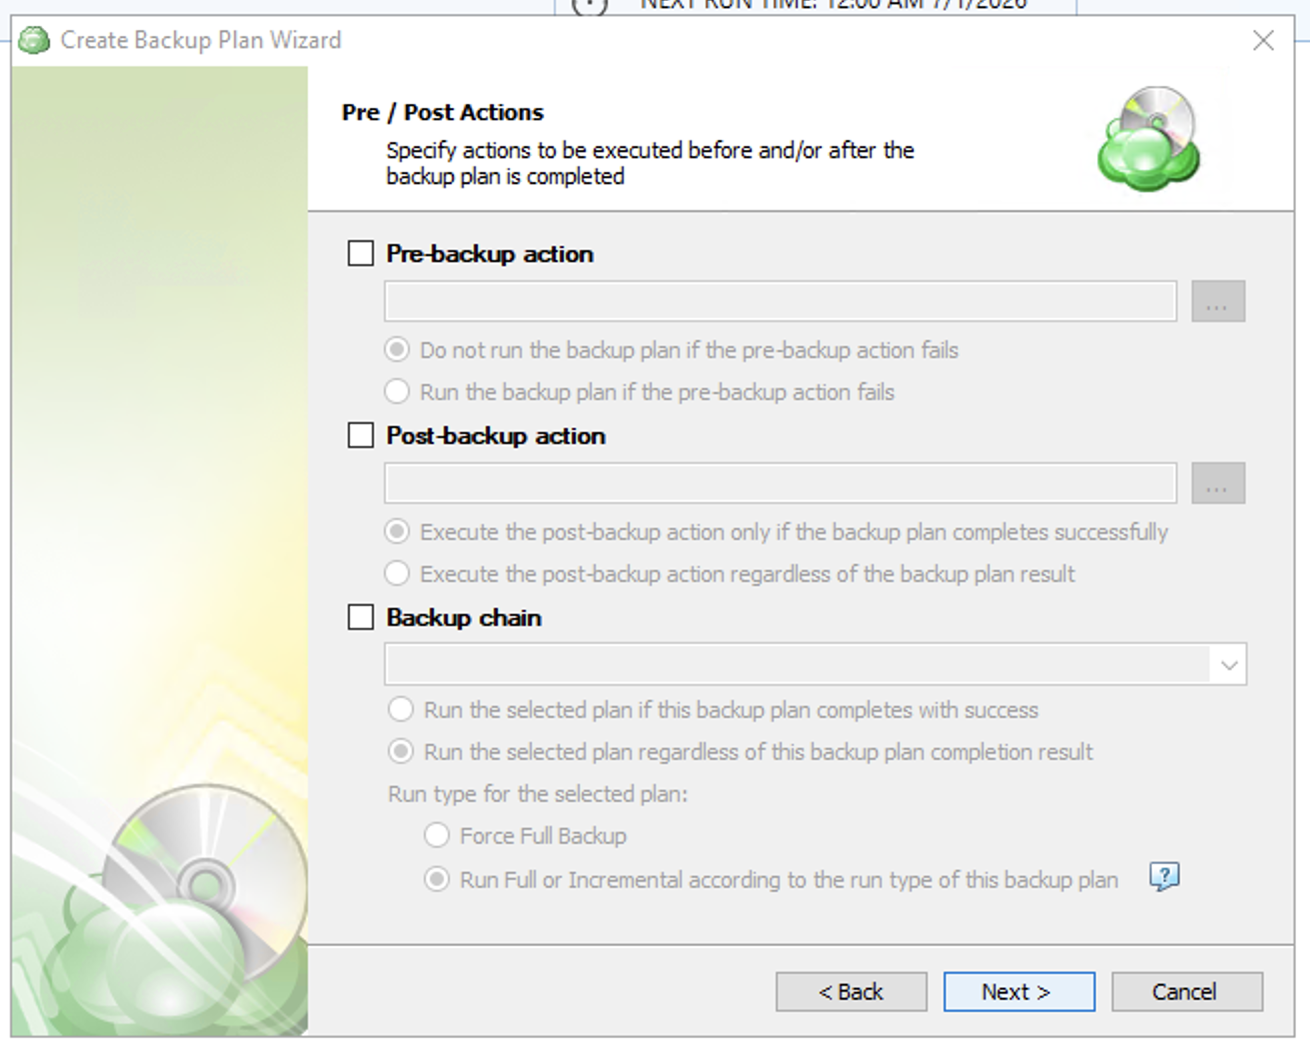
Click Next.
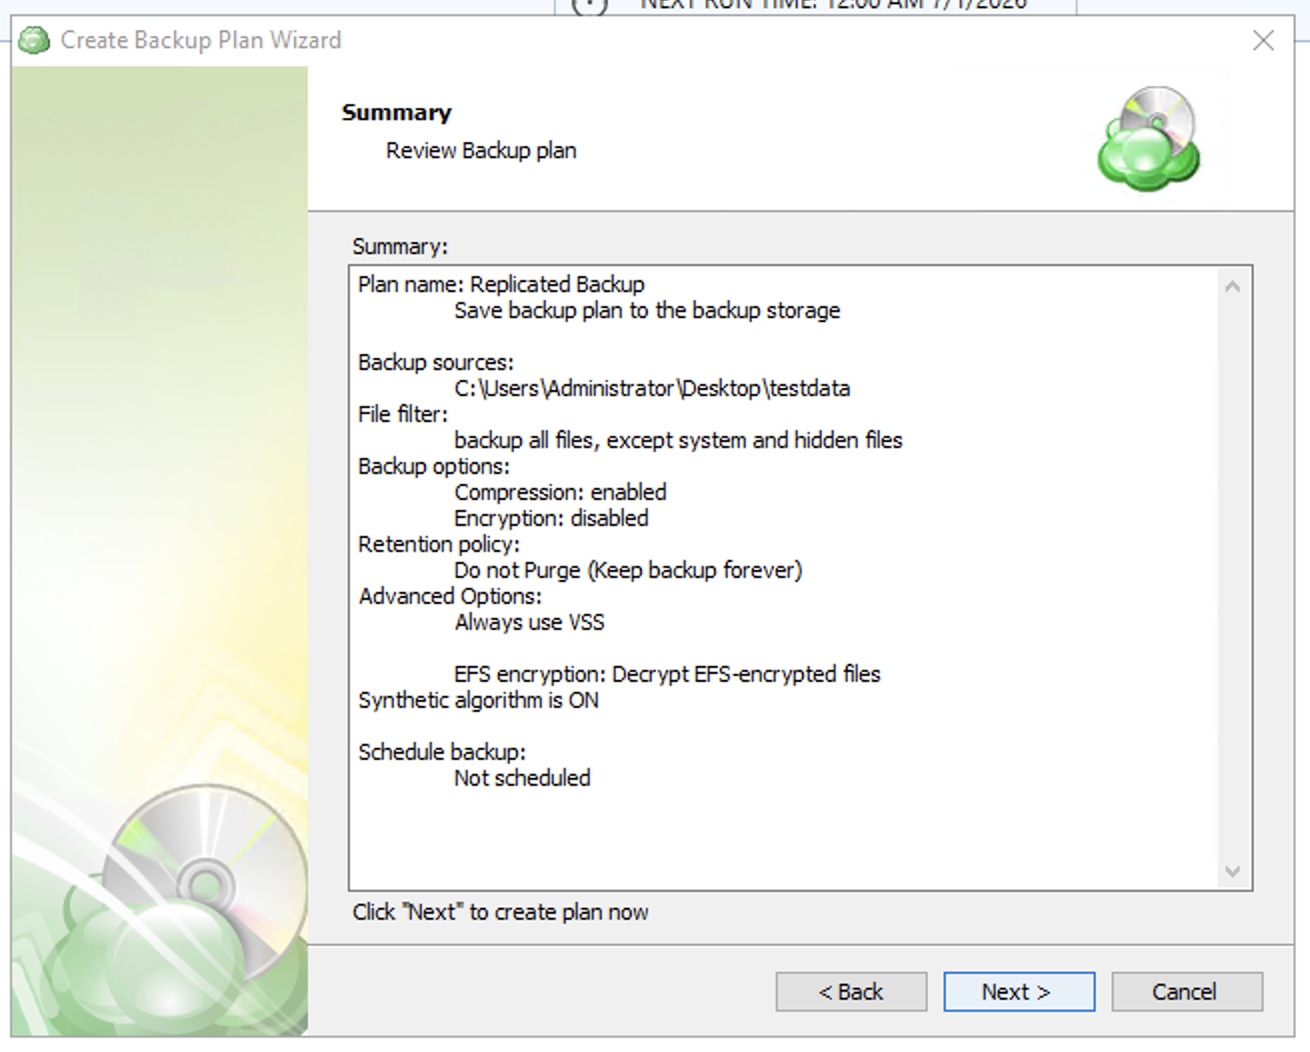
Click Finish.
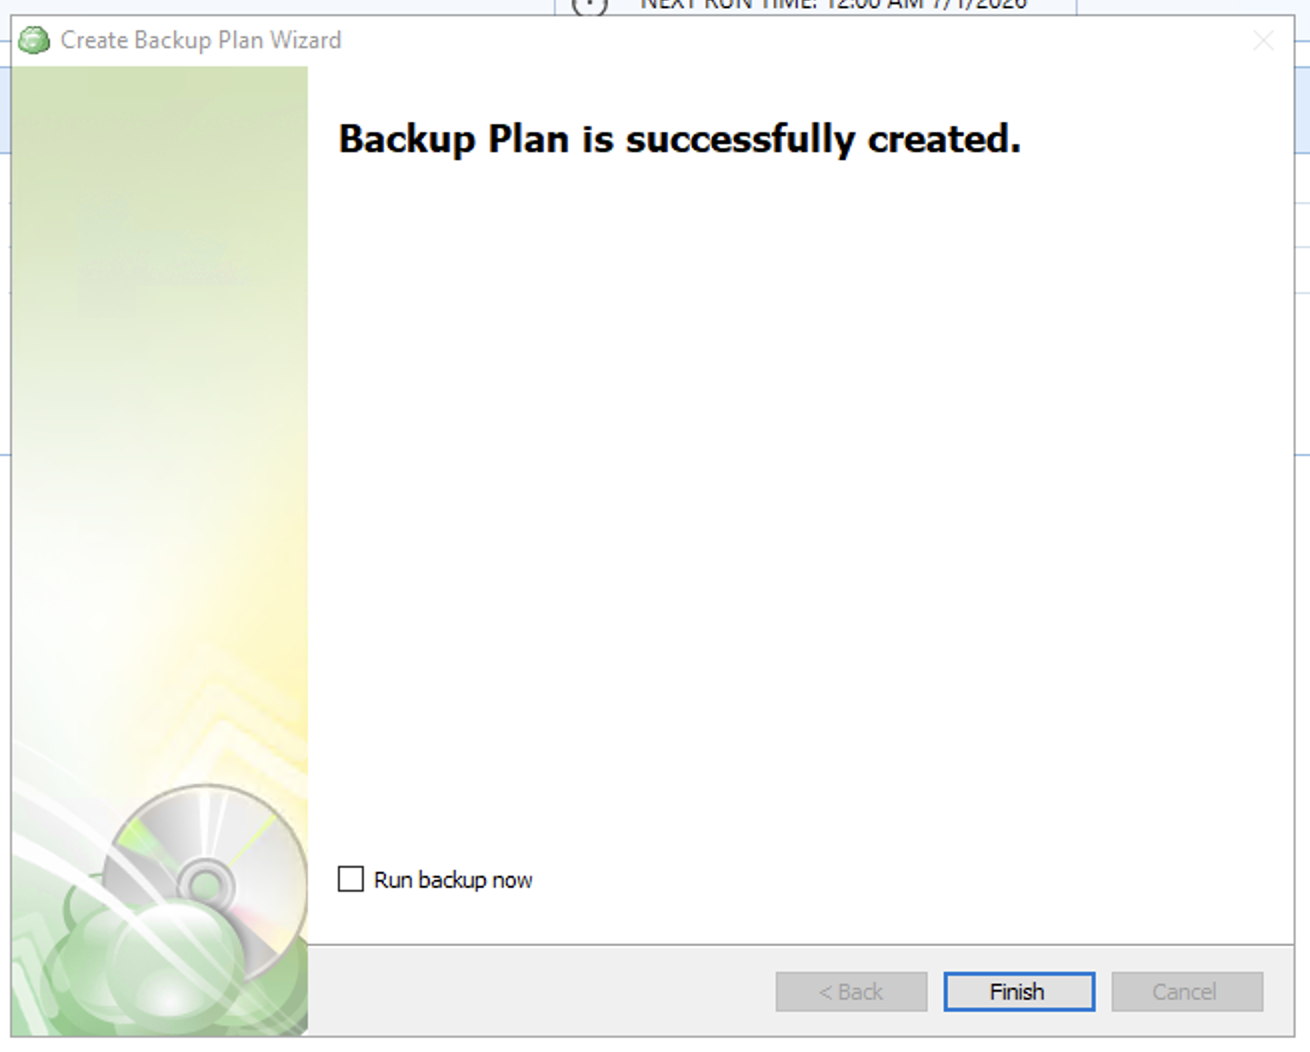
Your replicated Backup Plan will now be displayed. Click View Backup Storage.

On the View Backup Storage page, right-click your Replicated Backup Plan.
Select Consistency Check.
Click Run Consistency Check.
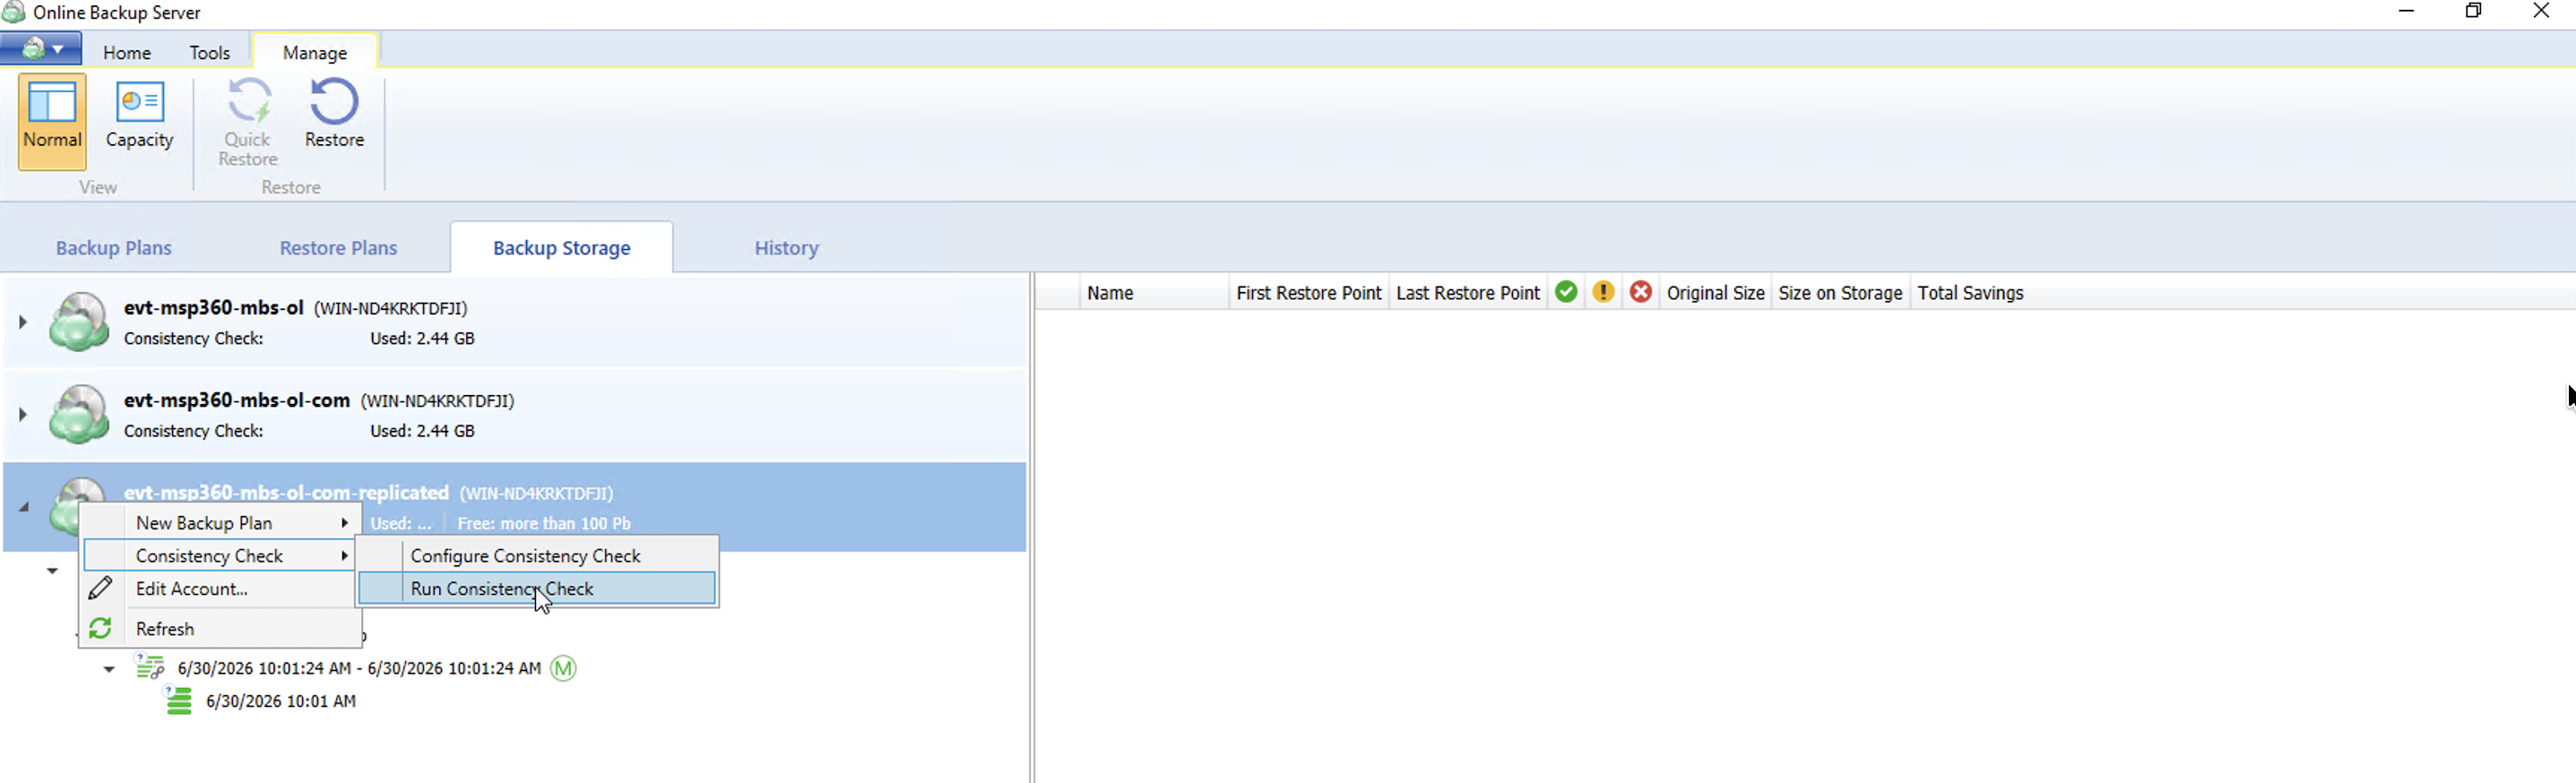
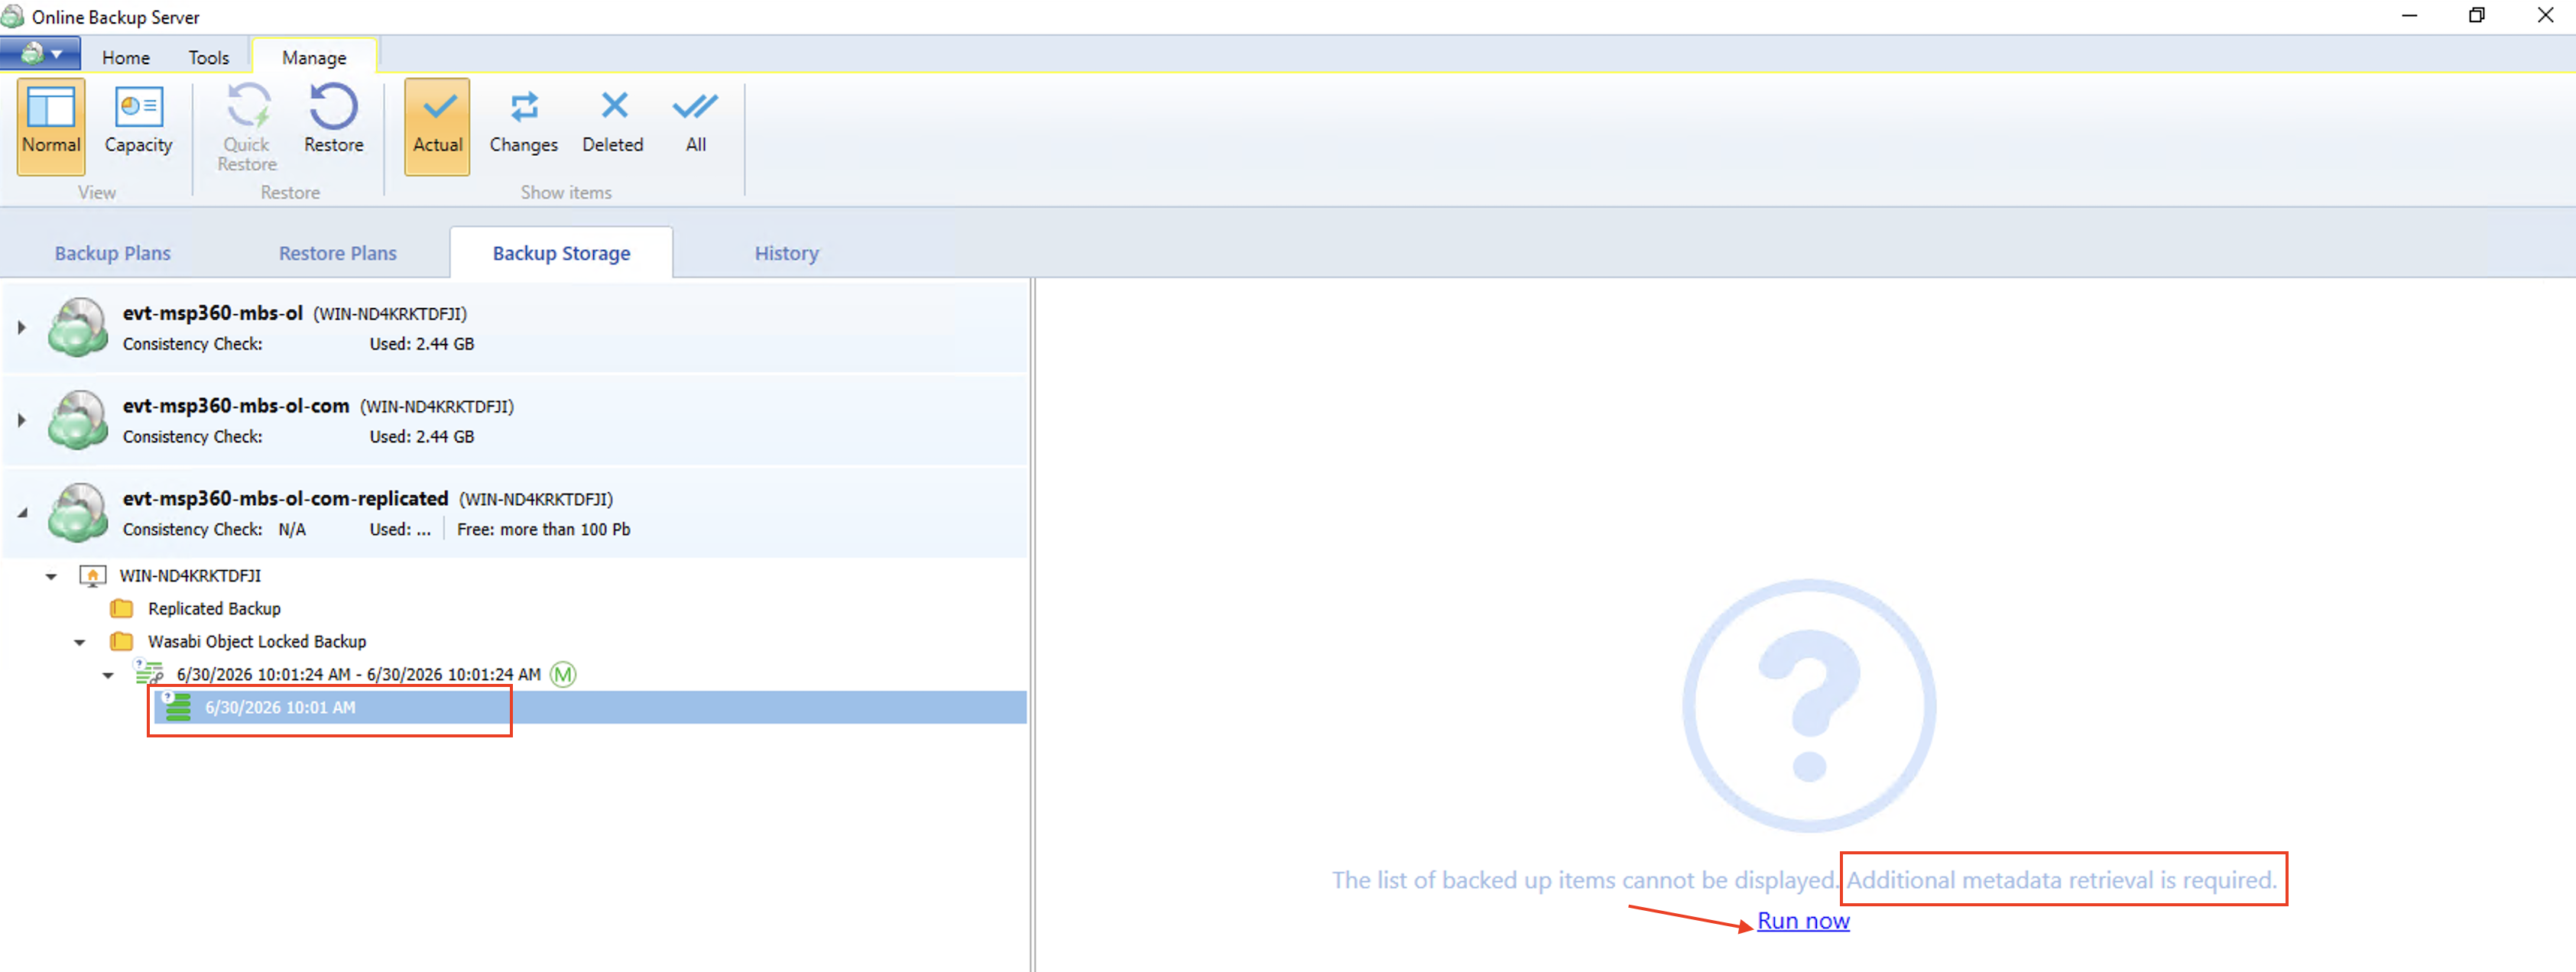
Expand the tree under the replicated backup plan and highlight the Restore Point.
The software will indicate that Metadata Retrieval needs to run. Click Run Now.
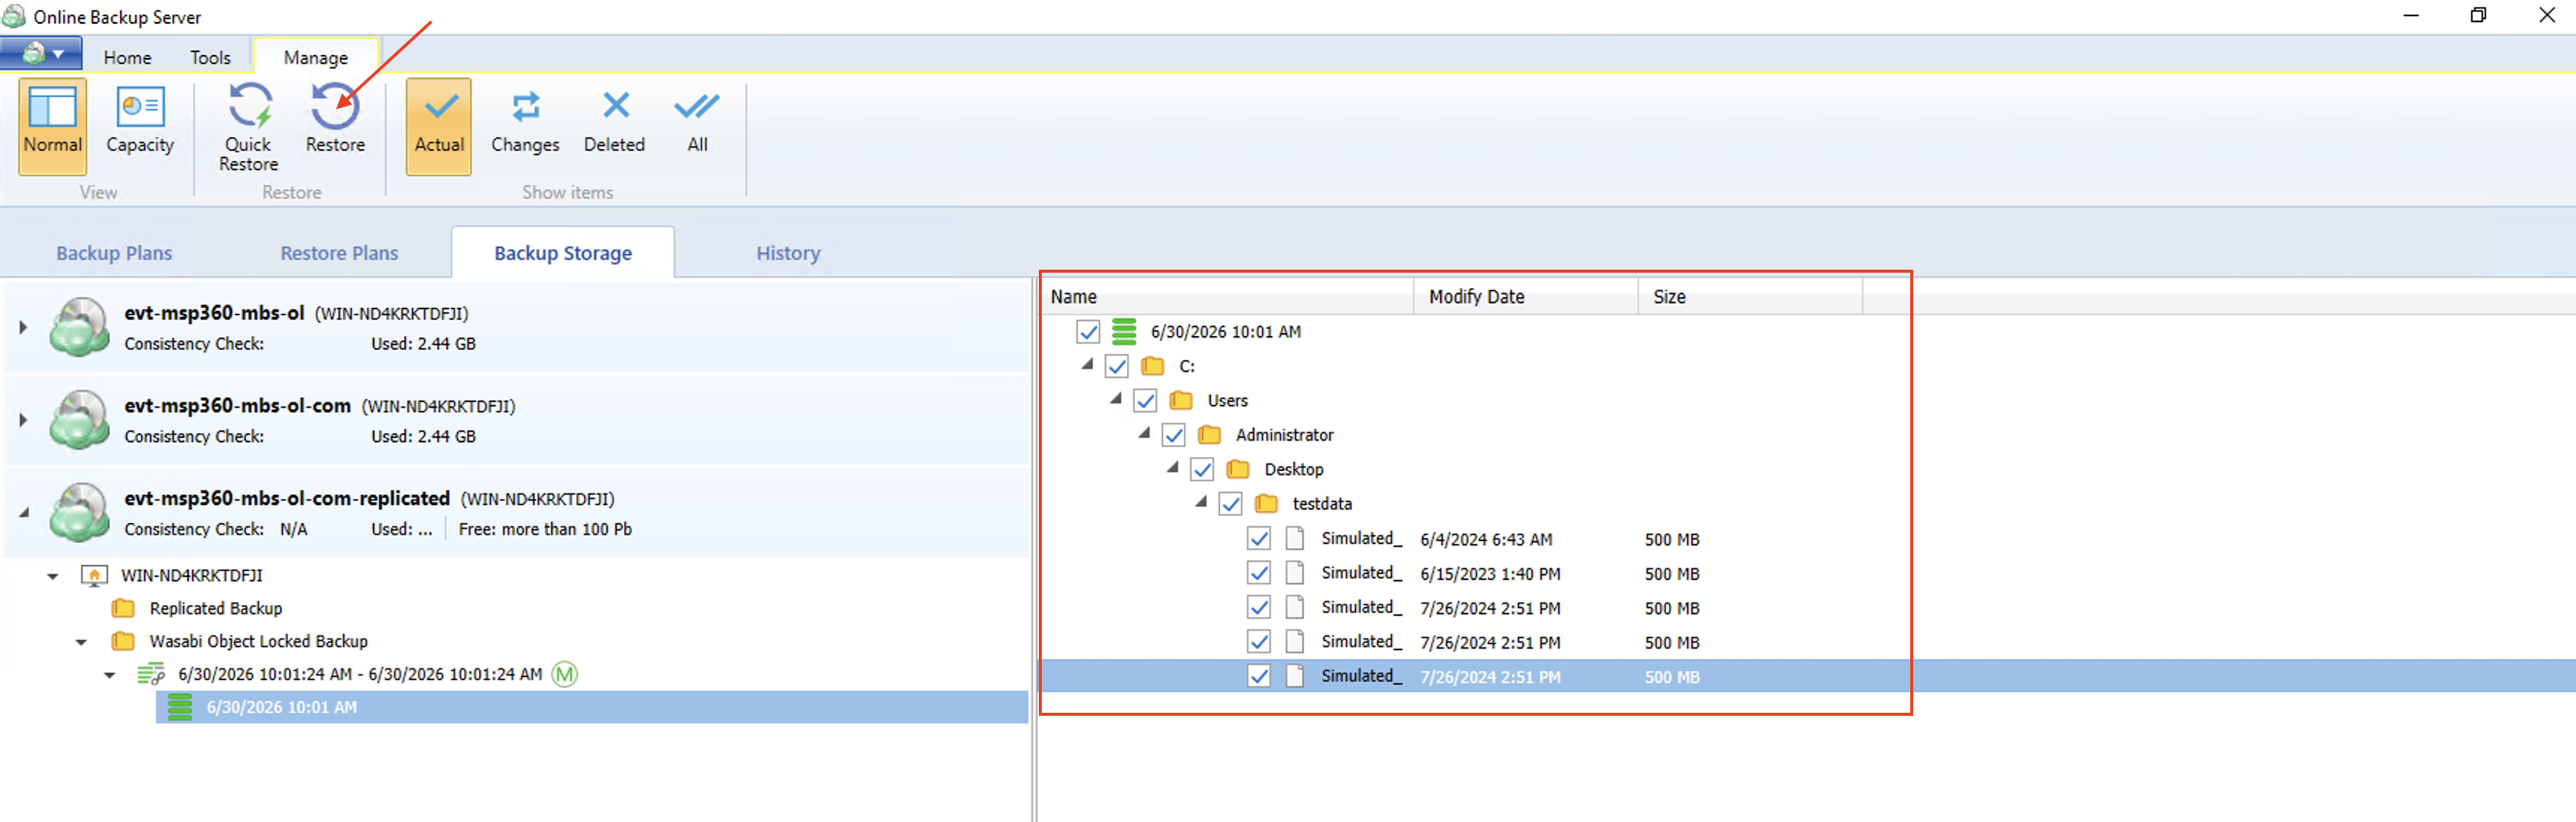
The right panel will now display a tree of available files to restore. Click the checkbox(es) next to the file (s) to restore.
Click Restore.
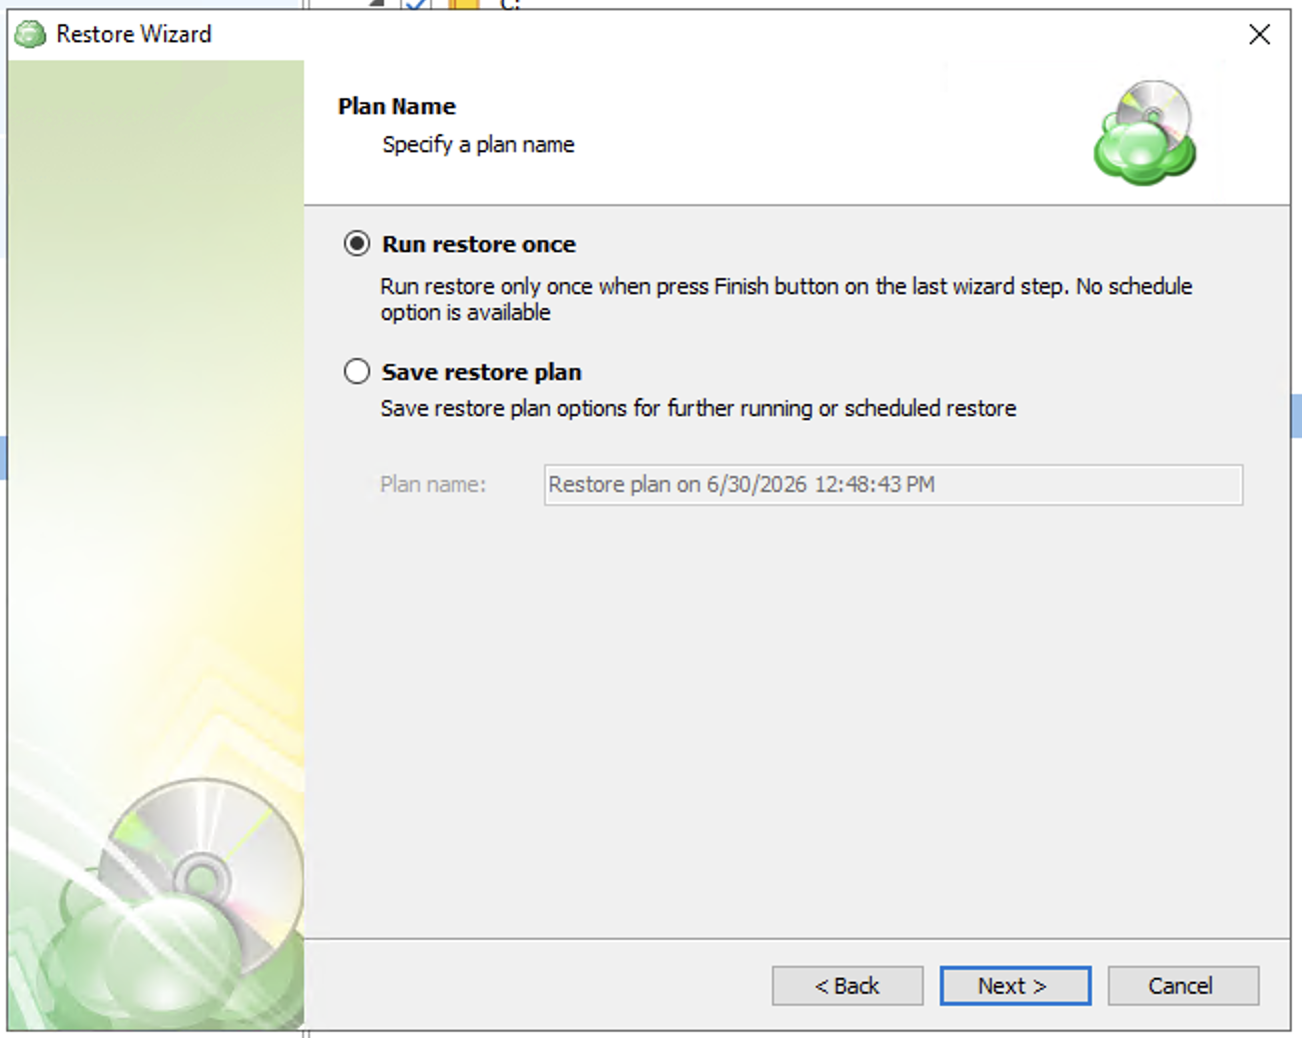
Select Run restore once.
Click Next.
Select the computer to restore and click Next.
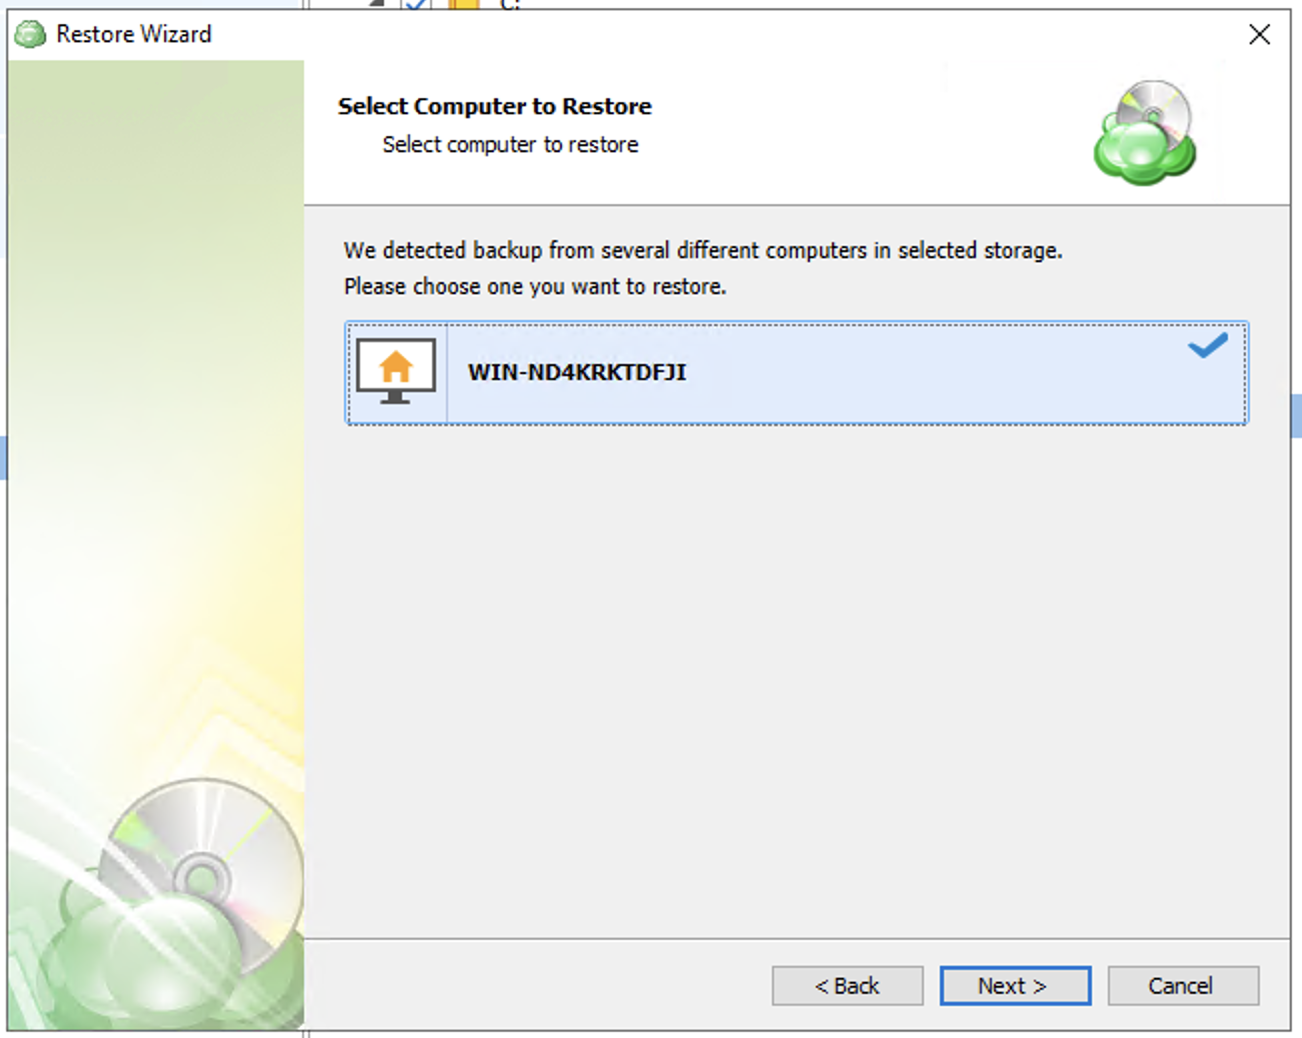
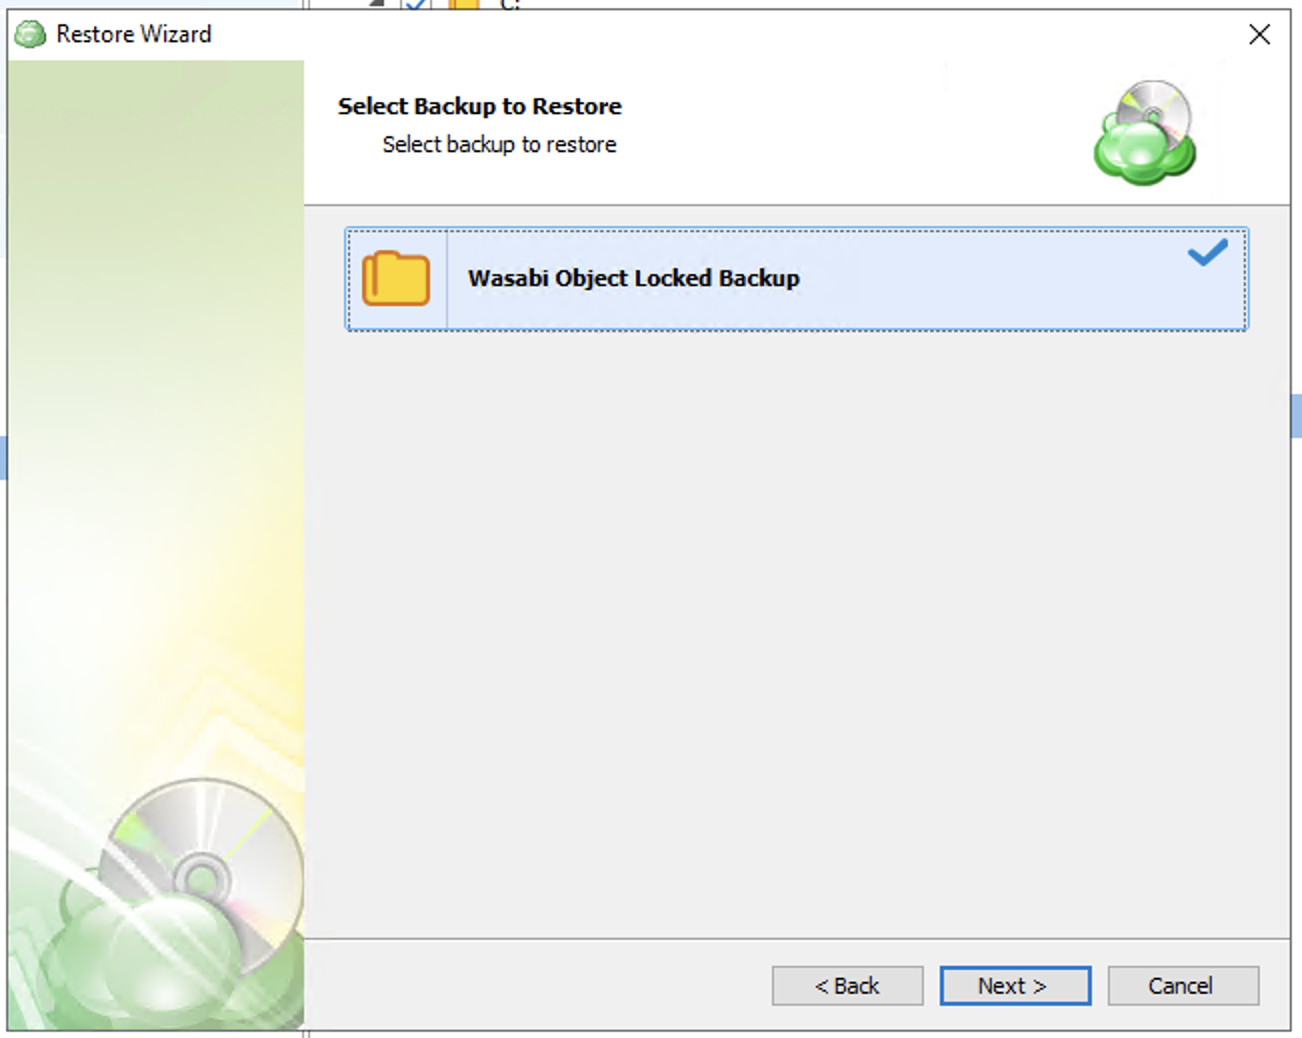
Select the backup to restore and click Next.
For a replicated bucket, the name will be the same as your original backup job.
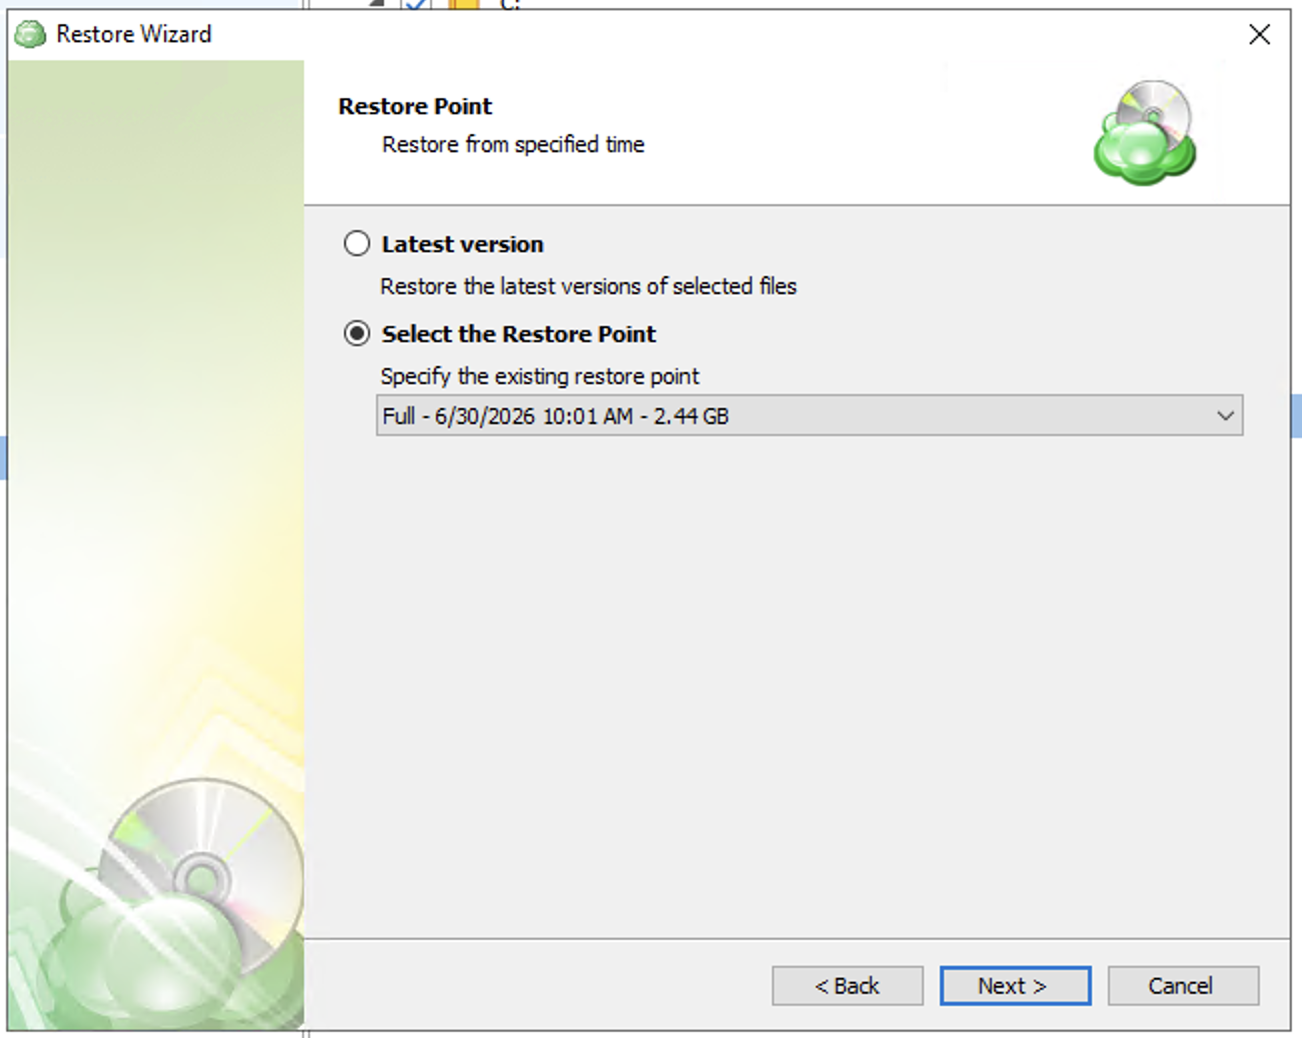
Select your restore point and click Next.
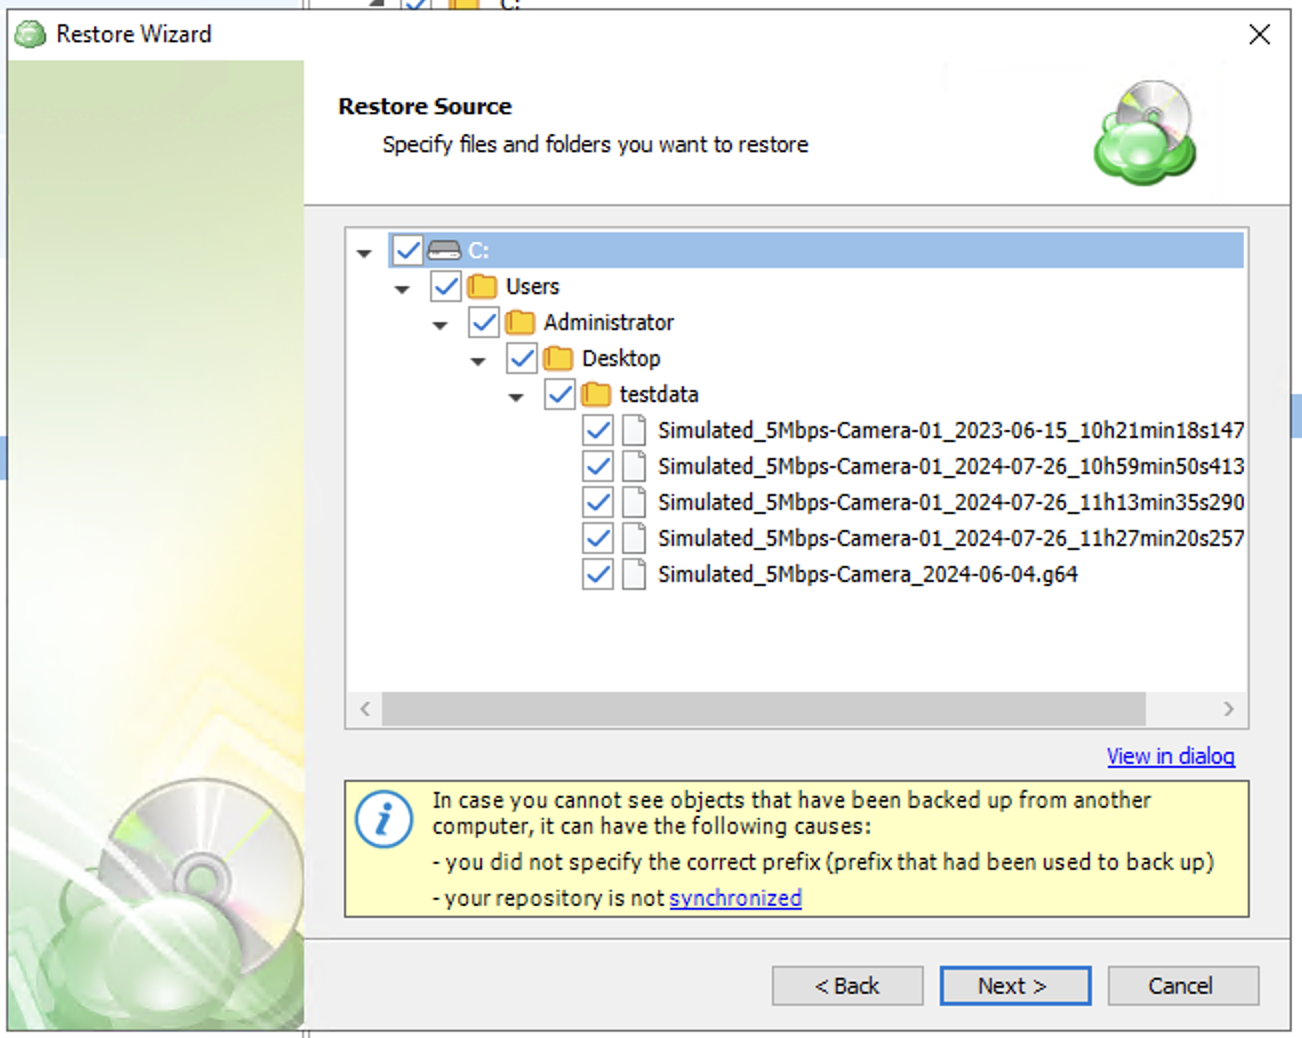
Select the file(s) to restore and click Next.
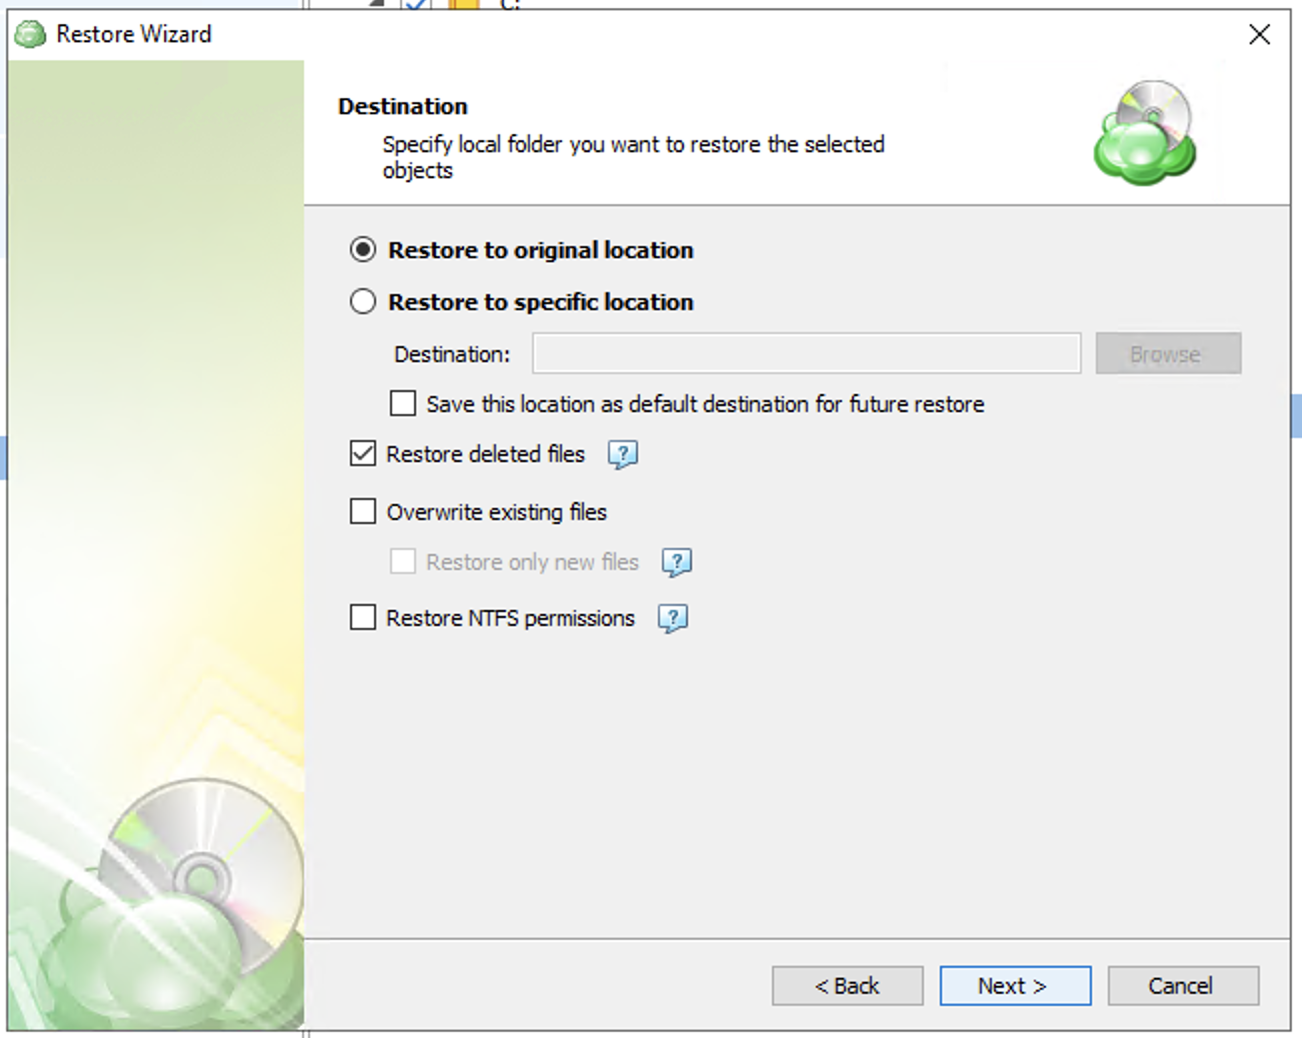
Select the restore location and file handling options.
Click Next.
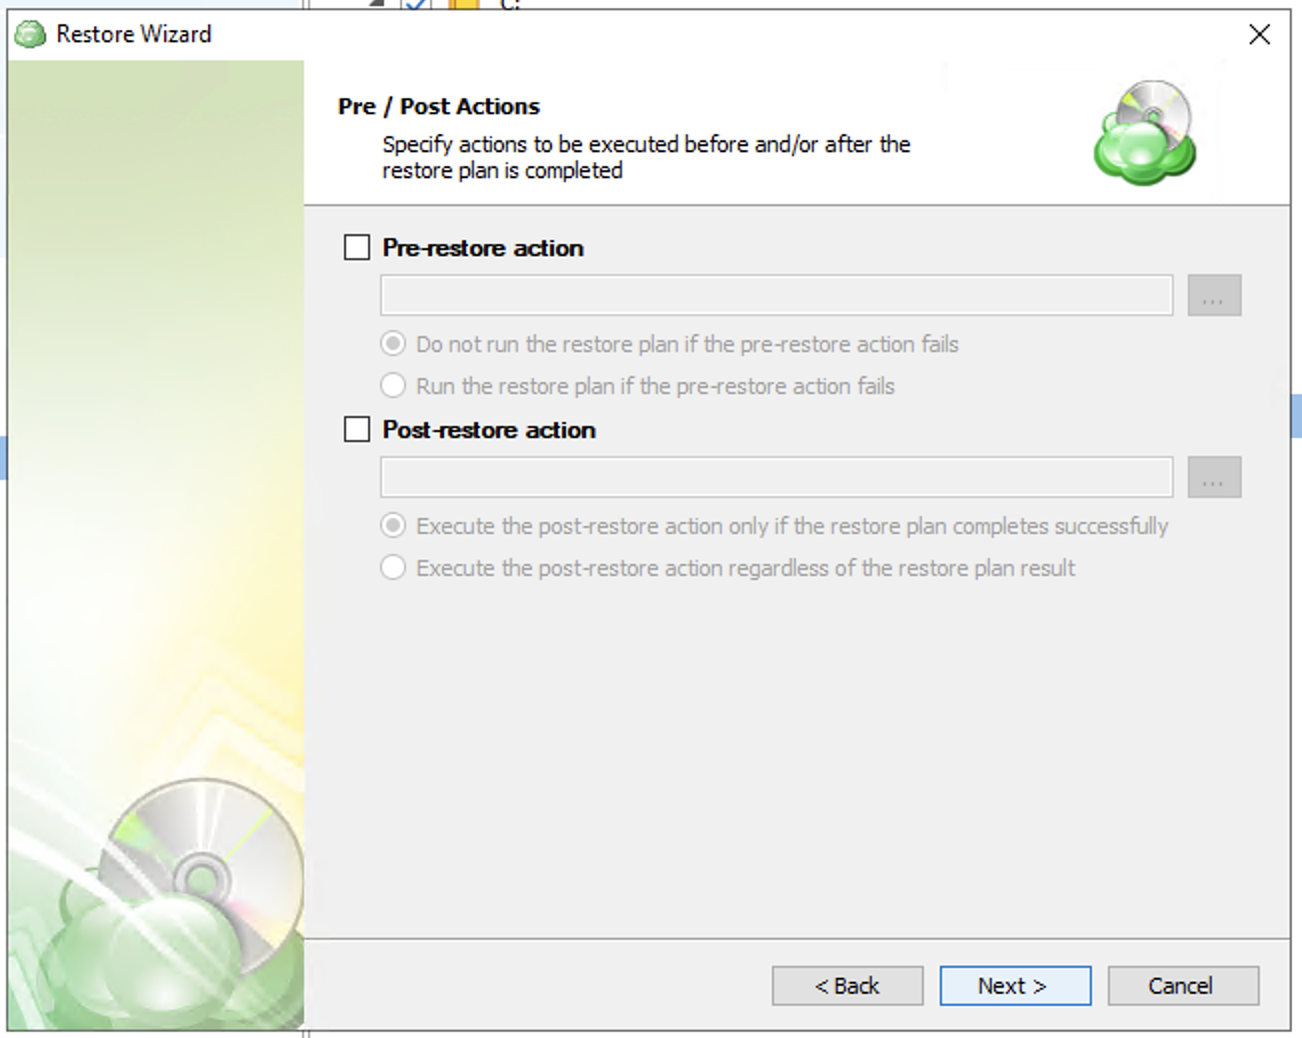
Select pre/post restore actions and click Next.
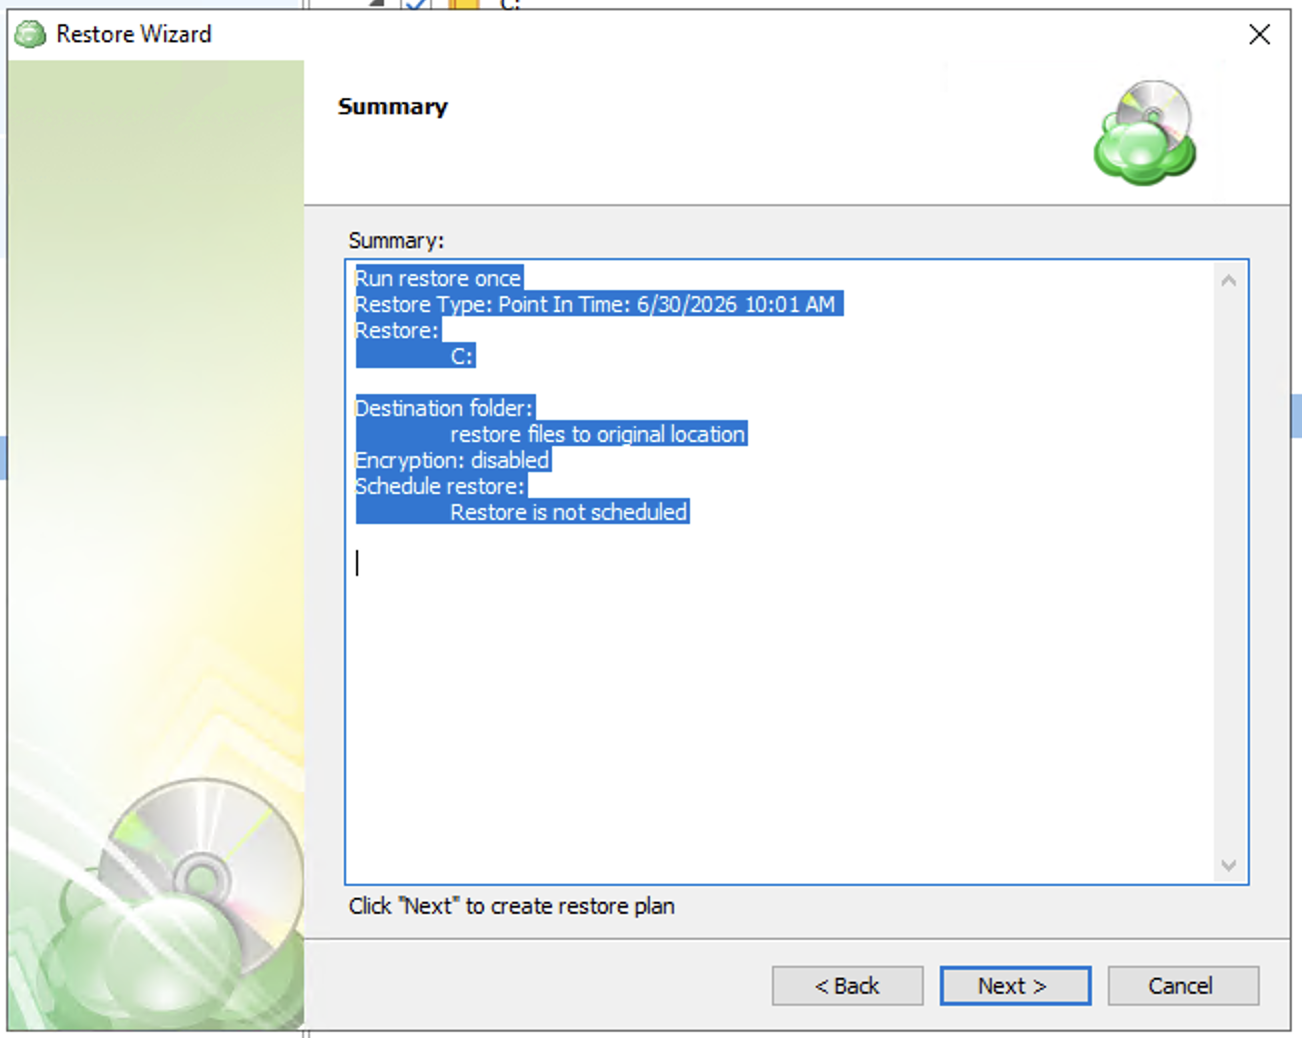
Review the summary. Click Next.
Click Finish.
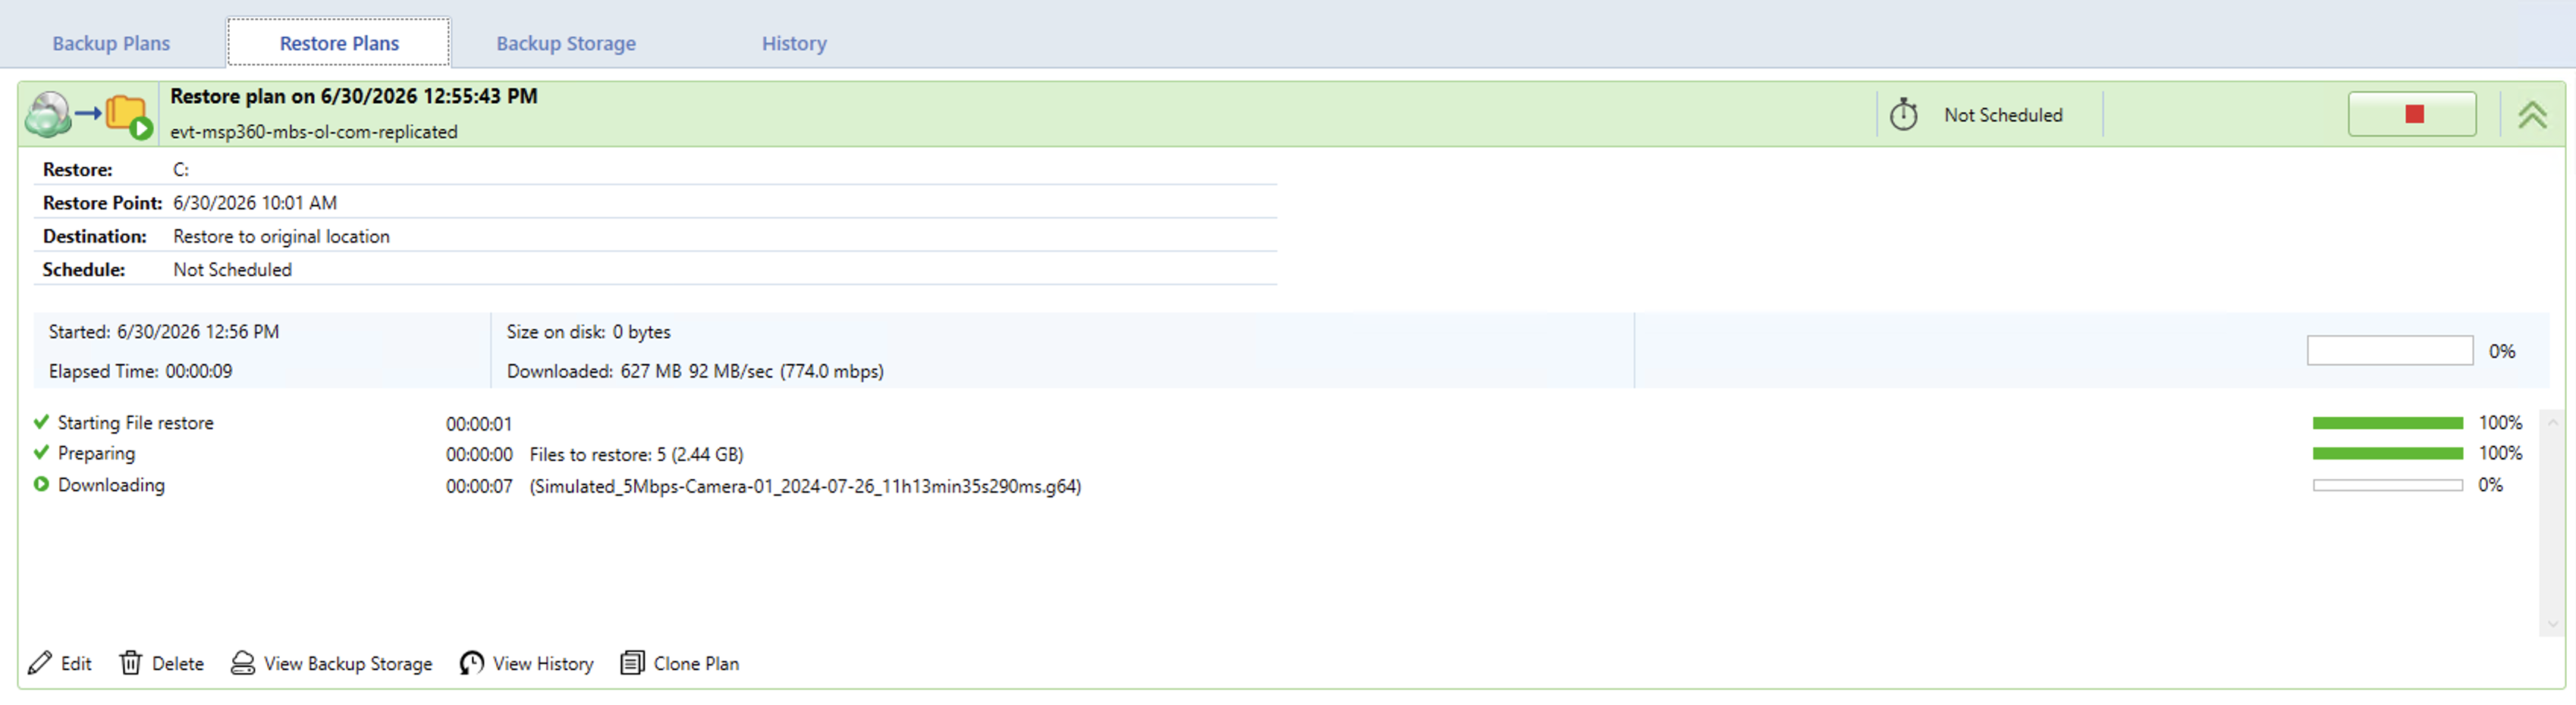
You will be automatically taken to the Restore page to monitor the restore progress. Depending on the data size, this process may take time to complete.