MSP360 Managed Backup Service (MBS) has been validated for use with Wasabi. MSP360 Managed Backup Service is a backup application that allows MSP’s to manage multiple companies’ backups, or organizations to manage backups of multiple machines from a central location.
This article describes the procedure to use Wasabi Covert Copy to protect a “Golden Copy” of MSP360 MBS backups for use in case of a disaster that affects other copies of backups. Wasabi Covert Copy is an effortless way to safeguard your data by creating a locked copy of your S3 bucket. Covert Copy is easy to implement without configuration requirements or technical knowledge.
The data restoration process is handled by your specific backup software application. As there are many potential variables that will affect your unique environment, Wasabi strongly recommends that you seek the guidance of your backup software's technical support team in the event that you encounter difficulty or have application-specific inquiries.
Covert Copy's incremental support functionality works with MSP360 MBS. For more information about how Covert Copy supports incremental backups, refer to Covert Copy: Using Incremental Support
Requirements
Wasabi Hot Cloud Storage Account
Wasabi Multi-User Authorization enabled—See MUA (Multi-User Authorization).
Wasabi Bucket—See Creating a Bucket.
Be sure to note your bucket name, storage region URL, and Access & Secret Key, as you will need these for later steps.
MSP360 MBS Environment
Active MSP360 Managed Backup Service Account (see Cost Calculators for MSP360 Managed Products).
MSP360 MBS Agent installed on the client machine (version 8.6.0.338, as of this document).
Existing Backup of the MSP360 MBS protected machine.
High Level Steps
Follow the high-level steps below to implement Covert Copy: Setting Up and Creating a Covert Copy for your MSP360 MBS backups.
The following steps are described in more detail in the sections below.
Enable Multi-User Authorization (MUA) on your account and configure Covert Copy activities that your security contacts approve. For more detail, review MUA (Multi-User Authorization).
Pause MSP360 MBS backup activities by temporarily disabling backup jobs.
Enable Covert Copy on your bucket containing MSP360 MBS backups.
Wait for your MSP360 MBS backups to be copied to the Covert Copy bucket.
Resume MSP360 MBS backup activities by re-enabling backup jobs.
Pausing MSP360 MBS Backups
Log in to the Managed Backup Service account (console.msp360.com).
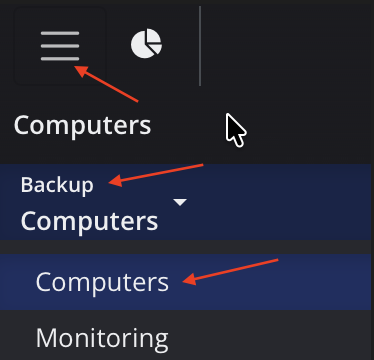
Click the Hamburger menu, then Backup > Computers in the dropdown that appears.
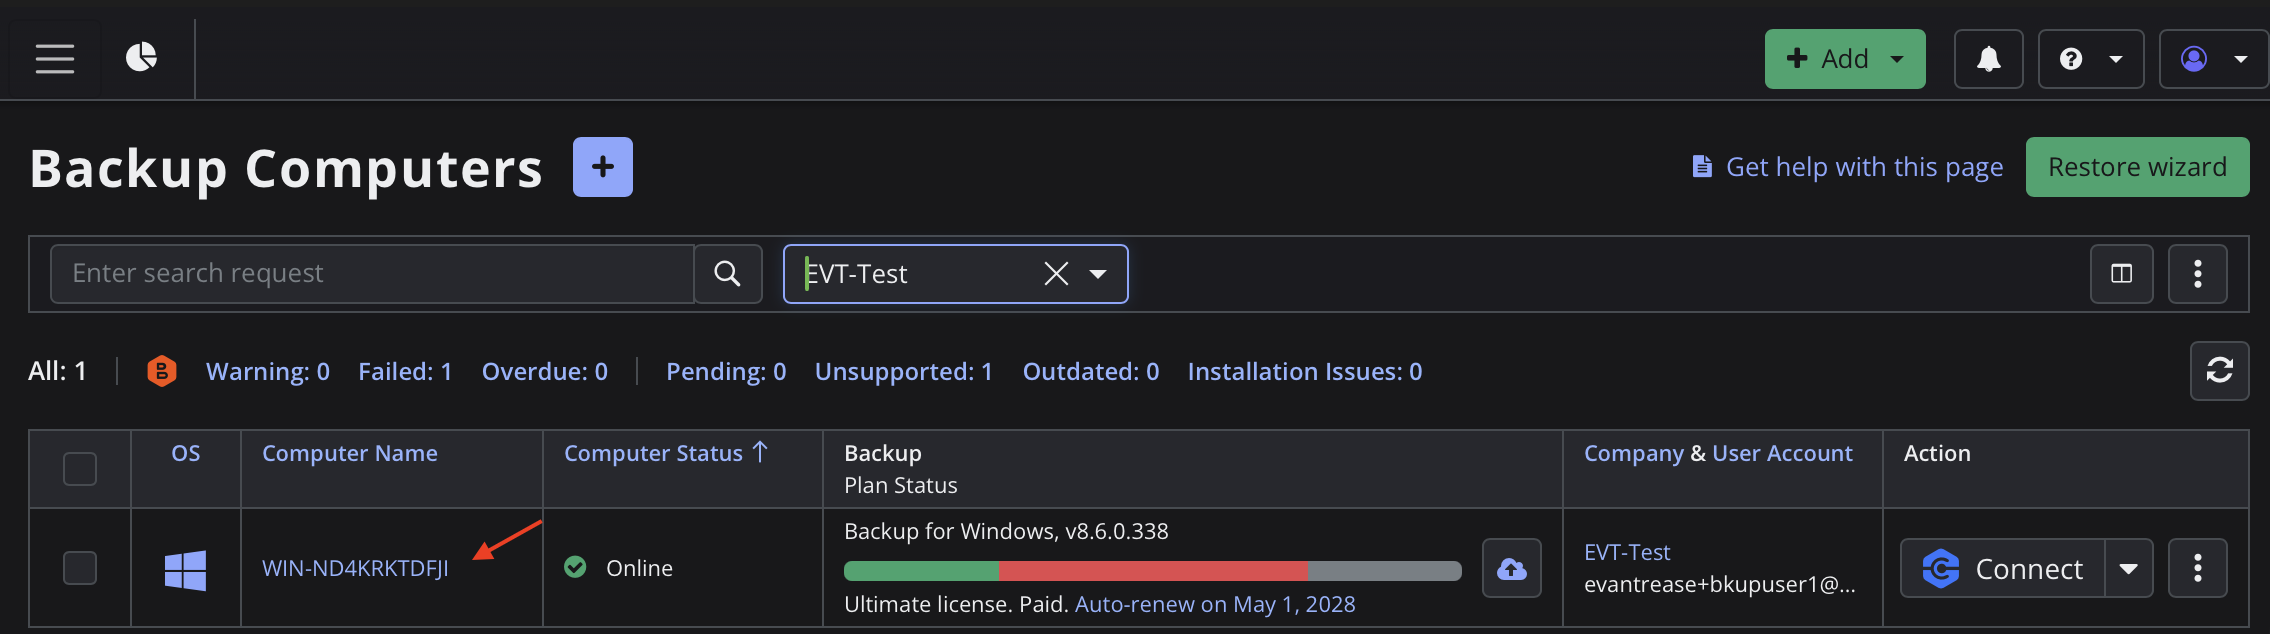
Click the Name of the relevant computer to open the Backup Plans panel.
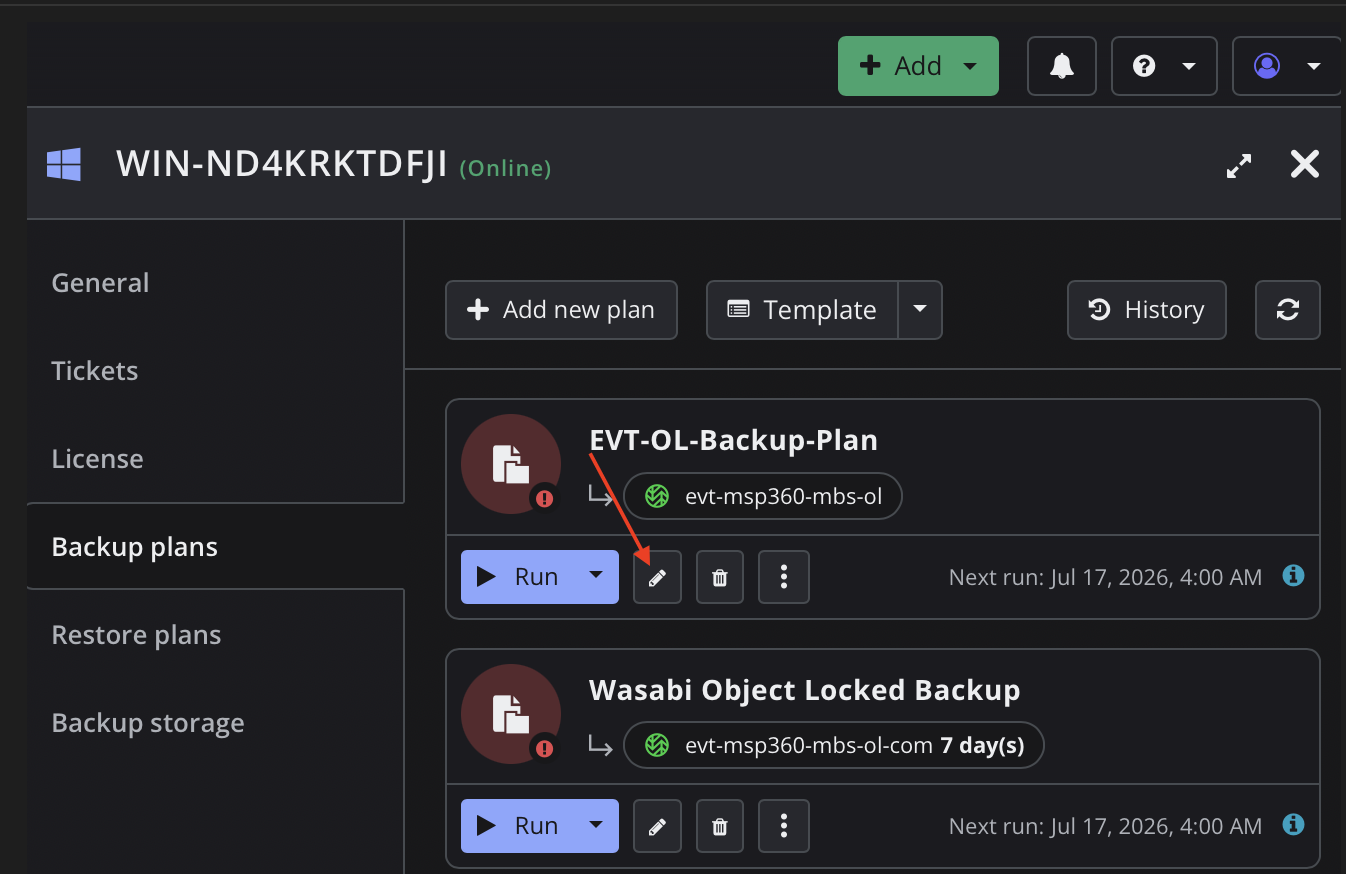
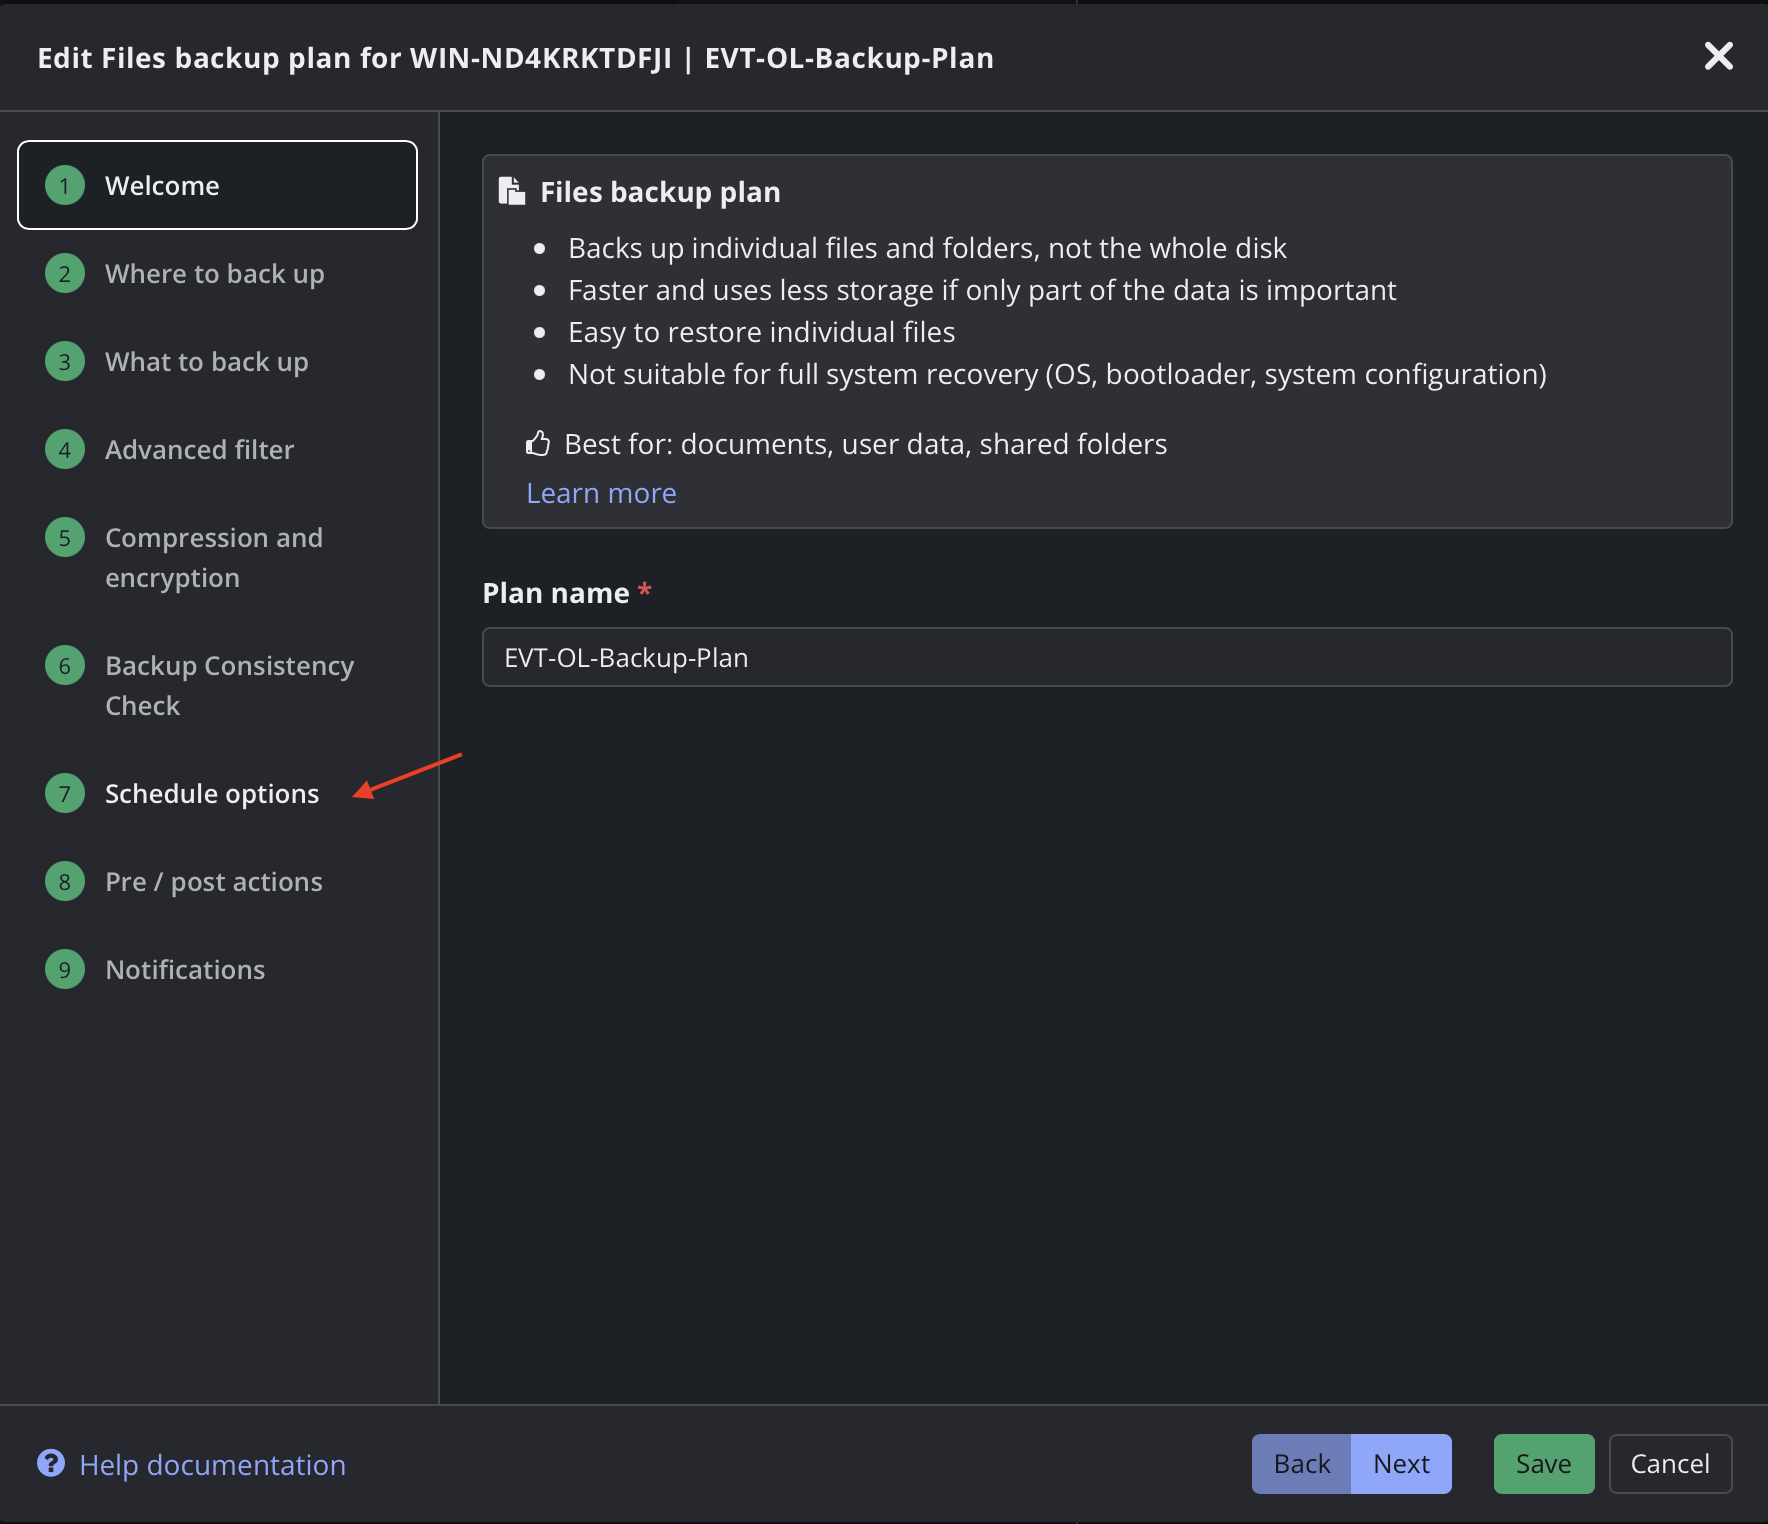
Click Edit next to the relevant backup plan.
Click Schedule Options.
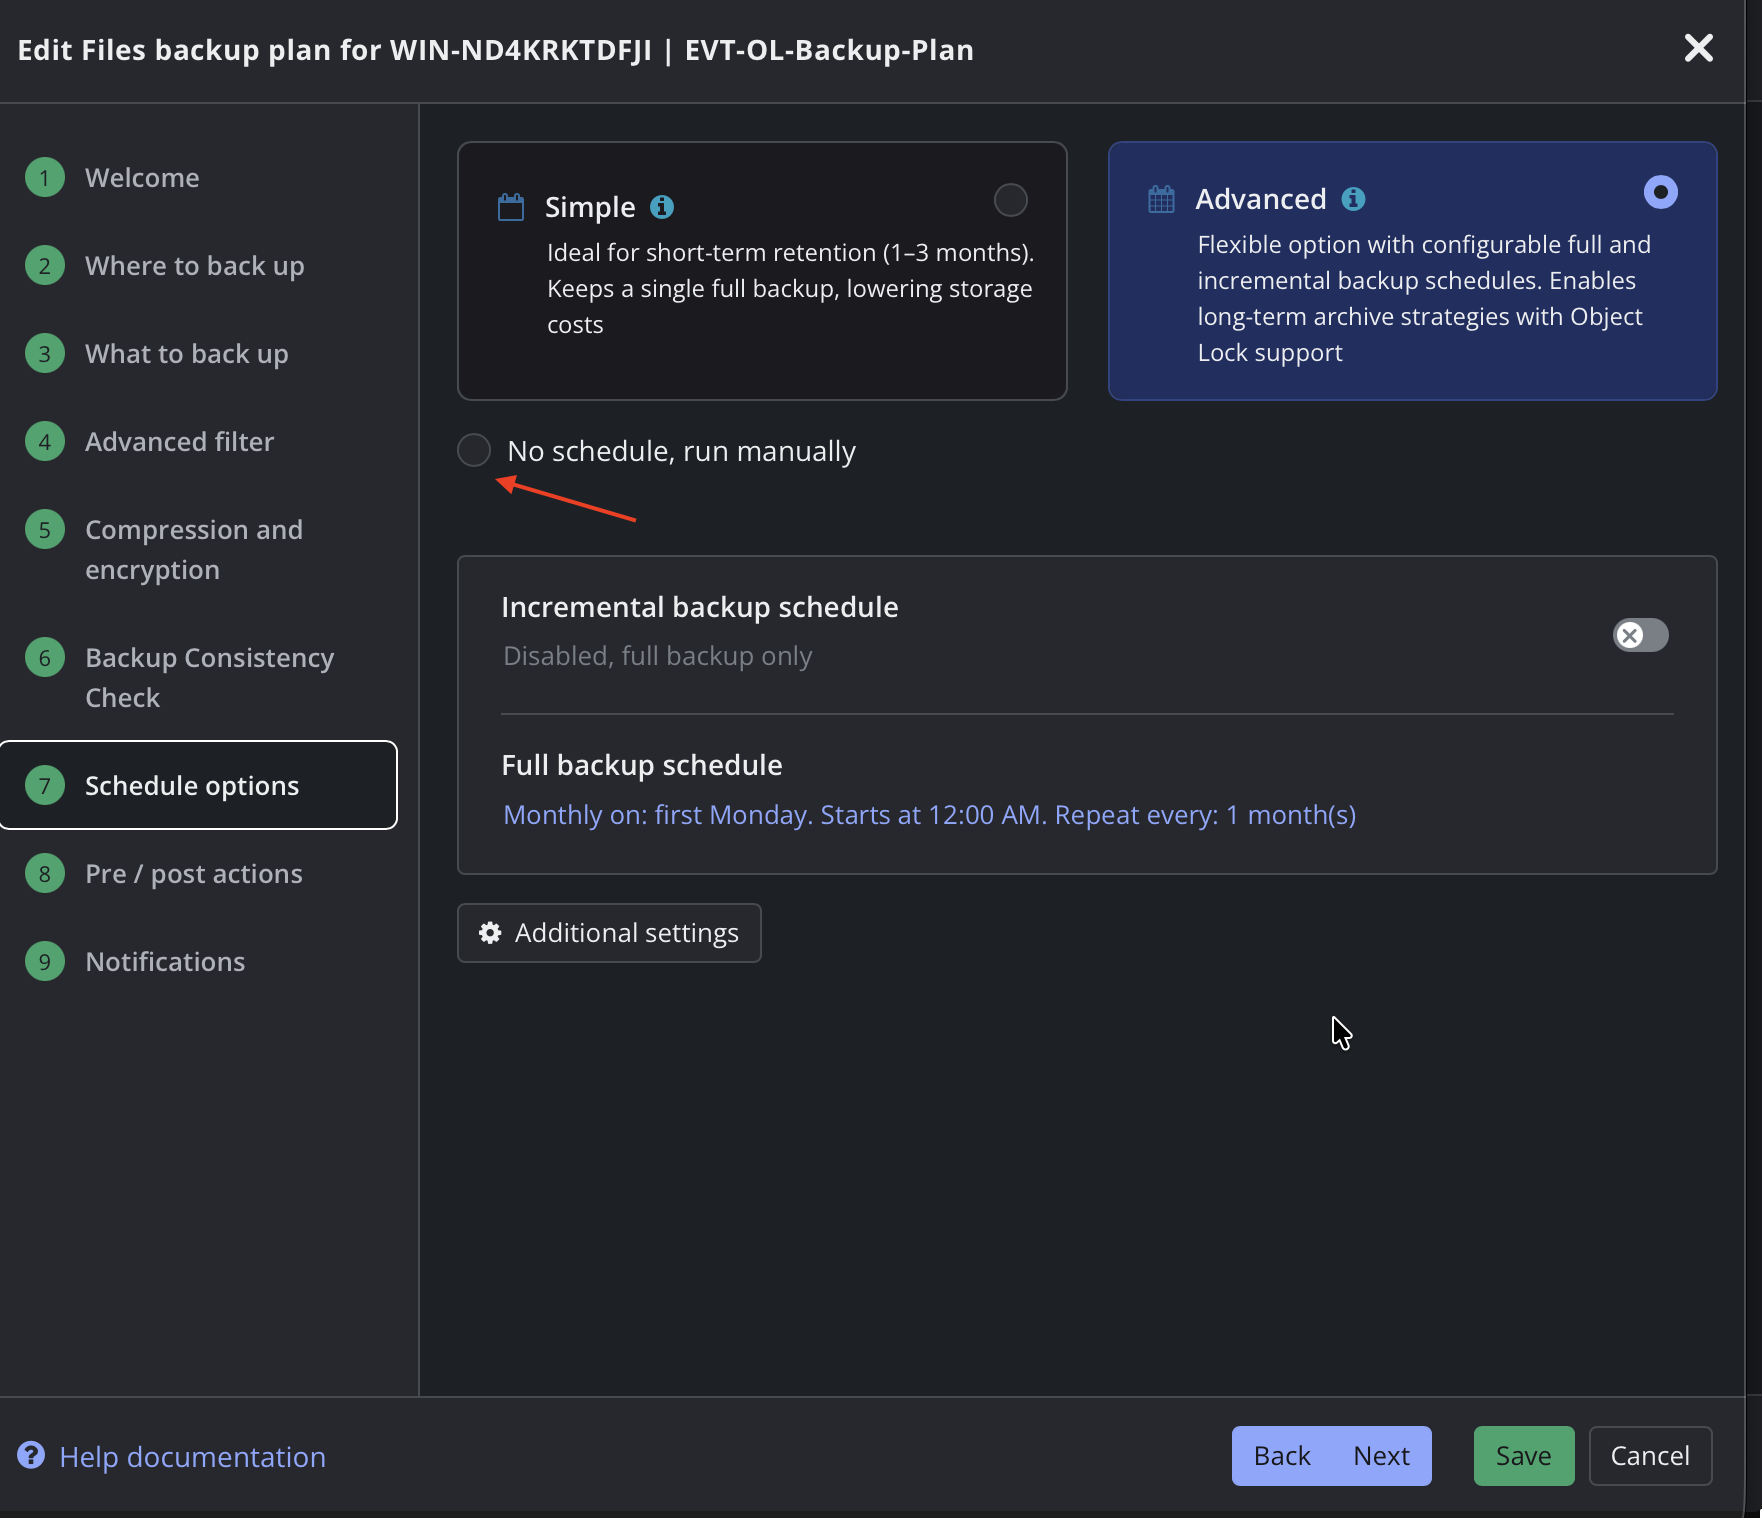
Check No Schedule, run manually.
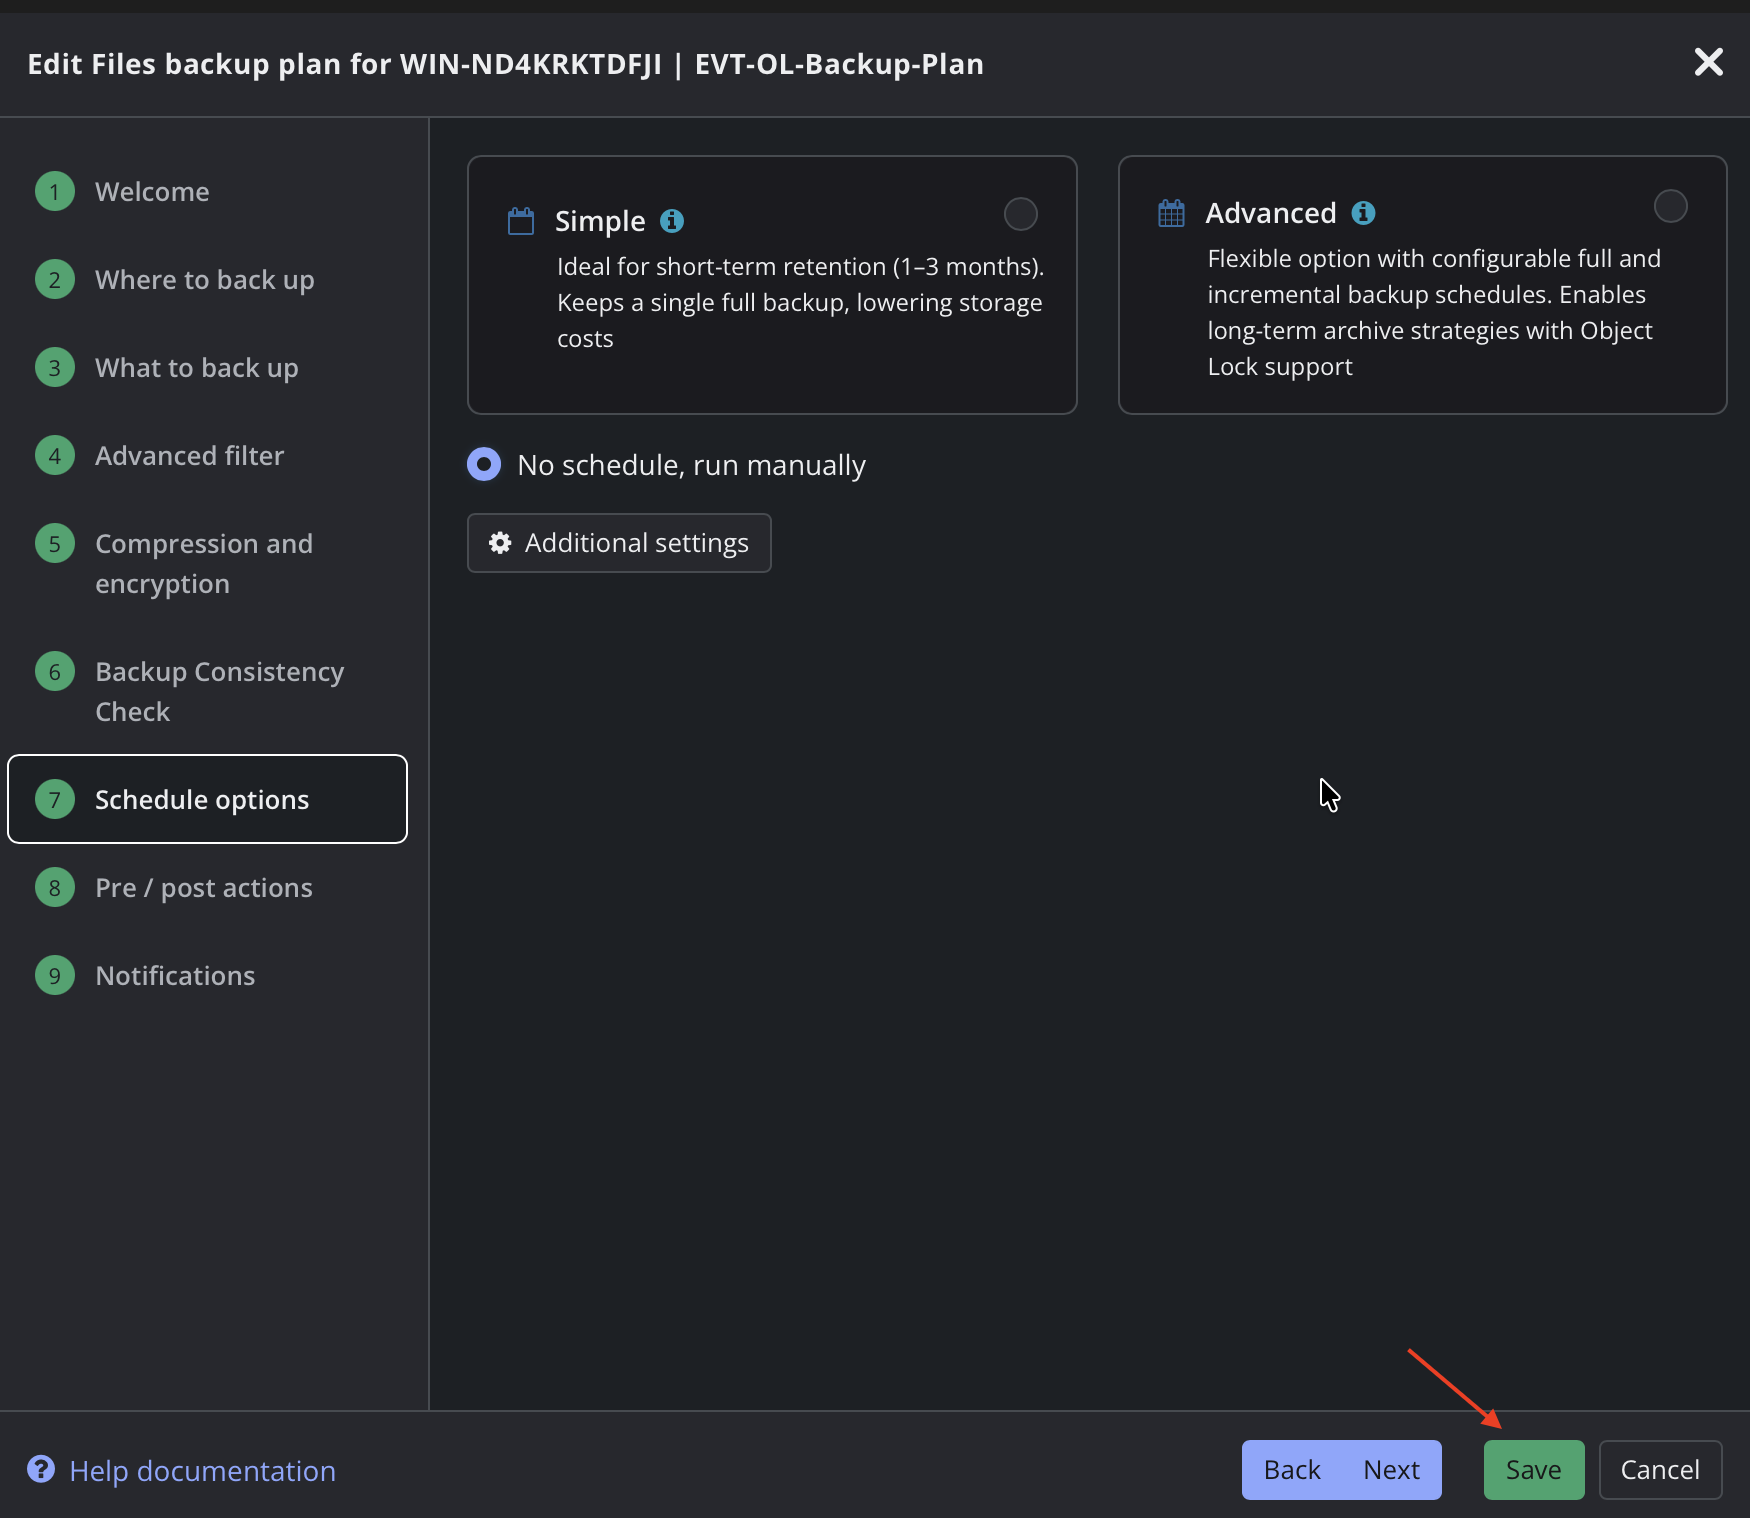
Now your Backup Job is disabled. Click Save.
Enabling Covert Copy
Log in to your Wasabi Storage Console.
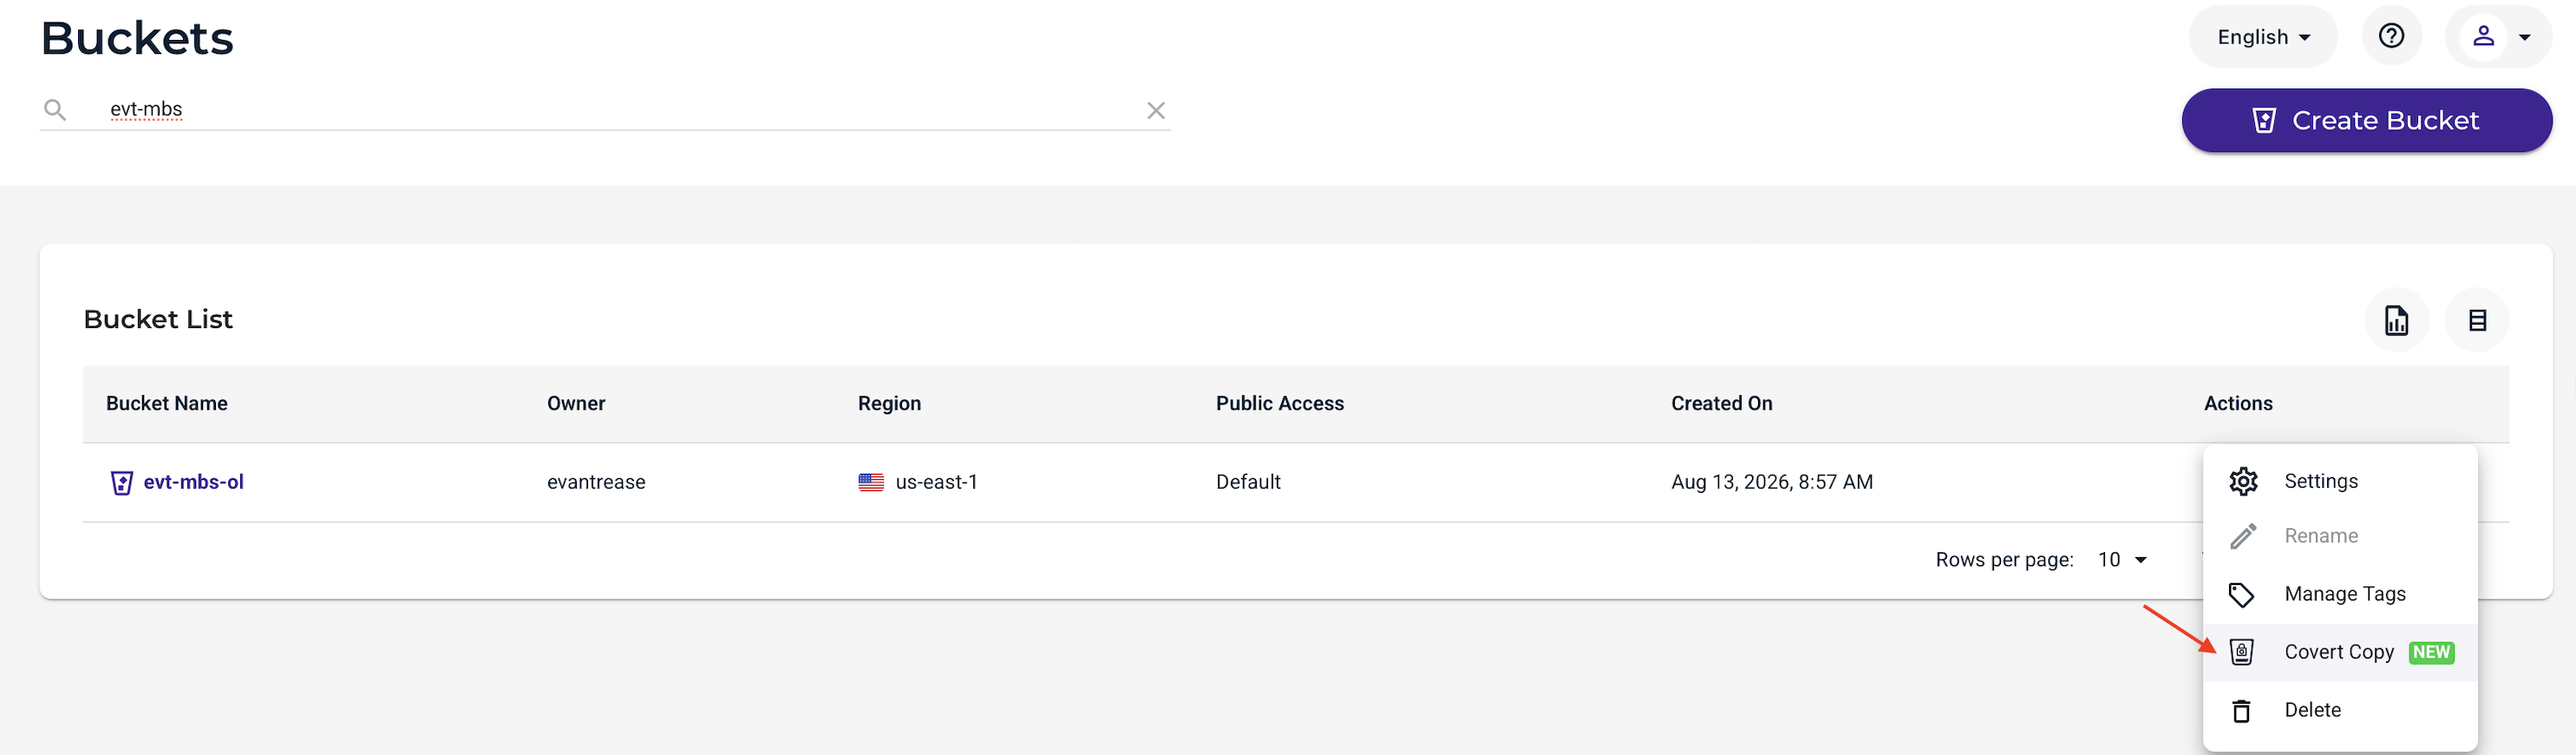
Select the Buckets tab and search for your MSP360 MBS Backup bucket.
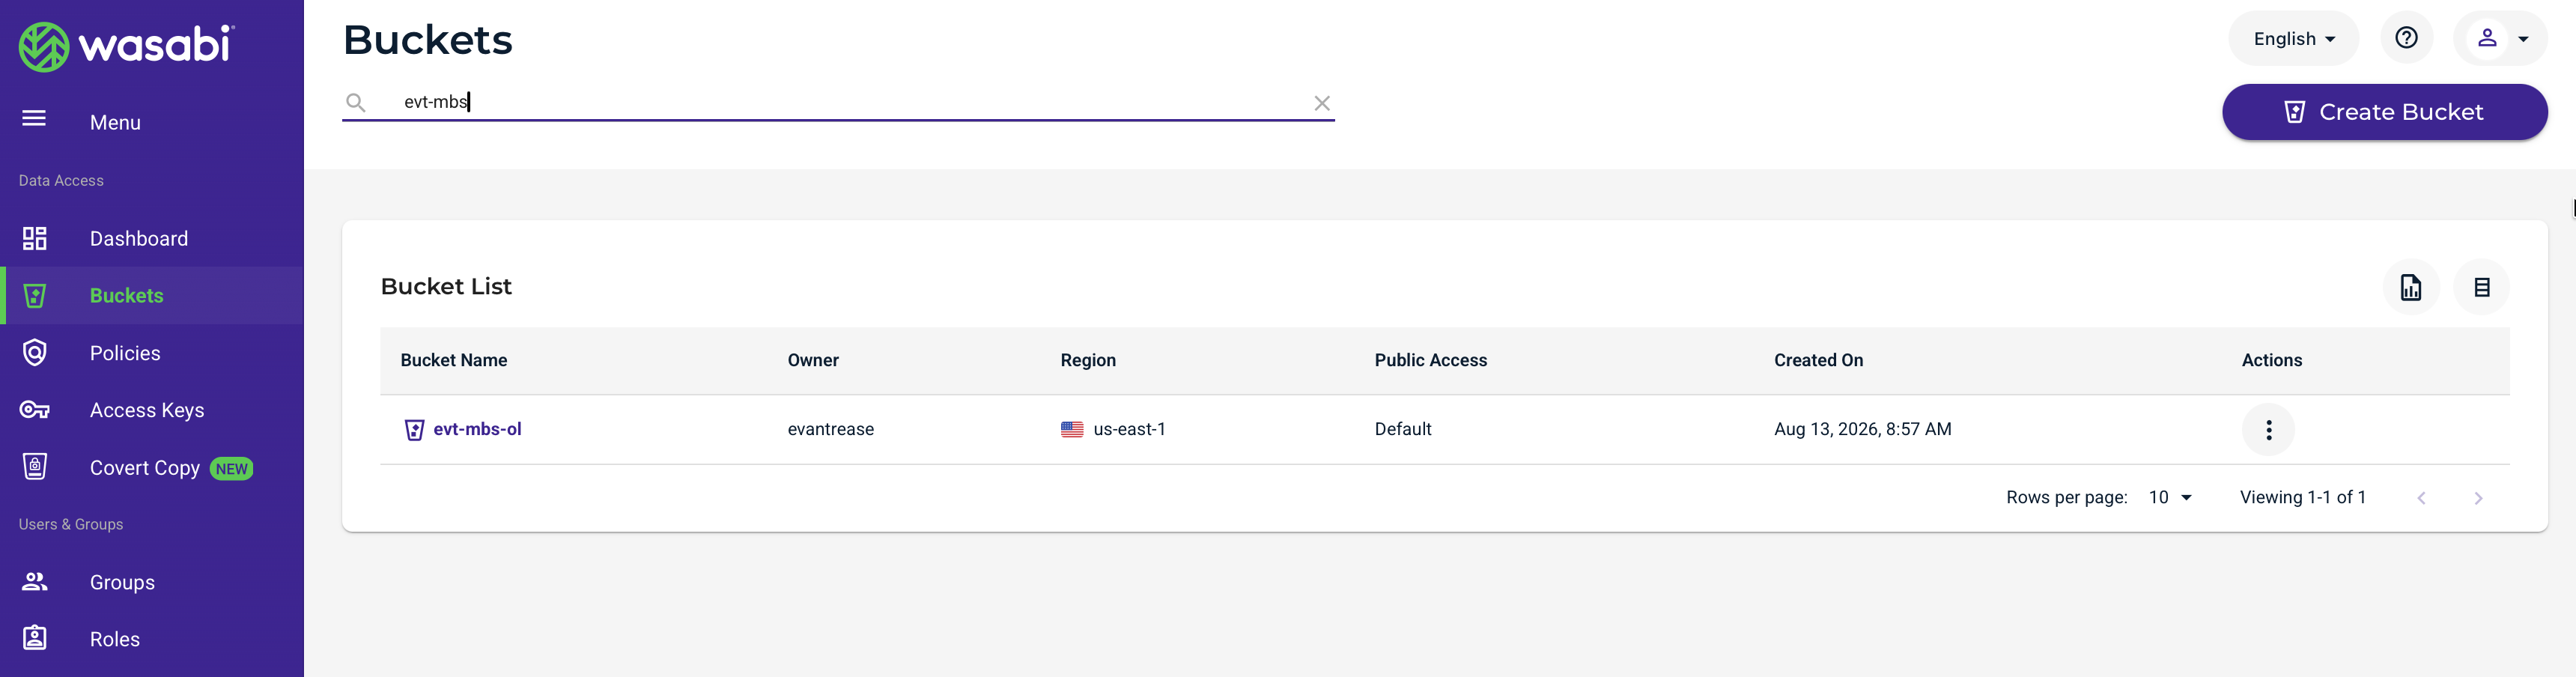
Click the three dots icon under Actions. Click Covert Copy.
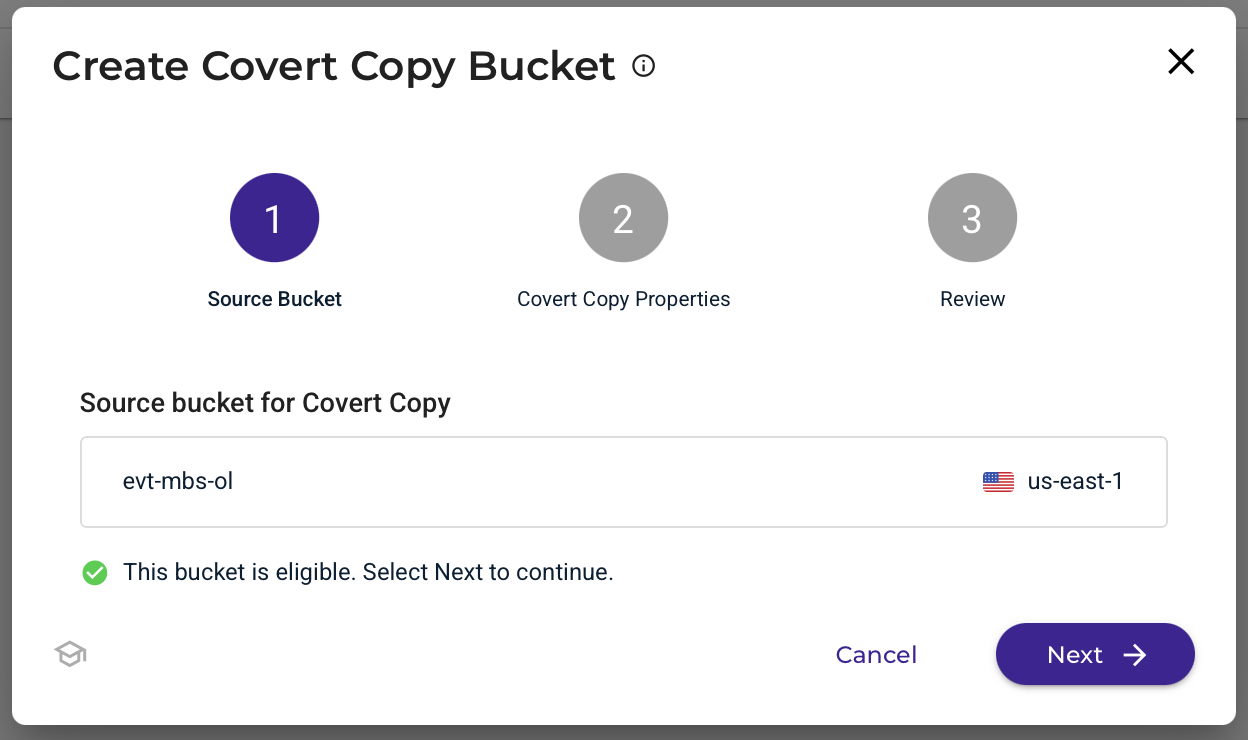
Verify the bucket is eligible, then click Next.
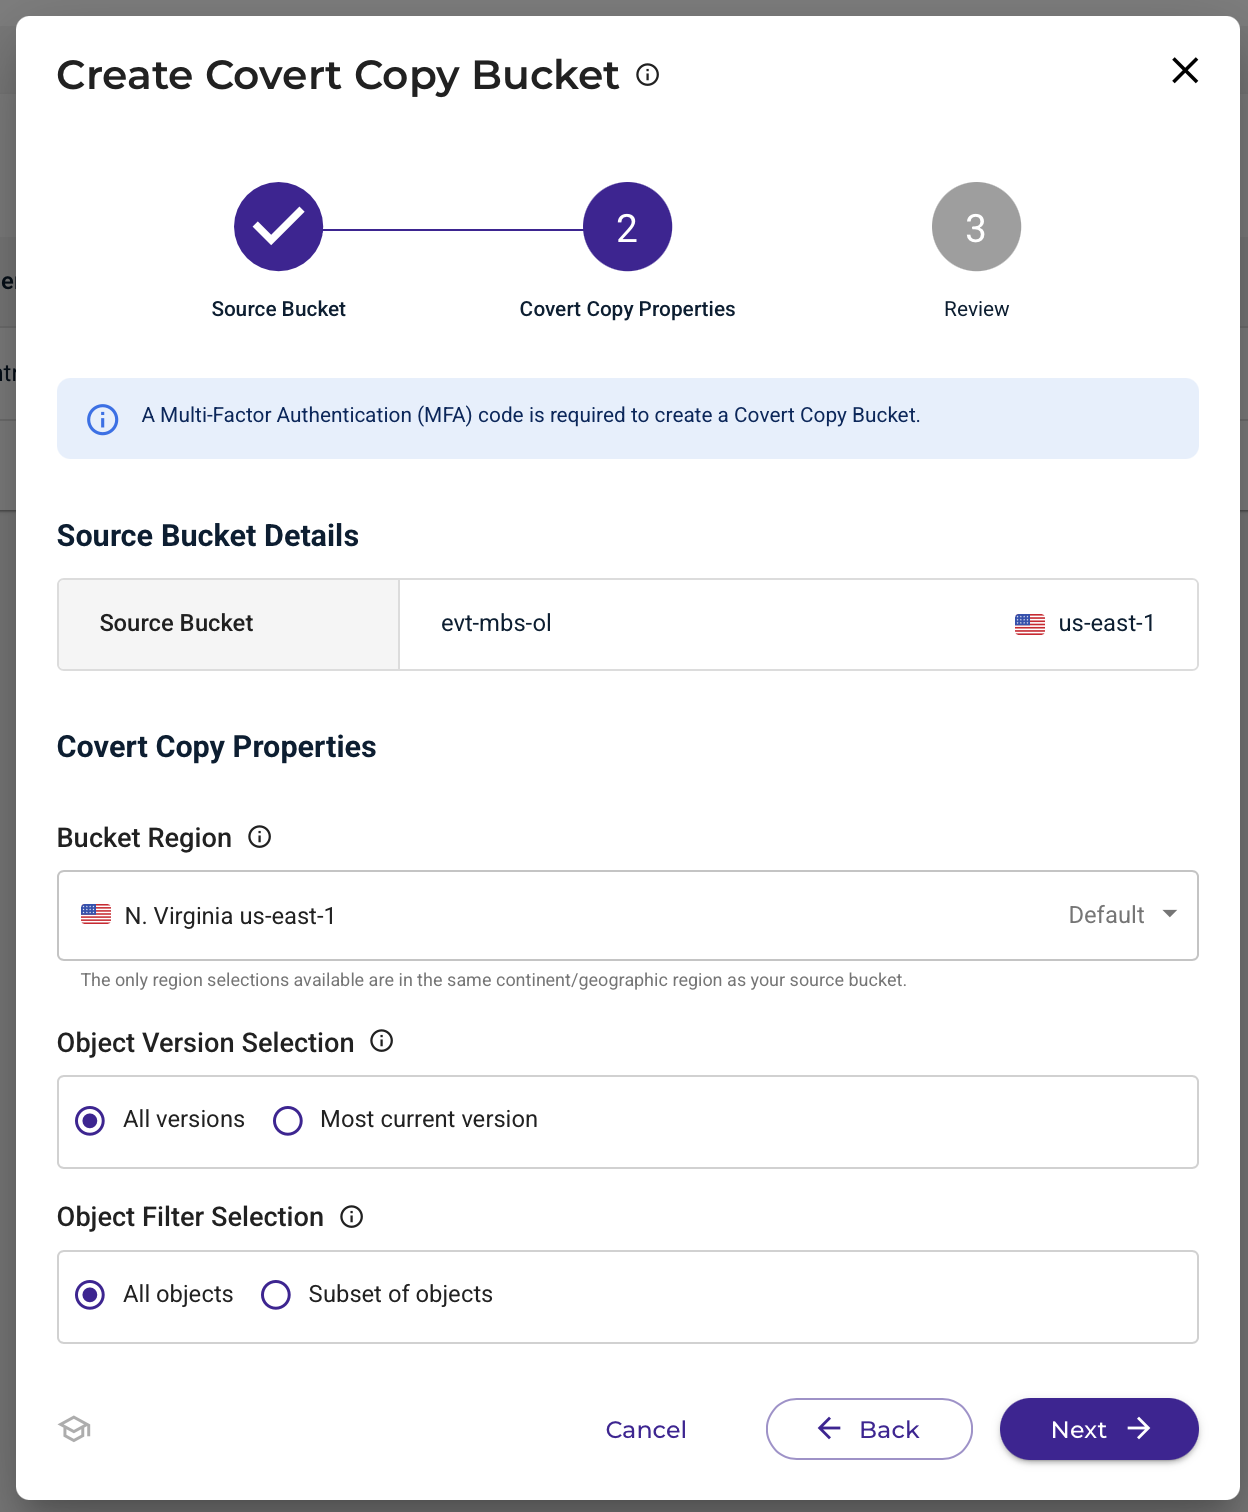
Verify the settings. Click Next.
This configuration example discusses using Wasabi’s us-east-1 storage region for the Covert Copy bucket. For a list of regions, see Service URLs for Wasabi's Storage Regions. The region must be on the same continent as the primary bucket.
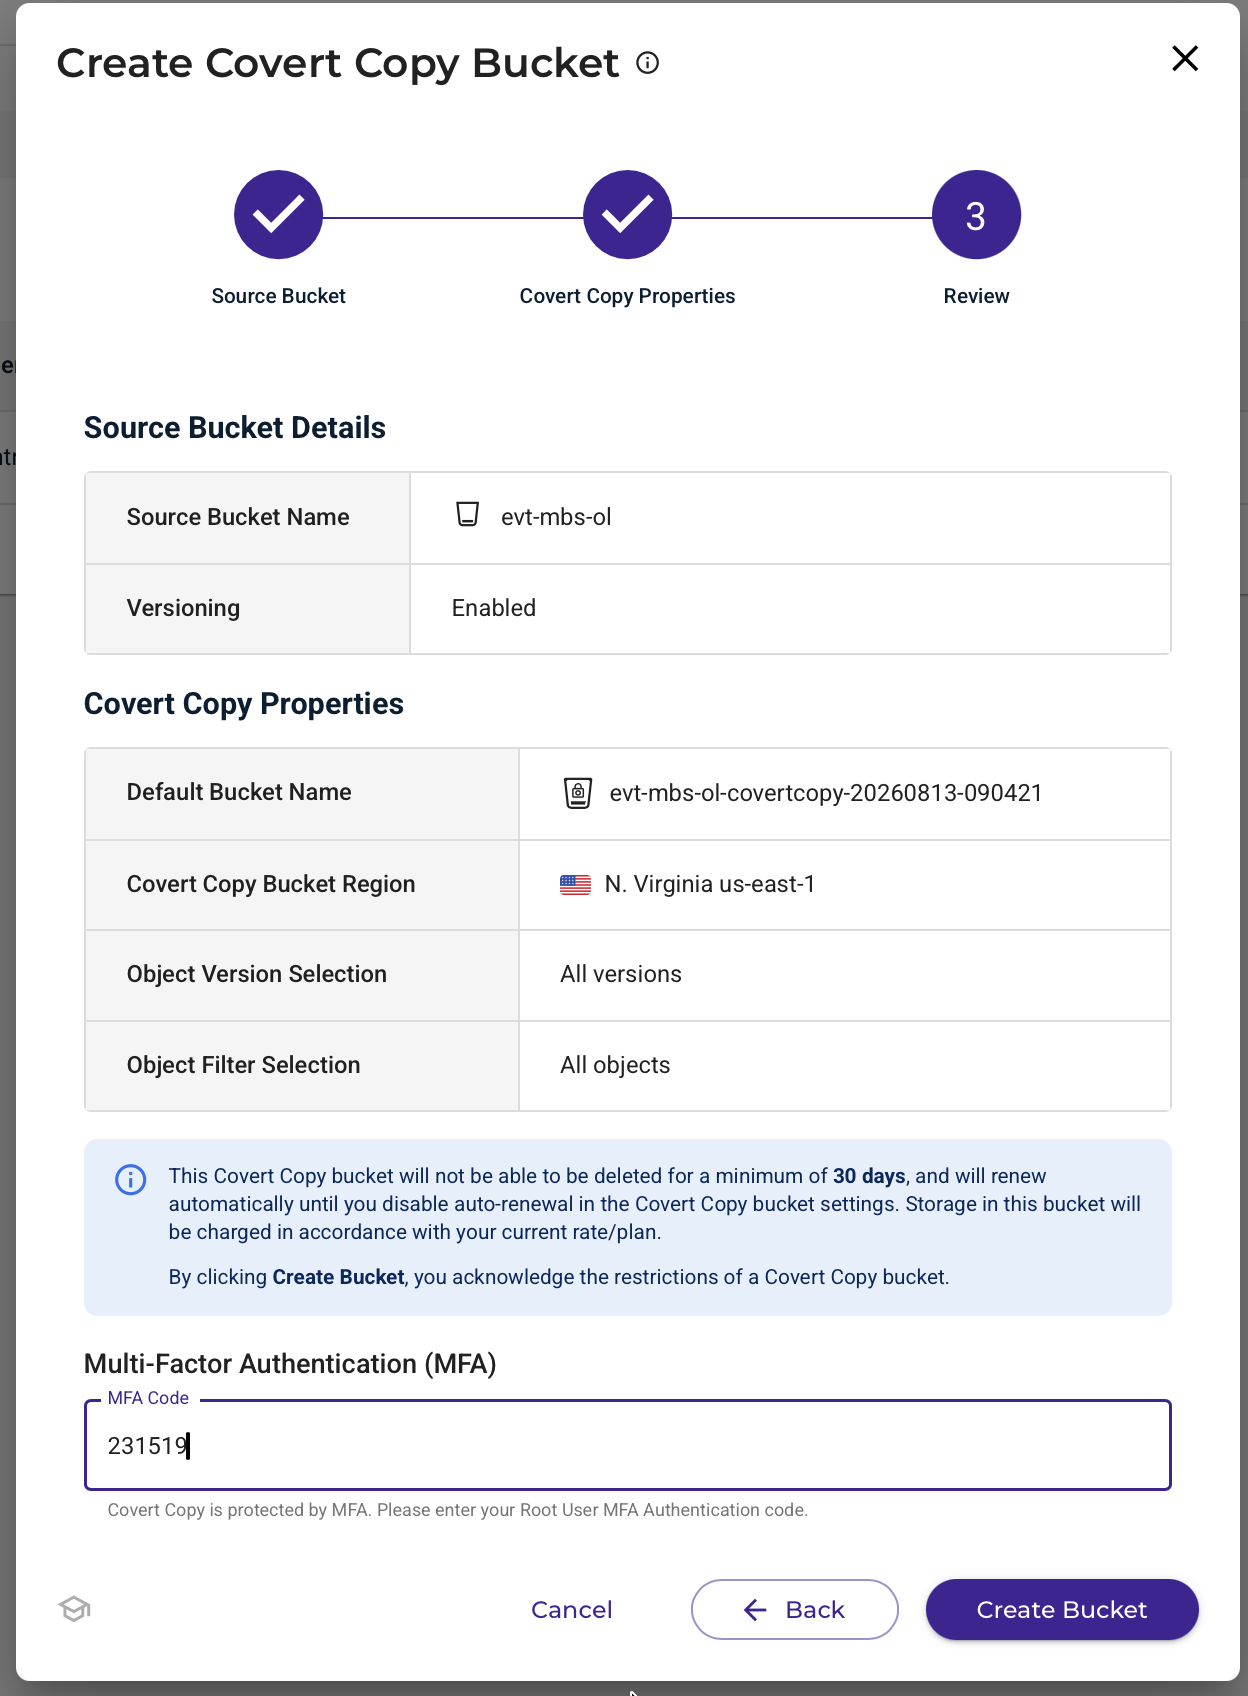
Enter your MFA code, then click Create Bucket.
Your Covert Copy will show as In Progress until the data is copied to the Covert Copy bucket. This process will take a variable amount of time depending on how much data is in the source bucket.
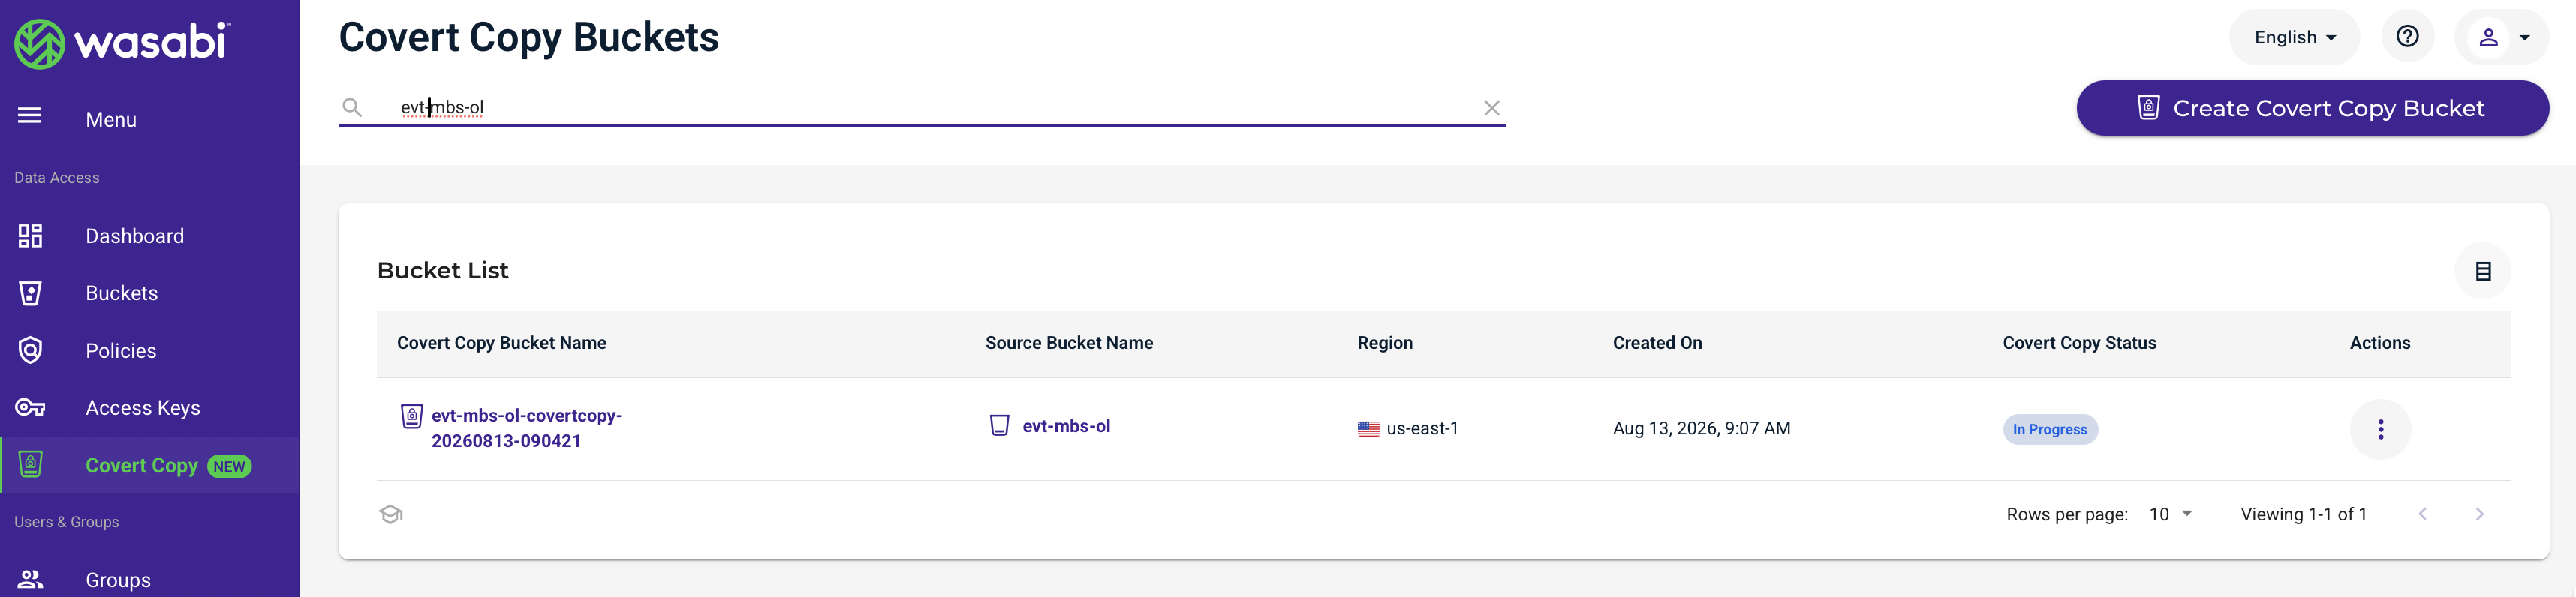
Once the Covert Copy operation has completed, the status will show as Covert Copy Completed.
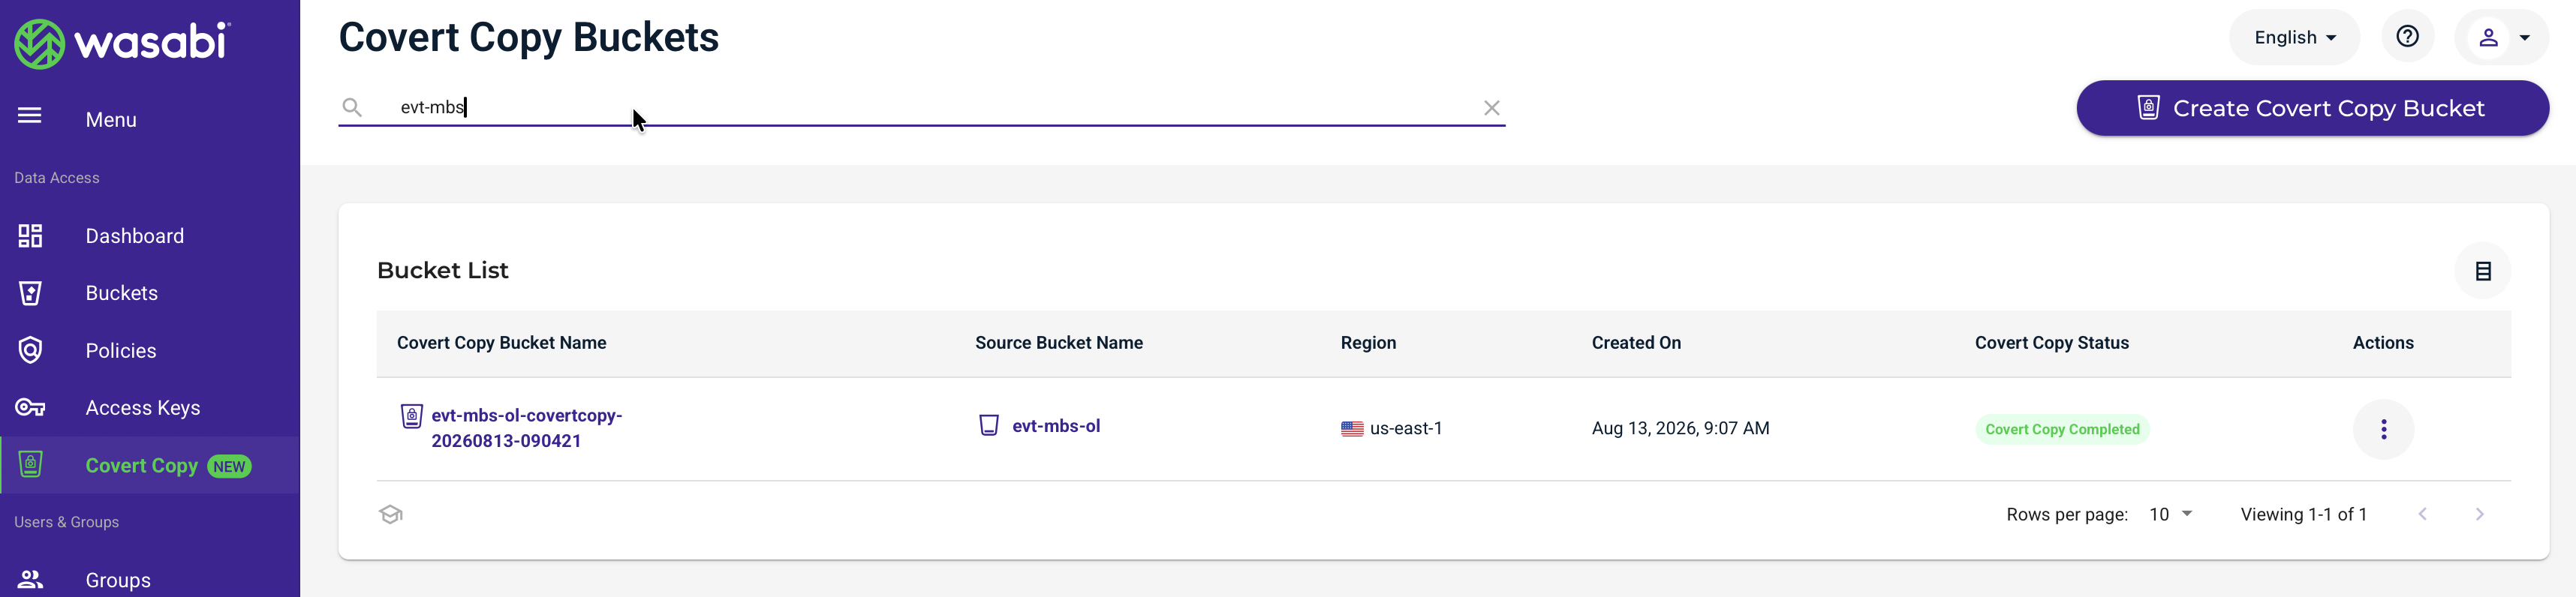
Optionally, to see the contents of the Covert Copy bucket, click the three dots icon under Actions, and then click Request Access.
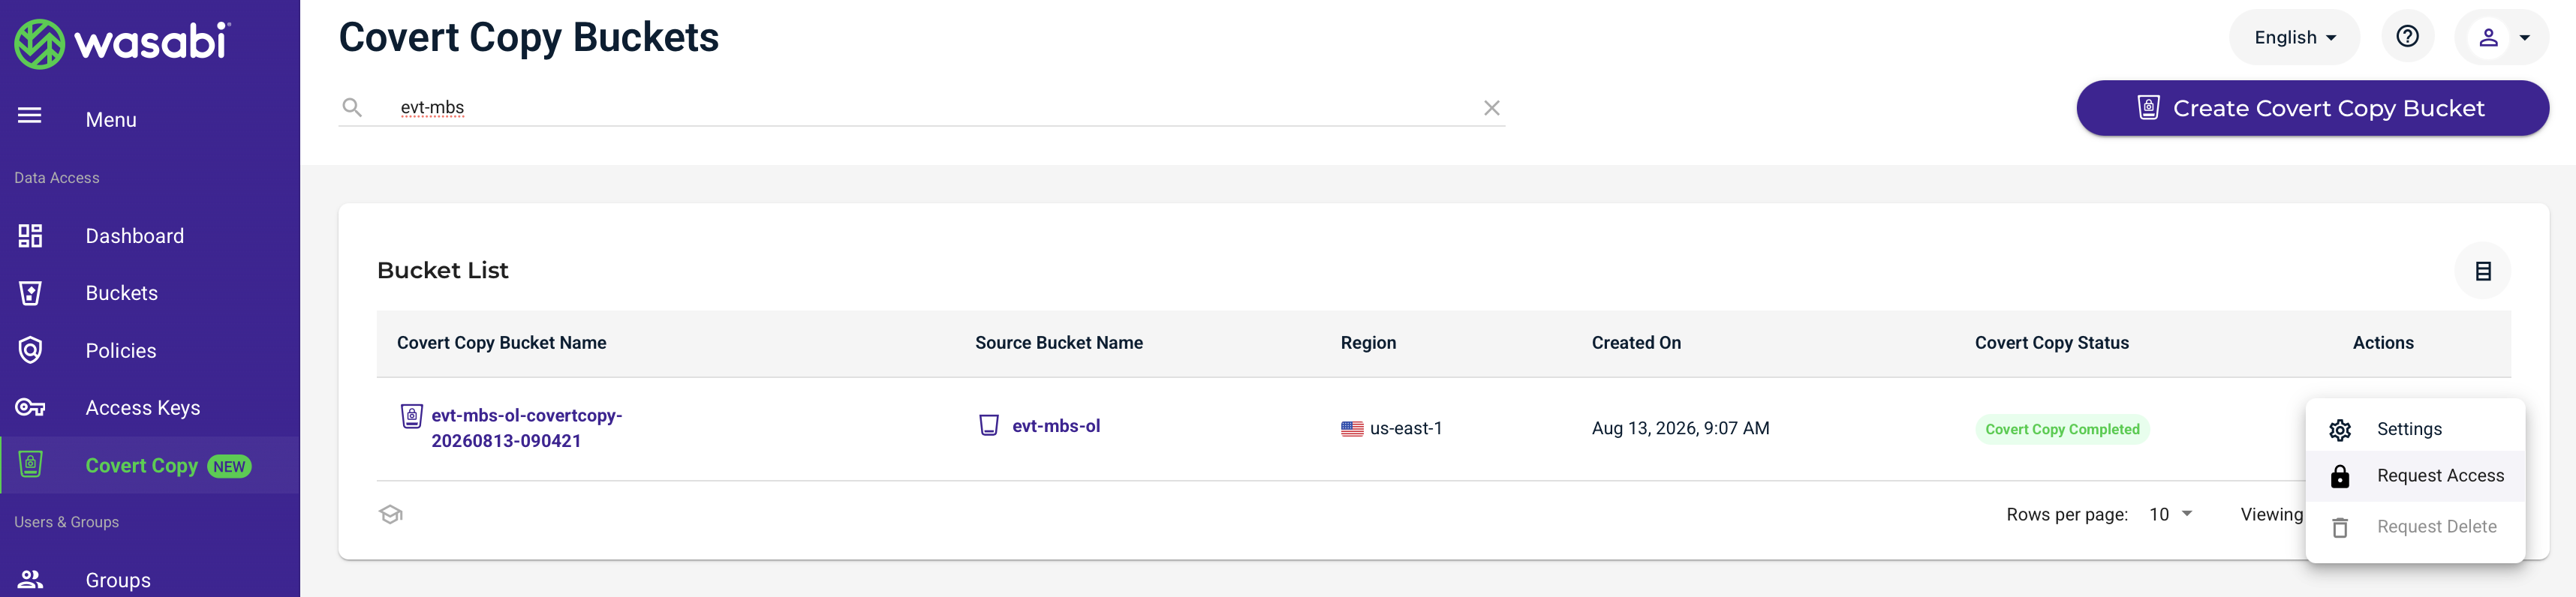
On the pop-up, click Send Request. Your MUA security contact will need to approve this request.
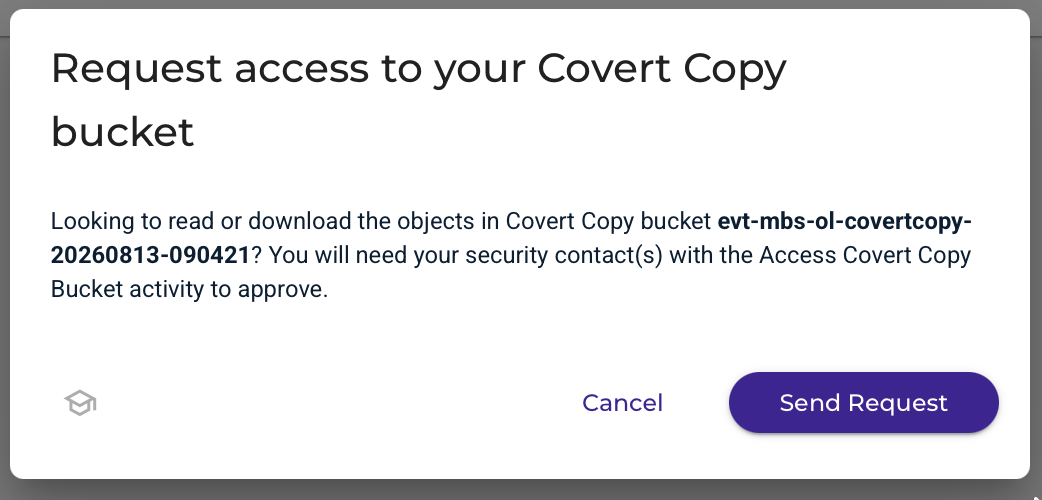
After your MUA security contact has approved the request, you will be able to browse the contents of the Covert Copy bucket.
Resuming MSP360 MBS Backups
Log in to your Managed Backup Service account (console.msp360.com).
Click the Hamburger menu, then Backup, then Computers in the dropdown that appears.
Click the Name of the relevant computer to open the Backup Plans panel.
Click Edit next to the relevant backup plan.
Click Schedule Options.
Click Advanced.
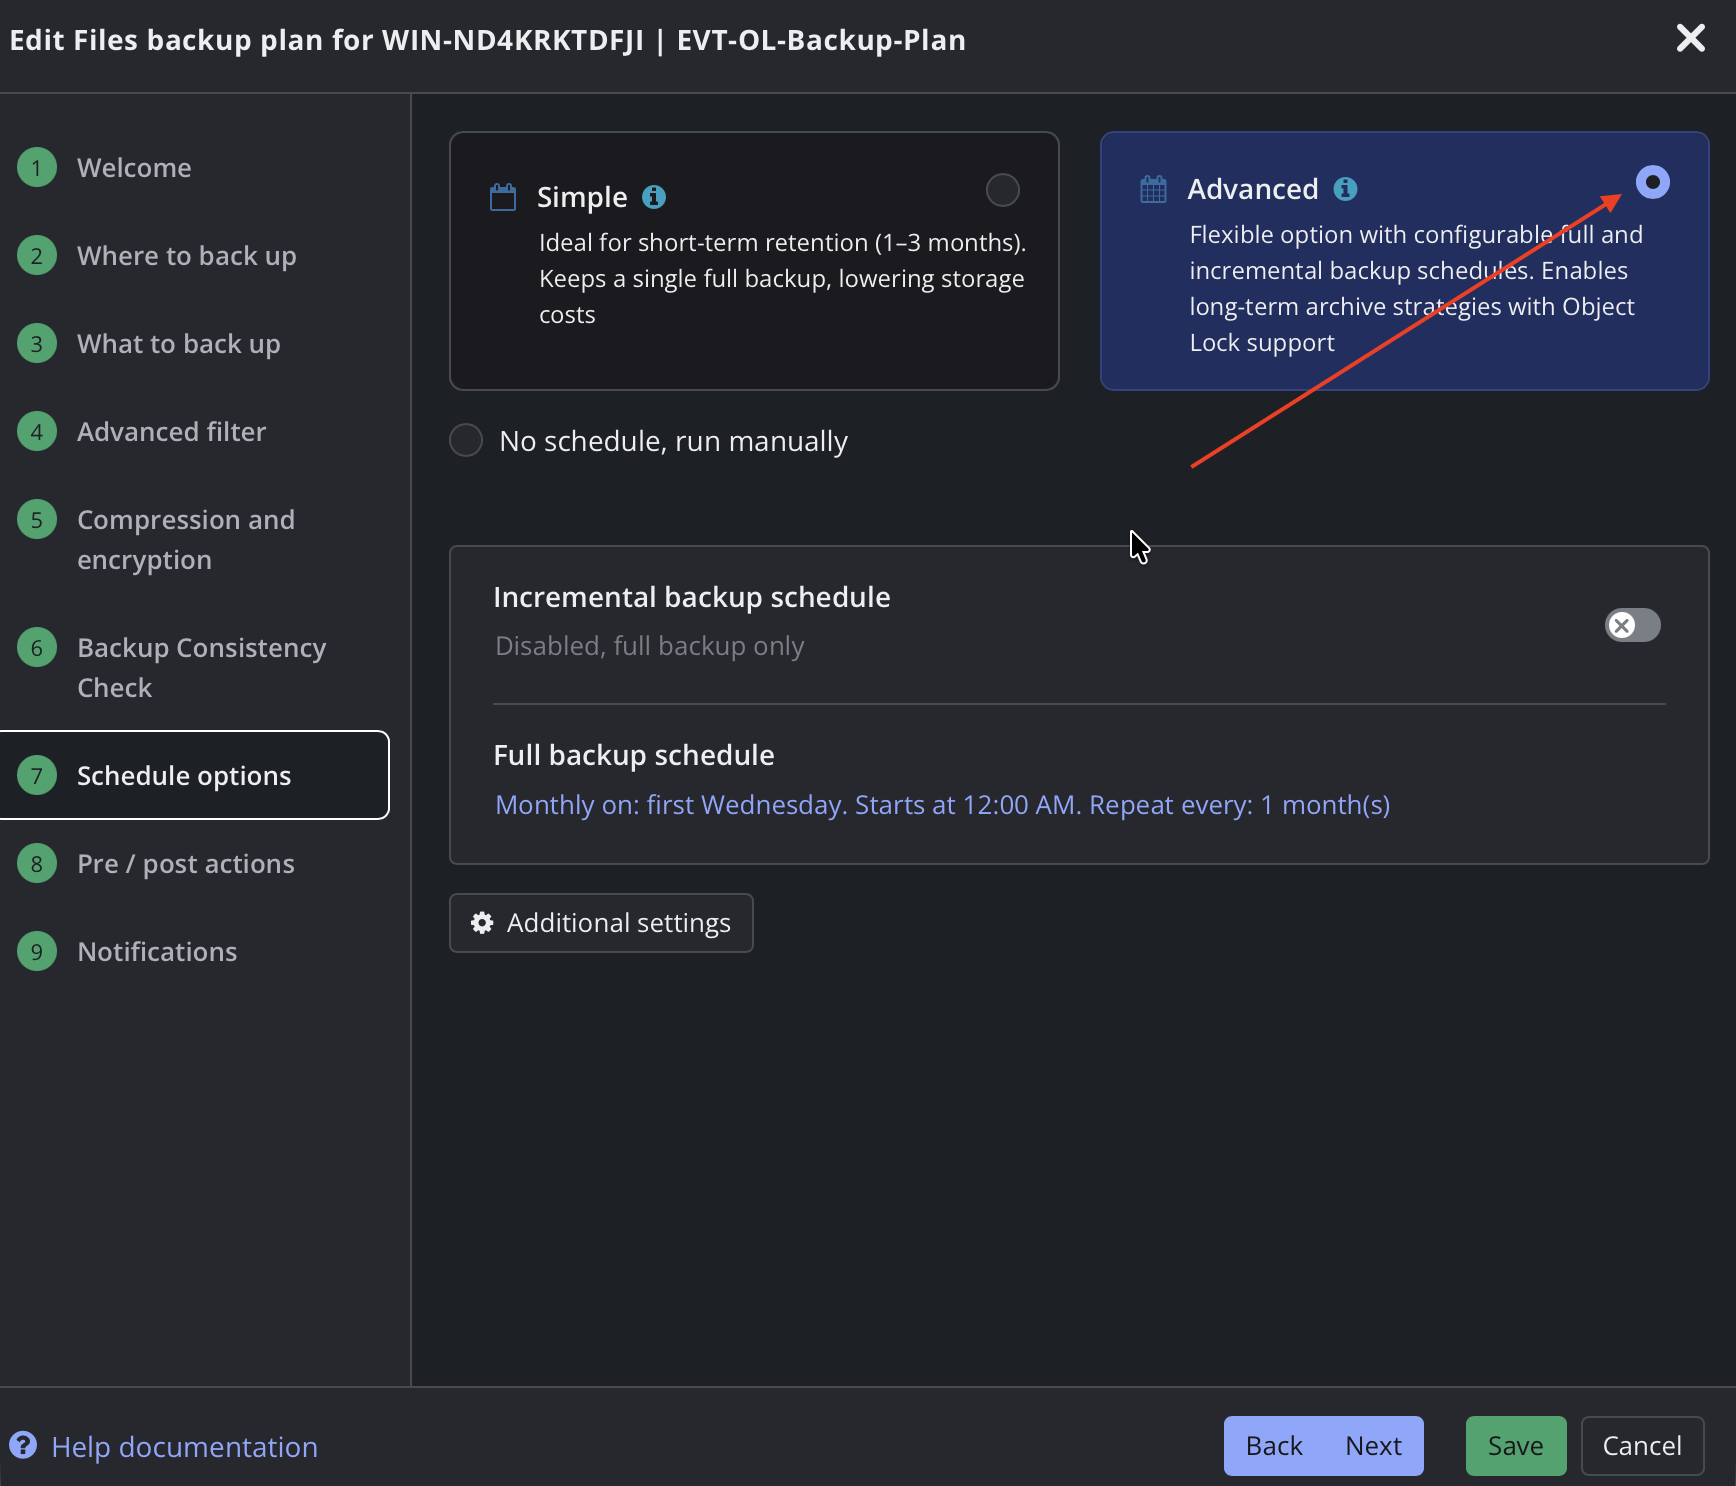
Click the toggle for Incremental backup schedule.
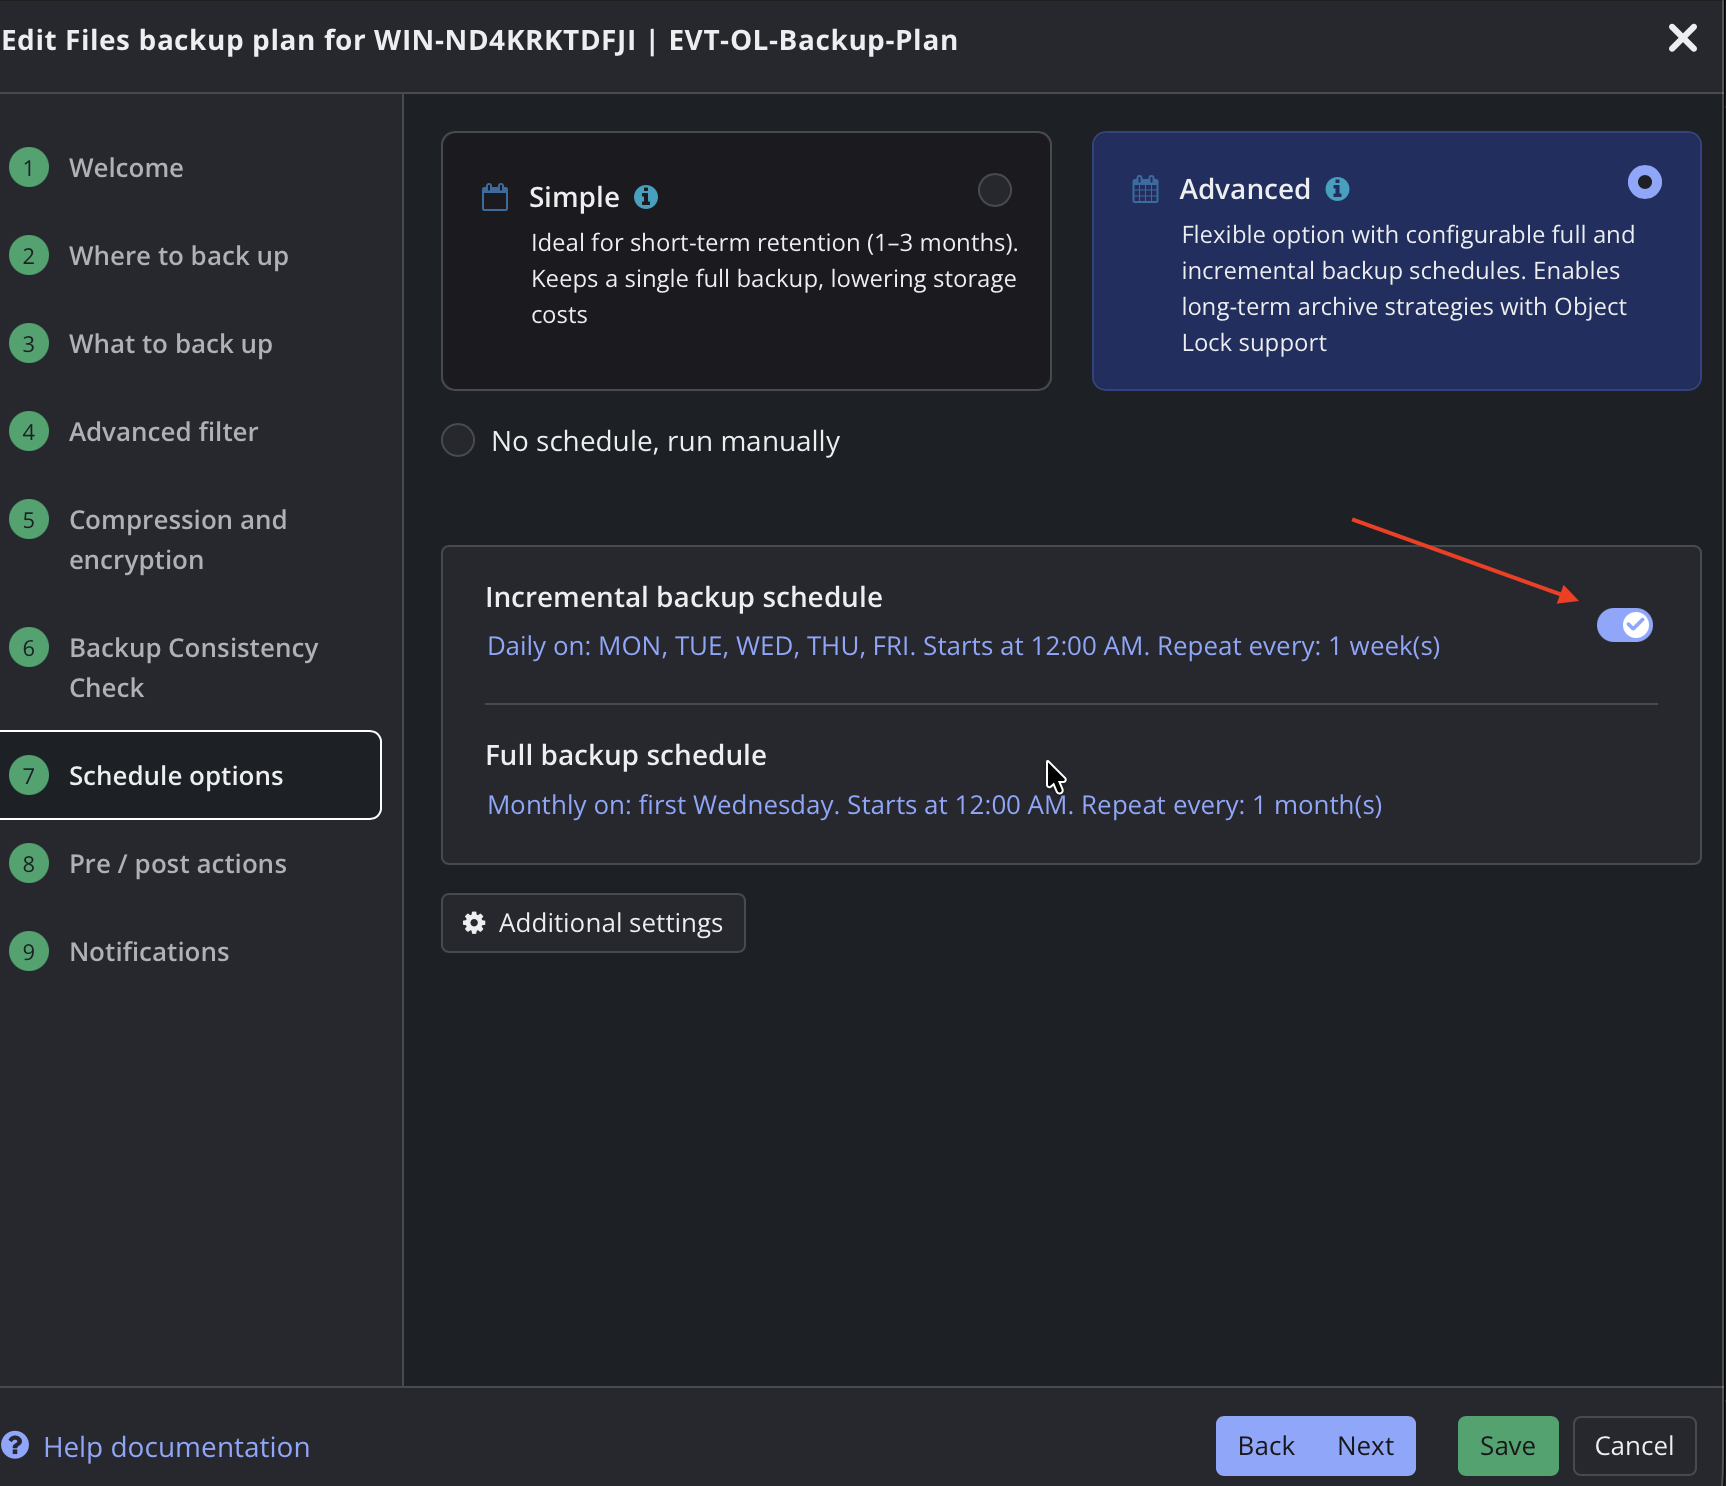
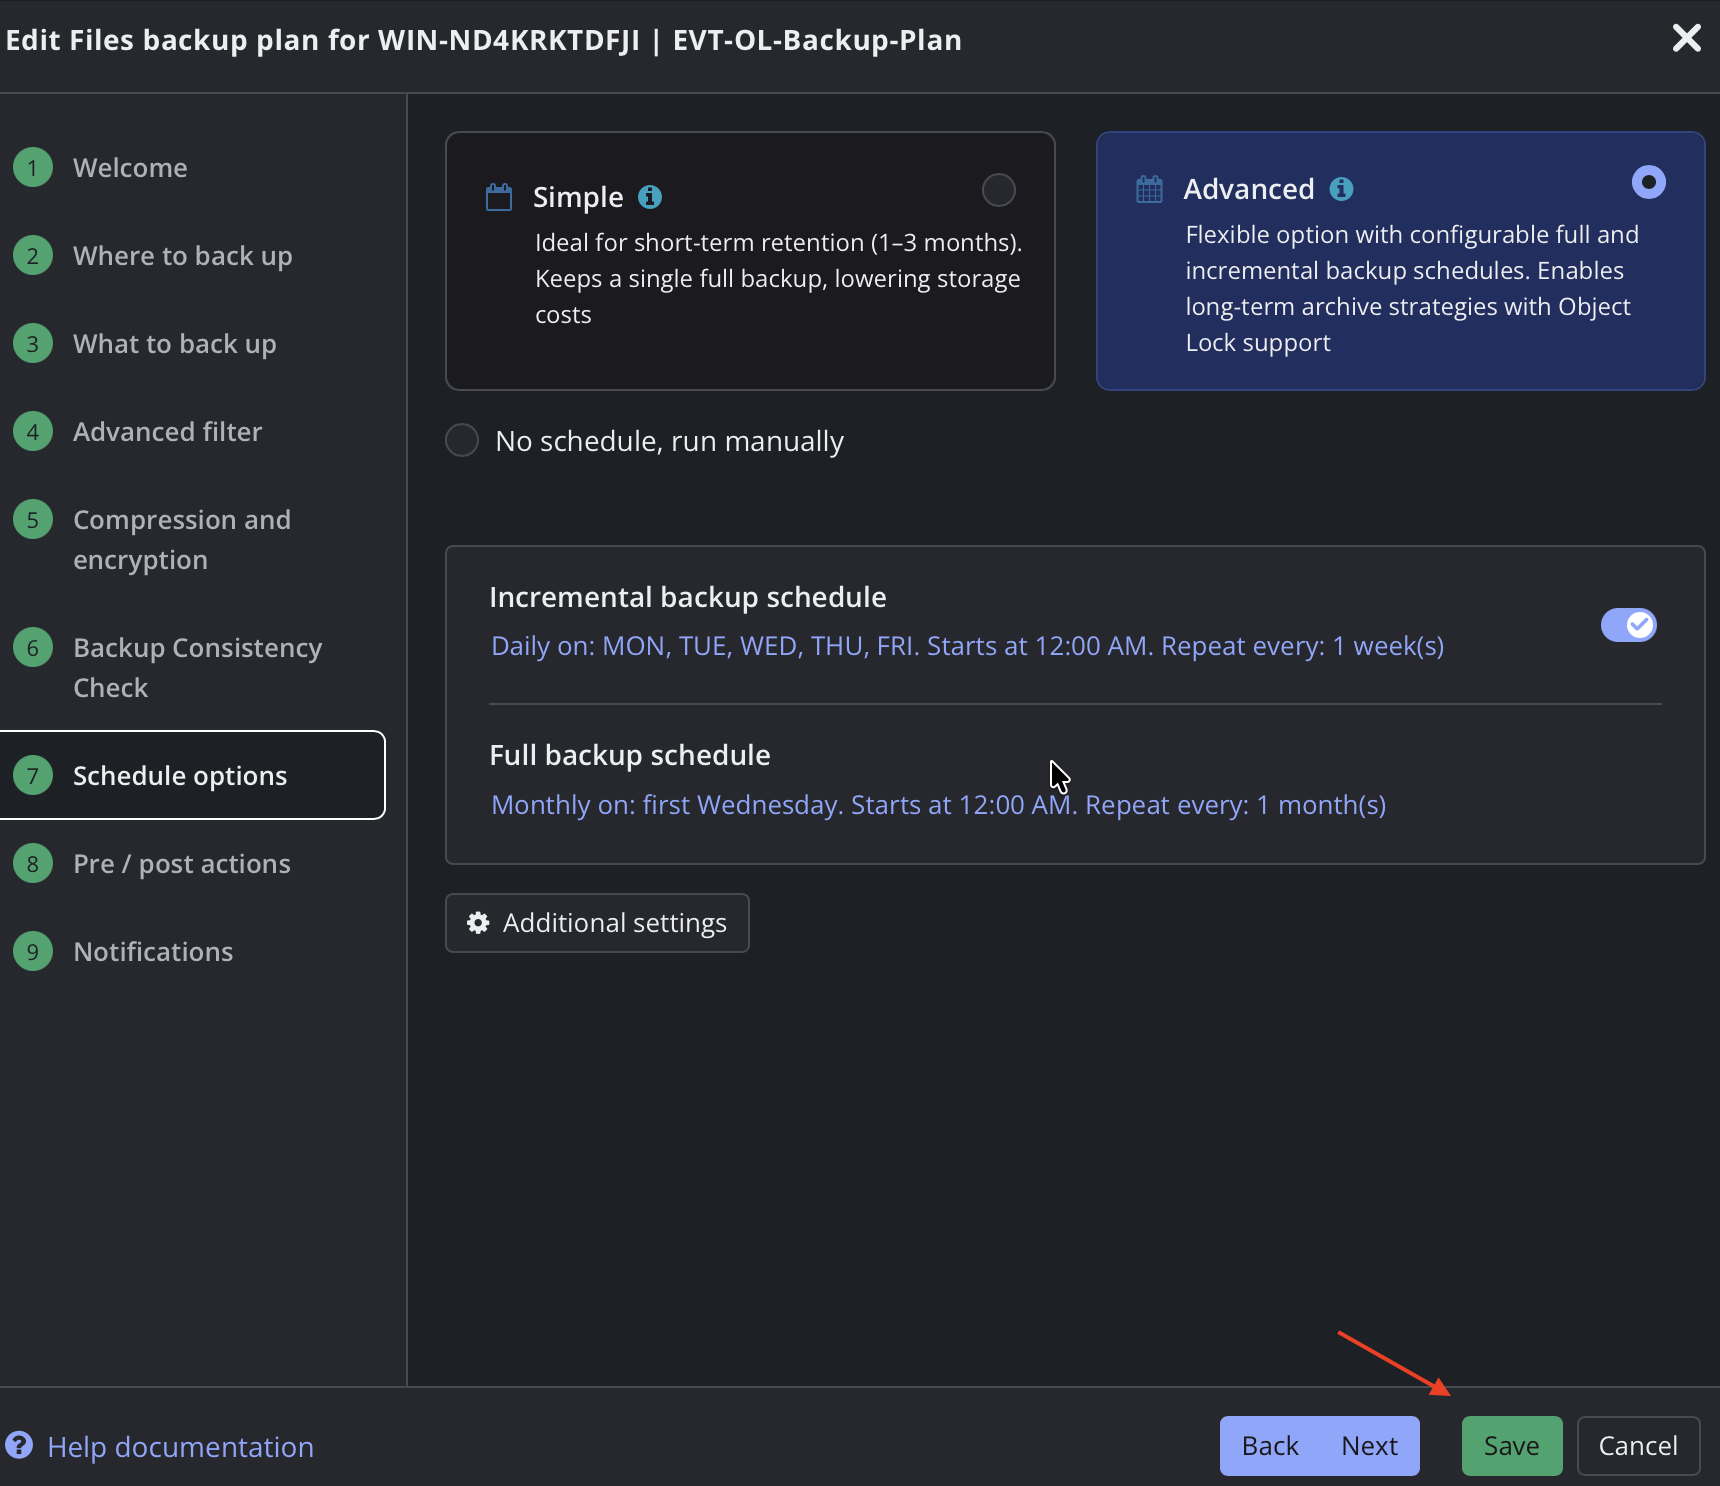
Now your Backup Job is enabled. Click Save.
In Case of Disaster: Adding Your Covert Copy Bucket to MSP360 MBS
In the case of a disaster, the root user use this email address to submit a ticket to Wasabi Support: support@wasabi.com. In the email, request Restore Mode and include the name of your Covert Copy bucket. After Support enables Restore Mode, the Covert Copy bucket will be visible to MSP360 MBS, and will allow a restore to be performed from backups in the bucket.
Once your restore has completed, use this email address to contact Wasabi Support (support@wasabi.com) to disable Restore Mode on your Covert Copy bucket.
Log in to your MSP360 MBS dashboard.
Navigate to Backup > Storage Accounts.
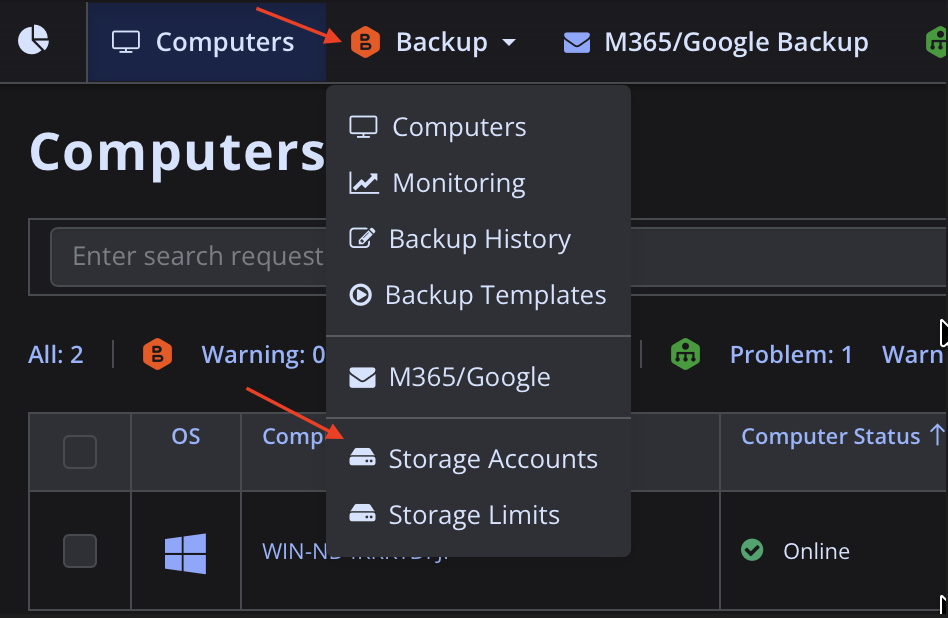
Click the Name of your Storage Account.

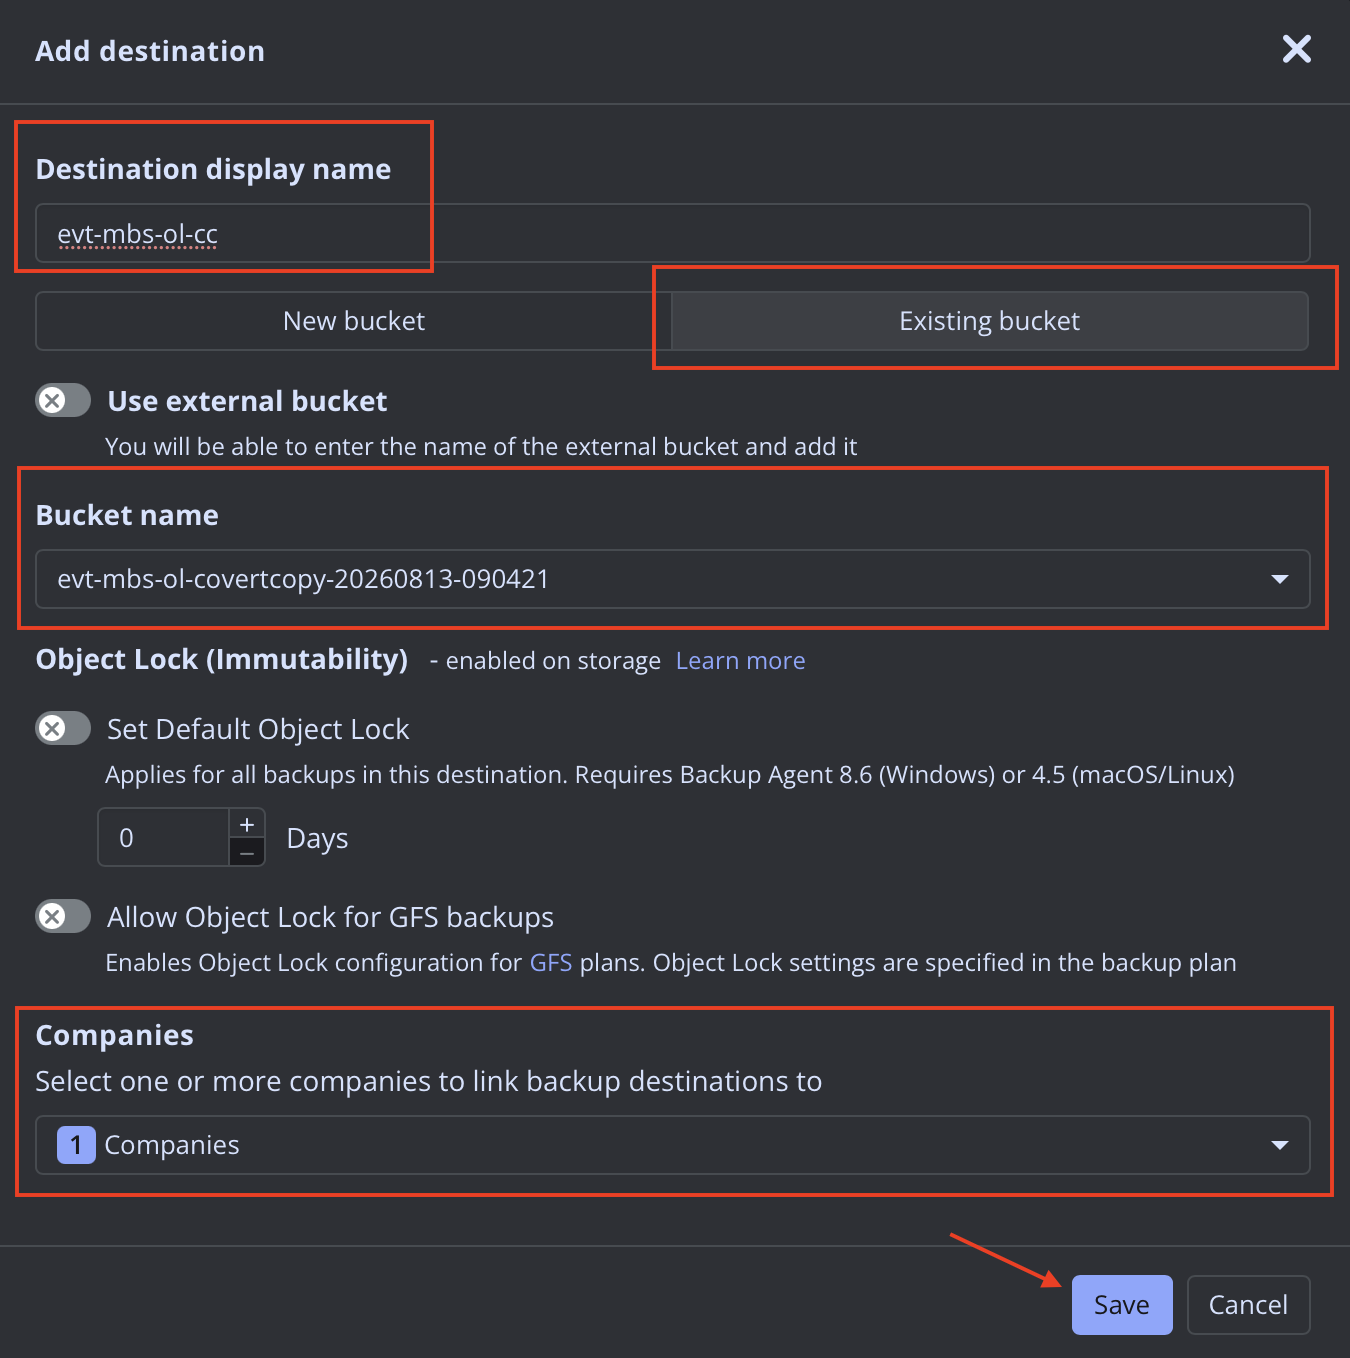
Click the blue Add button, to add a new storage destination.

Input the following information.
Display Name for the storage.
Choose Existing Bucket.
Your Covert Copy Bucket Name.
Associate the Storage Destination with the applicable Company.
Finally, click Save.
Navigate to Computers.
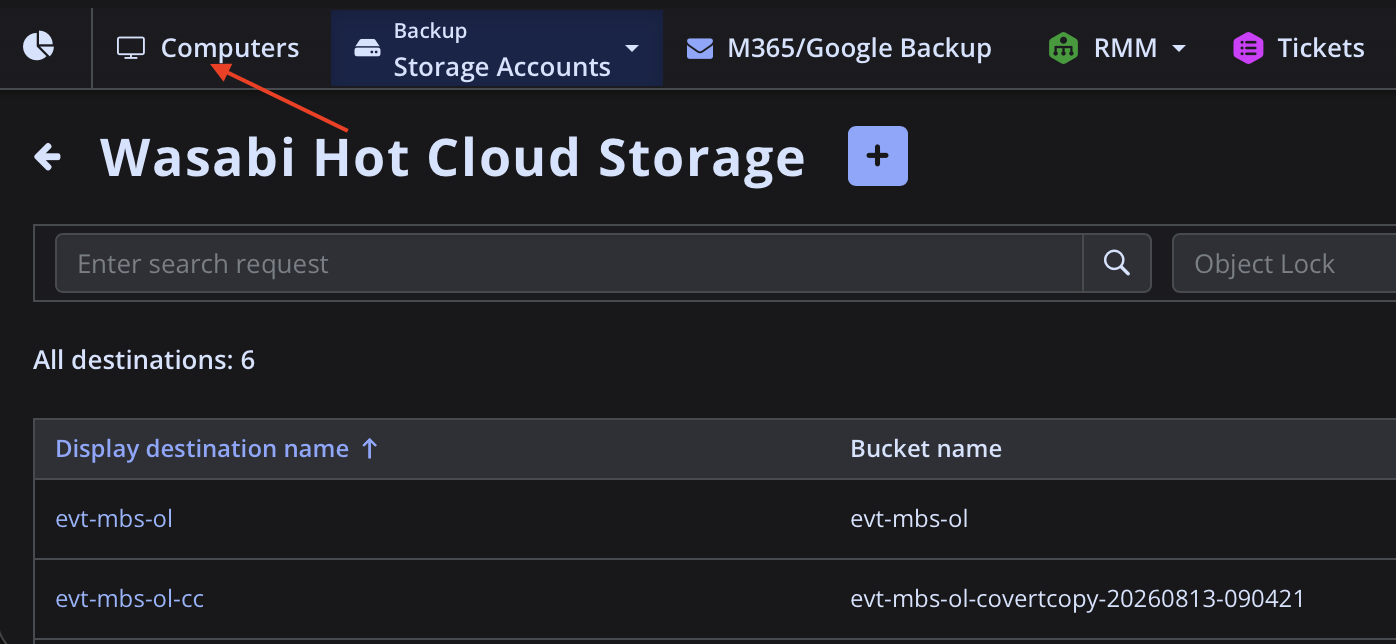
Click the Name of the computer to restore.

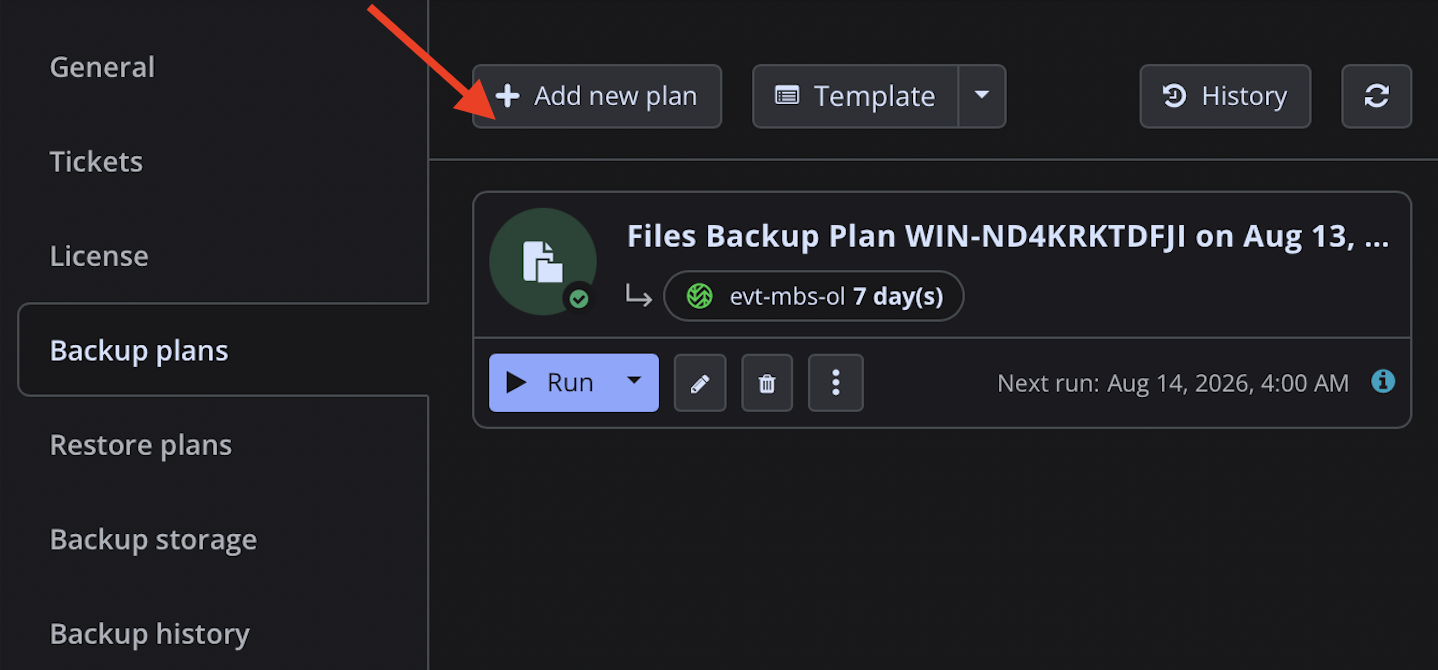
Click Add new plan.
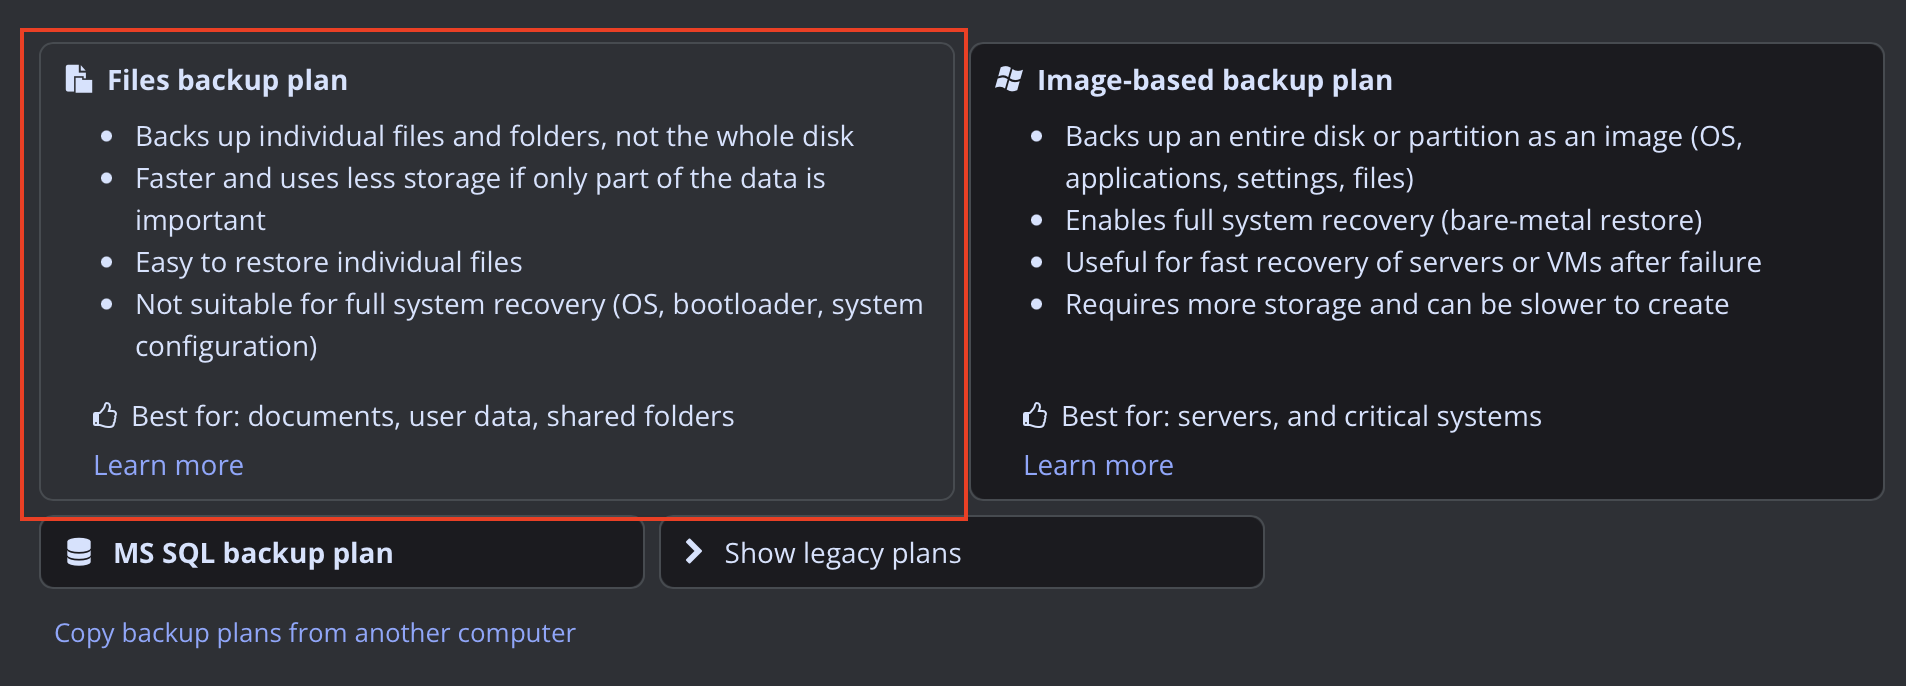
Choose the appropriate backup plan type that matches your existing backup (in this example, Files Backup Plan).
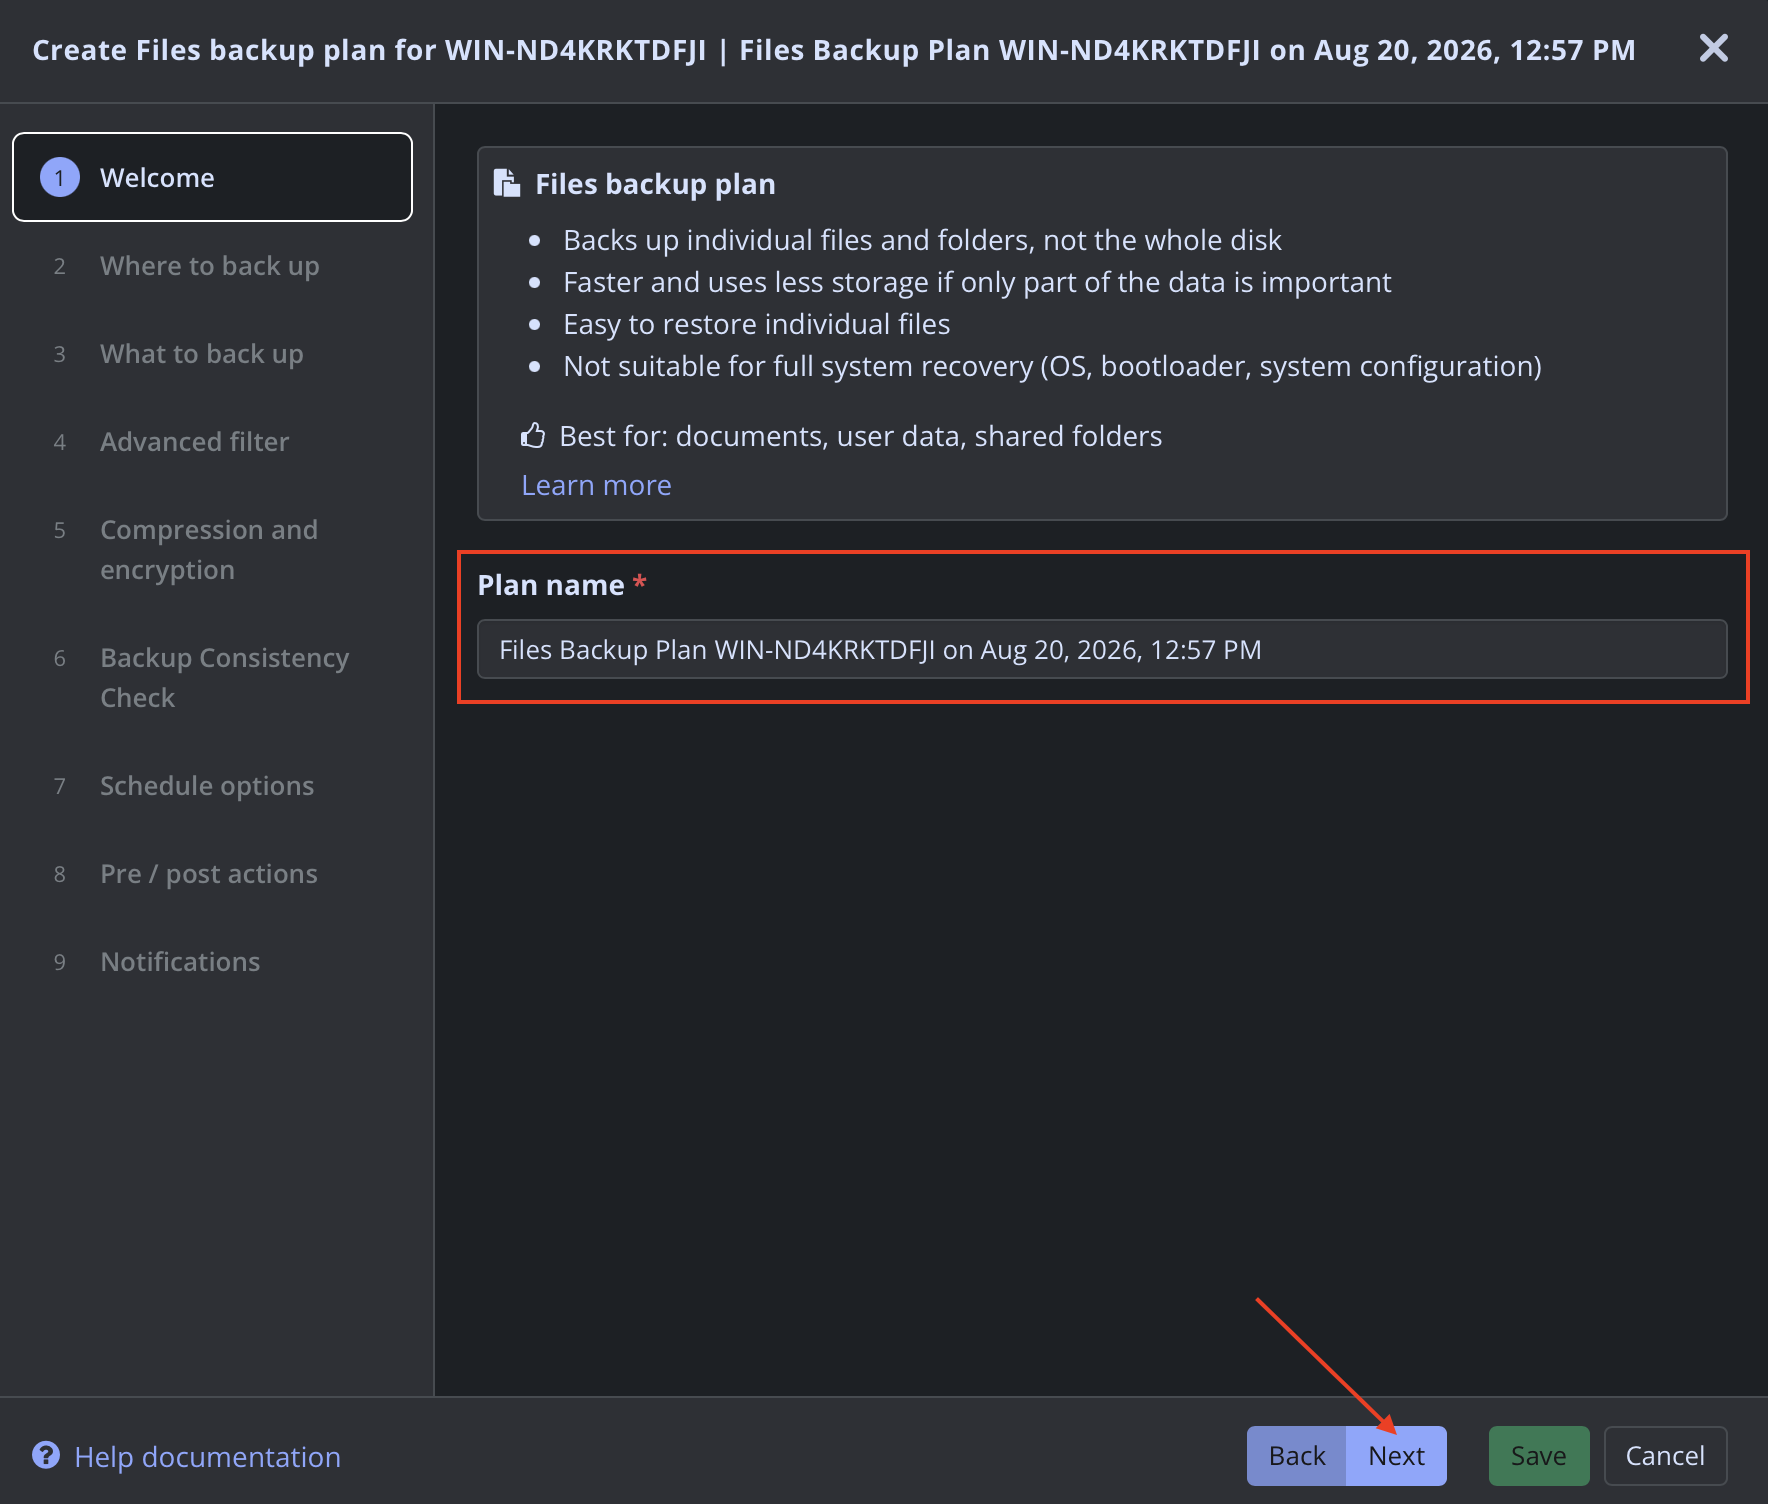
Optionally, enter a custom Plan name for your Backup Plan, or leave the default, then click Next.
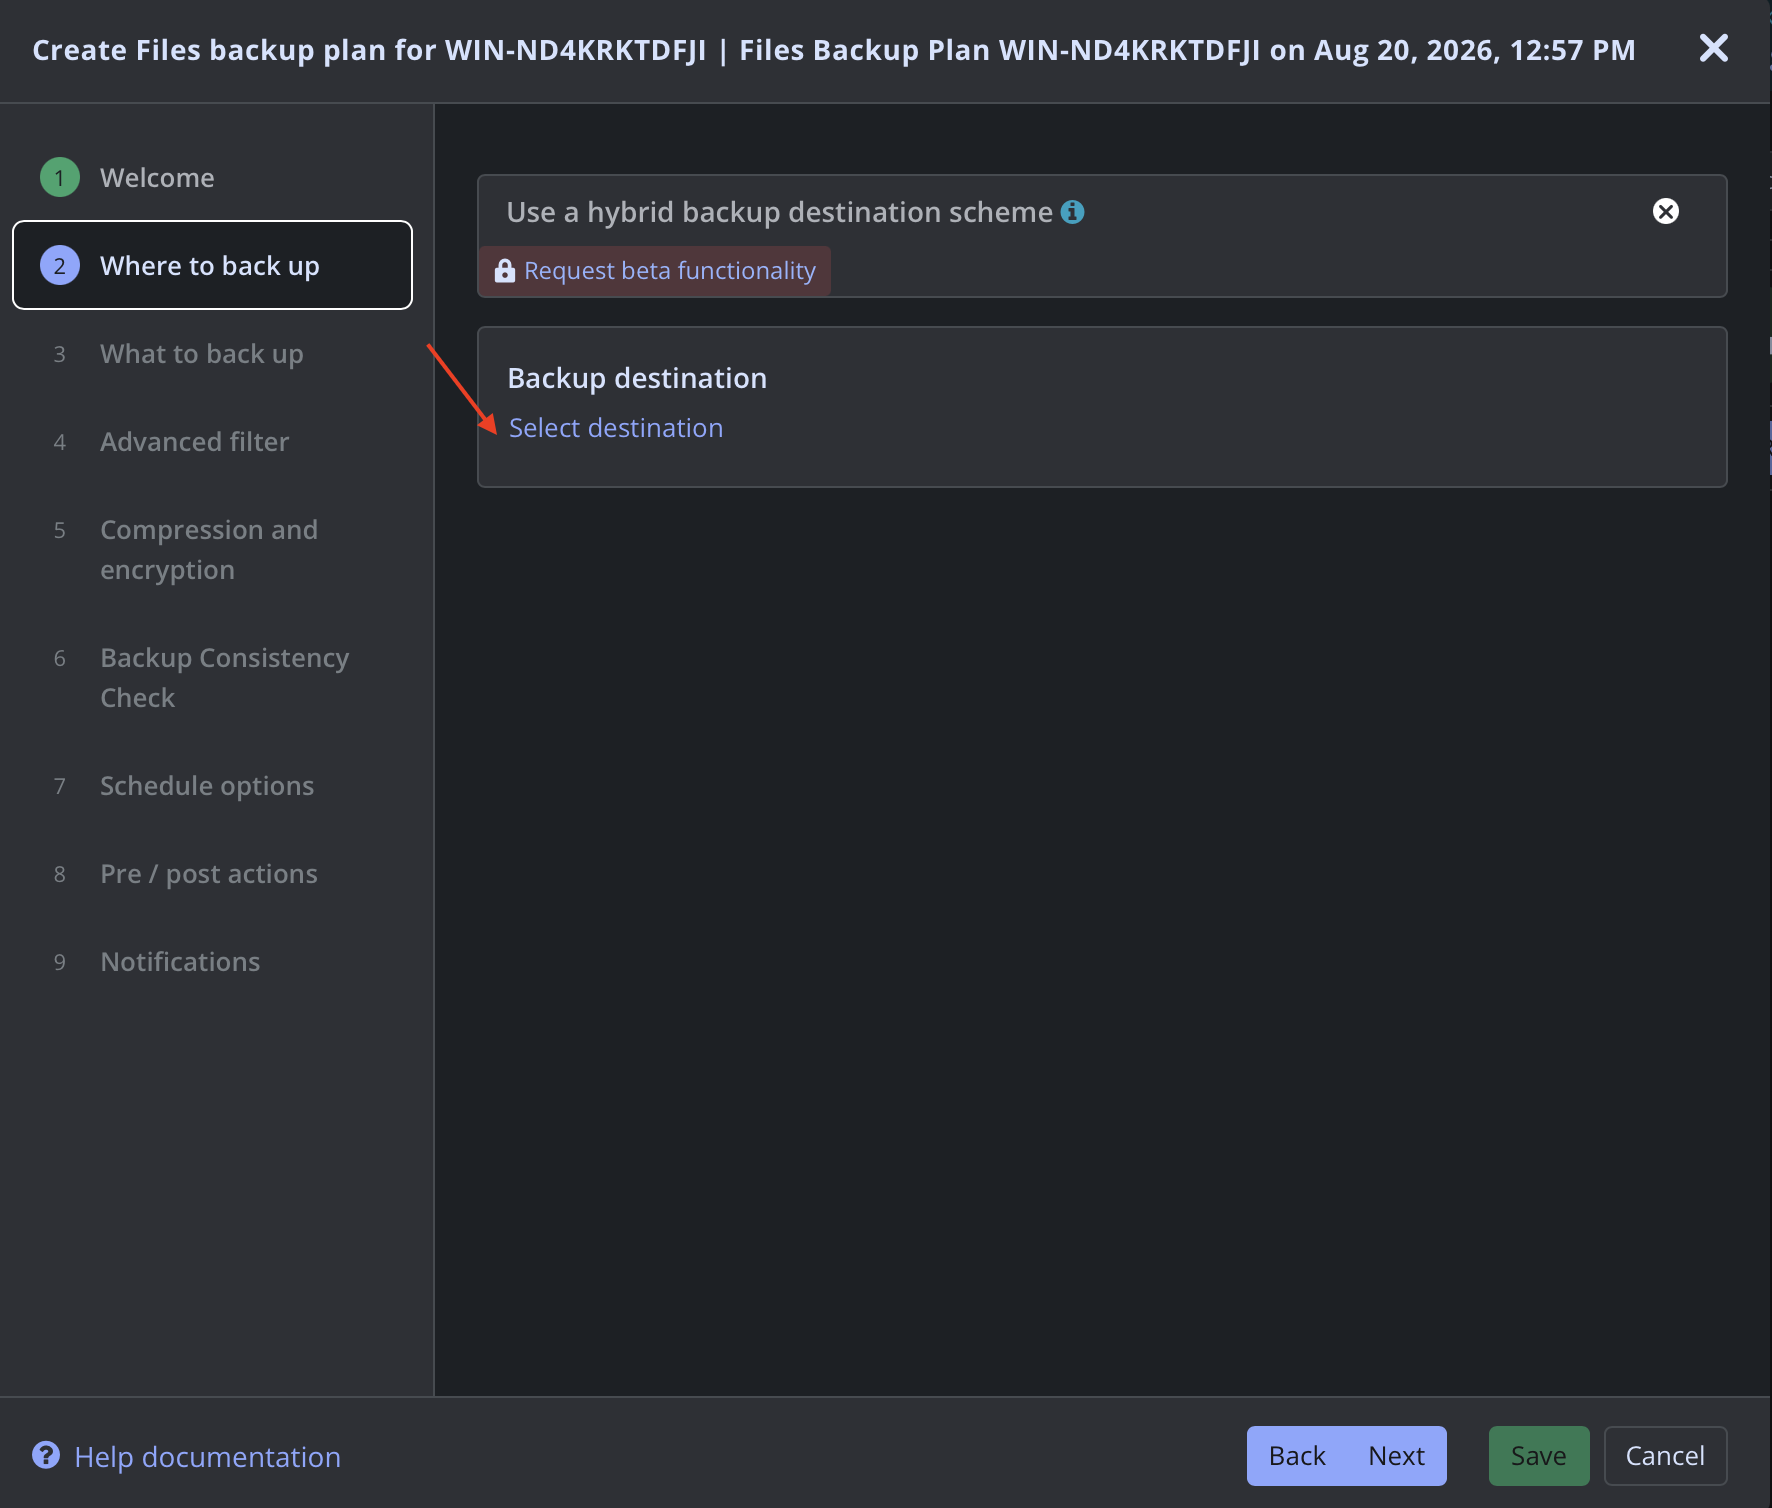
Click Select Destination.
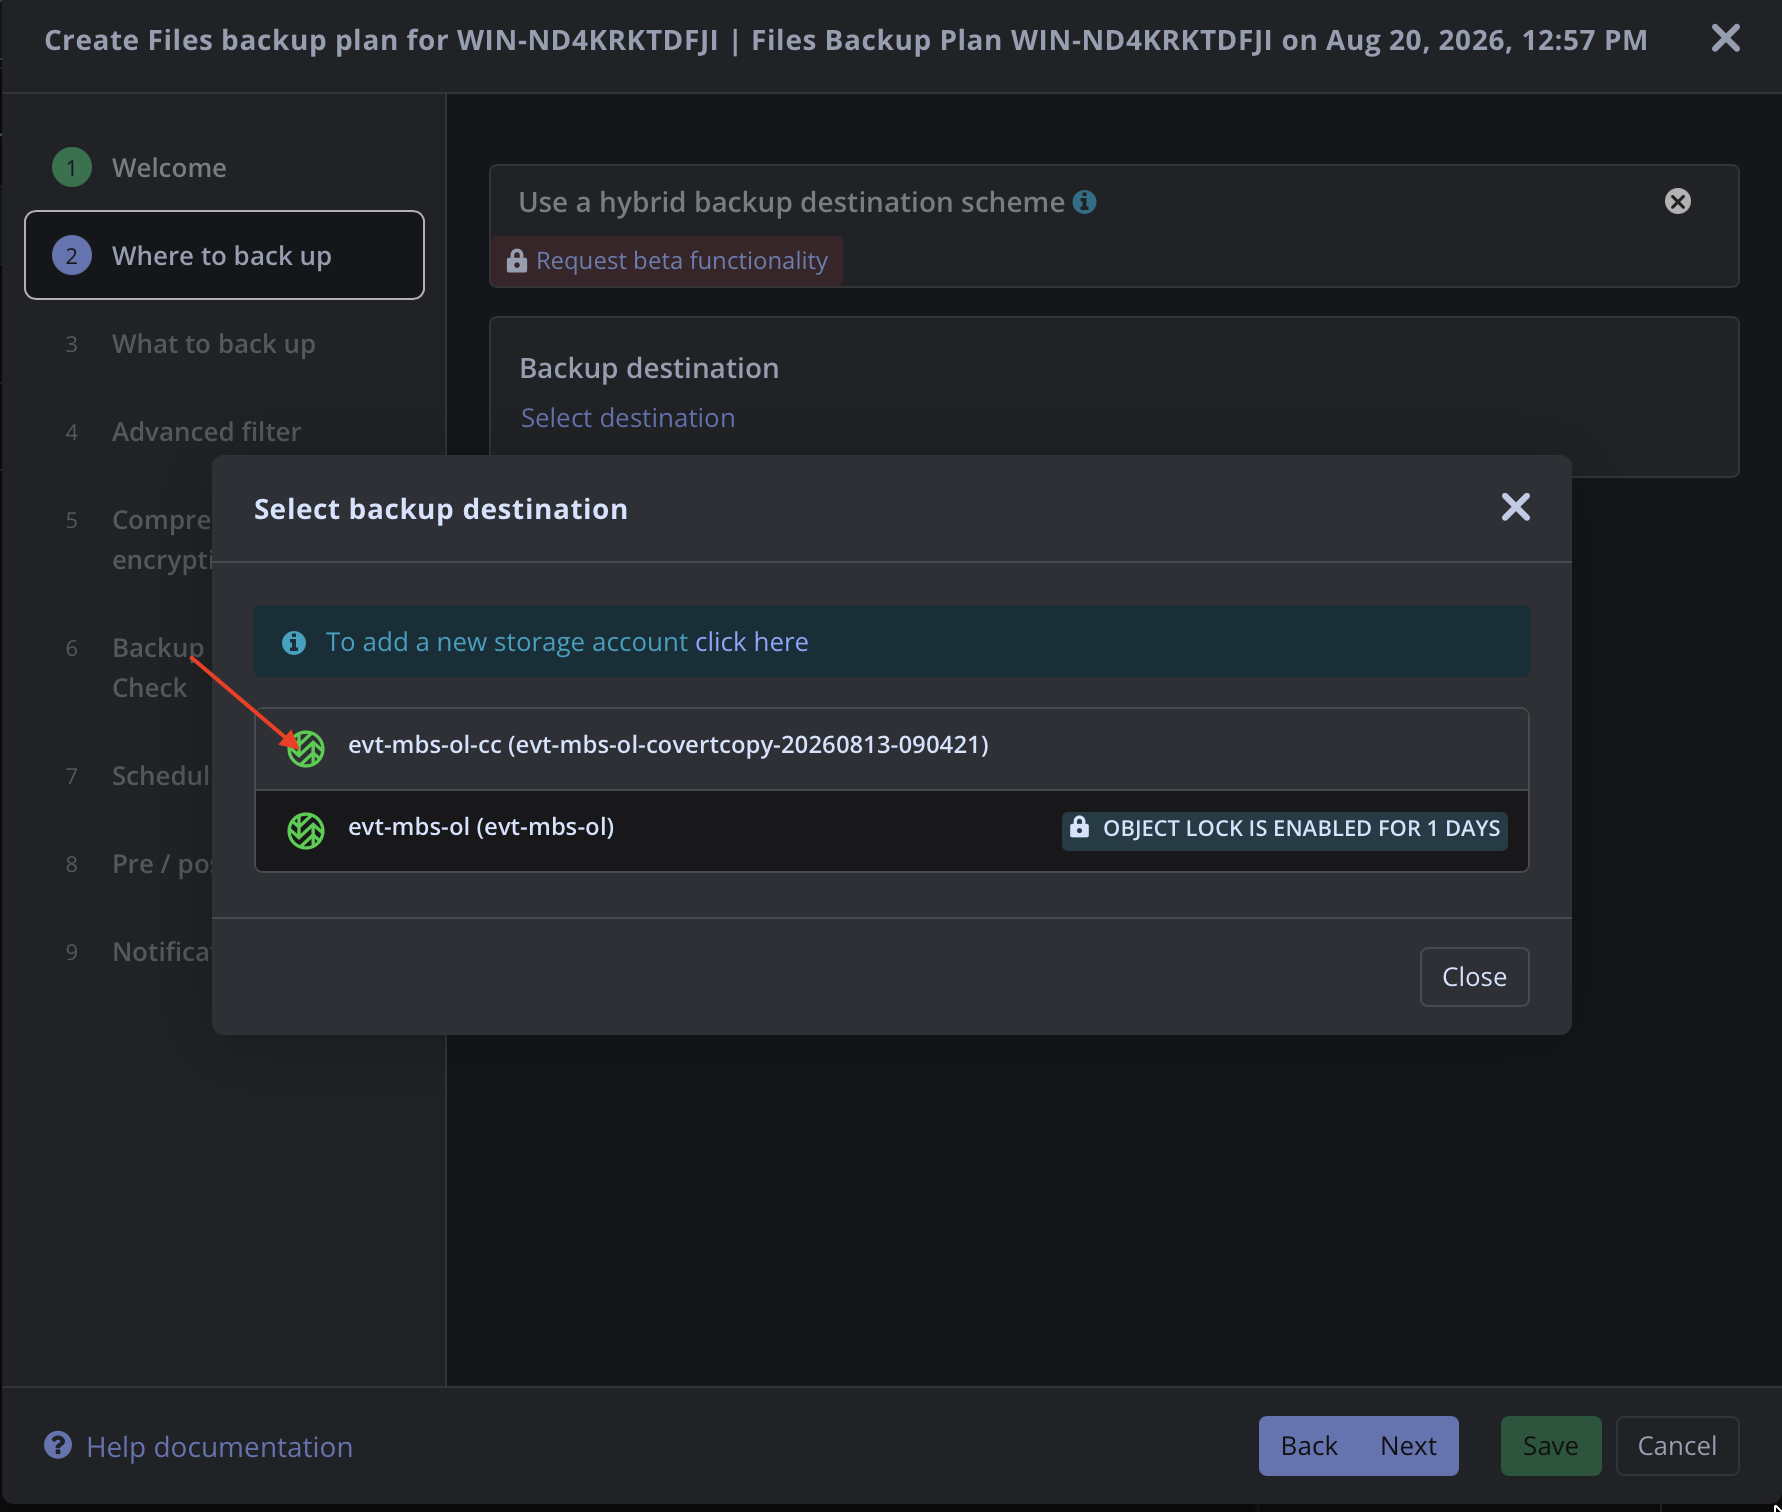
Choose your Covert Copy Bucket.
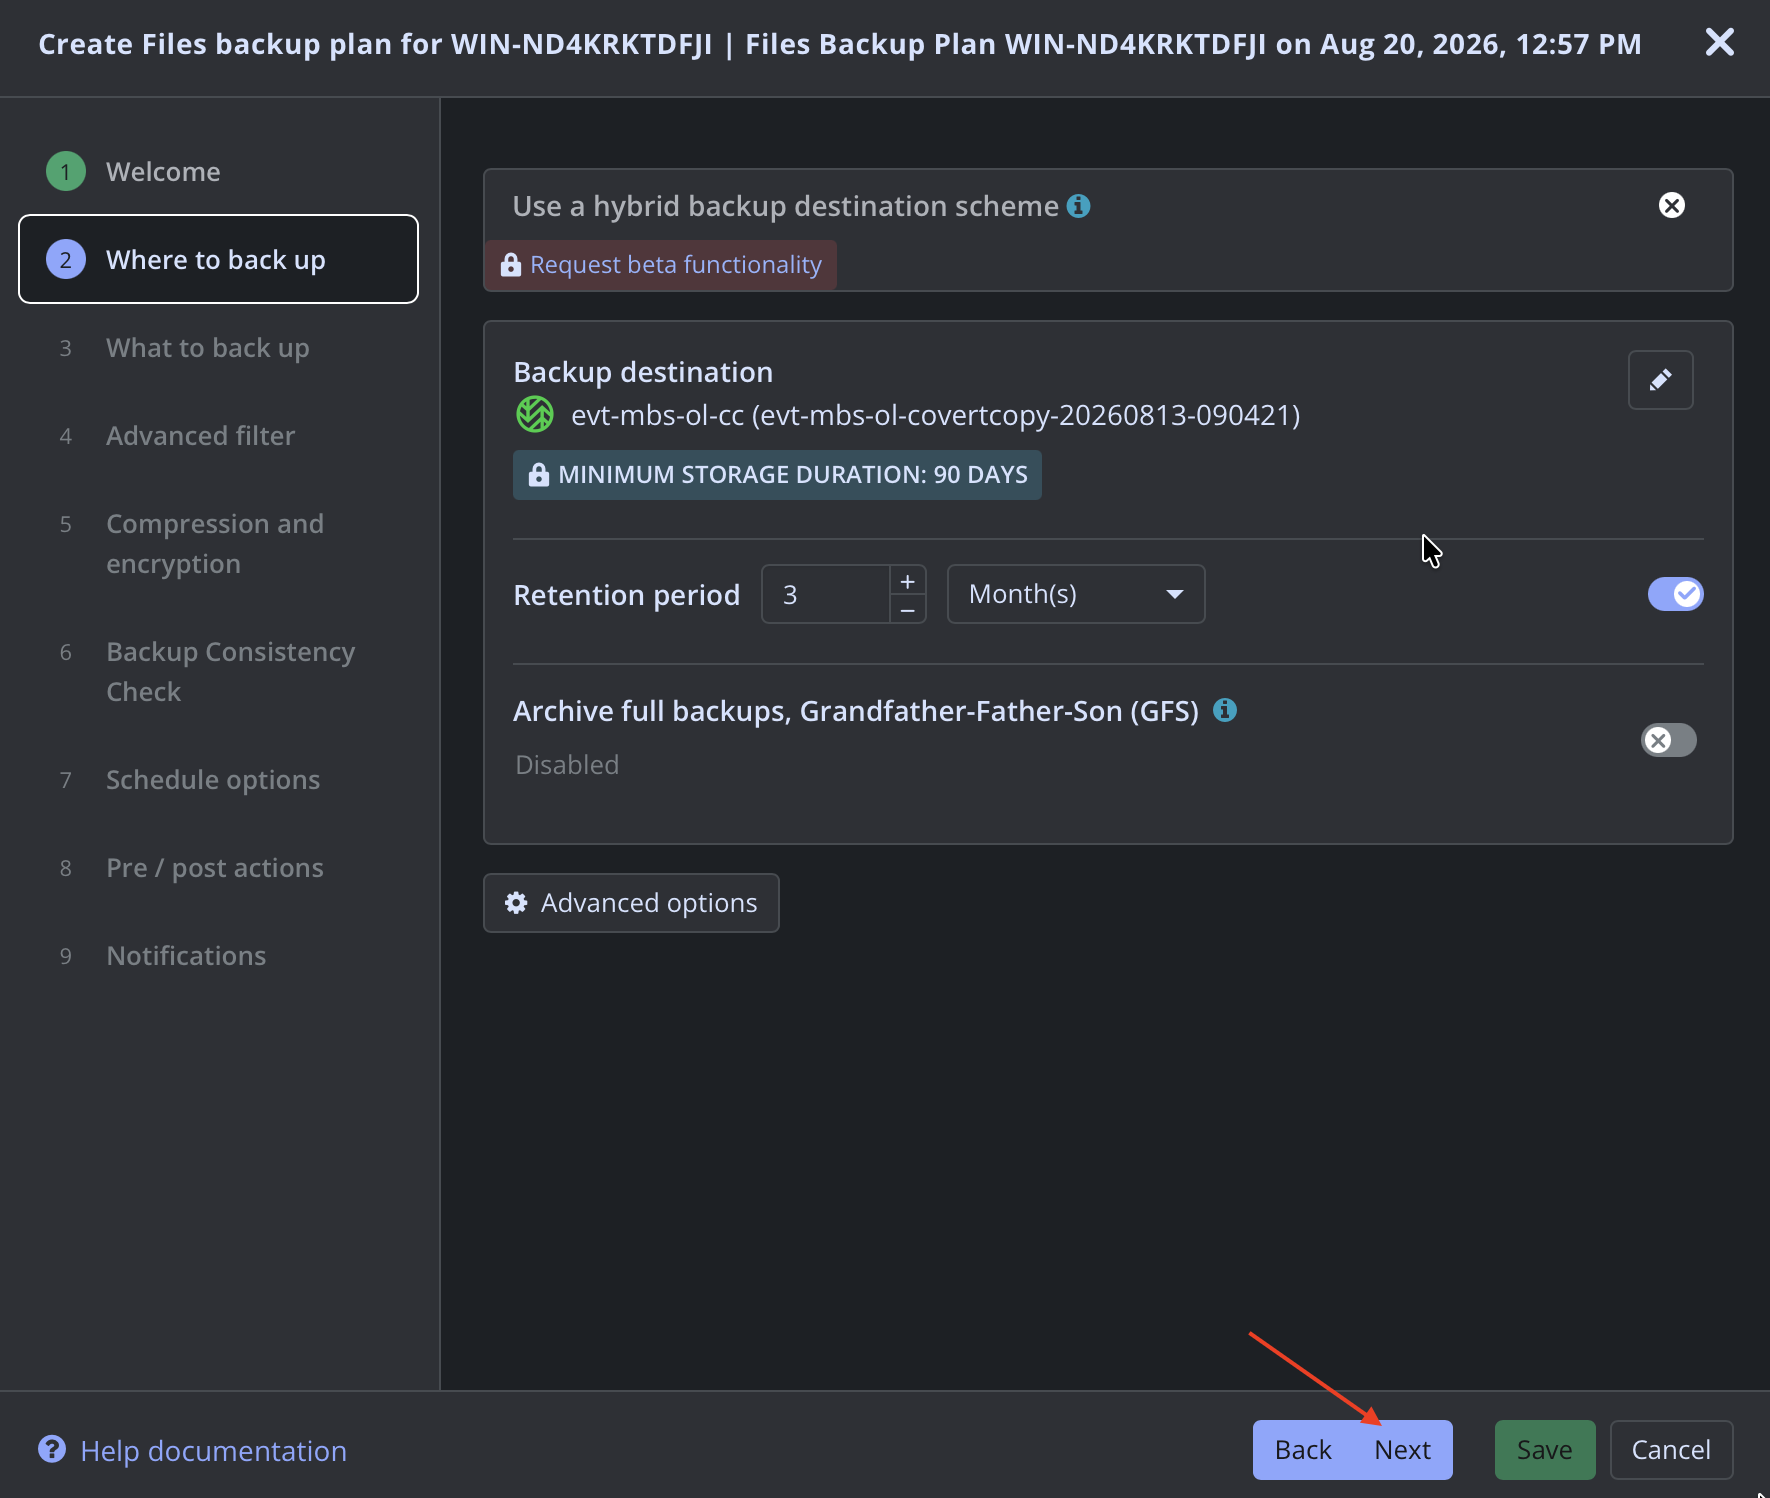
Click Next.
Use the directory tree to find the original directory you had backed up, then click Next.
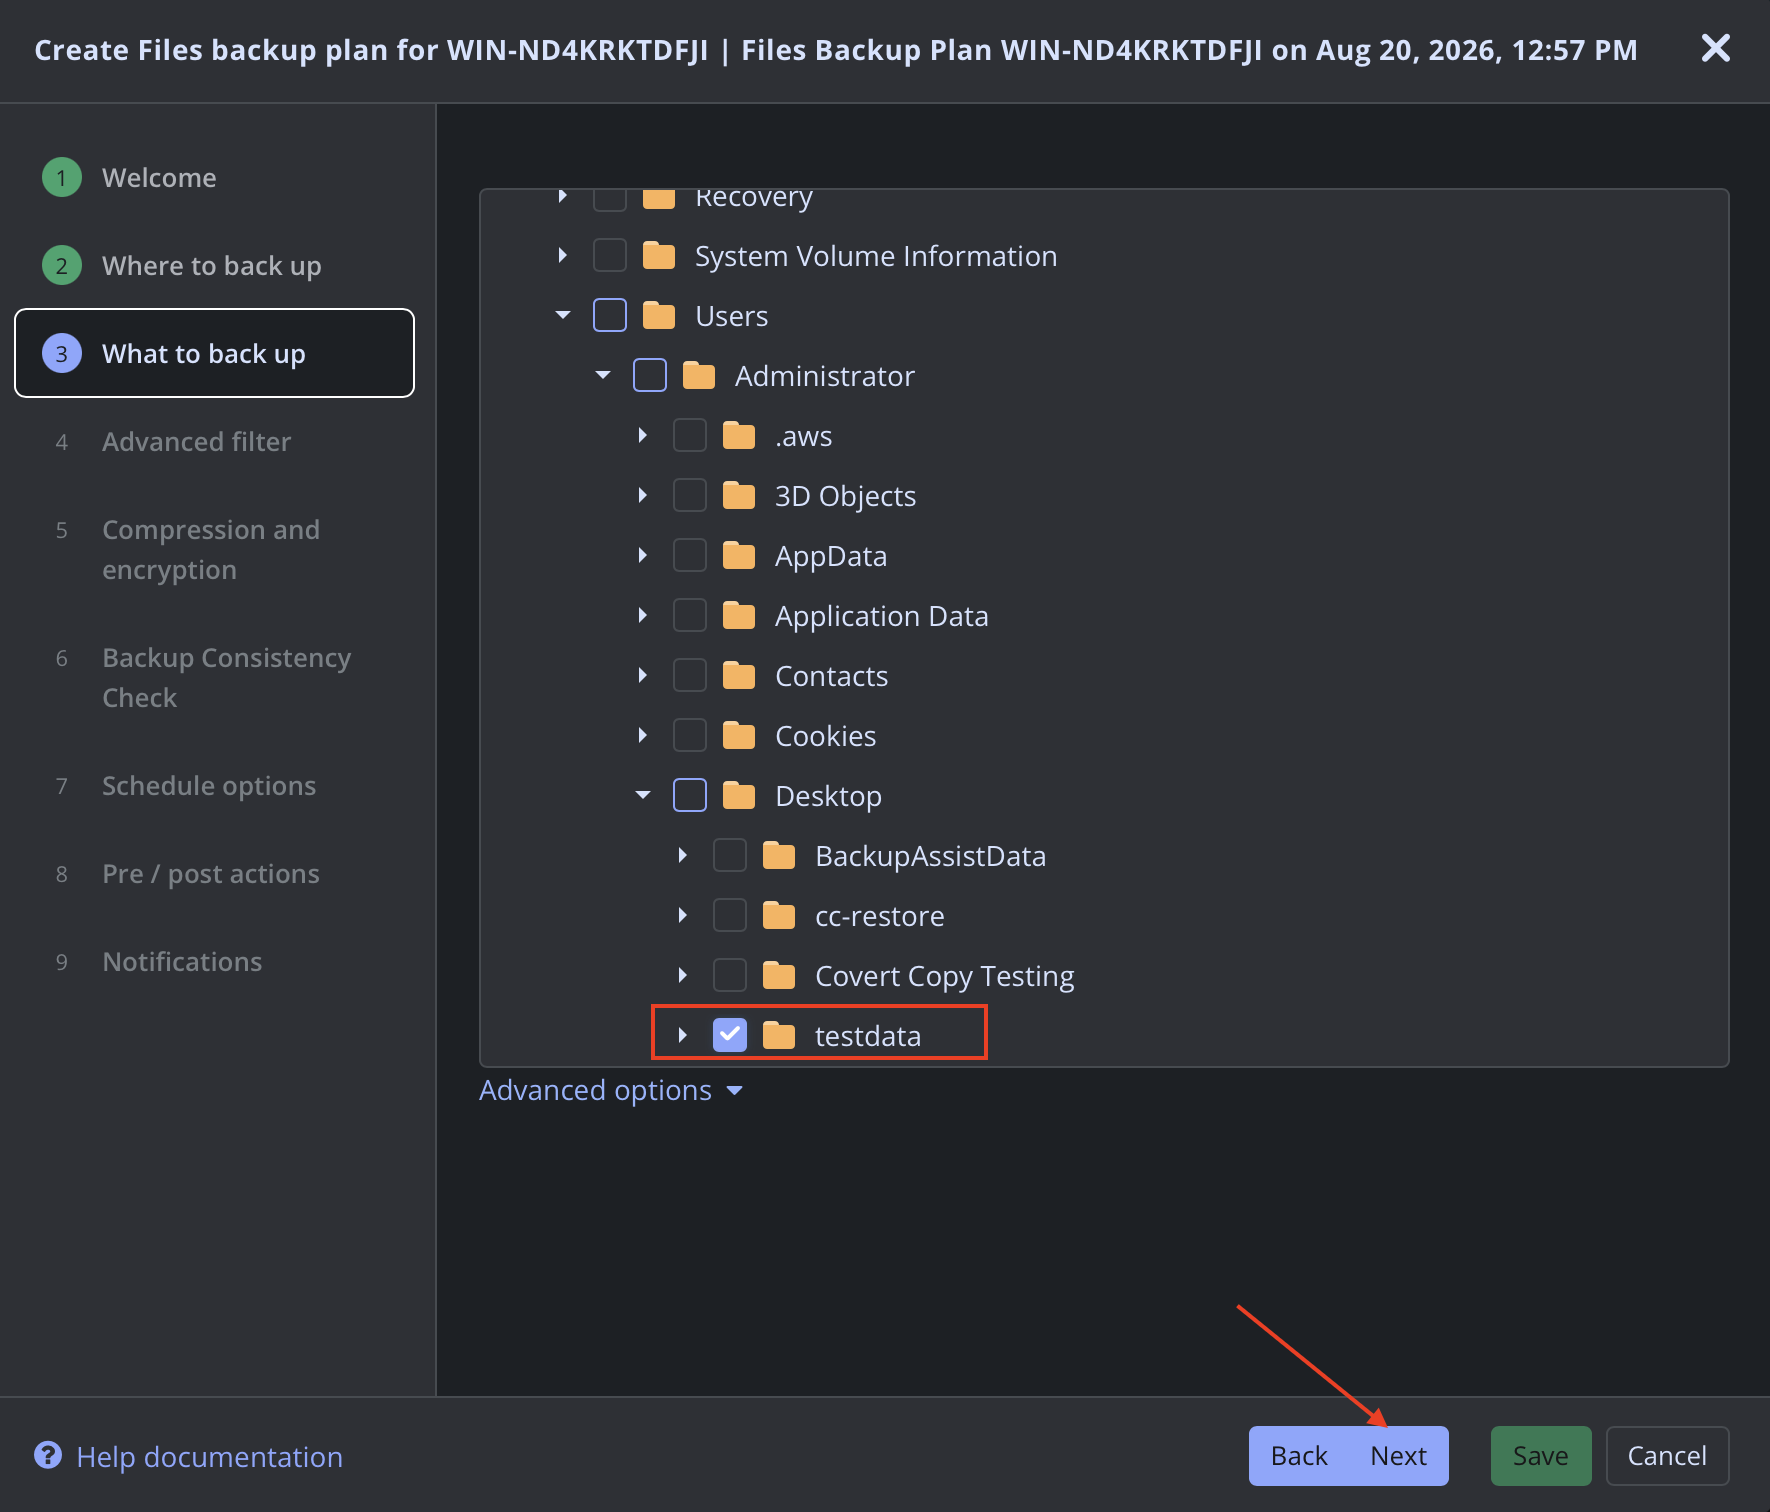
Click Next.
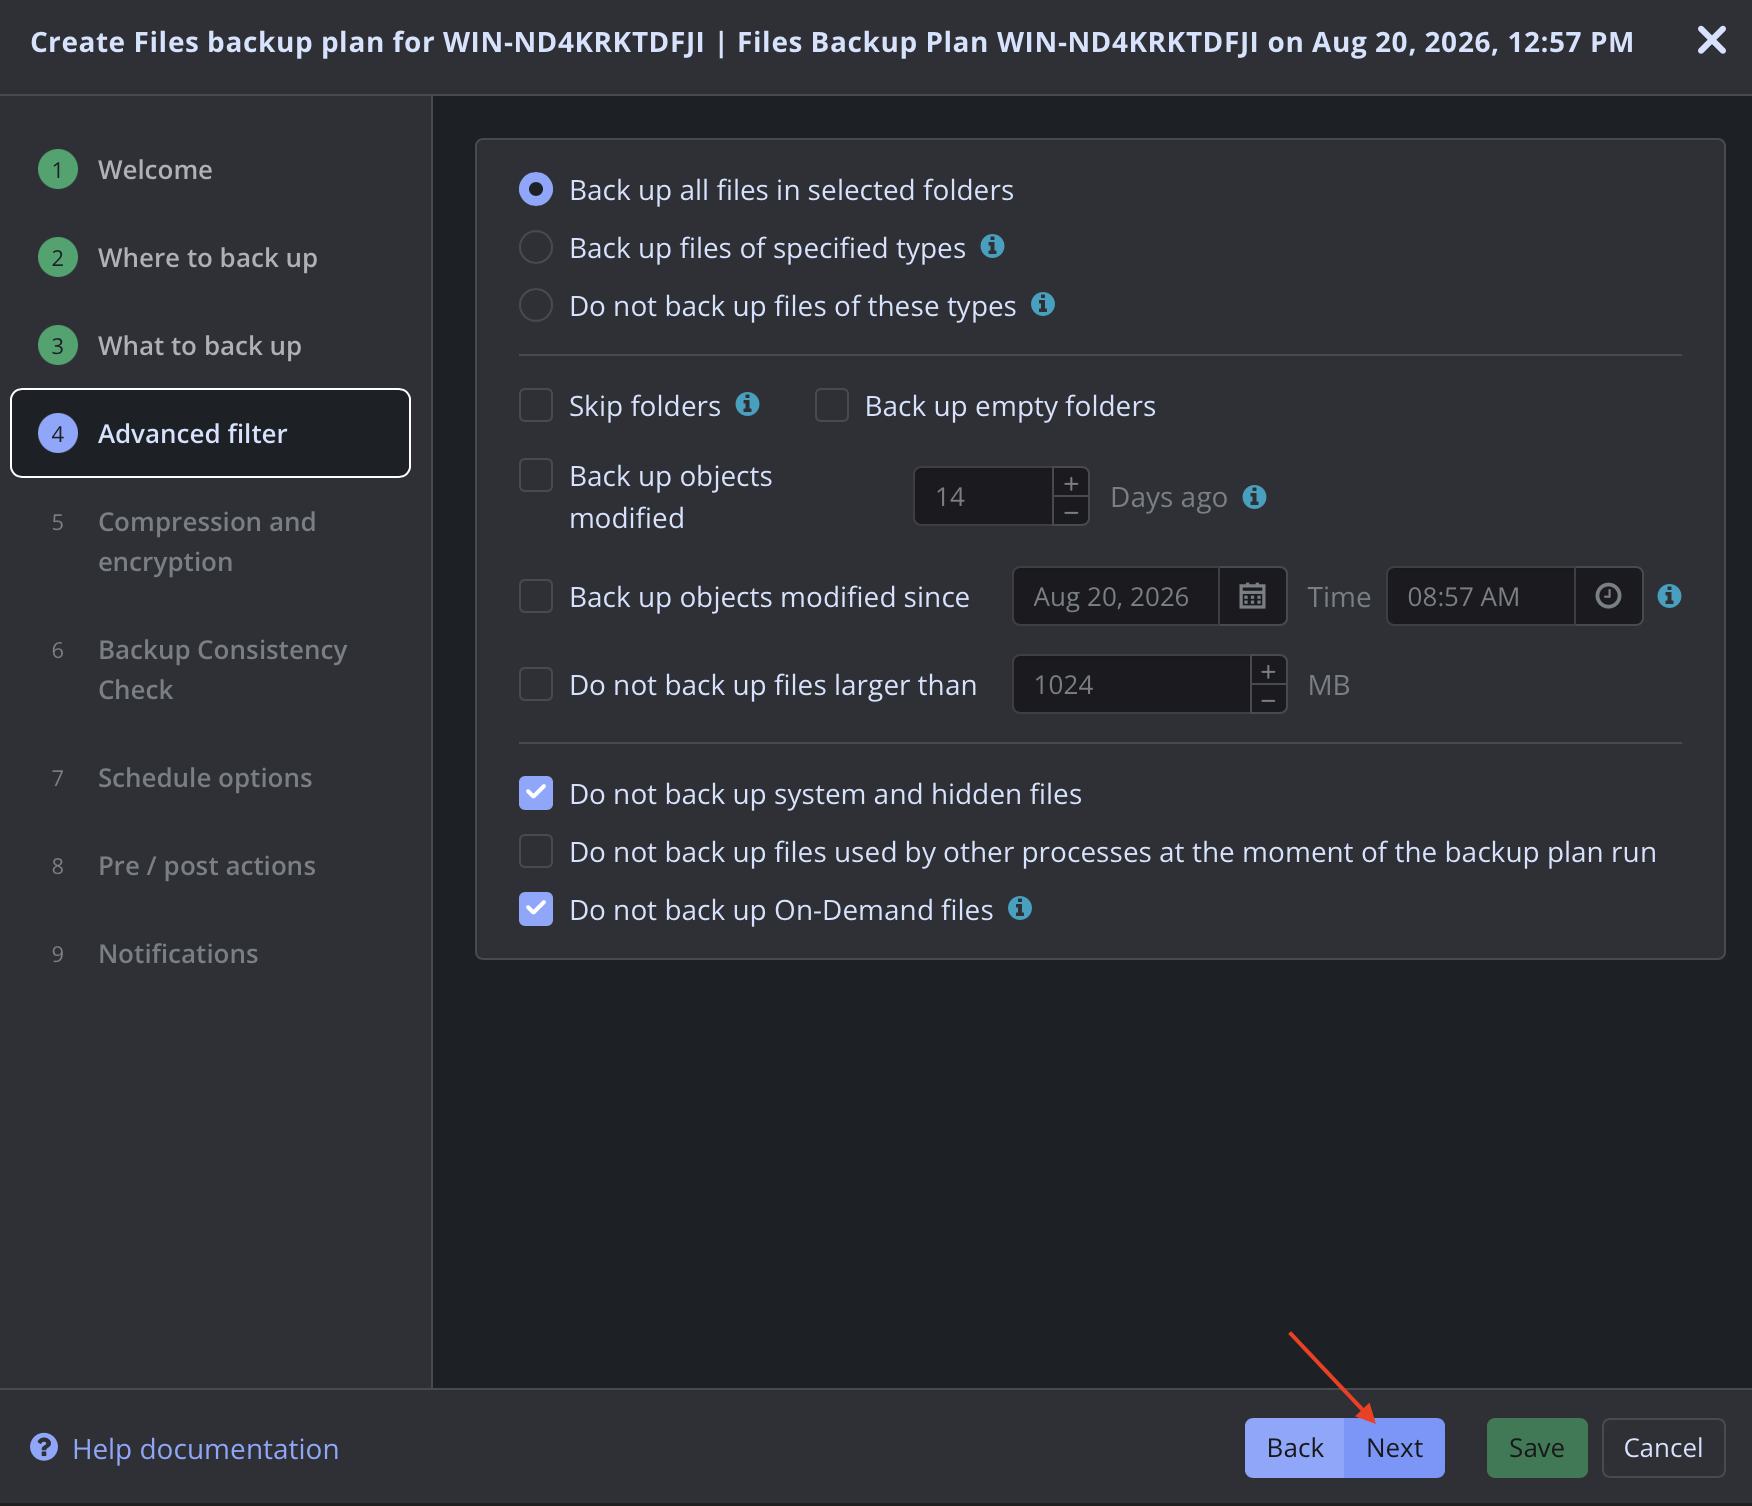
Click Next.
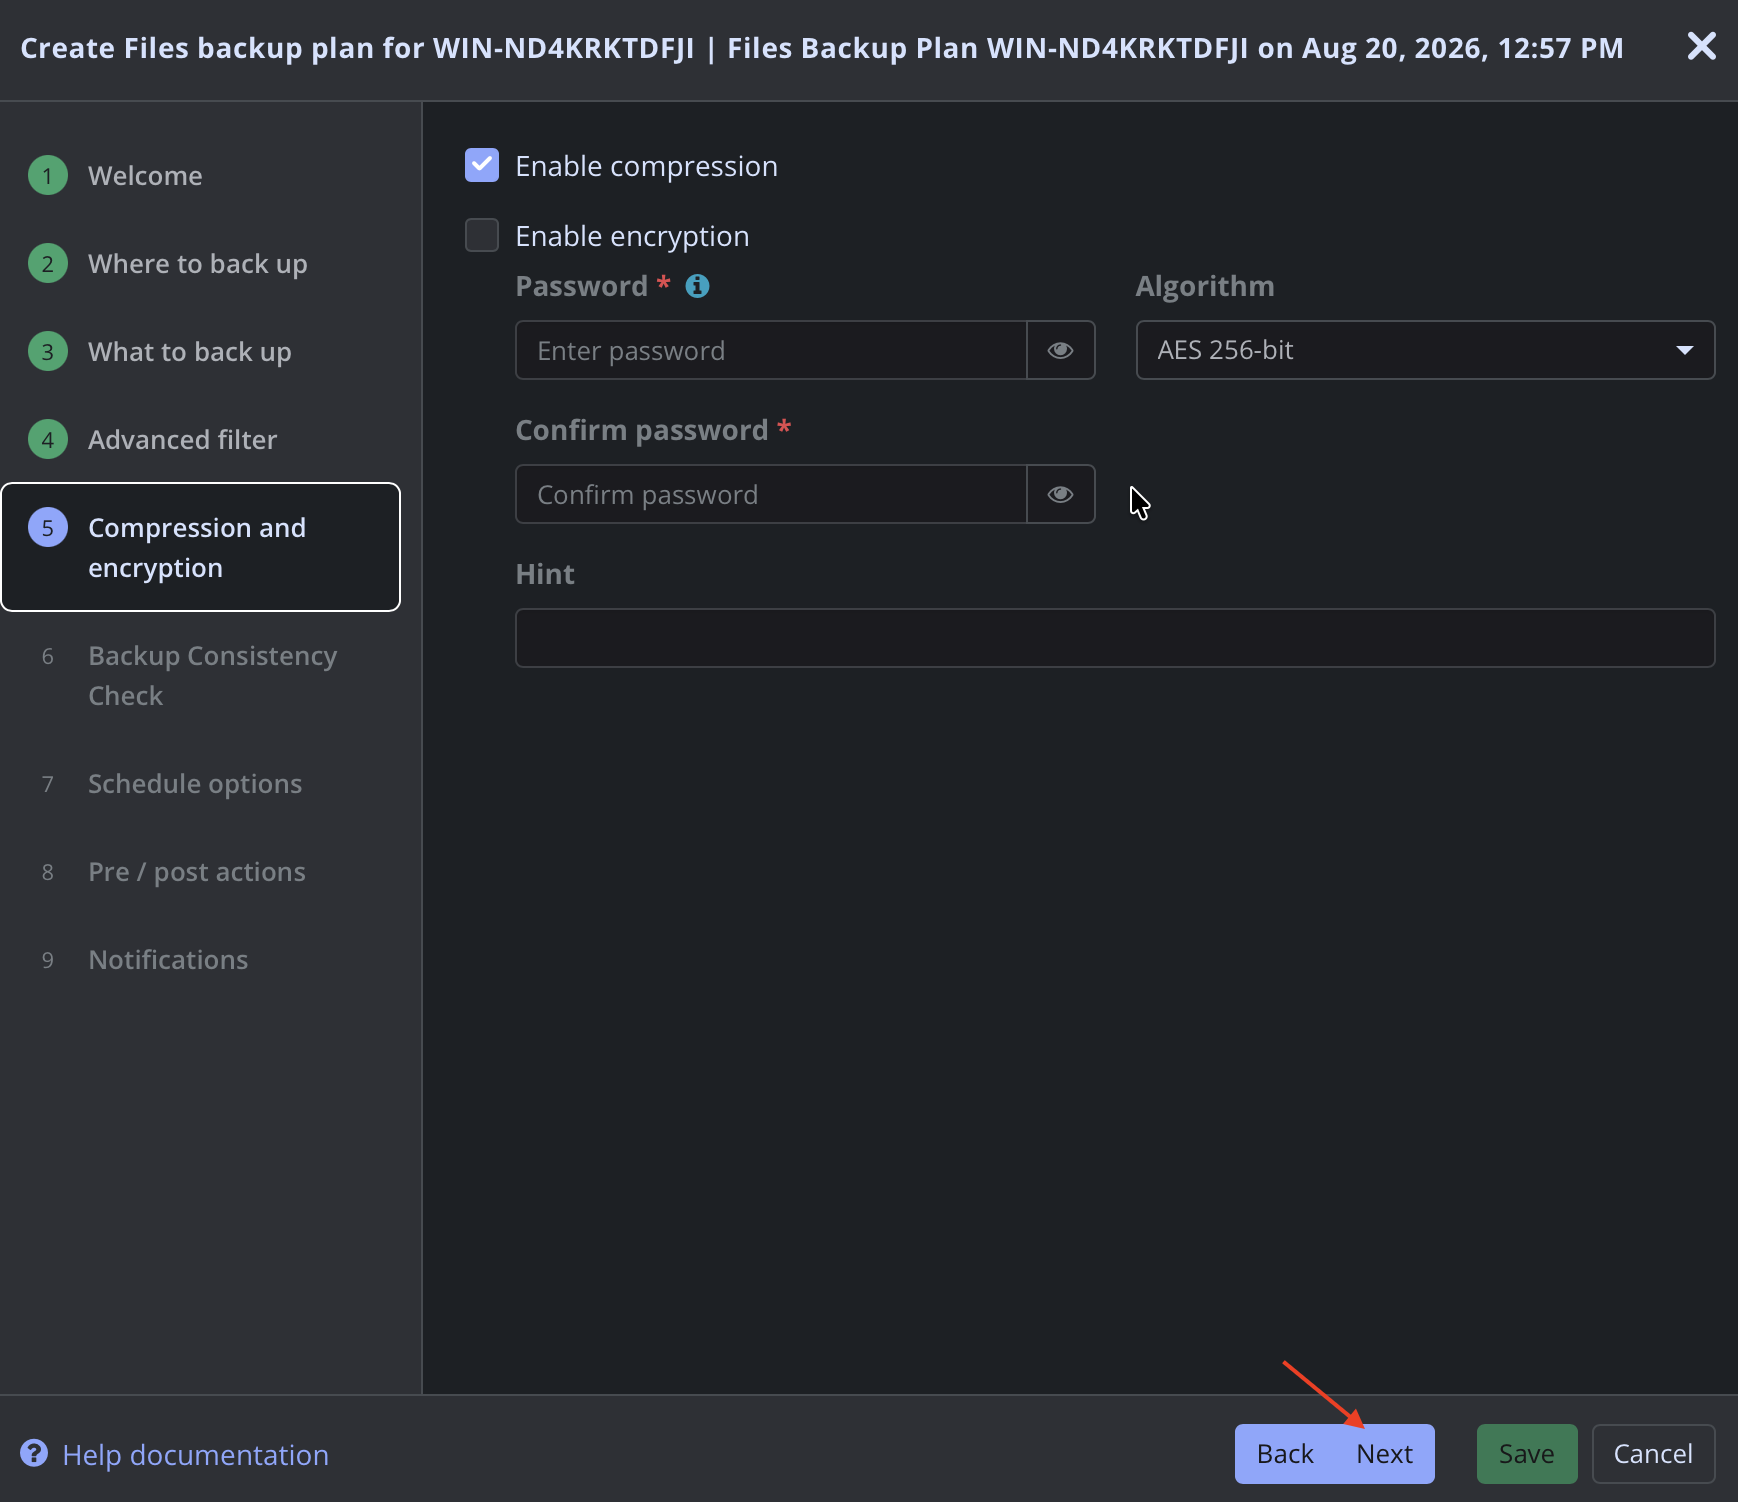
Click Next.
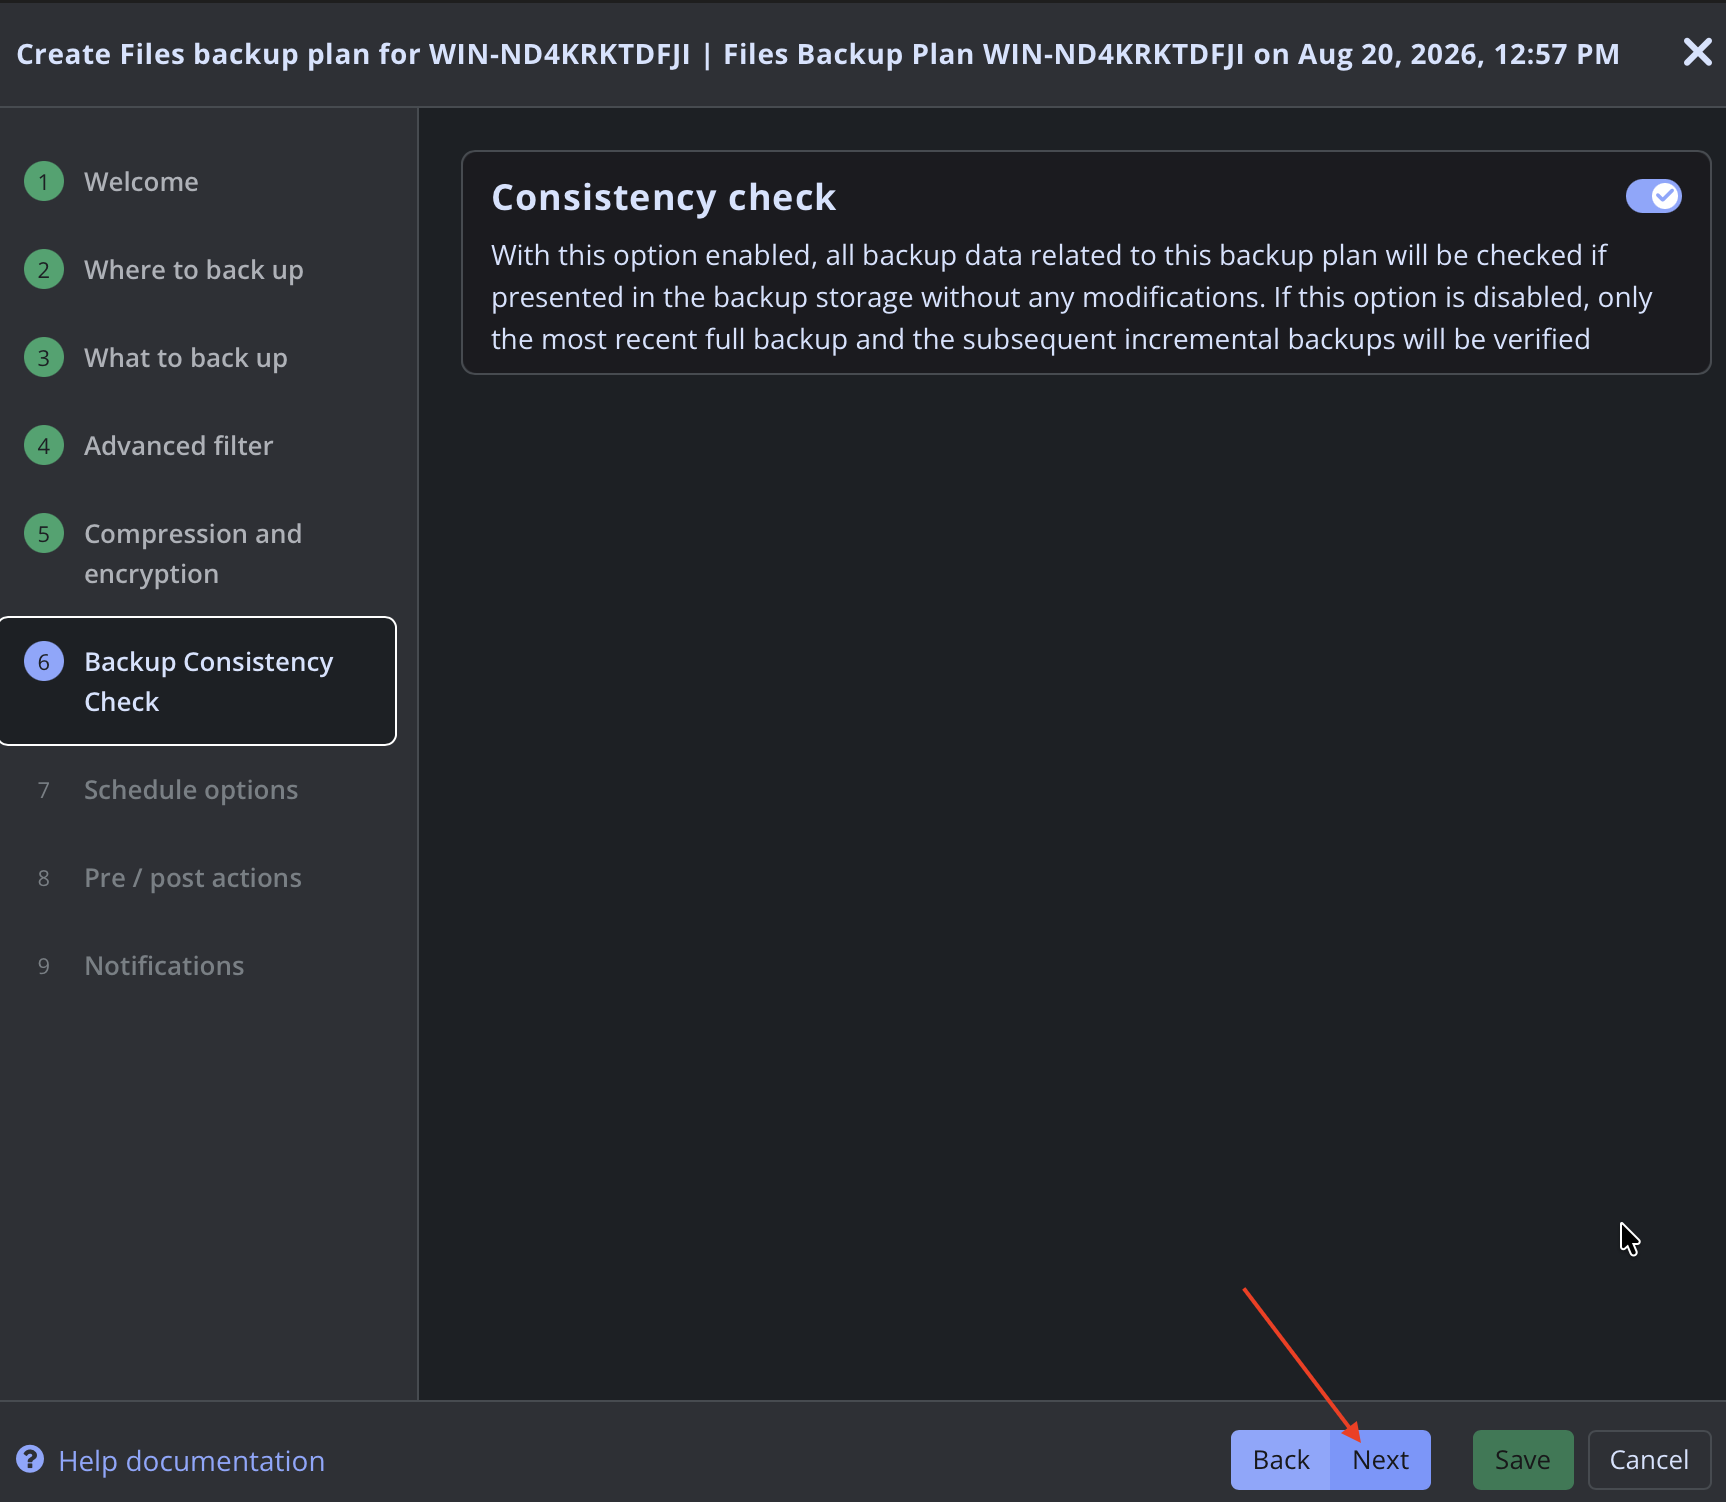
As we are only using this bucket to Restore data, ensure No schedule, run manually is selected, then click Next.
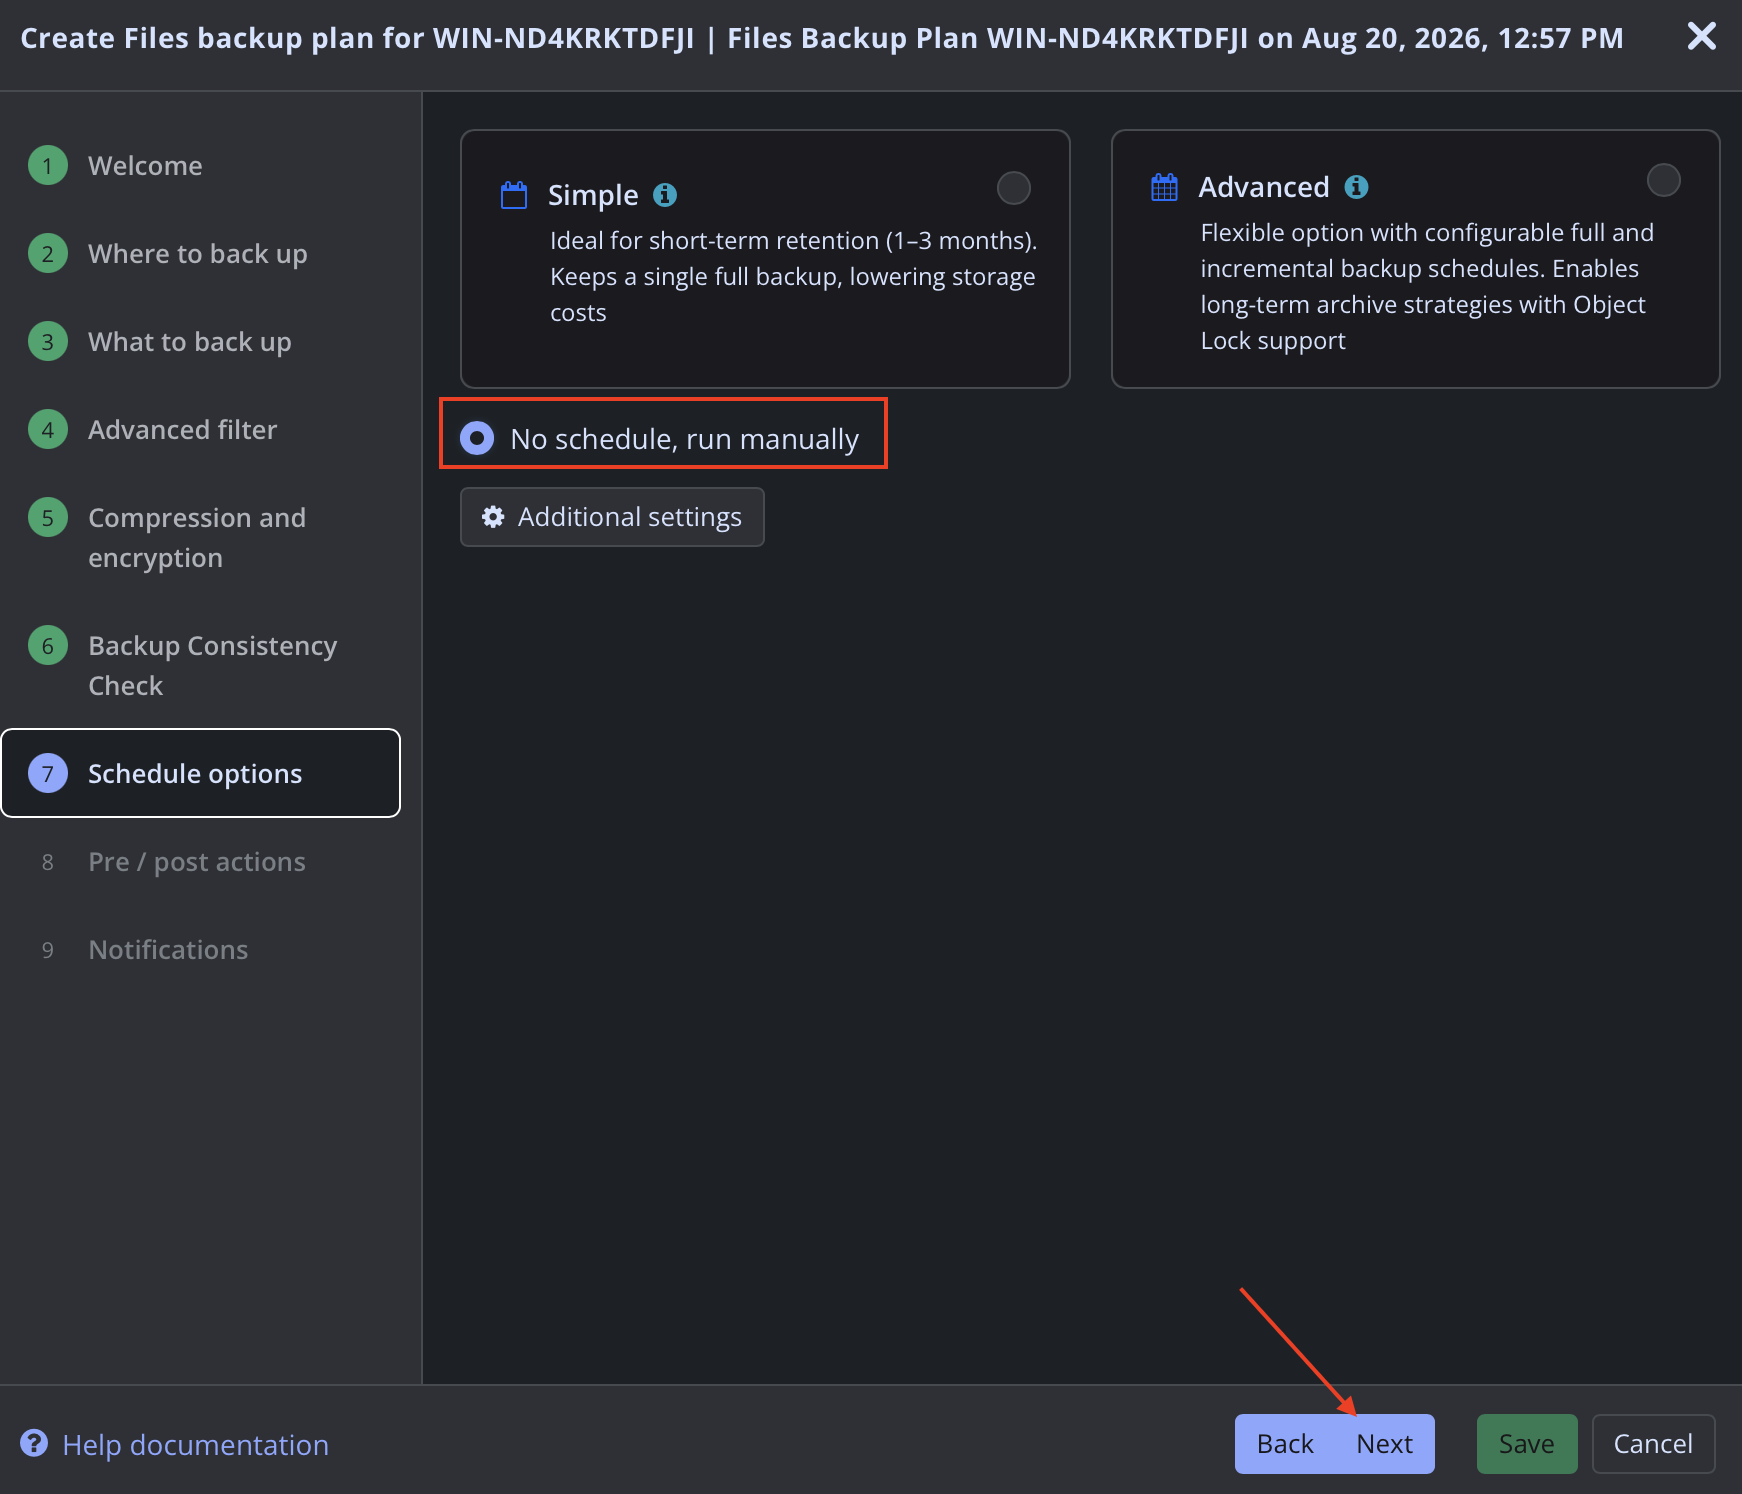
Click Next.
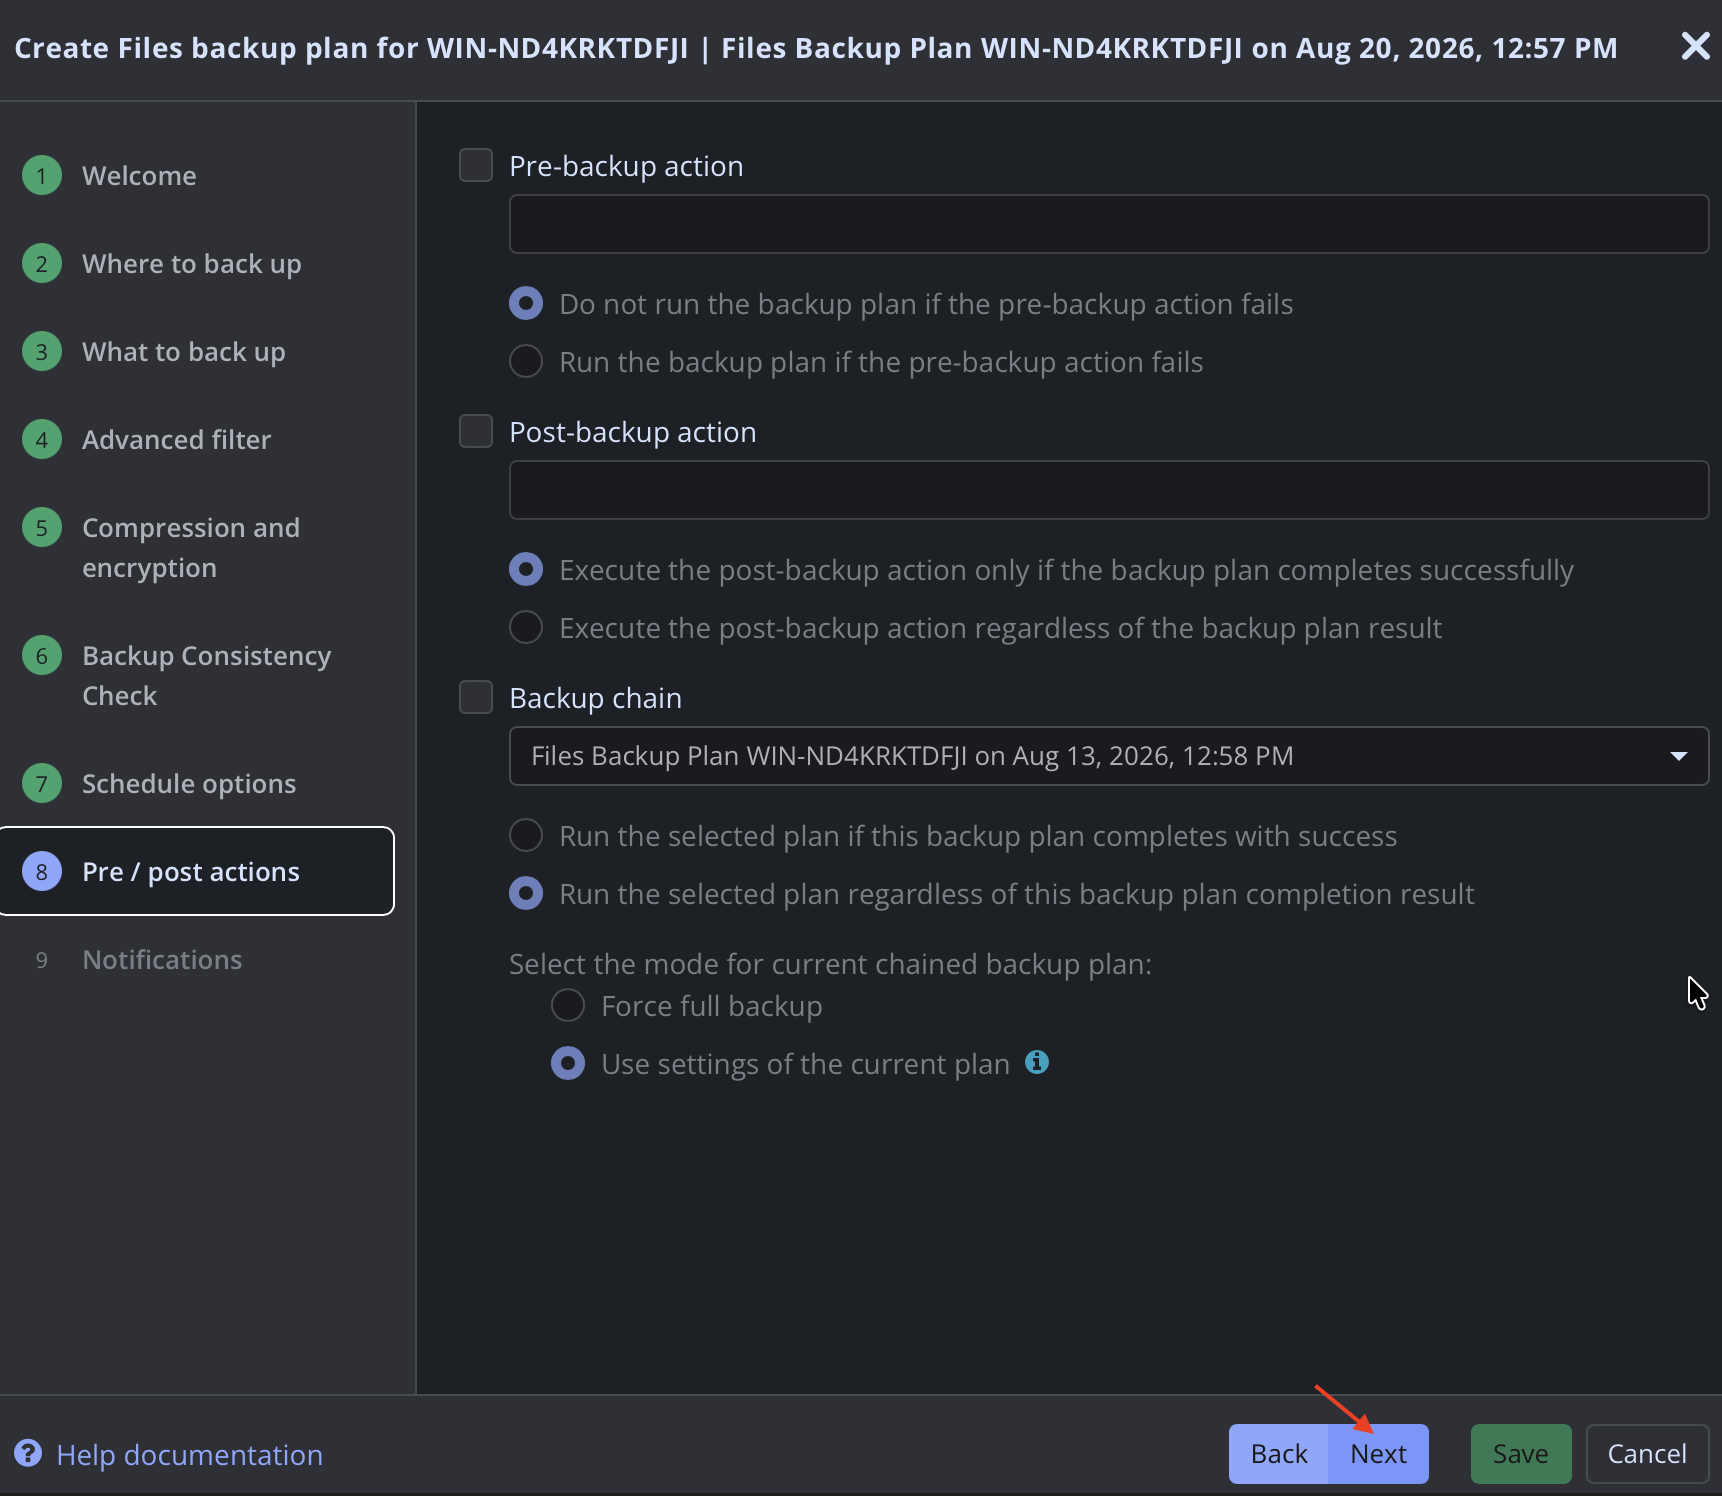
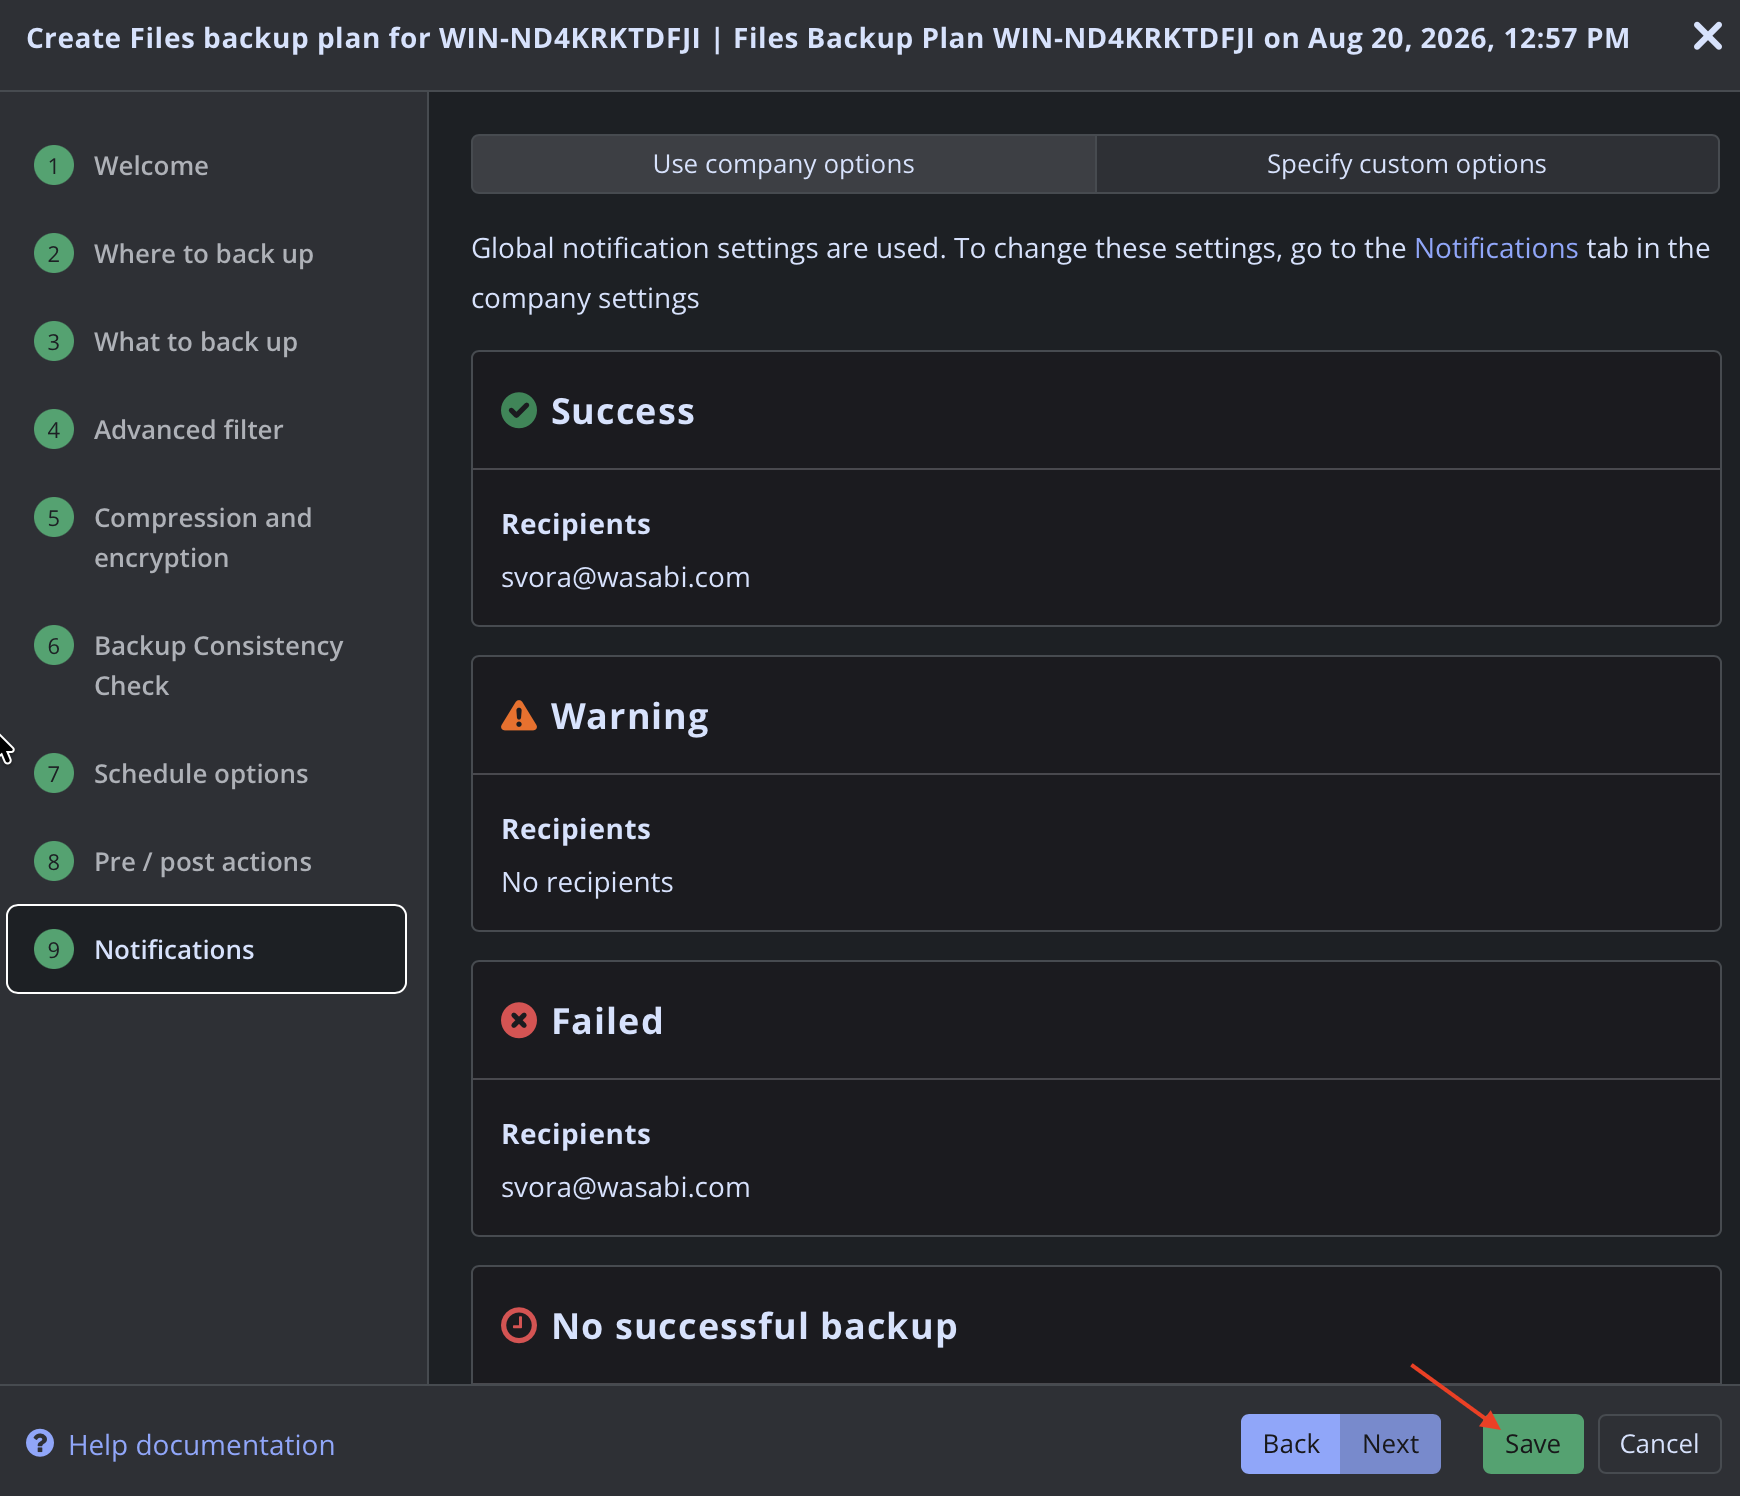
Finally, click Save.
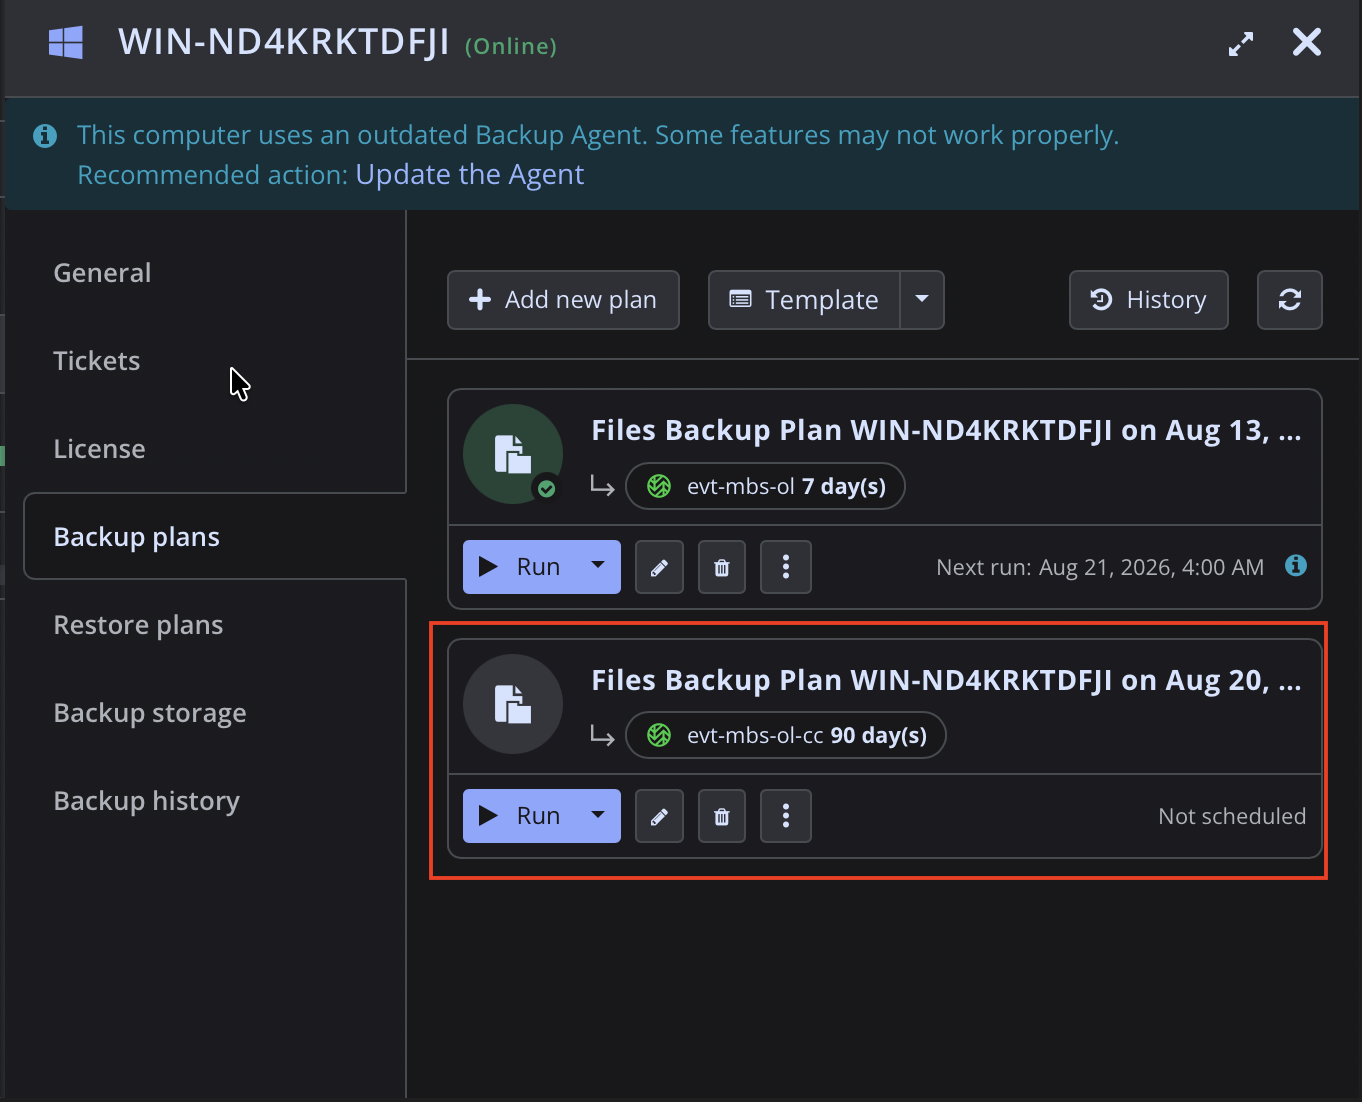
Your Covert Copy Bucket Backup Plan will show in the right-hand panel.
Restoring From Your Covert Copy Bucket
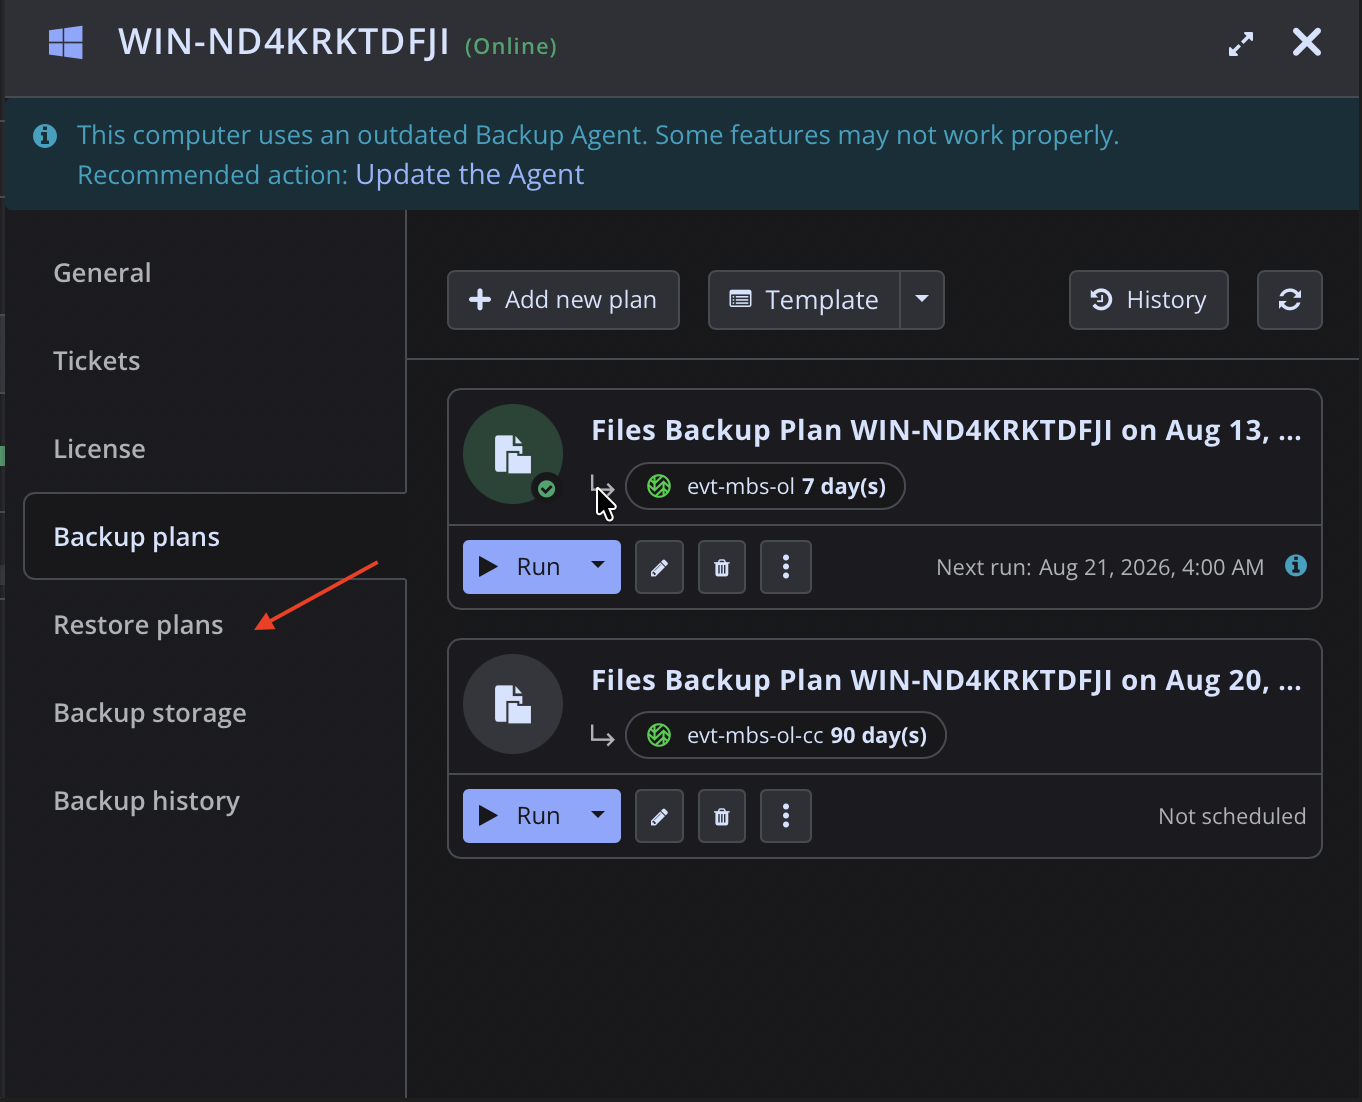
Click Restore plans.
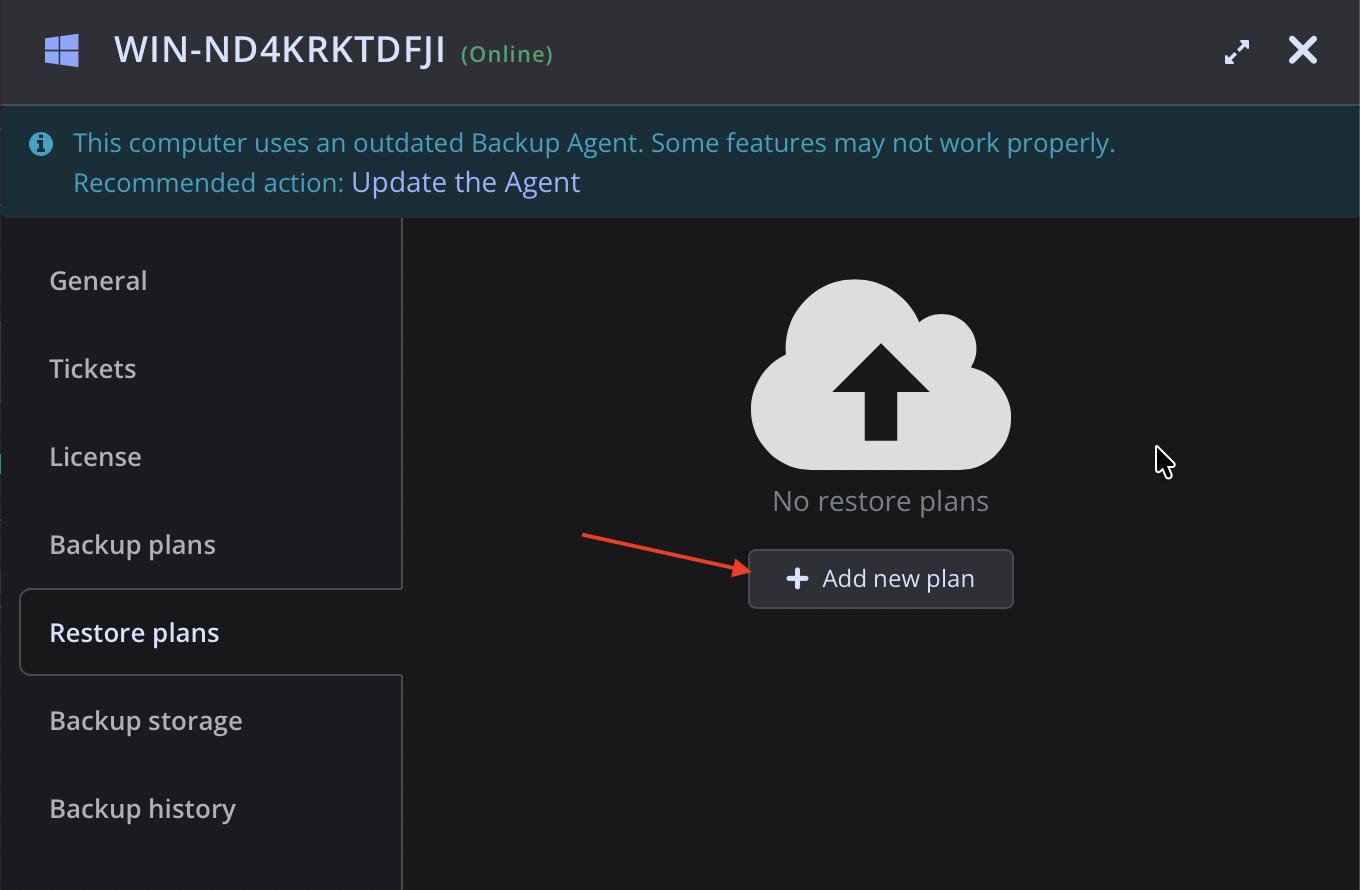
Click Add new plan.
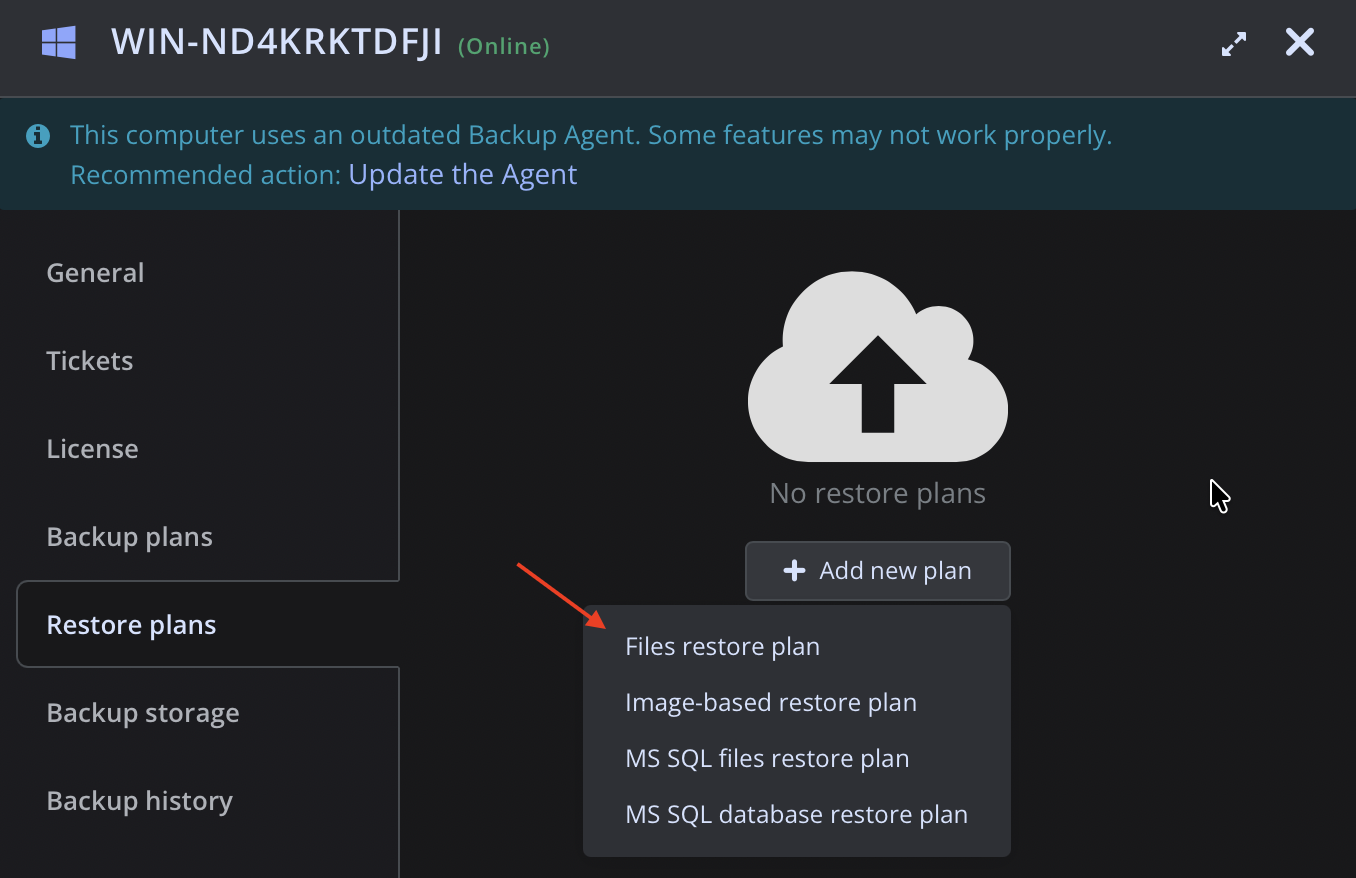
Choose the appropriate plan type for your backup. (In this case: Files restore plan.)
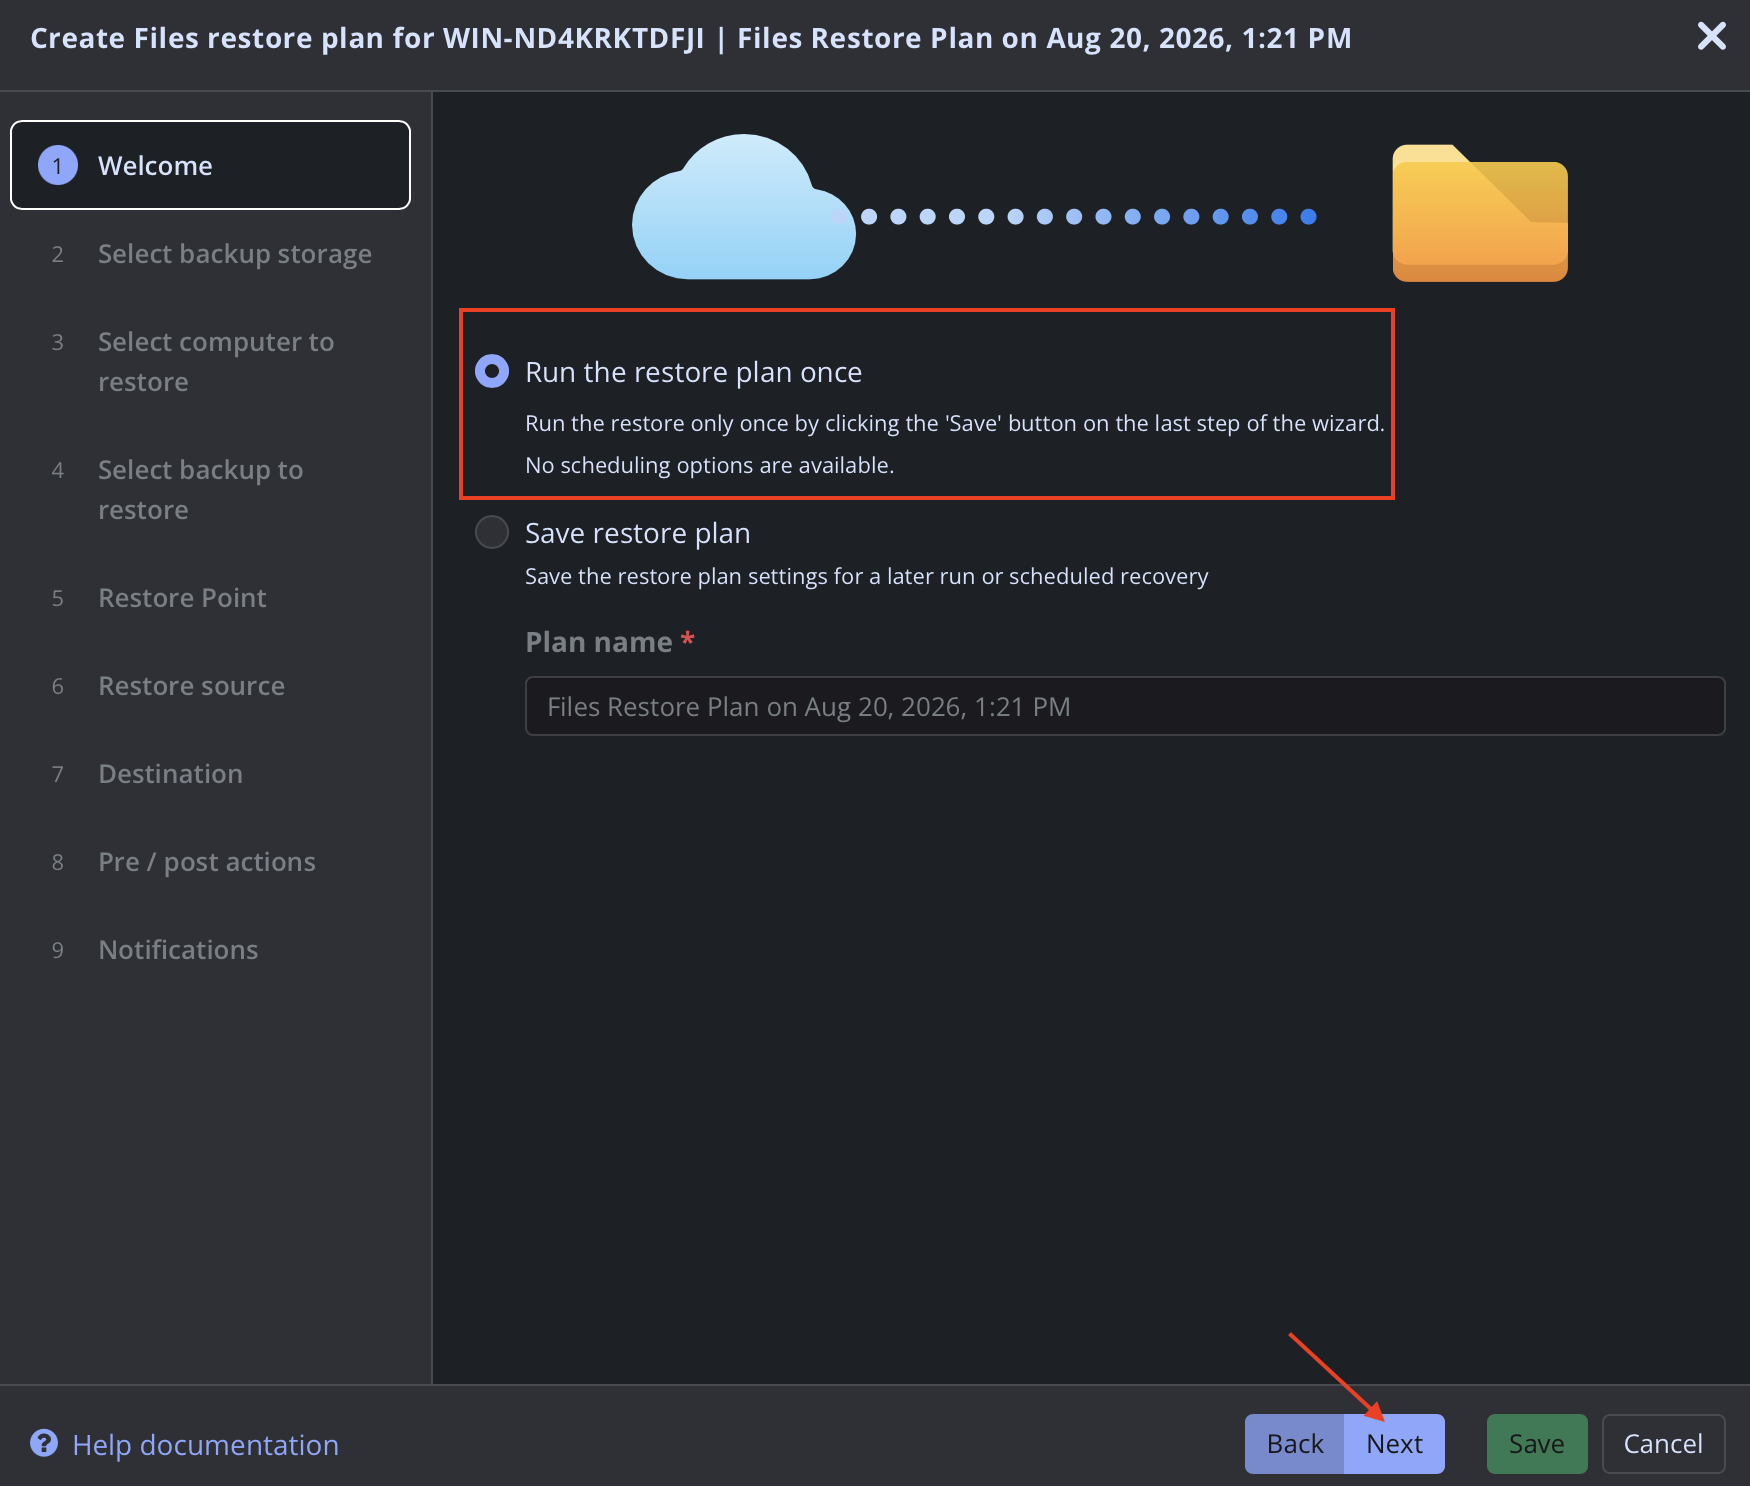
Ensure Run the restore plan once is selected, then click Next.
Choose your Covert Copy Bucket, then click Next.
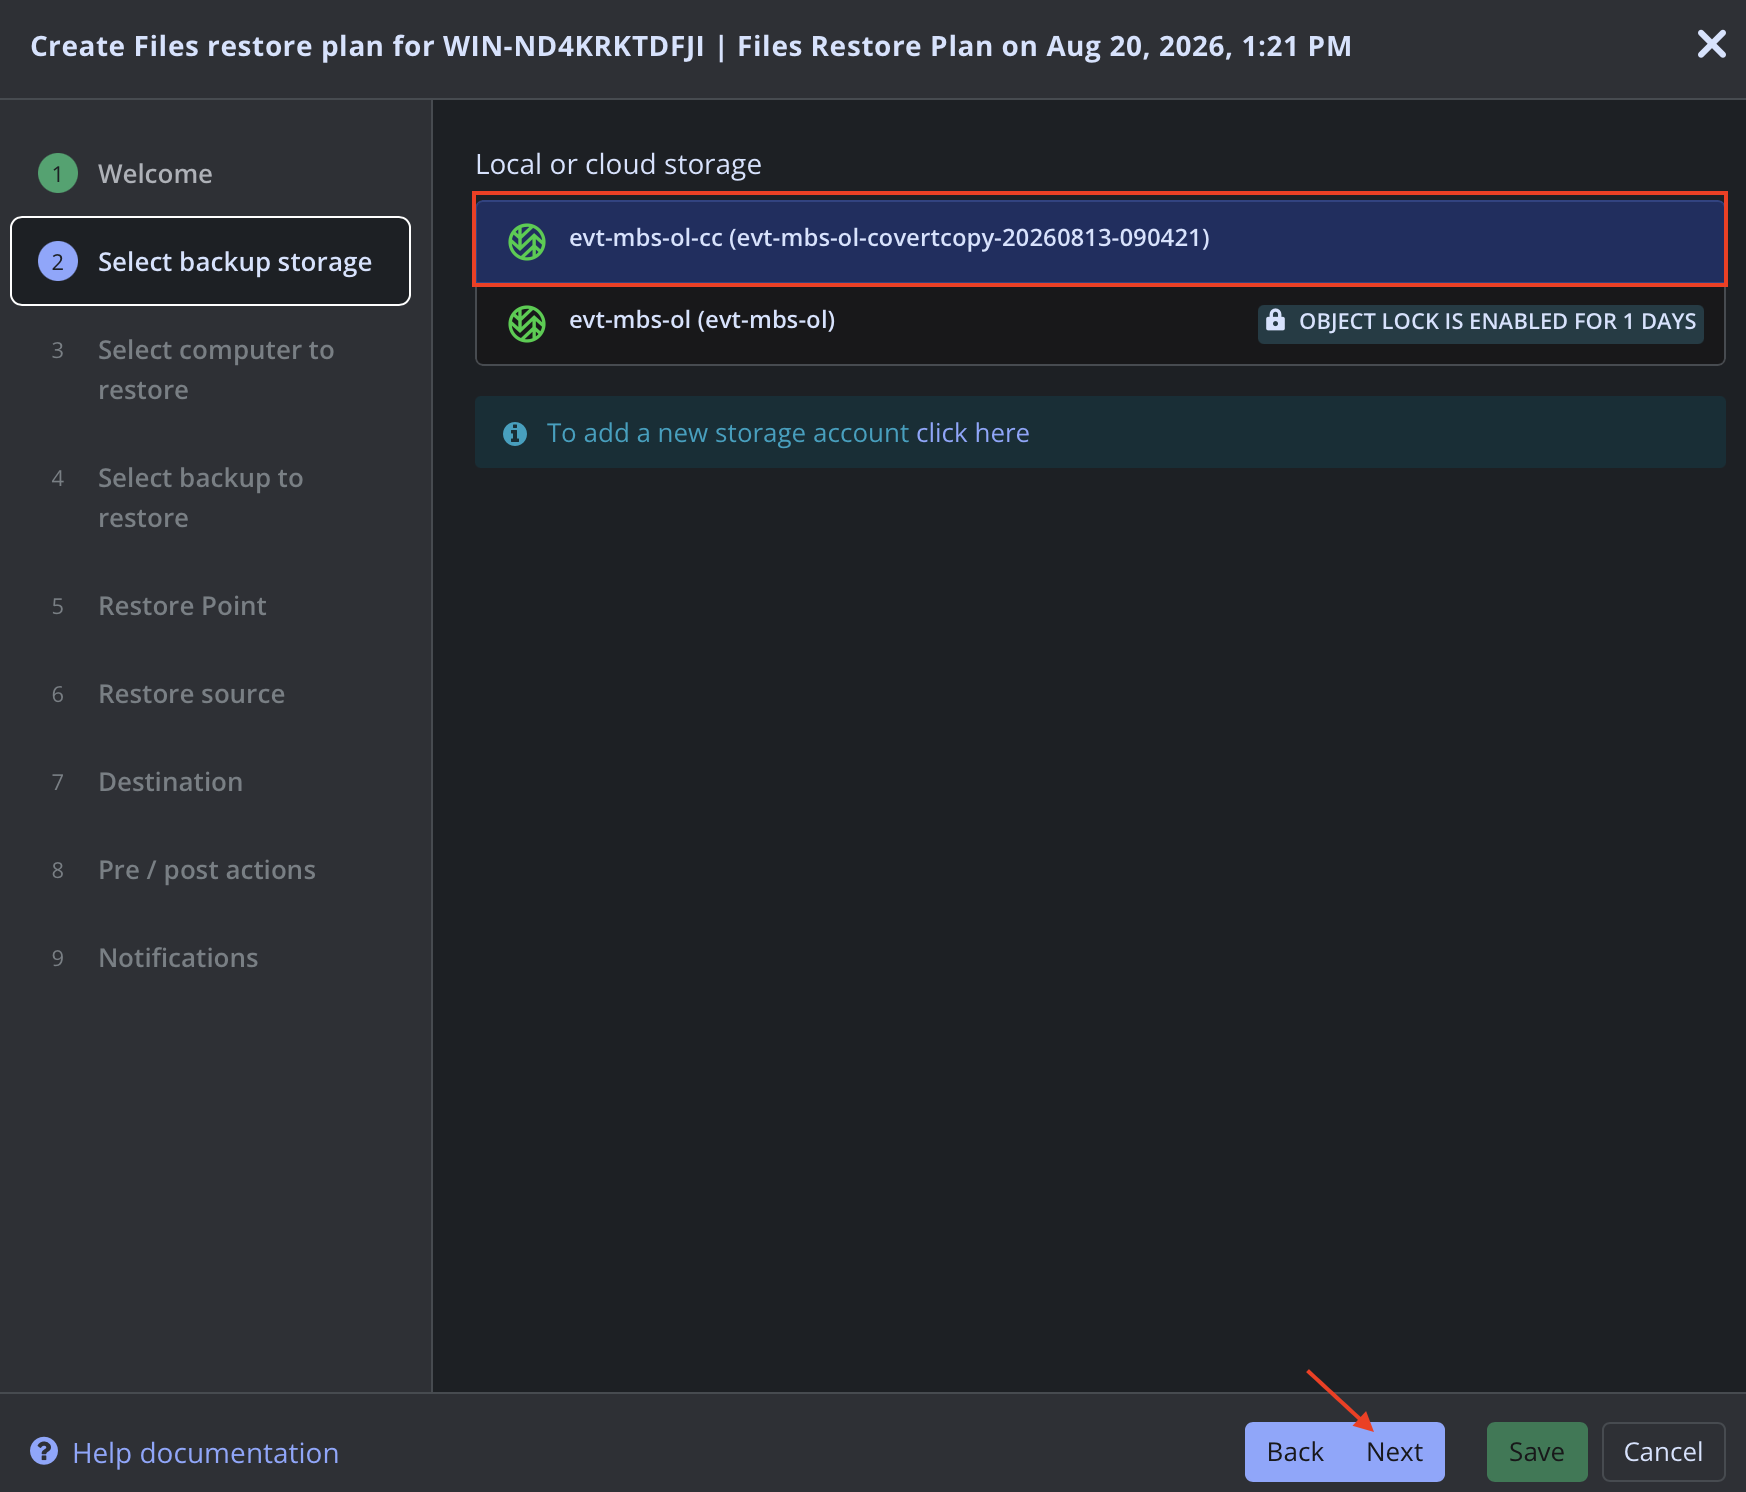
Select the computer to restore, then click Next.
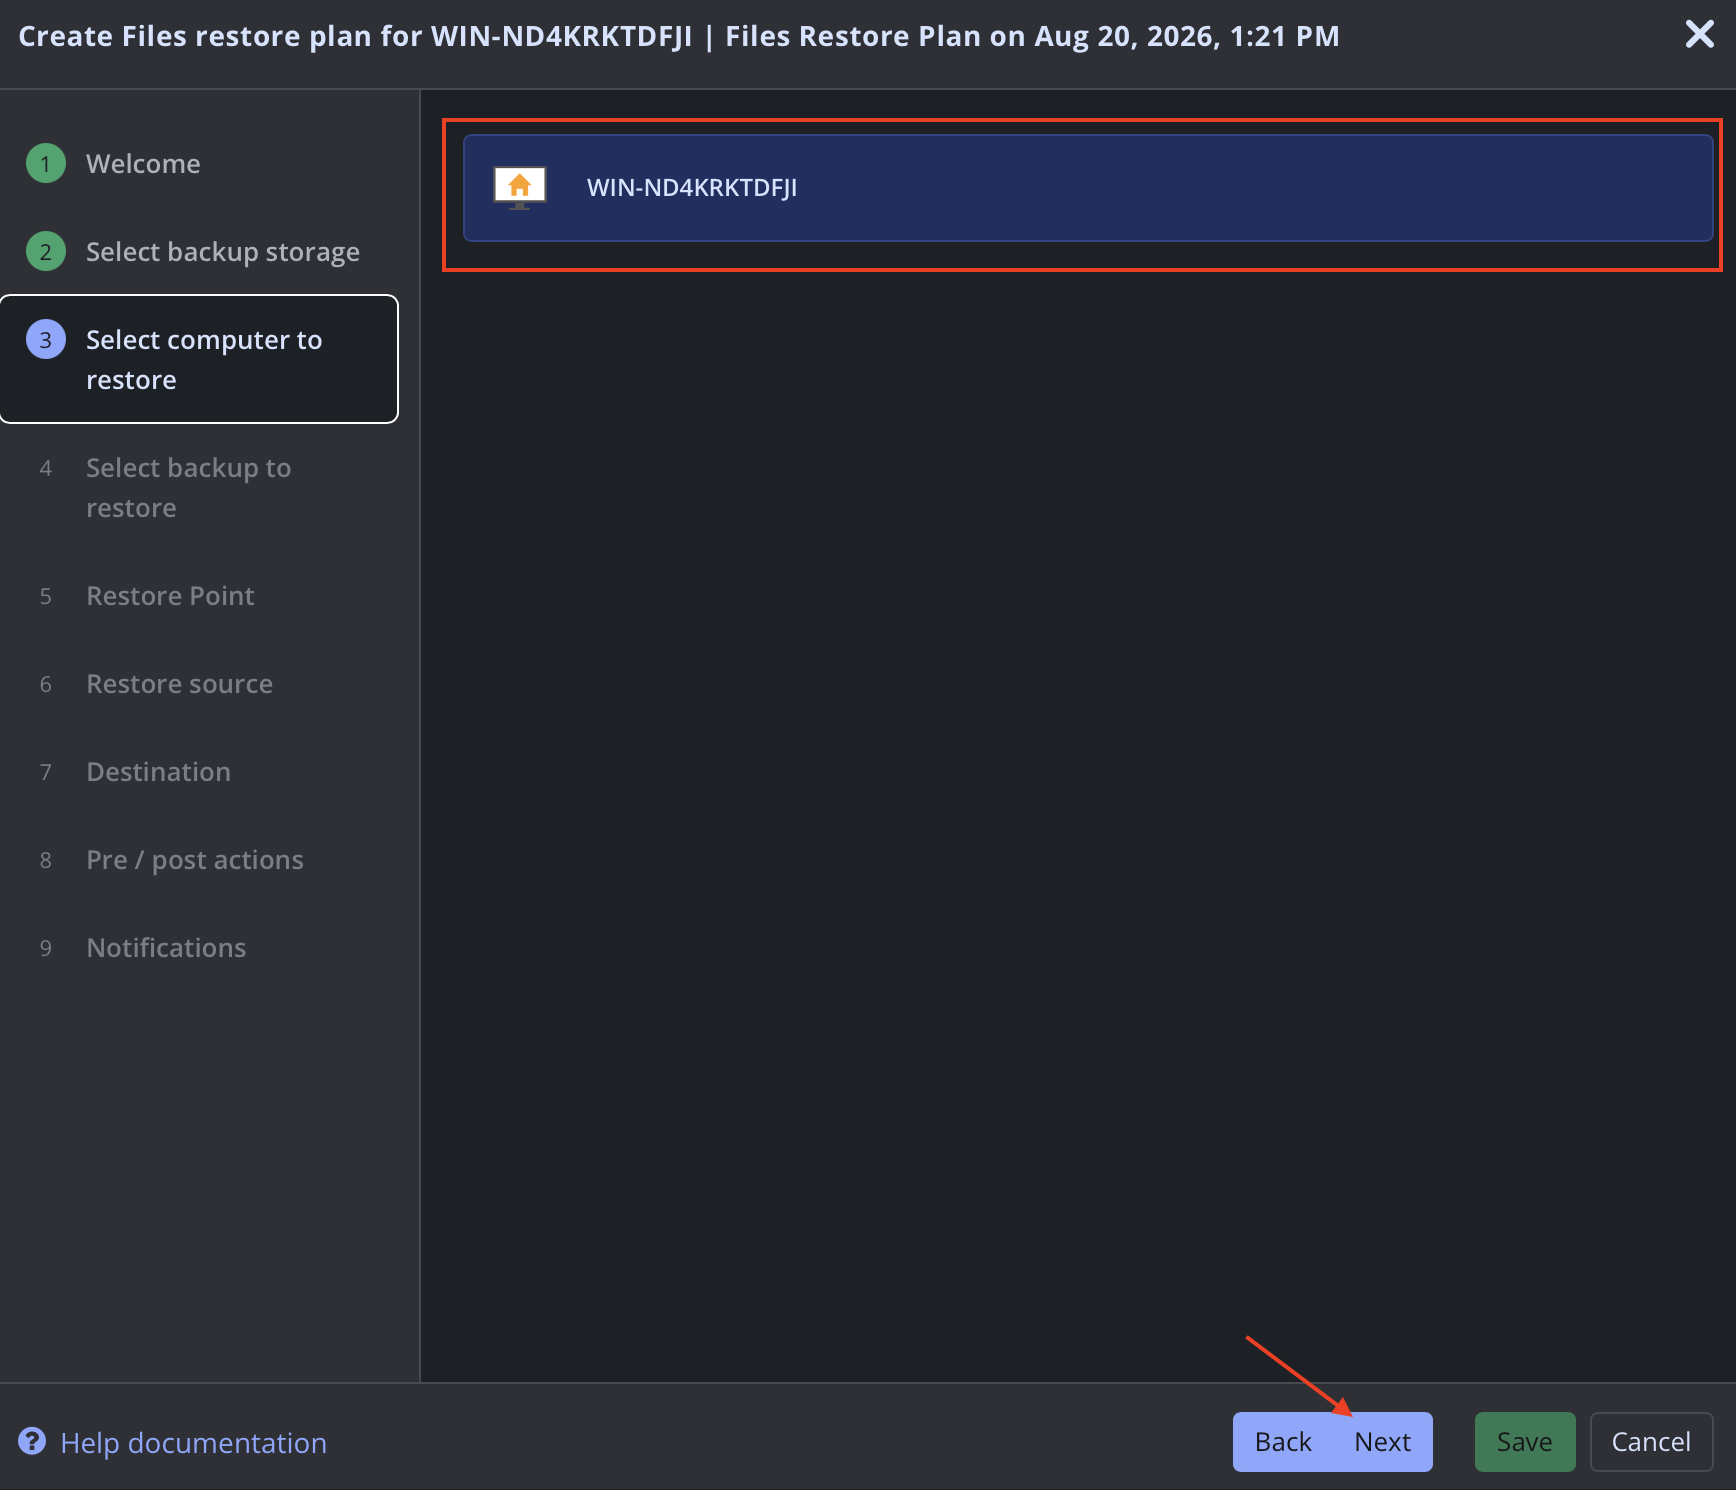
Select the backup to restore, then click Next.
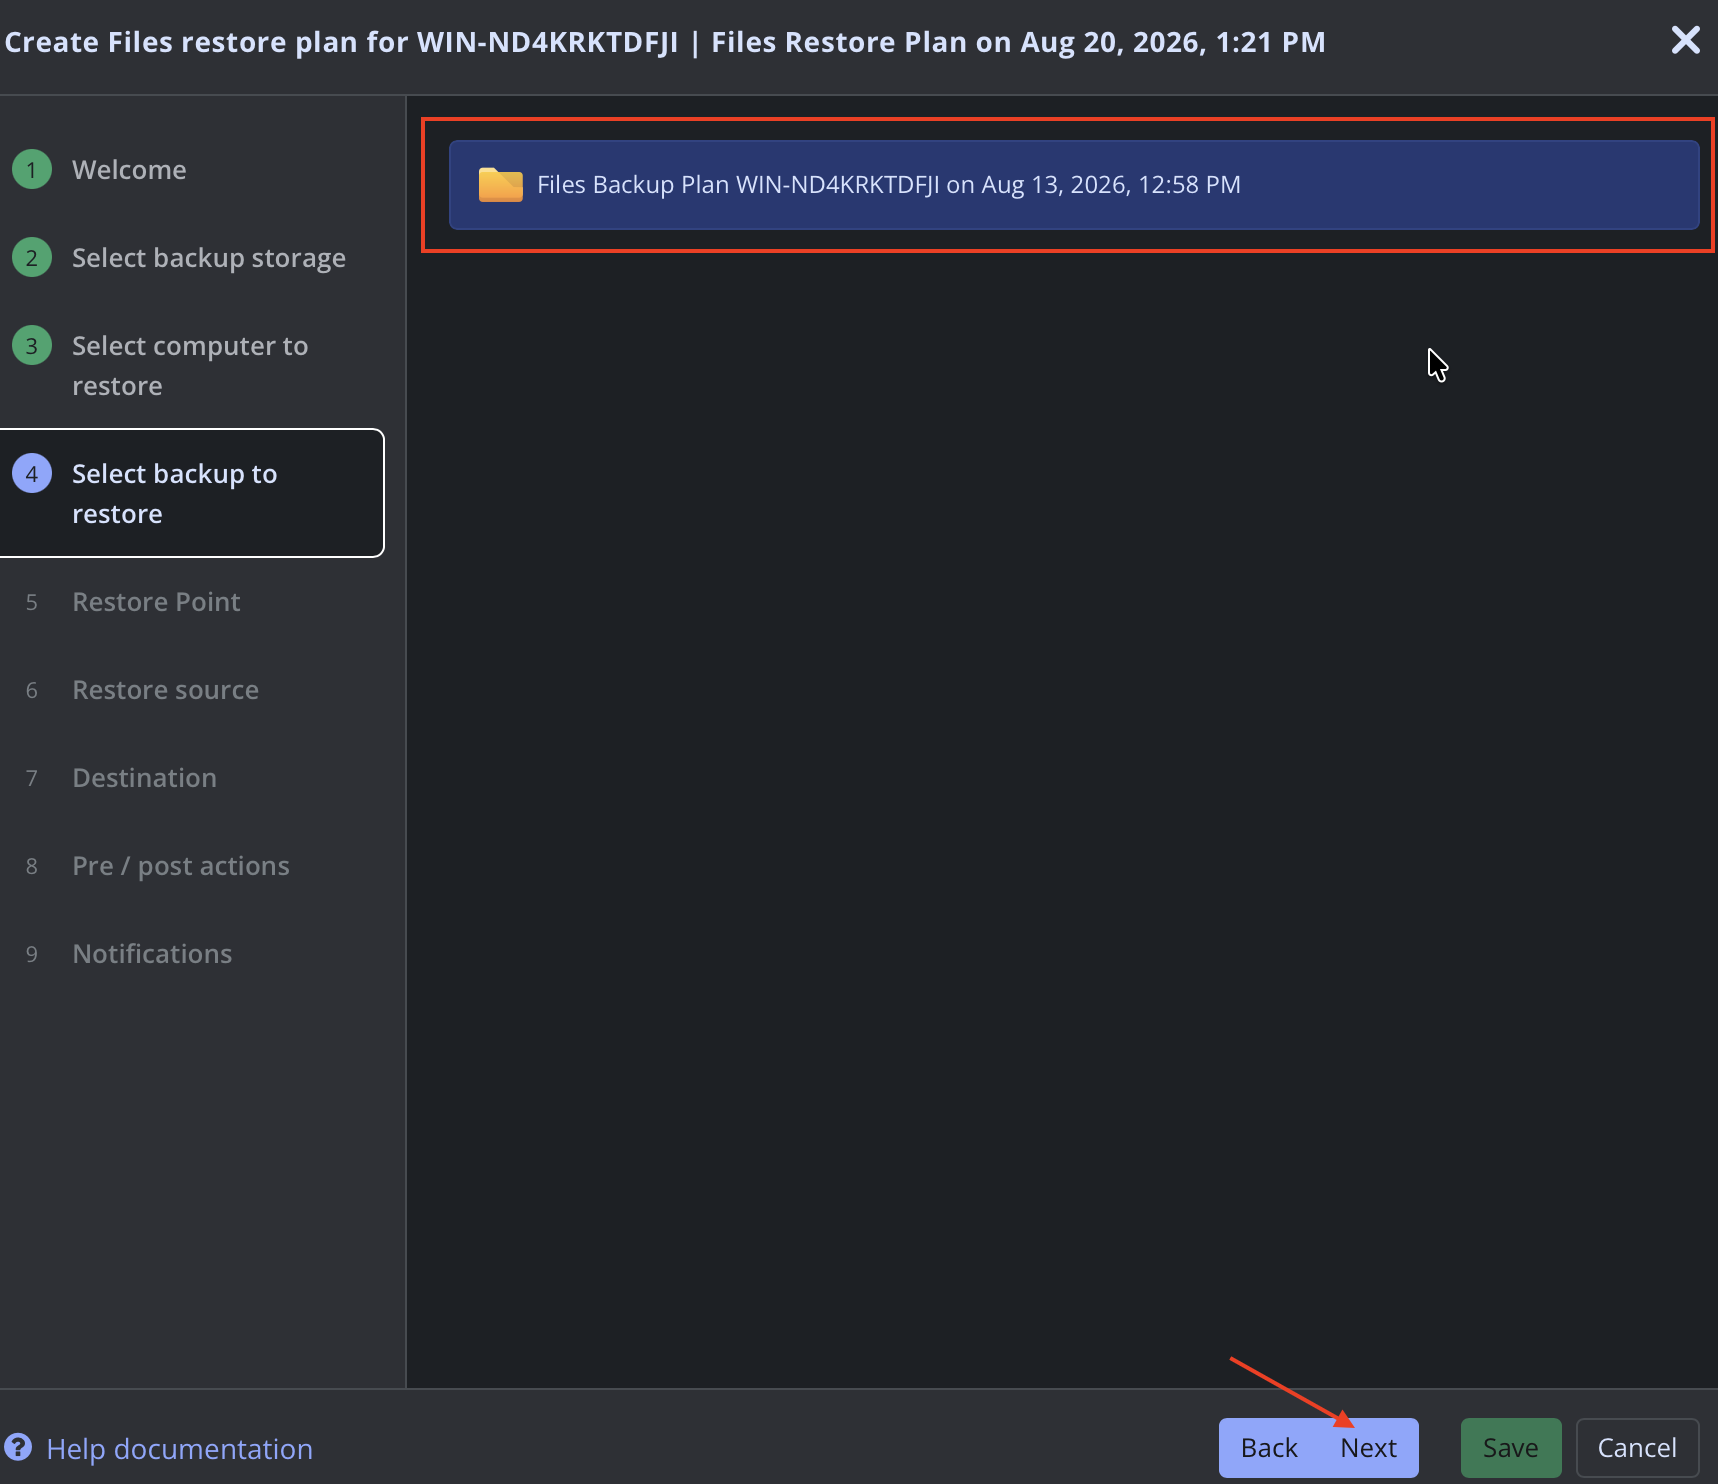
Choose your restore point, then click Next.
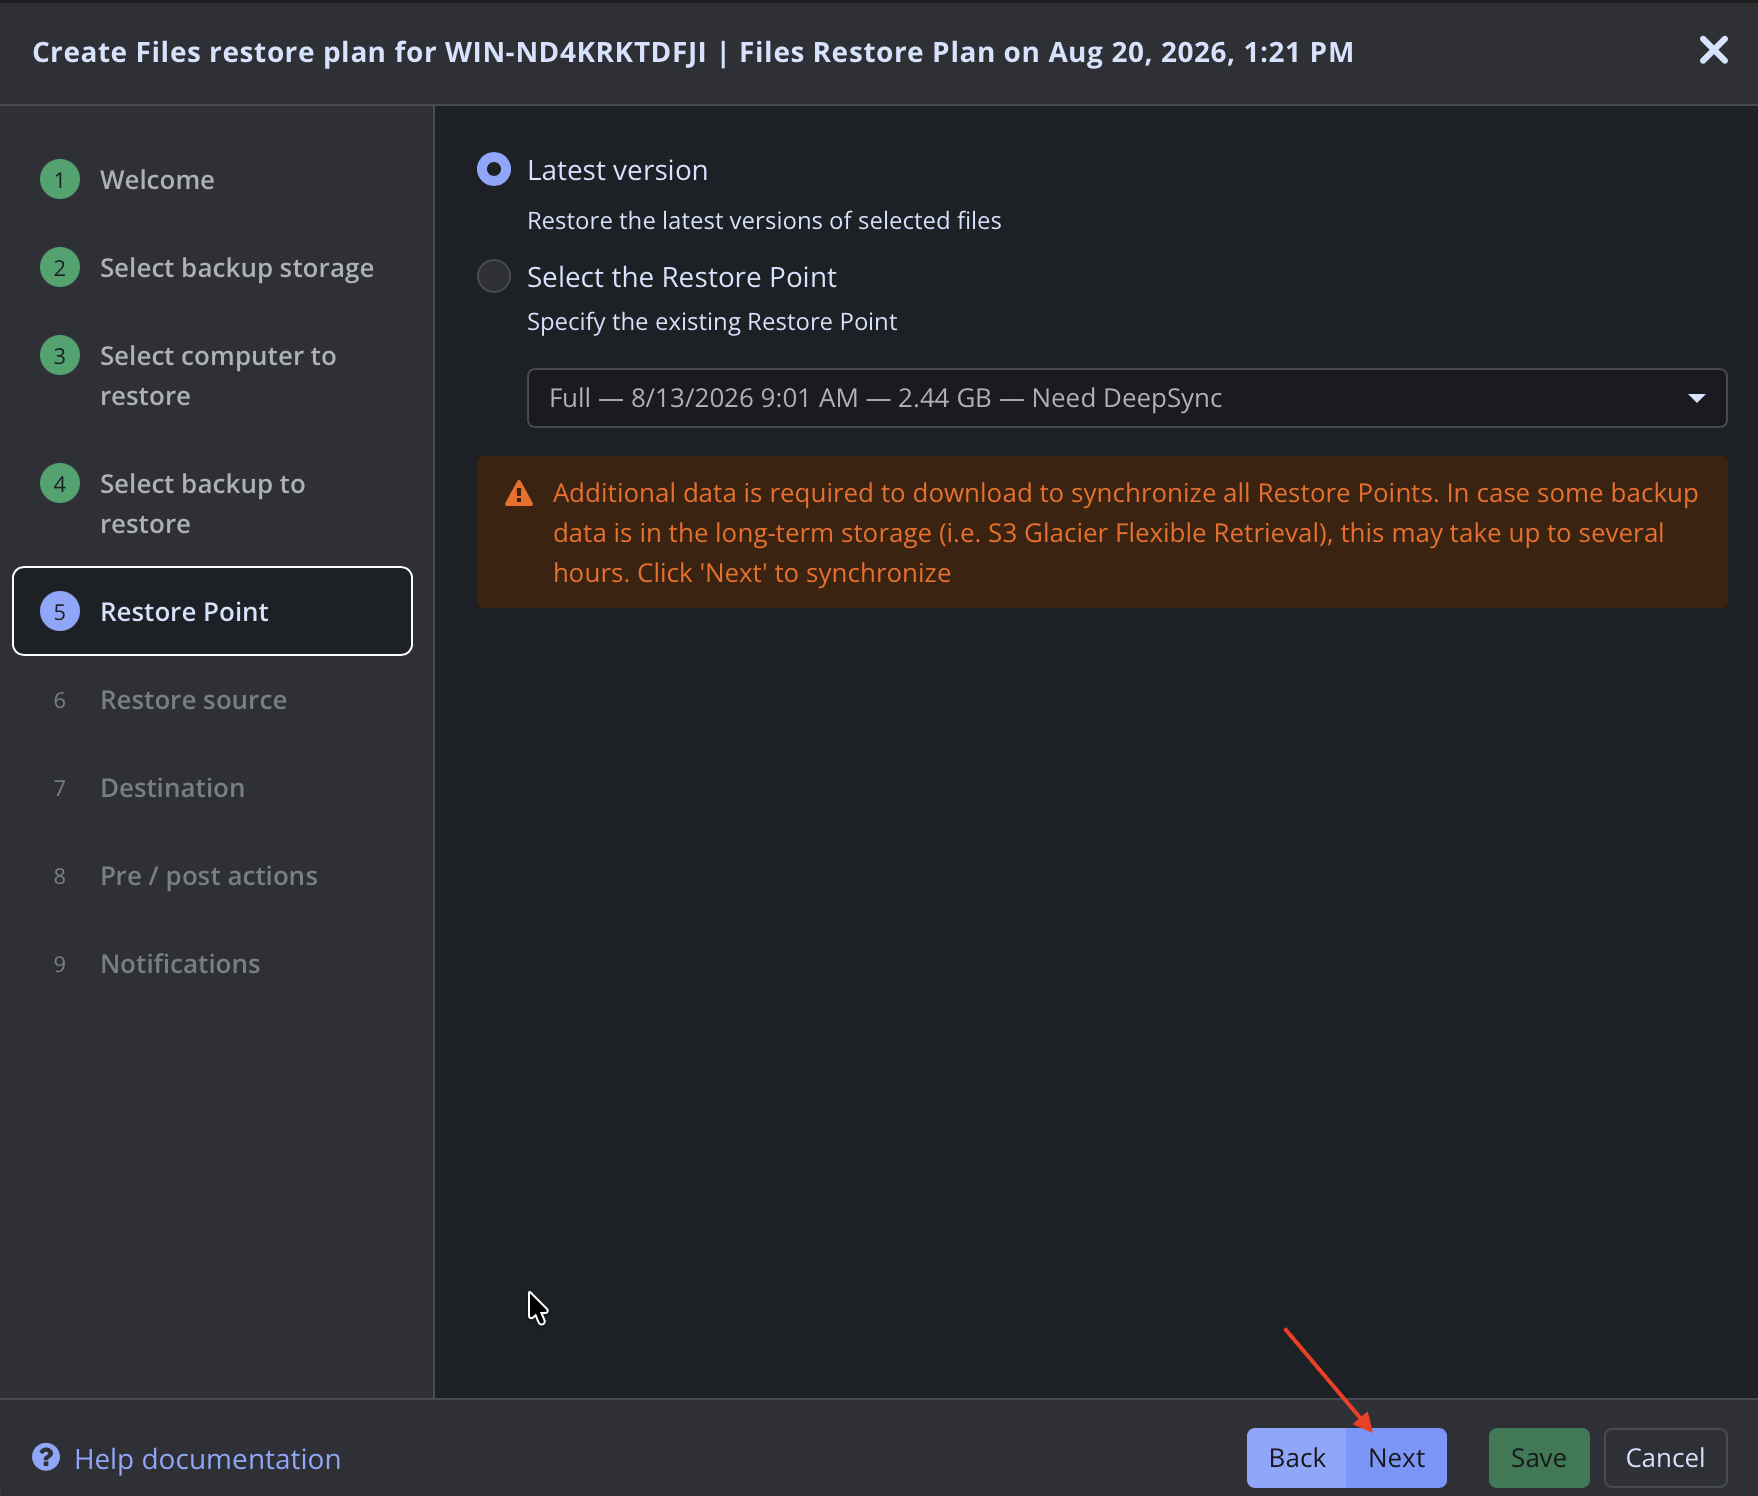
Use the directory tree to choose the files you wish to restore, then click Next.
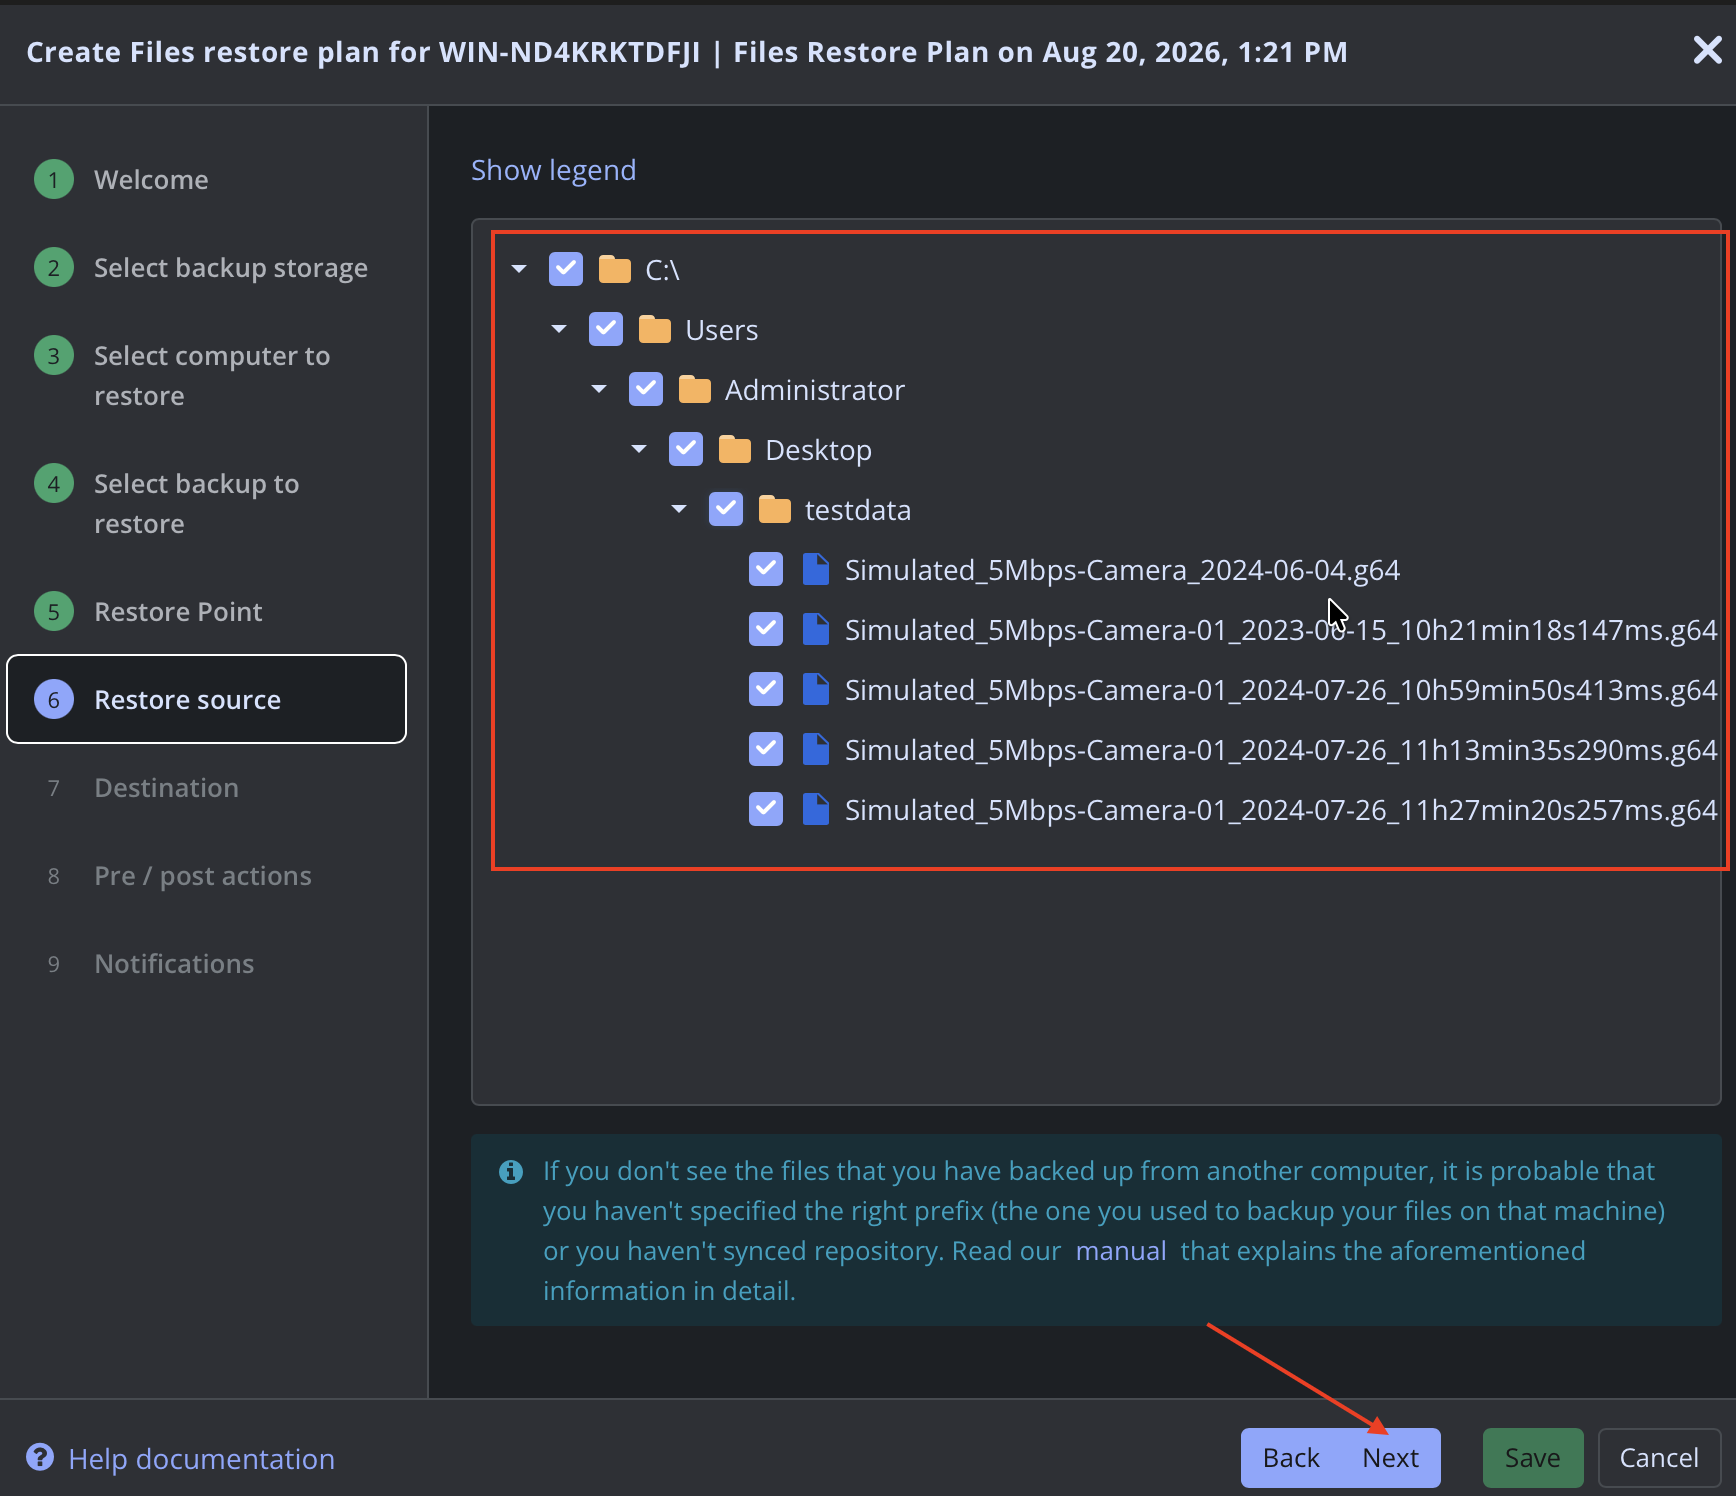
Choose the location to restore the files (Or optionally the original location), then click Next.
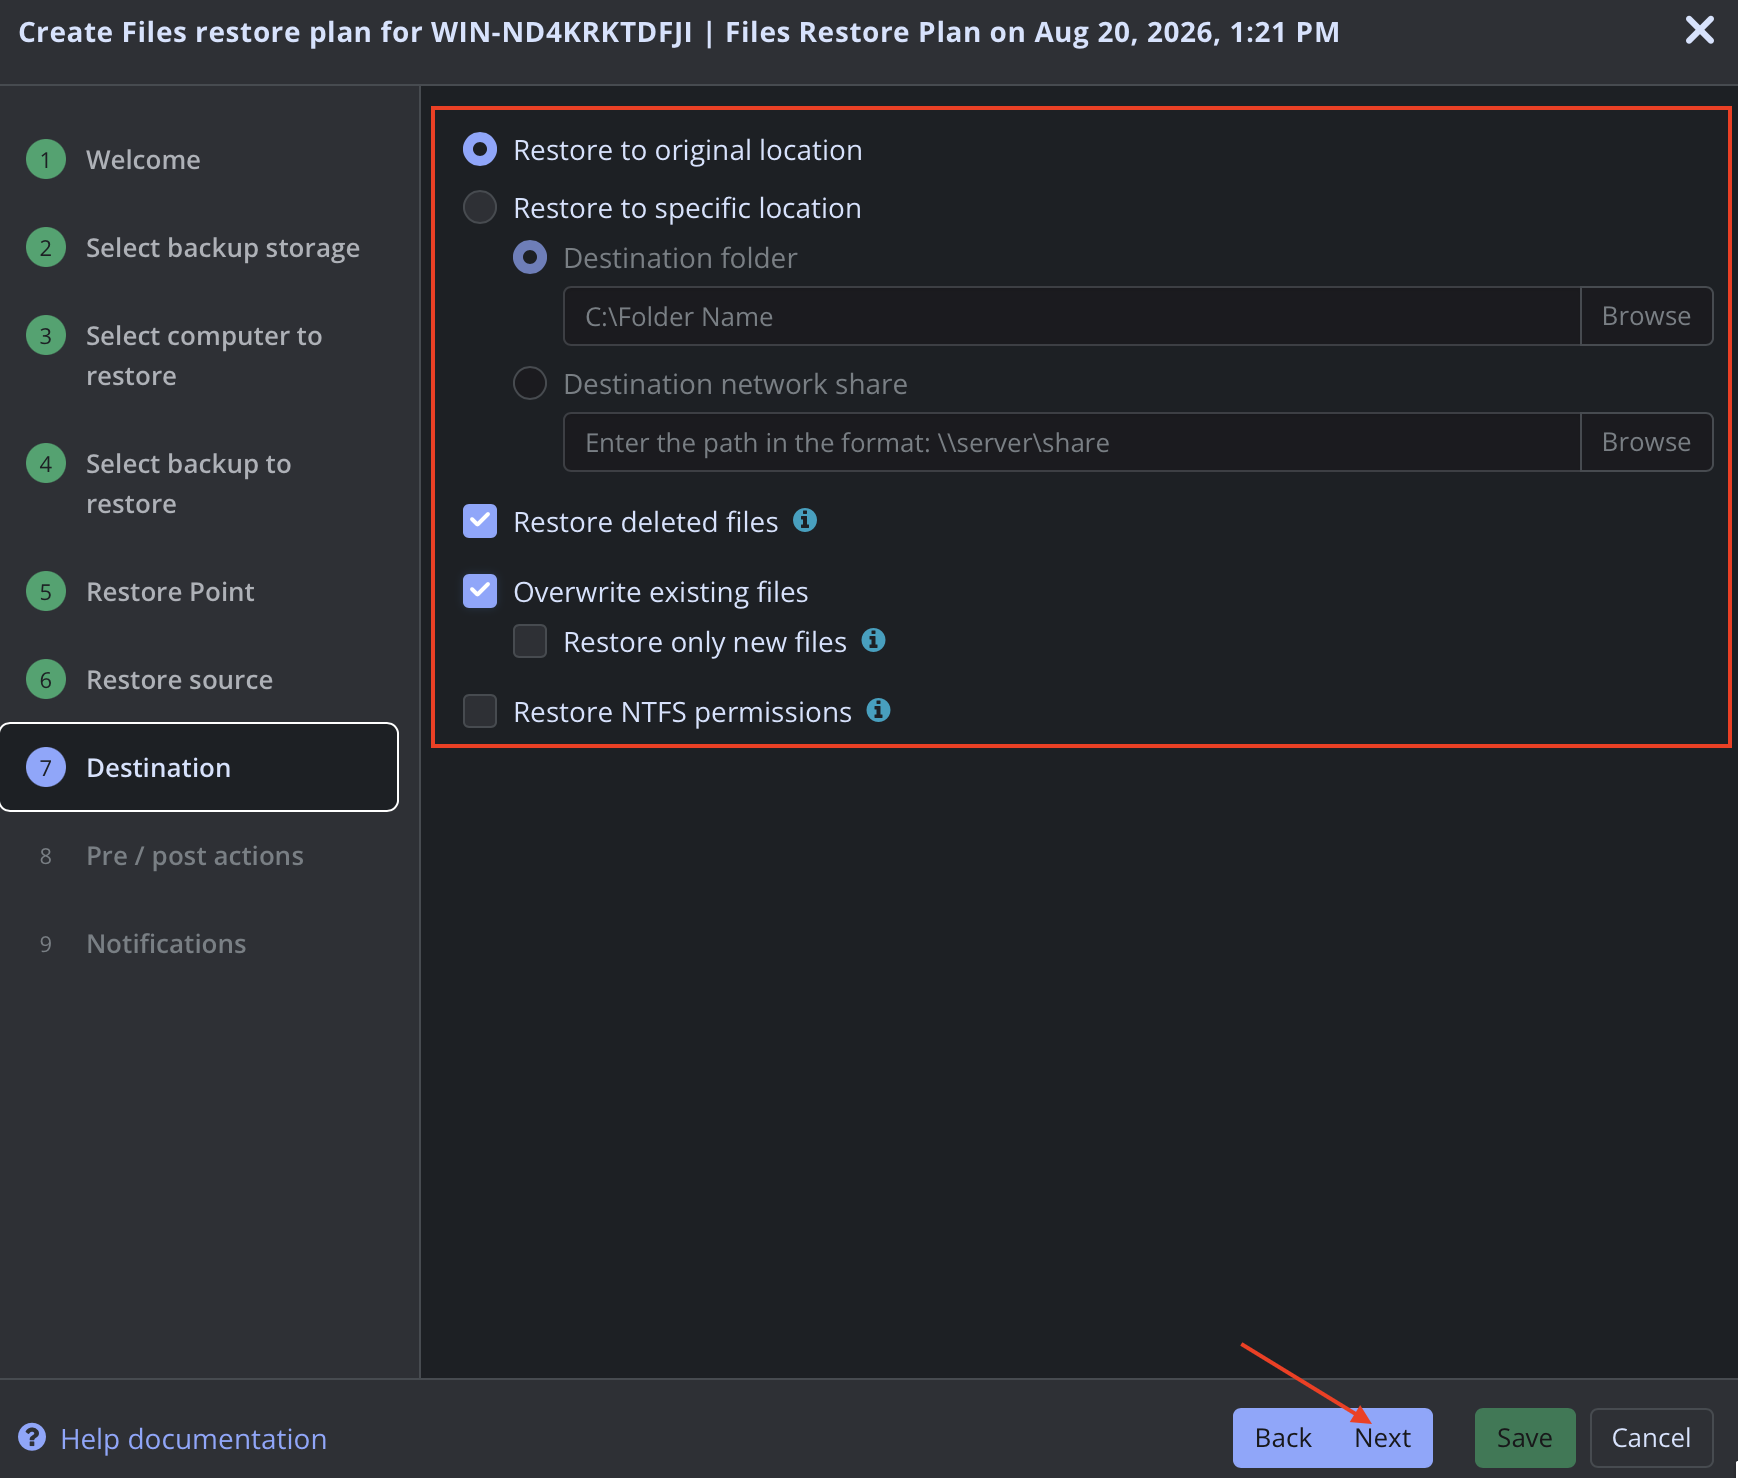
Click Next.
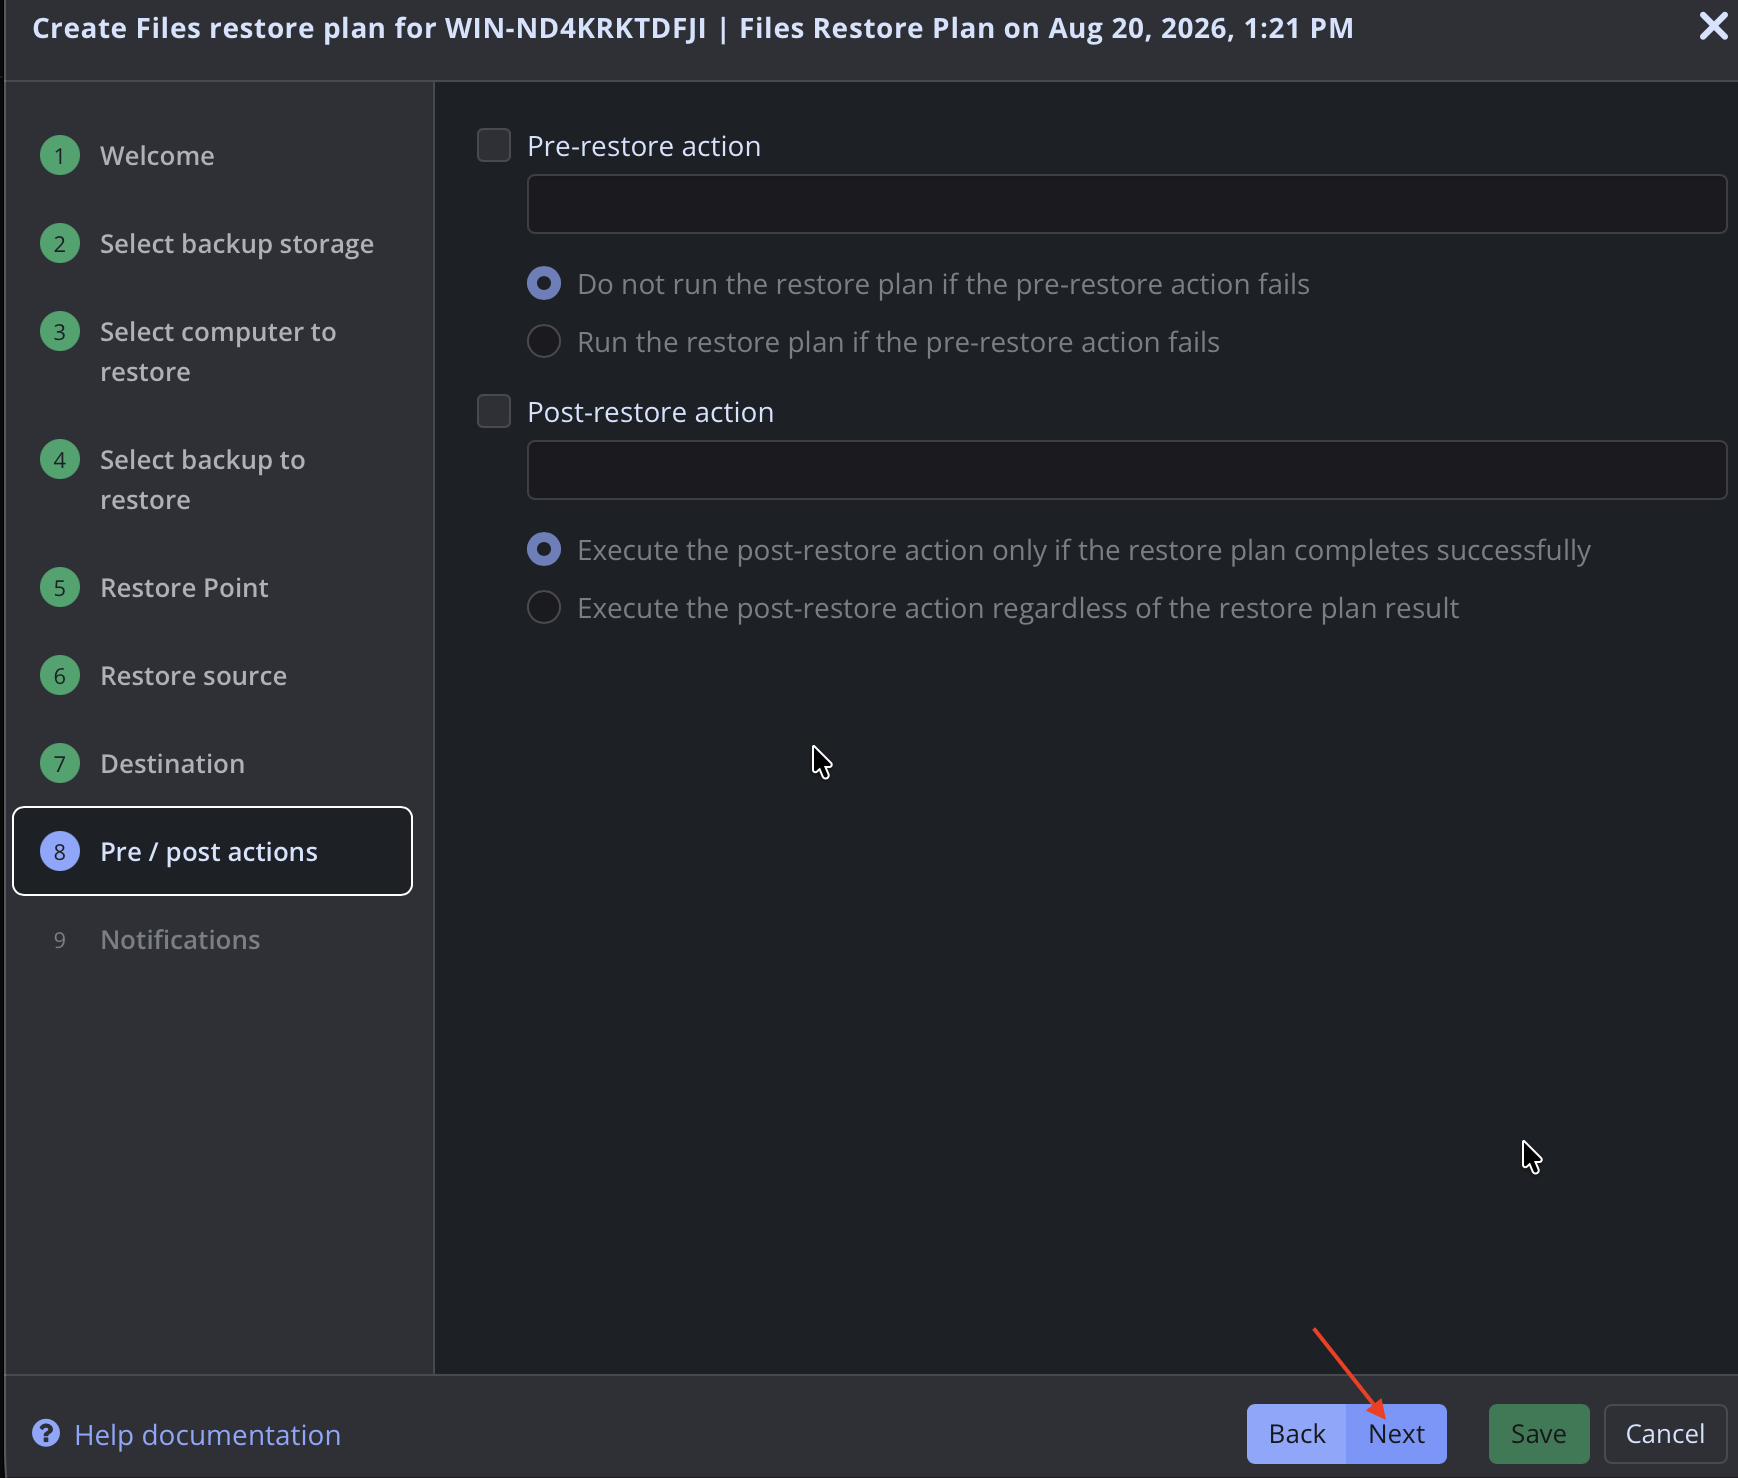
Click Save.
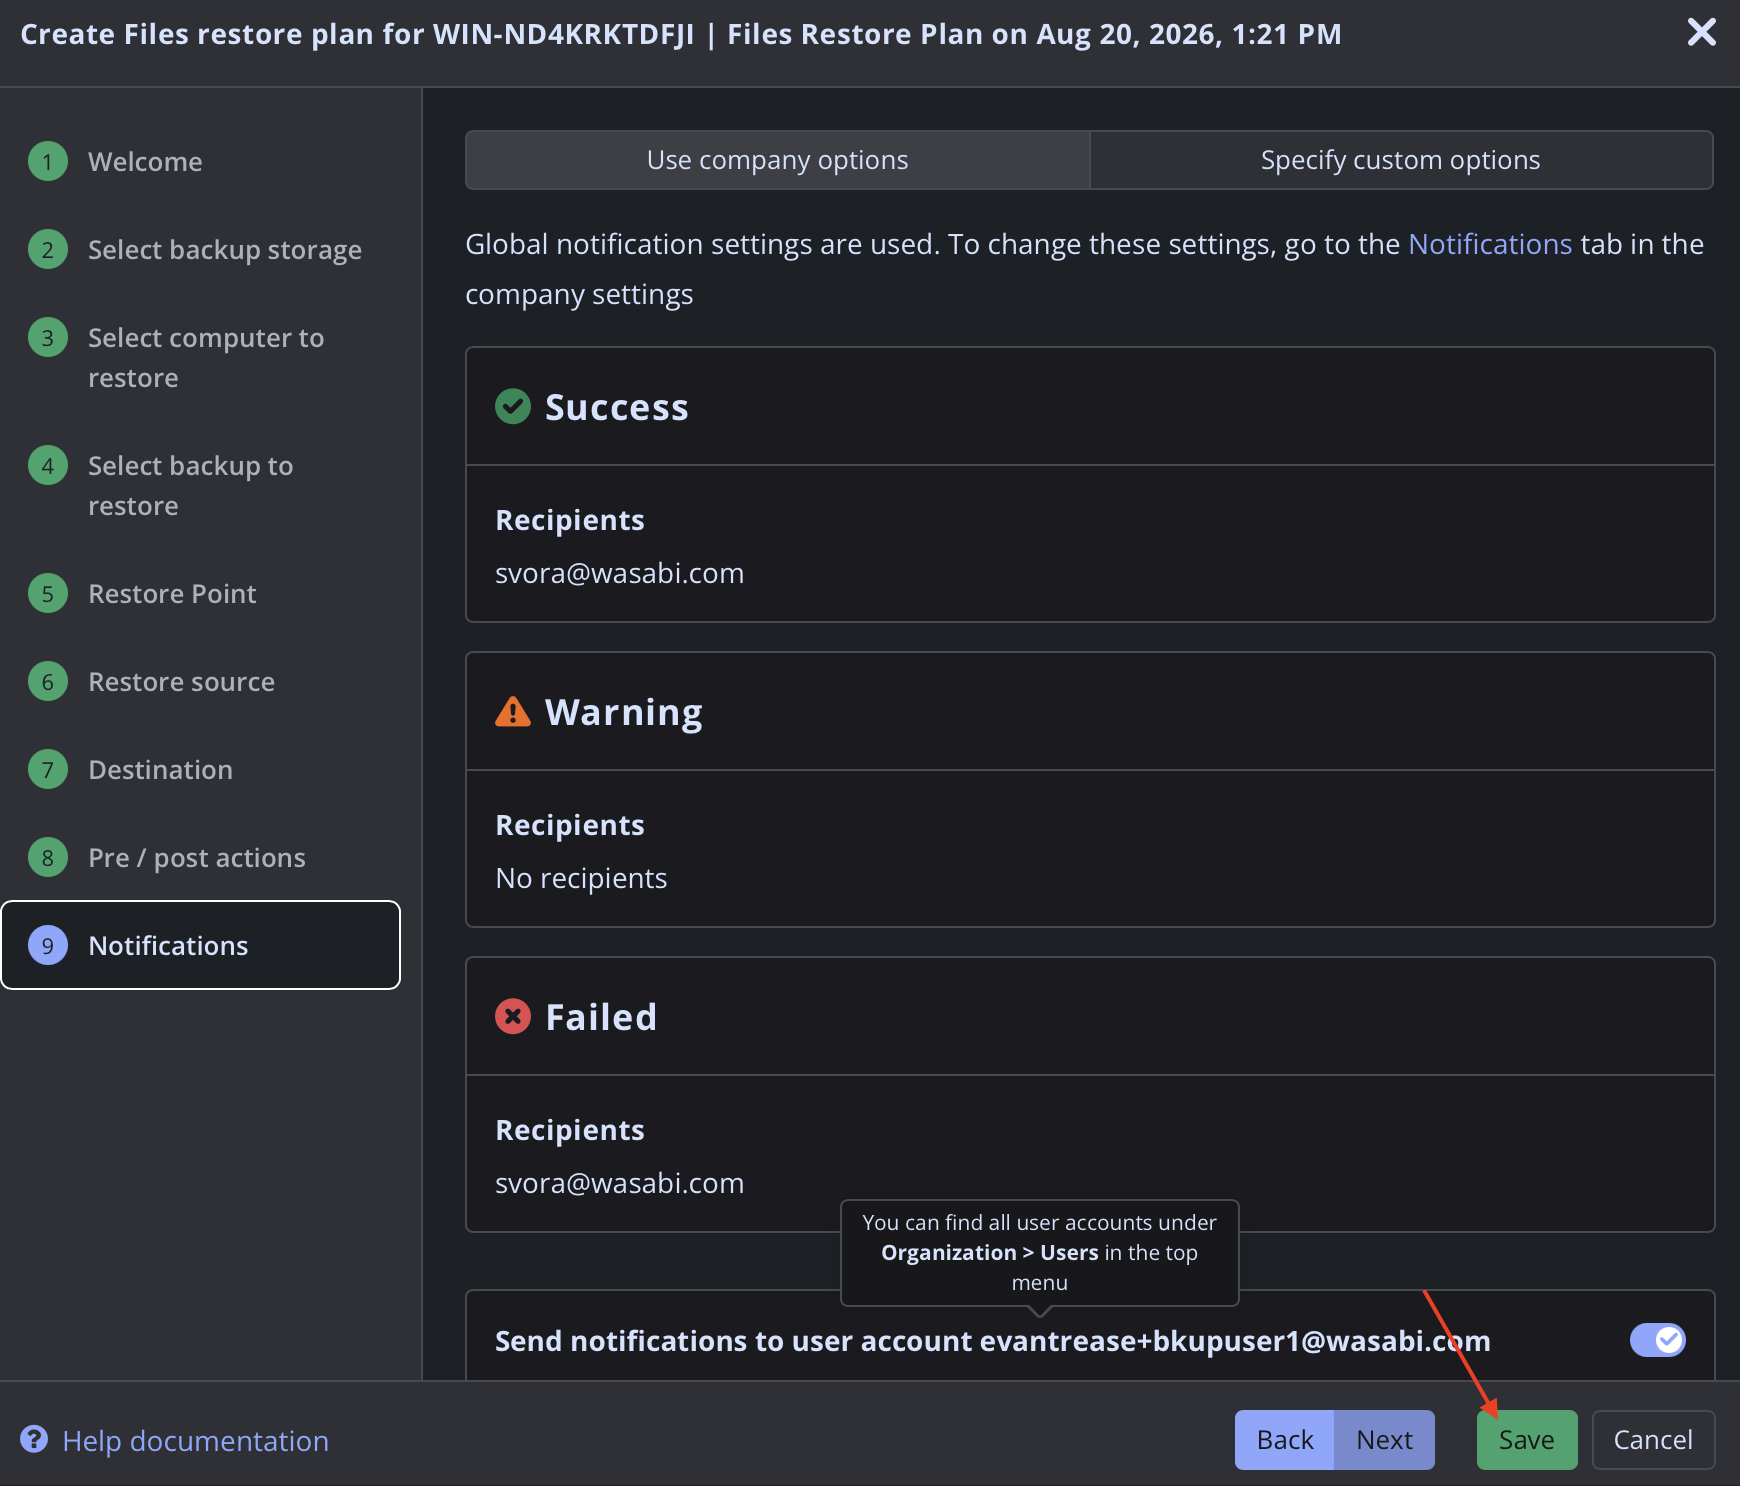
The restore will begin automatically.
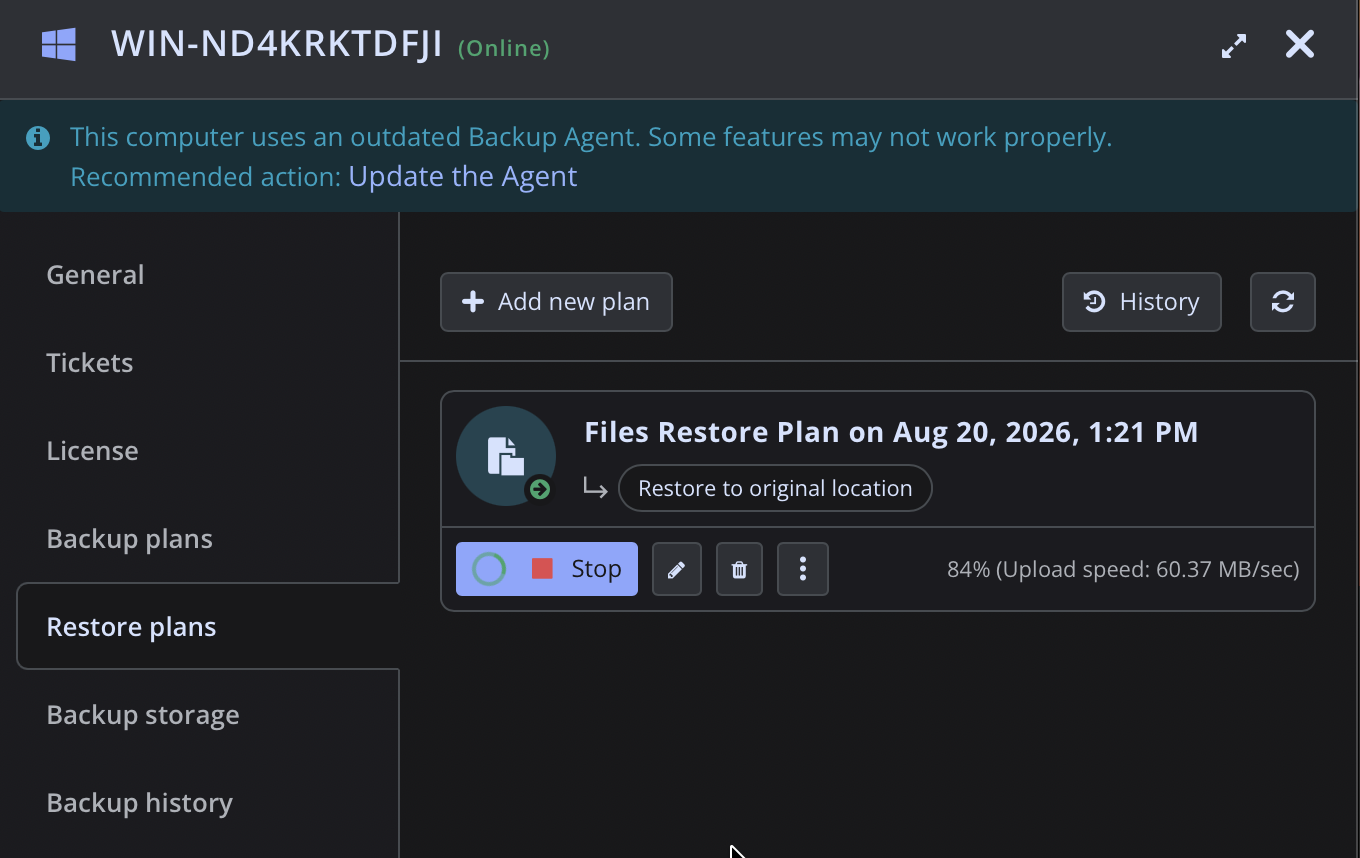
Once the restore completes, the temporary (run once) restore plan will be automatically removed.
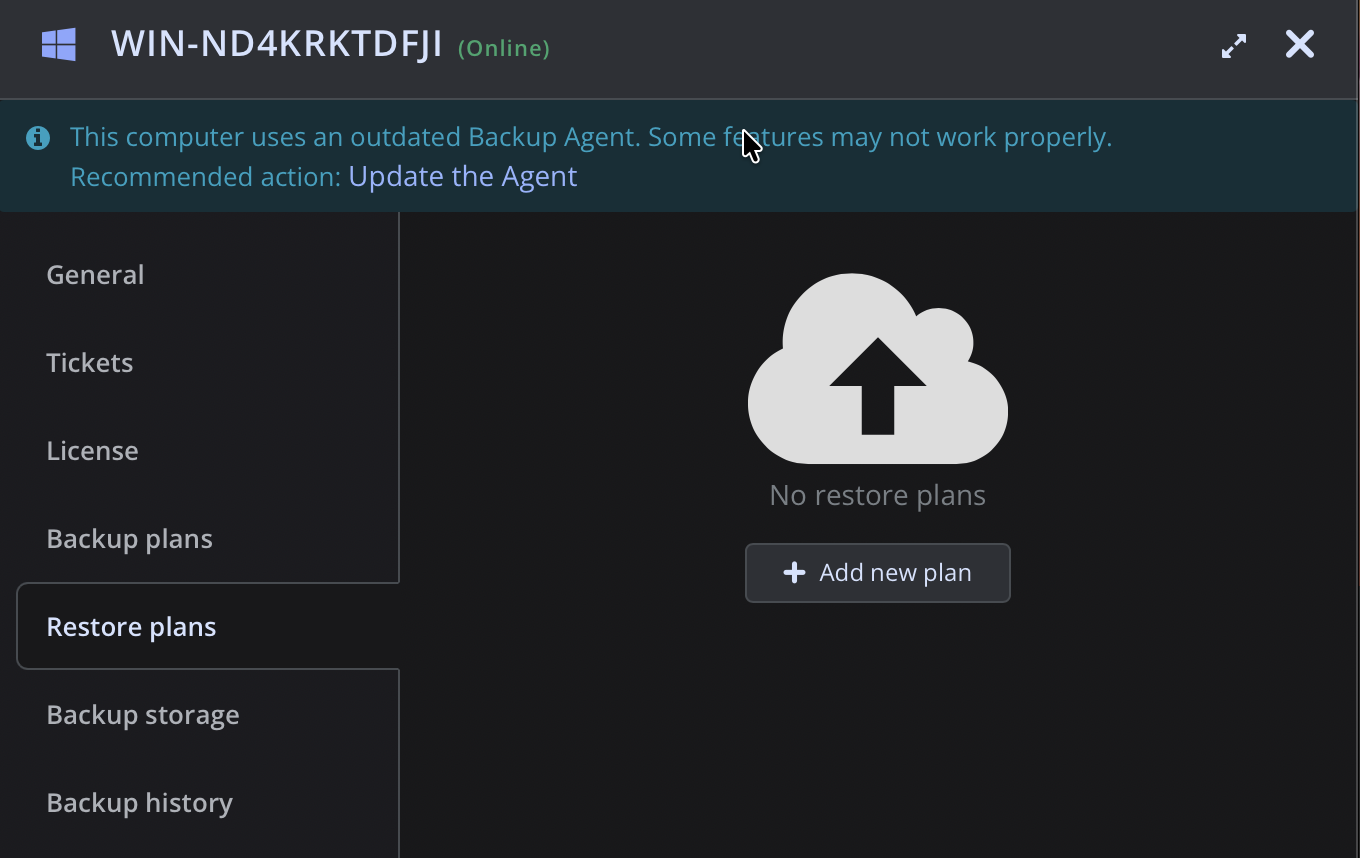
The files will then be available in the original location (or the location you chose).