How to use Arctera Backup Exec with Wasabi?
Wasabi has been validated for use with Arctera Backup Exec. Arctera Backup Exec is a fast, cost-effective, unified backup and recovery solution for cloud-ready organizations.
For more information regarding Backup Exec-Wasabi support, please refer to the Backup Exec HCL.
To use this product with Wasabi, please follow the instructions below.
Note: Your specific backup software application handles the data restoration process. As there are many potential variables that can affect your unique environment, it is strongly recommended that you seek guidance from your backup software's technical support team if you encounter difficulty or have application-specific questions.
Prerequisites
- Backup Exec v. 25.x and above
- Active Wasabi Cloud Storage Account
- Wasabi Bucket - See Working With Buckets and Objects
- Access & Secret Key Pair - See our Access Keys Guide
Configure Wasabi as Cloud Storage Repository
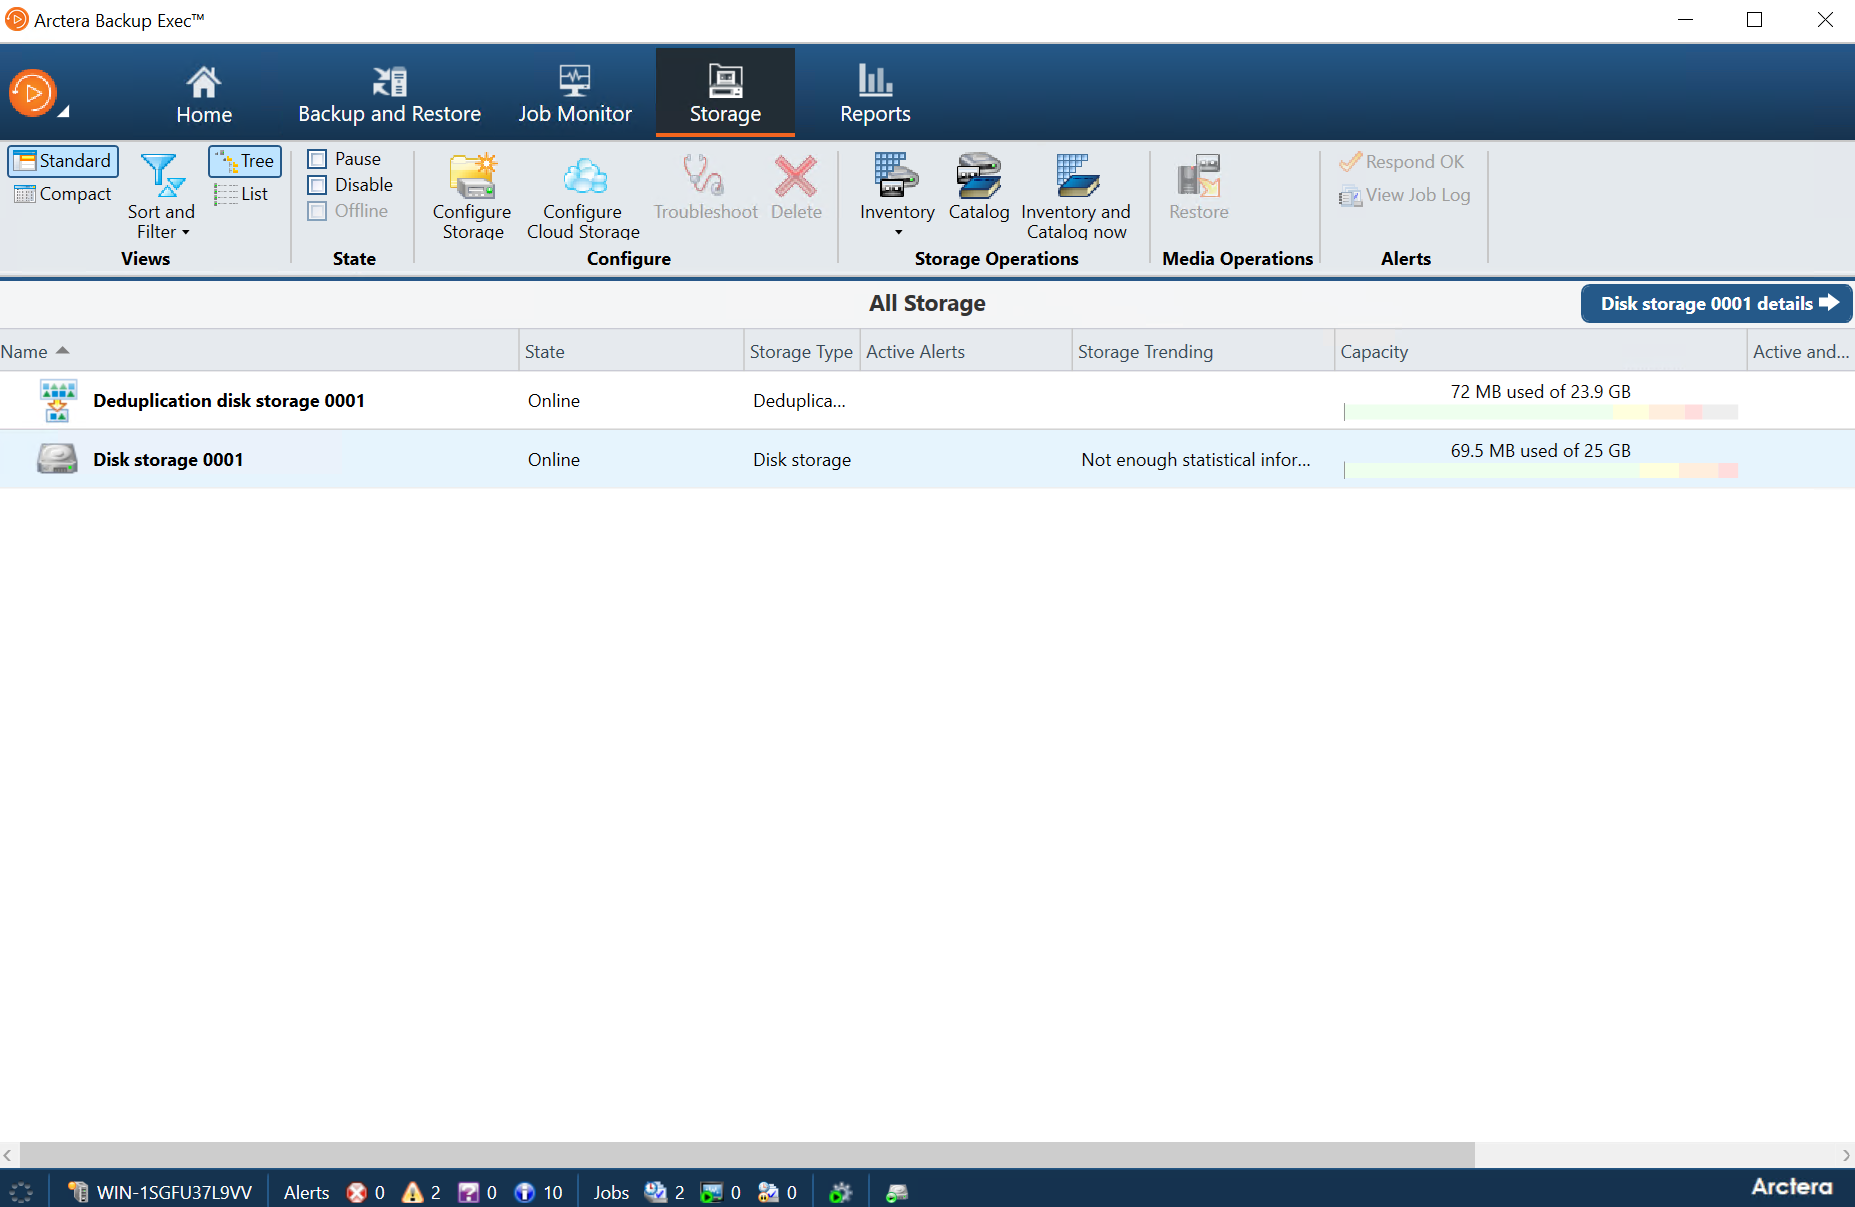
- Log in to Backup Exec.
Navigate to the Storage tab, then click Configure Cloud Storage.
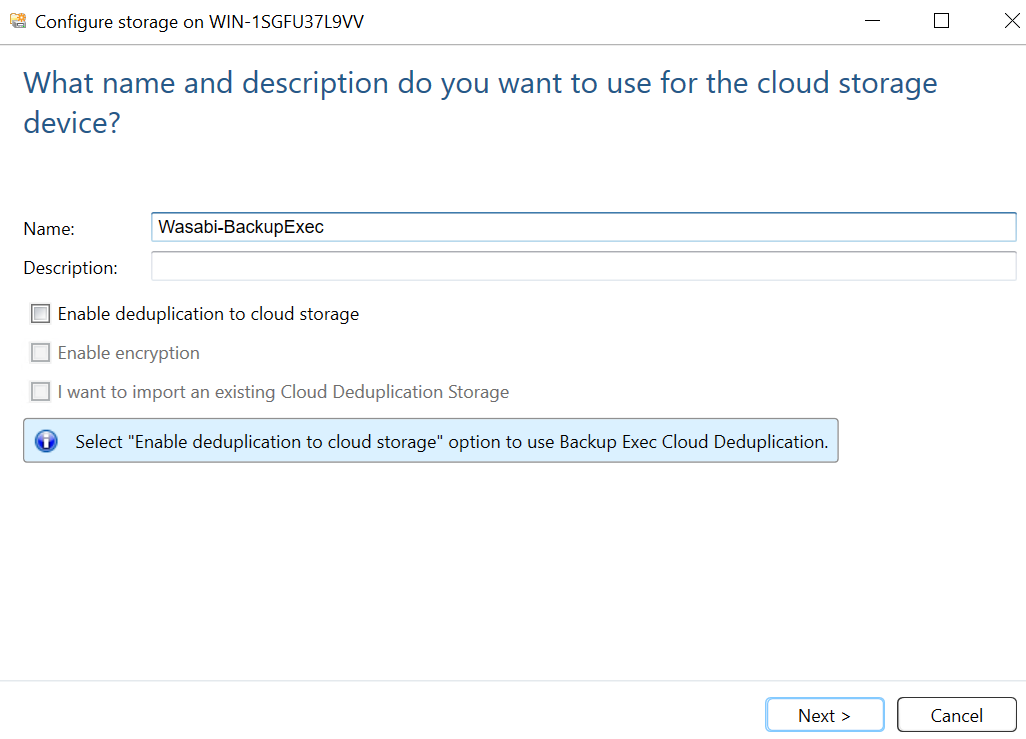
- In the Configure storage dialog box, provide a name for the Cloud Storage and then click Next.
Select S3 for the cloud storage device provider and click Next.

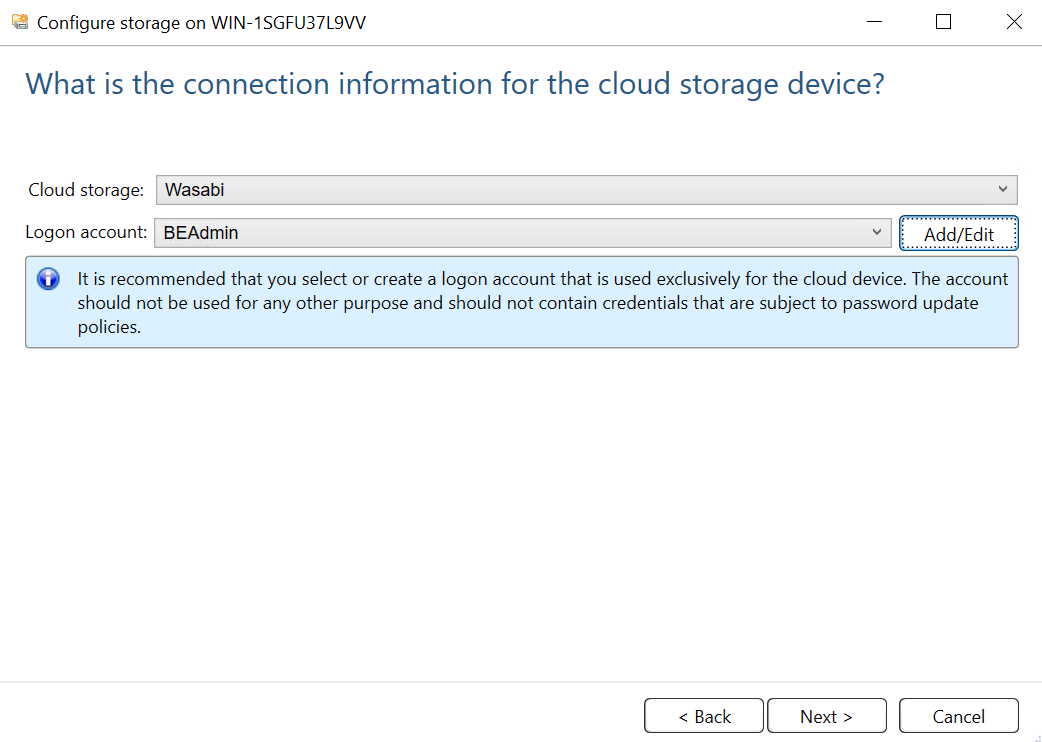
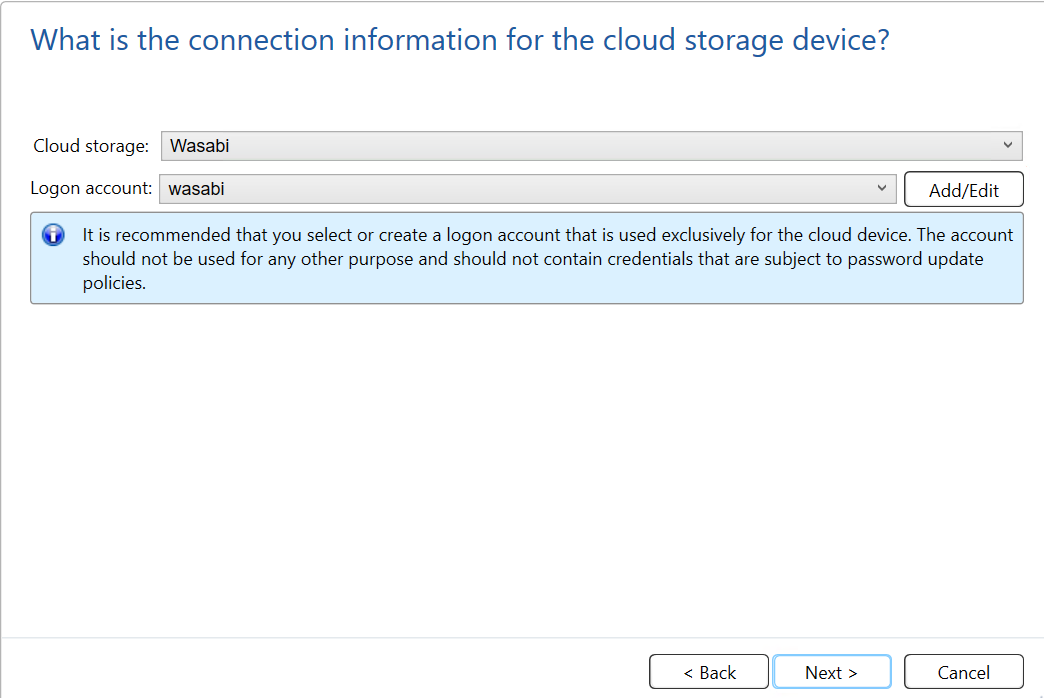
- Select Wasabi from the Cloud Storage drop-down menu.
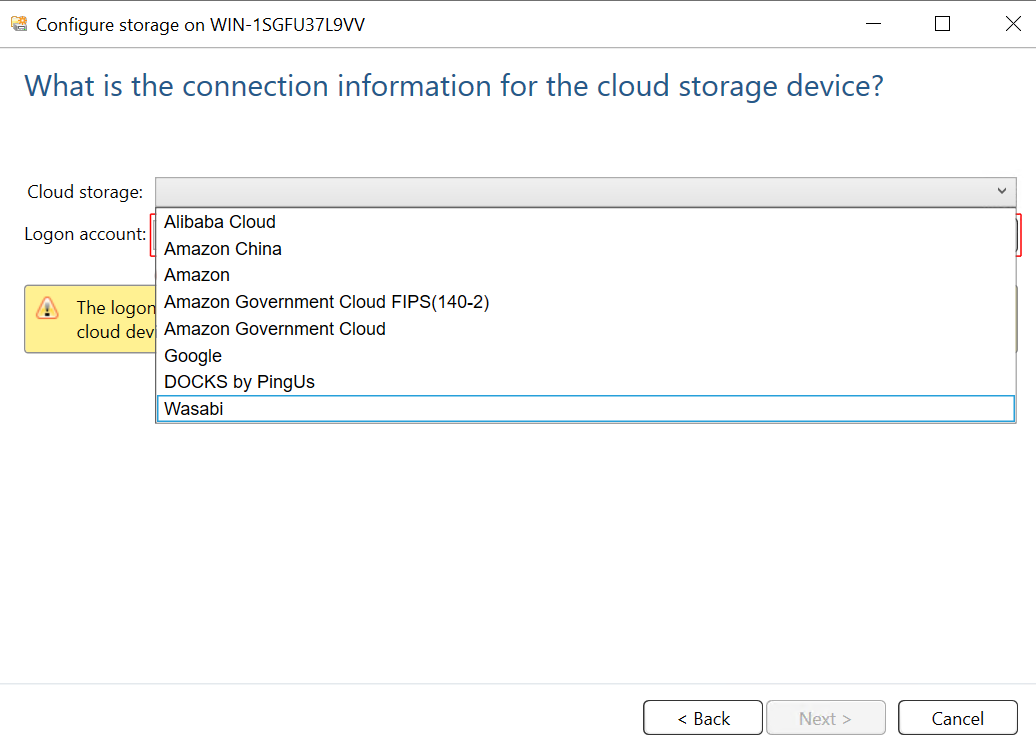
To add your Wasabi Logon Account Credentials, click on Add/Edit.
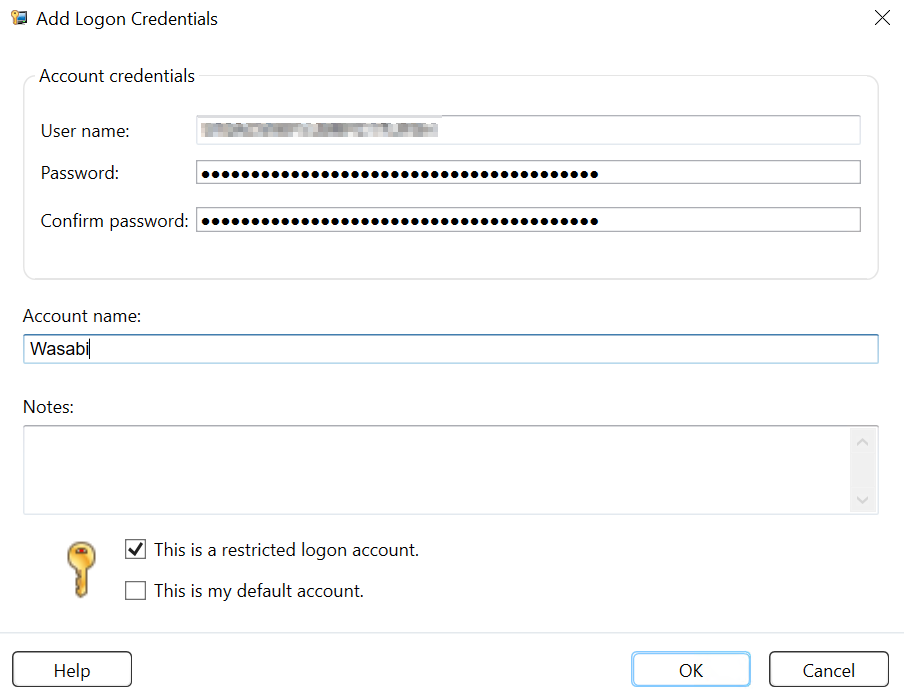
- In the Add Logon Credentials dialog box, provide the following details and click OK.
- User name - Access key of the Wasabi account
- Password - Secret Access Key
- Account name - provide a descriptive account name to identify the account
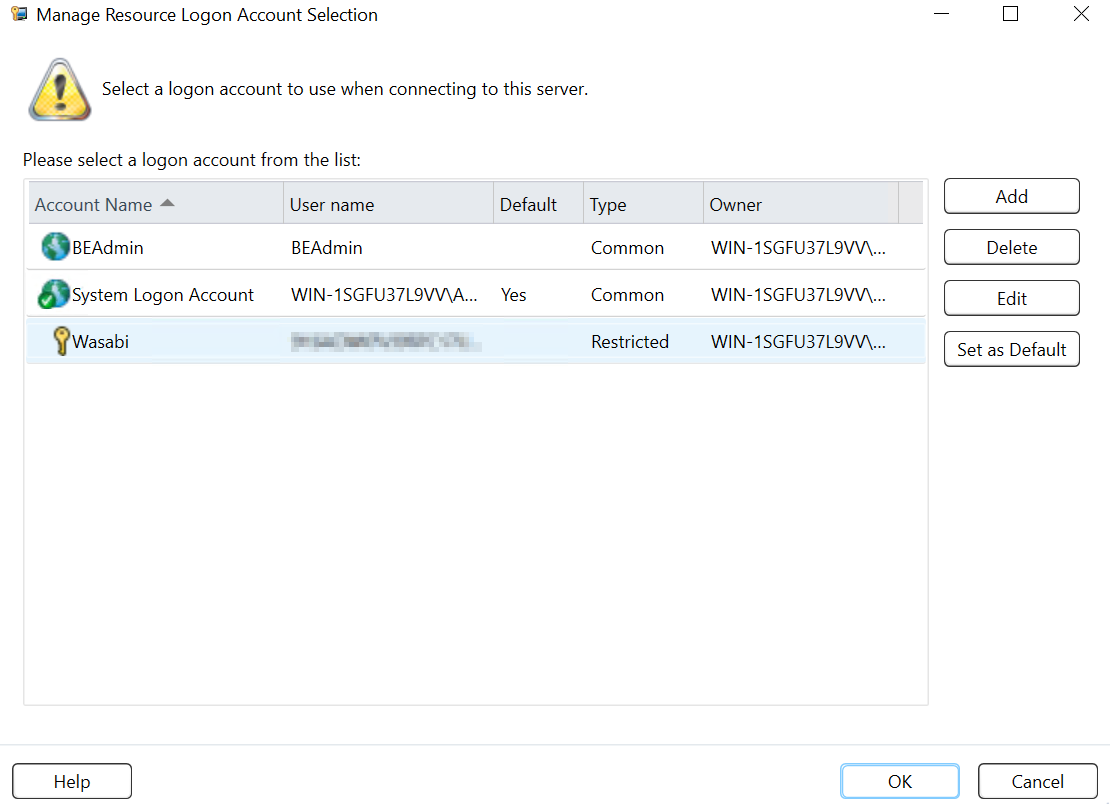
In the Logon Account Selection dialog box, select the account from the list and click OK.
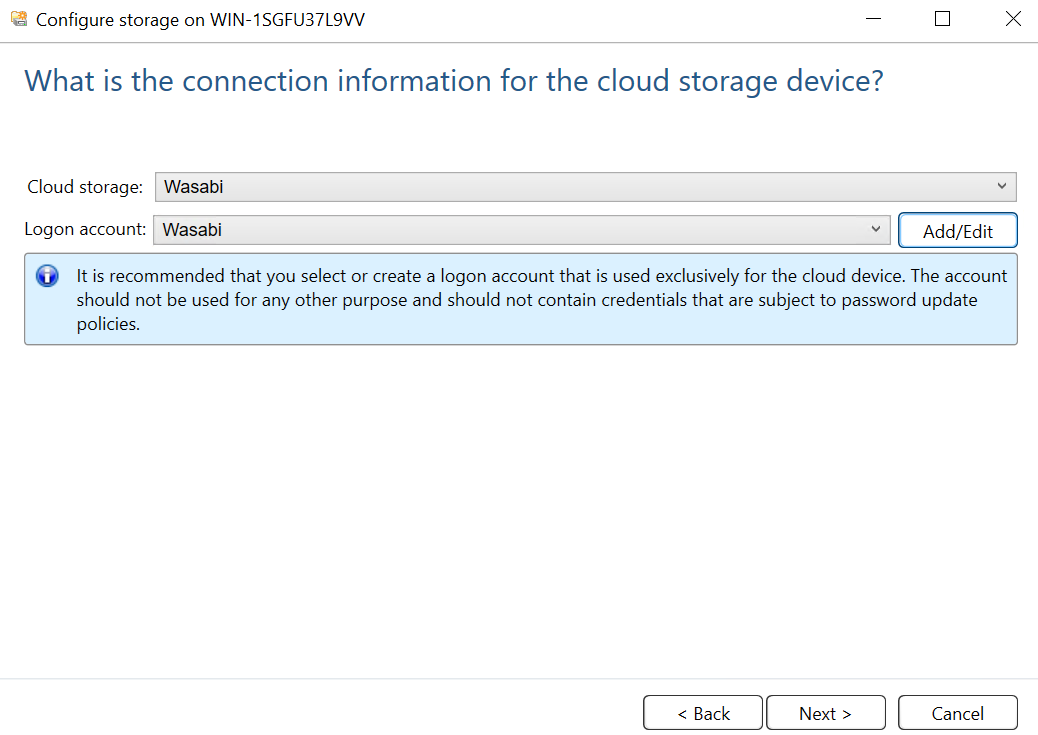
- Confirm the Logon account and click Next.
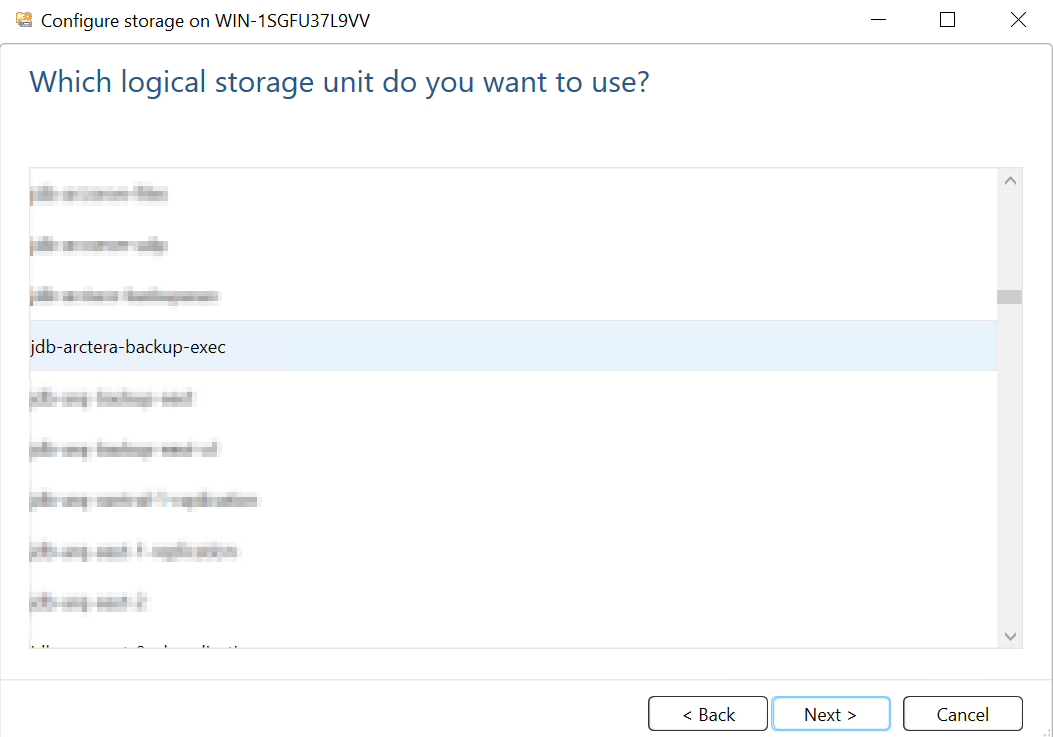
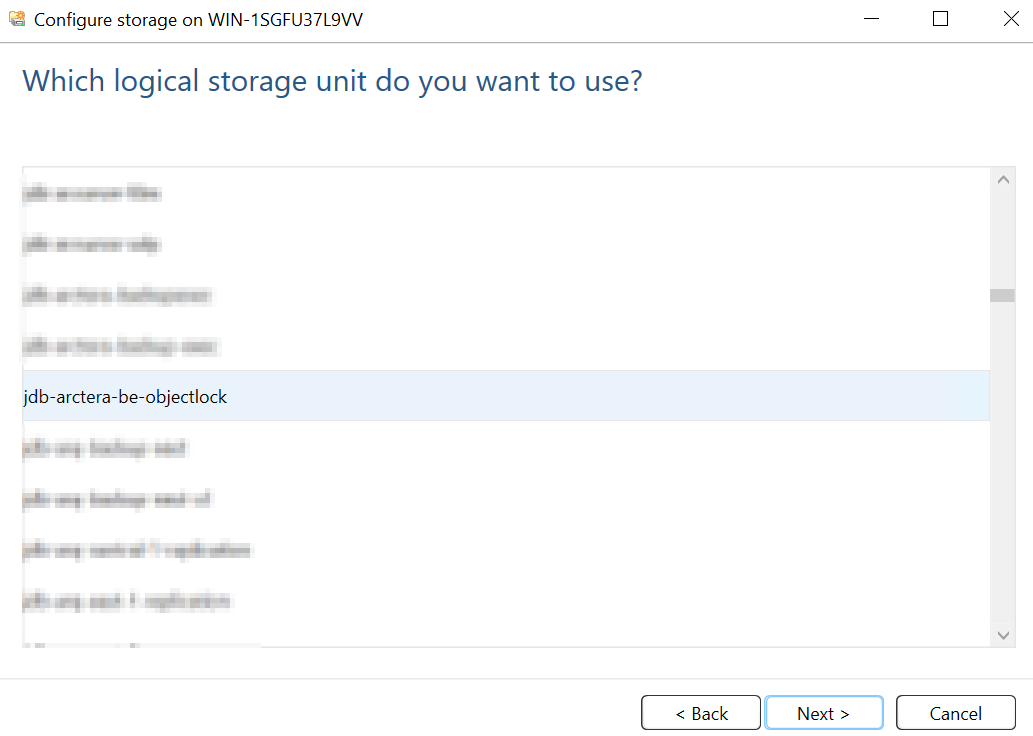
- Select the required bucket from the list and click Next.
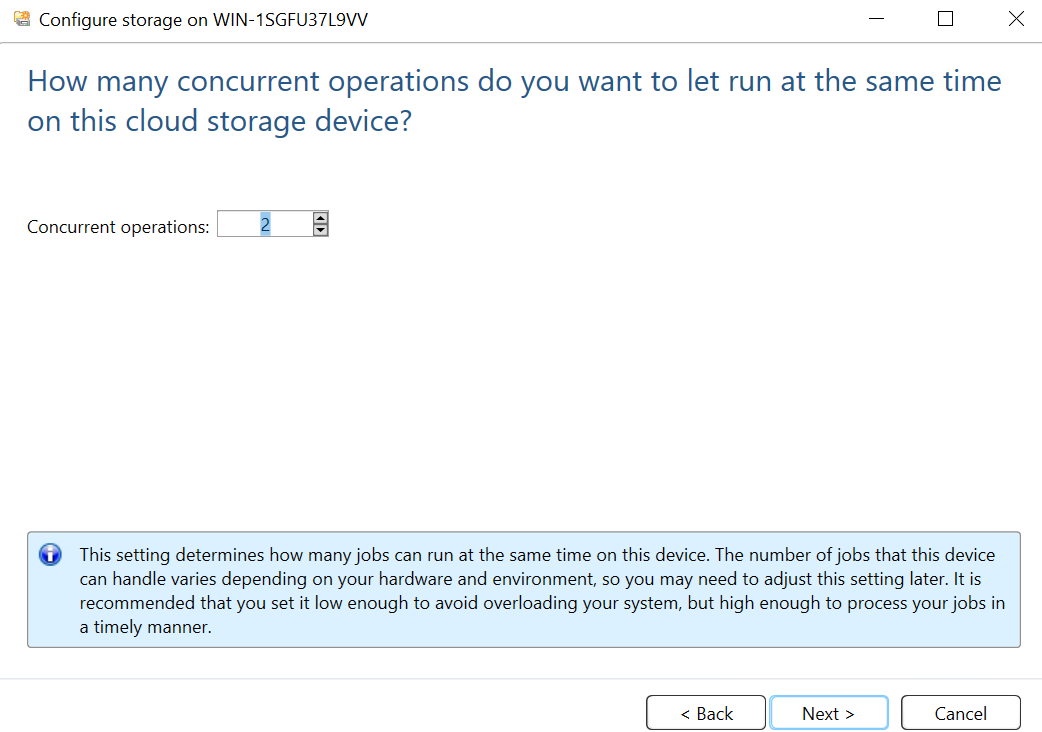
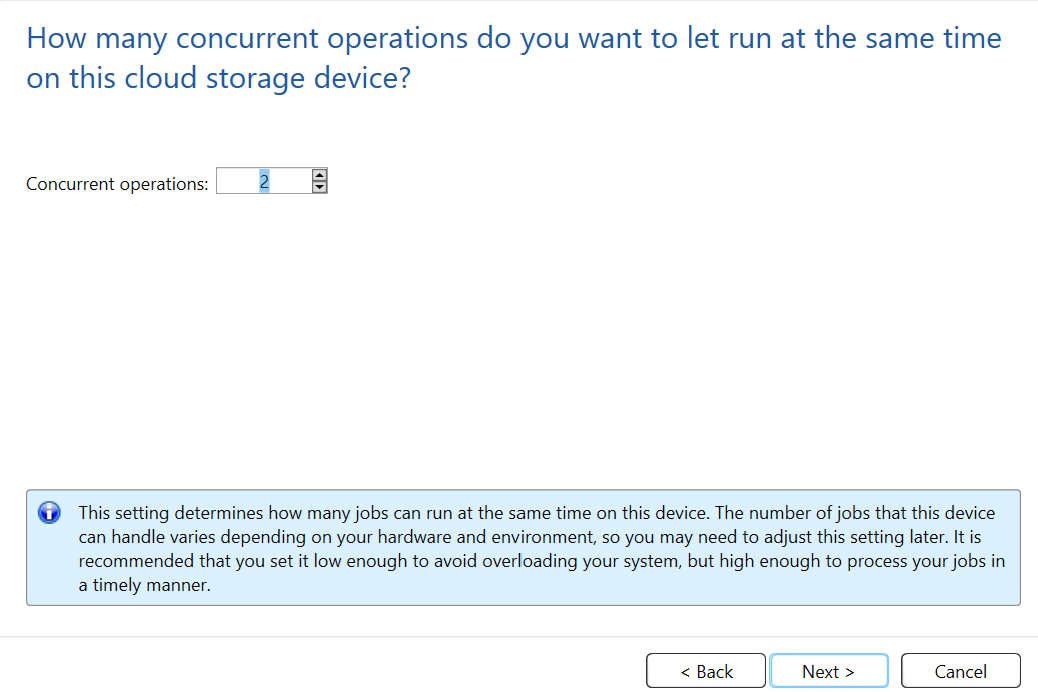
- Configure the desired number of concurrent operations and click Next.
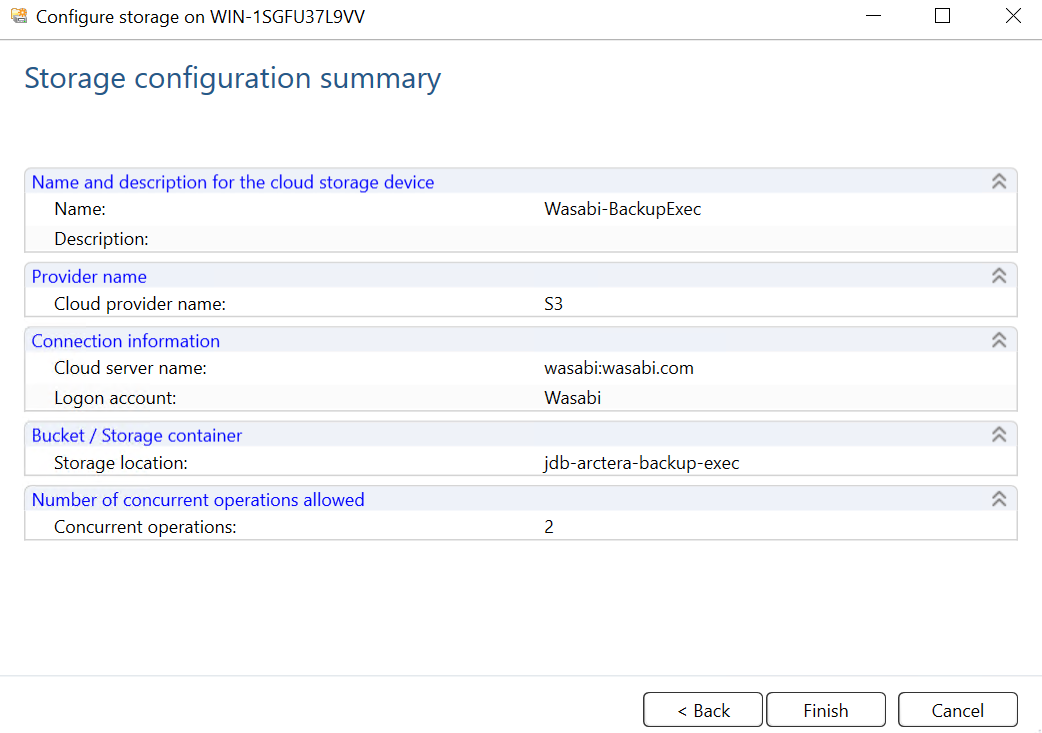
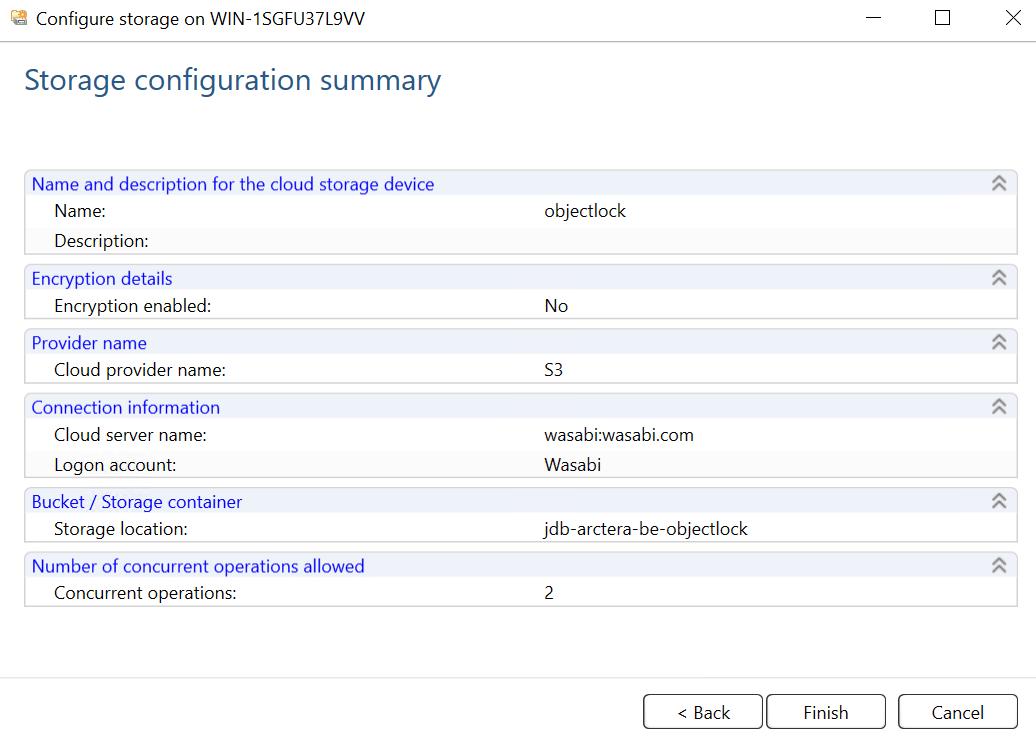
- Review the configuration summary and click Finish.
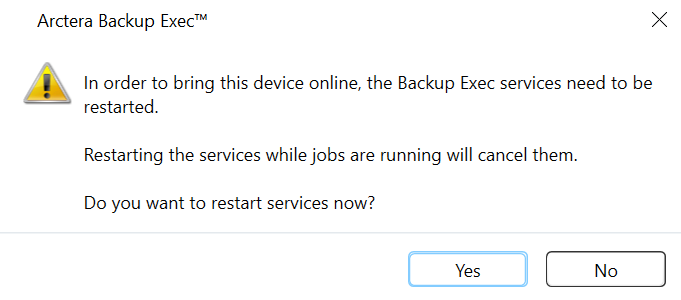
- Click Yes to restart the Backup Exec services to provision the cloud storage online.
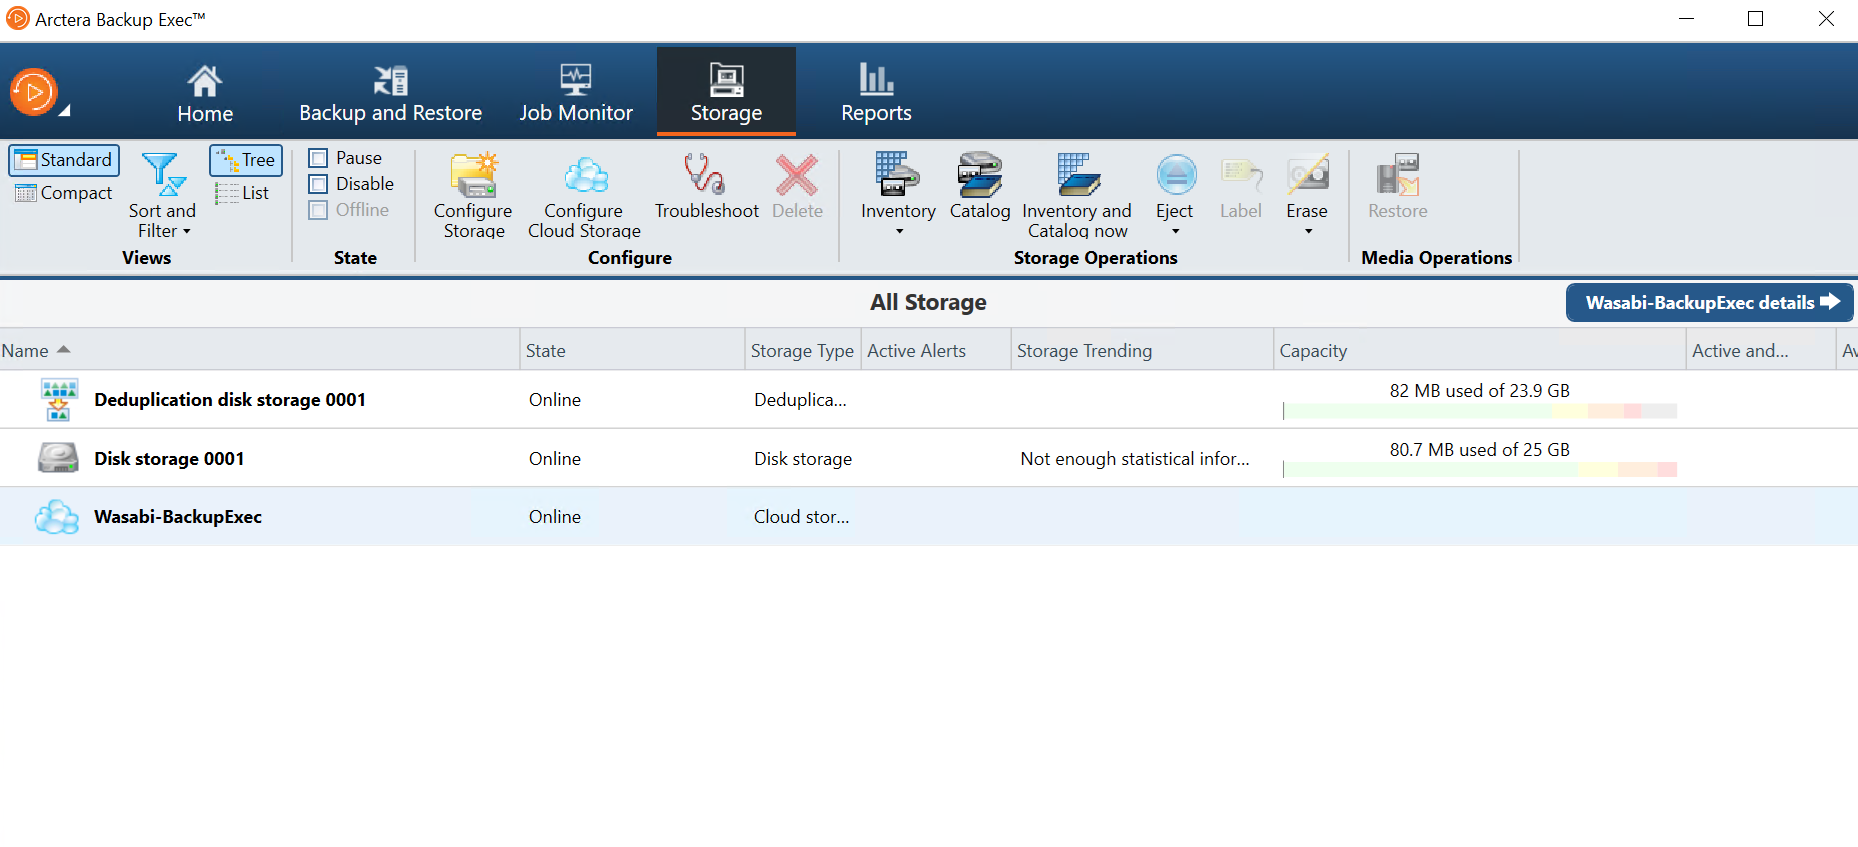
The new Wasabi Cloud Storage account is displayed in the Storage tab and is ready to use.
Install Arctera Backup Exec Agent and Add Server
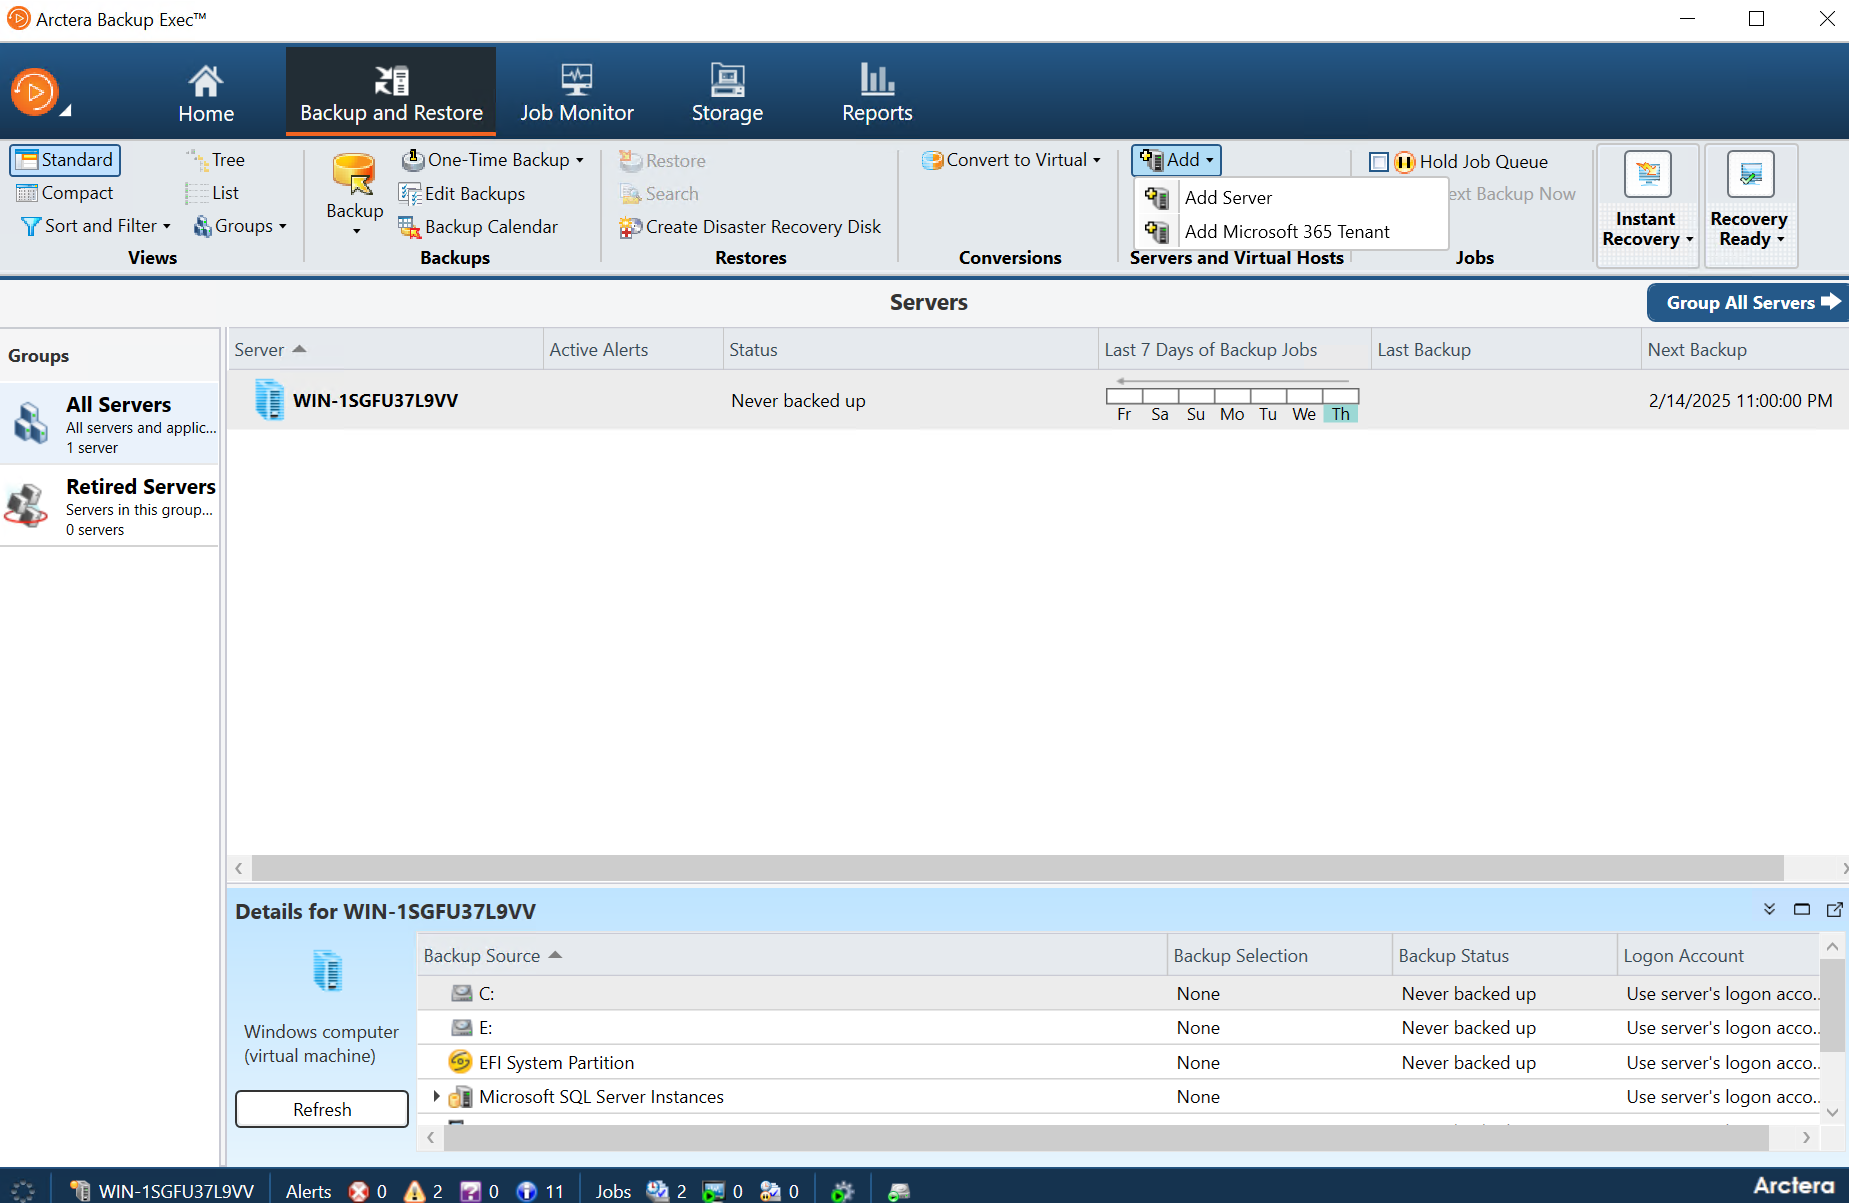
- Navigate to the Backup and Restore tab. Click Servers and Virtual Hosts, and then click Add to add a client to perform a backup.
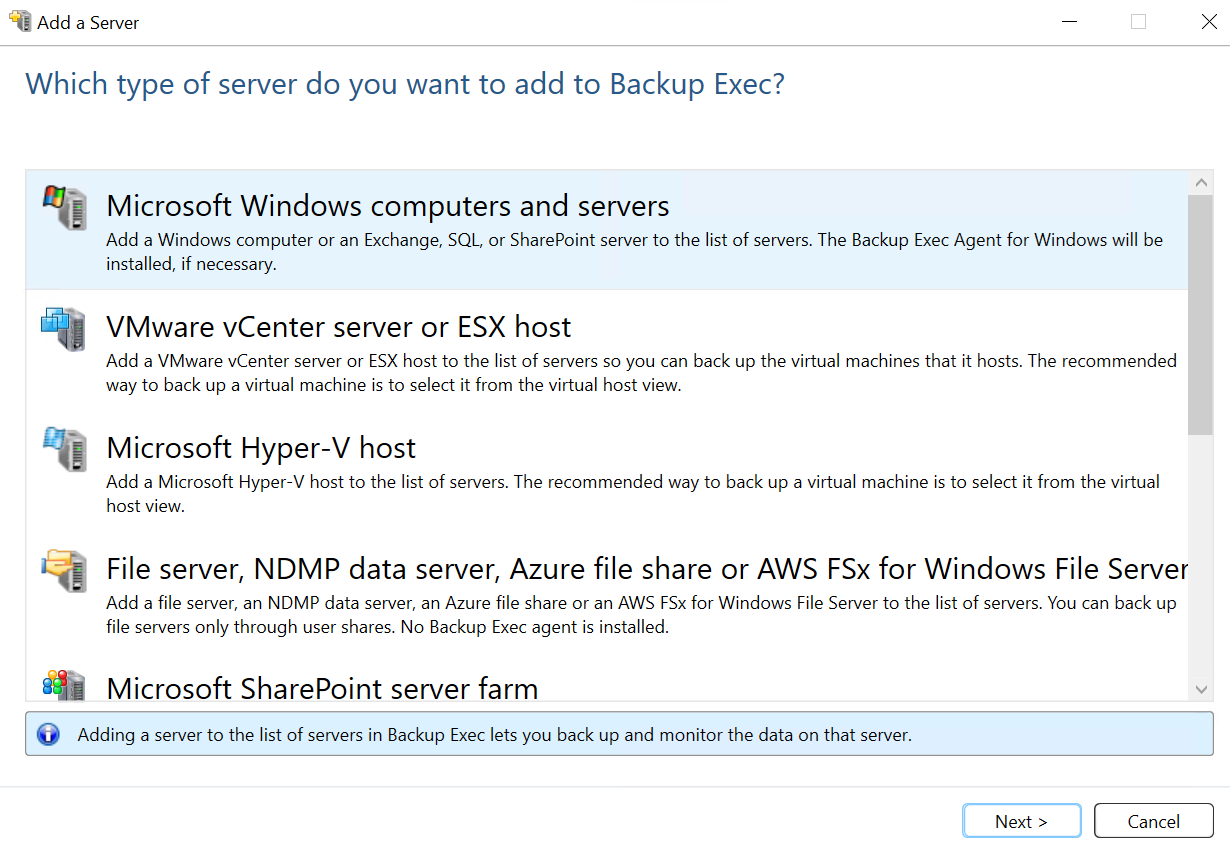
- Choose the type of server infrastructure that needs to be backed up and click Next.
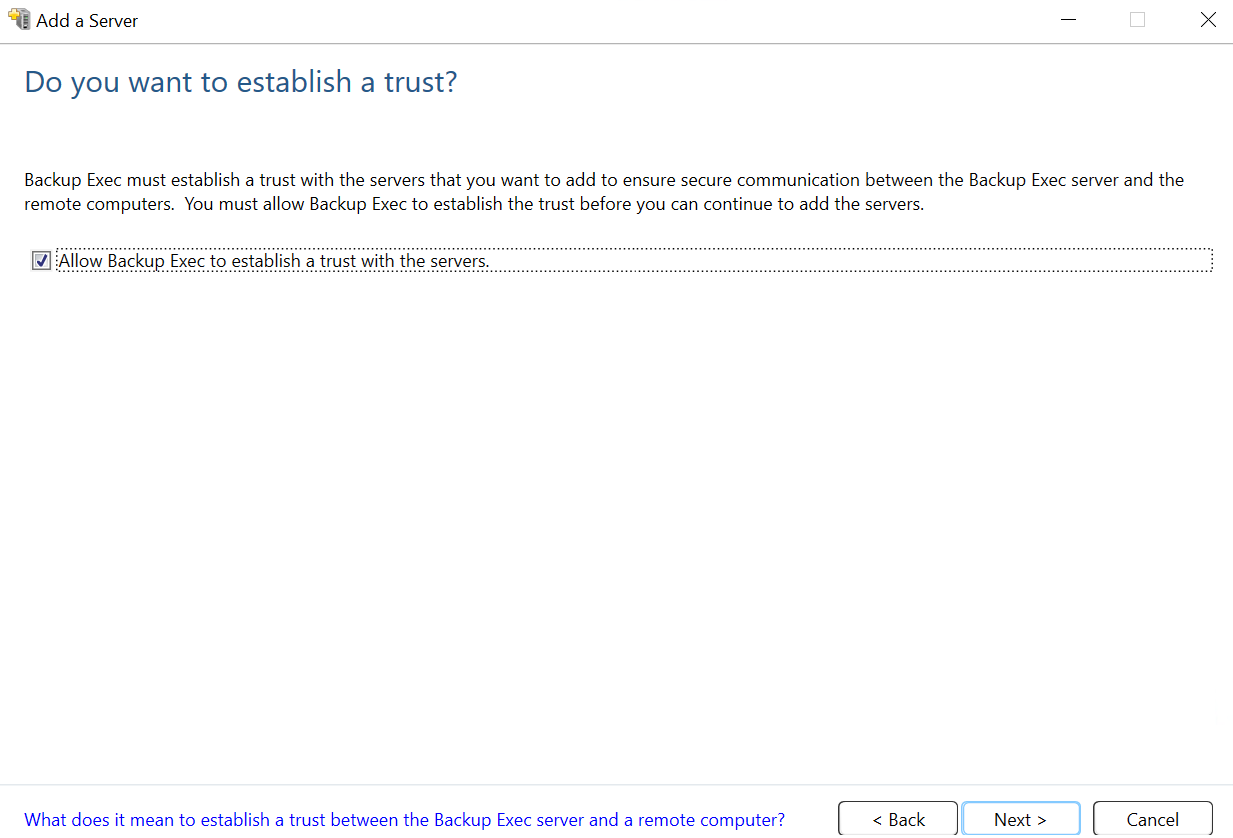
Check the Allow Backup Exec to establish a trust with the servers check box and then click Next.
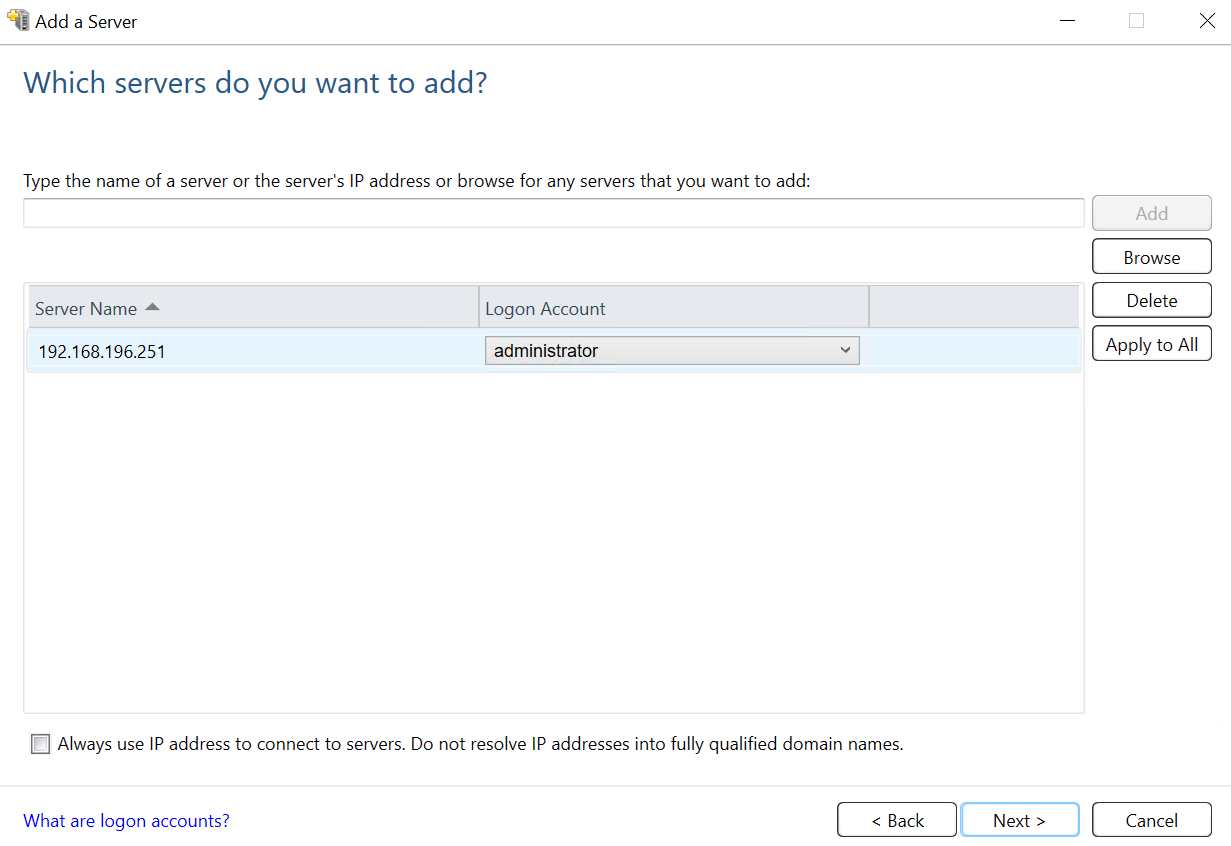
- Add servers with an associated Logon Account and then click Next.
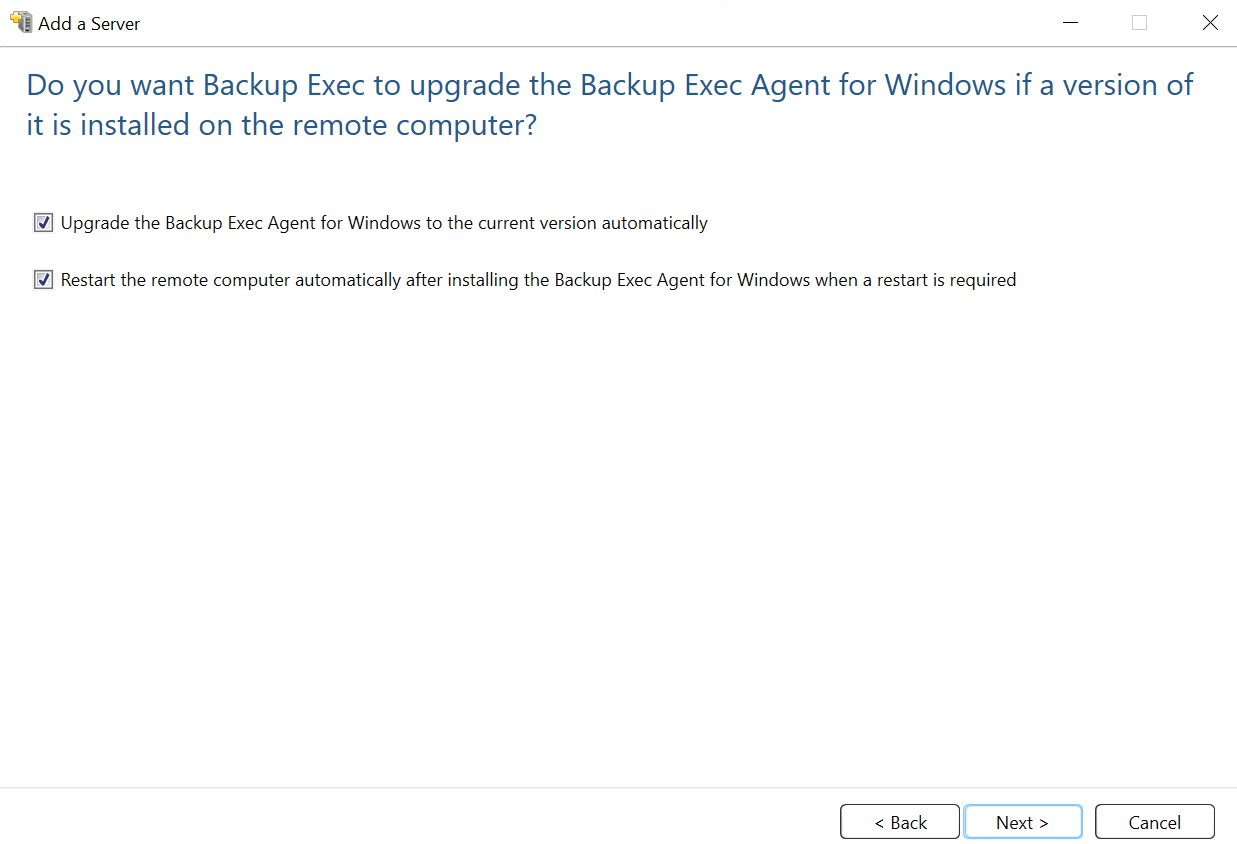
Check both boxes to ensure that updated backup agent software has been installed and available to create a backup, and then click Next.
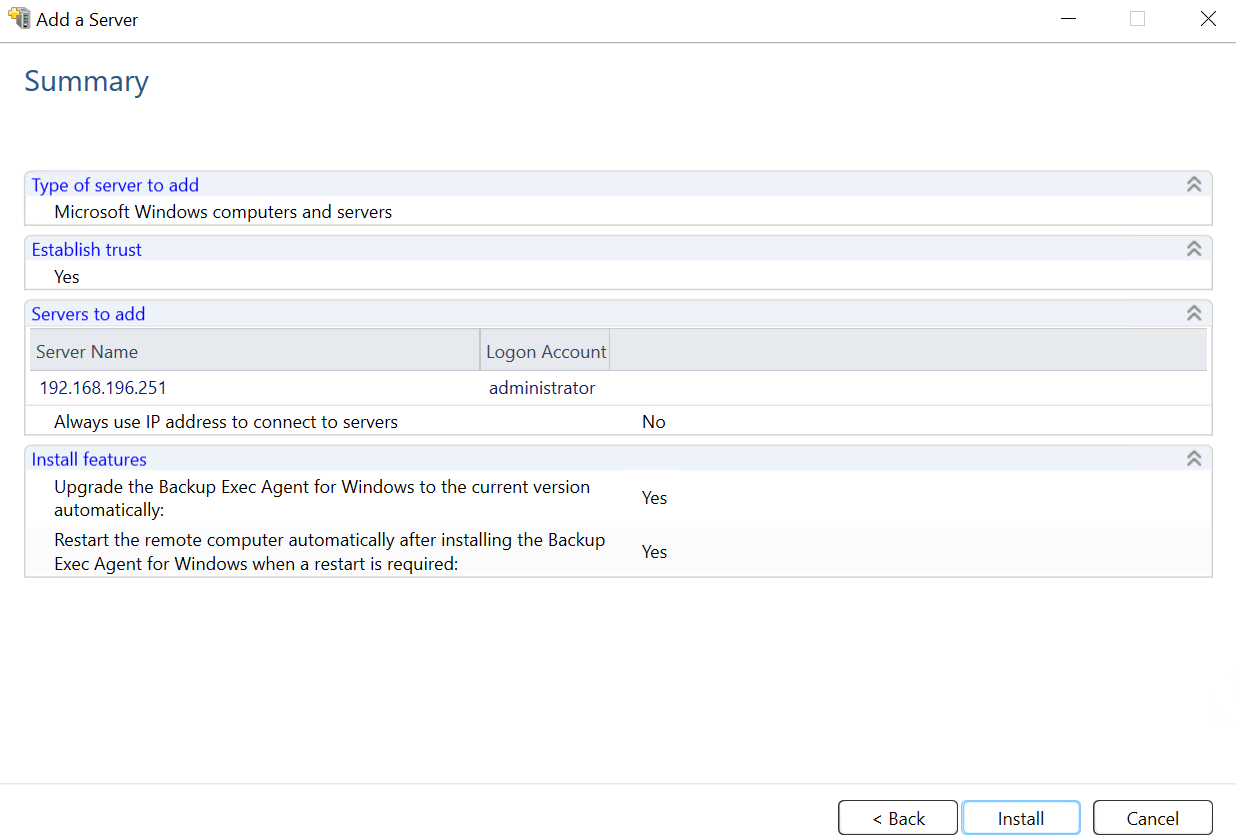
- Review the configurations and click Install.
 Arctera Backup Exec will verify that appropriate packages have been configured and installed on your remote server and will complete successfully.
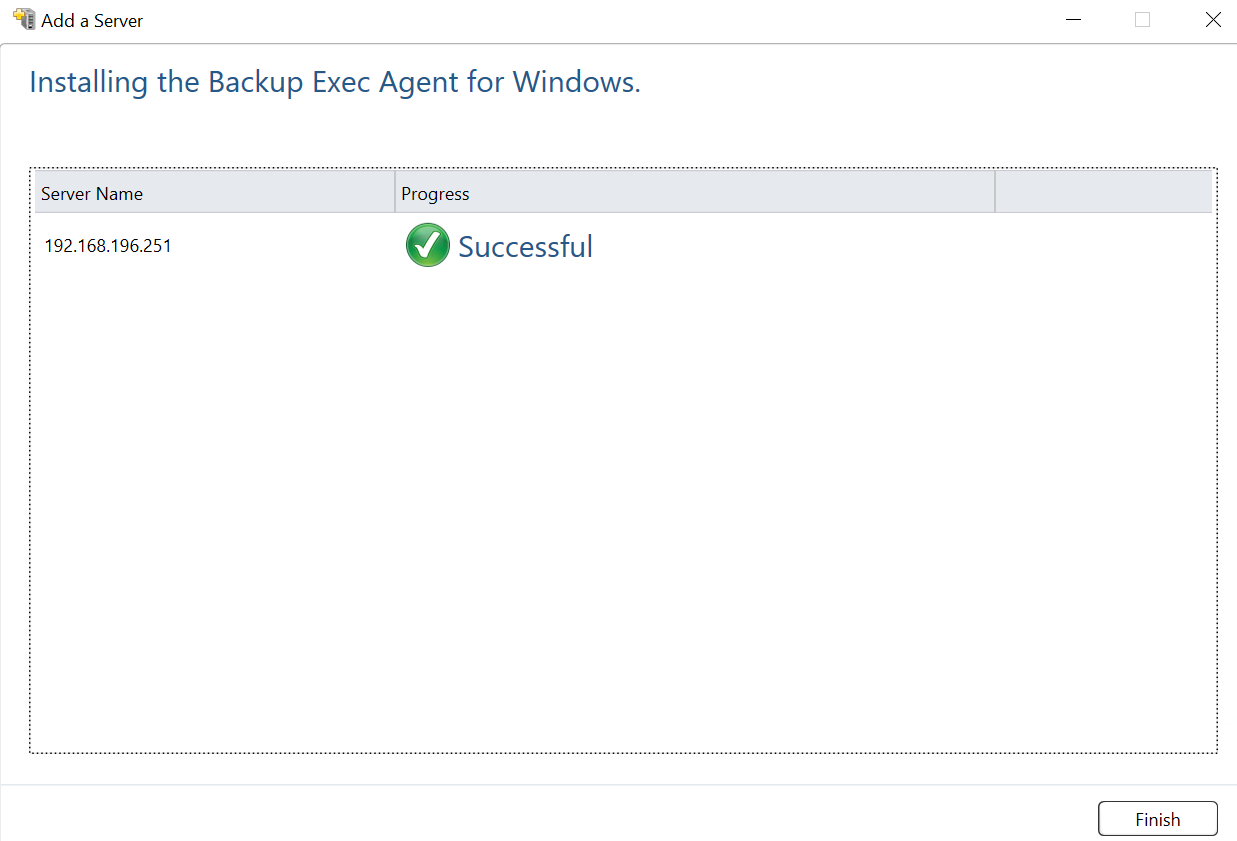
Once the agent software is successfully installed, the server will be available for backup.
Creating a Backup Job
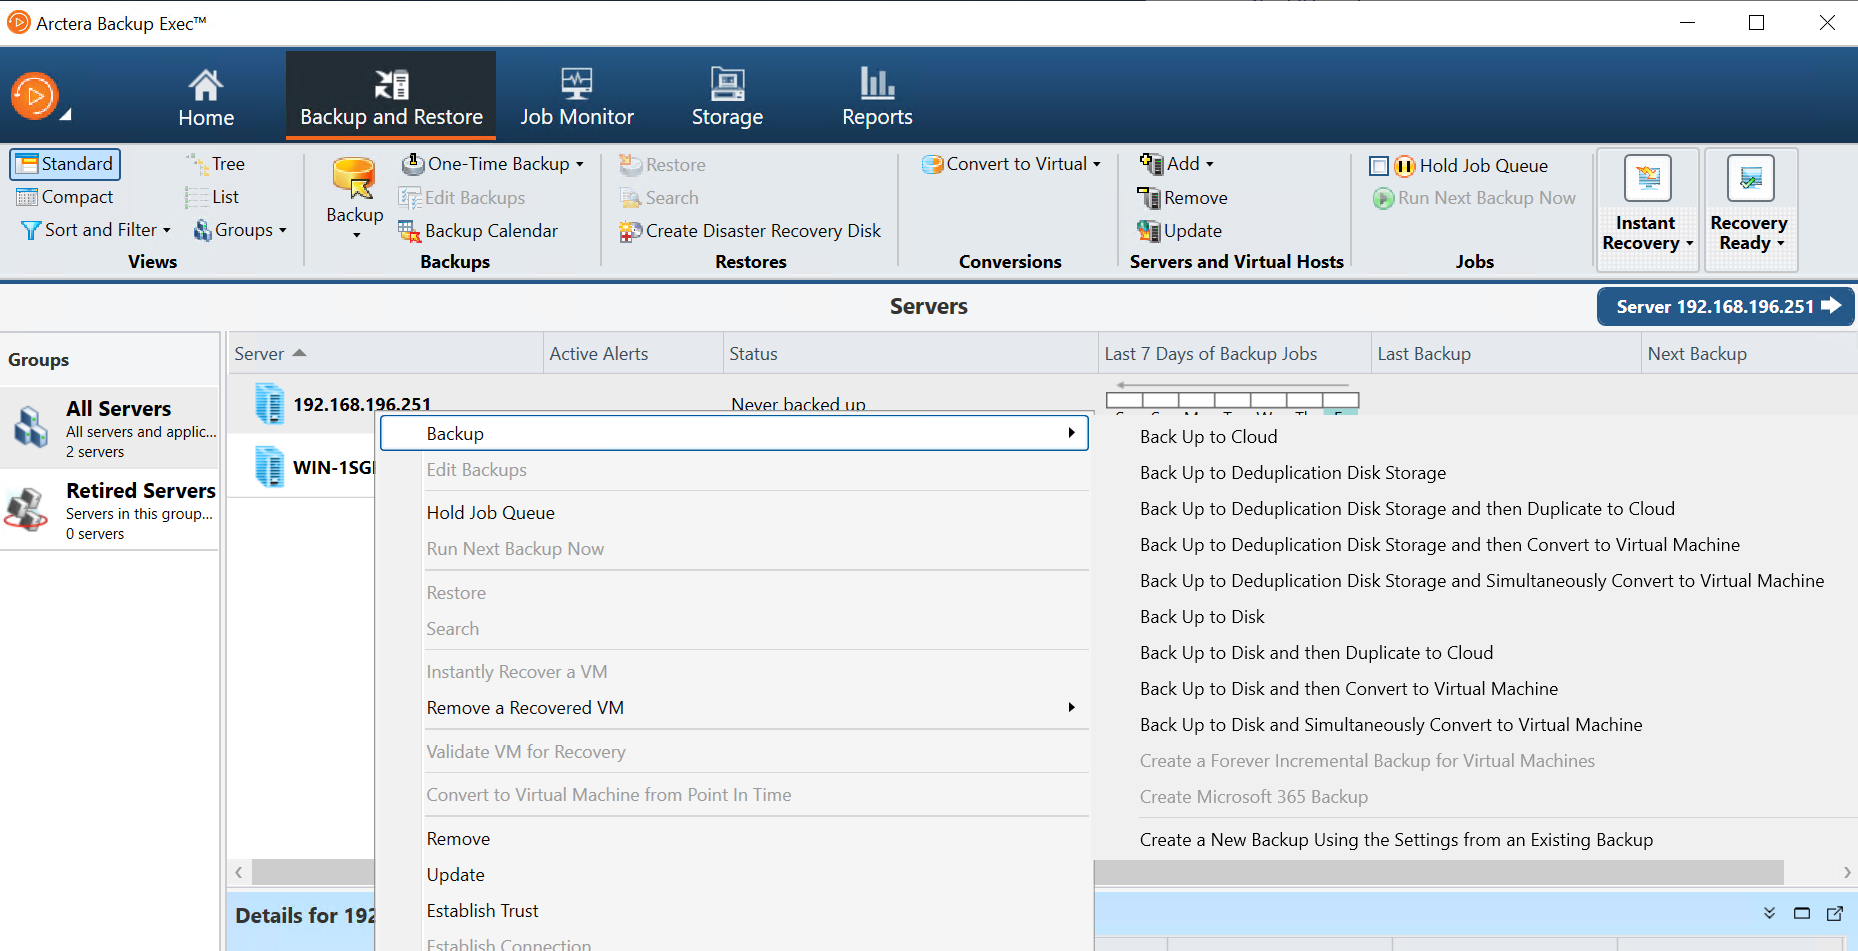
- Right-click the server that needs to be backed up and select Back Up to Cloud.
- Select Agent-based backup and click Next.

- Click Edit and choose the type of backup. You can back up specific folders, application data, or the entire VM.
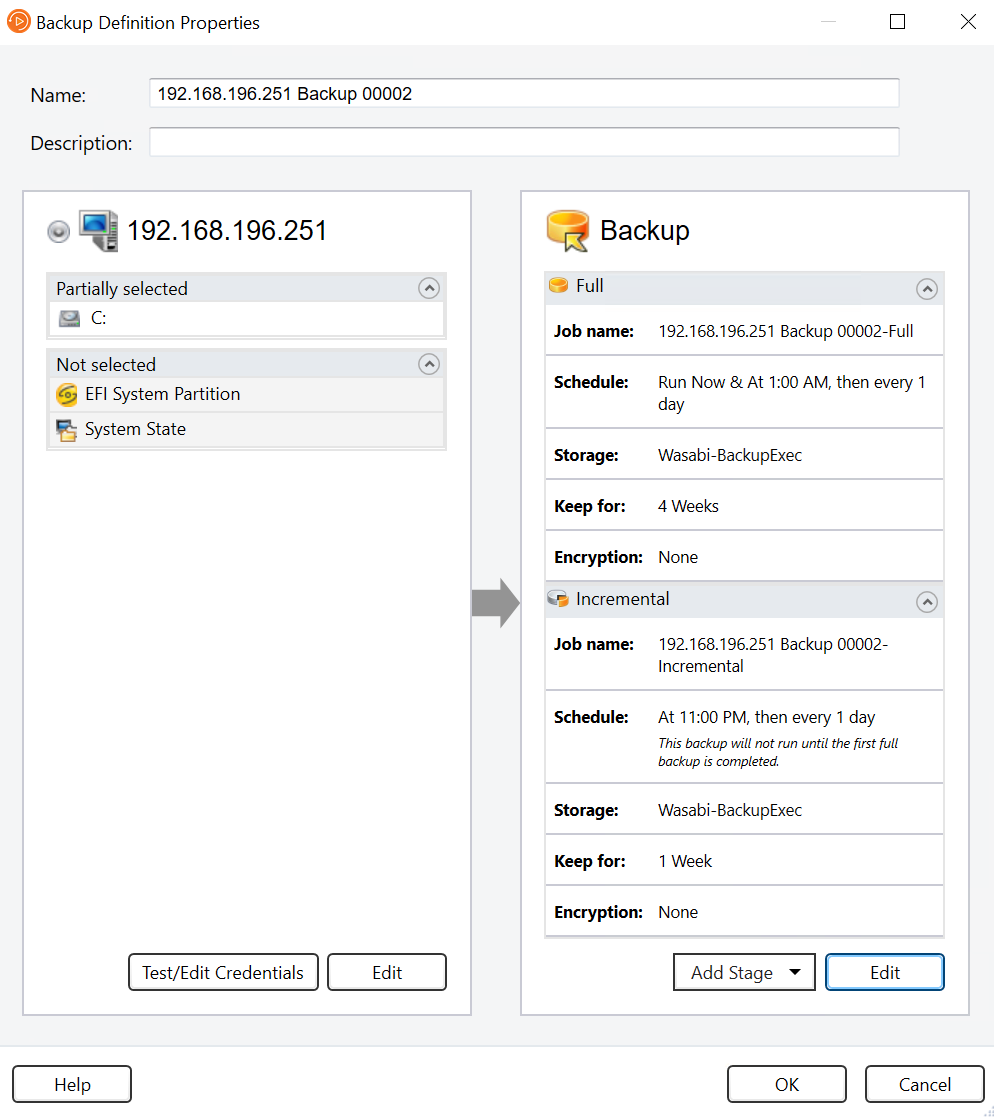
- Under the Backup section, select Schedule when to specify the backup, either run it once or set up a schedule based on your needs.
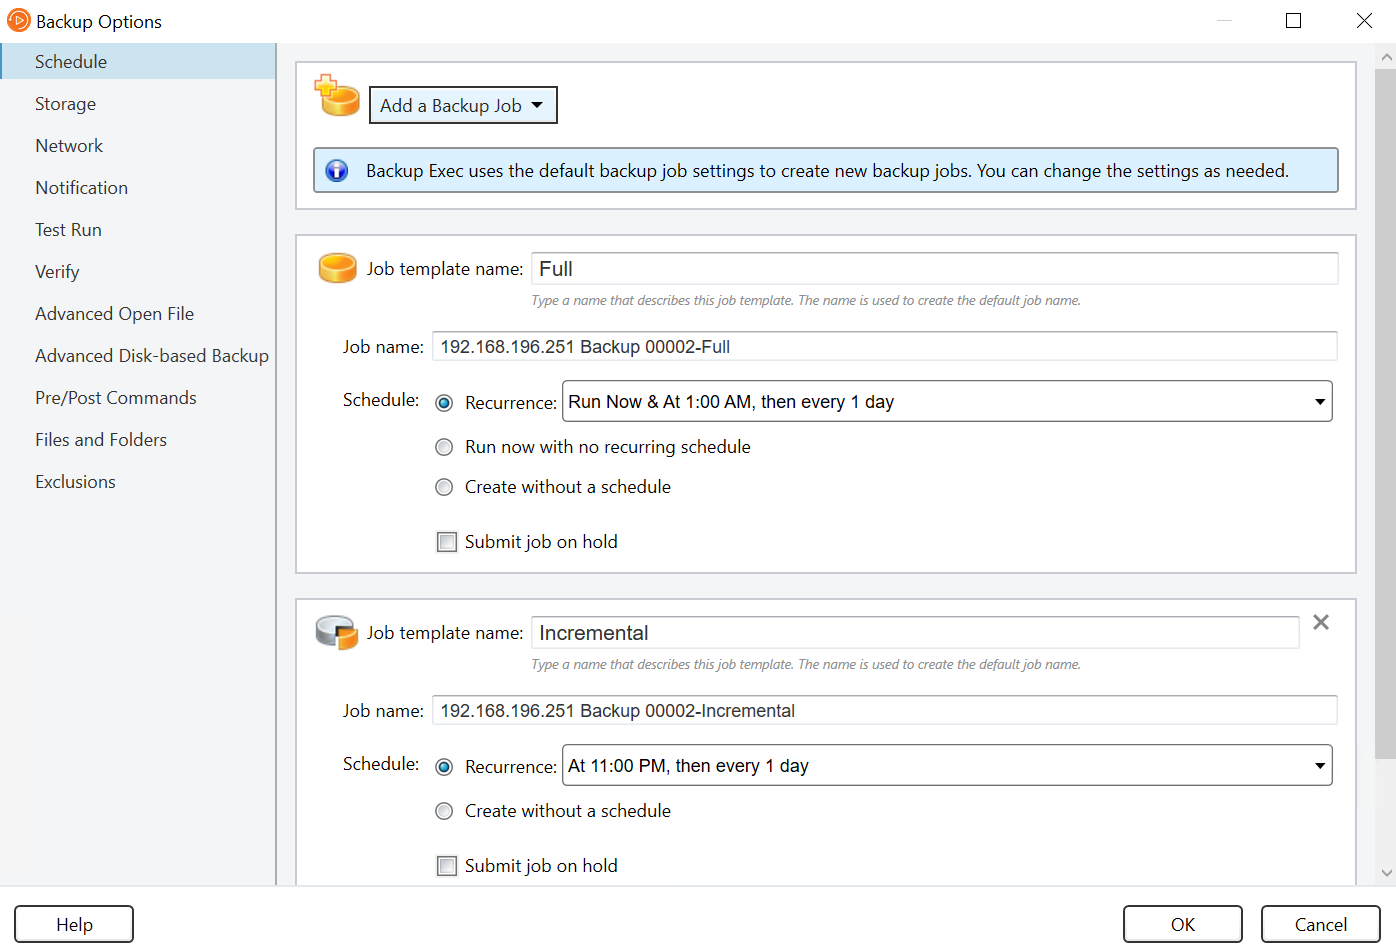
- Click Storage, choose the Wasabi cloud storage account to store your backup, and click OK in the Full and Incremental backup sections.
The Backup process starts displaying the progress.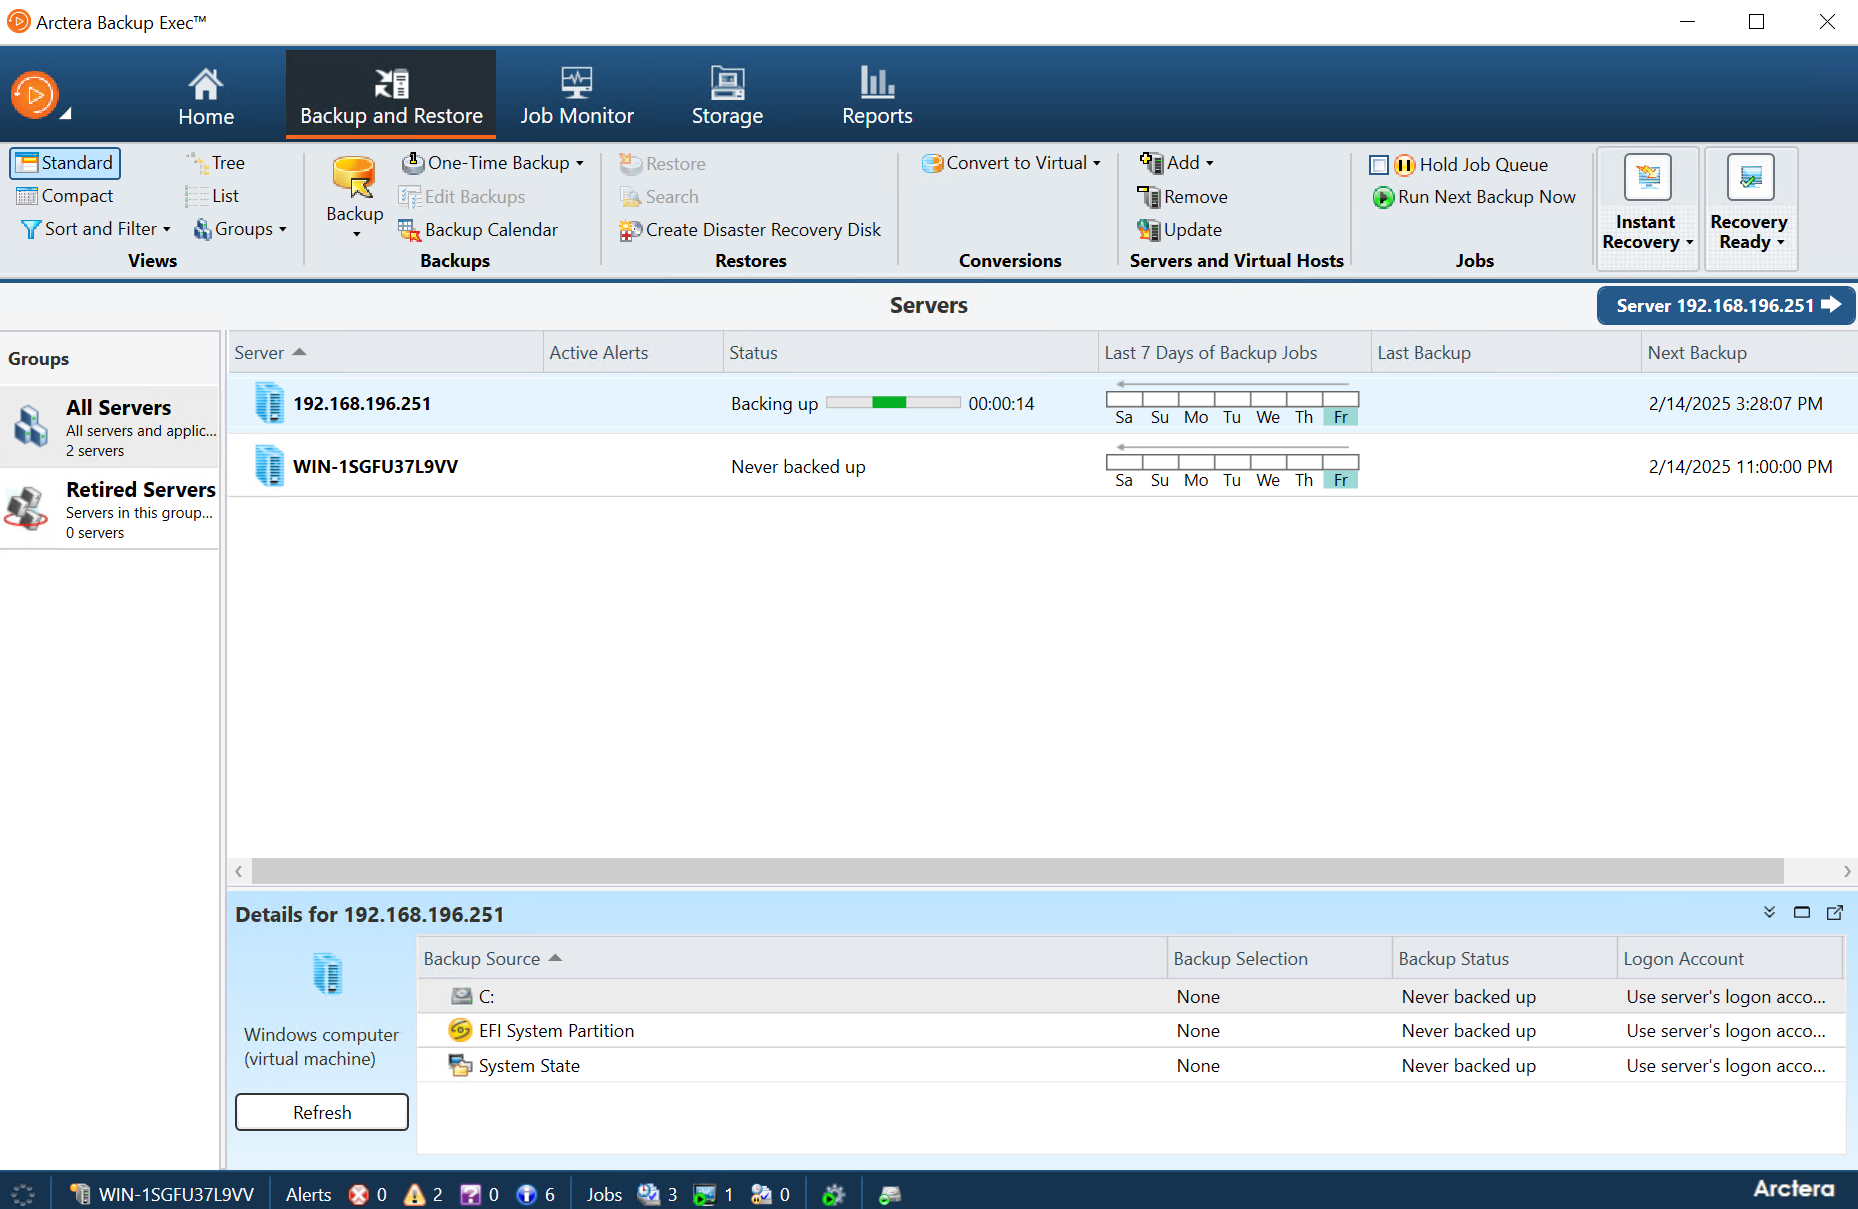
The backup job will create several folders in your Wasabi bucket. For example, you might see a structure as shown below.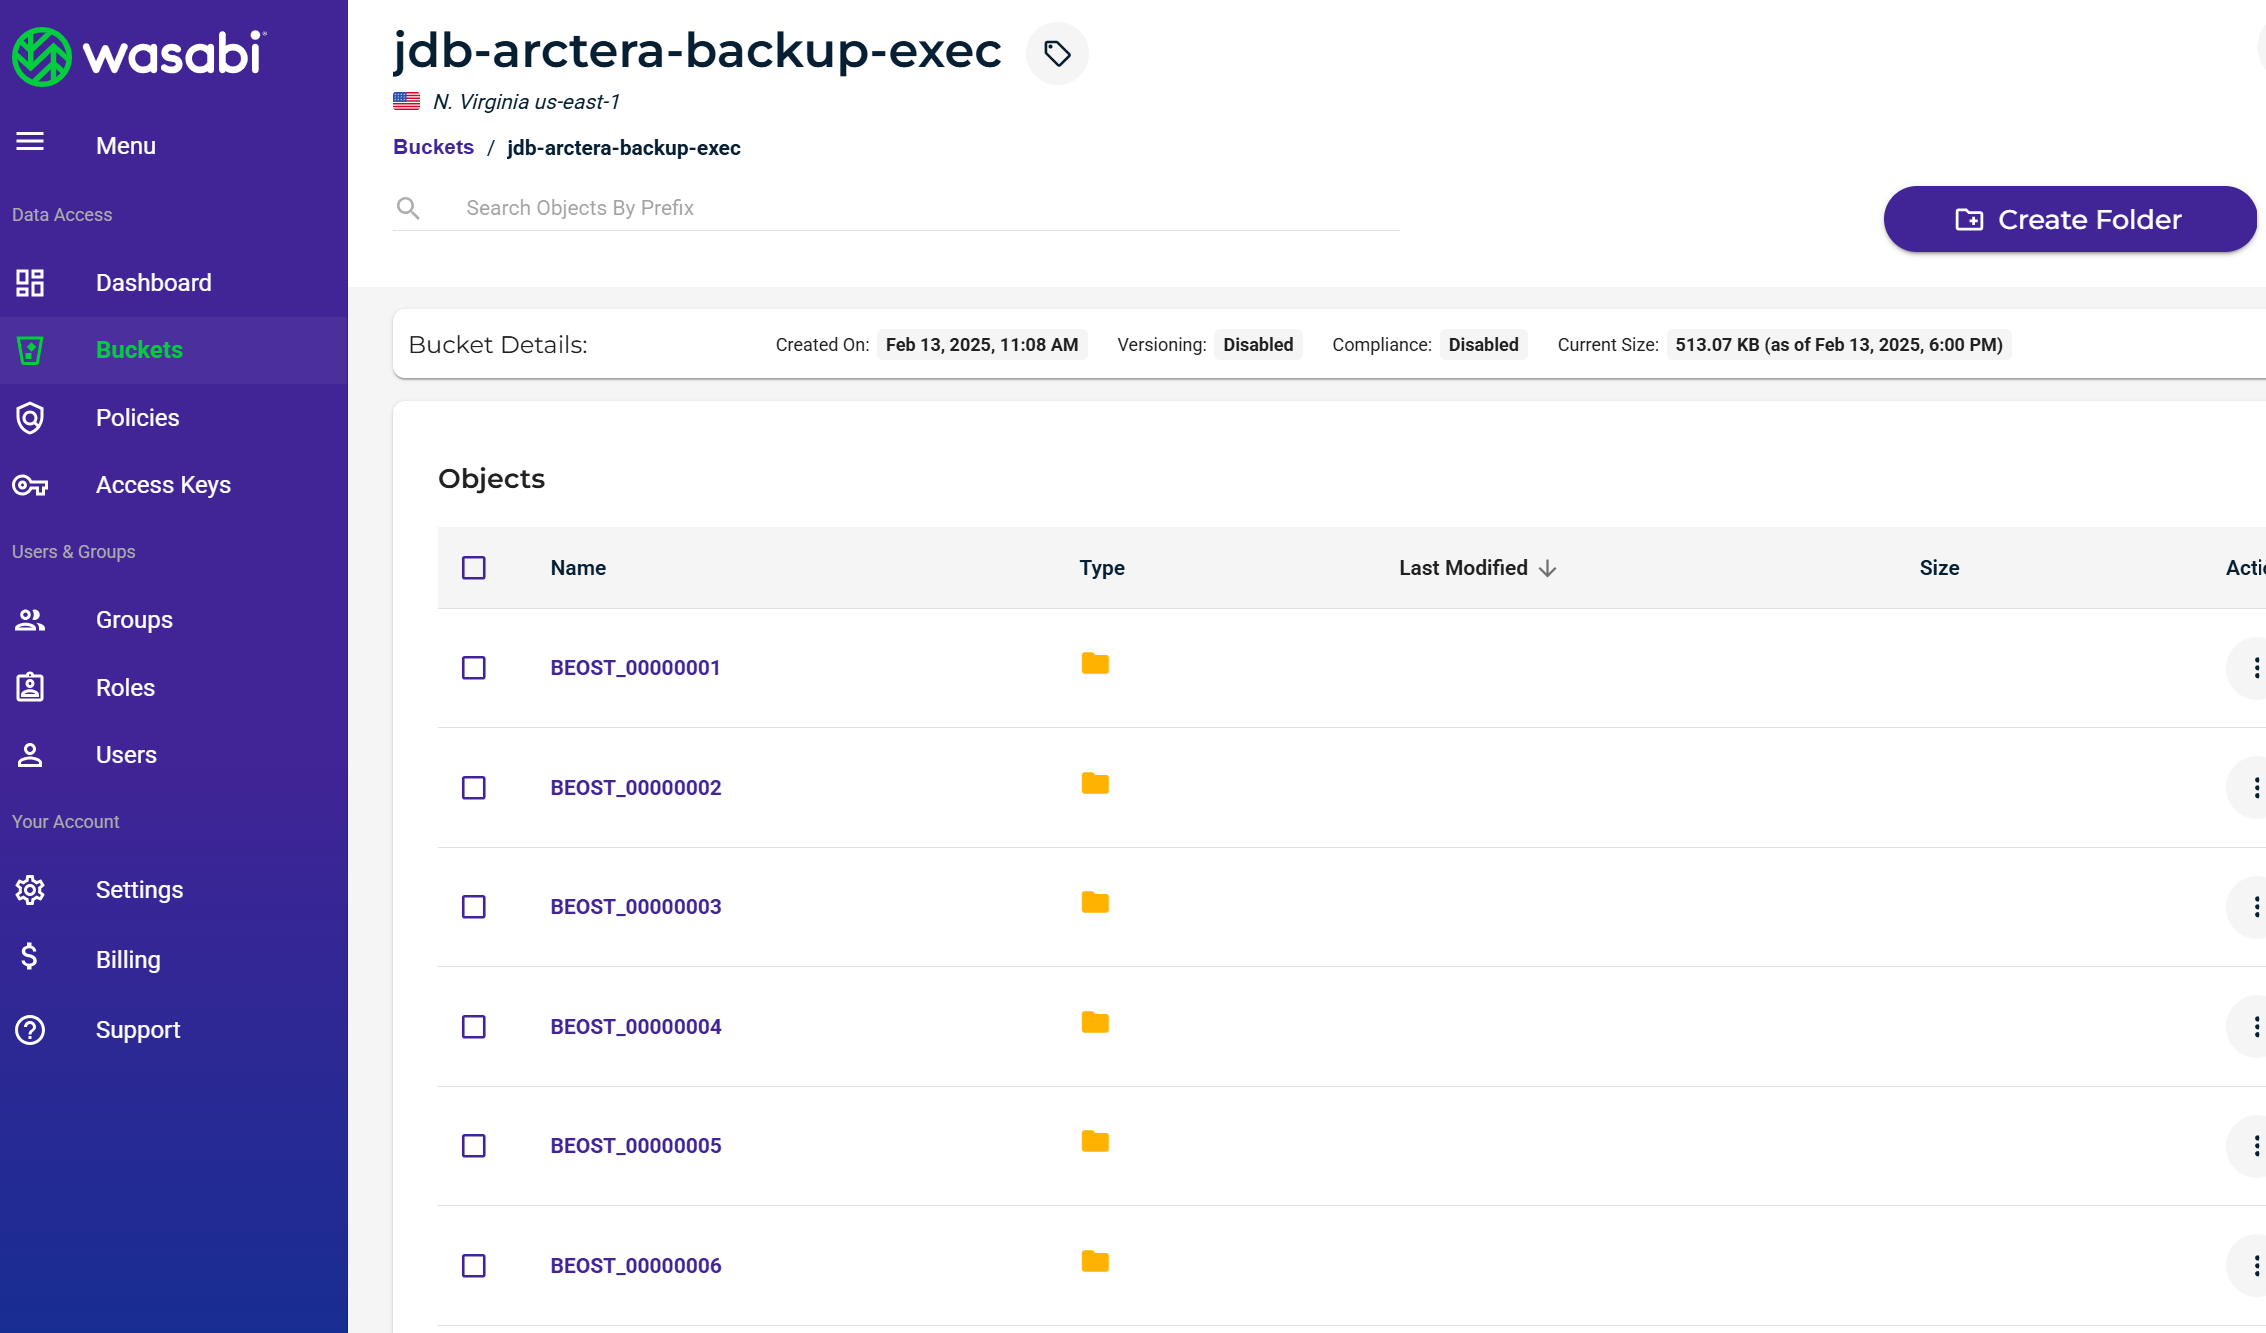
Immutability
In Version 22.2 or later, the ability to back up to an Object Lock-enabled/Immutable bucket is now supported for Wasabi. For more details, refer to the Hardware and Cloud Storage Compatibility List.
To create an Object Lock Volume, you will need the MSDP Cloud Admin command line tool.
- Run and open the Command Prompt (CMD) as an Administrator.
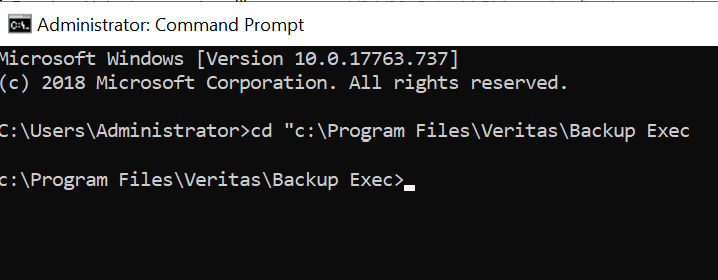
- Navigate to the installation of the Arctera Backup Exec folder.
- Run the following commands:
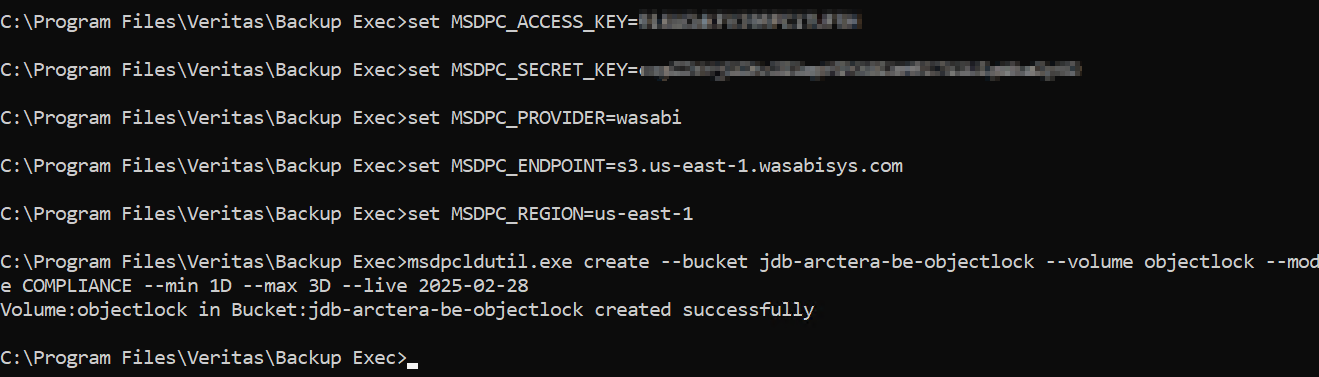
Input your Wasabi Access Key and Secret key in the first two commands.ActionScriptset MSDPC_ACCESS_KEY=set MSDPC_SECRET_KEY=set MSDPC_PROVIDER=wasabi set MSDPC_ENDPOINT=s3.us-east-1.wasabisys.com set MSDPC_REGION=us-east-1
Note: This configuration example discusses the use of Wasabi's us-east-1 storage region. To use other Wasabi storage regions, please use the appropriate Wasabi service URL as described in our Wasabi Service URLs. - Run the following command to create your object lock bucket and volume:
- bucket is used to specify the bucket name
- volume is used to specify the volume name (use the same name while configuring the storage in Backup Exec)
- mode is used to specify the retention mode: COMPLIANCE or GOVERNANCE (Backup Exec supports only the GOVERNANCE mode)
- max is used to specify the max lock duration: number plus 'D' or 'Y', such as 12Y means 12 years
- min value, -N value min lock duration in days ‘D’/years 'Y', such as 12D means 12 days
- live is used to specify the time frame for which the volume will be enabled for retention lock, that is, it's live until date (example, 2021-08-18, format:'YYYY-MM-DD', clock is set:'00:00:00', timezone is set:'UTC'ActionScriptActionScript
msdpcldutil.exe create --bucket veritasbackup-objectlock --volume objectlock --mode COMPLIANCE --min 1D --max 3D --live 2023-06-30
Successful Creation will result in the following:
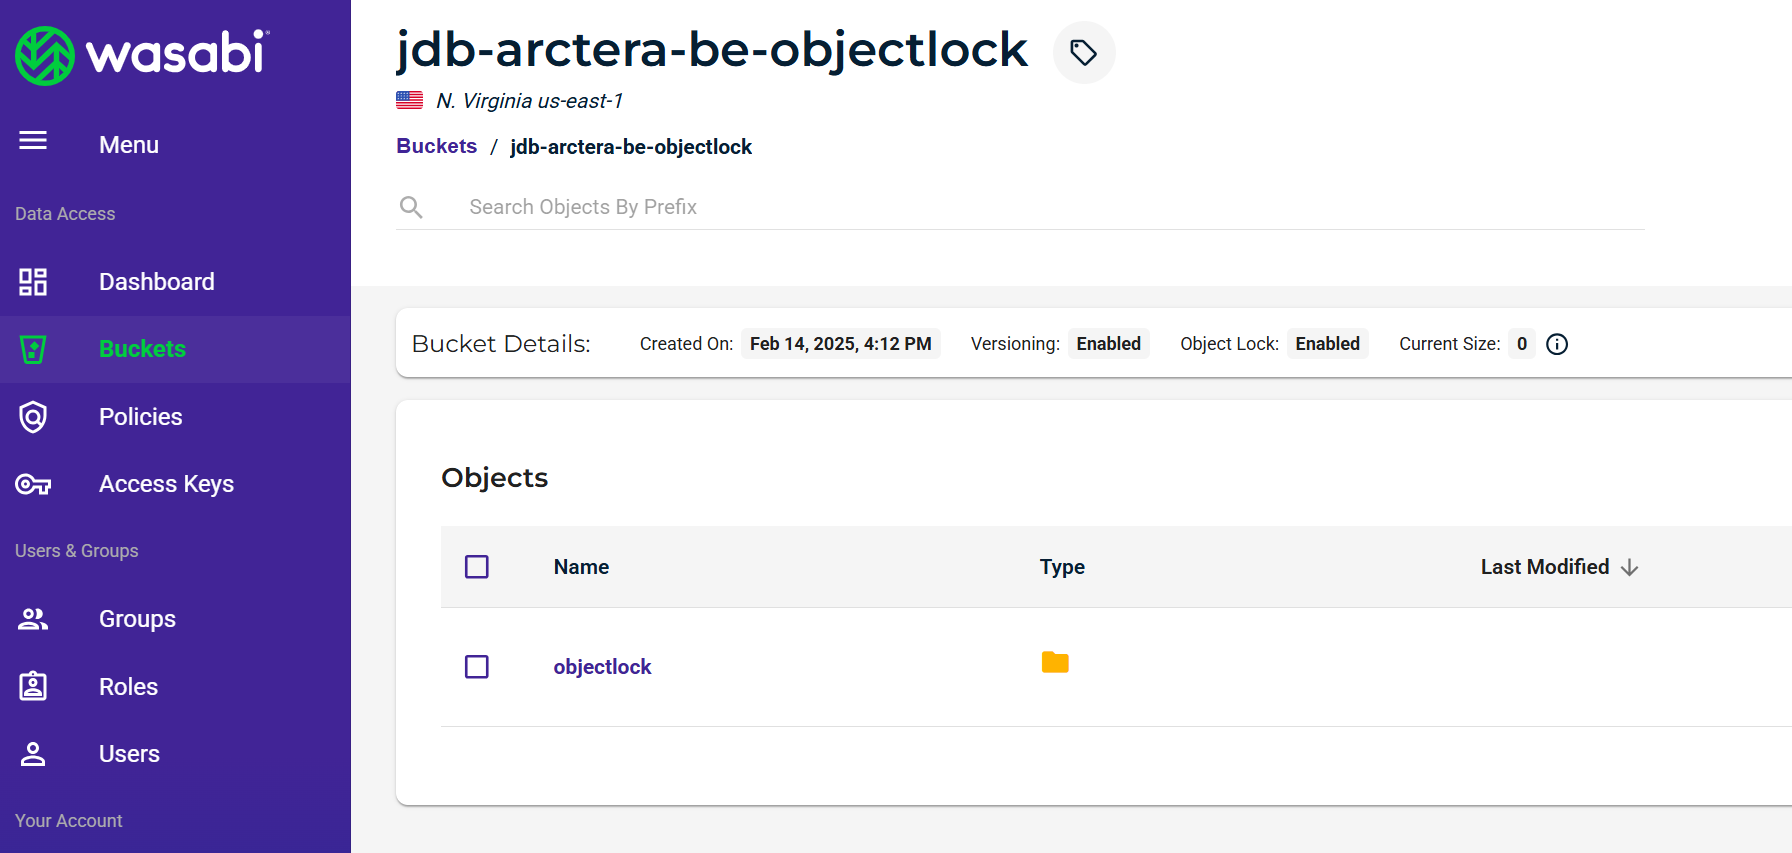
Log in to your Wasabi Console and verify that the Bucket and Volume were created as well.
Go to the Backup Exec Console, click Storage, and then click Configure Cloud Storage.
On the configuration screen, input the name of the Volume that you created in the steps above, and check Enable deduplication to cloud storage, then click Next.

Click S3, and then click Next.

Select Wasabi from the Cloud Storage drop-down.
Select your Logon account credentials, created in Section 2, Steps 7-9, from the drop-down, then click Next.
Choose the bucket in the list you created from the previous steps and click Next.
Select the number of concurrent operations you wish to have and click Next.
Review your settings and then click Finish.
Next, follow the steps listed in the Creating a Backup Job section and select your Object Lock Cloud Storage to back up to.